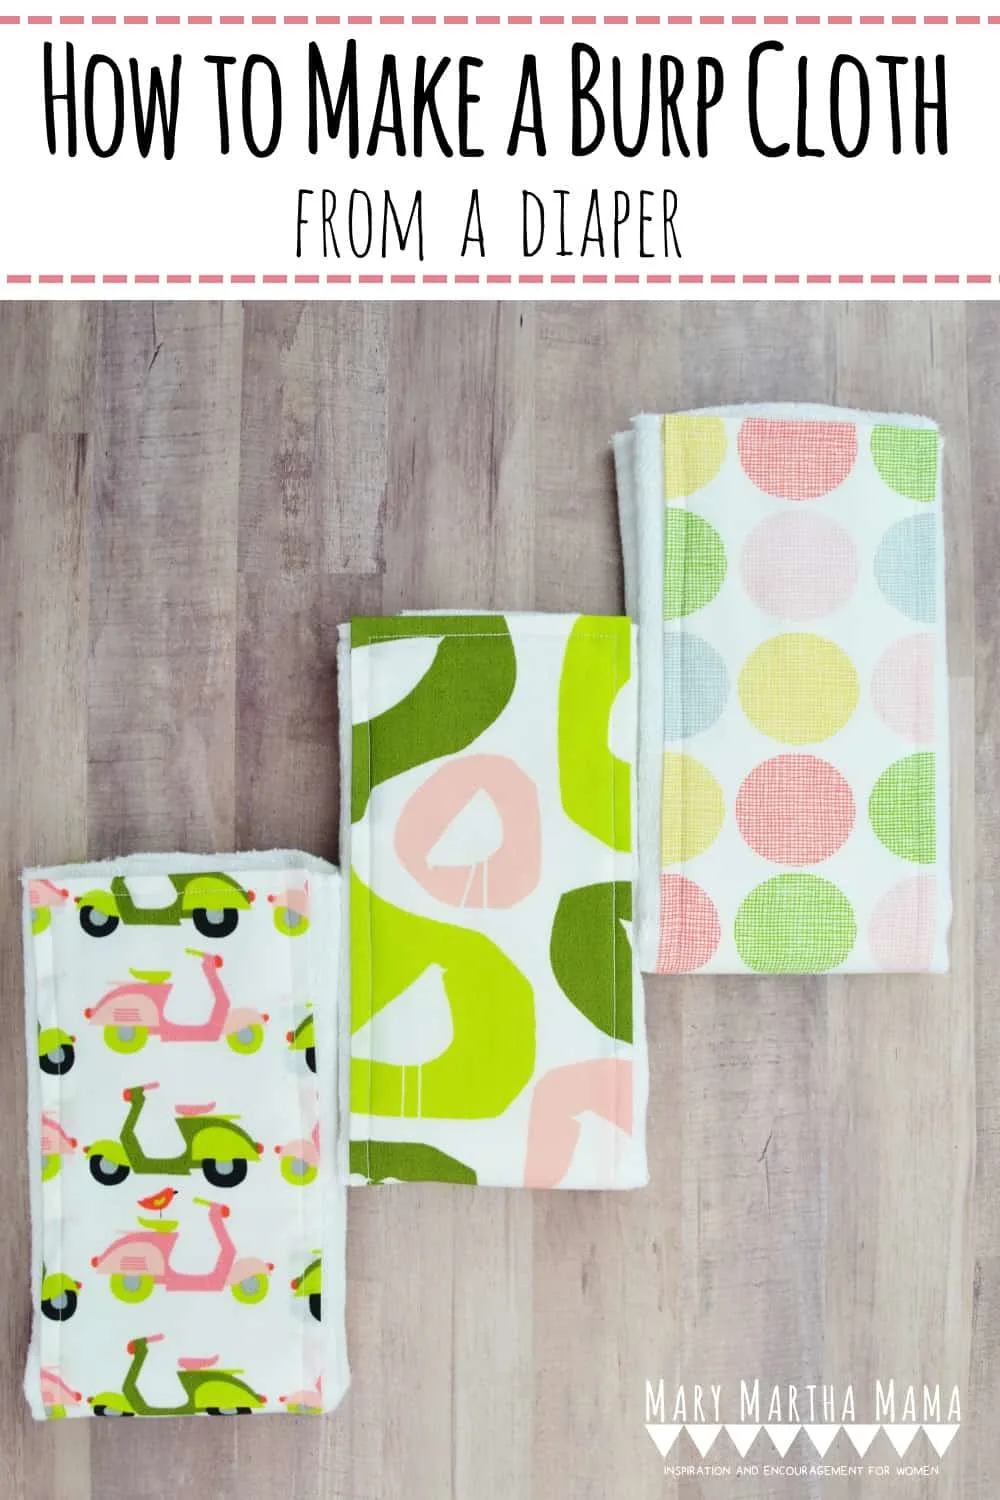
Old school cloth diapers make excellent burp cloths! In order to make them cute you can add a little bit of fabric to one side. I made a few of these for a baby shower this past weekend so today I’m going to show you how to make a burp cloth from a diaper.

Supplies to Make a Burp Cloth from a Diaper
- old school cloth diaper- I like the organic cotton Gerber ones
- 1 rectangle of cotton fabric measuring about 5.5 in X 19.5 inches for each burp cloth you want to make
- coordinating thread
- sewing pins
- scissors or rotary cutting set
- sewing machine (I have a Brother SE400)
- heat resistant hemming ruler
- iron


How to Make a Burp Cloth from a Diaper Tutorial
Prepare Your Fabrics & Diapers
Wash, dry, and iron your fabrics and the cloth diapers. I really didn’t bother with ironing the cloth diapers since they’re so gauzy. But make sure you give your fabrics a good press.
Make Your Fabric Rectangles
Take a rectangle of fabric and place it on your ironing board with the right side down. Use the hemming ruler to fold the edge of the fabric over 1/2 inch and press it down.

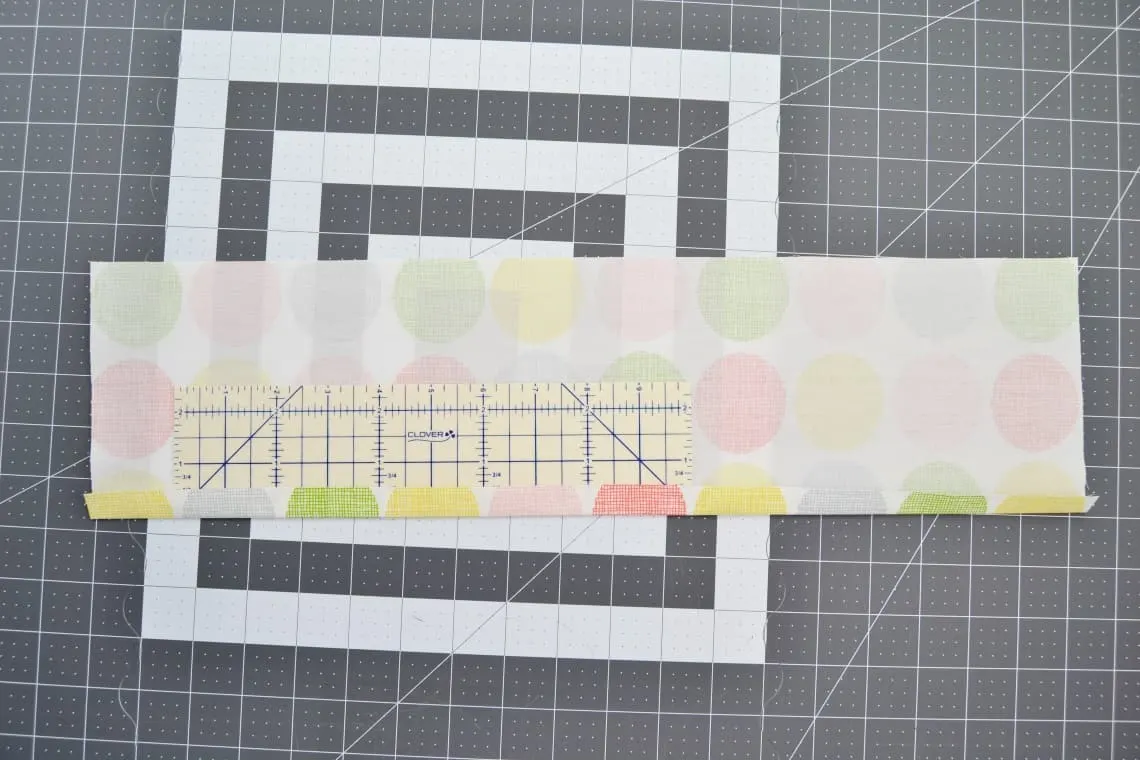
Repeat this process on all 4 sides.
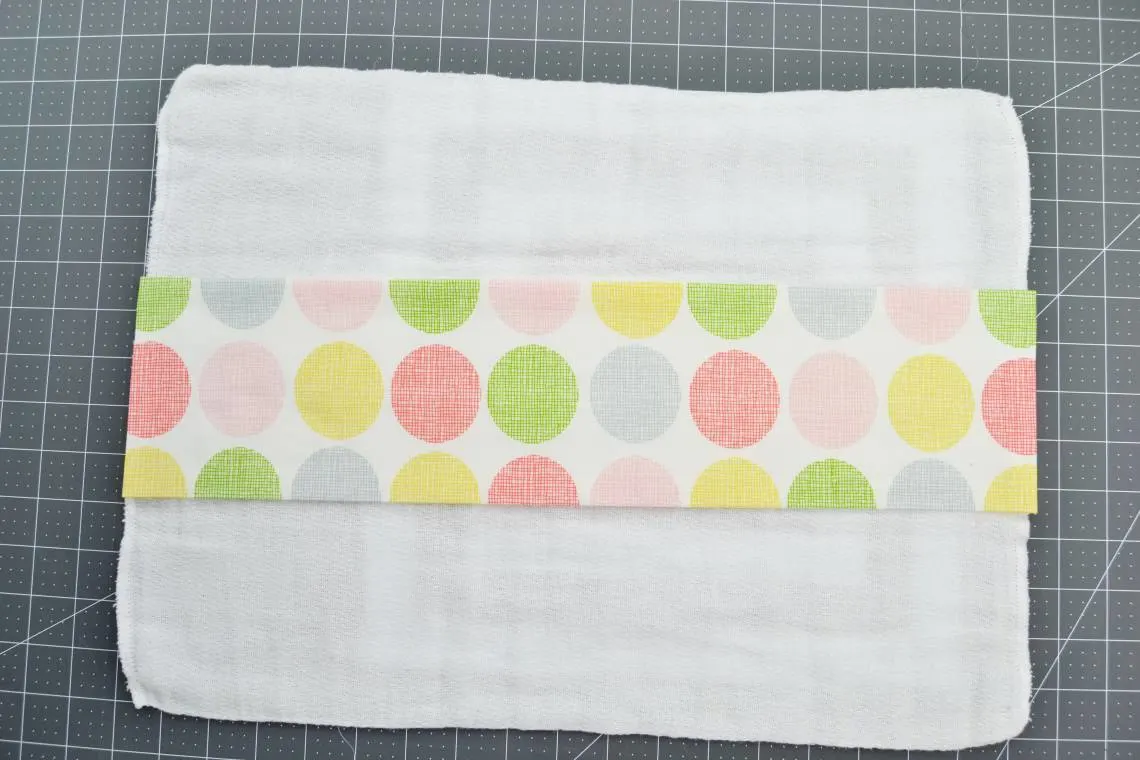
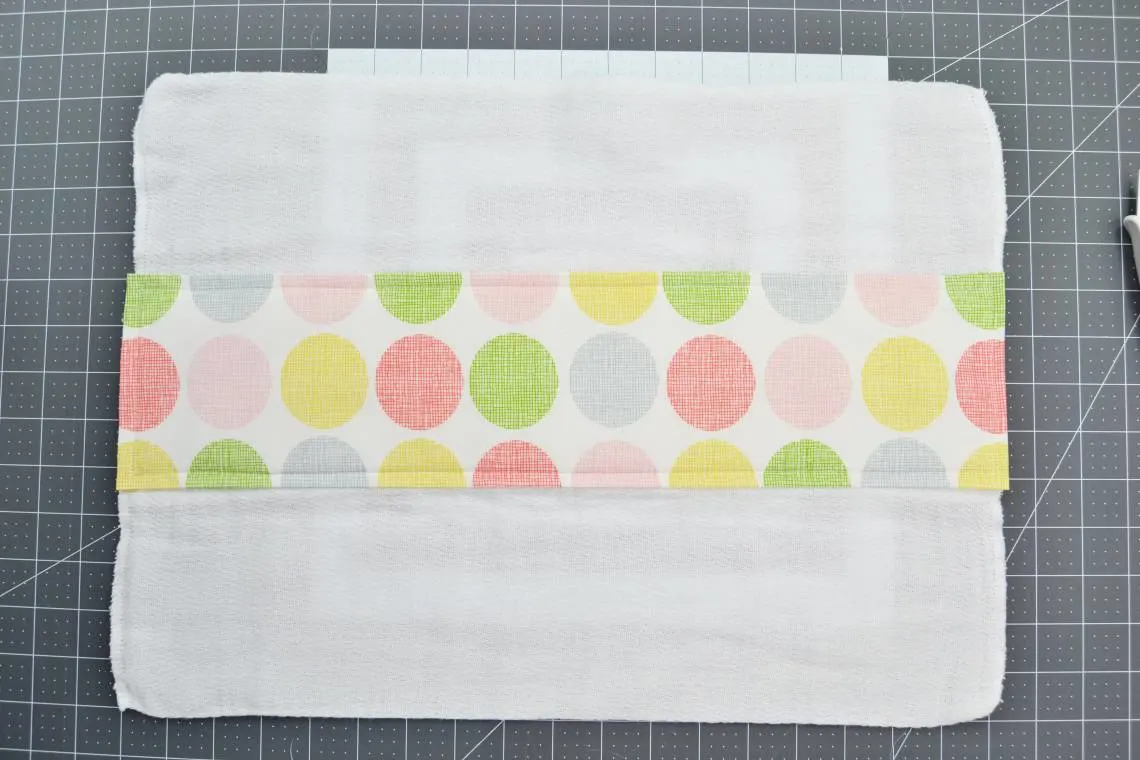
Sew the Fabric Rectangles on to the Diapers
Pin a rectangle on top of the center section of the cloth diaper. Then sew all the way around the edge of the rectangle, sewing about 1/4 in or less from the edge.


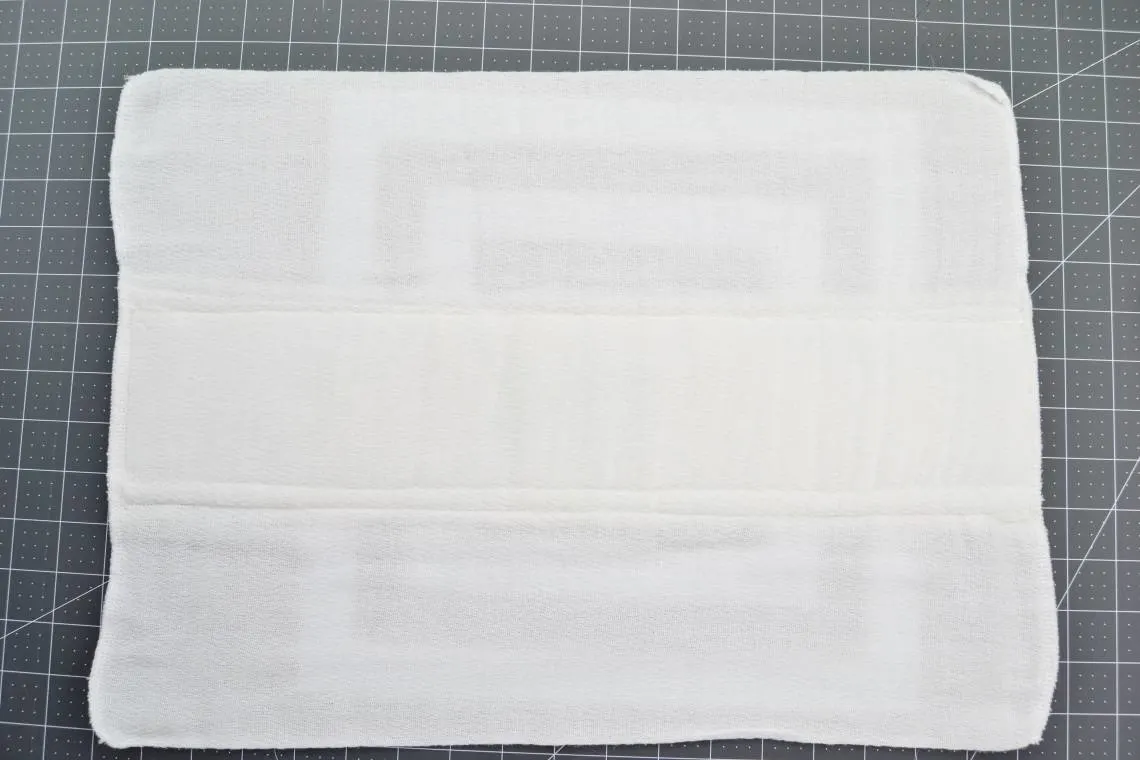
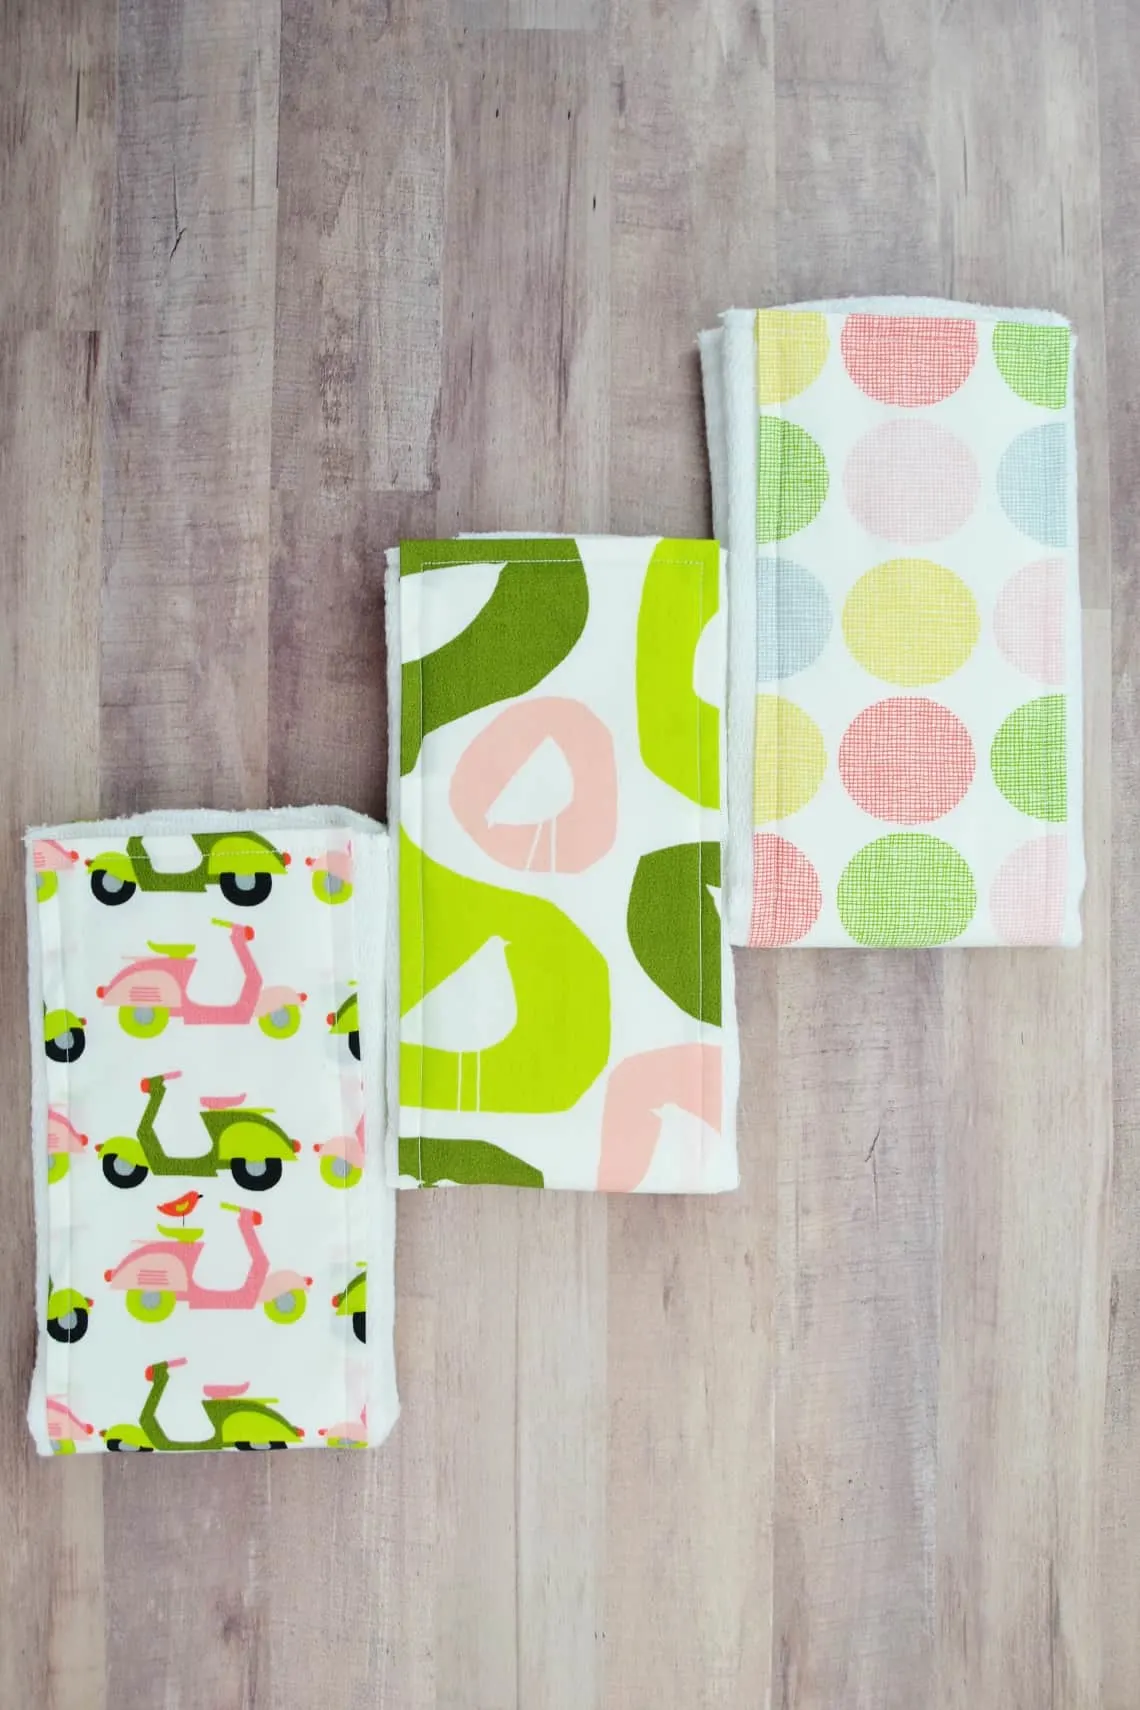
Trim your strings and you’re all done!
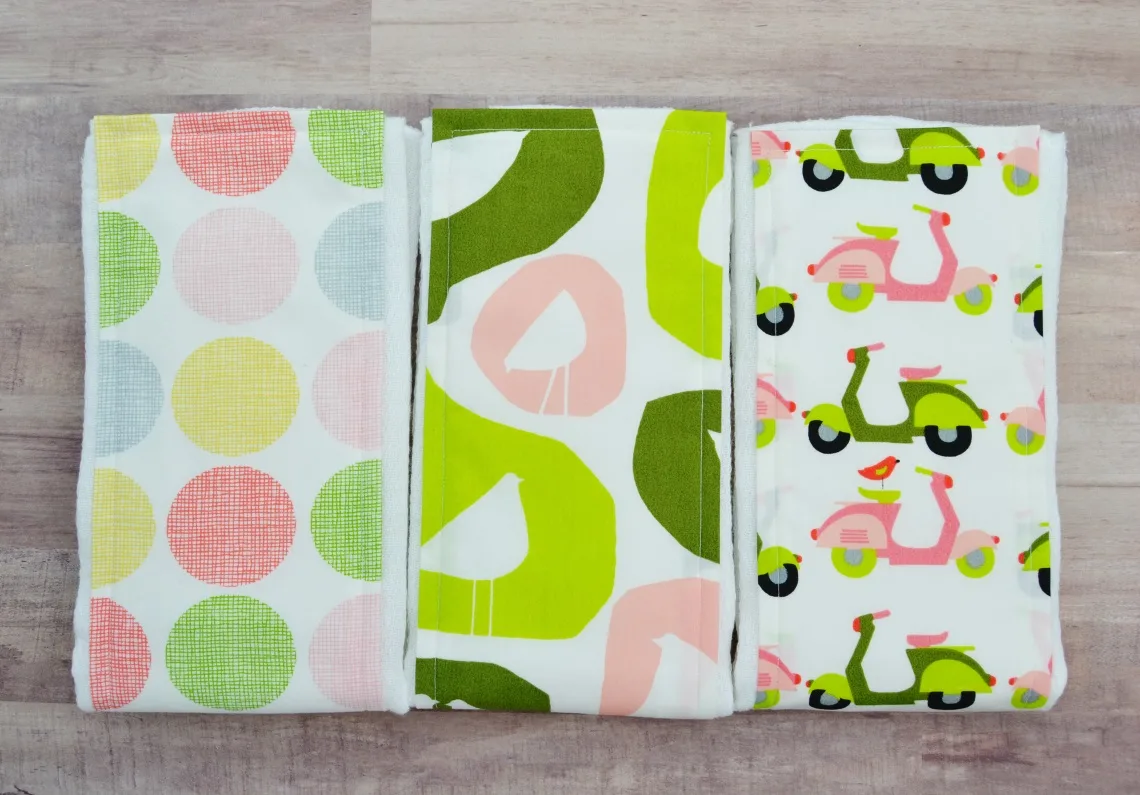
For this burp cloth set I made a set of 3. I like to make up a set of 3 or 5 burp cloths from coordinating fabrics. Sometimes I’ll make up a set of 4 if there are only 2 prints in a collection that I like and I’ll make 2 of each kind.
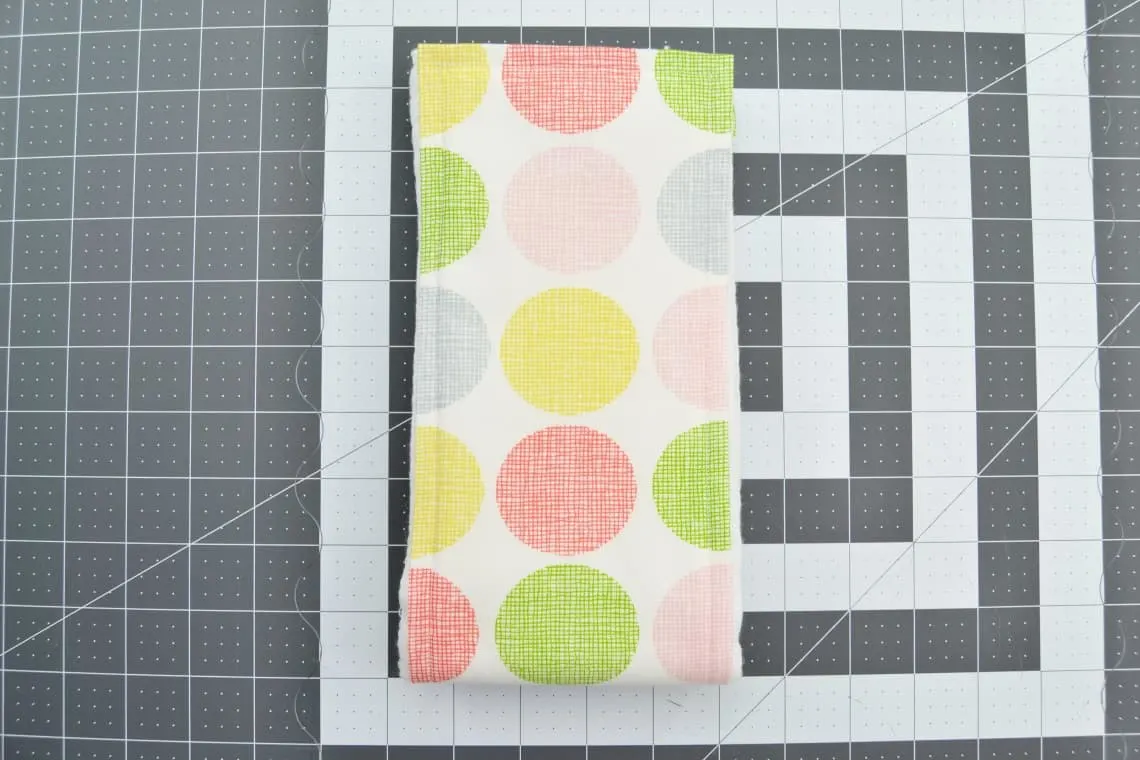
I like to fold them in thirds and then half for gifting.


If you try the tutorial please let me know in the comments below and do not hesitate to ask if you should have any questions!