This is a sponsored conversation written by me on behalf of Cricut. The opinions and text are all mine.
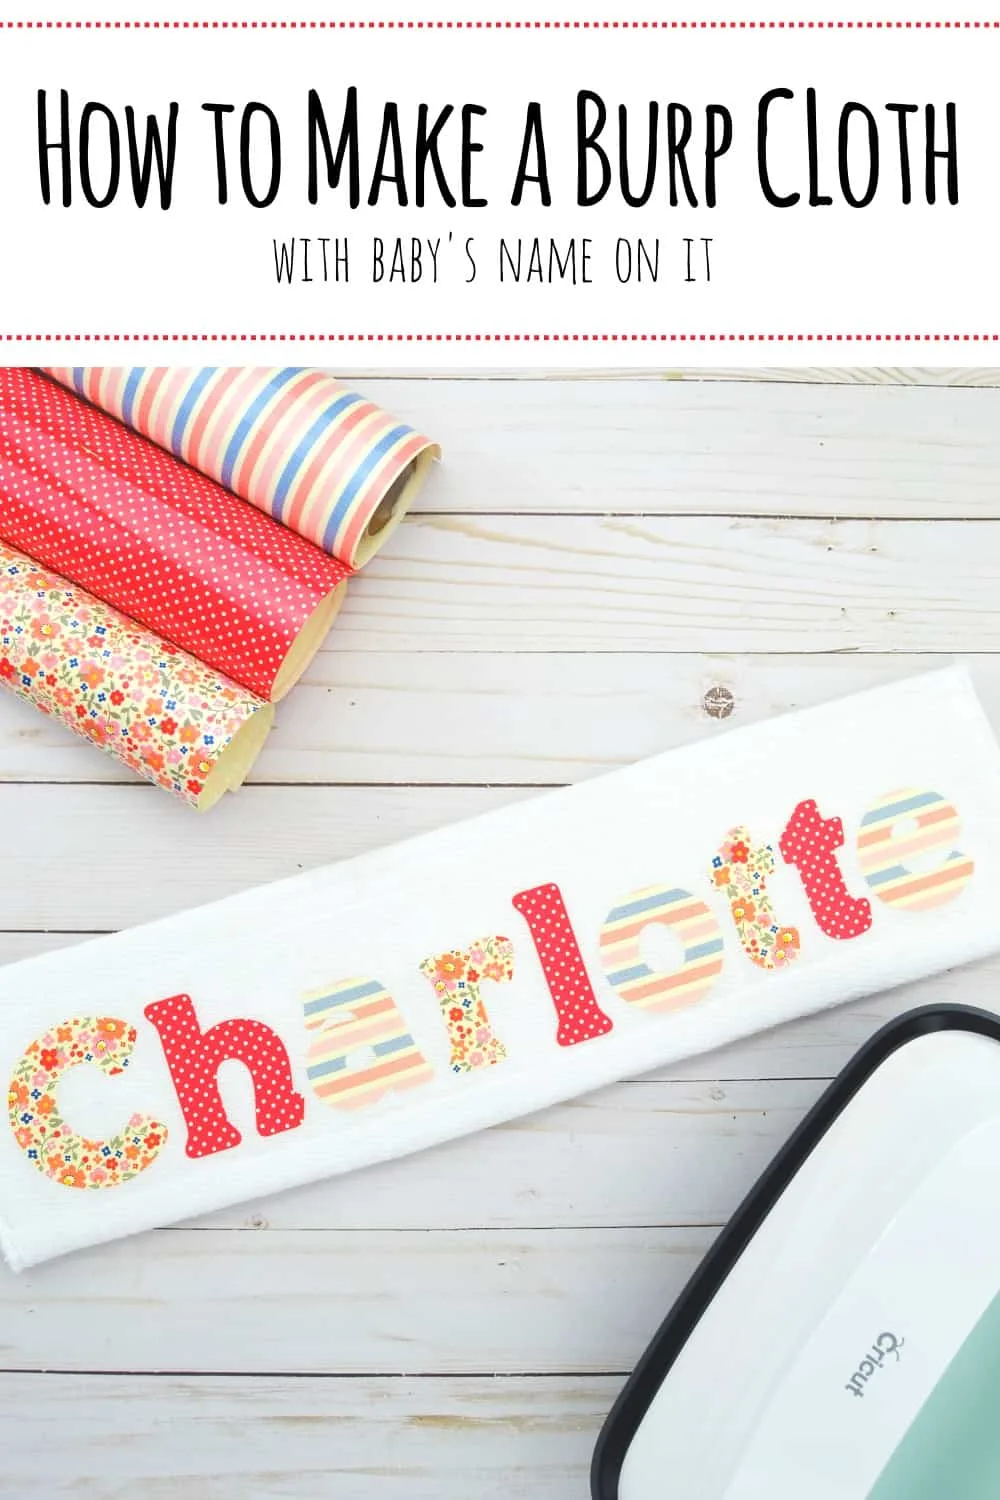
I’ve been working on making a bunch of baby shower gifts lately. I like to make burp cloths because they are very easy and today I want to show you how to make a burp cloth with baby’s name on it!
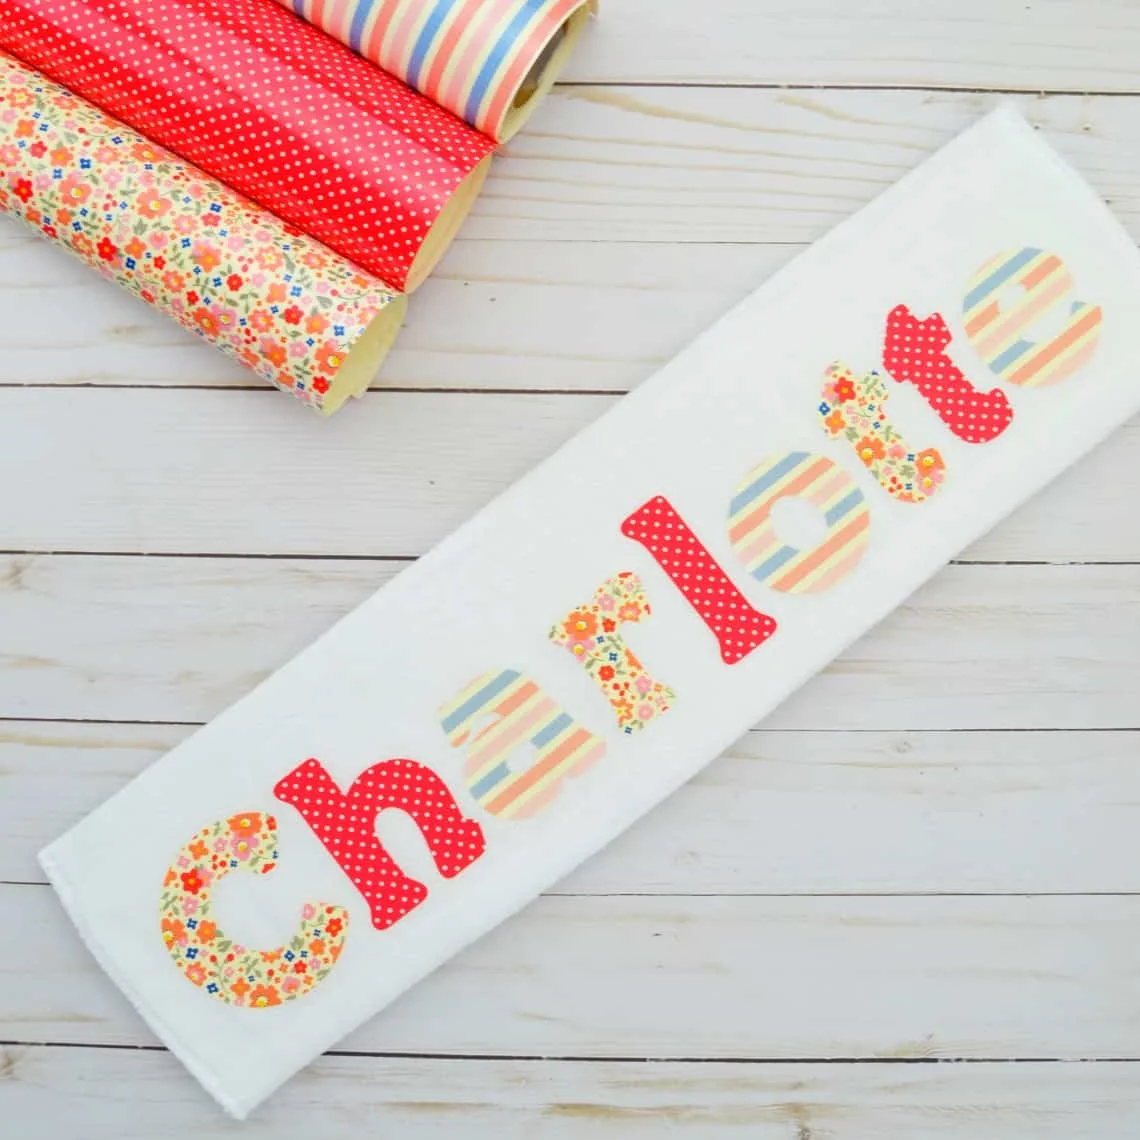
One of the reasons I like to make gifts like burp cloths is that it gives me the opportunity to make something personalized. I love to pick out colors and fabrics that fit with the style of the expectant parents and it’s fun to add a monogram or name as well if they already have one picked out.
You don’t have to be able to sew to make a burp cloth! For the burp cloths I’m going to show you how to make you can use old-school cloth diapers and then personalize them with a Cricut Maker, iron-on vinyl, and the Cricut Easy Press 2. The cloth diapers make fantastic burp cloths because they are very absorbent and soft.

The Cricut Maker and Easy Press 2 make this project a super fast one. To personalize the burp cloth I simply cut some her name out of iron-on vinyl and used my Easy Press 2 to attach it to the cloth diapers.
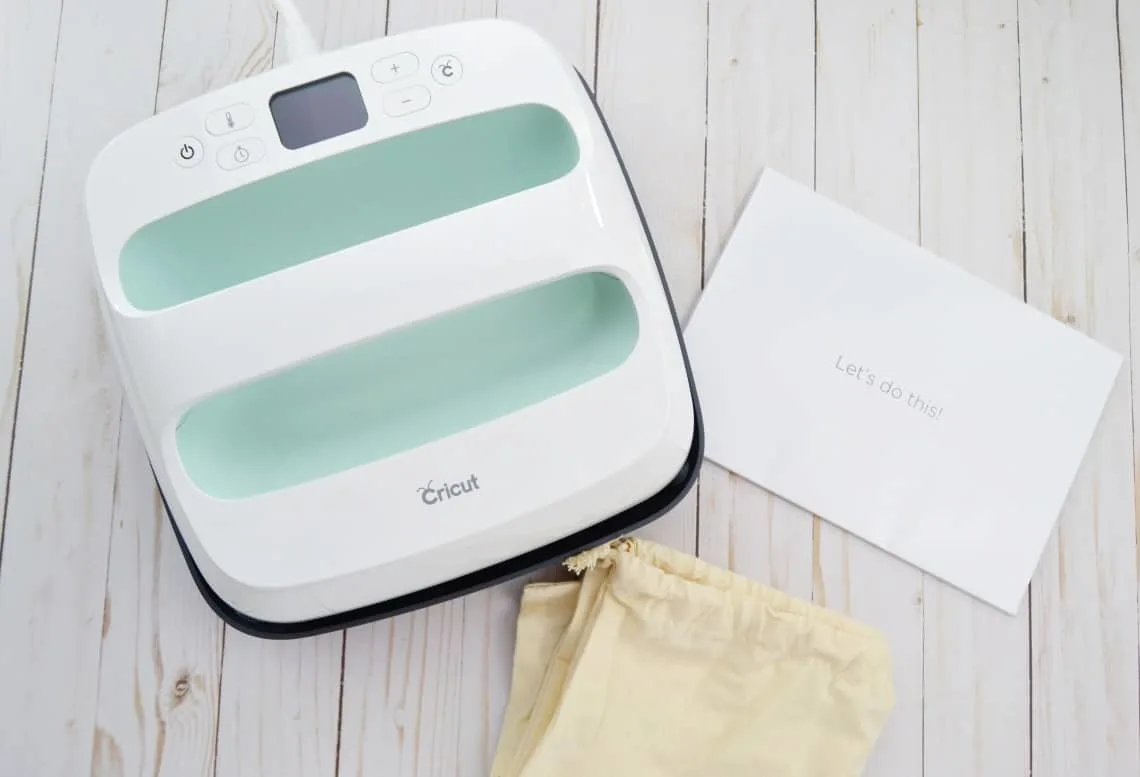
The Easy Press 2 is a lot like an iron but it’s larger and much simpler to use. There are 3 sizes- 12 X 10 in., 9 X 9 in., and 6 X 7 in..

The Easy Press 2 is very precise. You can set the exact temperature that you need for your project (up to 400 degrees!) and the Easy Press 2 has a timer to alert you when you’re done pressing.

I got to try the 9 X 9 in. Easy Press 2 and the 6 X 7 in. Easy Press 2 and I love the precision that they allow as well as the large surface area as compared to an iron. Each Easy Press 2 comes with a base that you can place it on when you’re not using it to press.

Supplies Needed
- Cloth Diapers
- Patterned Iron-on Vinyl (I used the Martha Stewart Wildflower Pack)
- Cricut Maker (or other Cricut)
- Cricut Easy Press 2
- Cricut Easy Press 2 Mat
- Name Cutout Project File
How to Make a Burp Cloth
Prepare Your Cloth Diapers
Wash and dry the cloth diapers.
Make Your Name Design
Open my Name Cutout Project File. Click “customize and you will be able to edit the file to the name you want.

You can double click on each letter in the name to change it to a different letter. Once you have changed all the letters to what you need you can then delete any extra letters. If you need to add more letters just click on the text function on the left hand side and add what you need.
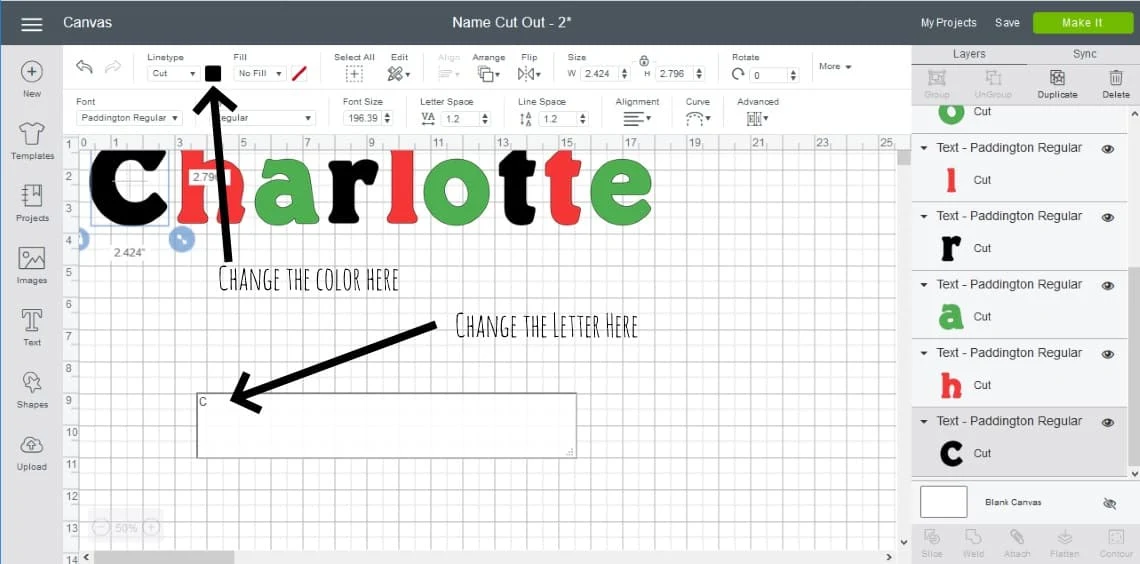
You’ll notice that I have letters of 3 different colors. This is because I used 3 different patterned iron-on vinyls. Click on the square next to cut (I pointed it out in the picture above) to change the color of any of the letters if you need to. For example, you may want to use just two colors of vinyl and have them alternate so you’d need to change things up a bit.
You can also adjust the size of the letters if you need to. To make them all the same size you can enter a value for the font size for each one or you can select them all and then adjust the size by stretching or shrinking using the little toggle in the right hand corner of the rectangle.
Cut out the Vinyl
Next click on “make”. Once the computer connects to the Cricut machine it will show you how it’s going to organize the letters on each mat. You’ll see one mat per color. Be sure to click “mirror” for each of the mats. This will make the letters be cut out backwards, which is what you want for iron-on vinyl.


Load your vinyl onto your mats. You want to place your vinyl with the pretty side down.
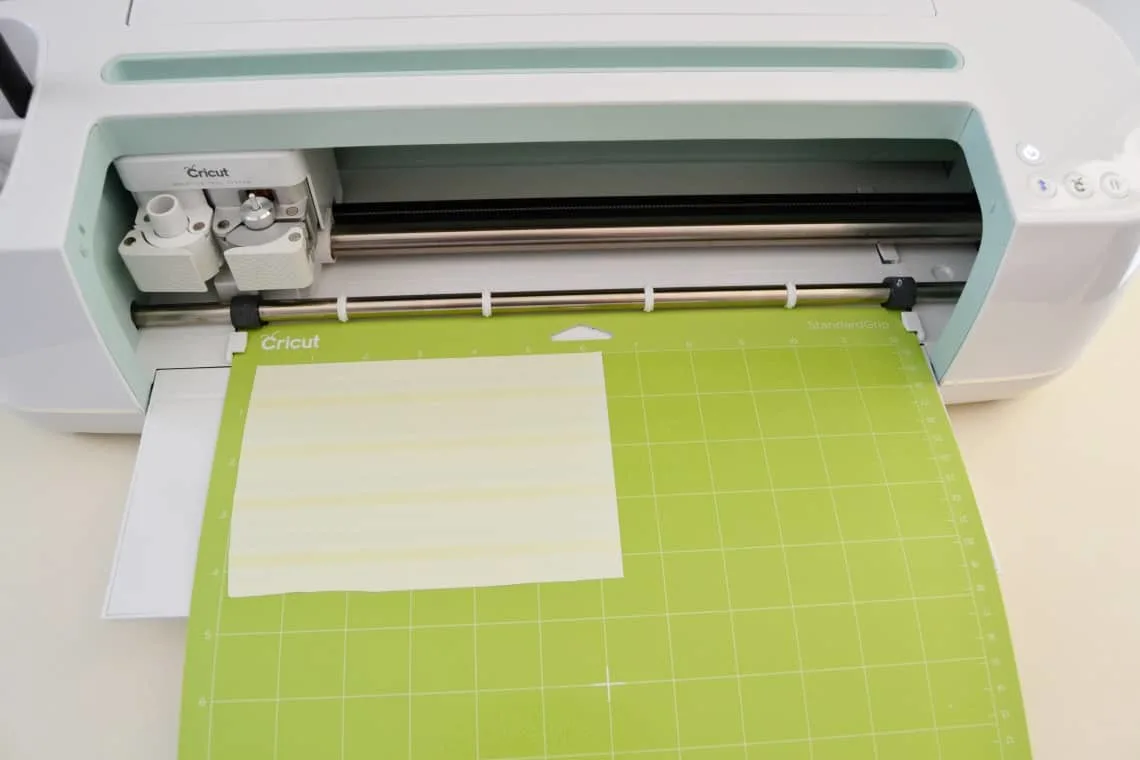
Pay attention to the instructions to know which mats to load in first then have your machine do the cutting.
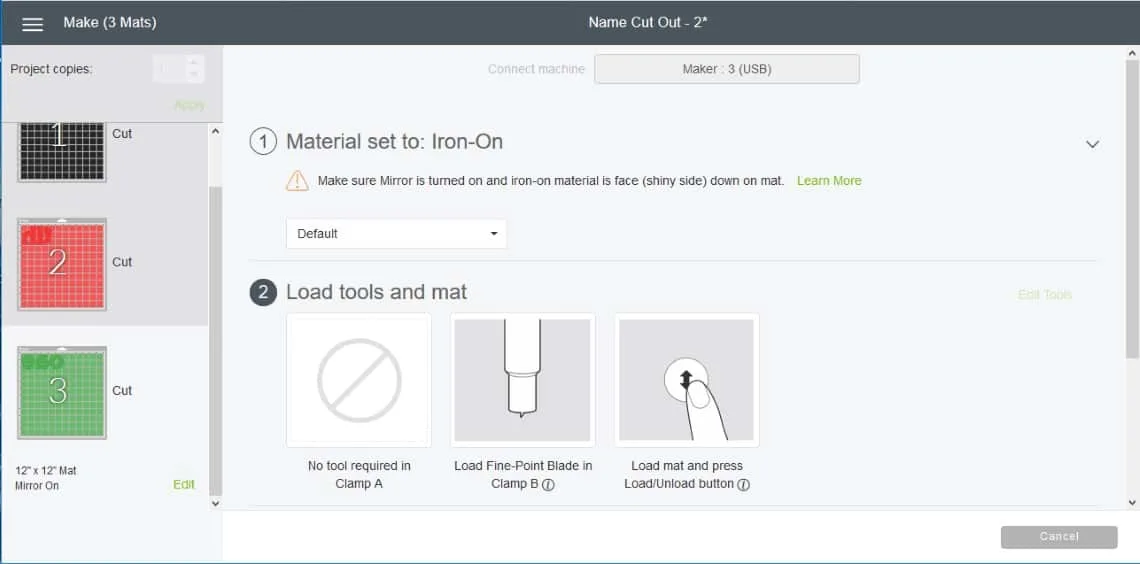
Prepare the Vinyl Letters
Once the machine has finished with the cutting you remove the vinyl sheet from your cutting mat. Then you need to weed out the excess parts you don’t need, basically remove the negative space so that only your letters are left on the clear backing.

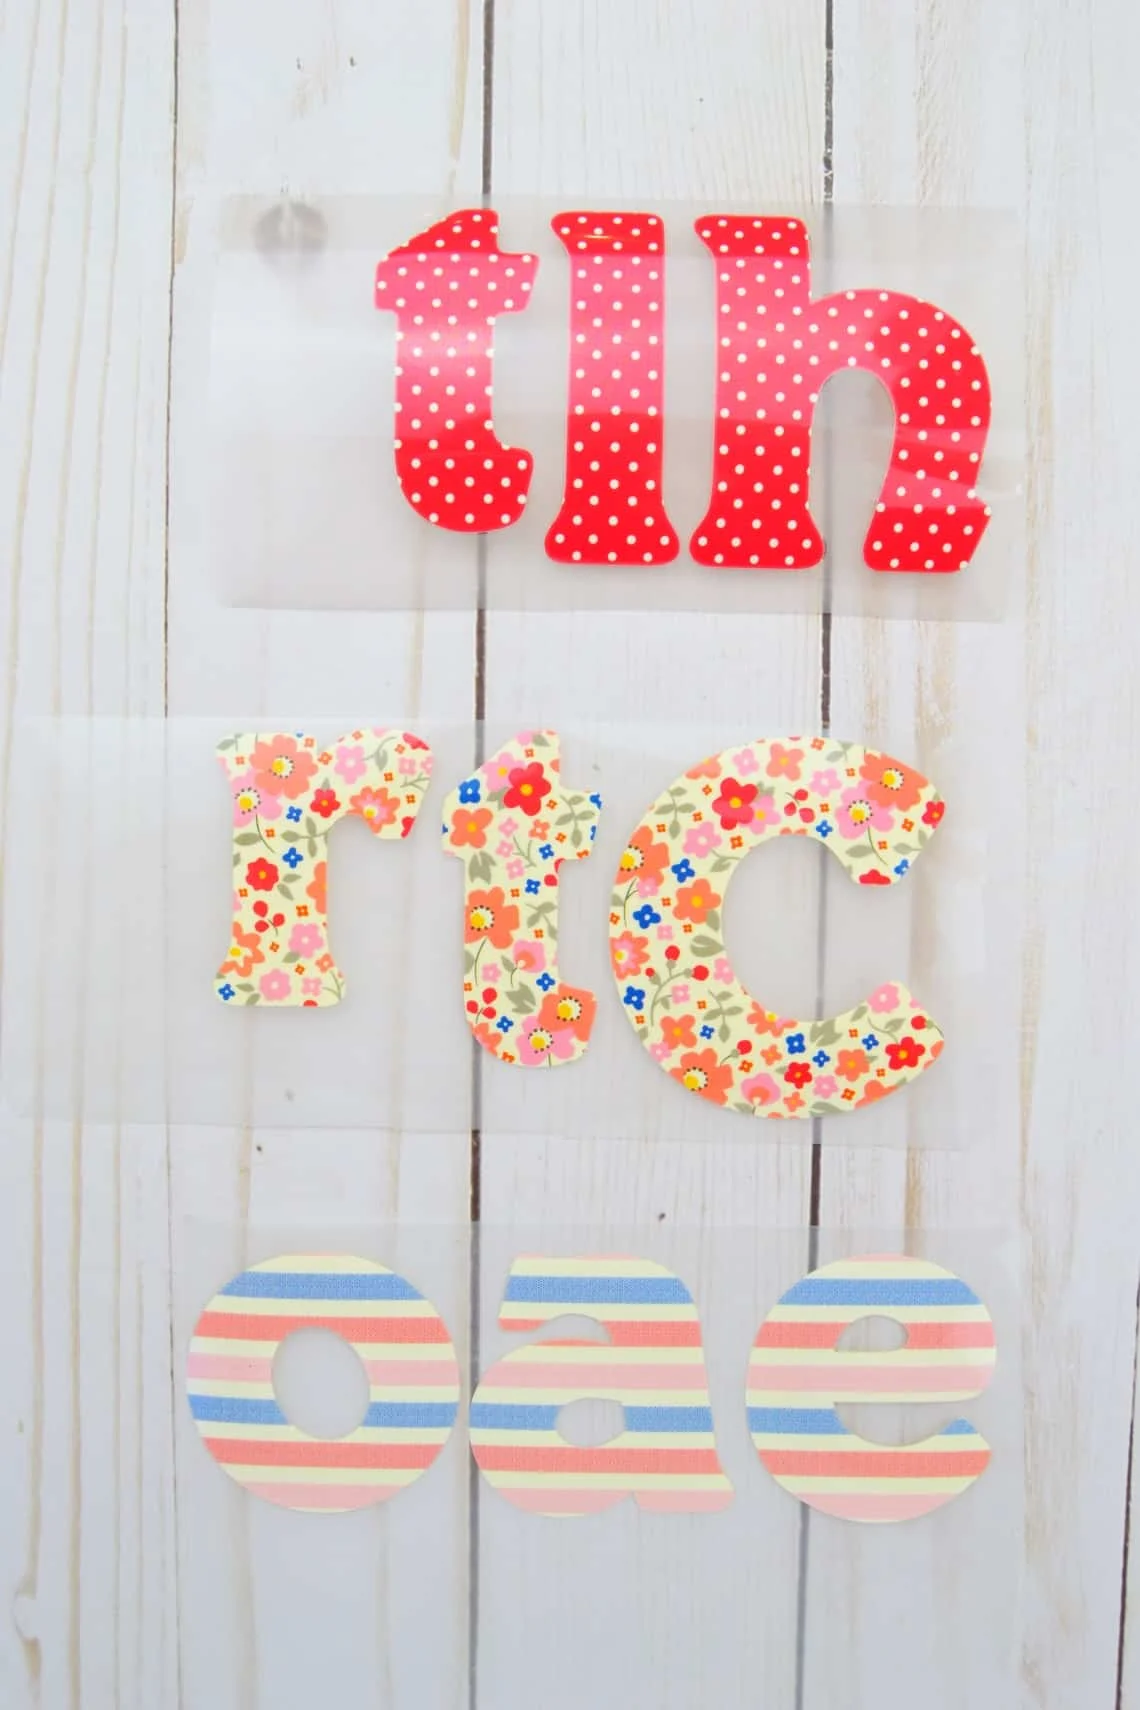
Then cut the letters apart from each other, leaving only a small bit of the clear backing on the sides of your letters. You want to be able to position them close together without that backing overlapping and interfering with another letter while you’re pressing.
Press the Vinyl Letters onto the Cloth
Turn on your Easy Press 2. Check the Cricut Easy Press Heat Transfer Guide to figure out the right temperature and times you need for your project. Enter your heat transfer material and base material to receive full instructions.
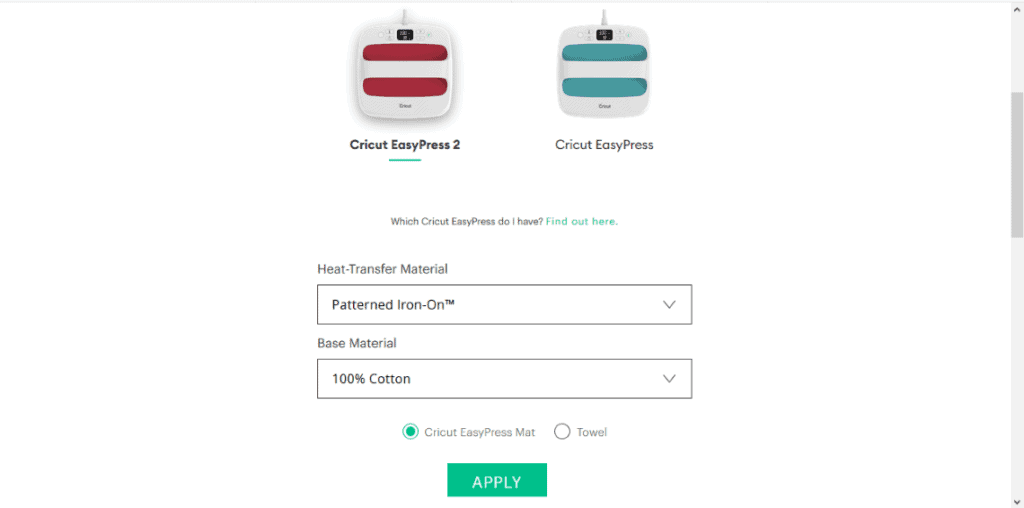
For this project it recommended a temperature of 340 degrees and 30 seconds for the main pressing.

Follow the instructions and preheat your base material (the burp cloth) for 5 seconds. To do this I laid my cloth diaper down on top of my Easy Press 2 mat.

Next arrange your letters where you’d like them to go. I put mine down the center of the burp cloth. The name is too long to do in one pressing so I pressed the first few letters for 30 seconds then I slid the other half onto the Easy Press mat and pressed them for 30 seconds.
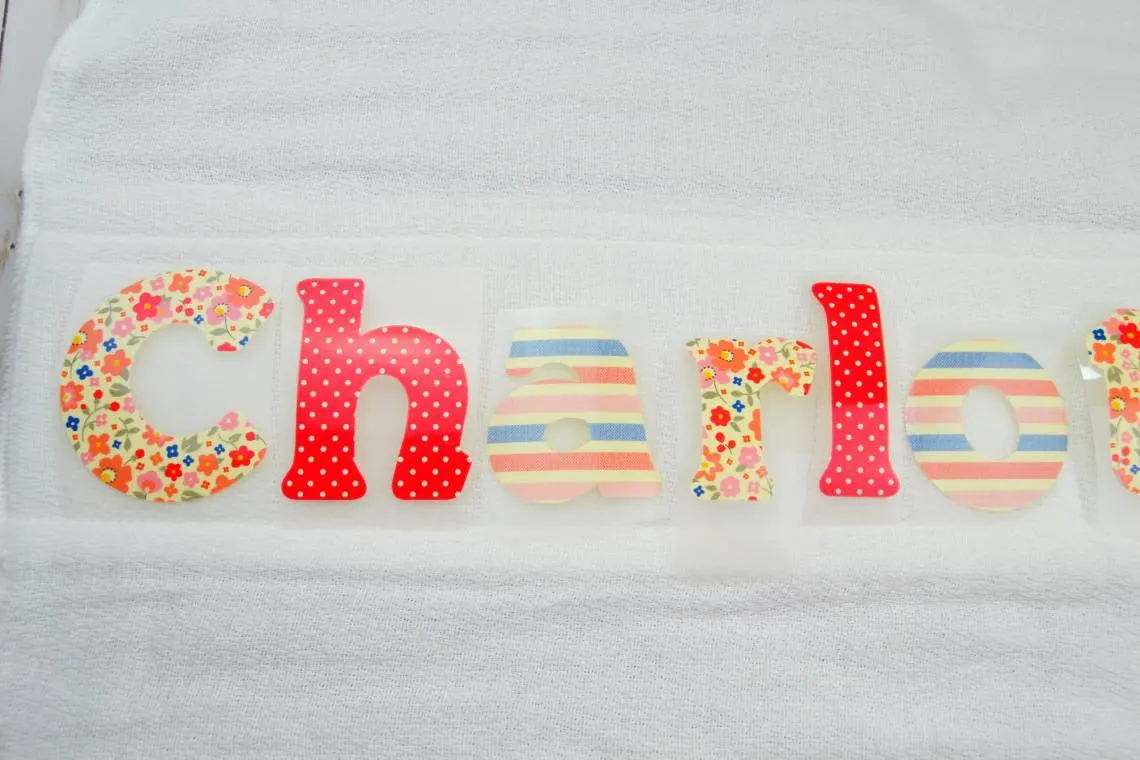


Then I flipped the burp cloth over and did 15 seconds on each half of that side.
Once they were cool I peeled the clear backing off of the letters.
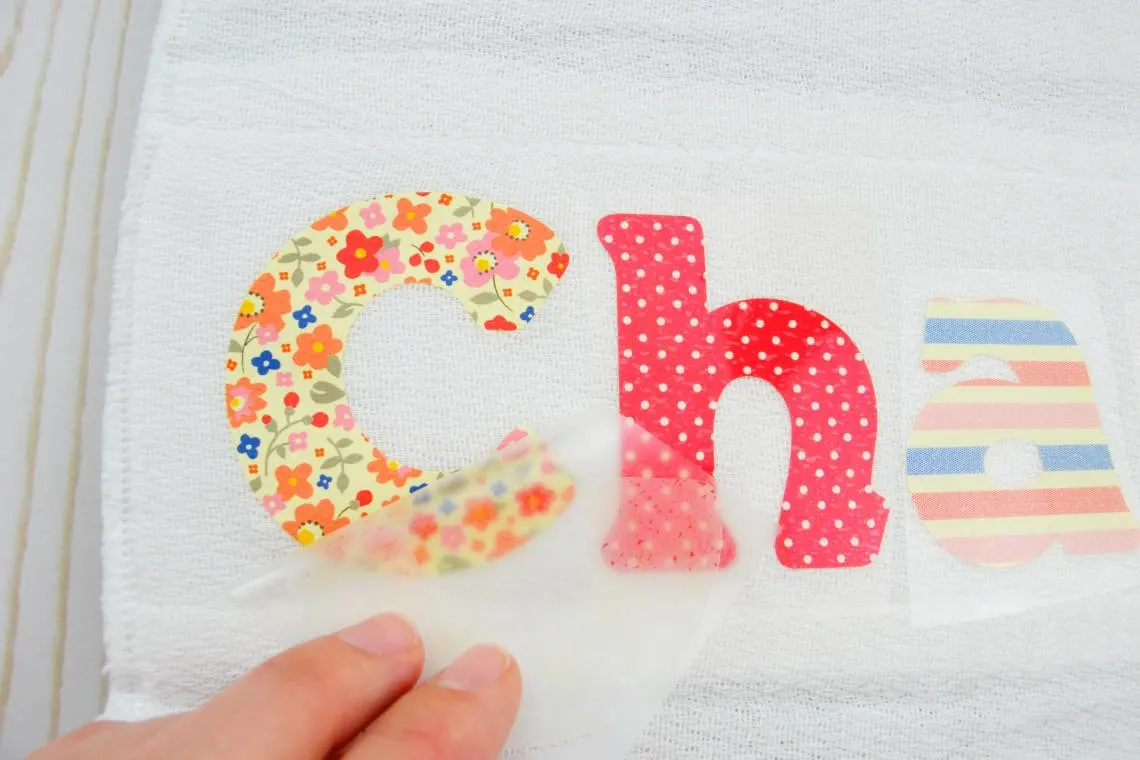
Now you are all done! That seems like a lot of steps but really it’s super quick and easy once you’ve done it.


The fun part about this is that you could apply the same technique to add a name or monogram to a whole host of things using your Cricut Maker and Easy Press 2. You can make fun beach towels, wooden signs, clothes, bibs, hats, etc.

What would you make with a name on it? I’d love to hear your ideas in the comments below!
