So do you call them burp cloths or spit-up rags? I’ve always said burp cloths… but whatever you call them you need them when you’ve got a baby. Today I’m sharing my simple and chic burp cloth pattern with you all. They are super easy to make and this is the perfect tutorial for all you beginners!

So let’s get started. To make these burp cloths you will need:
- My burp cloth pattern
- Flannel fabric (How much you need depends on how many you plan to make… from a half a yard of fabric you can make about 3 burp cloths if you are doing the fronts and backs from the same fabric. If you do what I did and you want to have one fabric for the front and another for the back then you will need a half a yard of each fabric and you’ll be able to make 6 burp cloths.)
- coordinating thread
- sewing machine and needles
- scissors (the sewing scissors I used are like these)
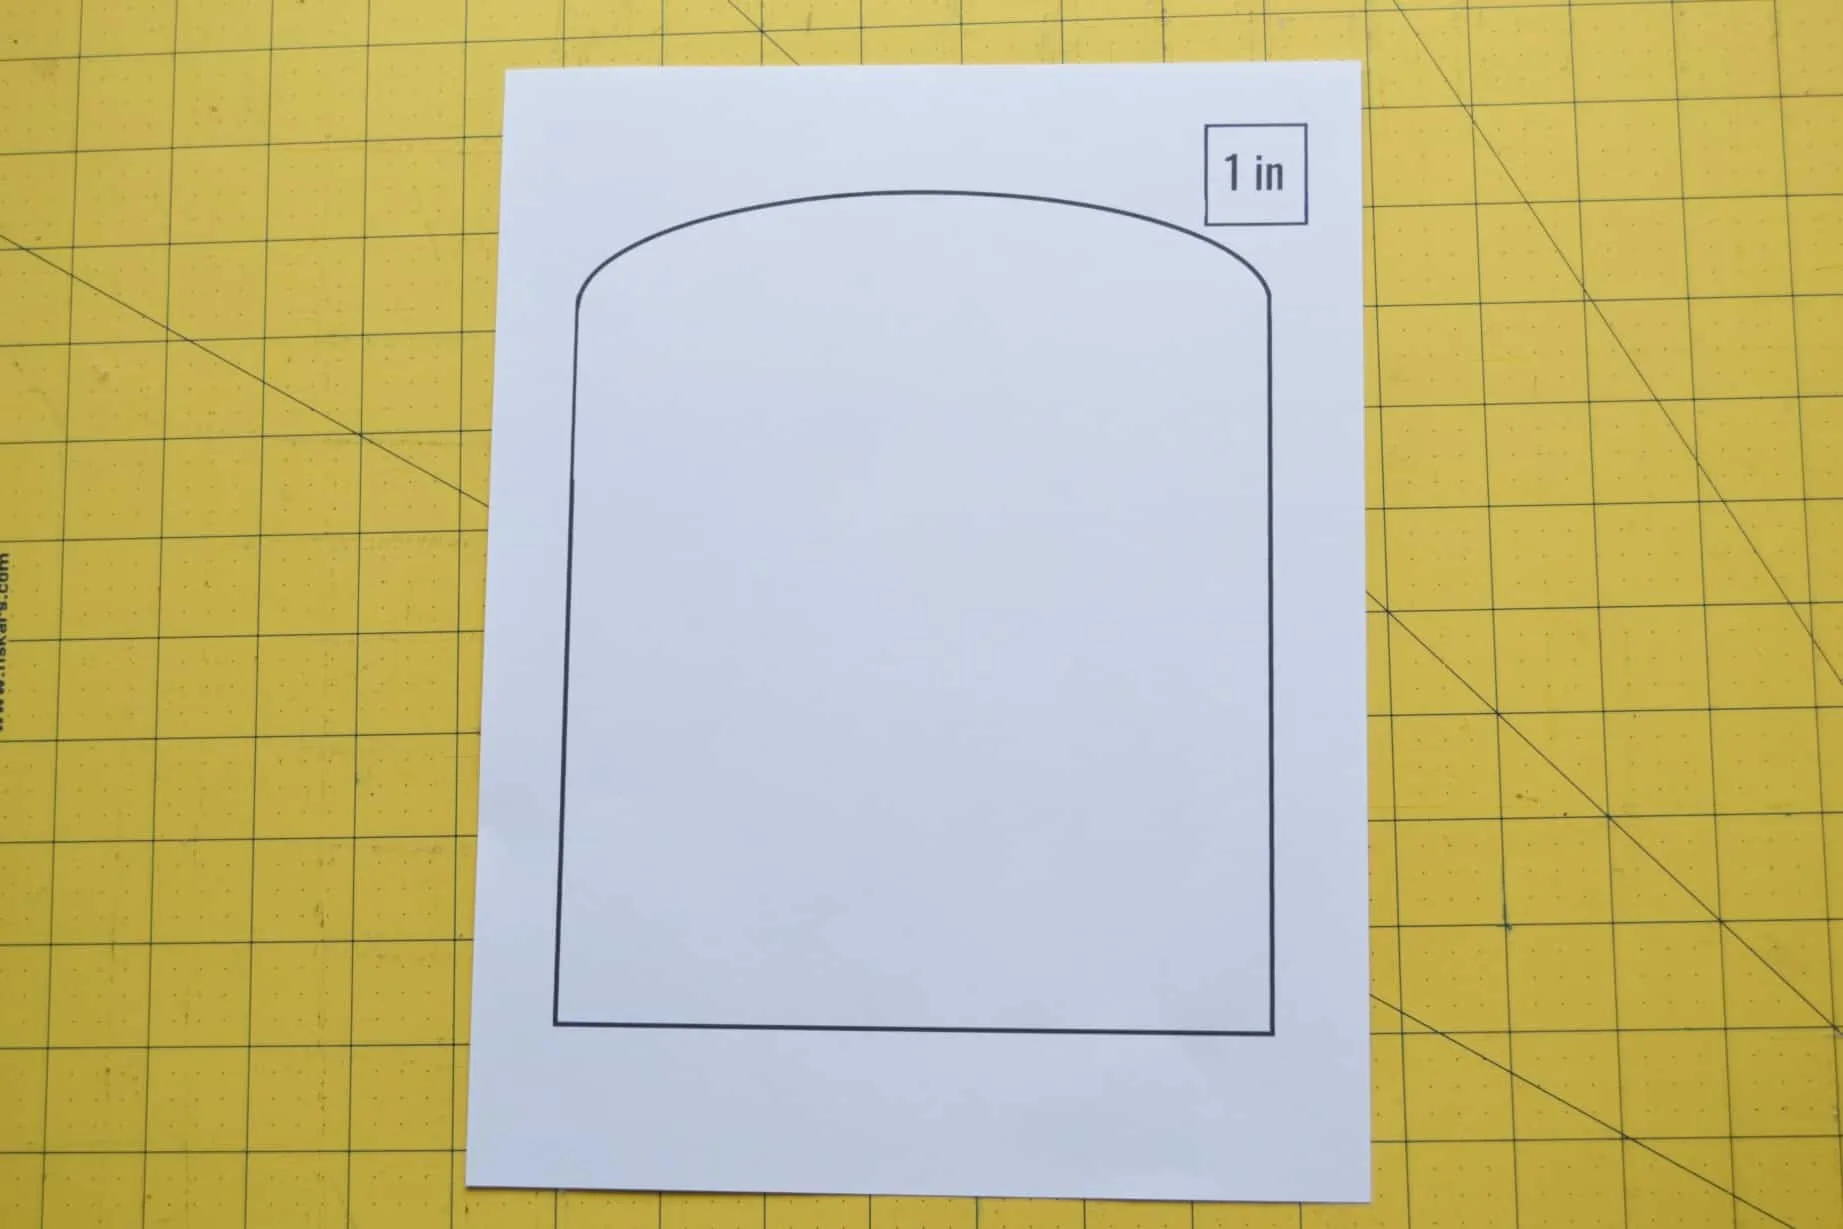
Step 1: Print off the burp cloth pattern. Be sure to check the 1 inch square to see if it has printed correctly. You may need to adjust your printer settings if it does not.

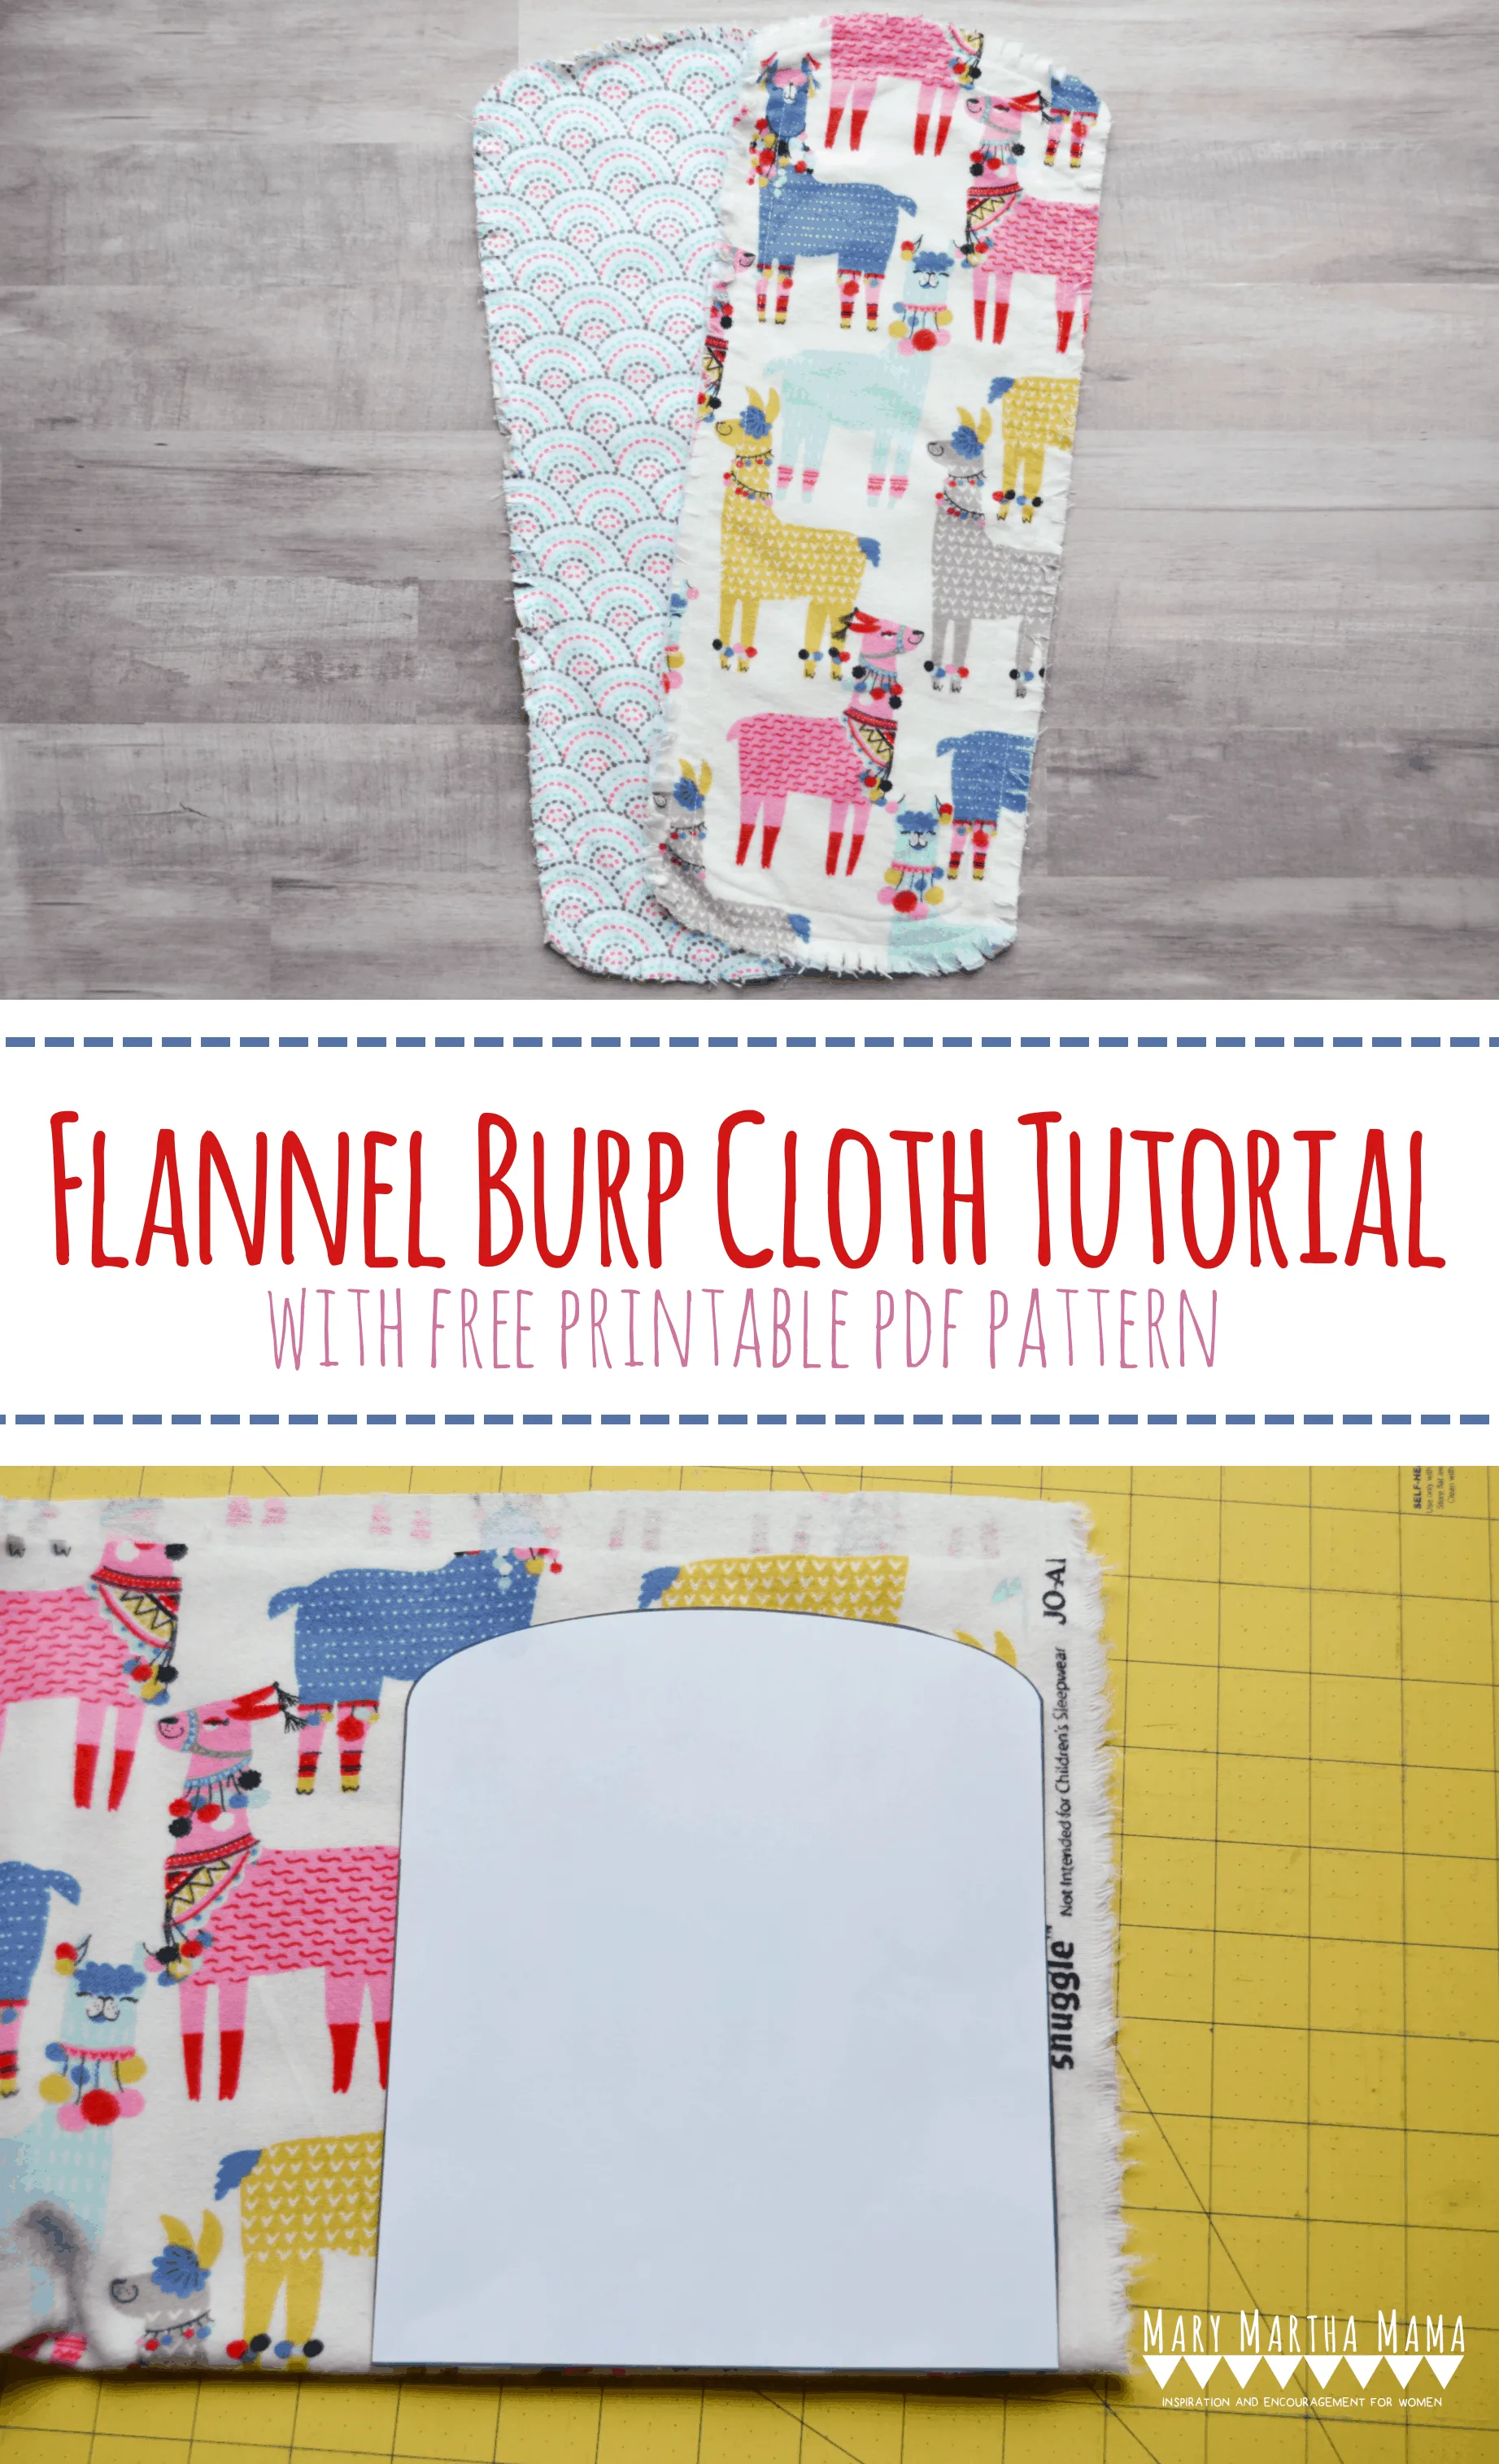
Step 2: Wash, dry, and iron your fabric. I chose flannel for these burp cloths because it’s super soft and they make some great prints. Who doesn’t love some cheerful llamas?
One of my sisters-in-law gave me some flannel burp cloths in this style and I loved them so I decided to try to create some similar ones.
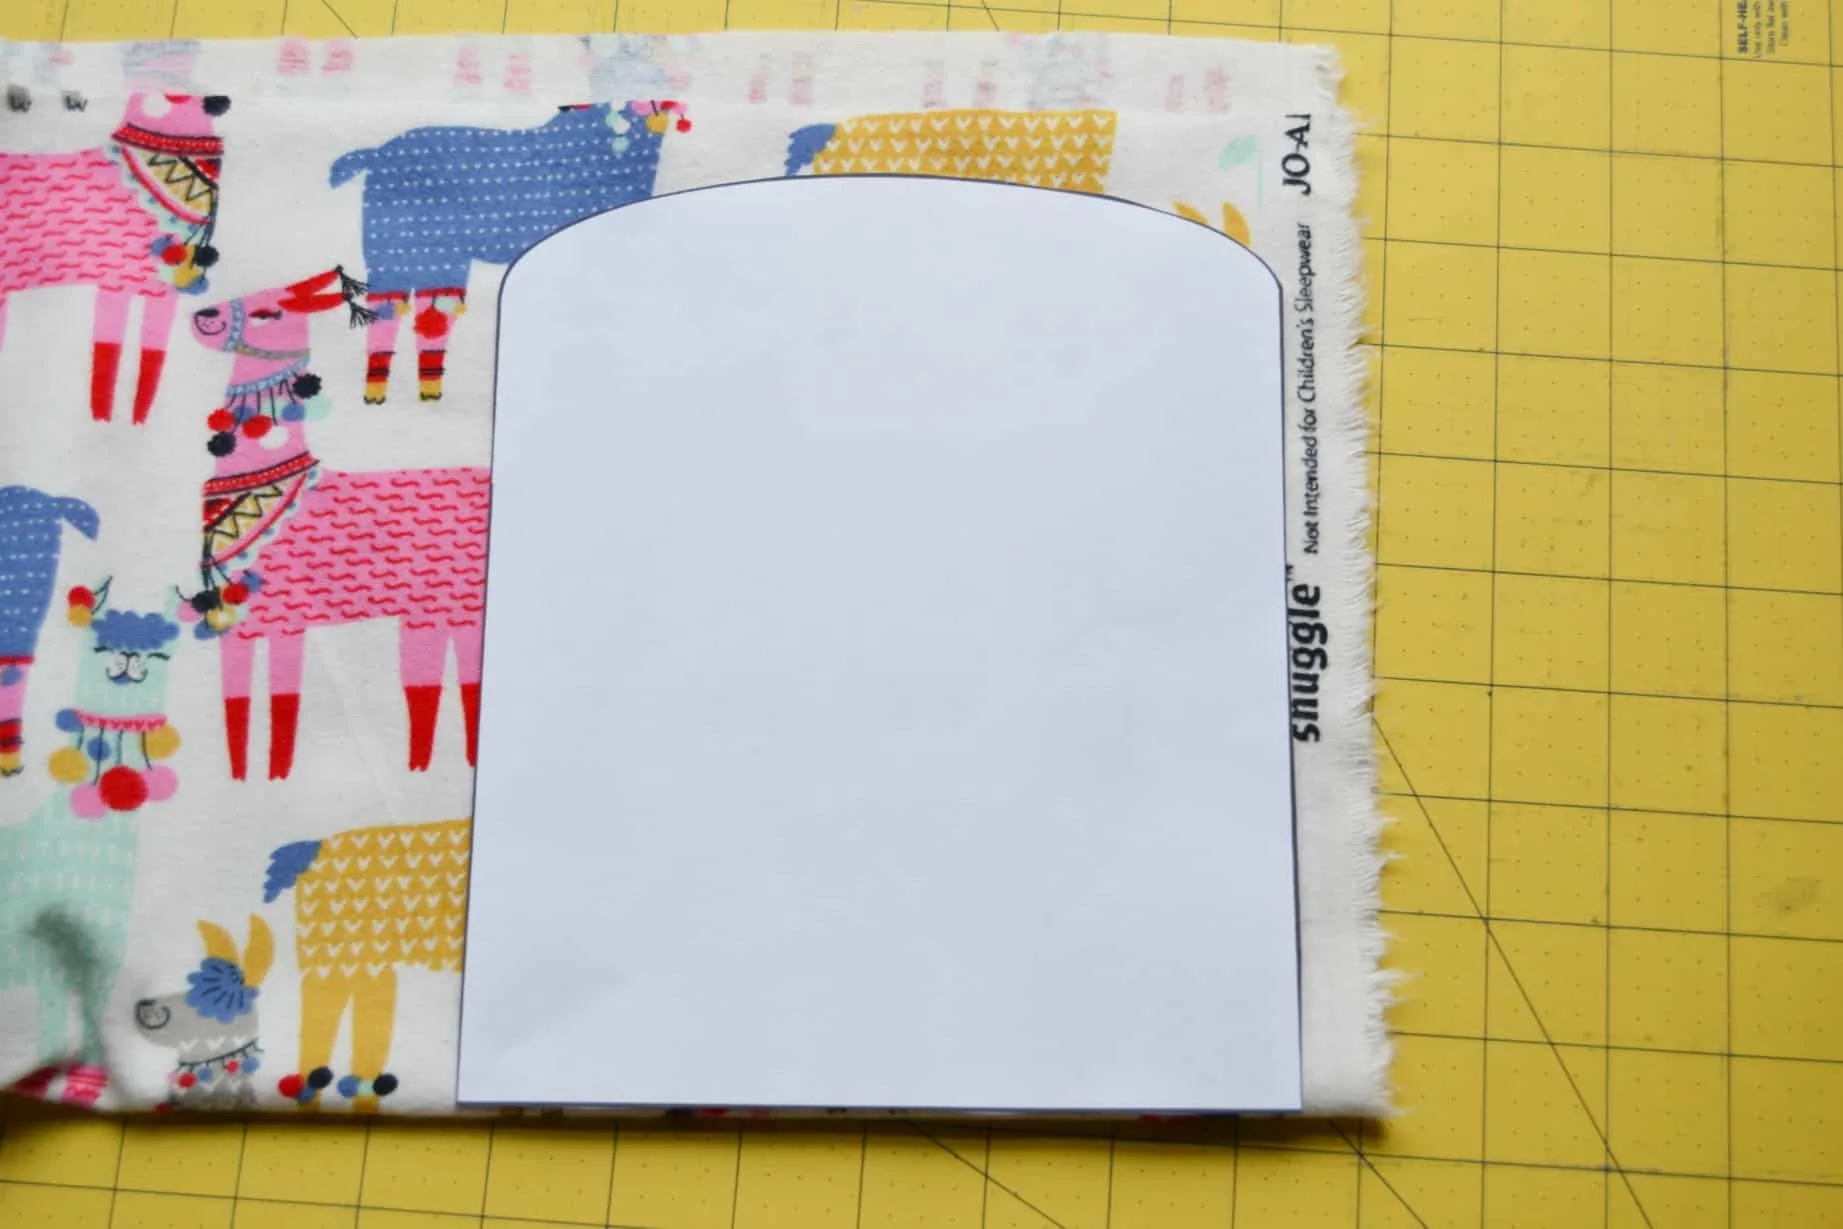
Cut your burp cloth pattern out and lay it on top of your folded fabric. The flat side opposite the curve should be next to the fold.

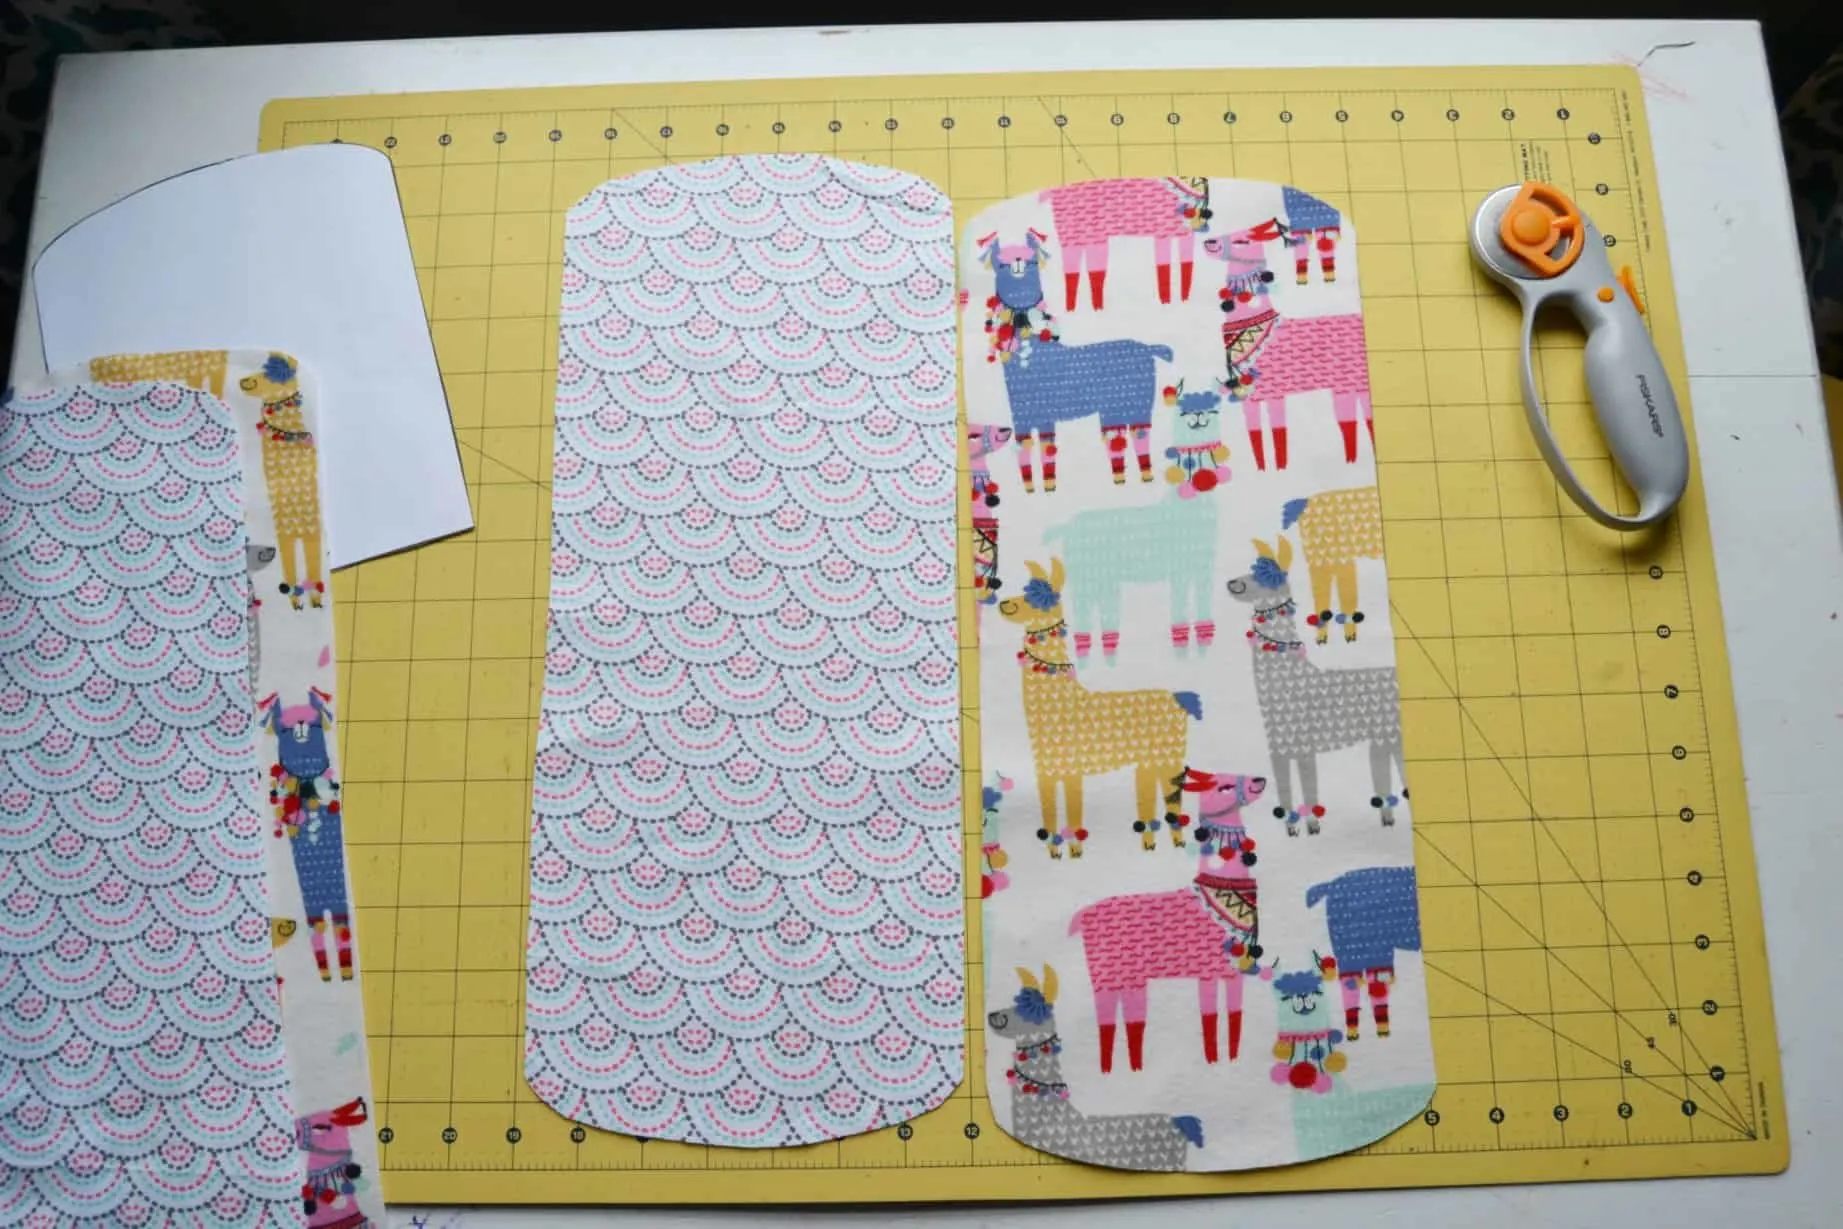
Step 3: Cut out around the pattern. When you unfold your fabric it should look like this:


Step 4: Cut out one for the front and a second one for the back of the burp cloth.

Step 5: Lay one of your pieces down with the right side down. Then lay the other piece on top of it with the right side up. The wrong sides should be together. Pin them together.


Step 6: Sew around the outside edge, sewing 1/2 inch from the edge. I like to sew around a second time, sewing 1/2 inch from my original line of stitches.

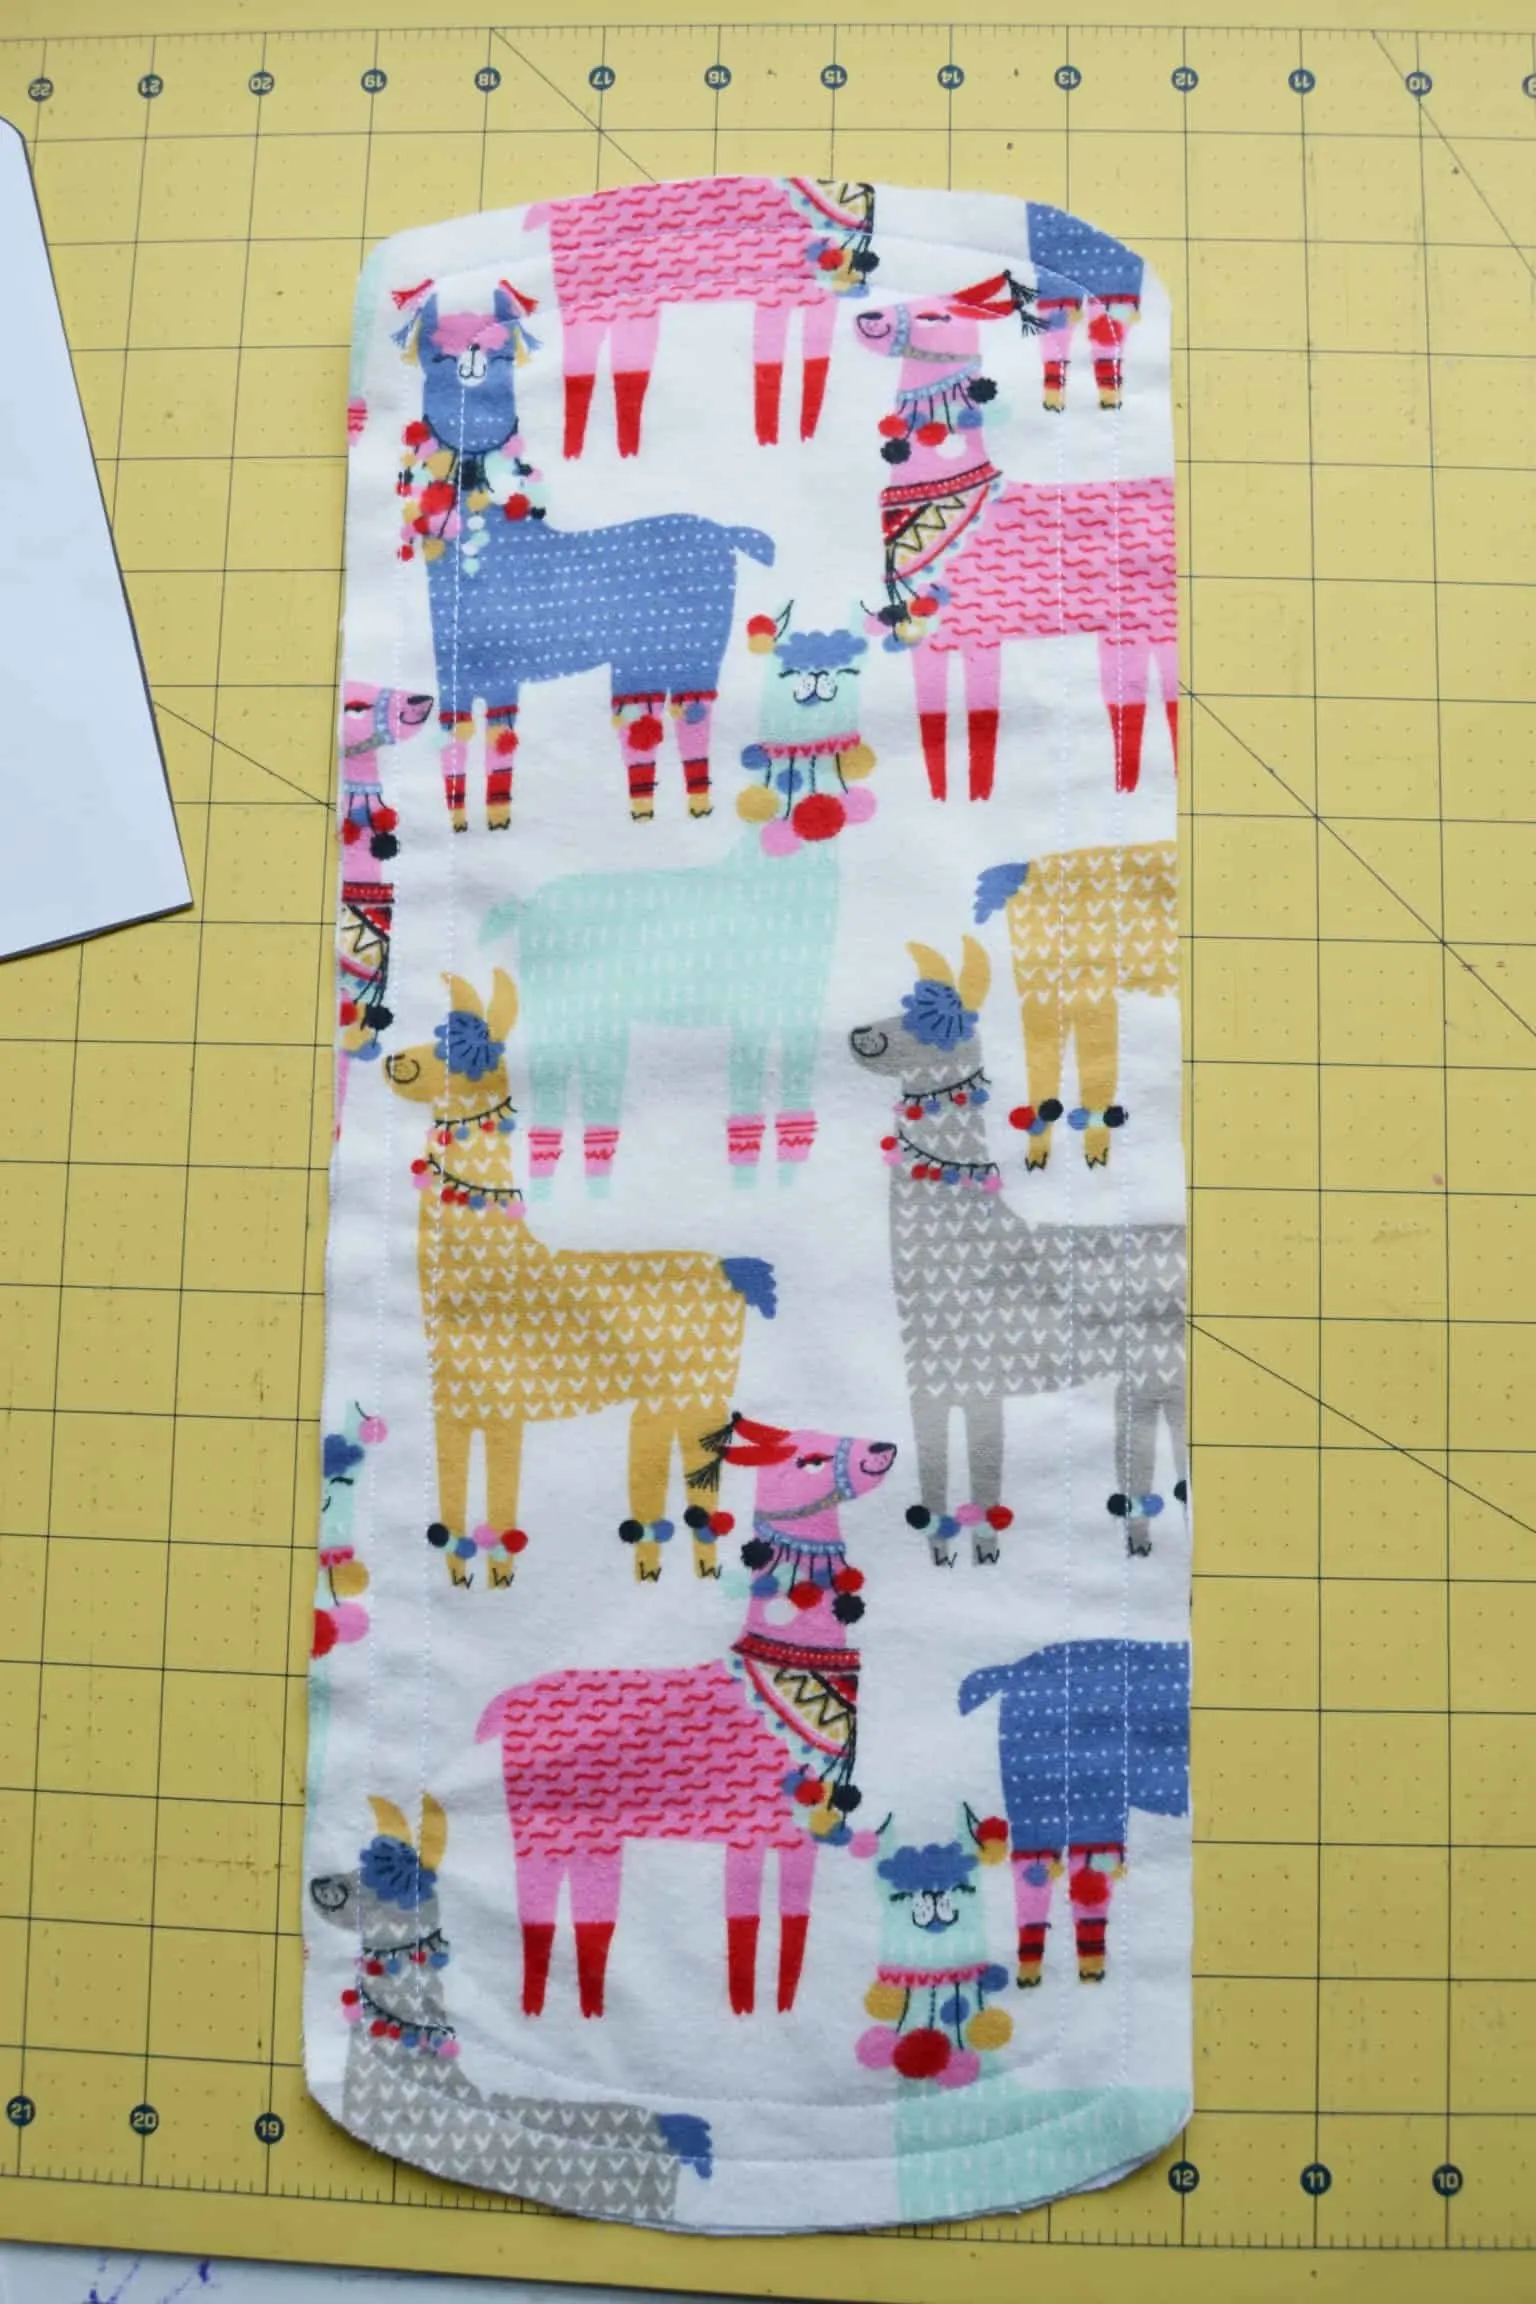
Step 7: Cut little notches into the outside of your burp cloth. There’s no exact science to this, I just cut about every 1/4 inch or so. Be sure not to cut into your stiches!
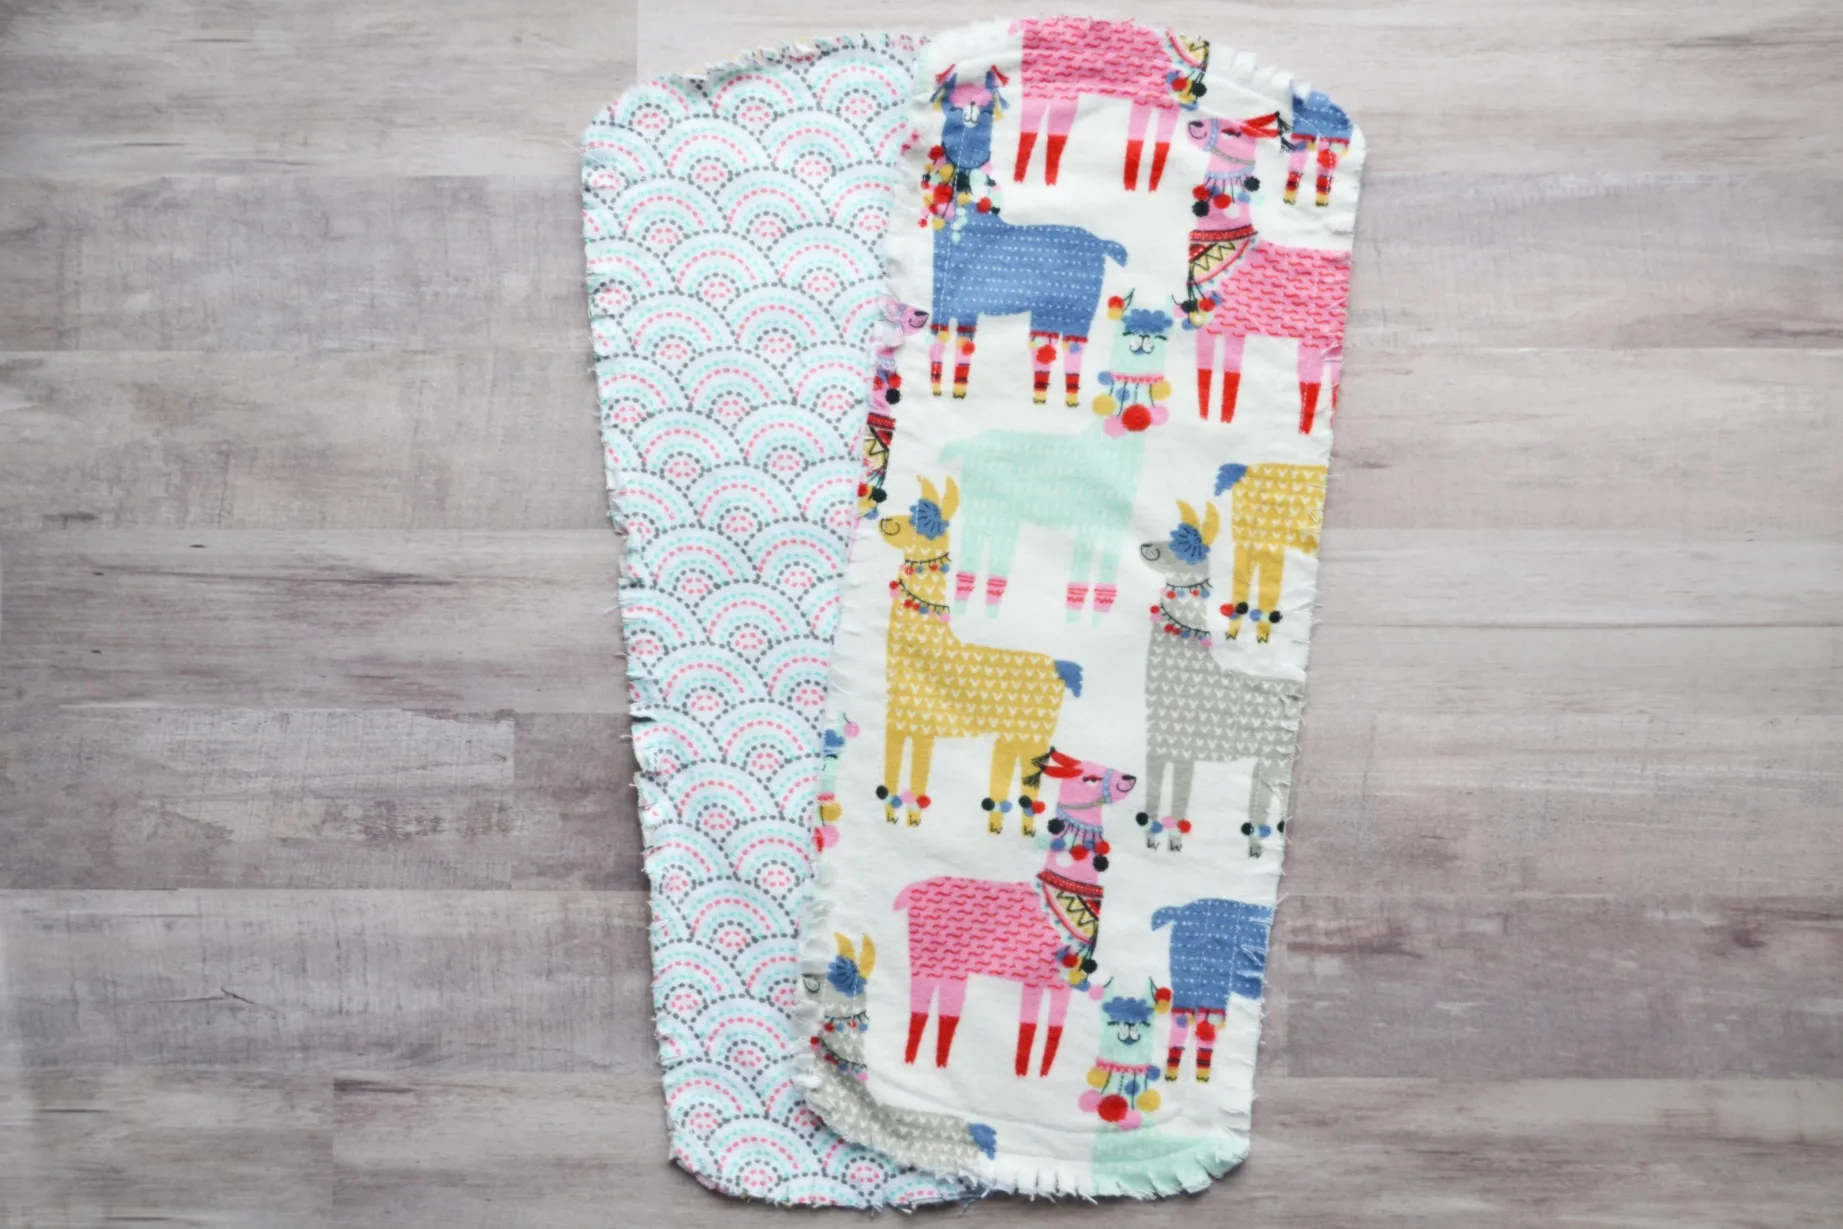
This is a sort of rag style like you see with rag quilts.


When you’re done your flannel burp cloths will look like the picture above. Once you wash them the edges will fray and get a little more ragged looking like in the pictures below.


I love the little frayed edges. They give the burp cloths a shabby-chic sort of quality. Let me know if you try it, I’d love to hear all about it in the comments below!
Looking for a different style of burp cloth? Try my basic burp cloth, contoured burp cloth, or my half contour burp cloth.

Roslyn Preston
Friday 11th of May 2018
I made my pattern with materisl back and towelling front... didnt do frayed edges though towelling makes a mess my house looked like it was snowing.. They were a hit and super soft and soak it as ll up!
Cat
Friday 11th of May 2018
Love using toweling or terrycloth!
Diane
Tuesday 27th of February 2018
I am in love with the Llama design! New mom here. Bookmarking this for when I make some for my baby.
Cat
Tuesday 27th of February 2018
Thank you! I love the llamas too. :)