Many moons ago I shared with you all how to make burp cloths. Well, how I make them. There’s more than one way to skin a cat. Or make a burp cloth. And today I’m sharing how to make a contour burp cloth as well as the baby burp cloth pattern I use.


Some people prefer this contoured shape because the curves allow it to sit nicely around your neck. I like variety so it’s nice to have these around in addition to the bigger rectangular ones I usually make.
If you are looking for a different shape I have a couple of other burp cloth patterns:


To Make a Contour Burp Cloth You Will Need:
- contour baby burp cloth pattern (print 2!)
- fabric for the front (a piece approximately 19 in X 8 in)
- terrycloth for the back (a piece approximately 19 in X 8 in)
- sewing machine (unless you really love sewing by hand… and have tons of time)
- thread & needle for the sewing machine
- rotary cutting set or scissors
Baby Burp Cloth Pattern & Process:
Step 1: Wash, dry, and iron your top fabric. Just wash and dry the terrycloth. No need to iron it.
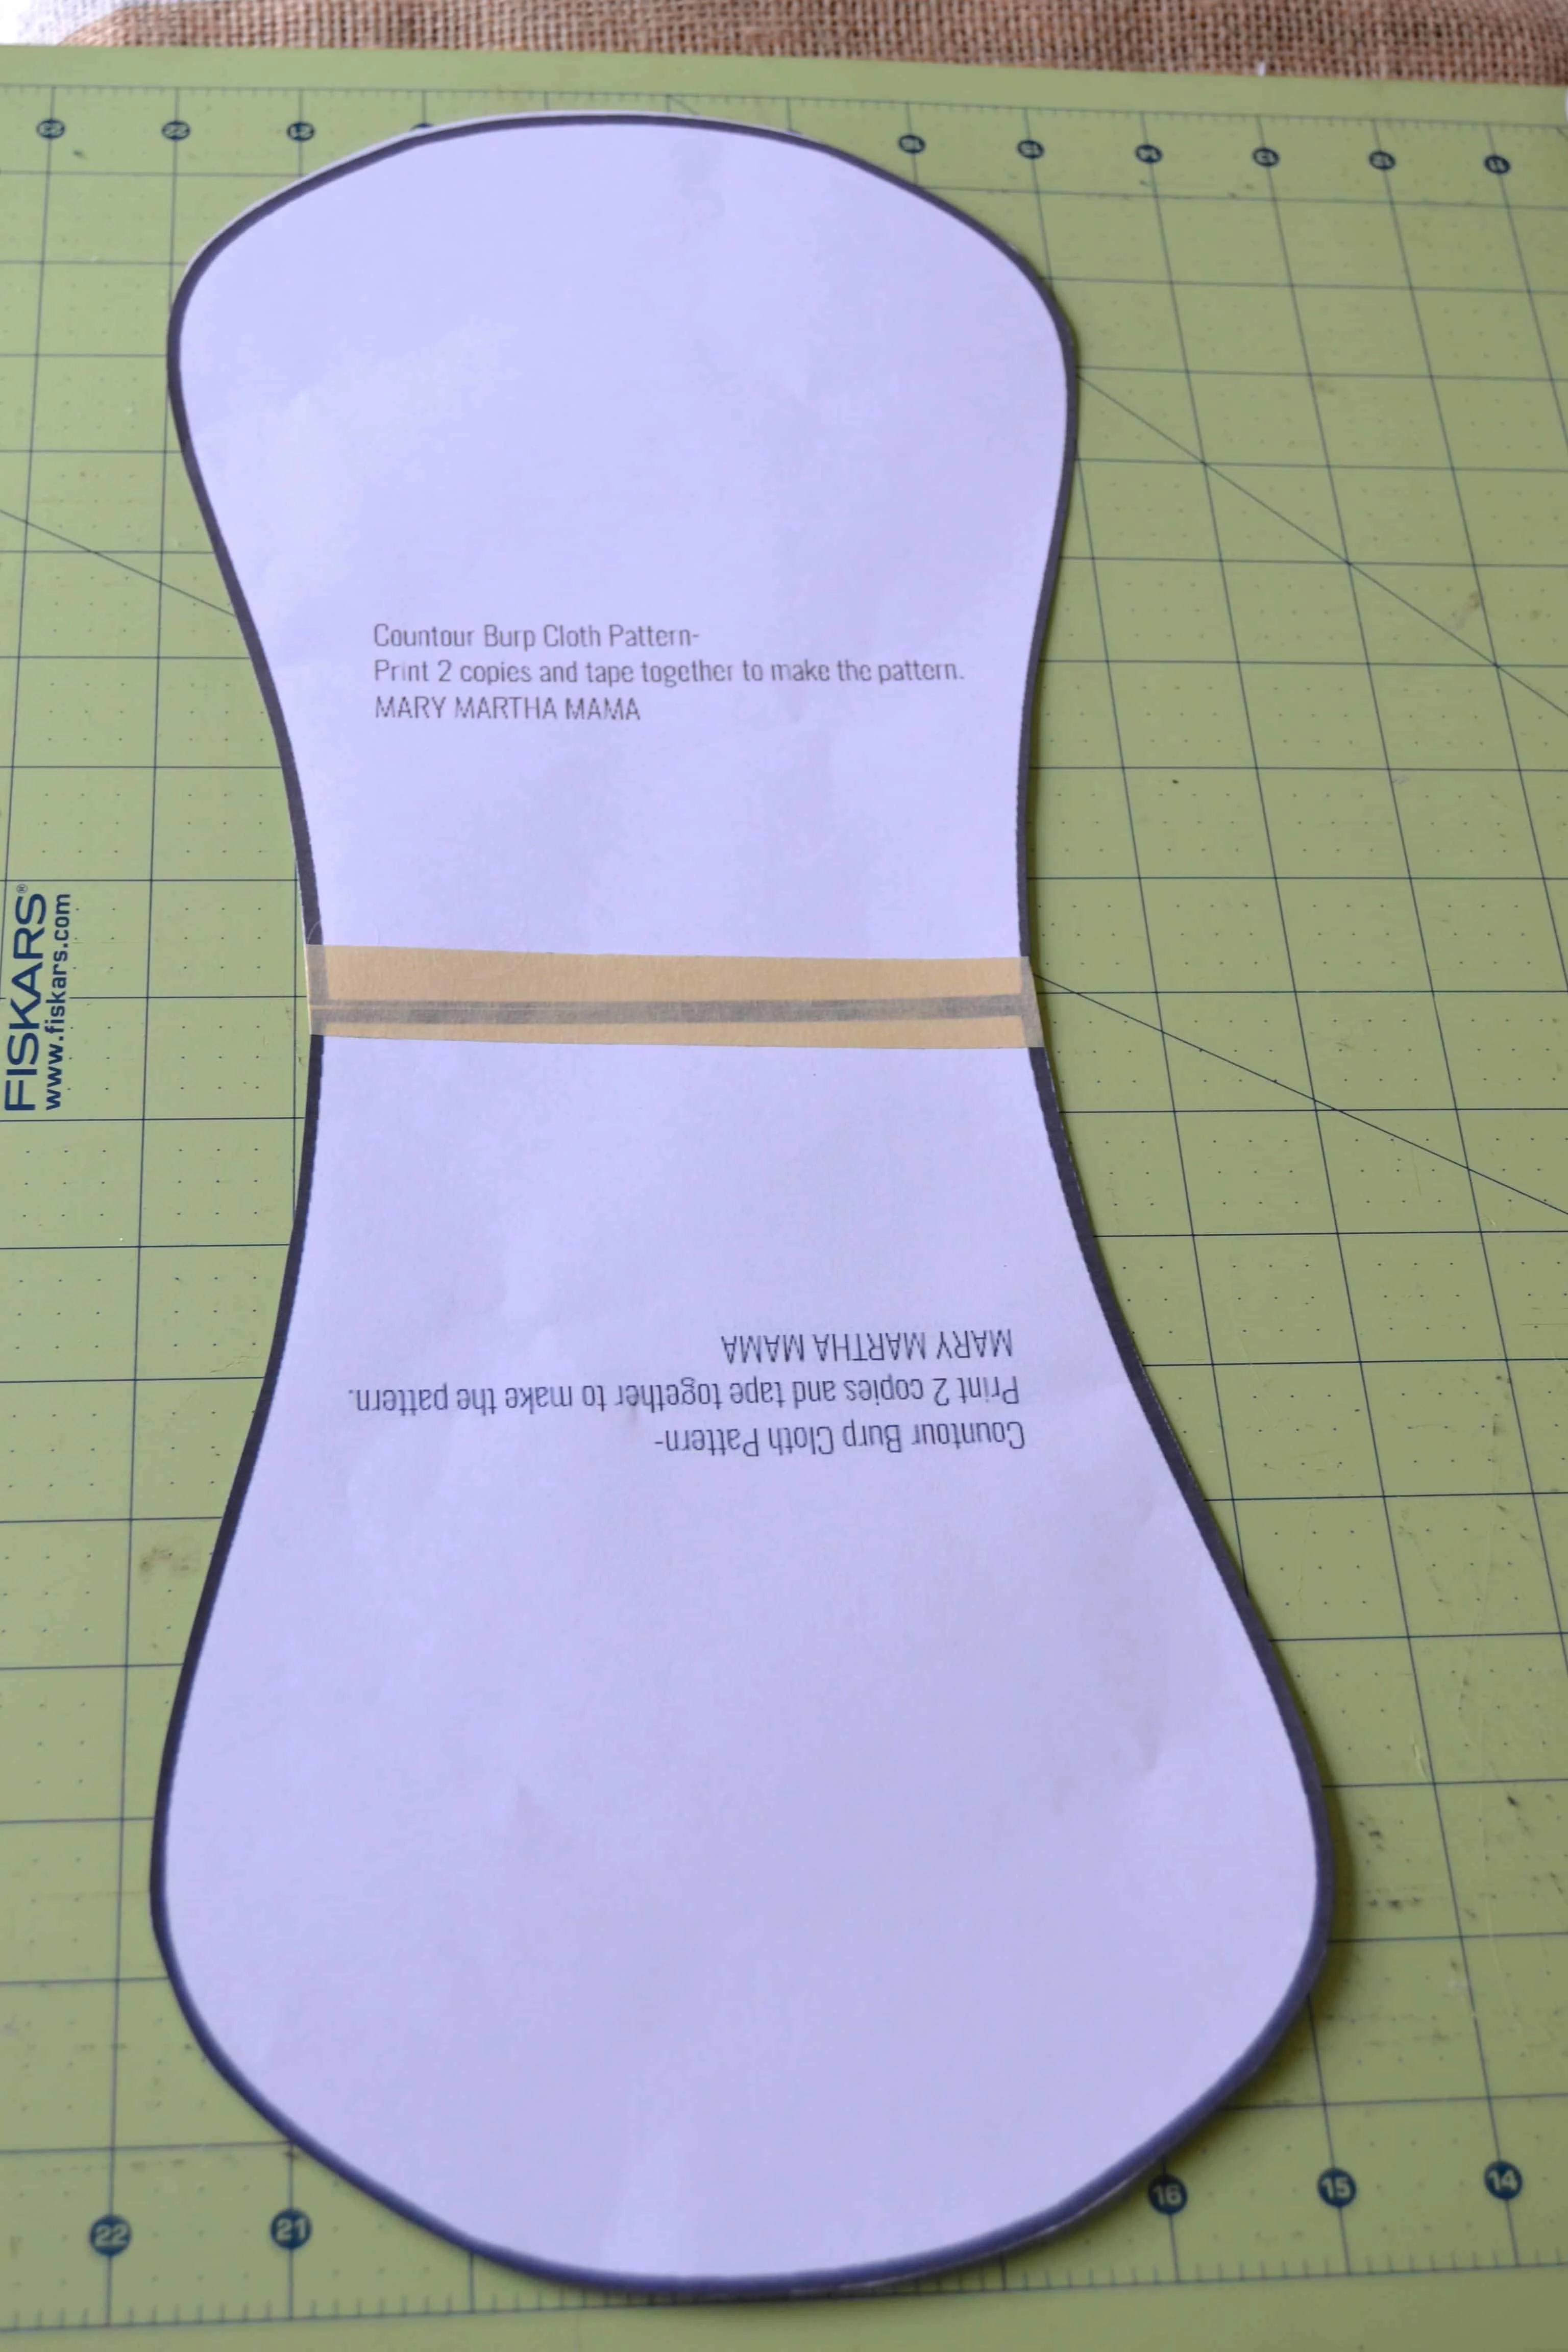
Step 2: Print out the contour burp cloth pattern (2 copies!), cut out, and tape the 2 pieces together. Get the contour baby burp cloth pattern here.


Step 3: Lay the pattern on top of your cotton fabric that you’re using for the front of the burp cloth. Then cut around it using your rotary cutter or trace around and then cut with scissors.


Step 4: Pin your top fabric right side down onto the terrycloth. Trim away excess around the edges.


Step 5: Sew around the edges. Sew 1/4 inch from the edge almost all the way around but stop short about 4 inches from where you began. Be sure to backstitch a little both when you begin and end sewing.


Step 6: Trim around the edges, especially around the curves. This will help you to be able to turn the edges nicely once you turn it right side out.
Some people like to notch around the curves. I just trim it in a little bit closer because I’m a little lazy.
Step 7: Turn the burp cloth right side out. Use a pen with a cap on, the end of a pencil, or a corner turner to push the curves out nicely.


Step 8: Iron the burp cloth to get all the wrinkles out. The topstitch around the edge, sewing 1/4 inch from the edge. This will close up the opening in the side of the burp cloth as well as finish it off nicely.


Contour Baby Burp Cloth Pattern and Tutorial


Make these adorable contour baby burp cloths following this baby burp cloth pattern and tutorial.
Materials
- contour baby burp cloth pattern (print 2!)
- fabric for the front (a piece approximately 19 in X 8 in)
- terrycloth for the back (a piece approximately 19 in X 8 in)
Tools
- sewing machine (unless you really love sewing by hand… and have tons of time)
- thread & needle for the sewing machine
- rotary cutting set or scissors
Instructions
- Wash, dry, and iron your top fabric. Just wash and dry the terrycloth. No need to iron it.
- Print out the contour burp cloth pattern (2 copies!), cut out, and tape the 2 pieces together. Get the contour baby burp cloth pattern here.
- Lay the pattern on top of your cotton fabric that you’re using for the front of the burp cloth. Then cut around it using your rotary cutter or trace around and then cut with scissors.
- Pin your top fabric right side down onto the terrycloth. Trim away excess around the edges.
- Sew around the edges. Sew 1/4 inch from the edge almost all the way around but stop short about 4 inches from where you began. Be sure to backstitch a little both when you begin and end sewing.
- Trim around the edges, especially around the curves. This will help you to be able to turn the edges nicely once you turn it right side out. Some people like to notch around the curves. I just trim it in a little bit closer because I’m a little lazy.
- Turn the burp cloth right side out. Use a pen with a cap on, the end of a pencil, or a corner turner to push the curves out nicely.
- Iron the burp cloth to get all the wrinkles out. The topstitch around the edge, sewing 1/4 inch from the edge. This will close up the opening in the side of the burp cloth as well as finish it off nicely.
And you’re done! Now go give a set as a baby shower gift or use it to catch your own kiddo’s baby goo.
Want more baby sewing patterns and tutorials? Check out my post on 14 baby gifts you can sew.


More Burp Cloth Tutorials


