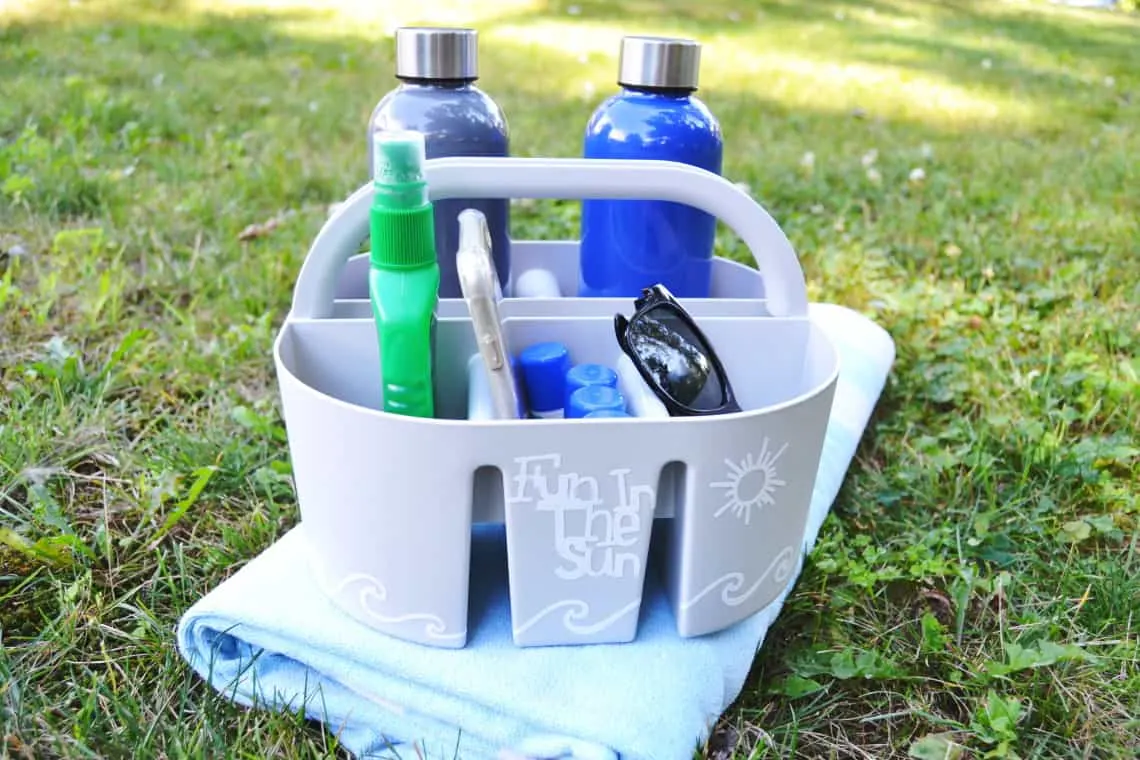
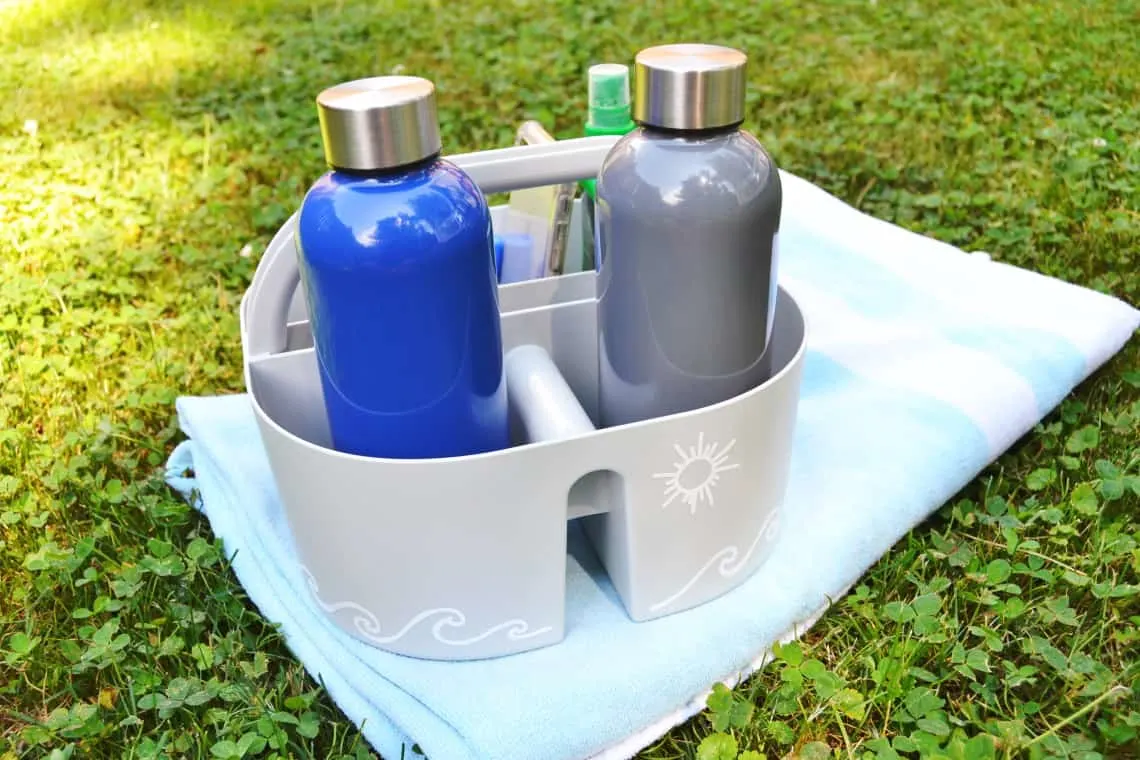
I spent some time trying to think of what to call this thing and ended up deciding there’s really no good name for it… but I still love it. My little DIY Backyard Summer Fun Caddy has been a life saver and I want to share my little mom hack with you all.

Ok, so this project all started when I saw another mom on Instagram showing how she was using a utensil caddy for some of her pool stuff like sunscreen and goggles. I apologize as I cannot for the life of me remember who it was who shared that tip and normally I like to give credit. But that was a brilliant idea and I needed to make one of my own.
I use my caddy to keep my sunscreen, bug spray, waterbottles, phone, sunglasses, and more in it. It lives on the counter by our back door and before we head out for some backyard fun in the pool or yard we load it up with whatever we need for a few hours. I love that I don’t have to repeatedly run back in for a bunch of stuff and that when we are ready to come back in we can load it back up and bring it all in at once.
Instead of a utensil caddy I opted to use one of the plastic shower caddies that are out right now for the kids getting ready to move to college. I wanted to have a little fun with it so I decided to add some designs to it with my Cricut Joy and some vinyl.
Supplies Needed
- shower caddy (I grabbed mine at the Target Dollar Spot but this is similar)
- Cricut Joy (available on Amazon or on Cricut) or other Cricut Machine
- Smart Vinyl (available on Amazon or on Cricut)
- Transfer Tape (available on Amazon or on Cricut)
DIY Backyard Fun Caddy Tutorial
Pick Your Designs
I grabbed a few wave and sun designs from the images in Cricut Design Space along with the text image “Fun in the Sun”.
Set Up Your Machine
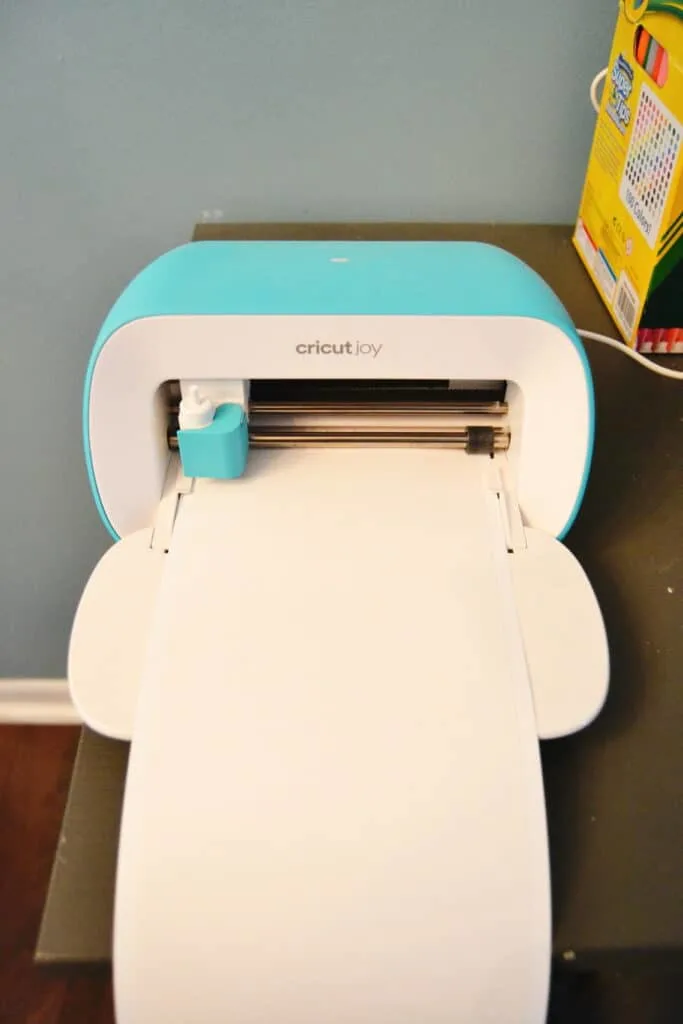
Once you’ve picked your designs and clicked “Make” you will load the Smart Vinyl into the machine (if you are using a Cricut Joy). If using another kind of Cricut you’ll load your vinyl onto a cutting mat and then load that in. I love how easy and convenient it is to load the Smart Vinyl into the Cricut Joy without having to worry with a mat.
Cut and Cut
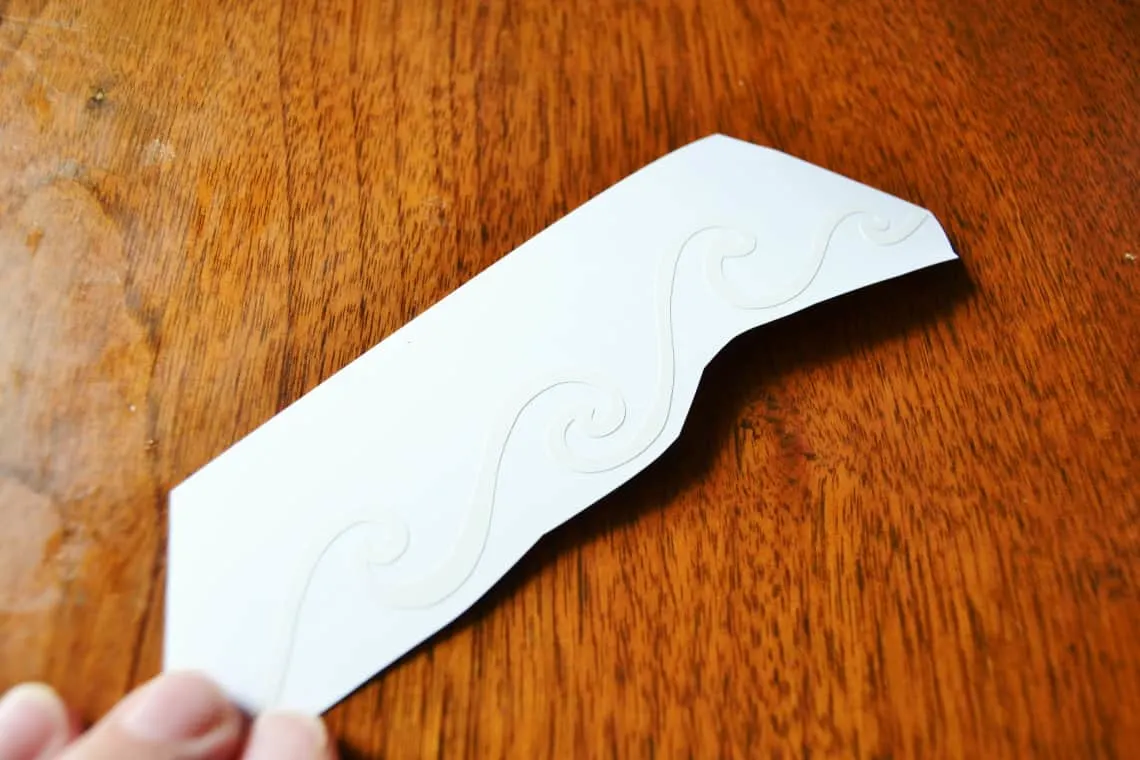
Once you’ve loaded the Smart Vinyl into the Cricut Joy you’ll hit “Go” and it will cut your vinyl for you. Unload the vinyl. Then cut the individual pieces out and weed the vinyl (peel away the vinyl that is not part of your design).
Transfer the Vinyl
Cut a piece of transfer tape that’s just a bit bigger than your vinyl piece that you just cut out. Peel off the paper backing then smooth the transfer tape onto the vinyl design.
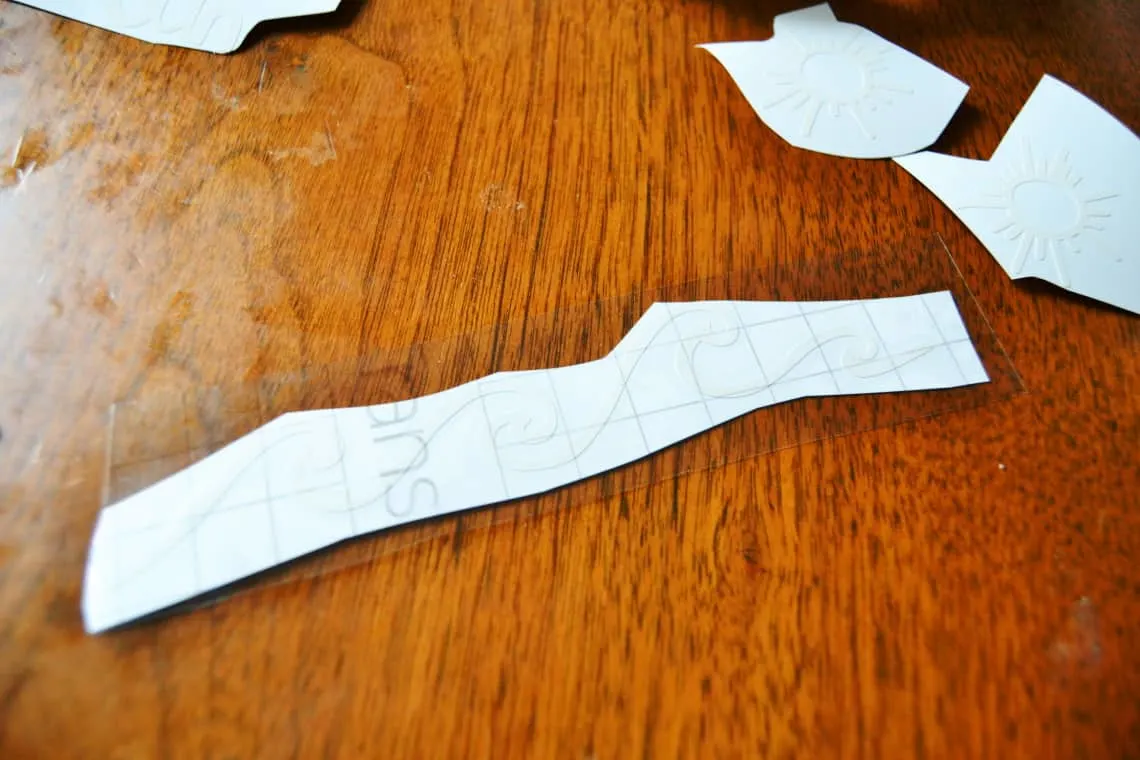
Peel away the paper backing that is on the back of your vinyl design. Now your vinyl should be on the transfer tape.
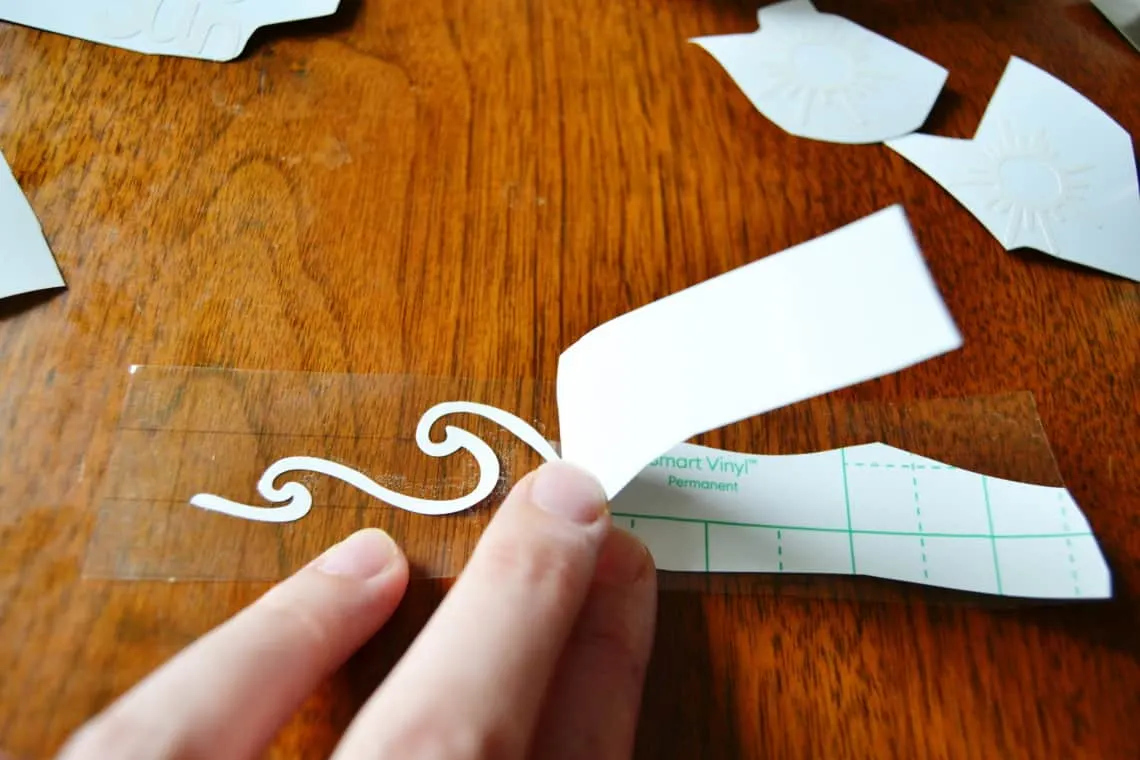
Line it up and press it to your caddy. Then peel away the transfer tape.

Apply all the designs that you want and you’re all done!
