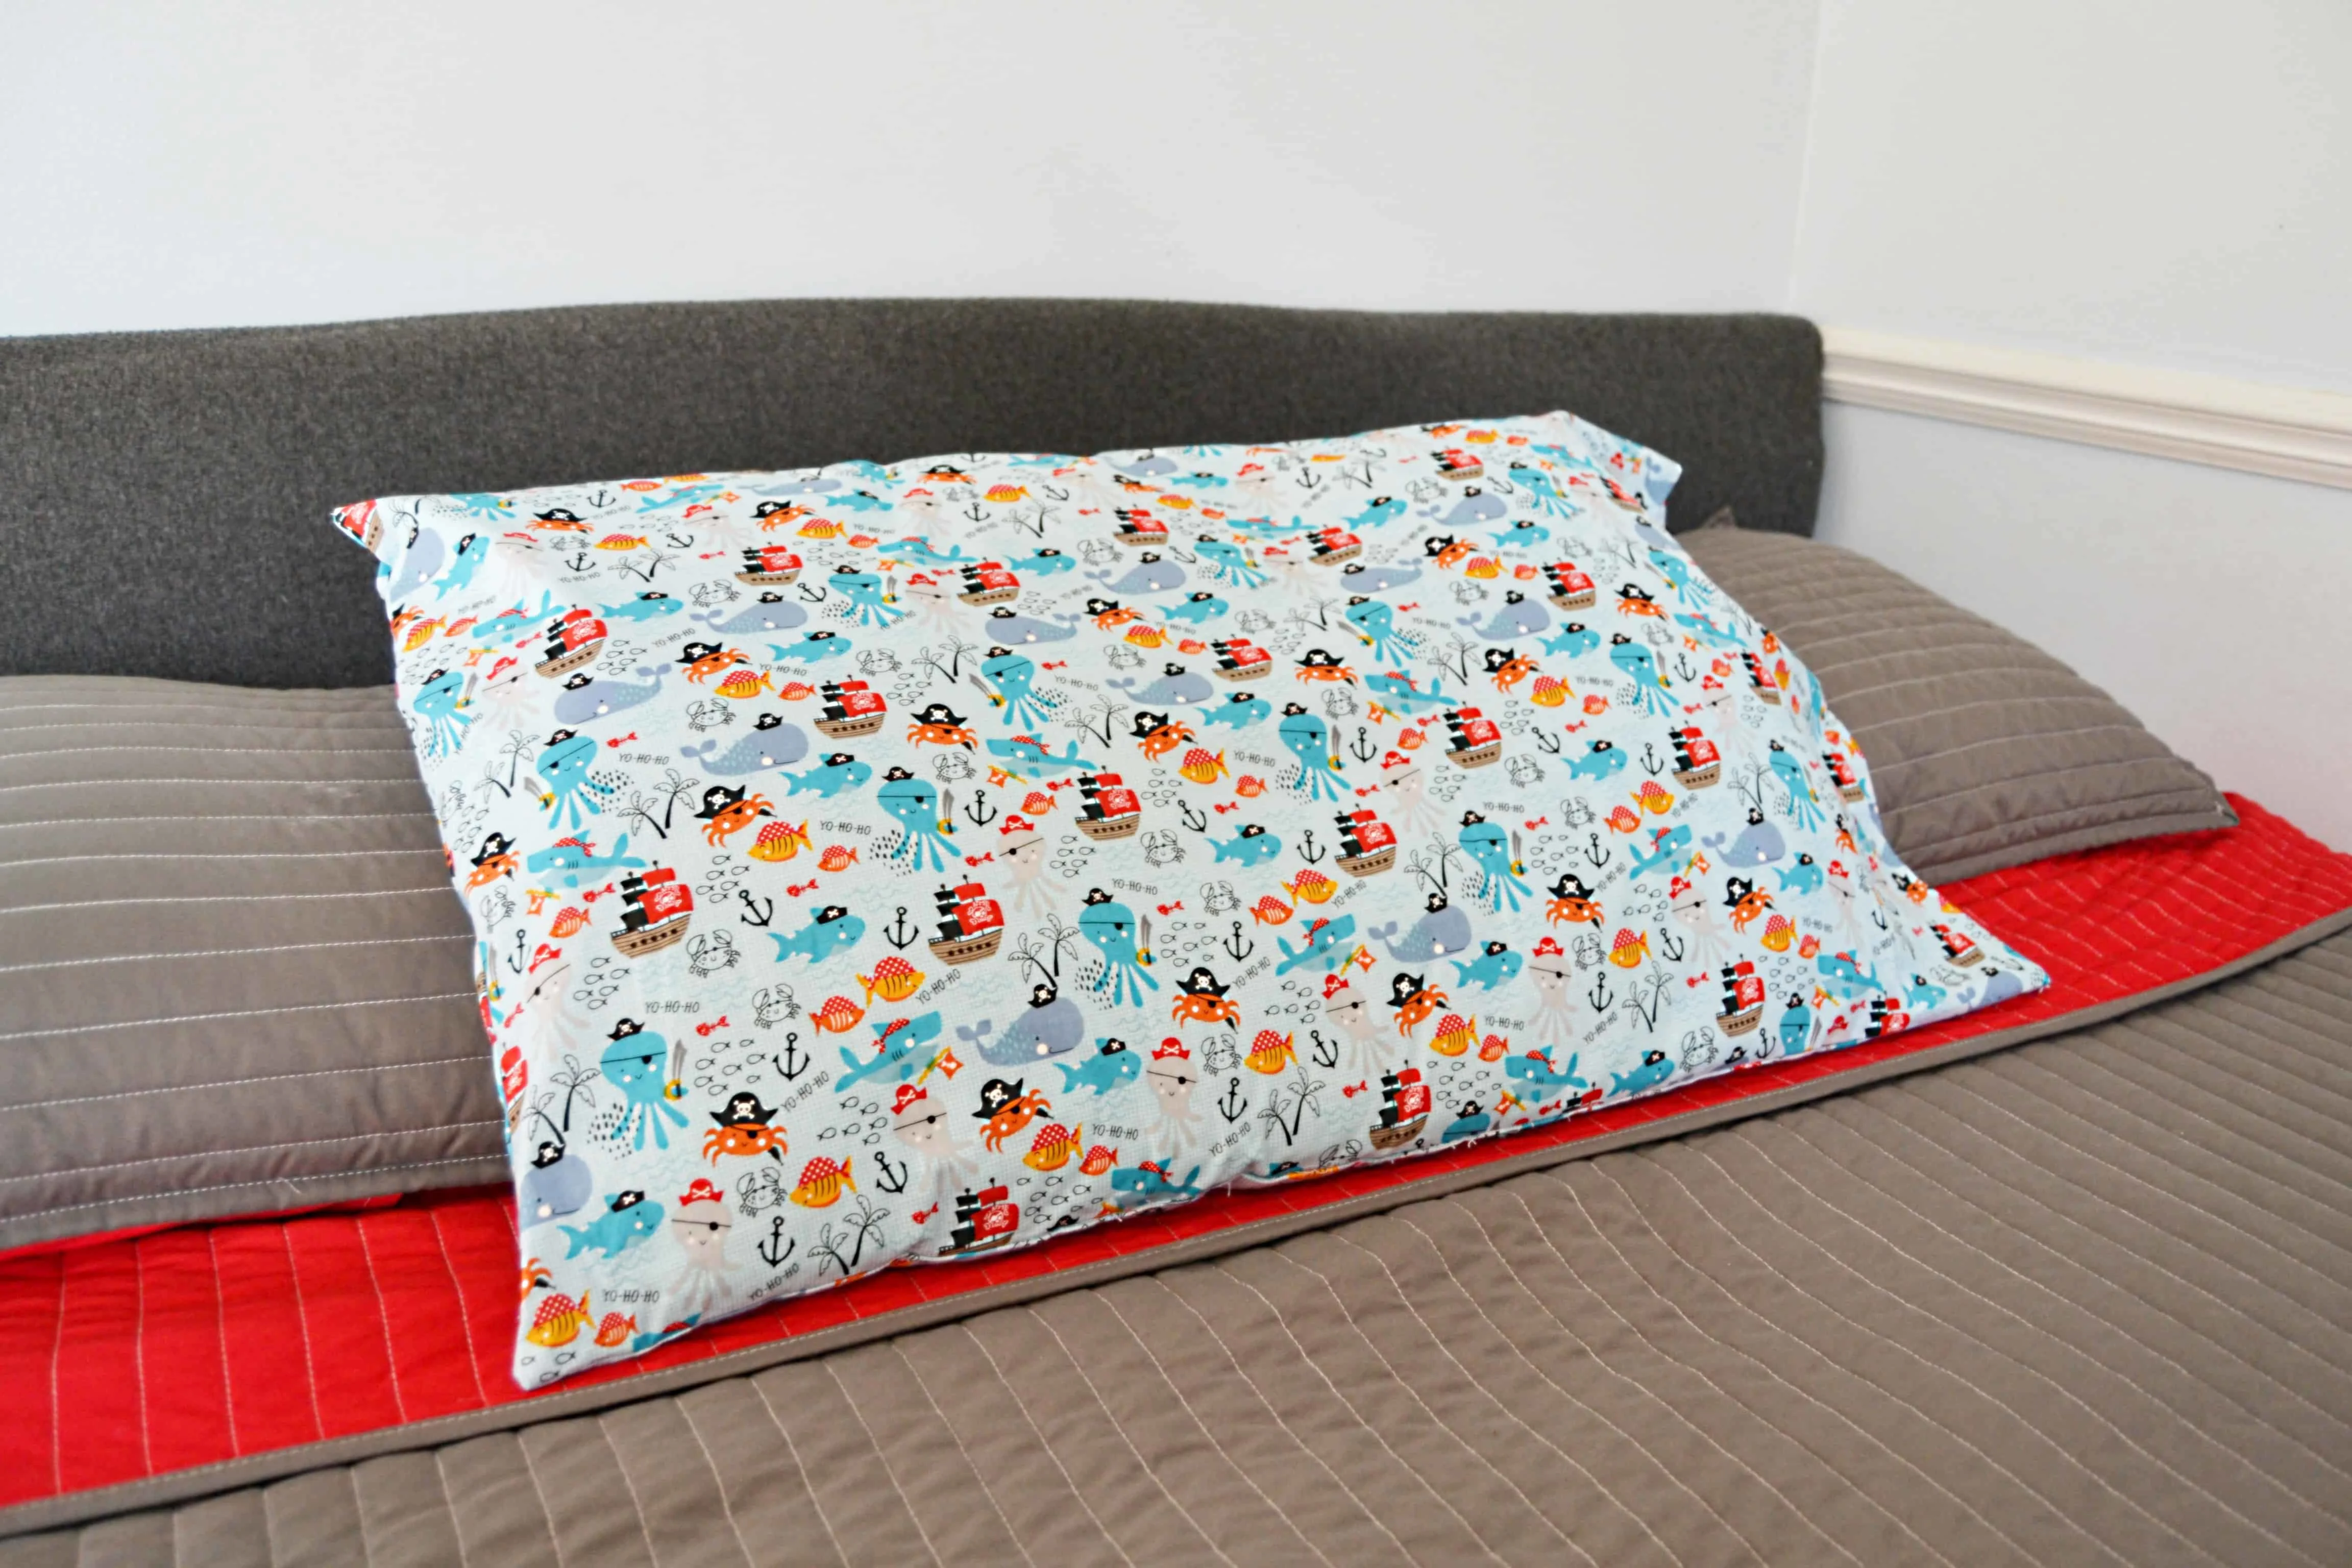
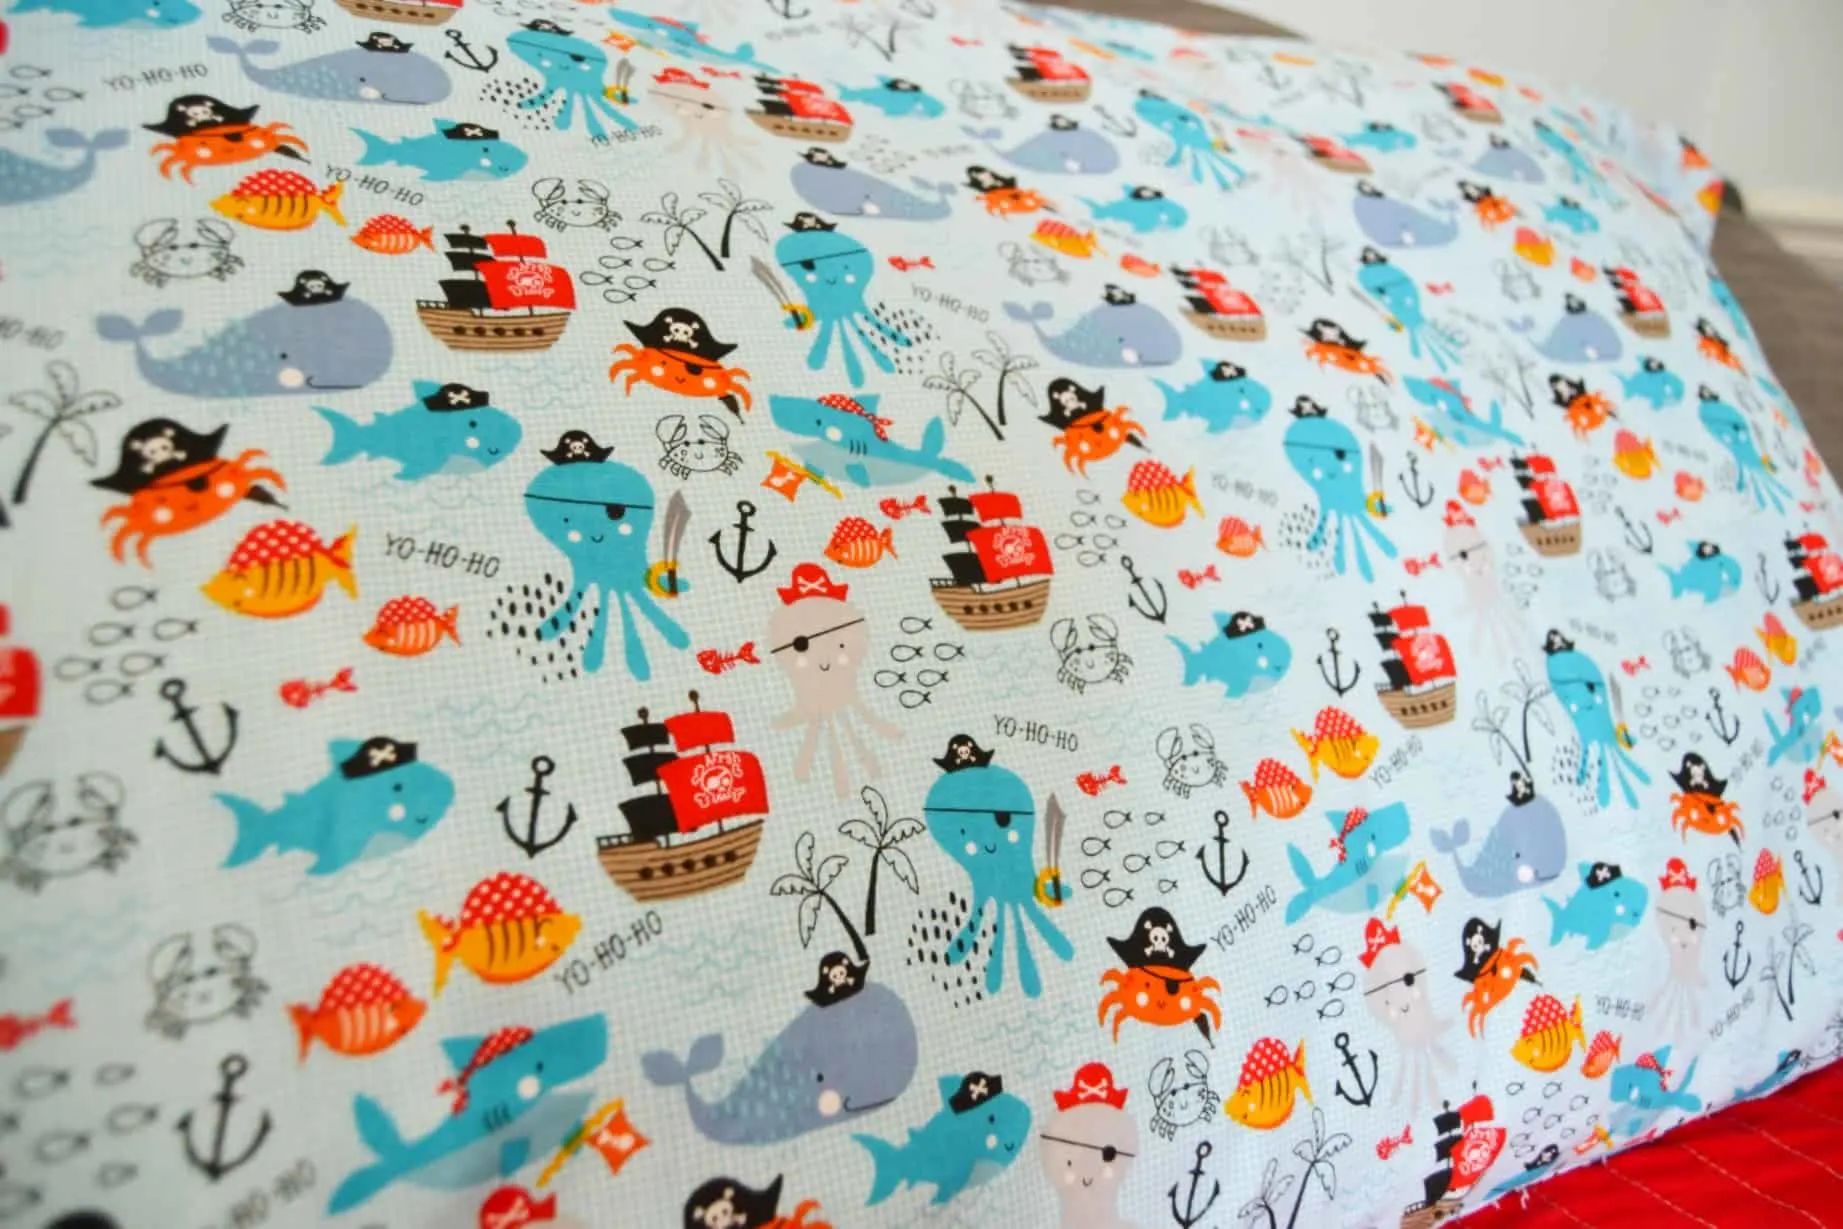
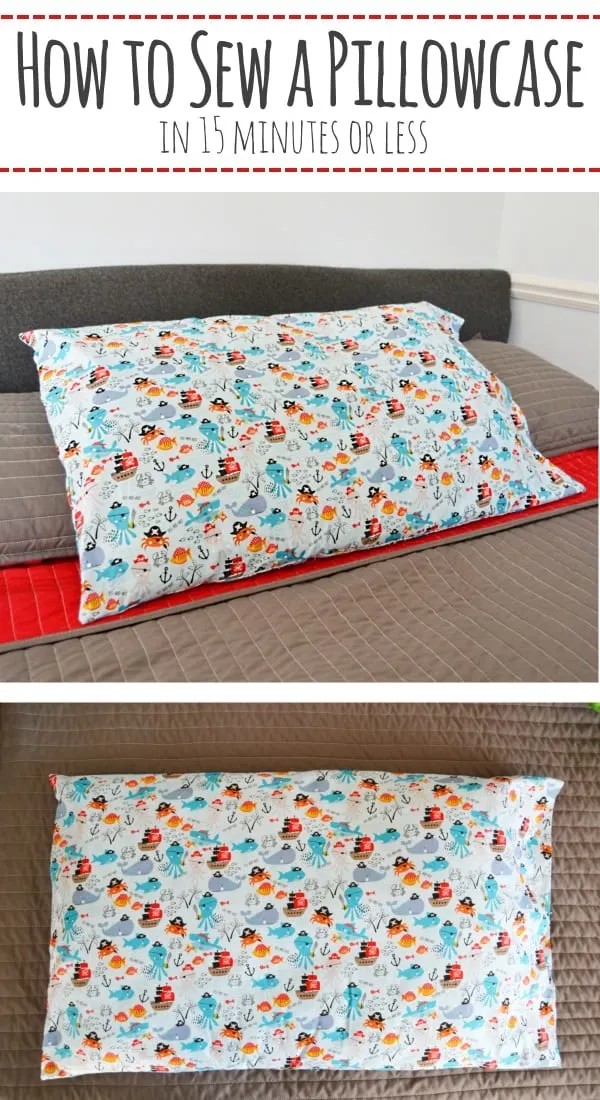
I love to fabric shop alone but sometimes (like in the summer) I have to drag my two sons along with me. They’re generally very good but it’s mostly a boring experience for them. Occasionally they see a fabric they like and if they can think of something for me to make with it then I’ll get it for them. My son spied this cute piratey-sea creature fabric the other day and asked me to make him a pillowcase. So today I’m using it to share with all of you how to sew a pillowcase.
Sewing a pillowcase is super easy (even for beginners!) and it’s a quick project so that’s great too.
To make a pillowcase you will need:
- 1 yard of cotton fabric (NOTE: I made a standard size pillowcase for a THIN pillow. To make a queen or king size pillowcase or even one for a fatter/fluffier down pillow that’s standard size you will need 1 1/4 yard- 1 1/2 yard and you will need to adjust the measurements accordingly. Same process as below, but you will need a larger piece of fabric)
- coordinating thread
- pins
- rotary cutting set or scissors
- sewing machine (this is the one I use) and needles
- iron
How to Sew a Pillowcase
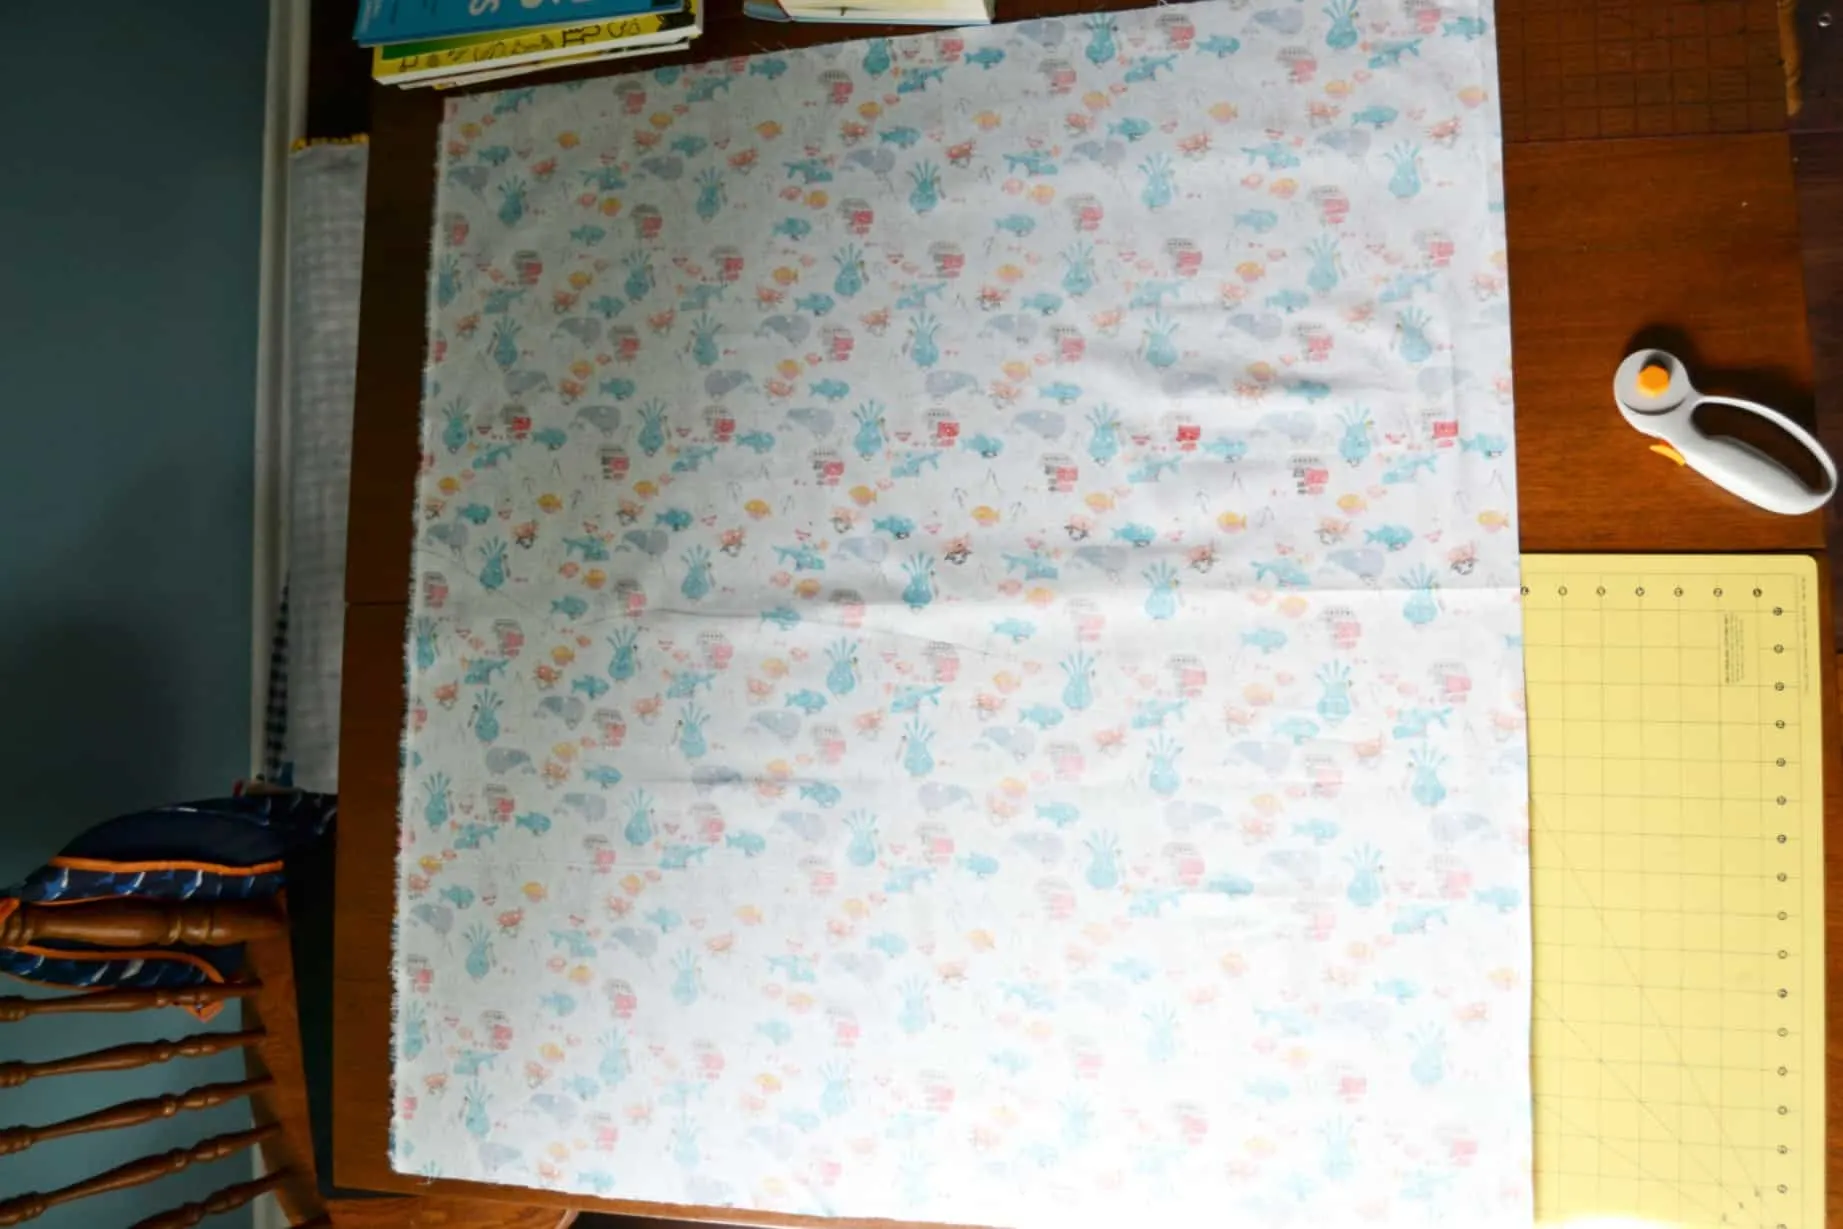
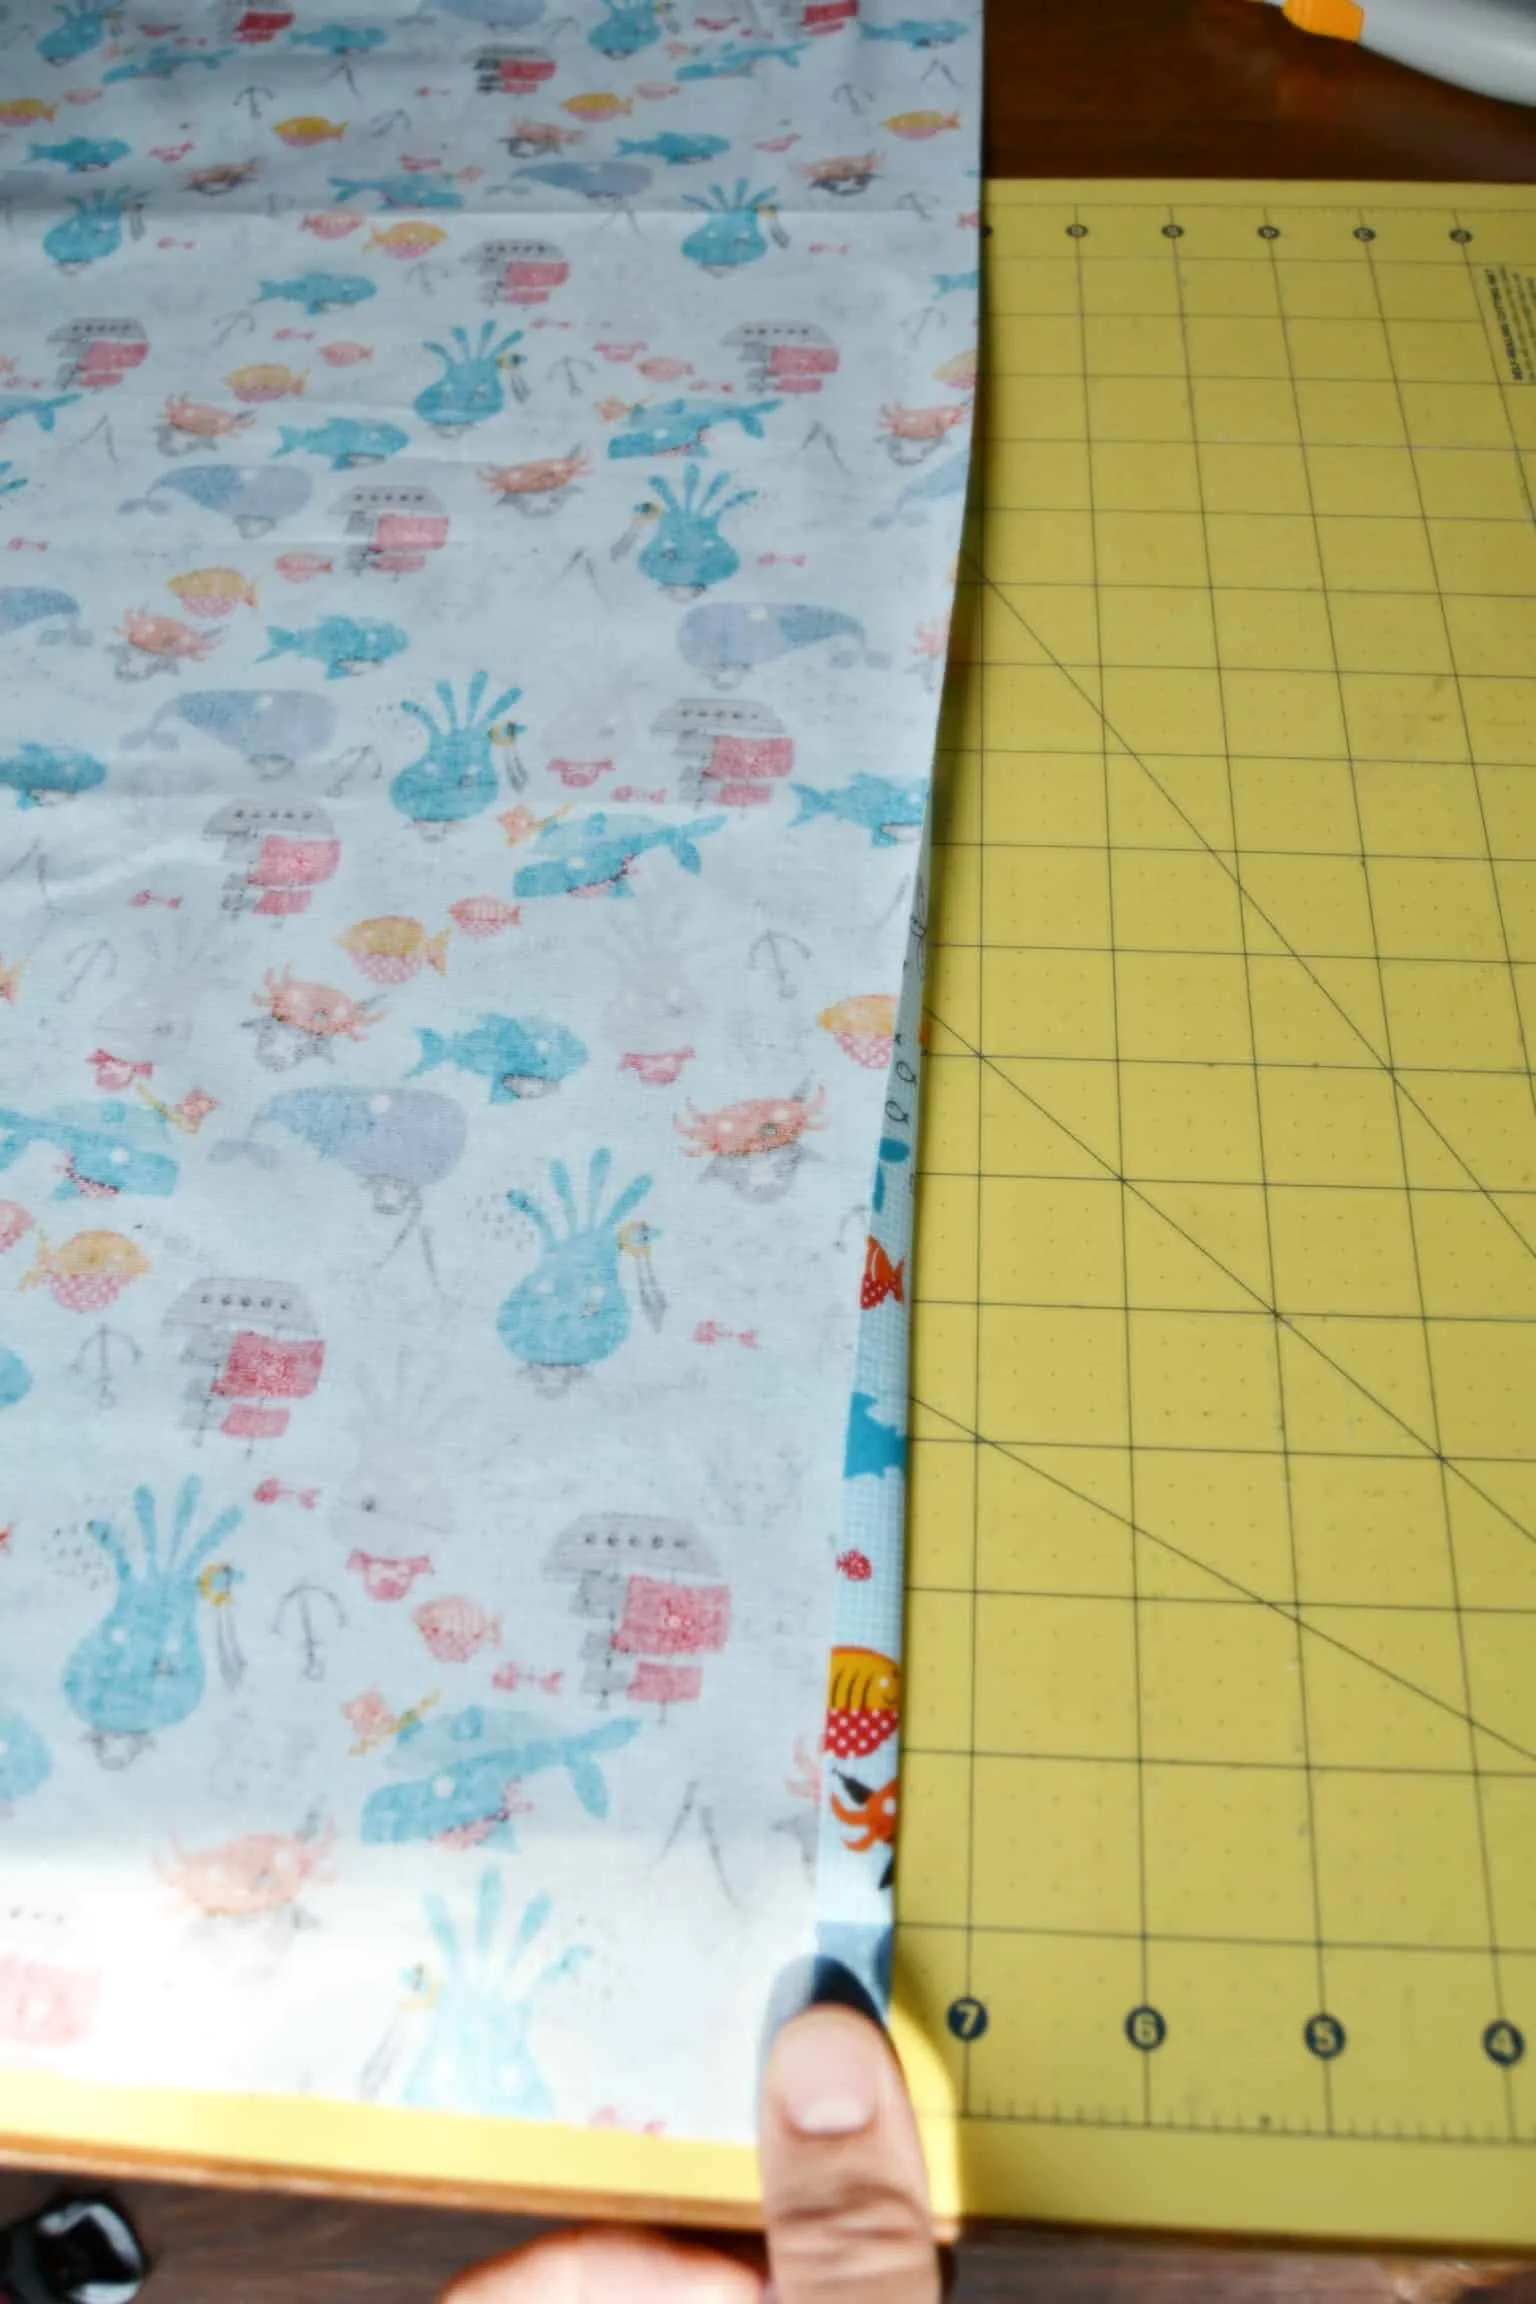
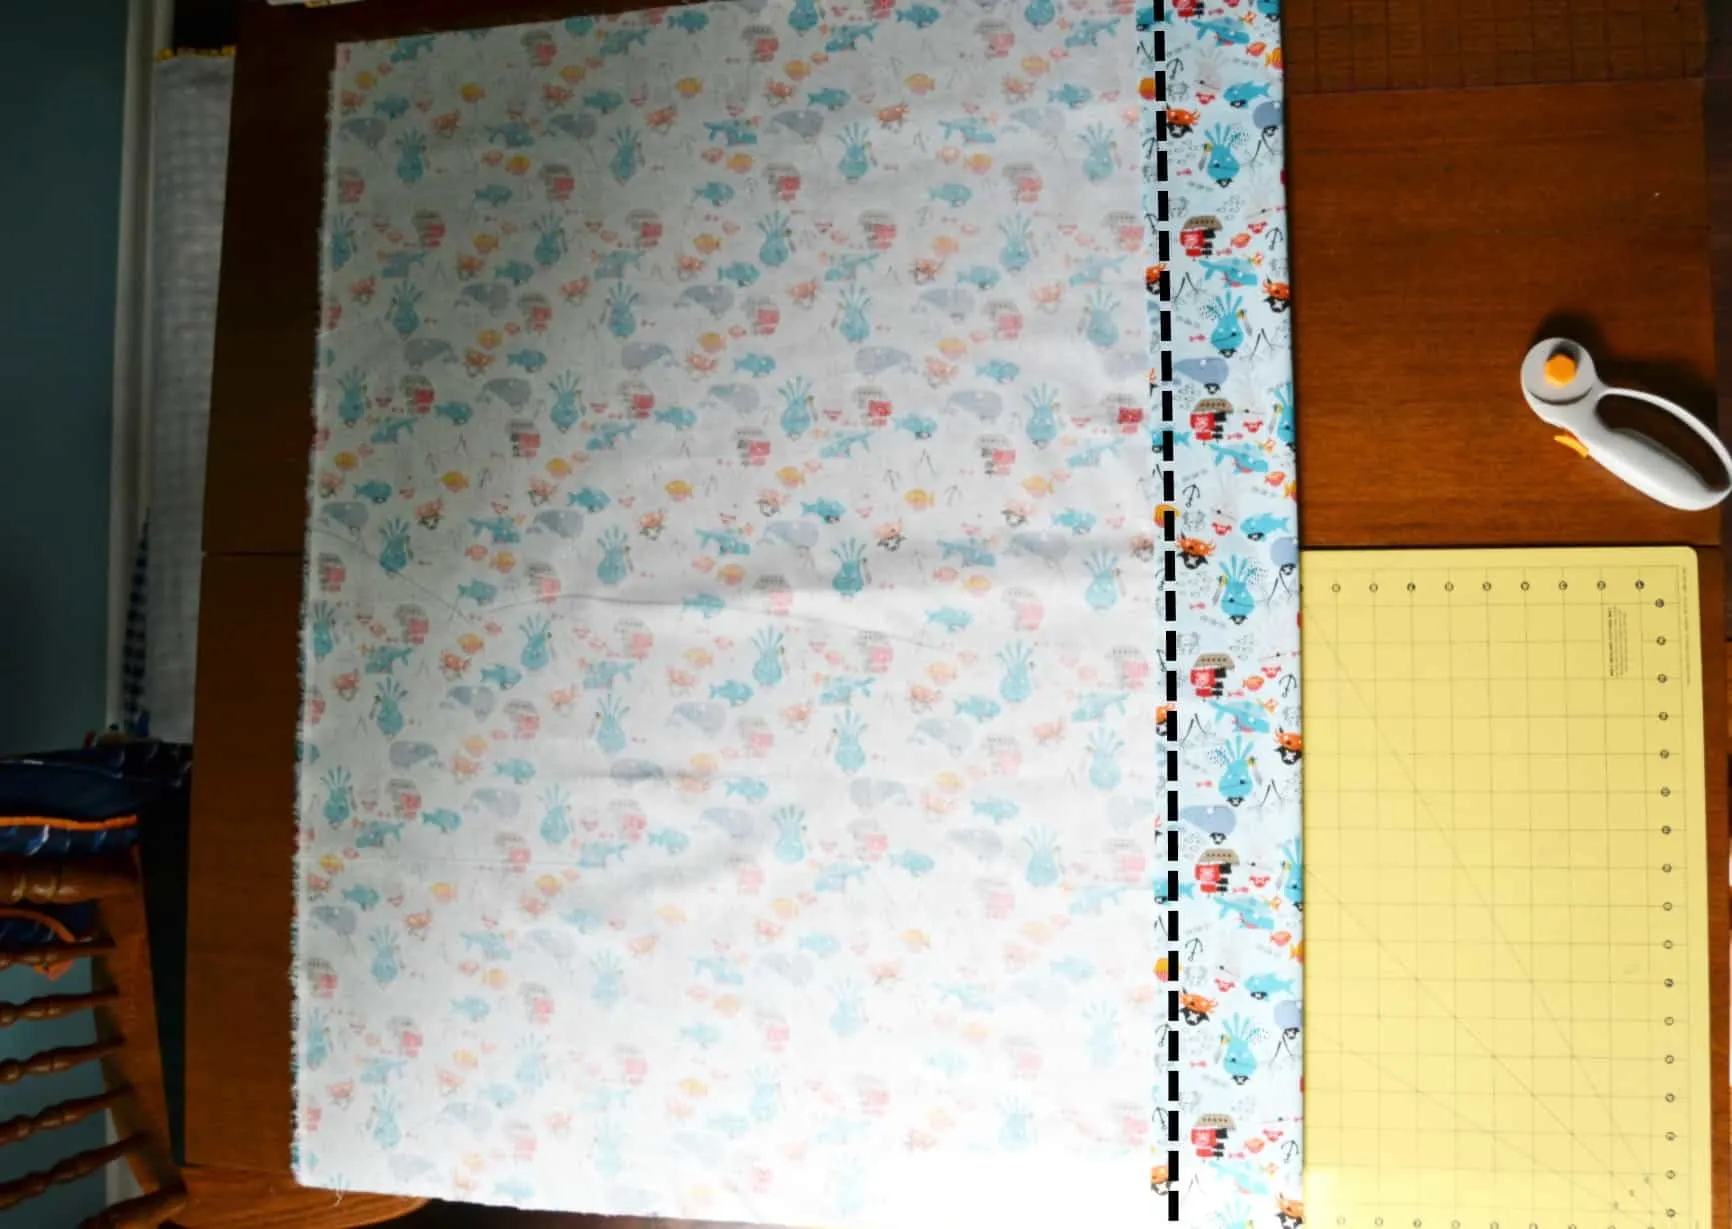
Step 1: Wash, dry, and iron your fabric. Lay it out flat. Cut it so that it measures 34 inches long and 36 inches high. (Again, this measurement is for a thinner pillow, if you have a more standard thickness on your pillow you should measure your pillow and size up accordingly!)
Again, if you are making a pillowcase for a larger pillow then you will need to adjust how much you are cutting off (you will cut off less). Measure your pillow and make the necessary adjustments.

Step 2: Flip your fabric over so that it is right side down. Fold over one of the 36 in edges 1/2 inch. Iron it nice and flat.
Make sure that you are folding it over so that the 1/2 inch of fabric that you are seeing is the right side of the fabric.

 Step 3: Fold the same edge over again, this time folding over 4 inches. Press this nice and flat with the iron.
Pin and then sew it into place, sewing 1/4 in from the edge of the fold that overlaps the rest of the fabric (where you see the dotted line below).
 Step 4: Lay it down so that the right side is down. Fold it in half from bottom to top, so that the wrong sides are together.
Pin and sew along the open ends but not along the fold at the bottom or the side where you did your sewing (follow the lines in the picture below). Sew 1/4 in from the edge. 
 Step 5: Trim the edges of the fabric down a little and trim the corner.
 Step 6: Turn the pillowcase inside out and press it nice and flat. Pin it along the edges so that it doesn’t shift around then sew along the same line that you did before.
Make sure you sew on the sides where you sewed before but not on the folded end or your opening.

 Step 7: Turn your pillow case right side out, give it a little press, pop a pillow in and you are done!

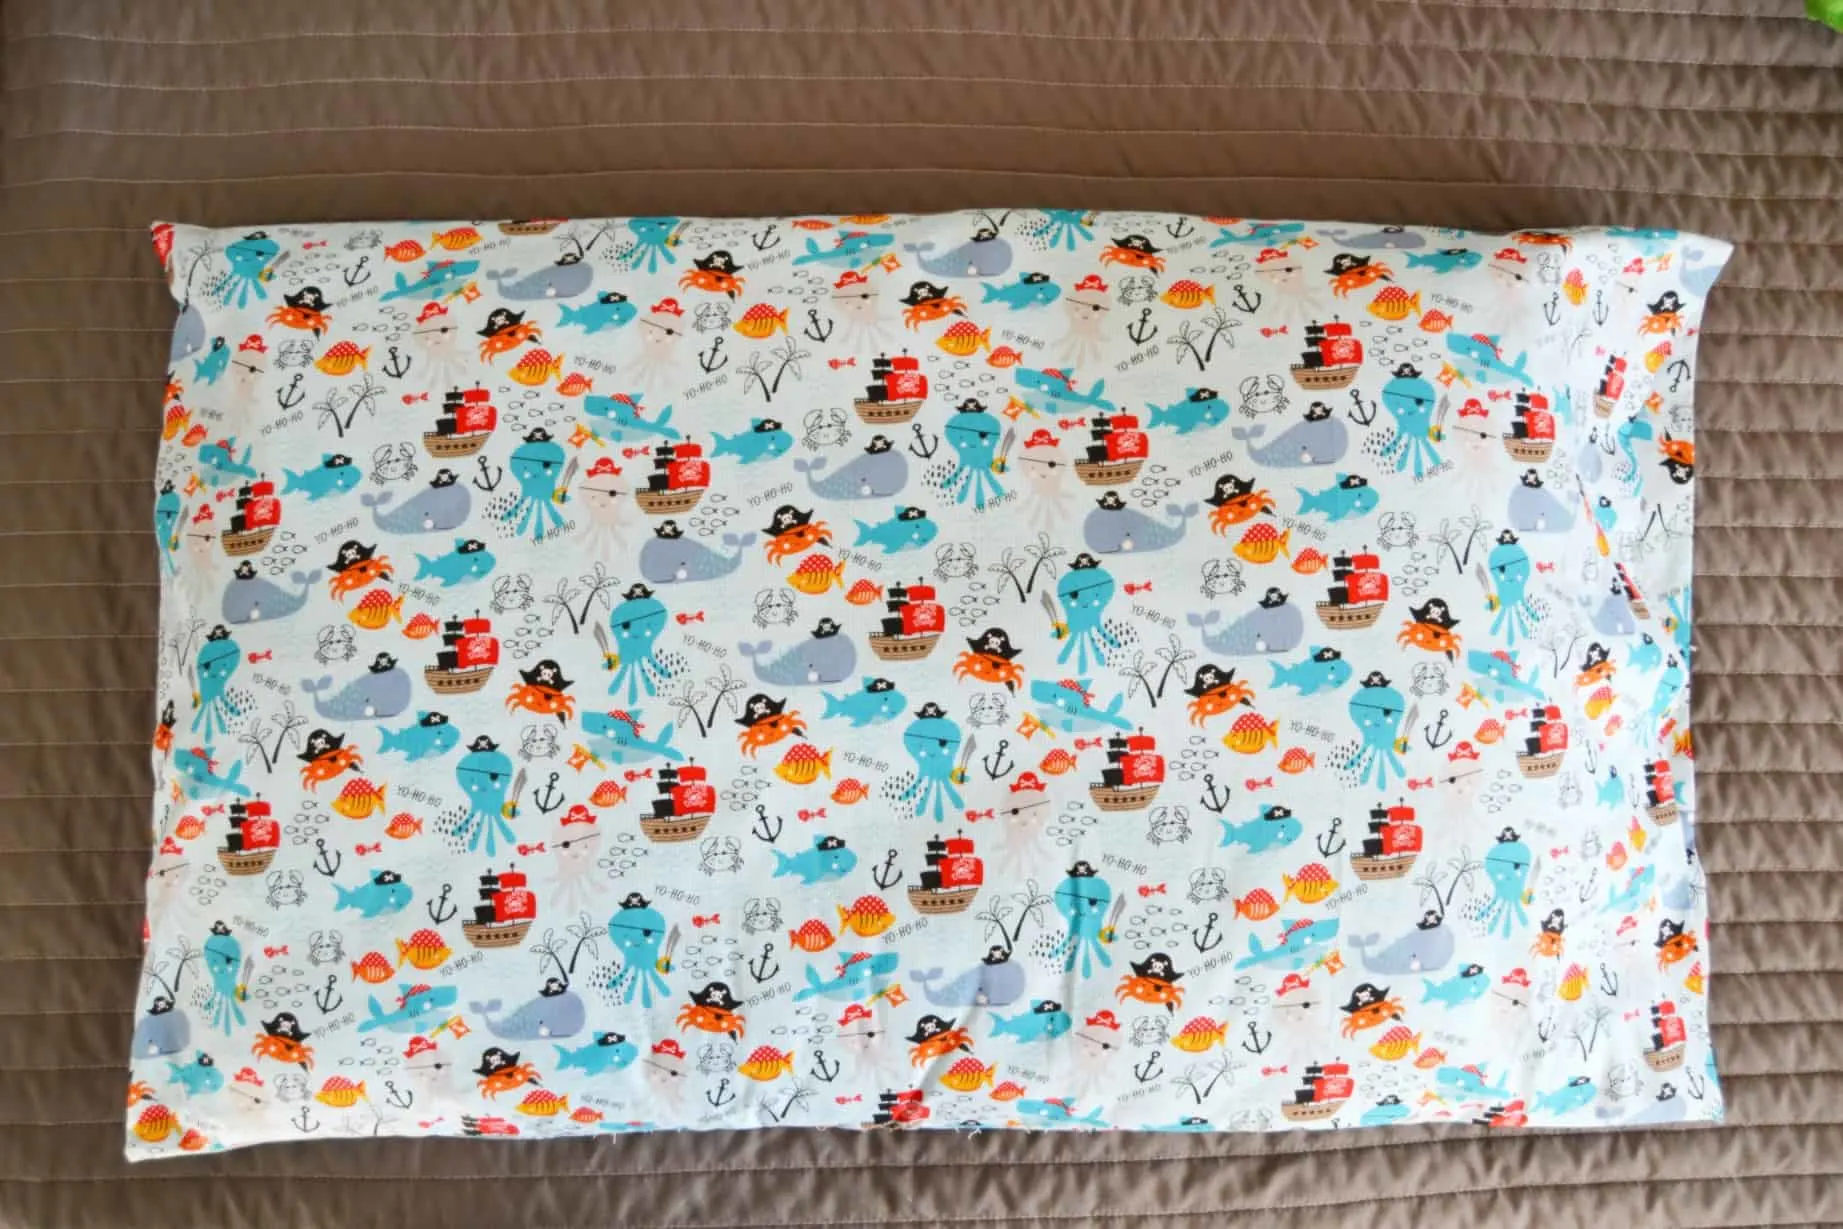


Now you know how to sew a pillowcase! Once you’ve made one they sew up super quickly and make a fun little project. If you make one let me know how it goes! Happy sewing!

More Fun with Pillows


