I recently made a pillow and I’m excited to share it with you all this morning! It features the phrase “Fearfully & Wonderfully Made” from Psalm 139:14 along with some flowers and leaves that I appliqued and added some stitching to.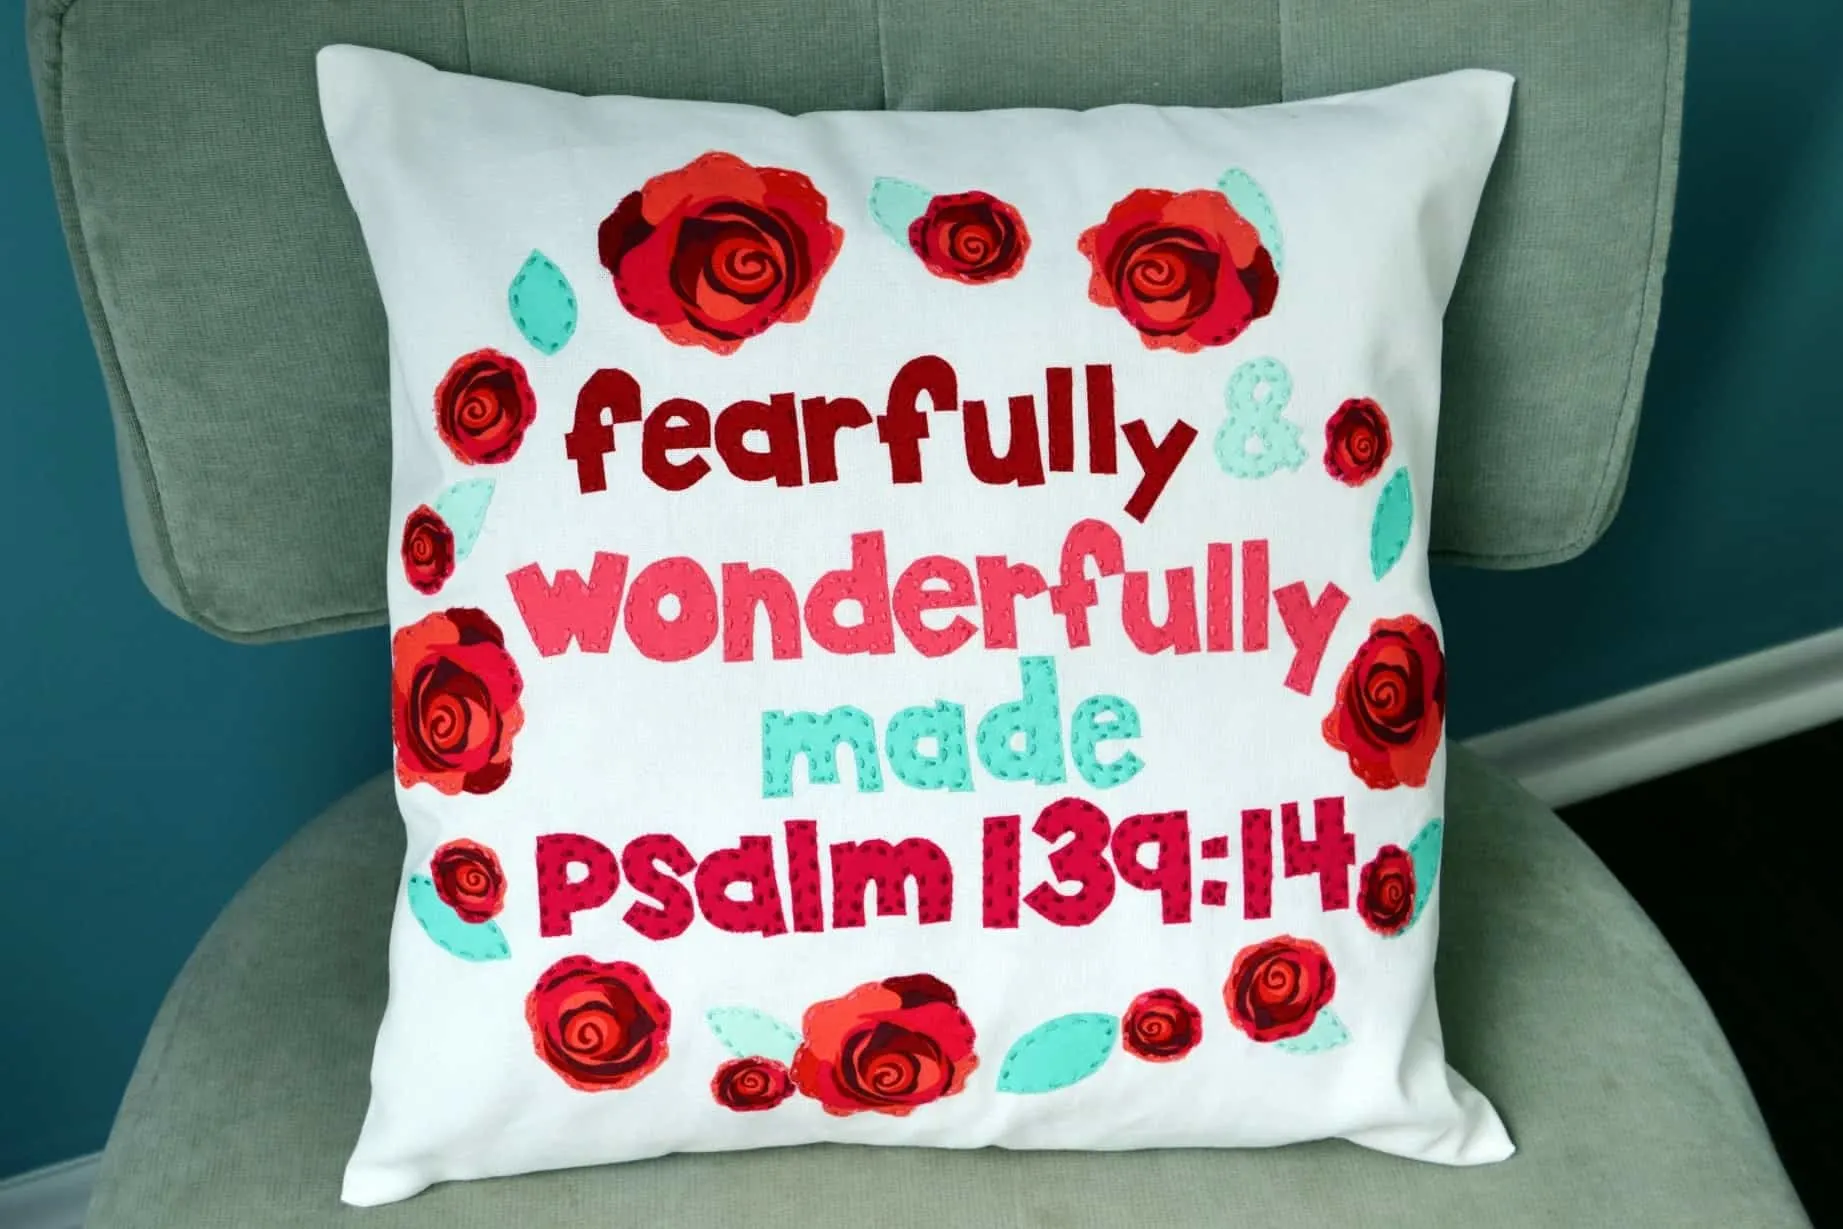 I think this one would be cute for a little girl’s nursery but I’m going to teach you how I made it and you can use the process to make a design around any quote you’d like!
You will need:
- 16 inch square pillow form
- ½ yard of white cotton fabric
- 5 other fabric colors for the words
- Floral printed fabric
- fusible webbing
- scissors
- embroidery floss that matches the 5 fabric colors
- “Fearfully & Wonderfully Made” printable
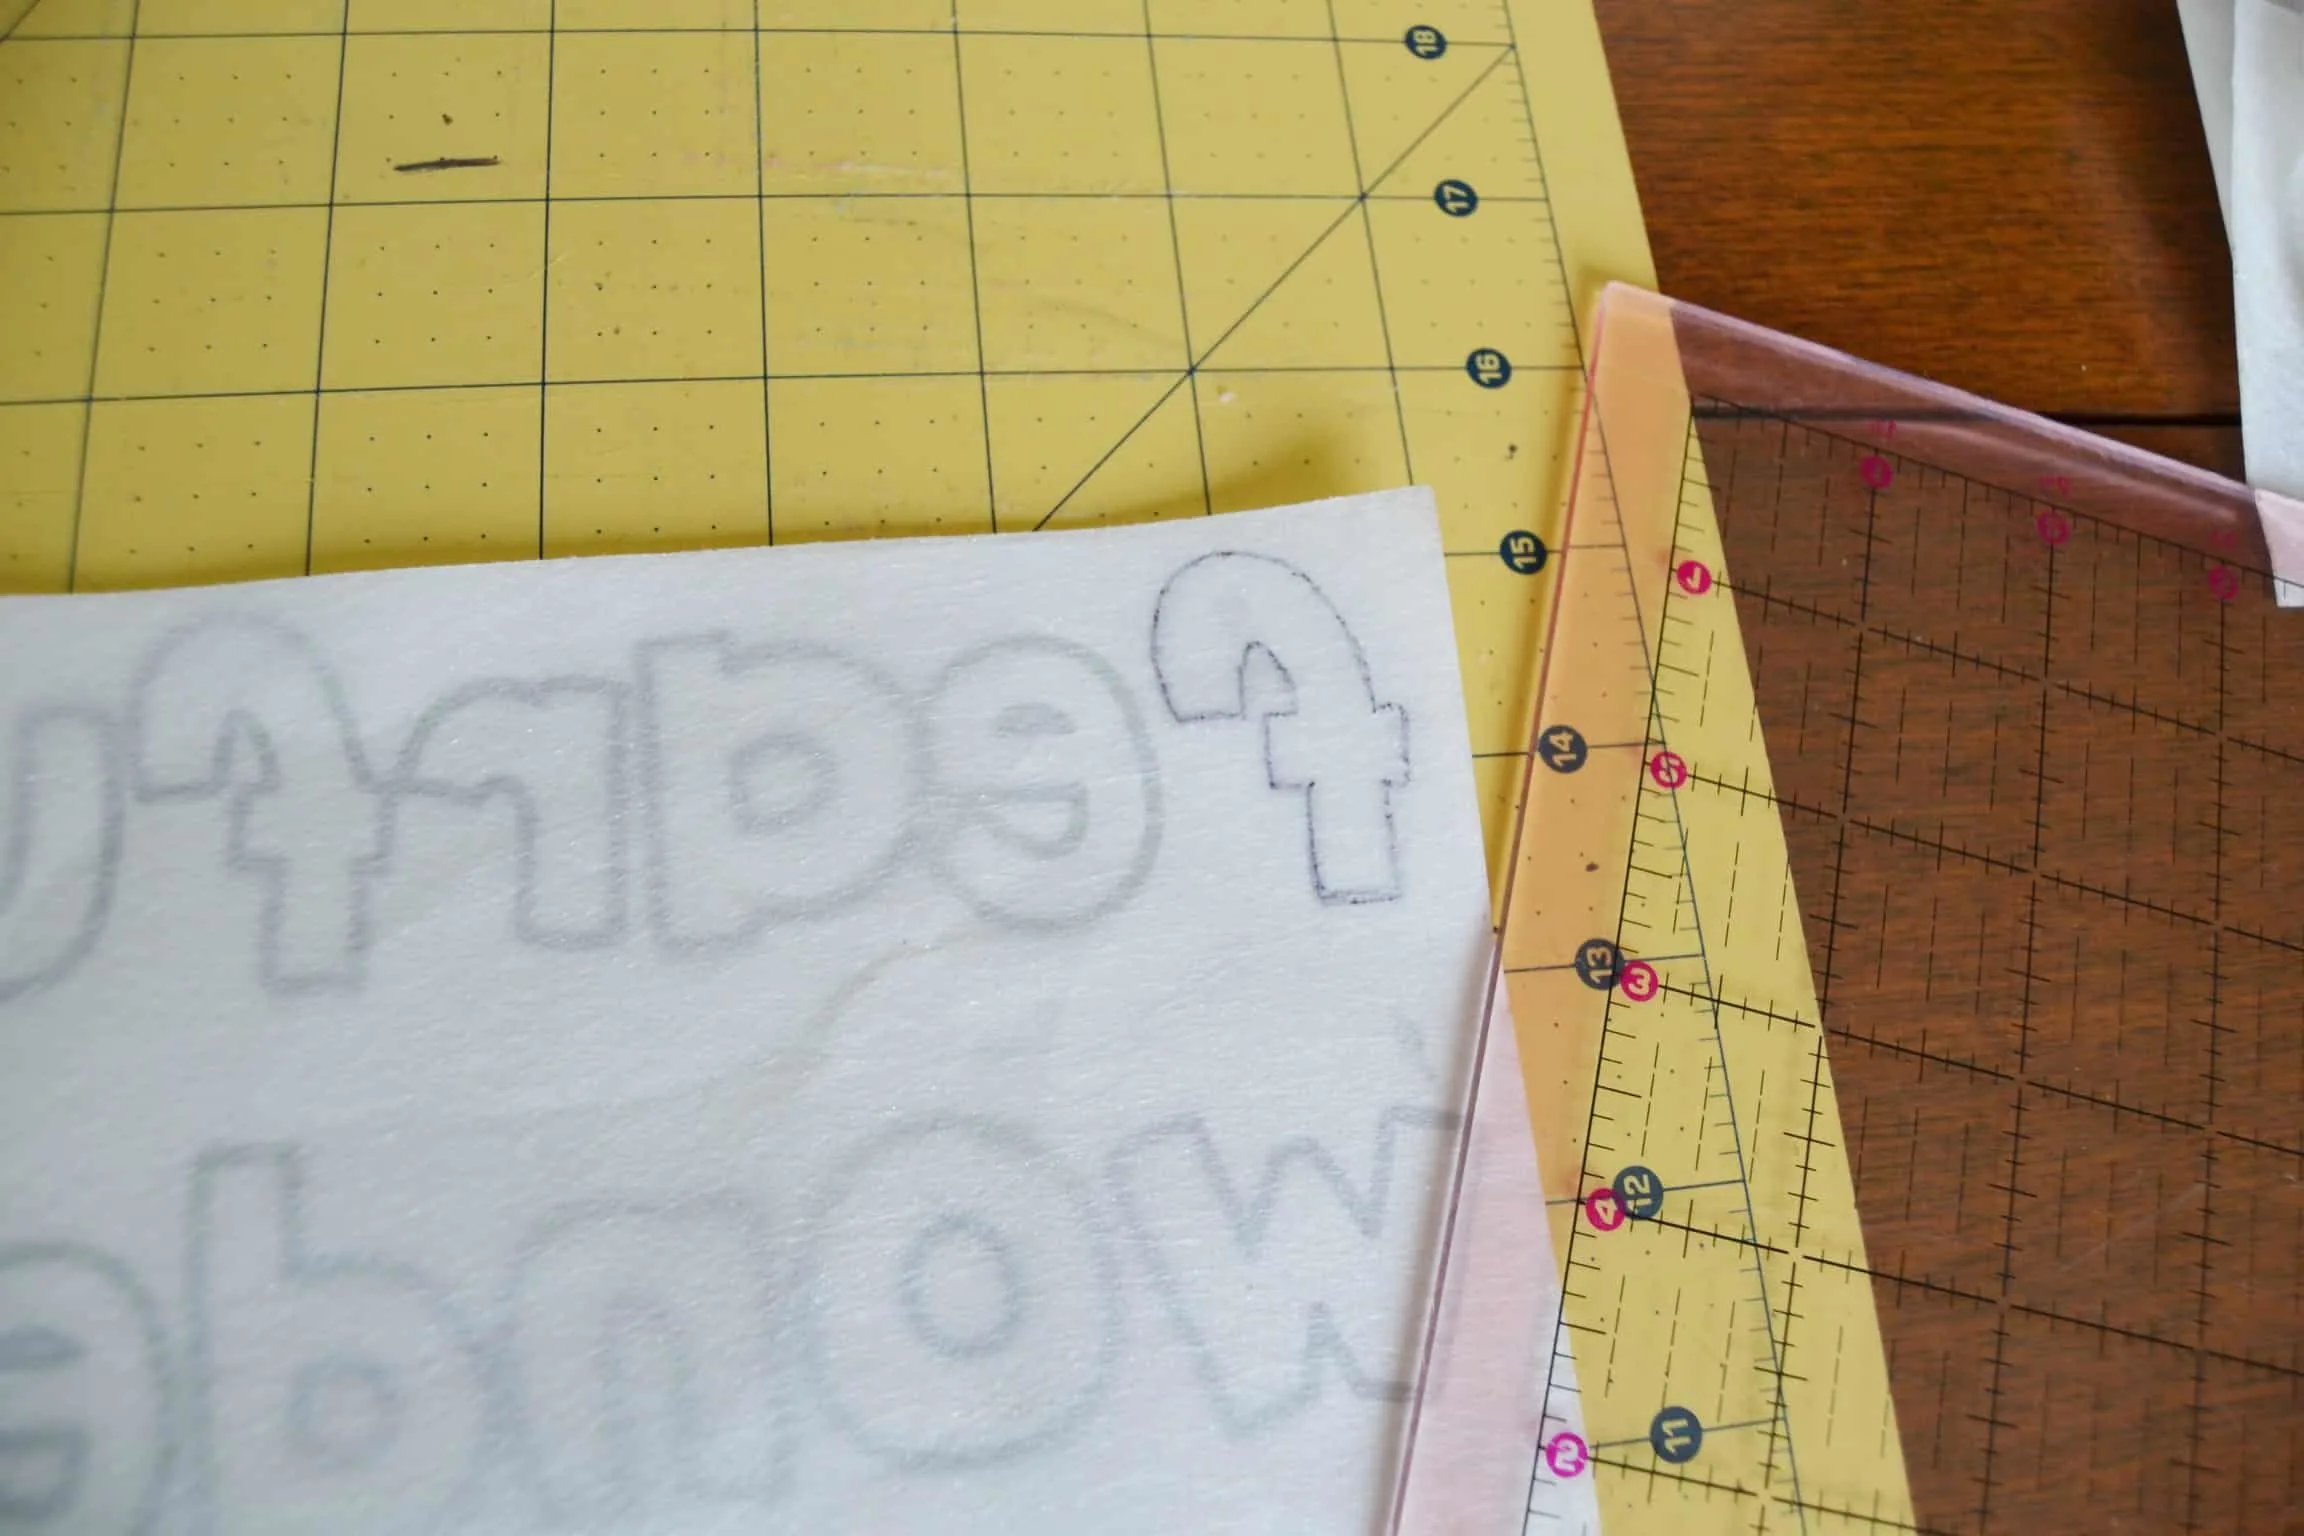
Steps 1: Print out the “Fearfully & Wonderfully Made” printable. Be sure to do a print preview to ensure that your printer settings are correct. Yes, the words should print backwards. And yes, I know that some of the letters are not together as they should be. I had to fit them all into one page so you’ll have to cut those stray letters out and rearrange them. But don’t cut them out yet! Step 2: Put a piece of fusible web on top of the printable with the web side facing up and the paper backing down. Trace the outline of all the letters onto the fusible web.
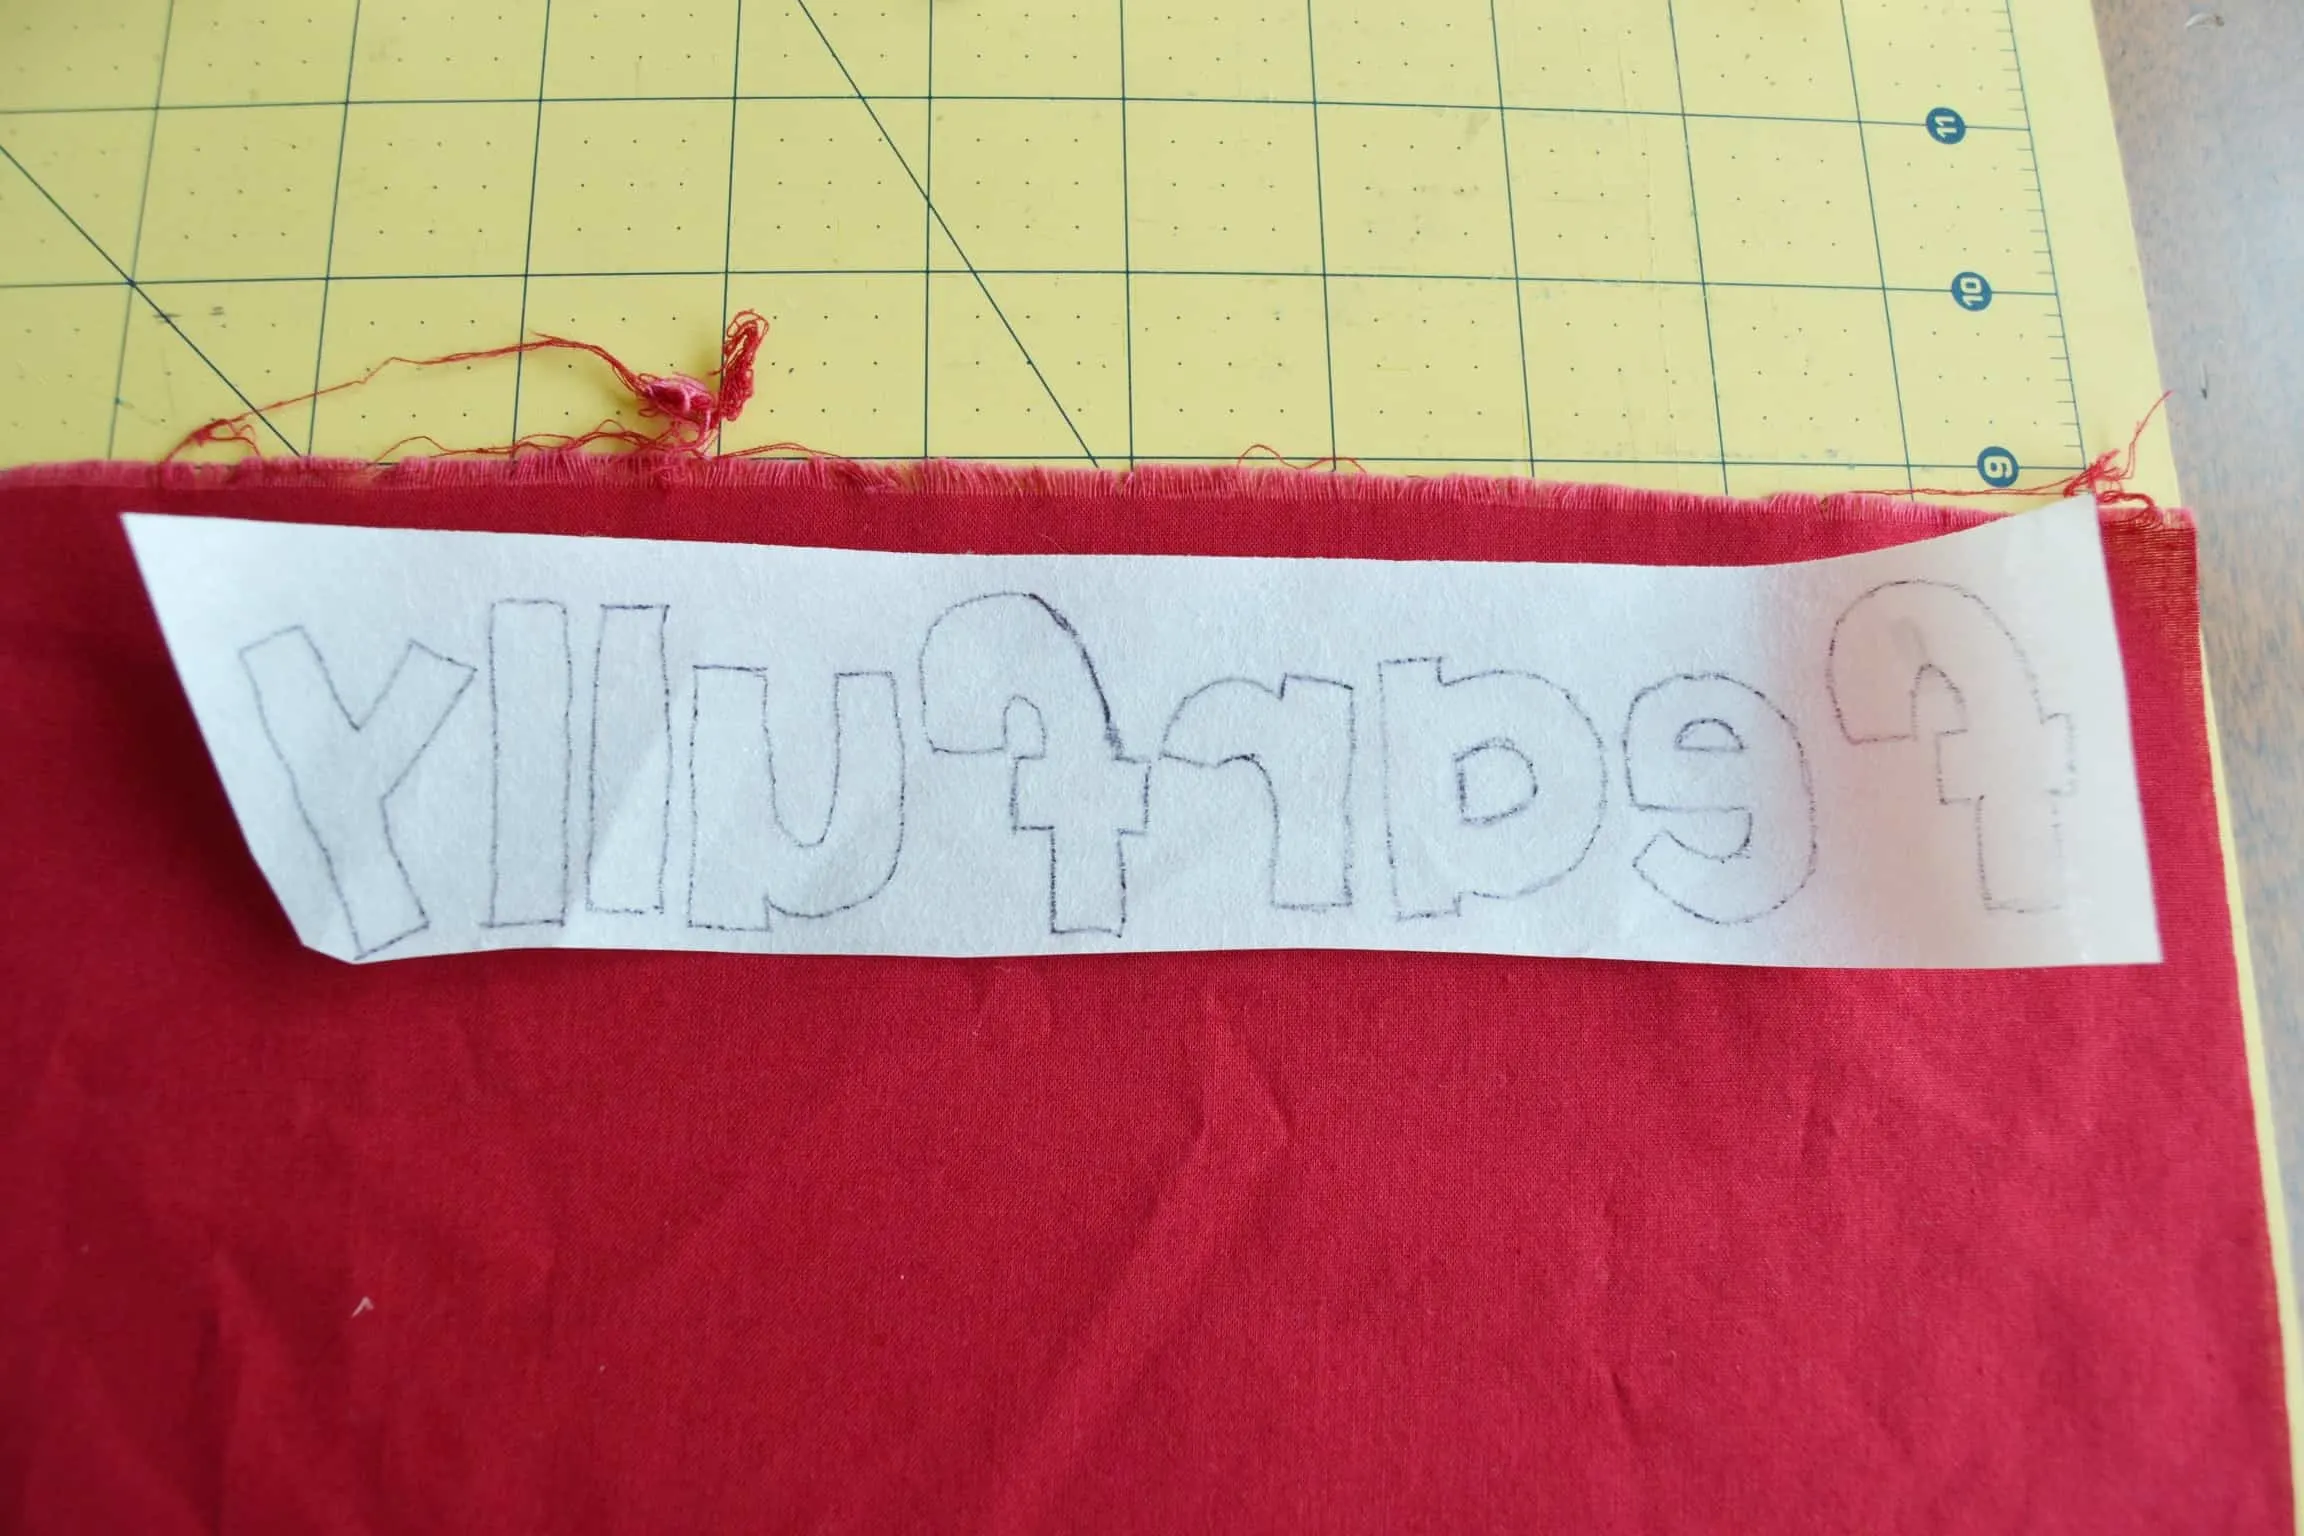
 Step 3: Cut out each word in a strip. Peel the webbing off of the paper backing and use your fingers to press the webbing onto the back of your fabric. Finger press each word onto a different fabric color.
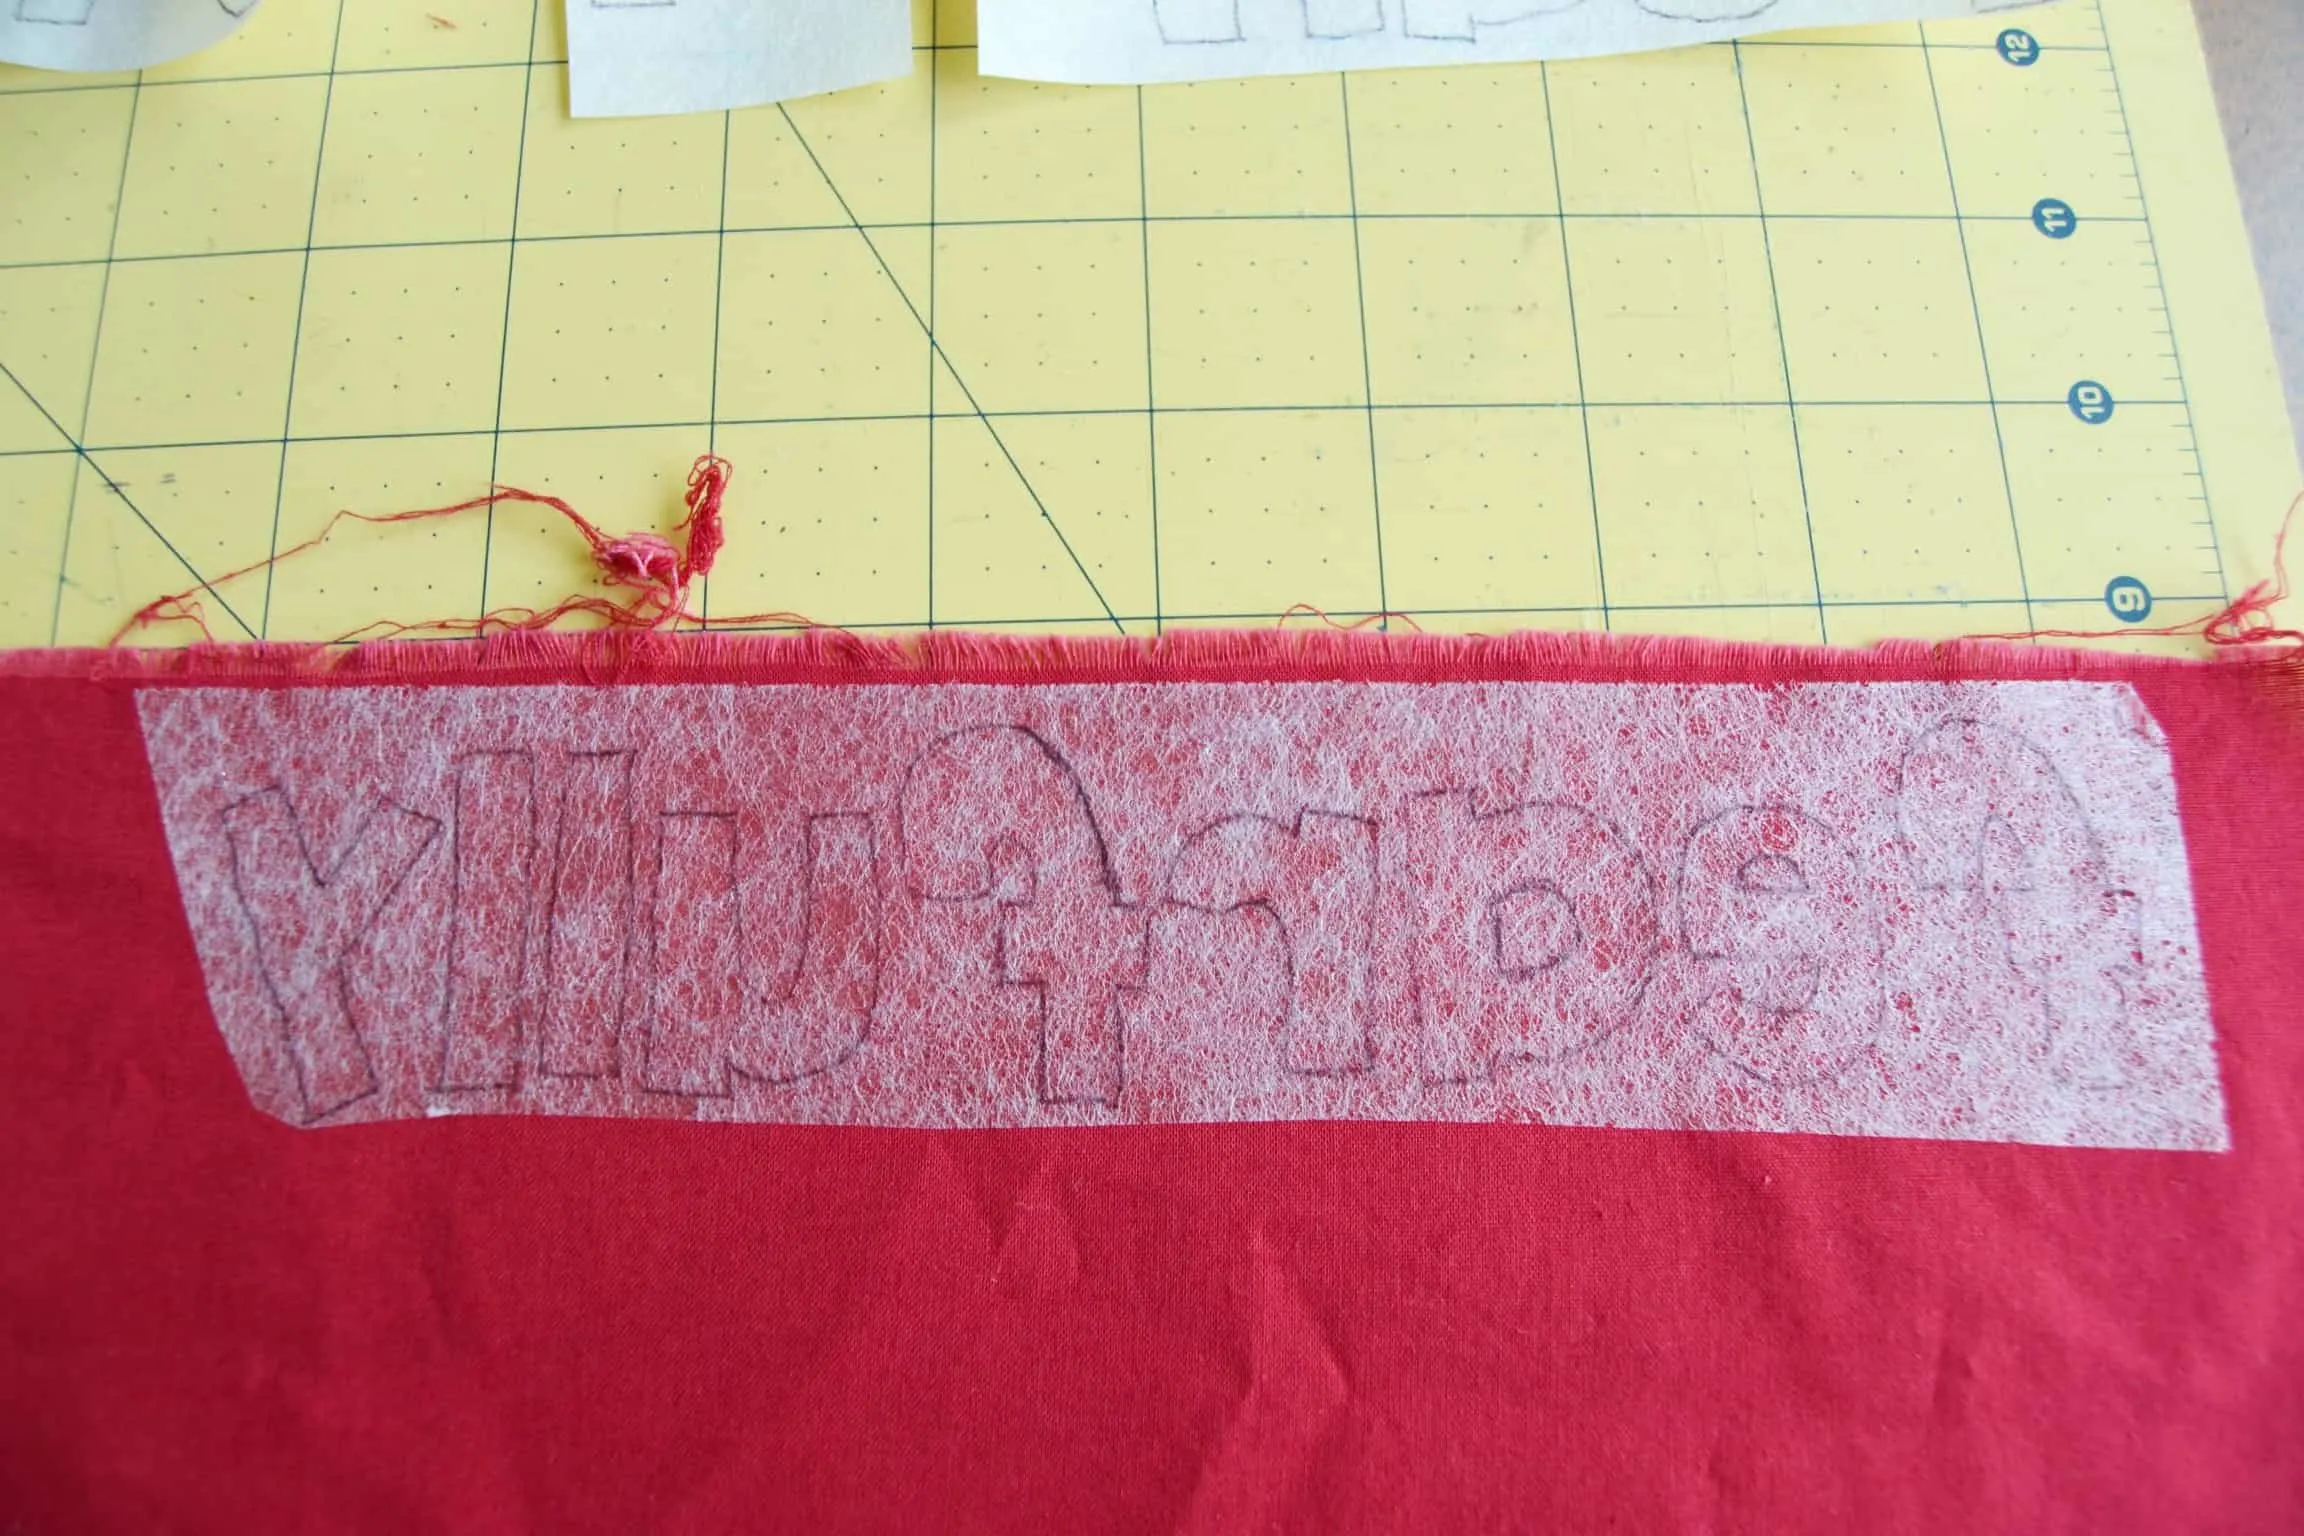 Step 4: Cut out each of the letters. I just used some small scissors to do this.
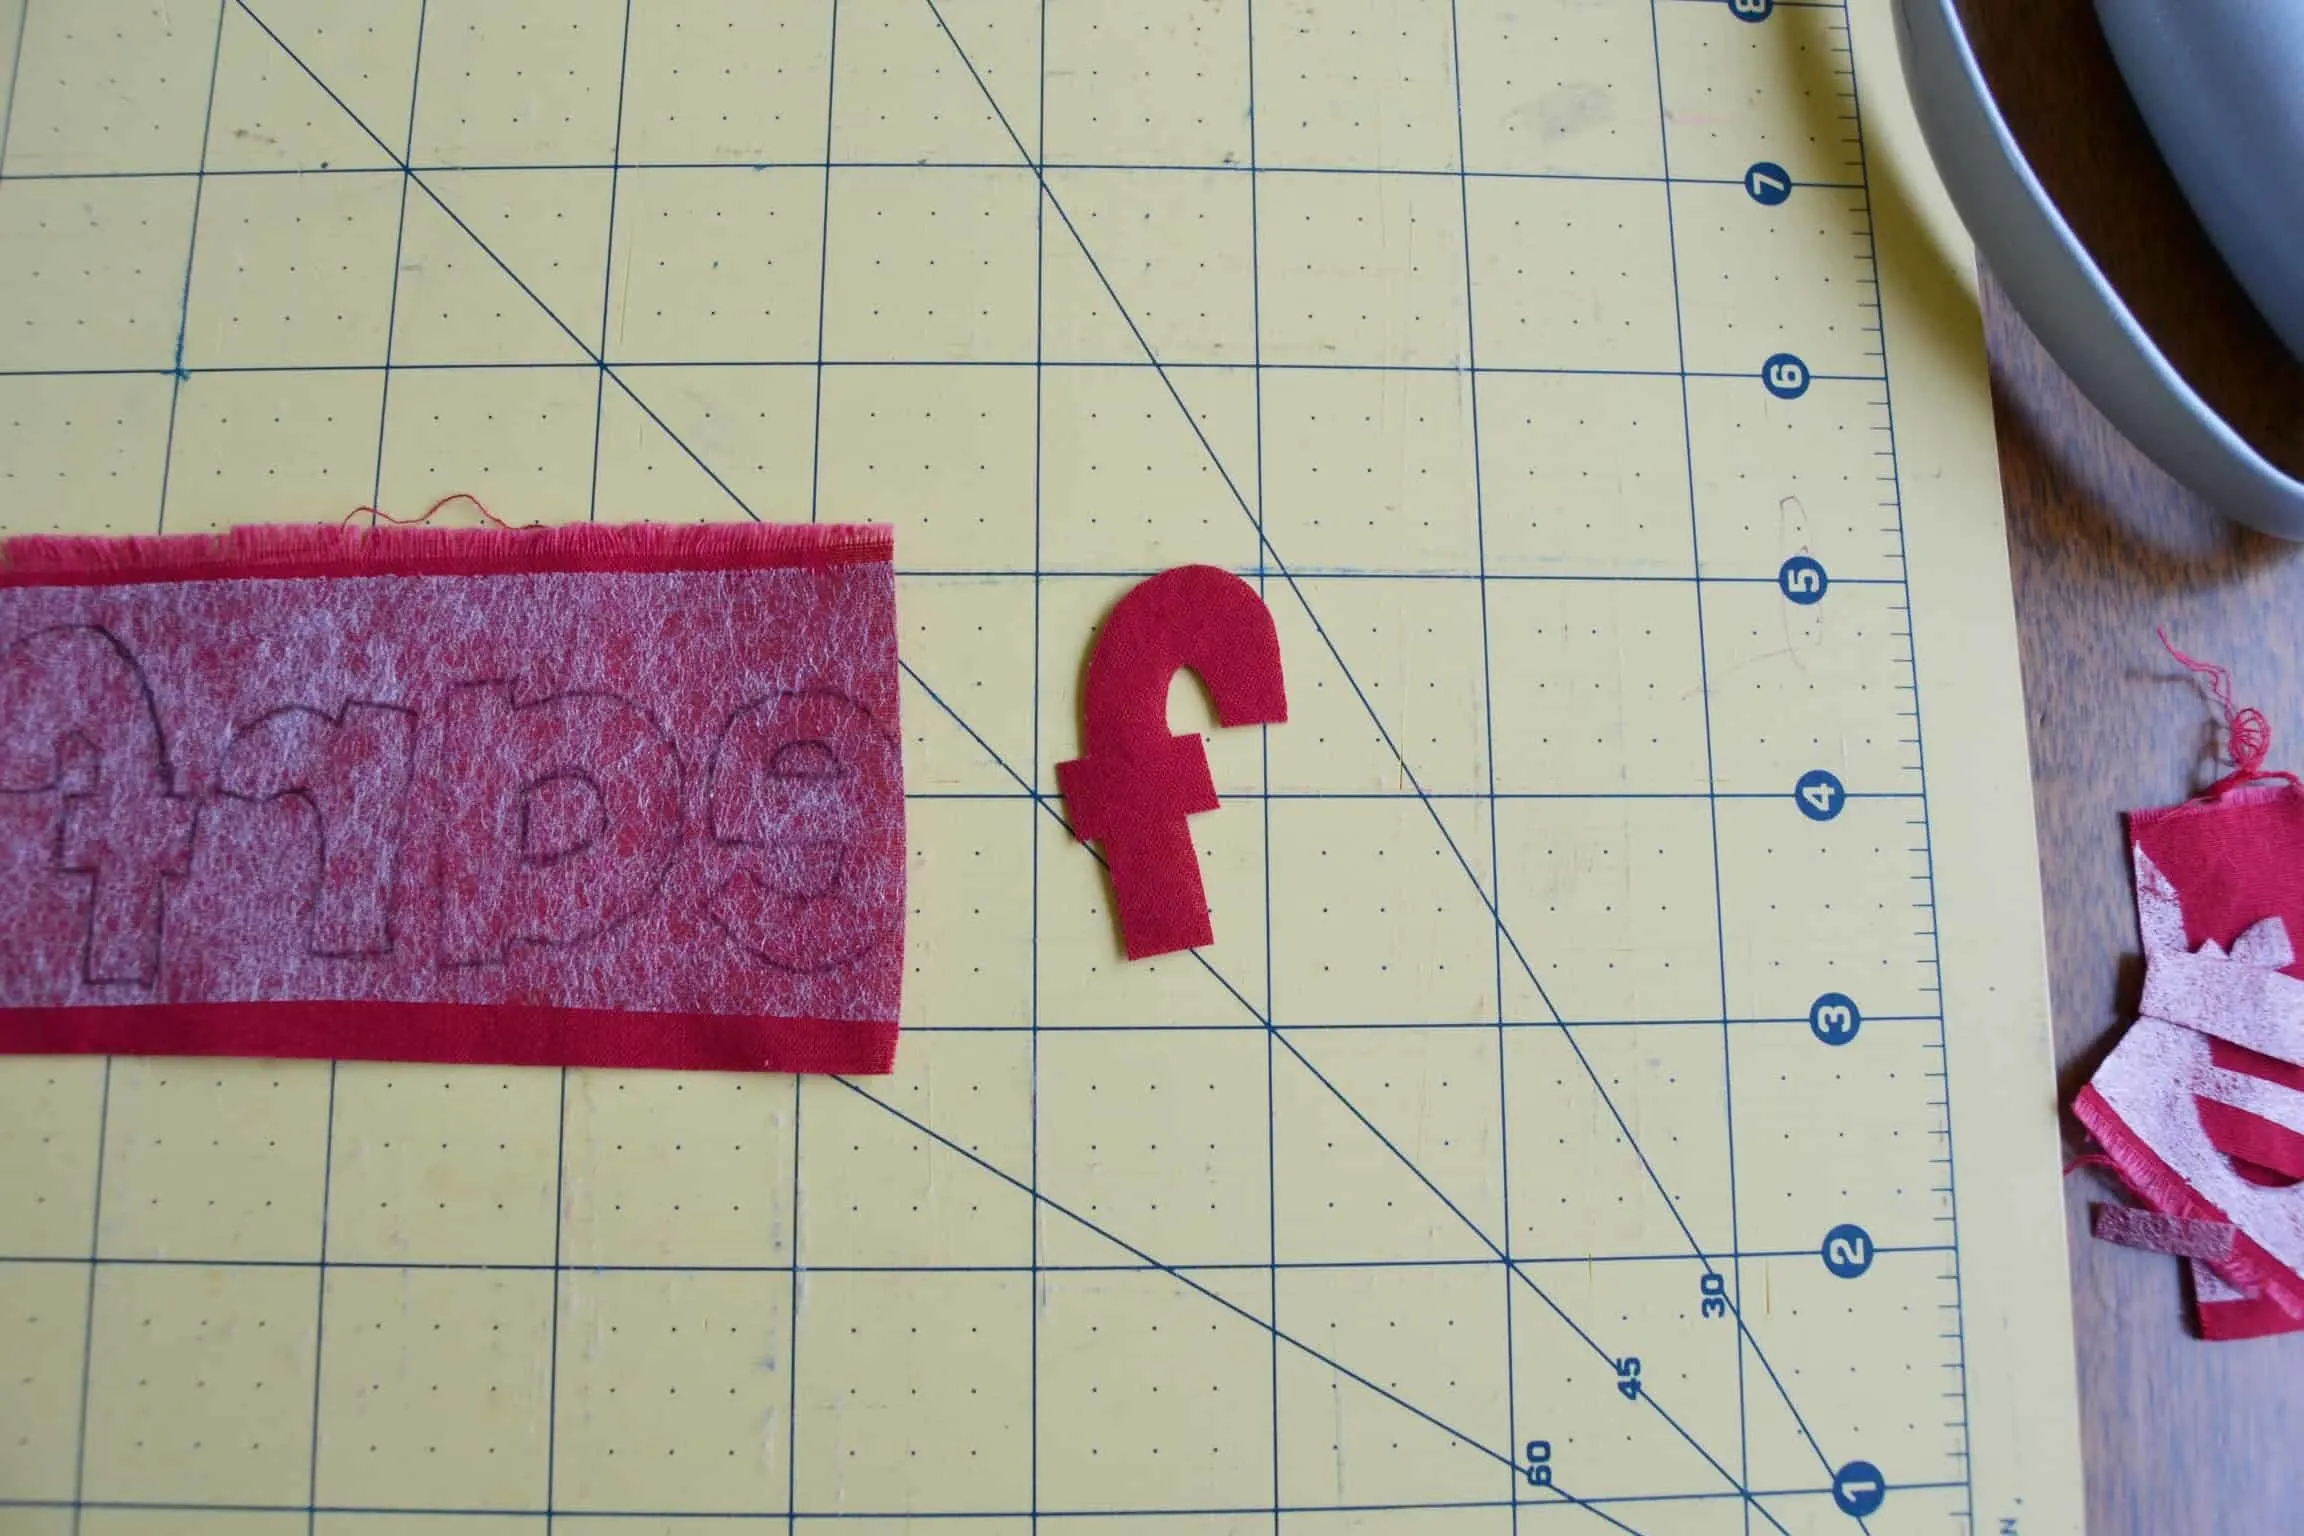
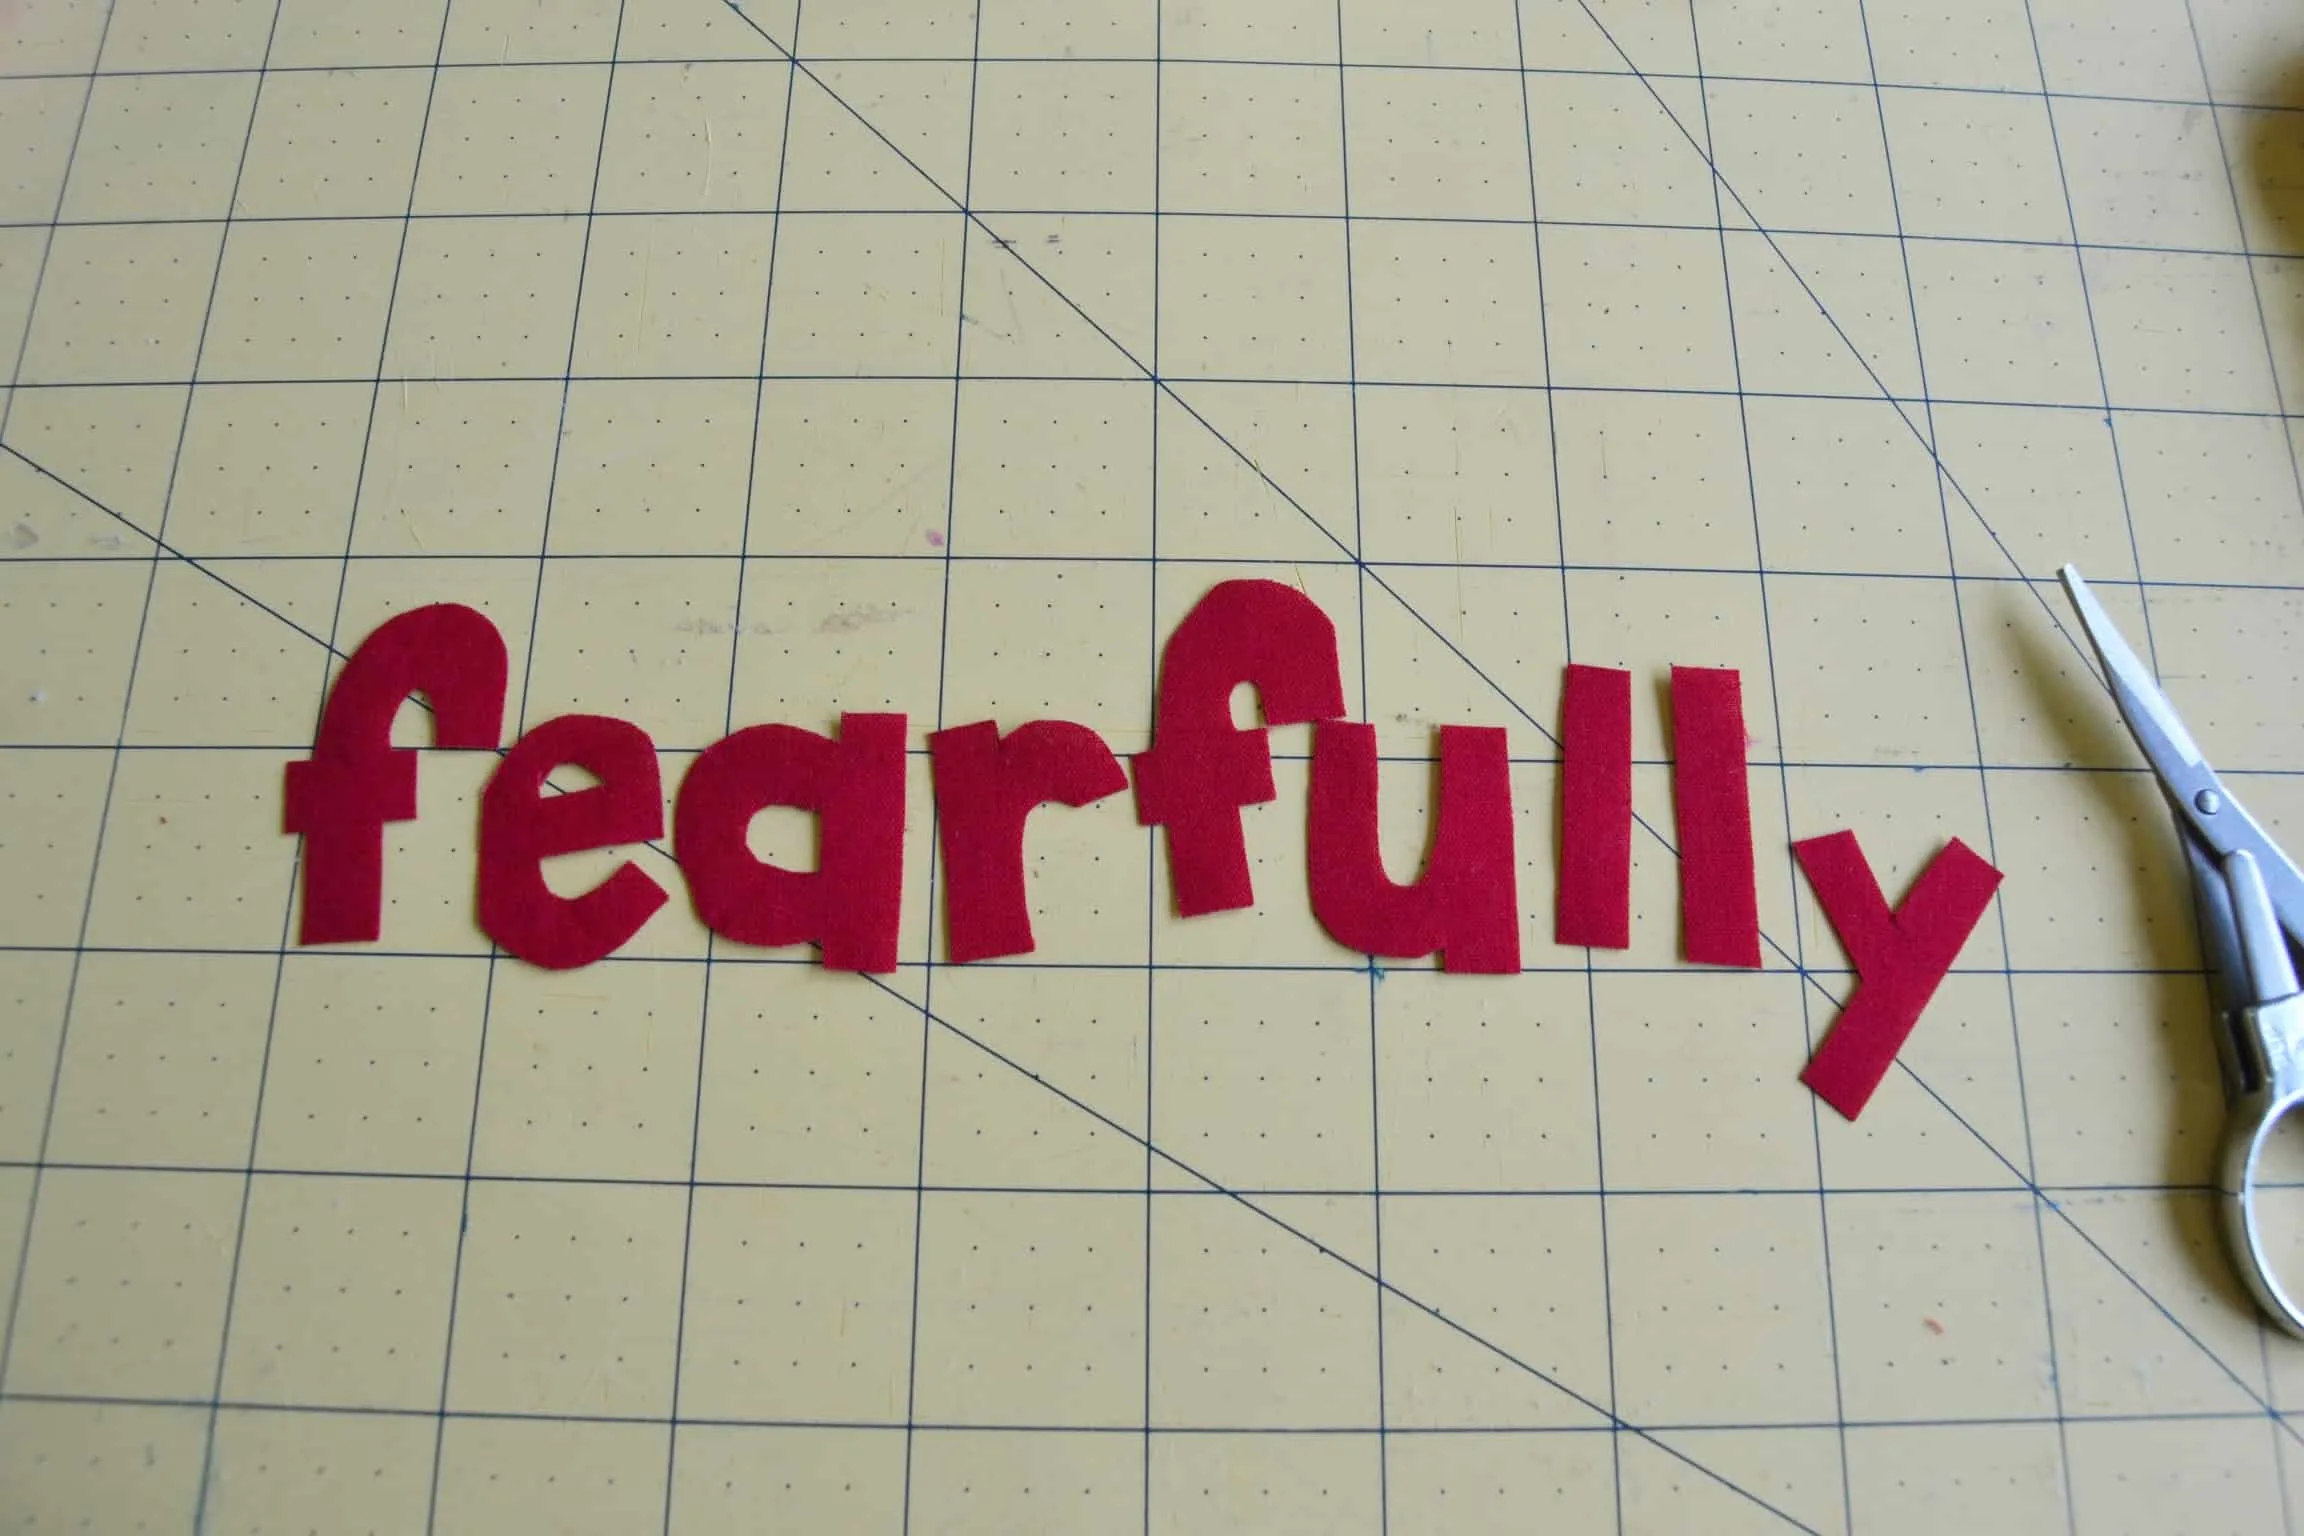 Step 5: Cut out flowers from the floral print fabric. If your print has leaves then cut those out as well. If not then you can do what I did and cut some simple leaf shapes out of one of your coordinating fabric colors. Peel the paper backing off of some fusible web and apply it to the back of the flowers and leaves.
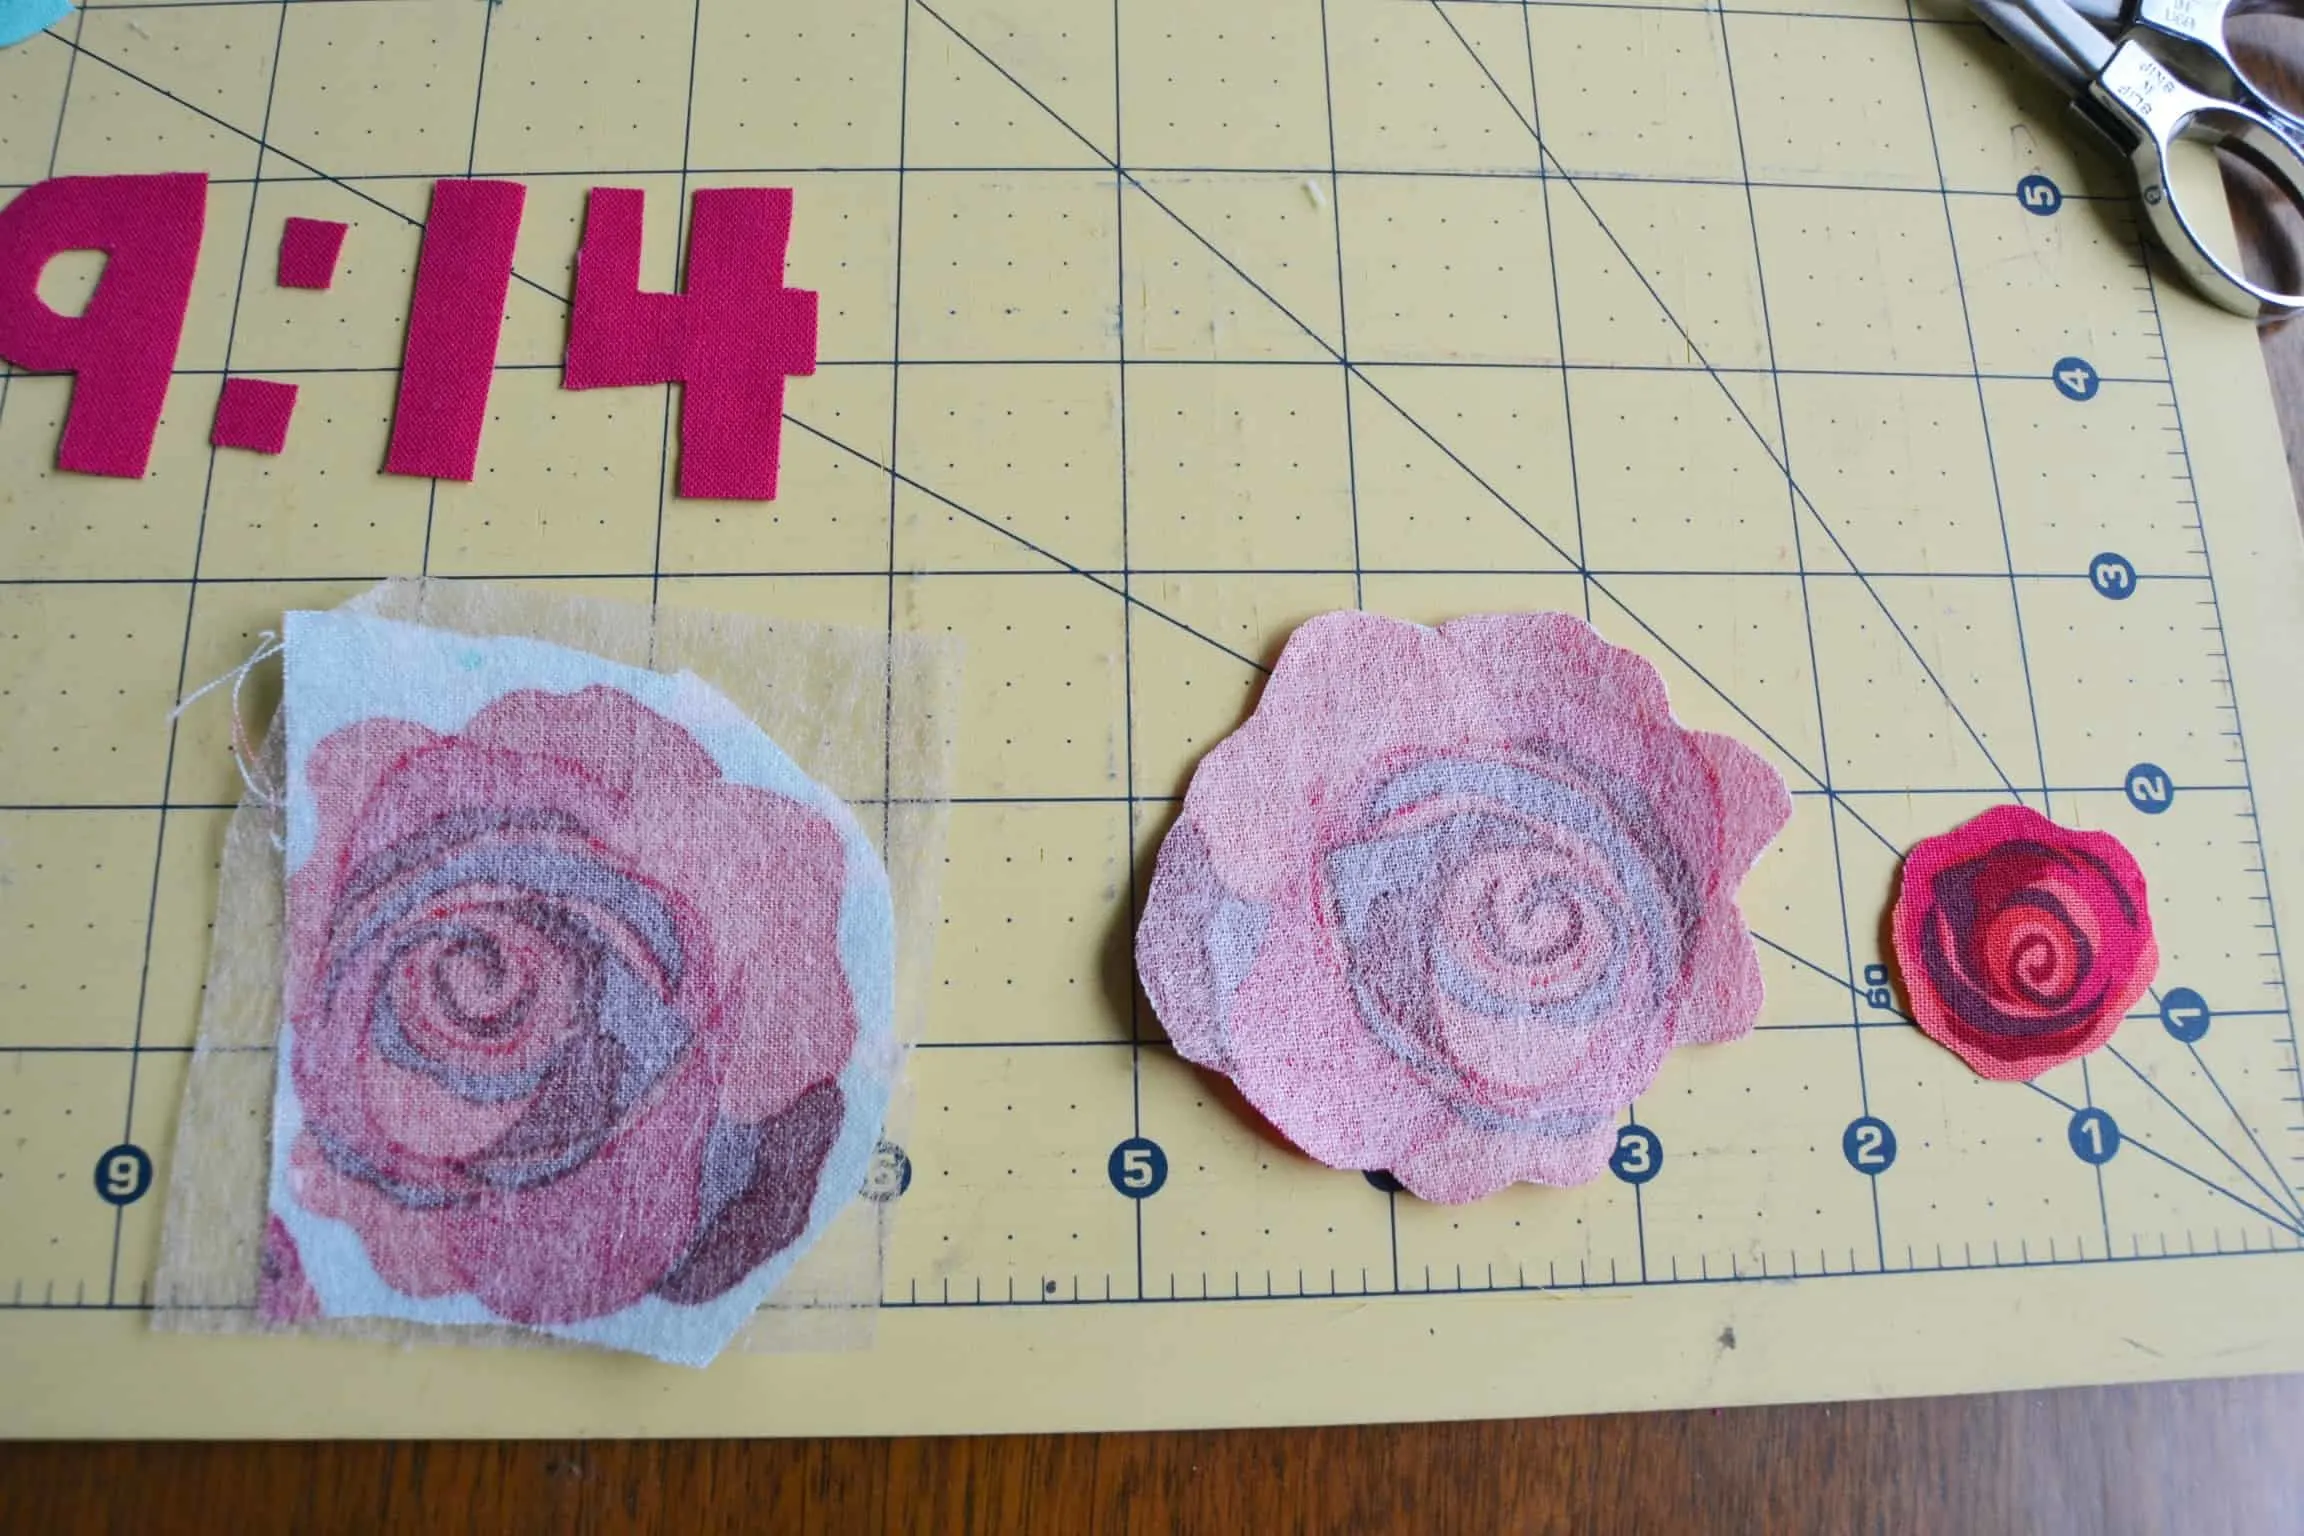
Step 6: Place your quote in the middle of the ½ yard of white fabric. Arrange the words and flowers. I used a ruler to help center my design. It’s not perfect but nothing I make really is. Use the iron to press everything onto the fabric according to the instructions on your fusible web package.
Step 7: Use the embroidery floss to add some stitches into the letters, flowers, and leaves. You can use any type of stitch that you like. I just popped in some simple little stitches but you could totally make it fancier. Embroidering stitches into everything you appliqued will help it all to stay on when your item is washed.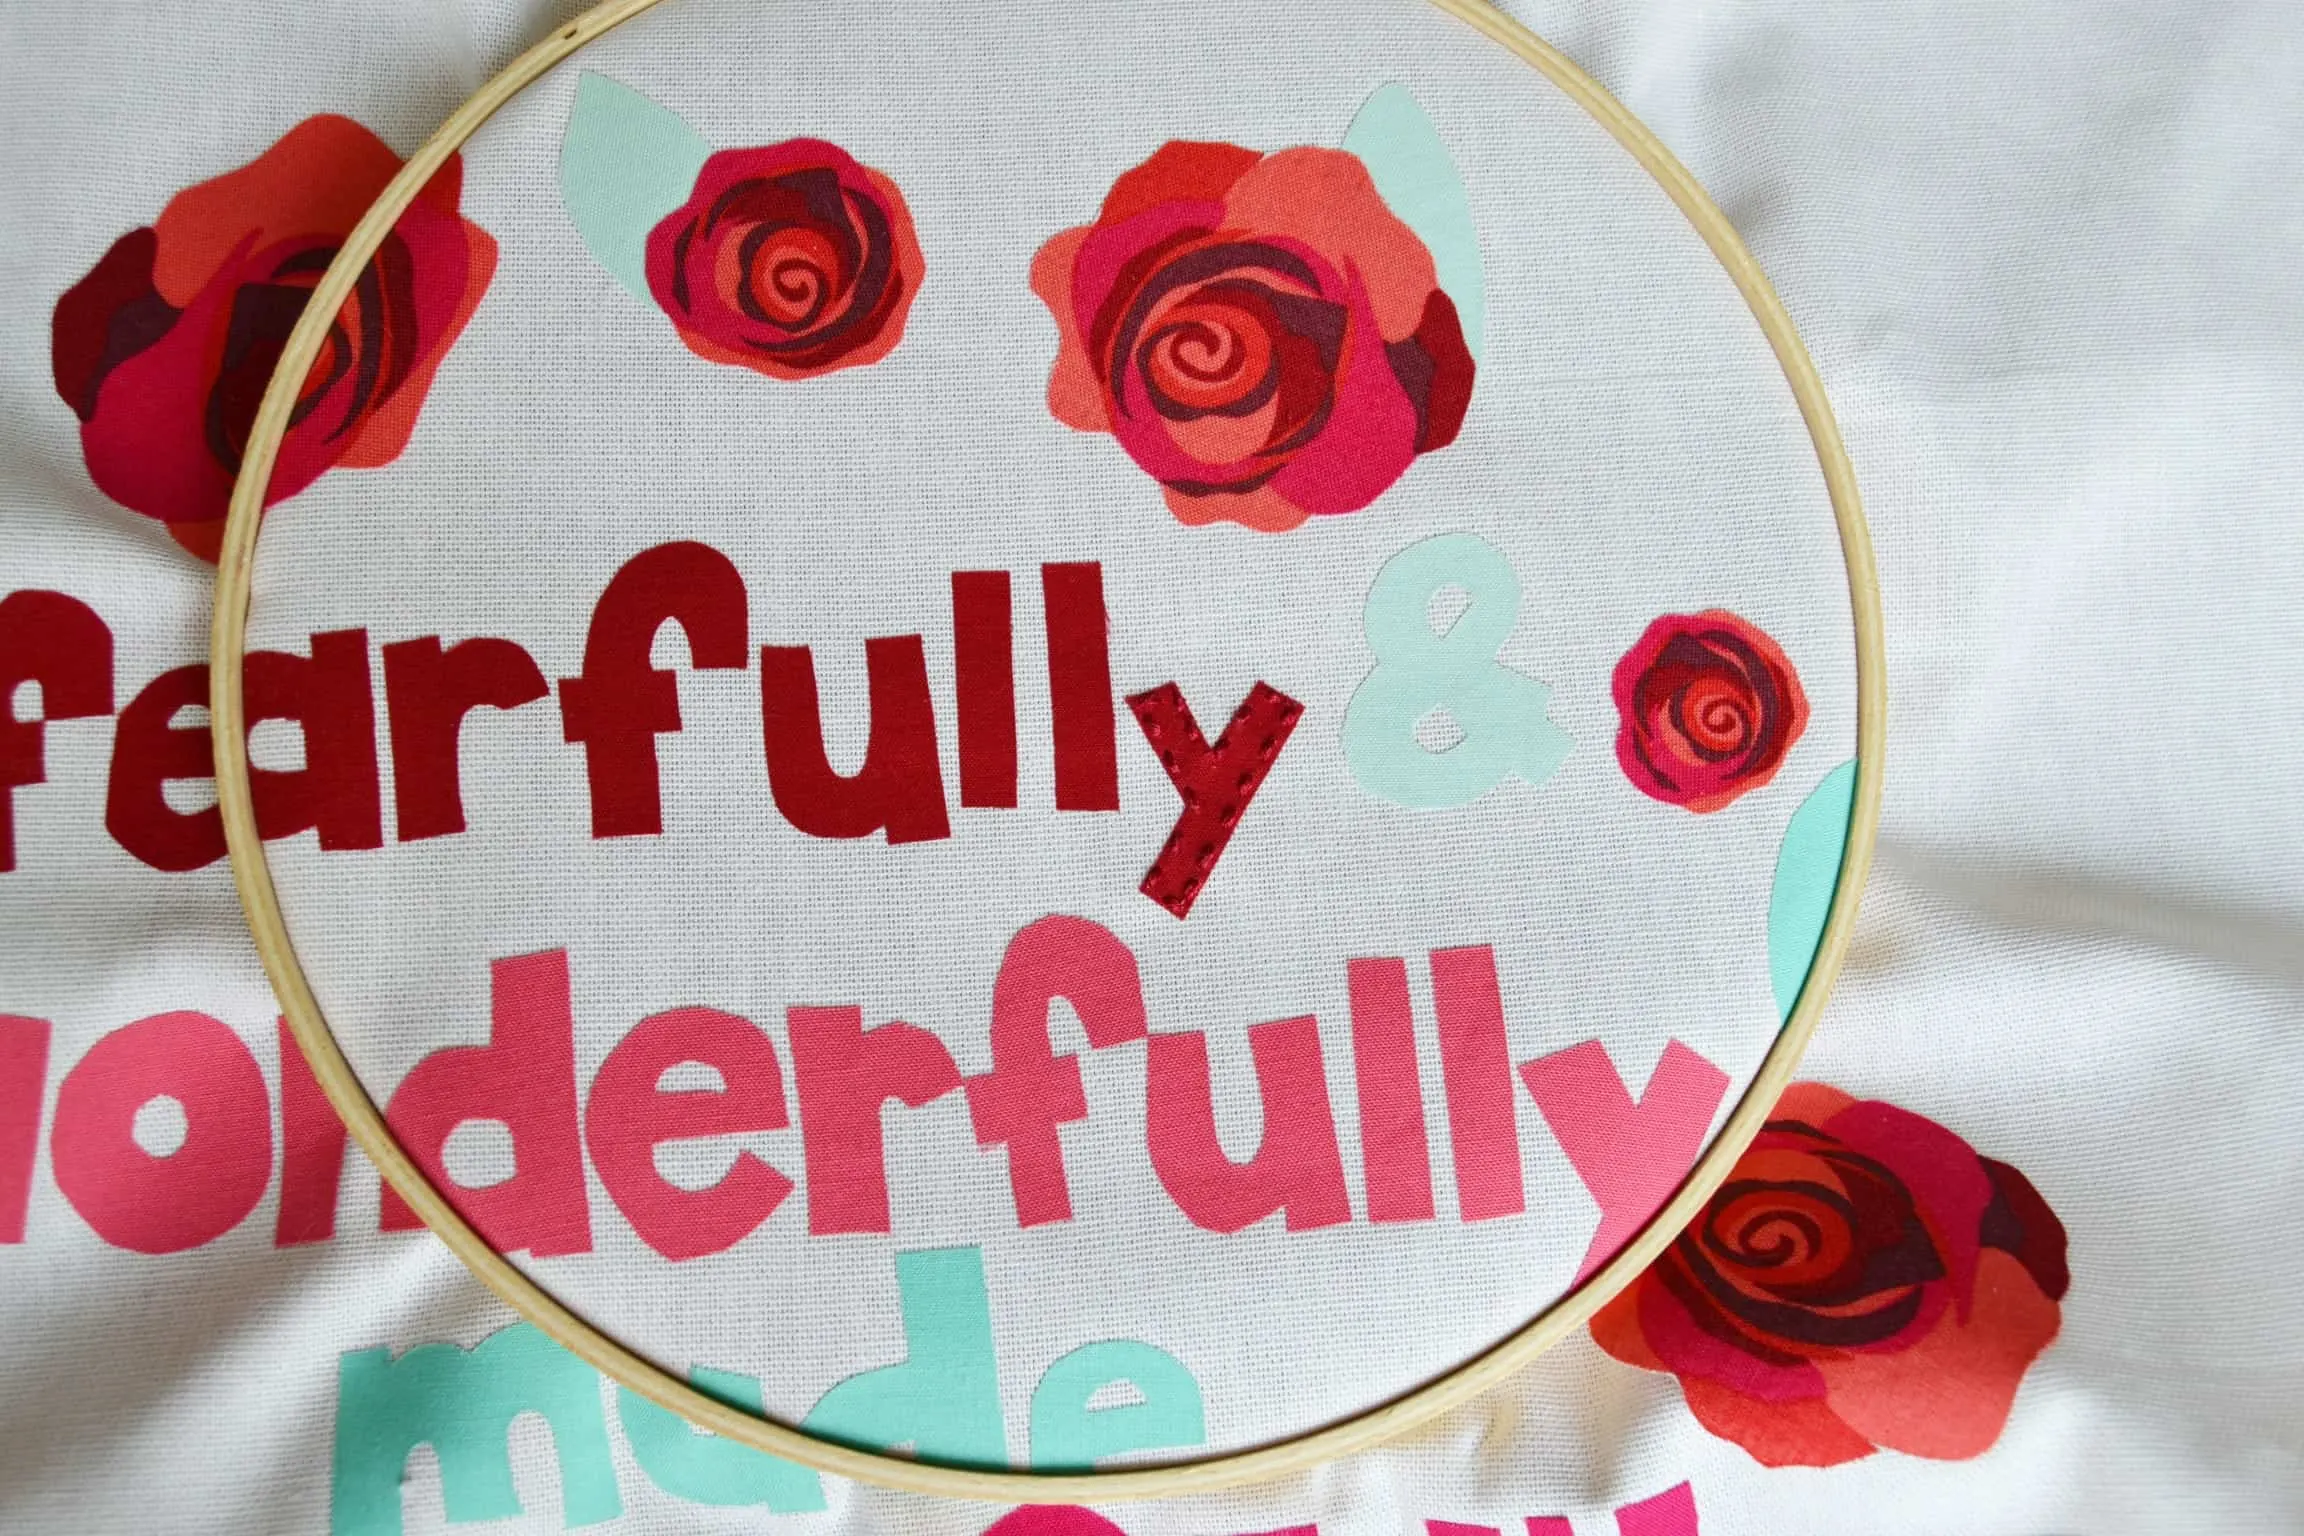
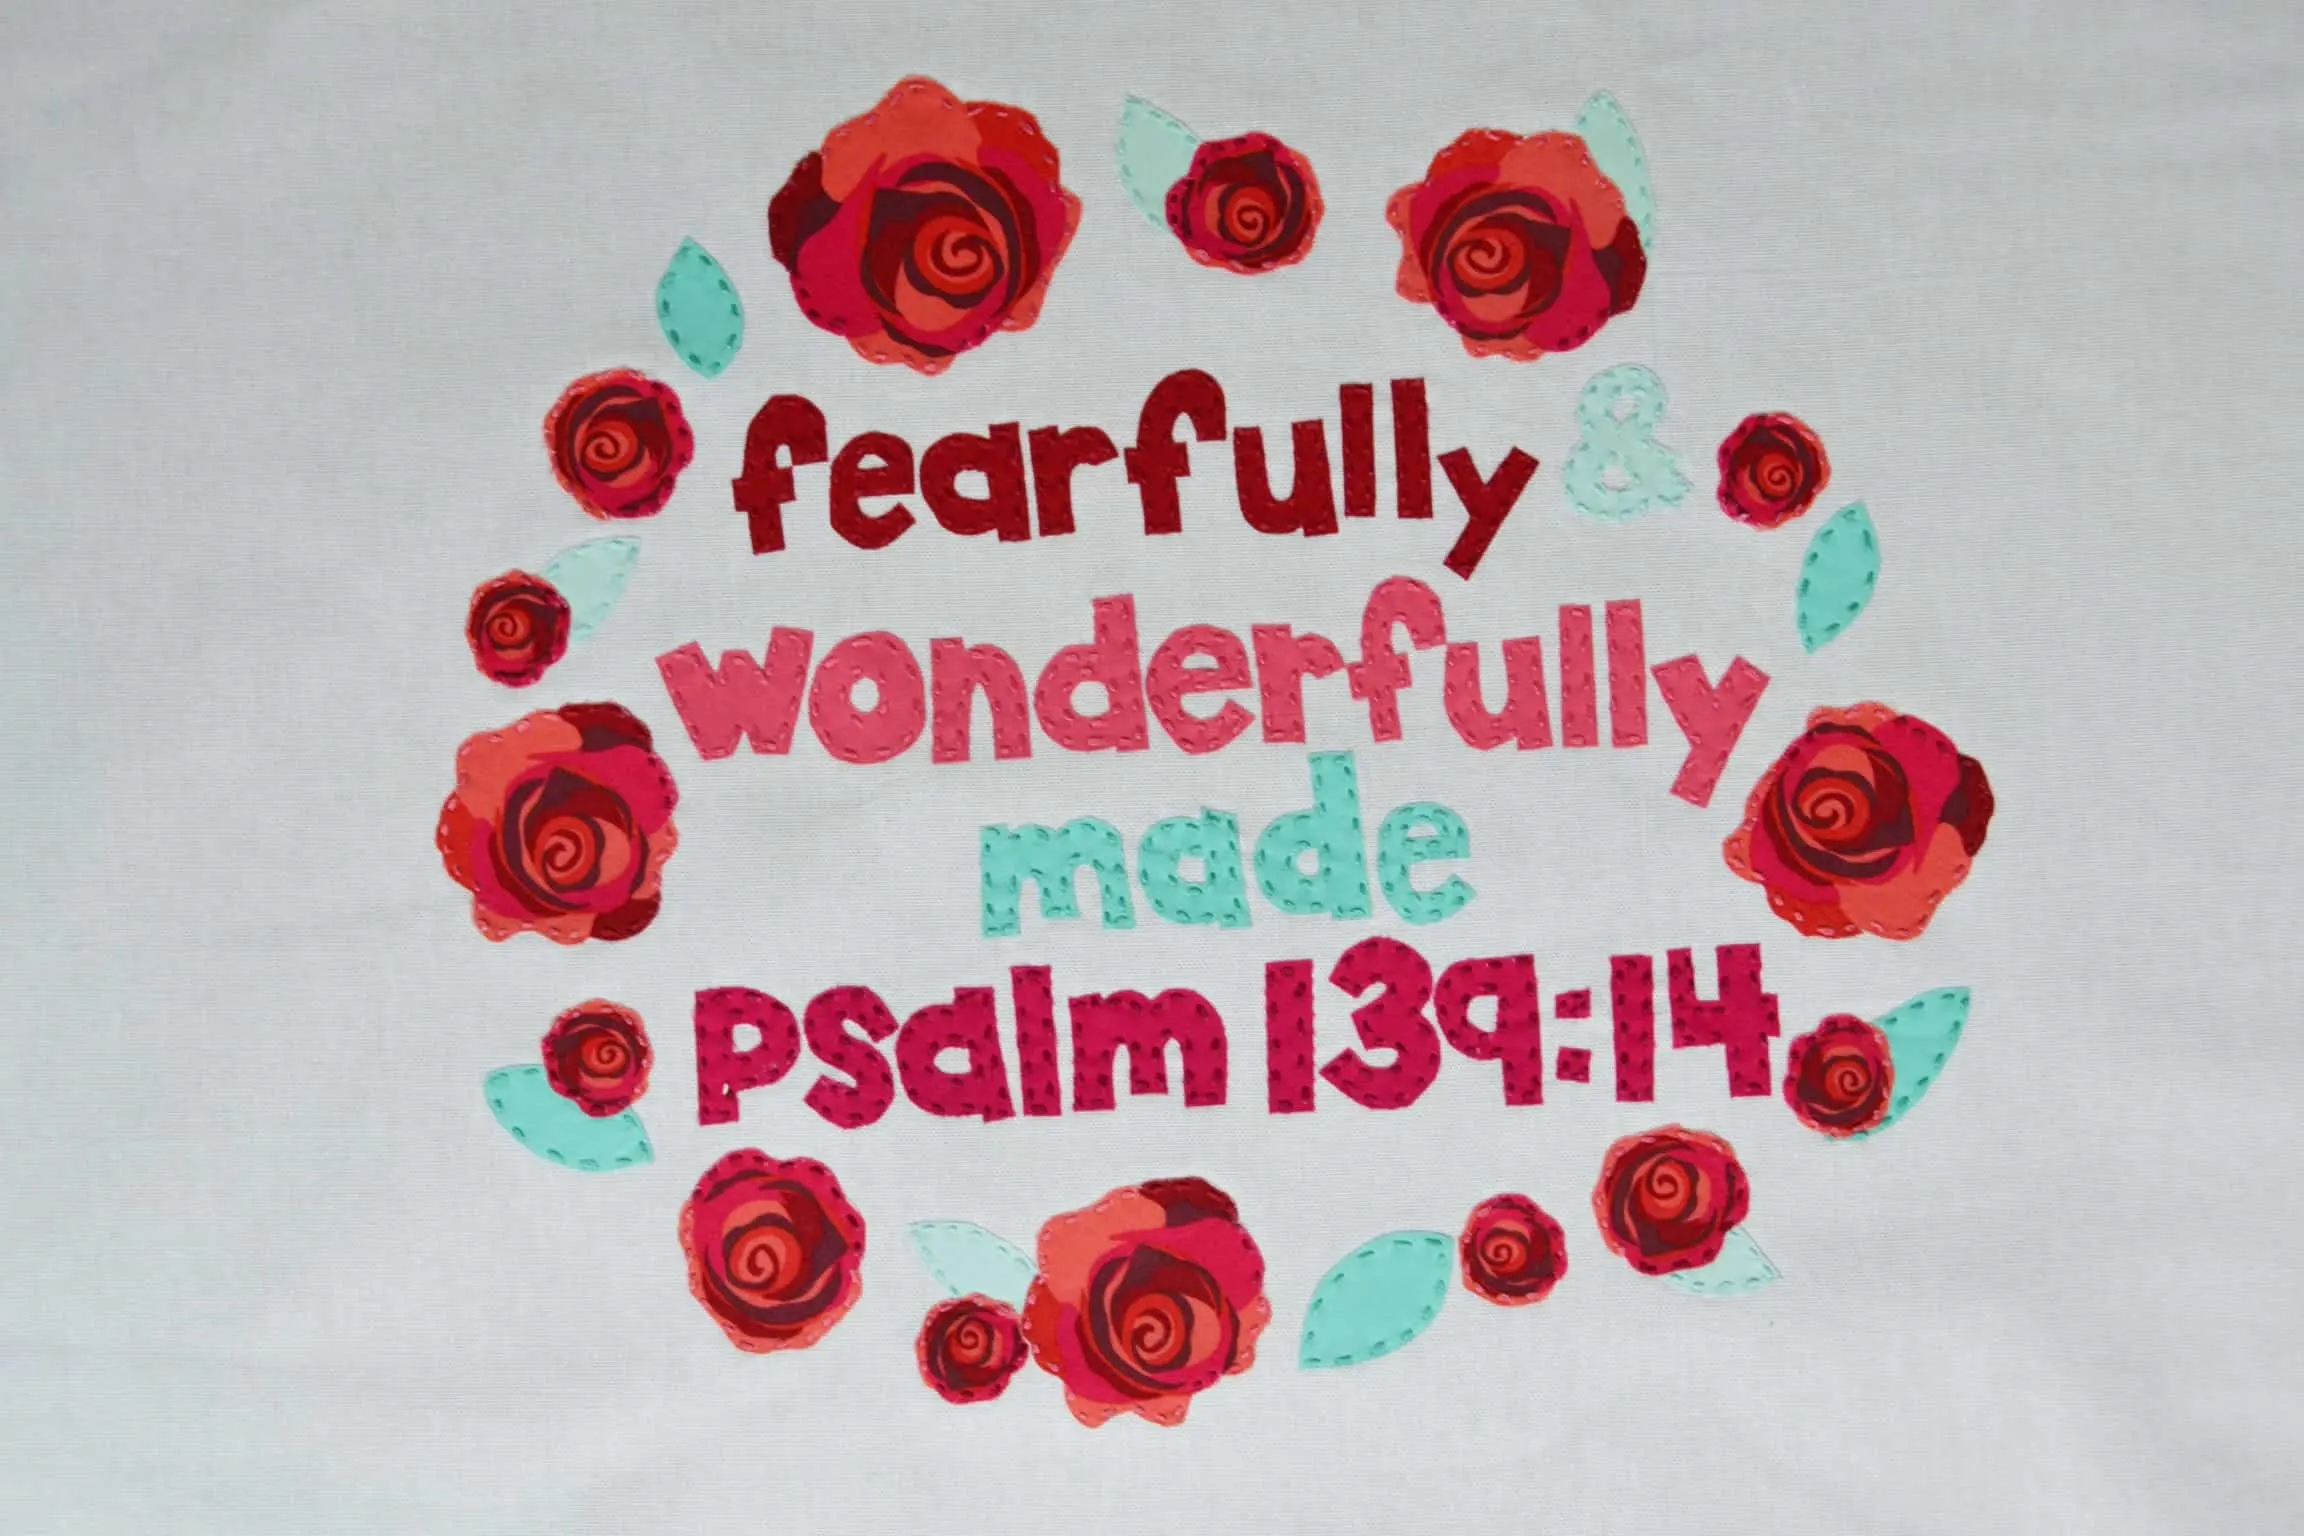
Step 8: Lay down the white fabric down with the design facing up. Fold one side of the white fabric over but be sure to keep the design in the middle. Fold the other side over to the middle too. Again, make sure to keep the design centered. You want the middle square where the design is to measure about 17 inches across once you’re done folding.

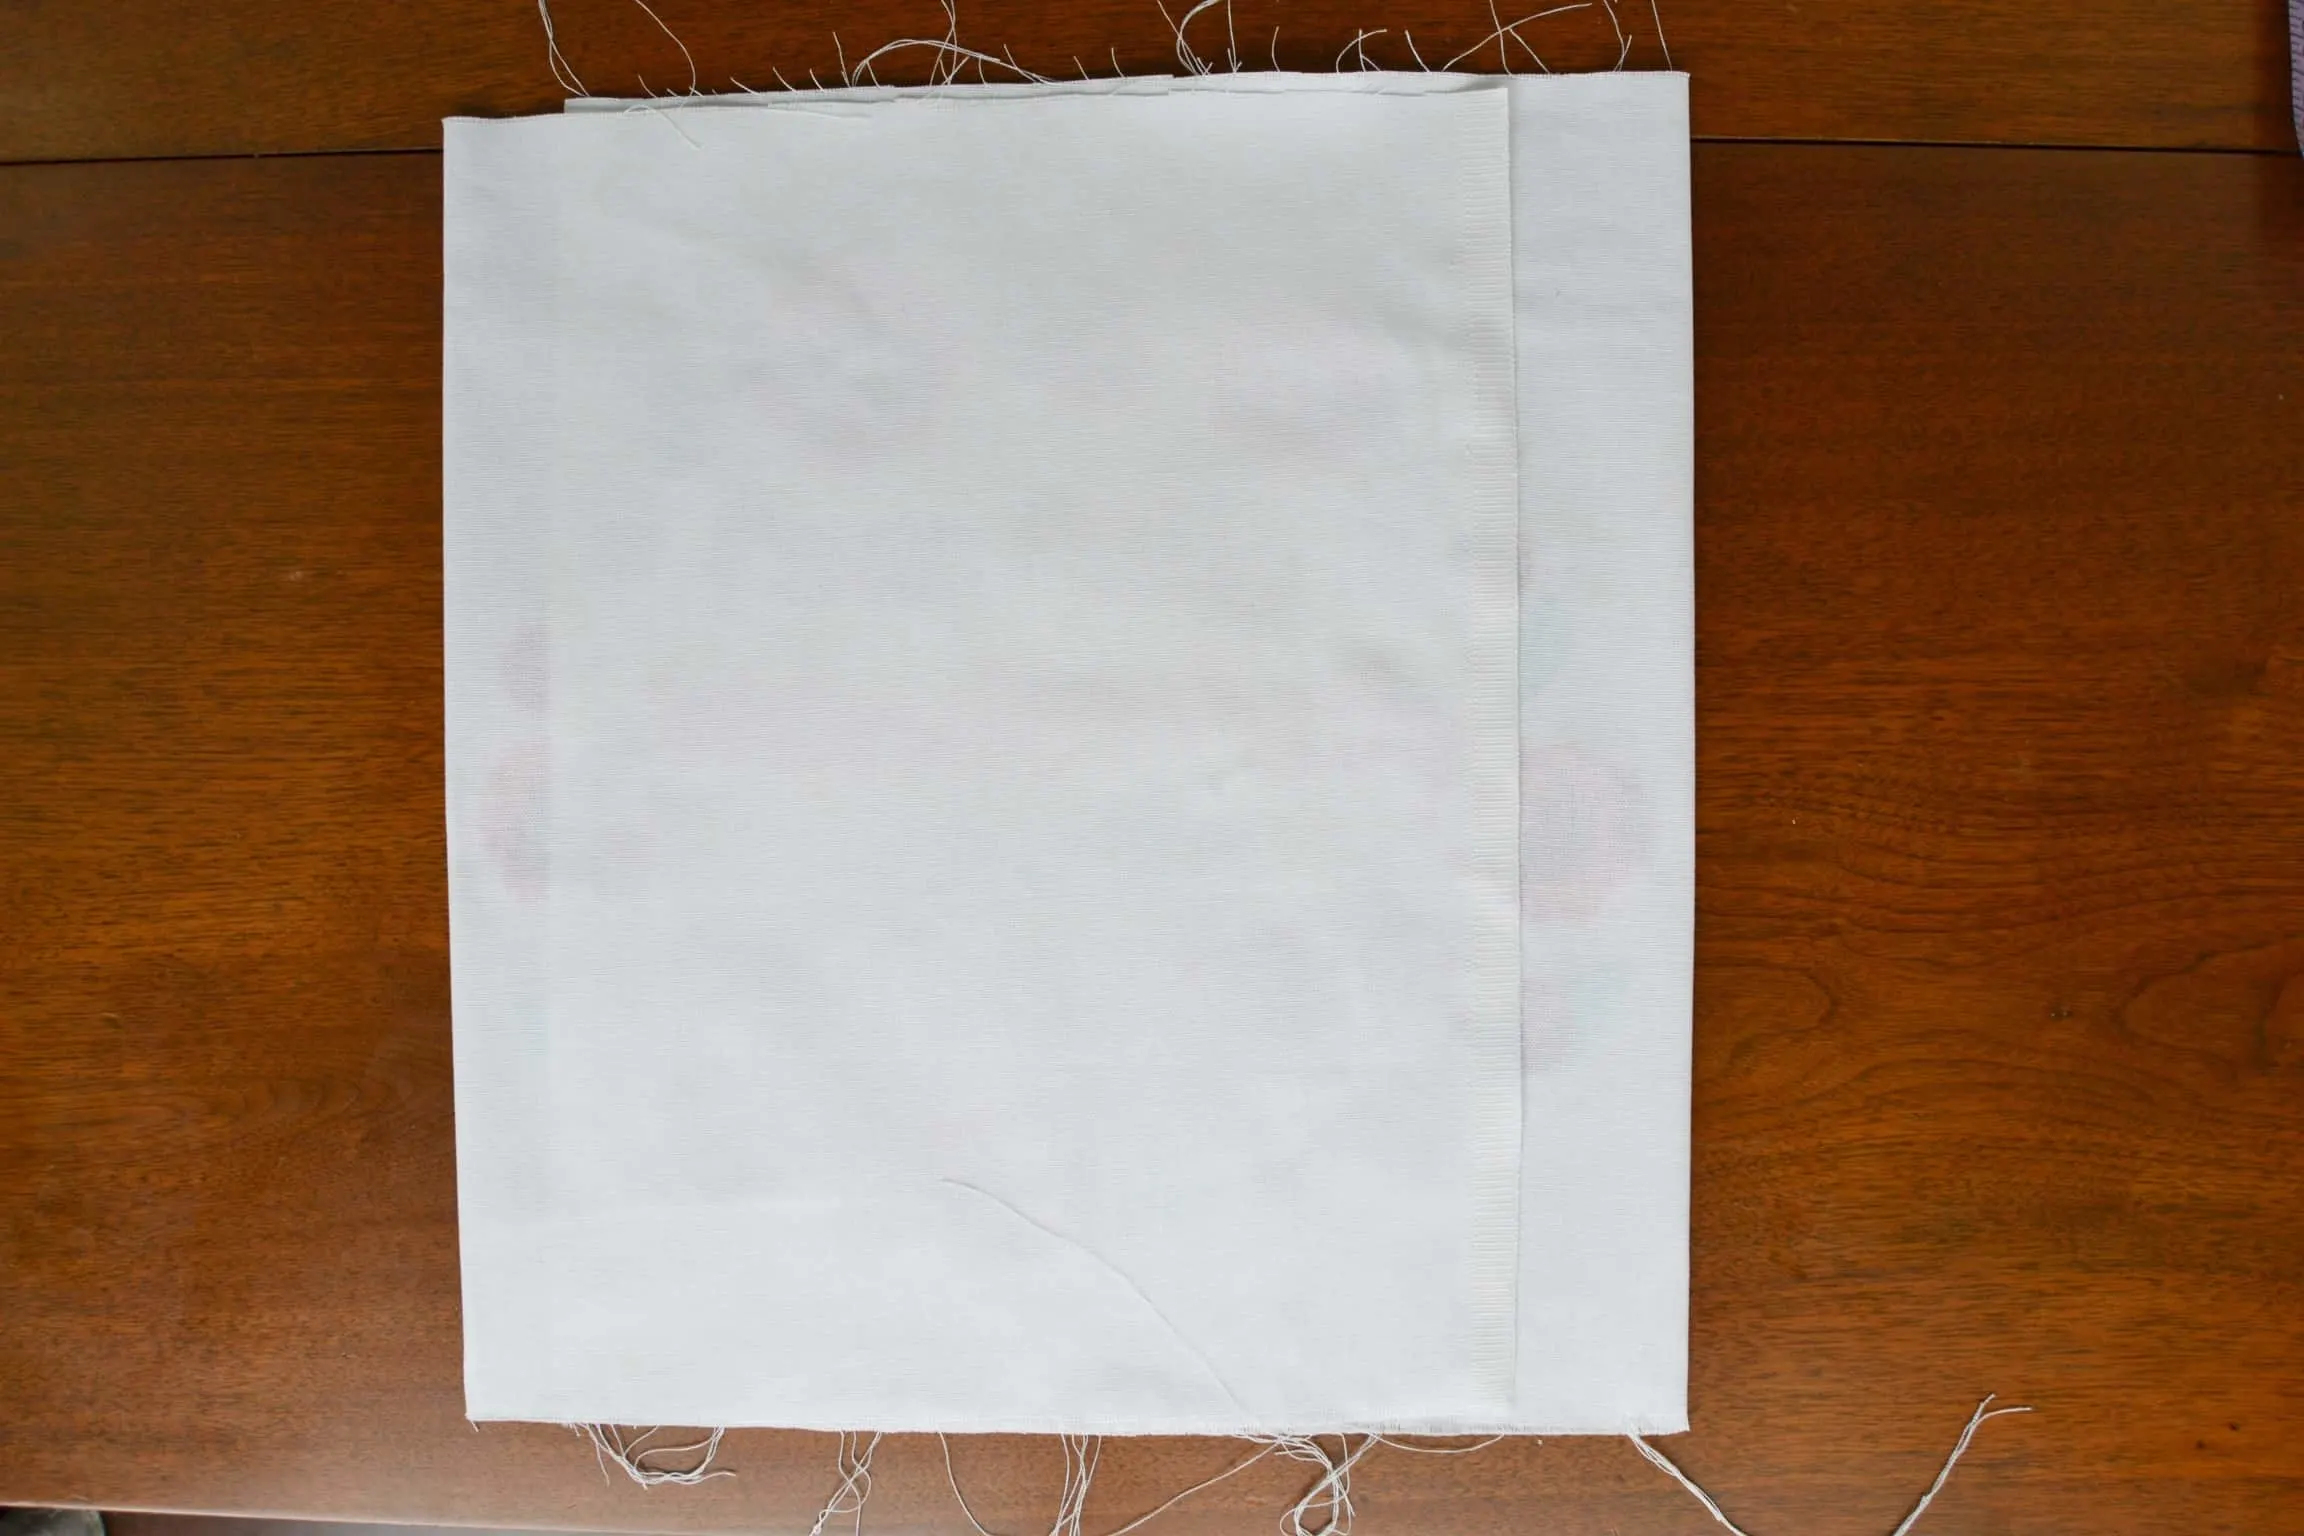
Step 9: Pin and sew along the two open edges. Sew ½ inch from the edge using a zigzag stitch to help cut down on fraying.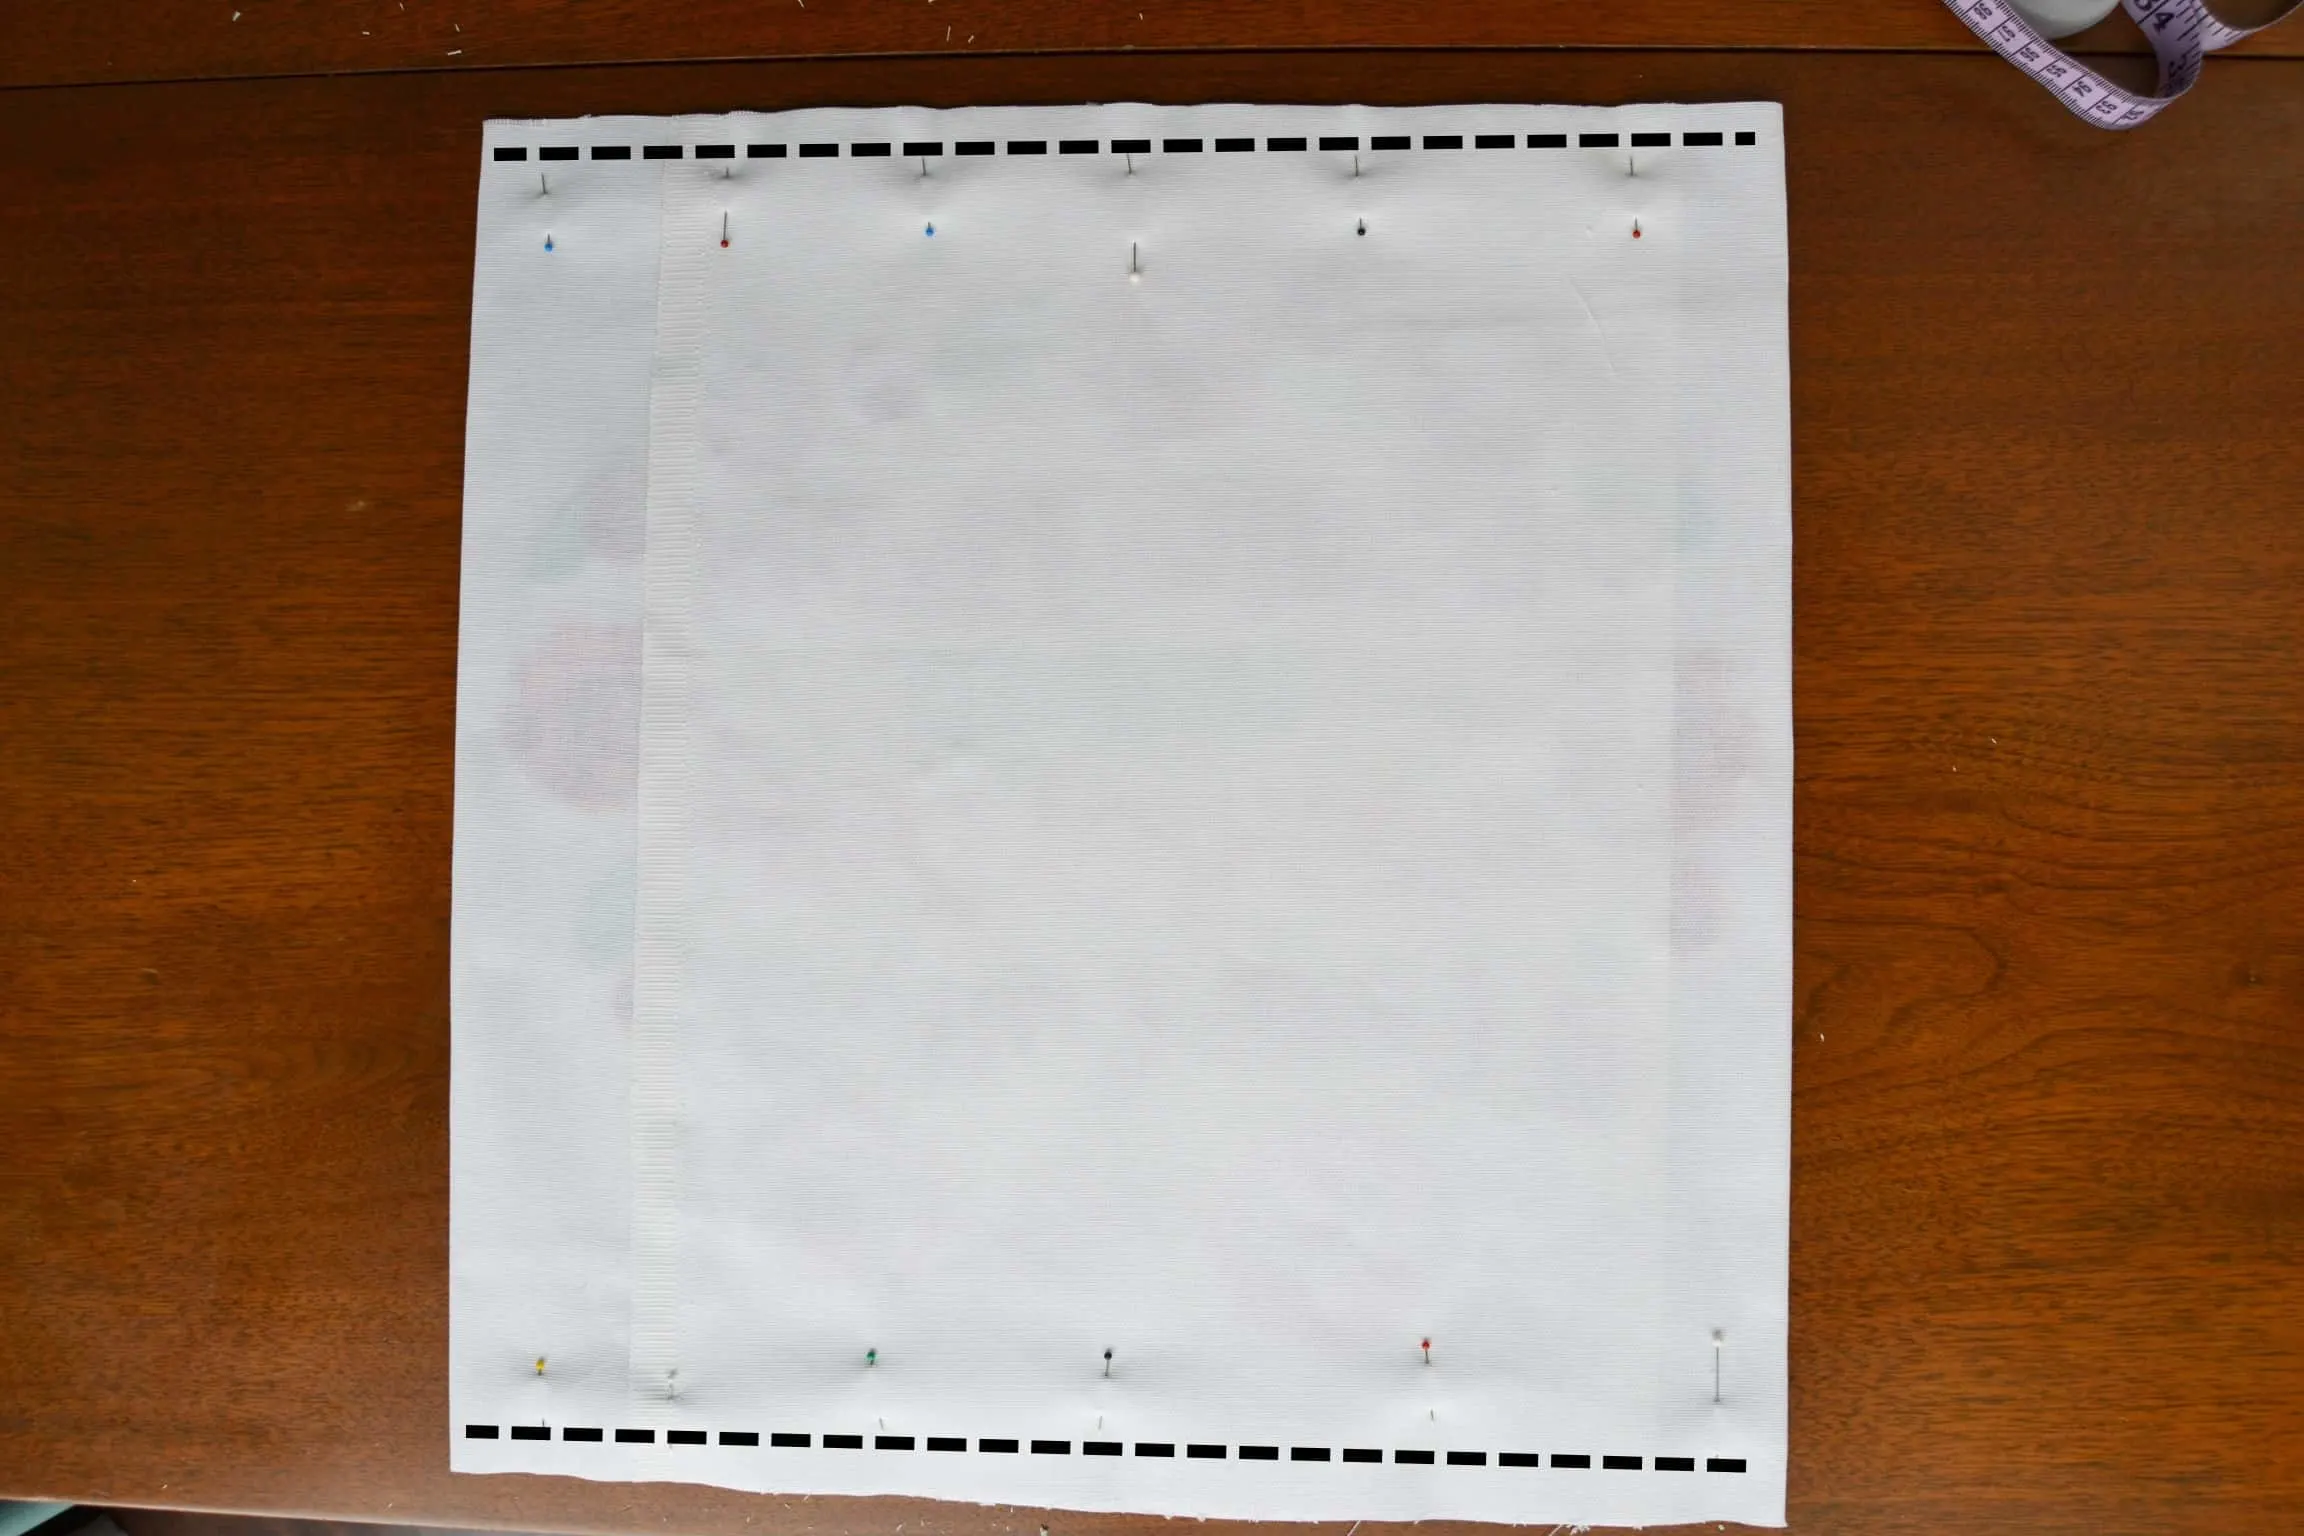
Step 10: Use pinking shears to cut along the sewn edges and notch the corners.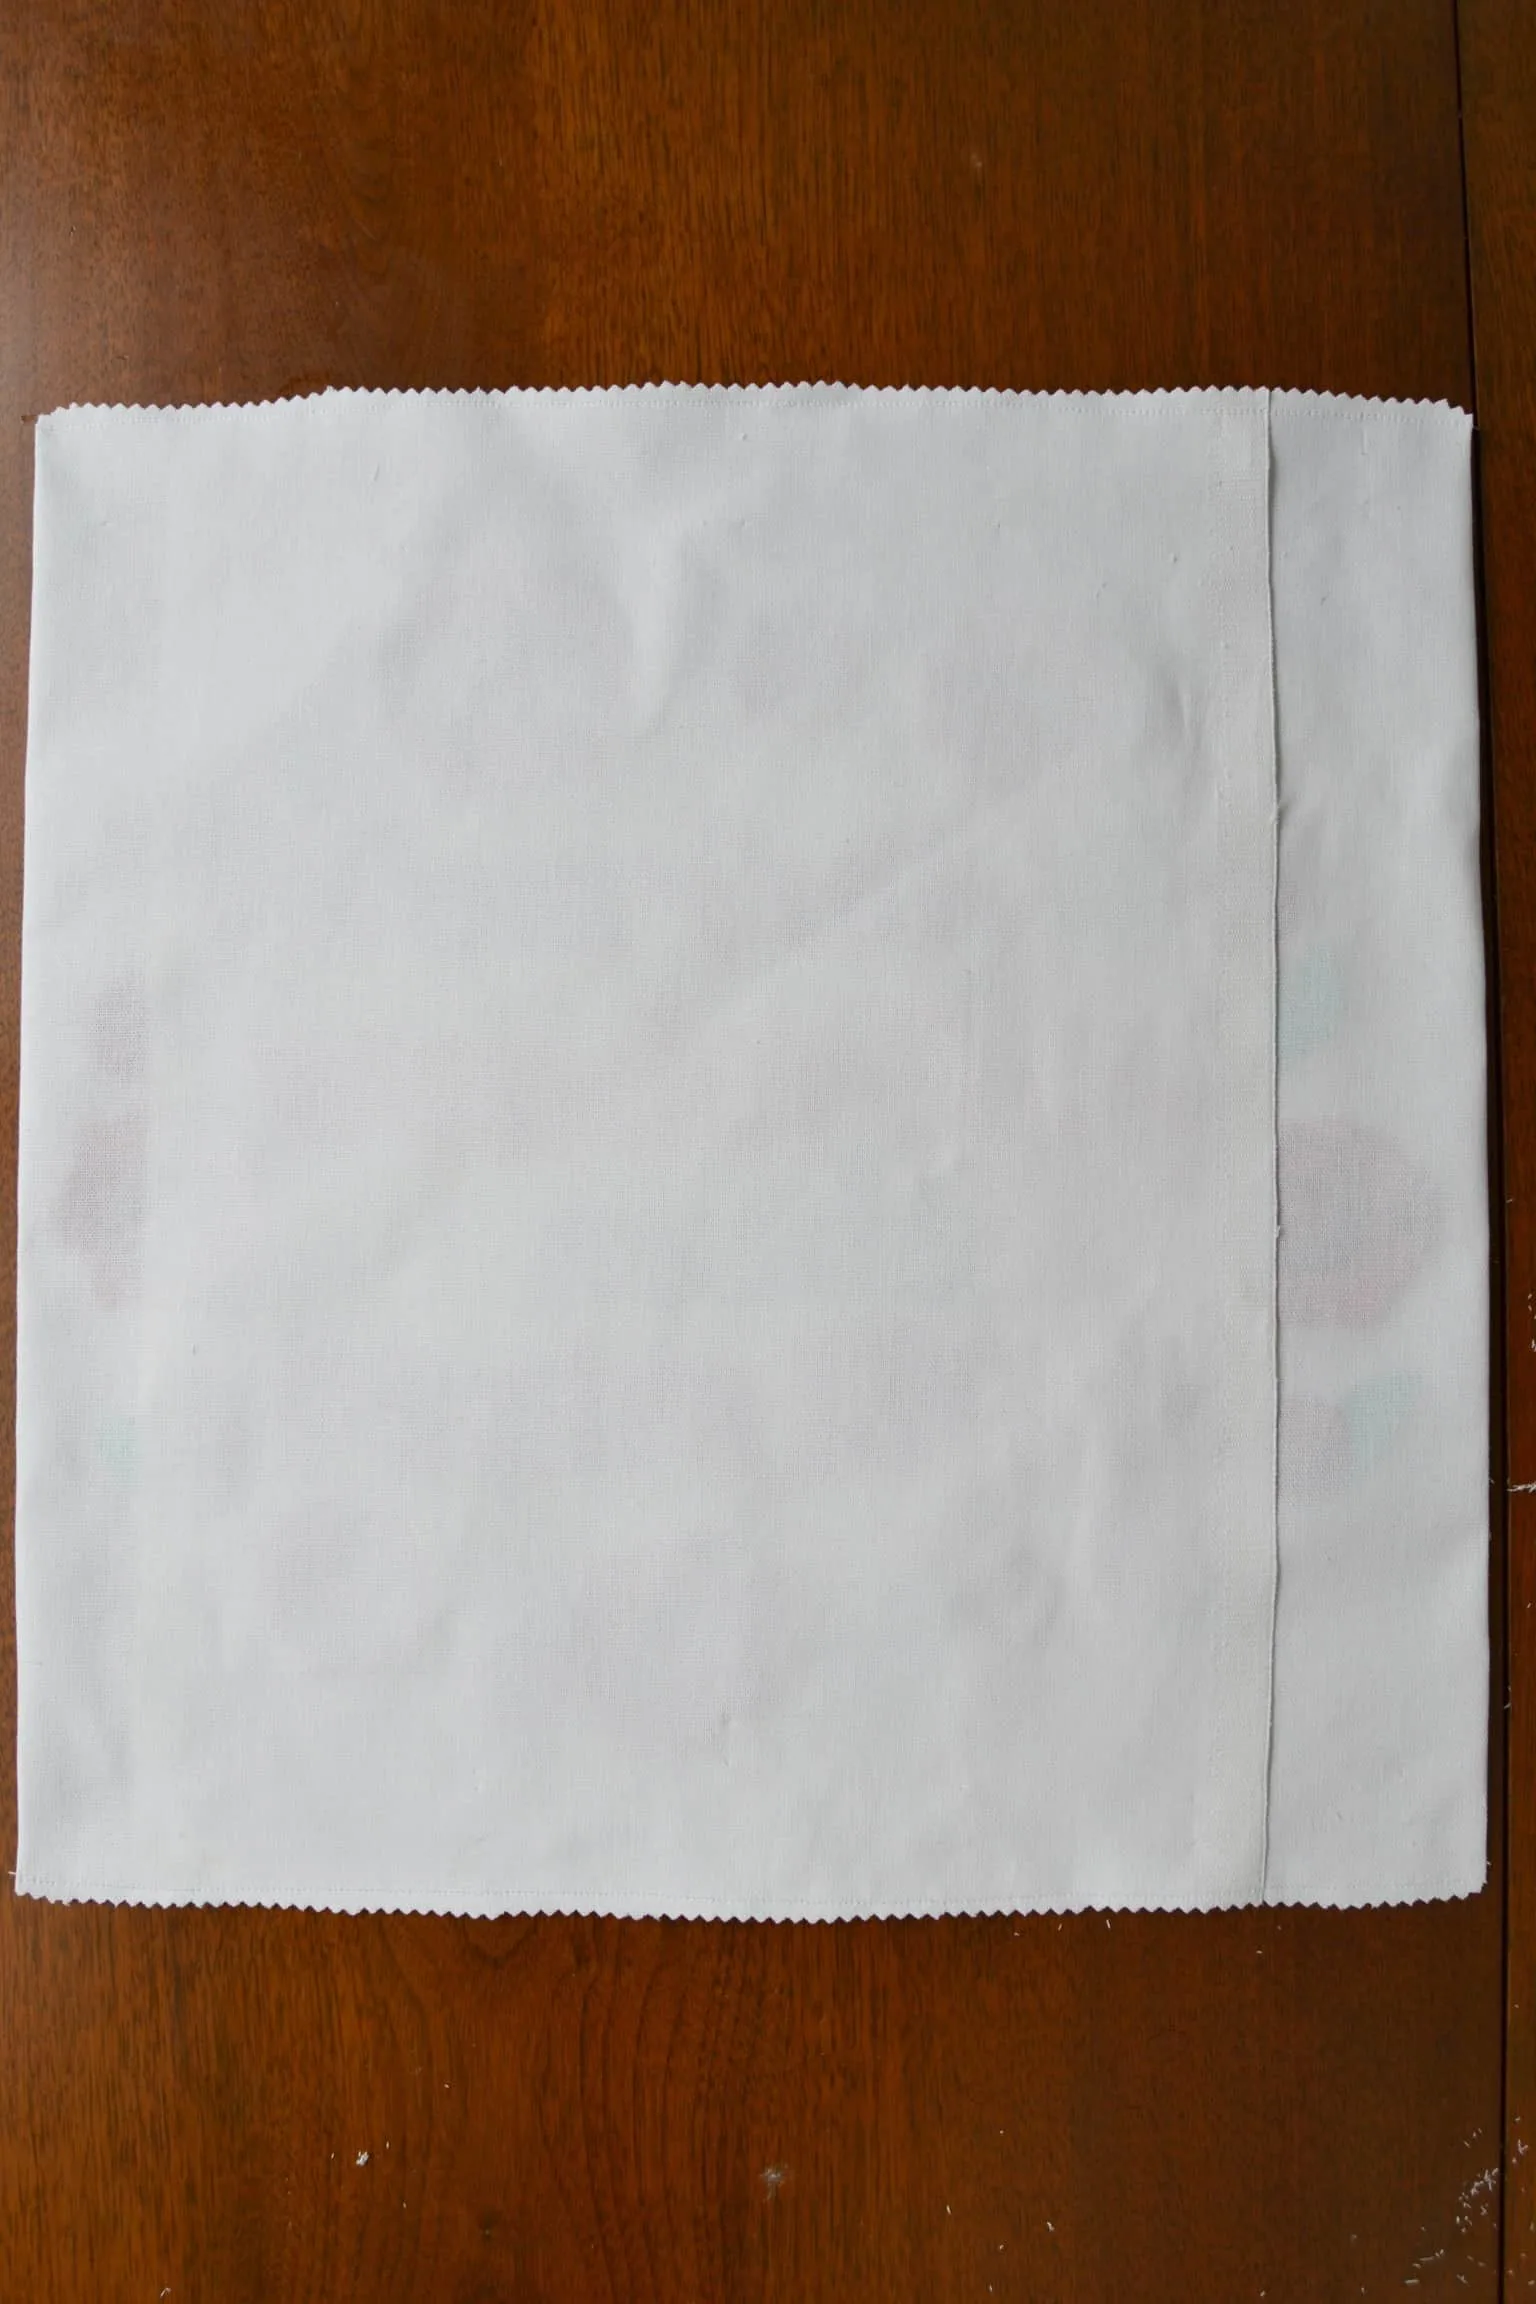
Step 11: Turn the pillow cover right side out, press, and insert the pillow form. Then you’re done! I know it’s a bunch of steps but I think it makes a pretty pillow. Let me know if you make one in the comments below or if you make a pillow cover with any other quote. I’d love to hear all about it!

Shannon Molenburg
Wednesday 25th of July 2018
I absolutely love this!!!! So beautiful! You are so talented Cat!!!
Cat
Wednesday 25th of July 2018
Aww thank you!!!