
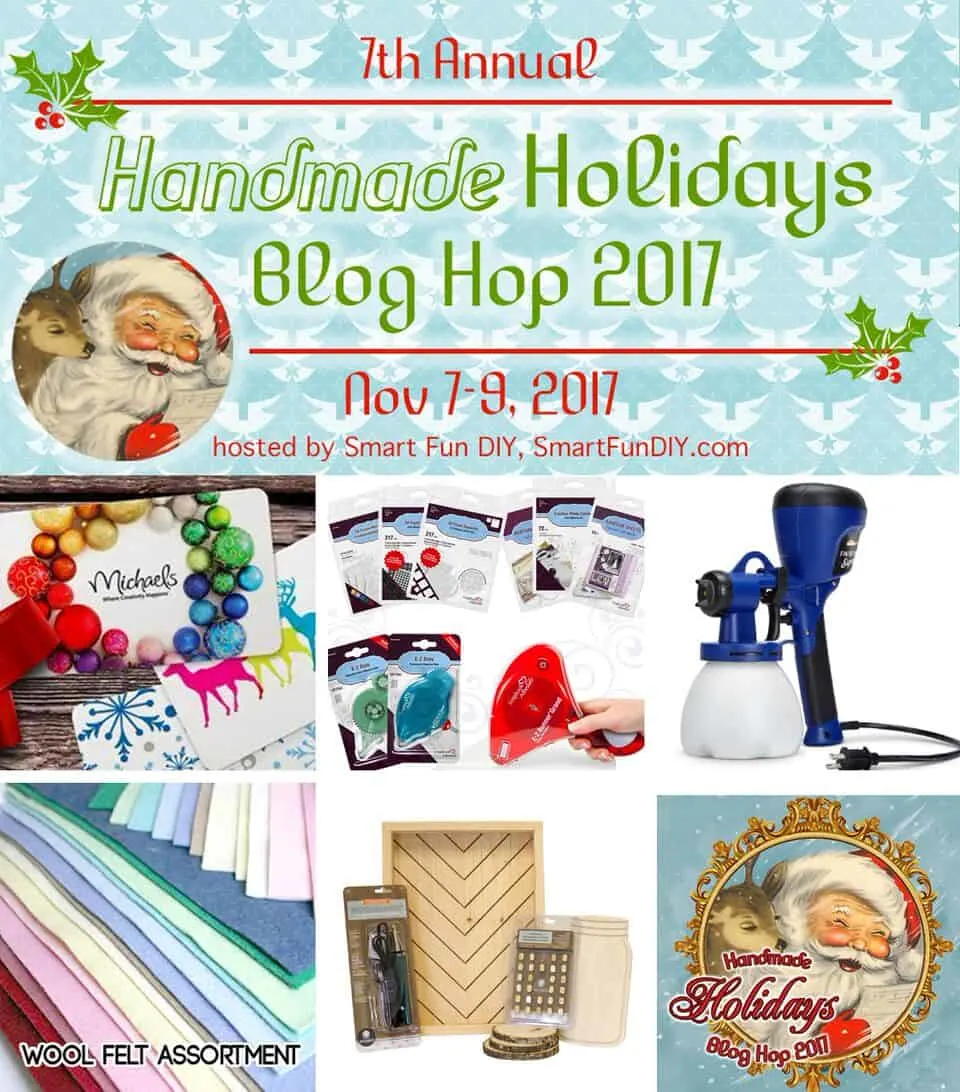
 Hello! Today I’m back with more Handmade Holidays fun! Handmade Holidays is a blog hop where some fantastic bloggers are sharing creative ideas for handmade gifts, decor, and eats for the holidays. Today we are all sharing handmade holiday decor and I’m sharing with you a tutorial for for how to make your own Christmas pillow cover!


Cute throw pillows can cost you a pretty penny so it pays to make your own. Plus you can make exactly what you want AND today I’m going to show you how you can make them even if you don’t sew.
Be sure to stick around to the end of the tutorial to enter to win one of the prize packs from our sponsors and continue on the hop to see even more amazing handmade holiday ideas.

Here’s what you will need to make your own throw pillow covers:
- 3/4 yard of fabric for main part of pillow cover
- iron-on adhesive tape (permanent)
- fabric scraps for embellishment on front of pillow
- fusible web
- Car with Christmas Tree pdf
Step 1: Wash, dry, and iron your fabrics. Cut your fabric so that you have one square that is 19 by 19 inches, one rectangle that is 19 by 10.5 inches, and one rectangle that is 19 by 14 inches.
I made a 16 inch pillow cover. If you are making a larger or smaller pillow cover then adjust your measurements accordingly.


Step 2: Take the two rectangle pieces and place them with the right side down. Fold one of the 19 inch long edges over 1/2 inch and press flat with your iron. Then put the adhesive tape on top of the 1/2 inch that you folded over. Iron it on according to the directions on the package.
Some iron-on adhesives are different than the one I used so be sure to follow the directions for your specific adhesive. Let it cool before you try to pull on it or move it around too much.


Step 3: Peel off the paper backing on the top of your iron-on adhesive tape. Then fold the edge of the fabric over again. Iron over the top piece. Try not to move it around too much until it cools and sets.


Step 4: Repeat steps 2 and 3 for one of the 19 inch sides of the second rectangle.
Step 5: Place the 19 inch square right side down. You are going to make a square of adhesive tape that is 1 inch from the outside edge on all sides. Iron the adhesive tape down according to the package directions.


Step 6: Peel the paper backing off of the adhesive tape. Then lay one of the rectangles down on top of the square, lining it up with the edge of one side, with the right side of the rectangle facing up.
Iron on top of the rectangle to activate the adhesive and attach according to the package directions.


Step 7: Lay the second rectangle on top, lining it up with the edge on the other side, with the right side up. Iron it down as well. There will be a gap where it overlaps with the first rectangle and there is no adhesive.
Add adhesive tape under this top rectangle to attach it to the one below it. Iron it down there too.


Step 8: Find the outer threads on the corners of the pillow cover. Pull the thread all the way along the edge until you reach the other side and the thread comes completely out. Repeat until the pillow cover has as much fringe on the front layer as you would like.


Step 9: Print out the Car with Christmas Tree pdf. Place a sheet of fusible web on top of the print out and trace the design onto the fusible web.


Step 10: Cut the designs out of the fusible web. Peel the paper backing off of the web. Put the sticky side of the web down onto fabric. Then cut out the design on the fabric.


Step 11: Iron the fabric pieces of the design down onto the center of the pillow, using a press cloth between your iron and the fabric.


Finally, you can enjoy your festive new pillow!


Now, don’t forget to enter the giveaway!


Be sure to check out all the other fabulous holiday decor ideas the other bloggers are sharing today.


CardioGod
Tuesday 2nd of January 2018
I'm not a big fan of sewing, so this idea is just right for me. Thanks for sharing!
Cat
Tuesday 2nd of January 2018
Glad you like it!
Michelle James
Saturday 18th of November 2017
Adorable pillow and love that it is no sew!
Cat
Sunday 19th of November 2017
Thank you!
Sue D
Friday 10th of November 2017
So cute!
Cat
Friday 10th of November 2017
Thank you!
Jennifer Priest
Thursday 9th of November 2017
WOW! This is GREAT and I love the no sew feature!
Cat
Friday 10th of November 2017
Thank you! And thank you for putting this hop together!
Dana Tatar
Wednesday 8th of November 2017
Super cute pillow. I love that this is a no sew project! Thanks for sharing your template. :)
Cat
Wednesday 8th of November 2017
Thank you!