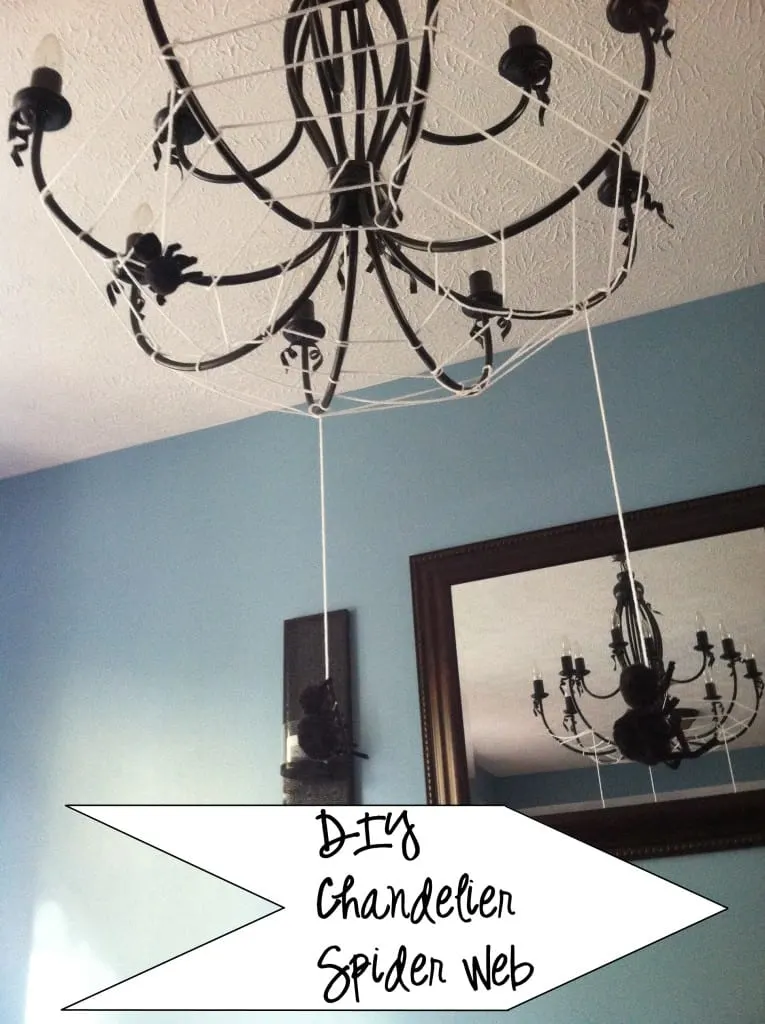
As I mentioned yesterday, A is totally into spiders this Halloween. As evidenced by some of the decor around our house. We’ve got spiders hanging from the chandelier…
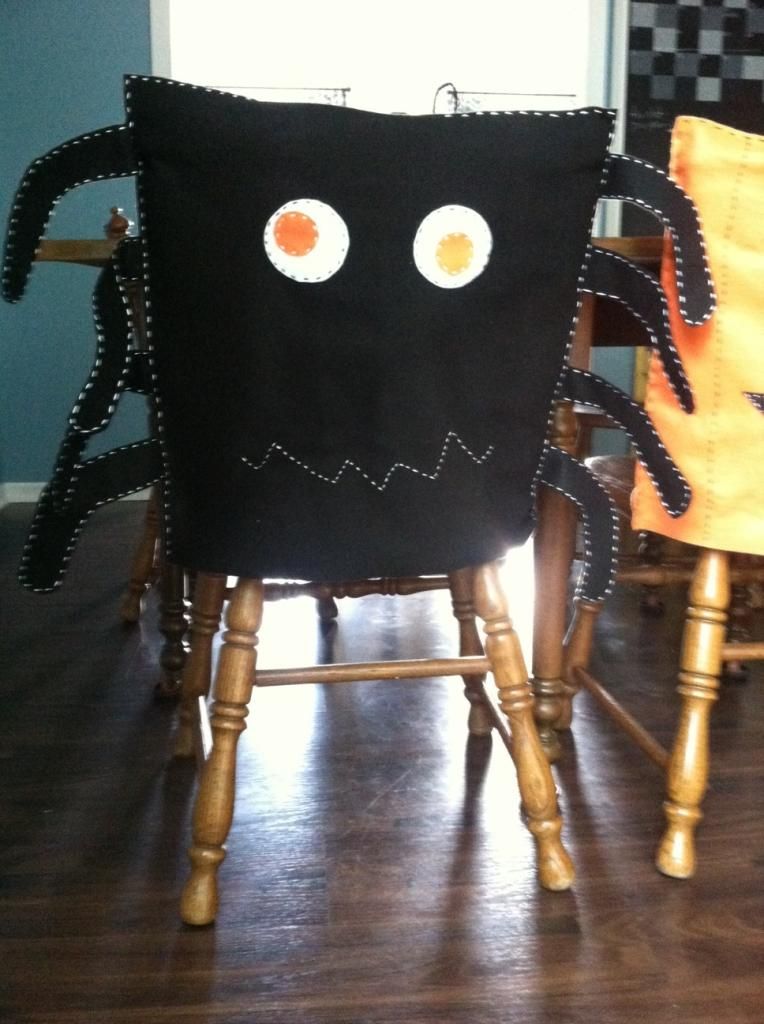
 and on his chair at the dinner table.
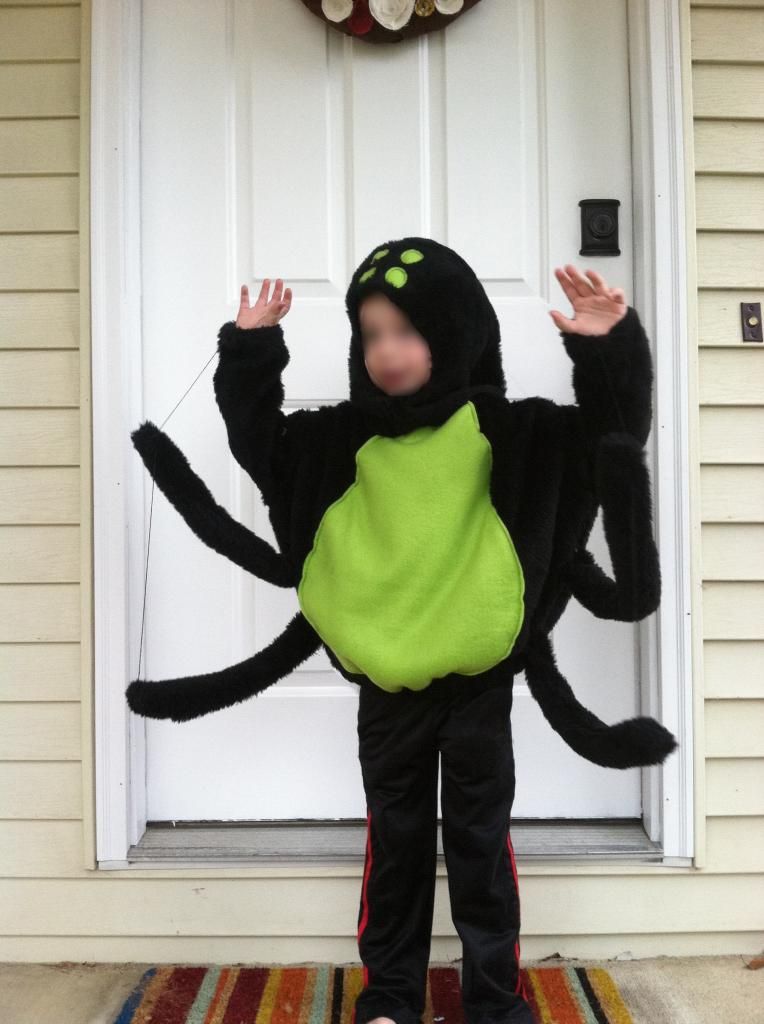
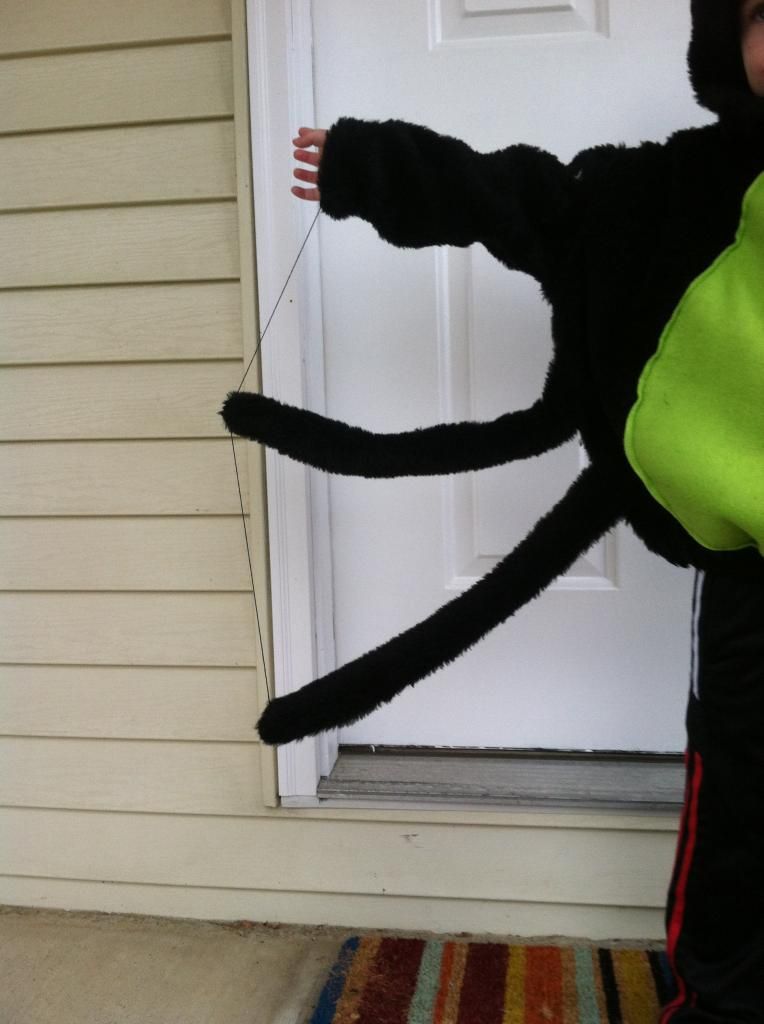
So it should should be no surprise that when I asked him what he wanted to be for Halloween he told me he wanted to be a spider. A huge spider, to be exact. I thought he might change his mind at some point, but he never wavered. And this morning I finally put the finishing touches on his costume.
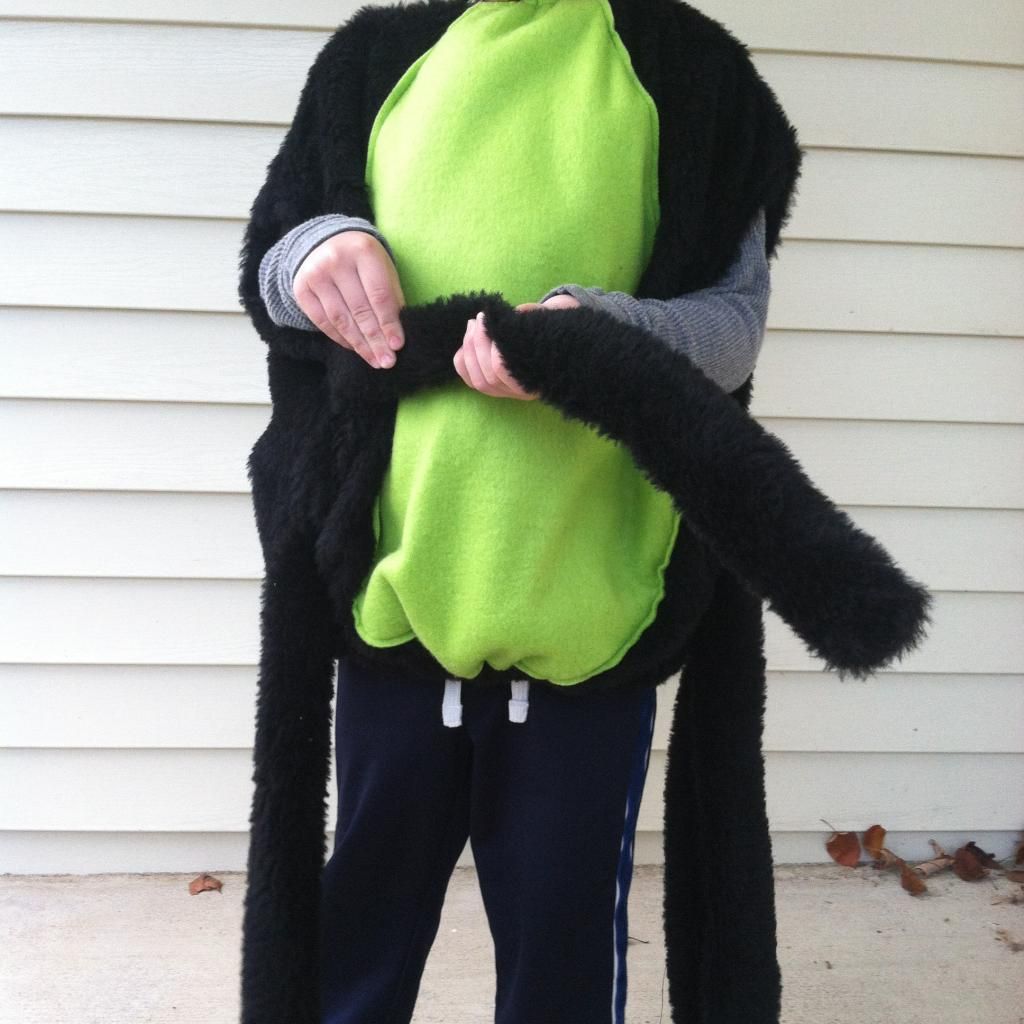
I used embroidery floss to attach his spider arms (legs?) to his actual arms so that they would move when his arms moved.

When my son told me that he wanted to be a spider I did a quick search of spider costumes and I of course loved the Pottery Barn kids spider costume.
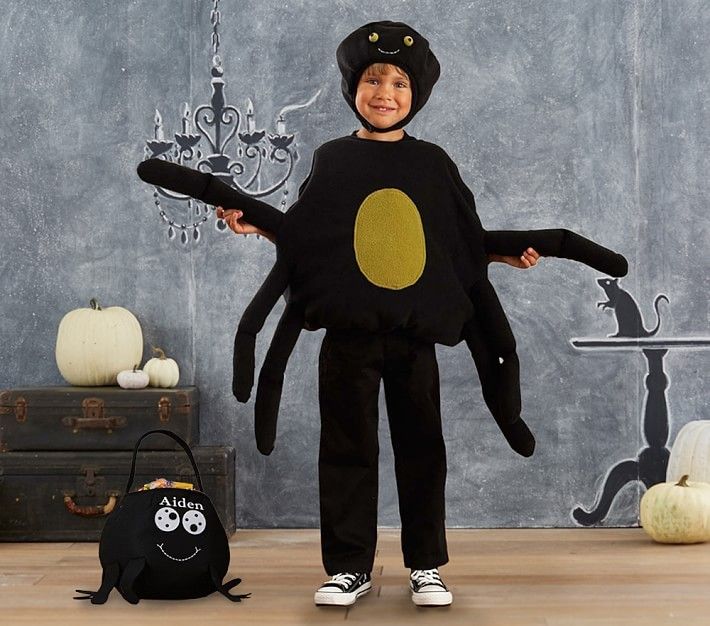
But $49 seems like a lot of money to me for a costume that my kid is not going to get to wear very much. And I thought “I could make that… for much less.” I know, famous last words, “I’ll DIY it!” Those words usually involve me appreciating the results but not always loving the process.
Honestly though, it wasn’t too bad this time around. And I did manage to make his spider costume for less, a lot less.
- green fleece (.50 yards)- $2.70
- black “fur” (1.75 yards)-$8.65
- elastic for bottom of costume-$2.47
- black thread, elastic for neckline, black embroidery floss- $0 (leftovers from other projects)
- sales tax (6.75%)-$0.93
Total cost: $14.75
For those of you interested in how I made it keep reading and I’ll do my best to explain my madness process. For the rest of you who are in no way interested in ever making a costume, please feel free to tune out at this point.
For those of you interested in continuing on with me, here’s how it all went down. Keep in mind my sewing skills are stellar amateur and so I might not do things the proper way. The first thing I did was make the body of the spider. To do this I laid out my fabric and used a pattern for another costume that I had on hand to make sure it was big enough.

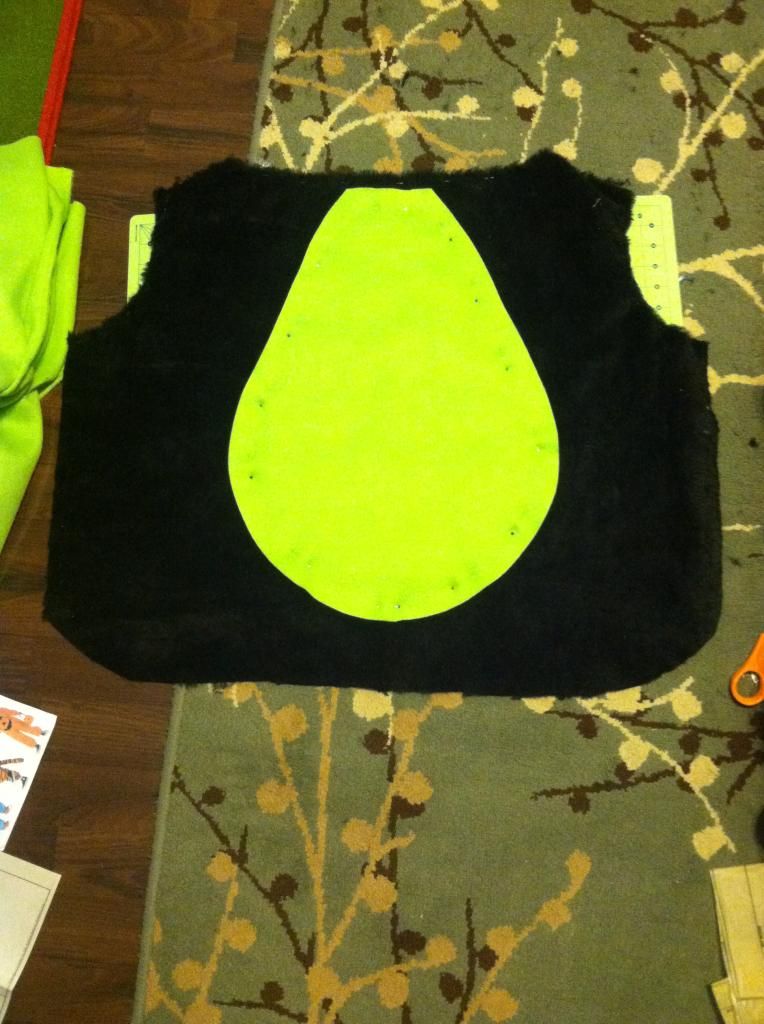
Once I had the basic shape for the front and back of the body I cut out a piece of the green fleece to make a contrasting piece for the belly.
I then made the legs. I cut out leg shapes, then folded them in half and sewed them shut that way.
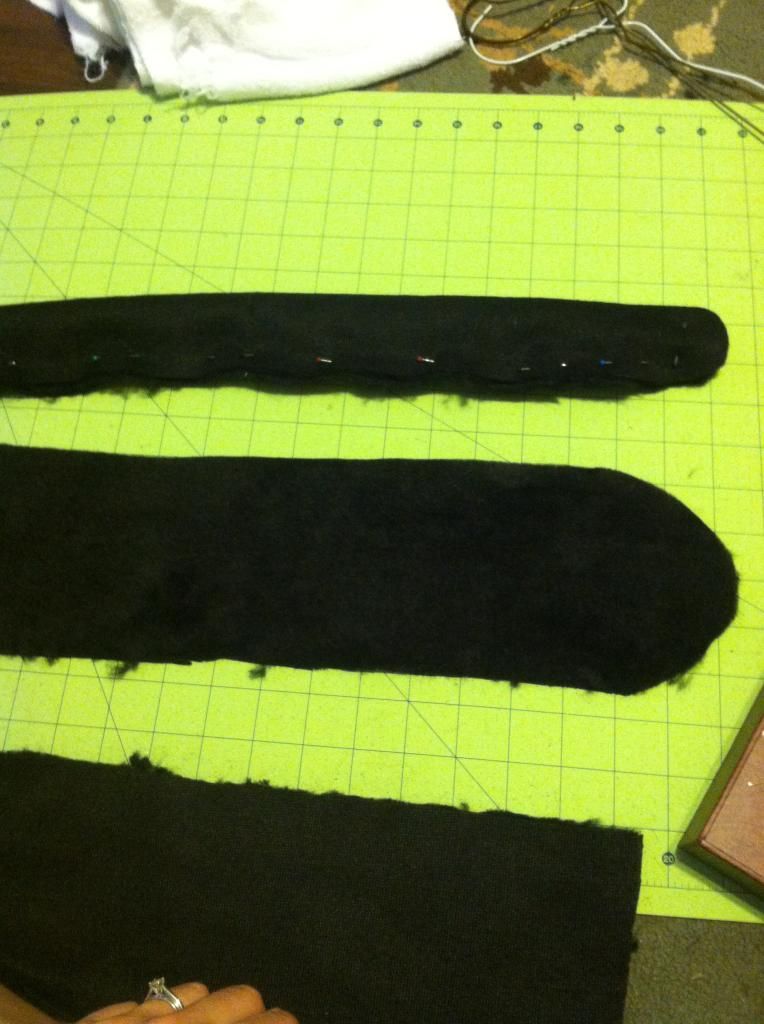
I then turned them right side out and stuffed them with a piece of a metal coat hanger wrapped in some scrap terry cloth that I had on hand.
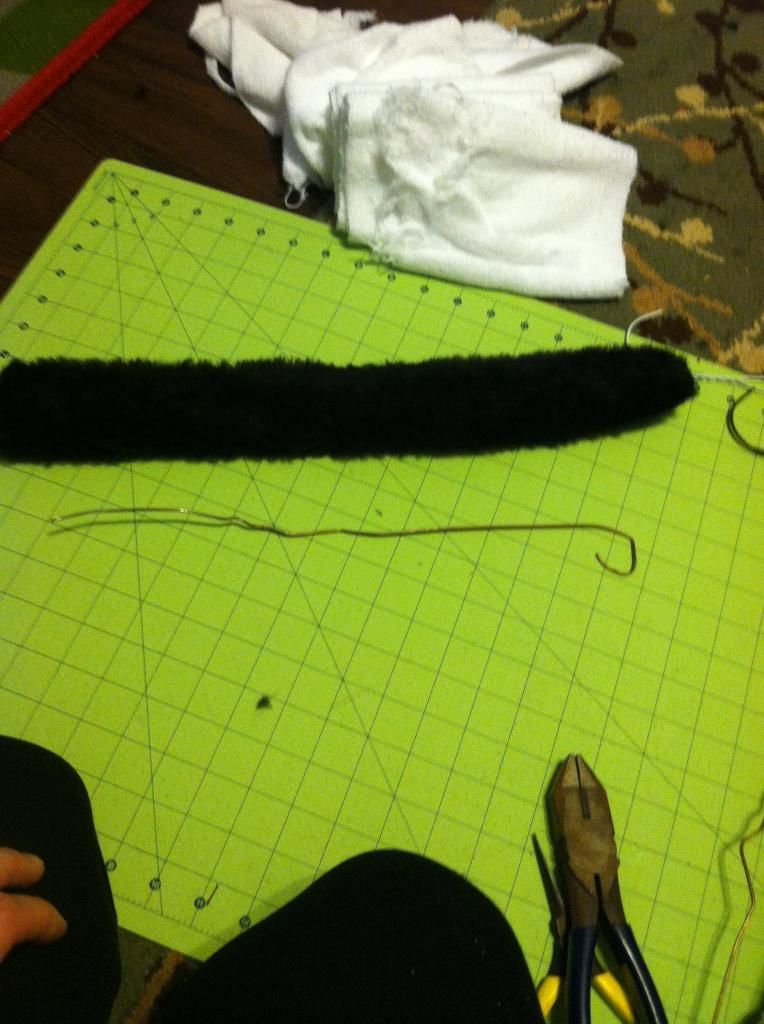
 Then I pinned the legs to the sides of the body pieces and sewed them together, with the right sides of the pieces facing each other.
 And this is how it fit. But that’s ok. I knew that I was going to sew elastic into the neckline and bottom to make it fit well while still being easy to get on and off.
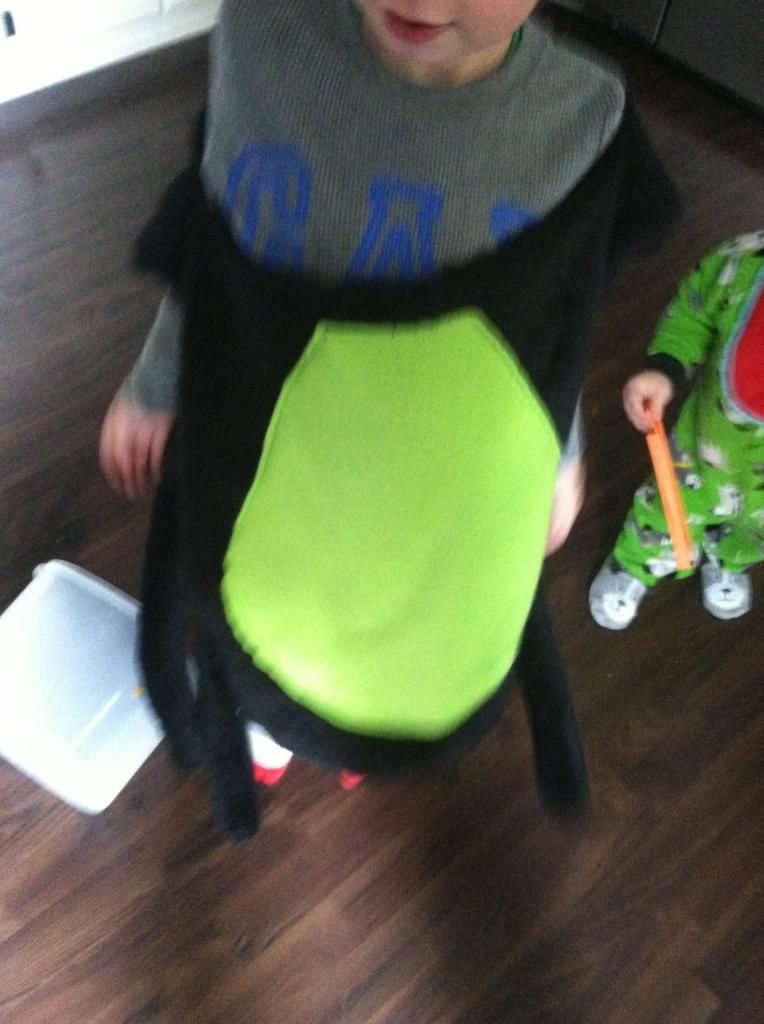
So I sewed elastic into casings at both the neckline and the bottom.
A much better fit. Then I added sleeves and attached all the legs to each other to make the legs less droopy.
 And finally I borrowed from that costume pattern I’m using for baby S’s skunk costume and made a hood for my little spider, so that we could give him some fun eyes. And as a bonus this will help him keep warm while trick or treating. I may have tried the hood on myself too. It was late and I had eaten a little too much candy corn. I apologize.

So there you have it! A home made spider costume that my little man loves. He wanted to go trick or treating right away when we took the pictures of him in it today. I’m excited that I could help make the costume of his dreams this year.
Anyone else out there making costumes for their kids? Or eating too much candy corn during late night sewing?


