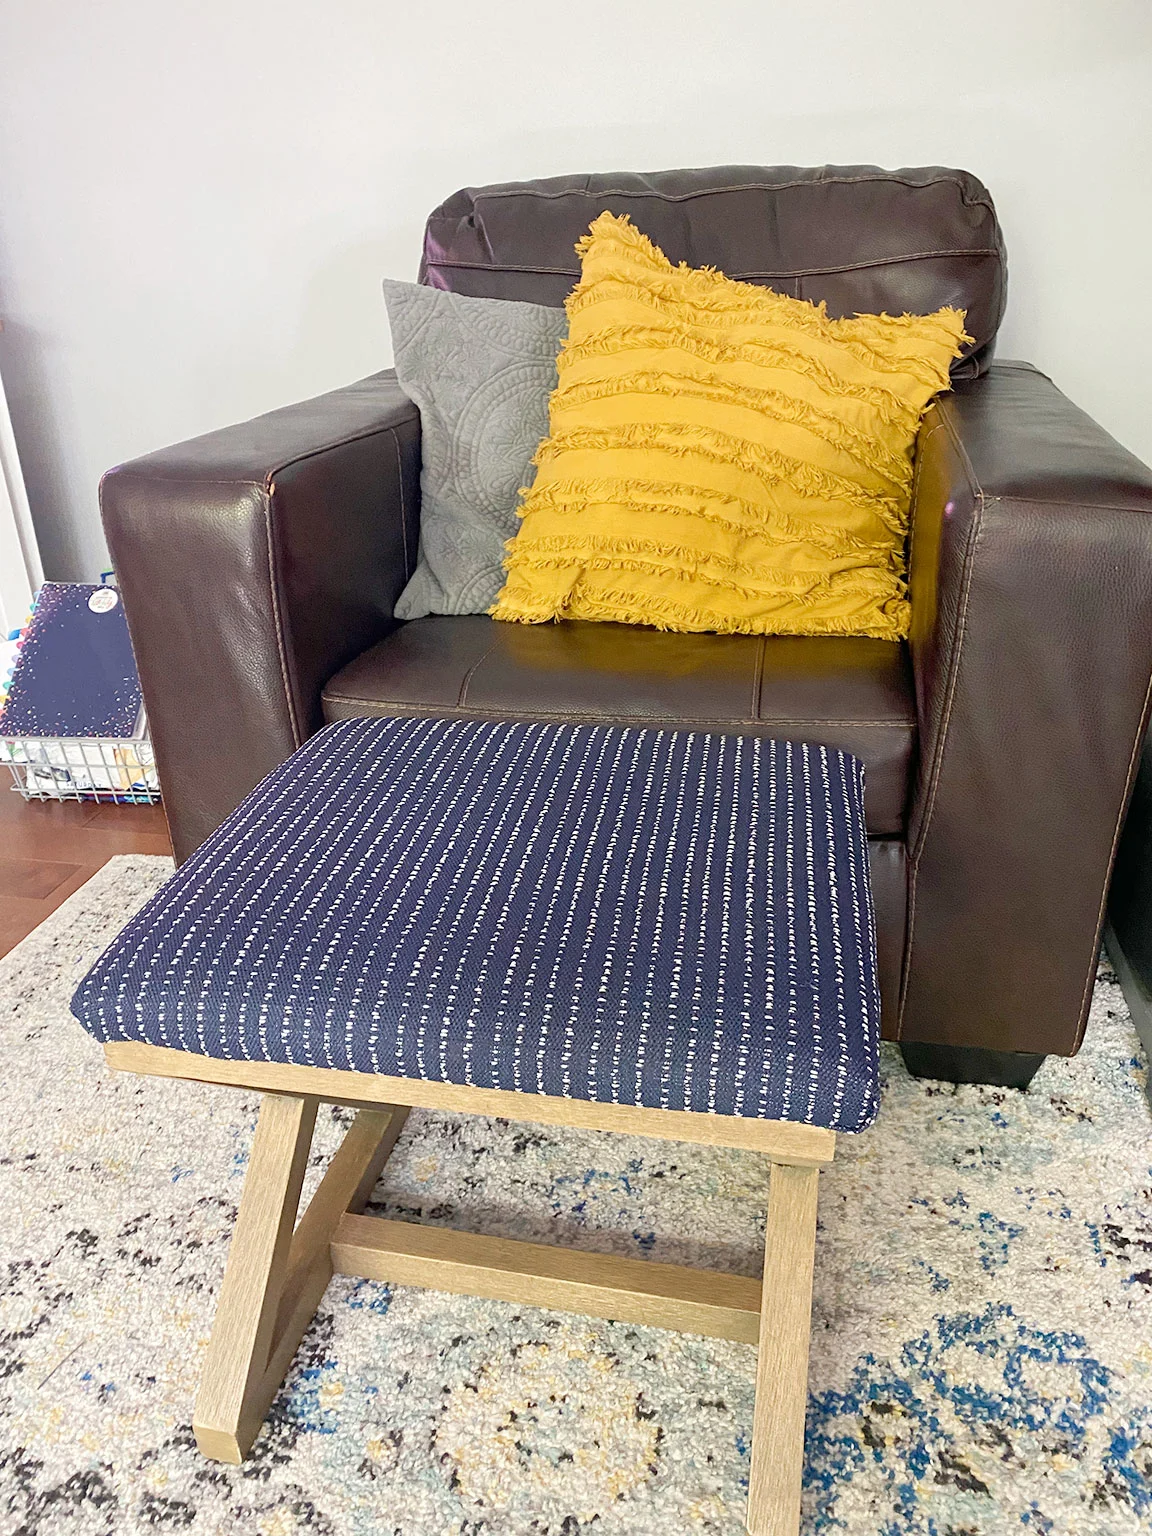
I love an ottoman. We have an ottoman where you can reach it from our couch and loveseat but we did not initially get an ottoman for the armchair that goes with our living room furniture. I wanted something to put my feet up on over there so I grabbed a stool on a recent trip to Goodwill. Finally I have gotten around to reupholstering it with a new fabric and today I’m sharing the simple process for how to reupholster a stool with you all.
Supplies Needed
- screwdriver
- staple gun
- new fabric
How to Reupholster a Stool
Clean the Stool
Start by giving the stool a good wipe down. If the stool is one that you already own then maybe your stool is already clean but since mine was thrifted I wanted to give it a good going over.
Remove the Cushion
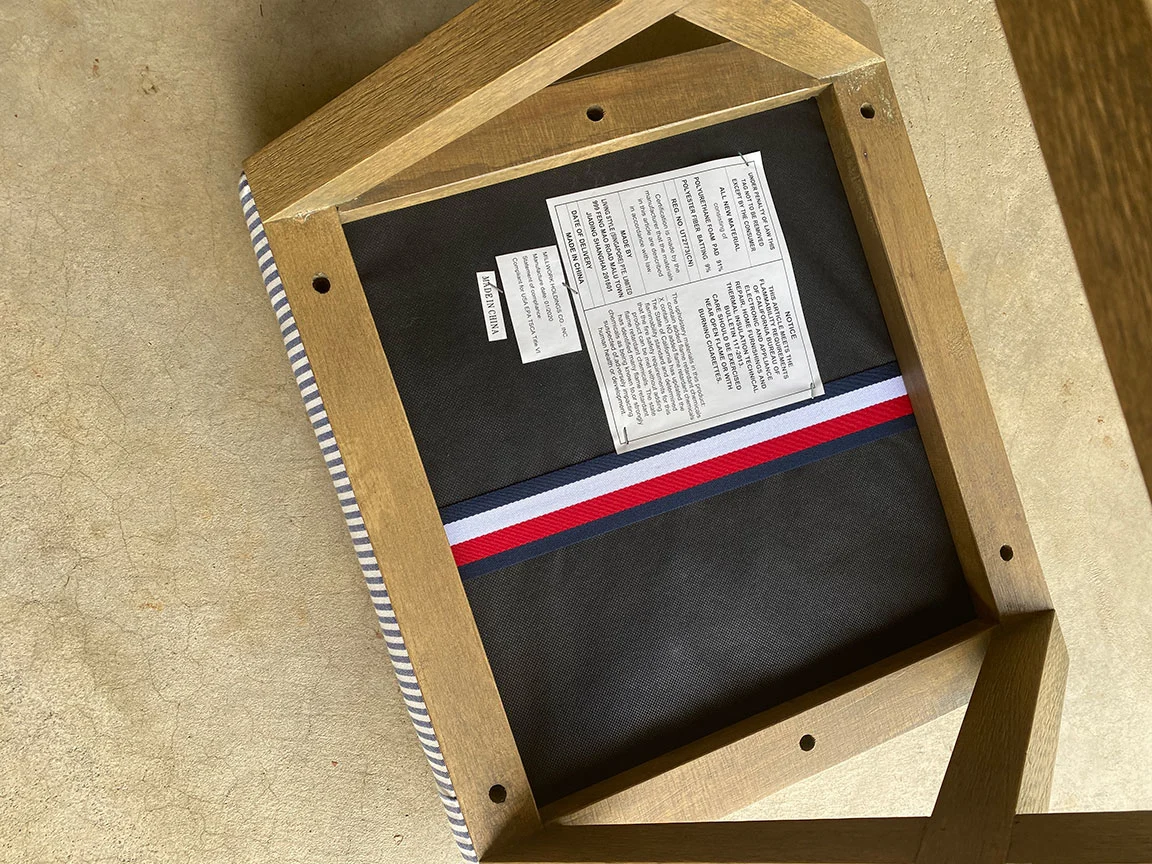
Here’s where you need your screwdriver. Flip the stool over upside down. Now you can see the bottom of the top portion. Look for the screw holes. Remove all of the screws and detach the top of the stool.

Take a good look at how your fabric is folded so that you can replicate this for the new fabric. I like to cheat and take a picture because my memory is not always so great.

Now remove the staples holding the fabric down. If you don’t have a staple remover then use a small flathead screwdriver. Be careful while doing this. Once you have removed all the staples then peel the fabric back to remove it.

Replace the Fabric
Replicate how your fabric was folded and attach it to the stool in the same way the old fabric was. I find it easiest to lay the cushion on top of the fabric, line everything up, then staple one side down in the middle. Then hold everything tight and staple the side directly across. Then do the other 2 sides. Keep stapling, working your way outward as you go and when you get to the corners do your folds like they were before.
Reattach the Cushion
Once the cushion is complete you want to put it on the ground and place the base of the stool on top of it to like the holes up for the screws. I find it useful to use a drill bit to make a small hole in the fabric where the screws will go, then screw in the screws with a screw driver.

It’s not perfect, but I’m satisfied with how it turned out!


