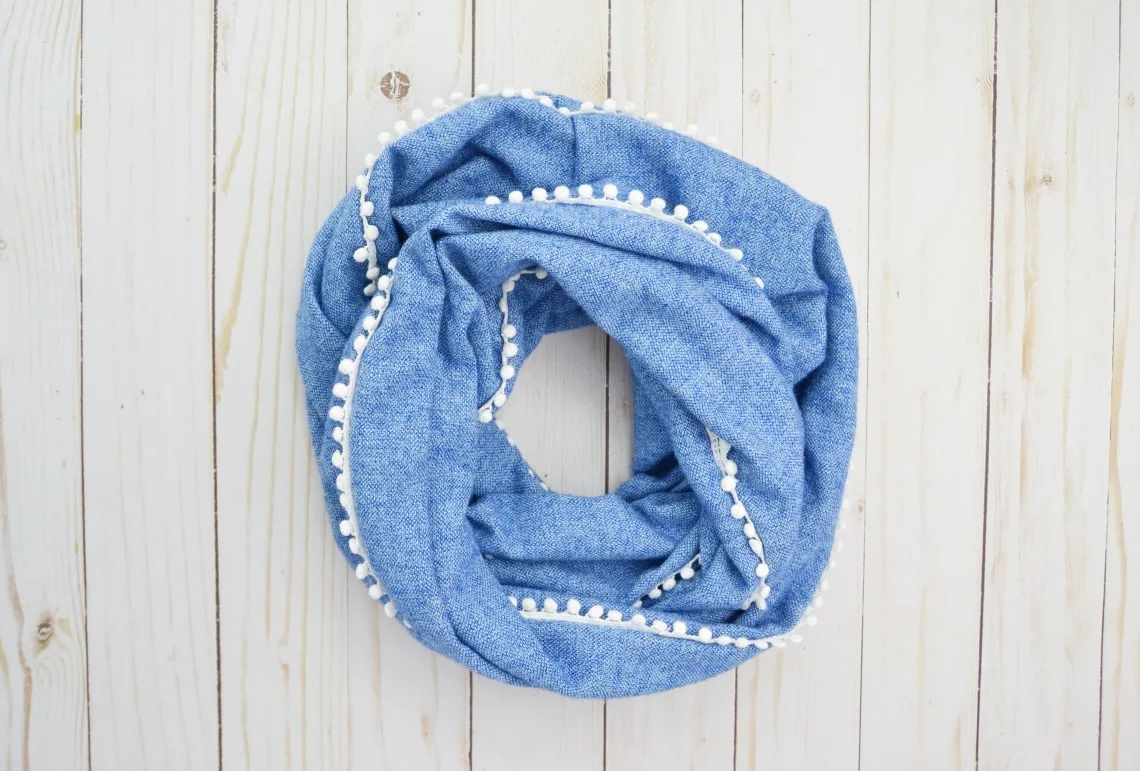
When it’s cold outside you just have to see the silver lining- winter accessories! I love a pretty scarf and today I am sharing my new infinity scarf tutorial with you all.
I have made an infinity scarf before but this one is fun because it has a cute little pom pom trim.
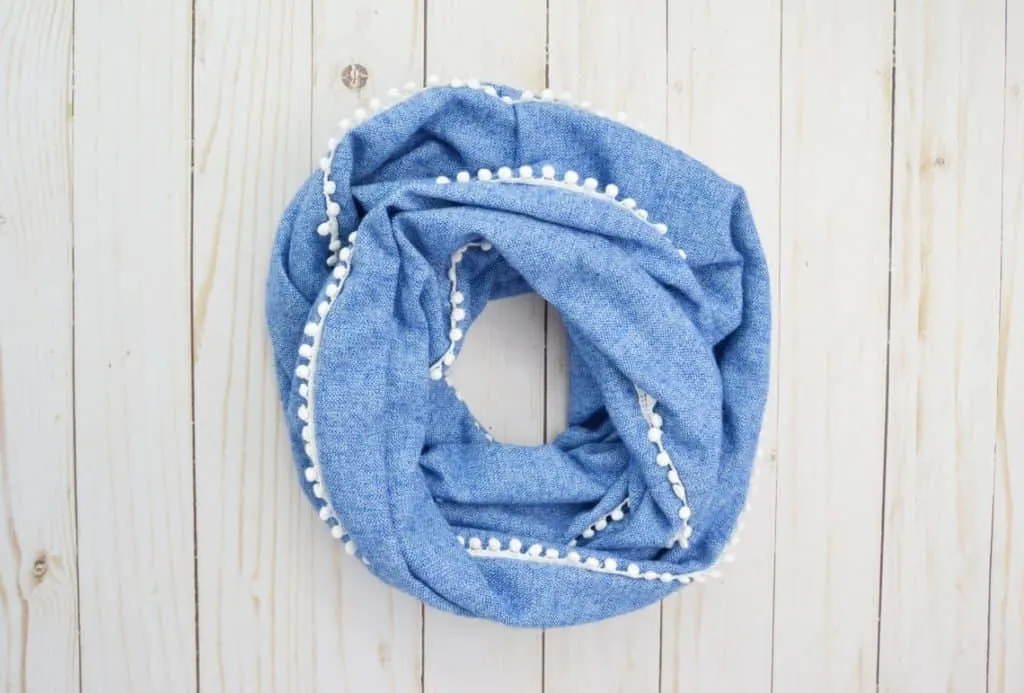
Supplies You Need for the Infinity Scarf Tutorial

- 1.75 yards of fabric
- 3-3.5 yards of trim
- rotary cutting set or scissors
- sewing pins
- coordinating thread
- sewing machine
Infinity Scarf Tutorial
Step 1: Wash, dry, and iron your fabric. Then cut it in half lengthwise. Set aside one of your halves (you won’t use this piece of fabric).
Then take your remaining piece of fabric and cut it in half lengthwise so that you have two rectangles that are 1.75 yards long. Cut your trim piece in half.

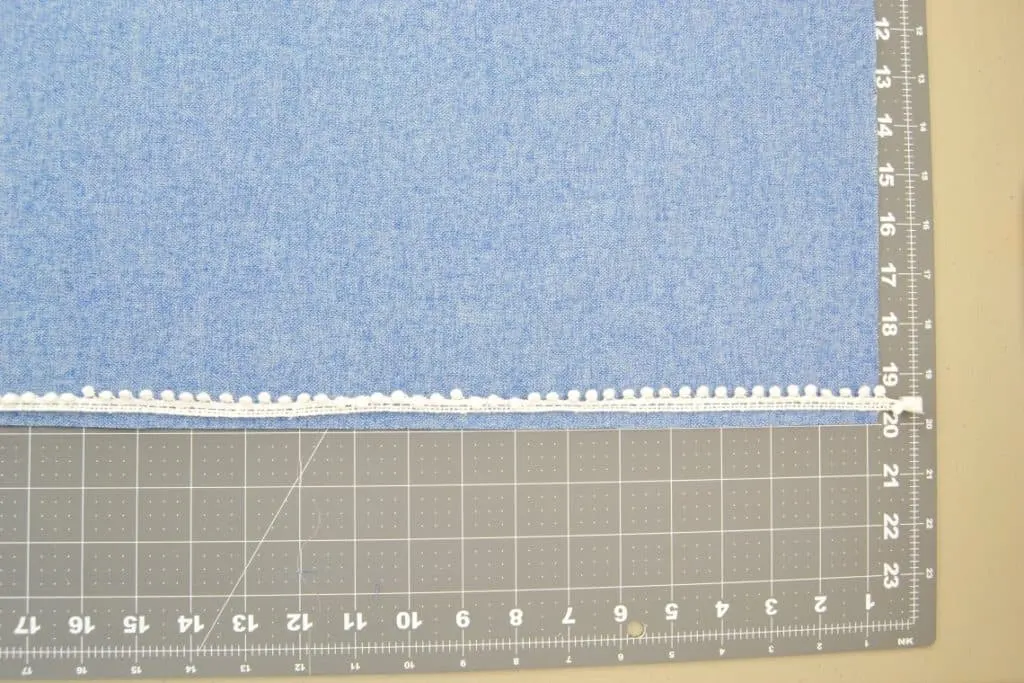
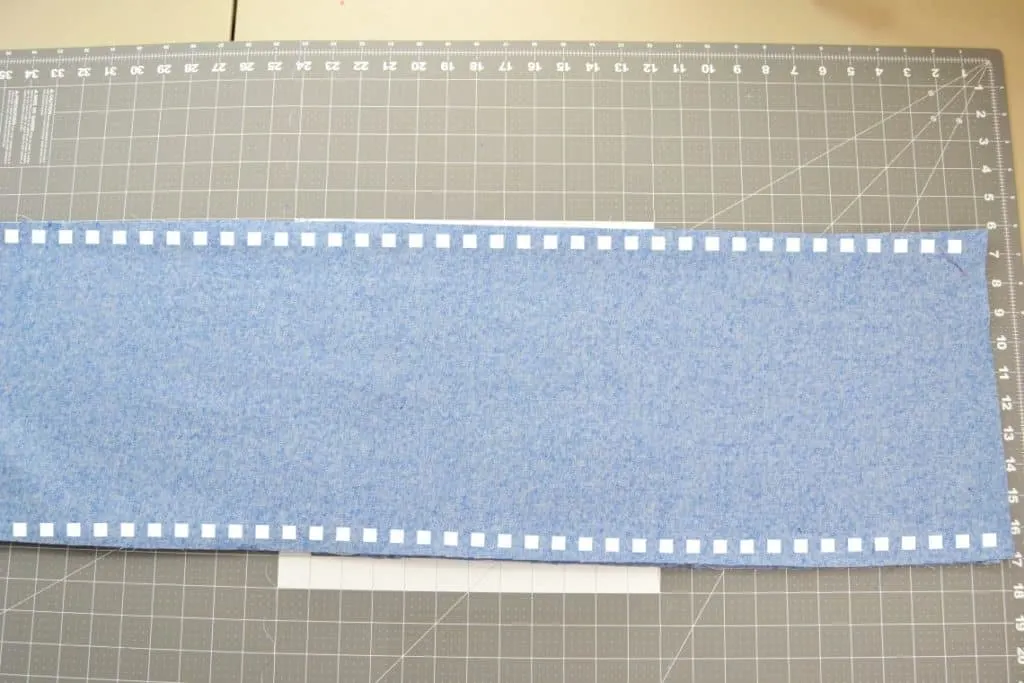
Step 2: Lay one of your pieces of fabric down with the right side up. Pin your trim along the top and bottom sides of this piece. Sew along the top and bottom sides of your piece of fabric so that you sew your trim down into place.
The type of trim you choose will determine how far from the edge you sew. Mine was a super skinny trim so I cheated it up about 1/4 inch from the edge of the fabric.
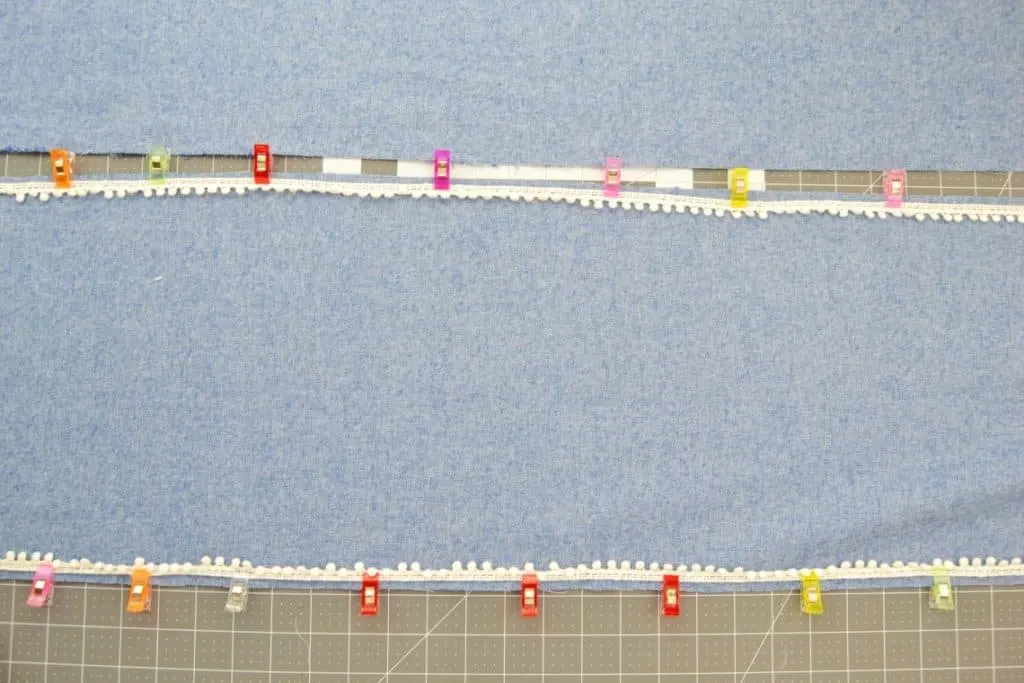
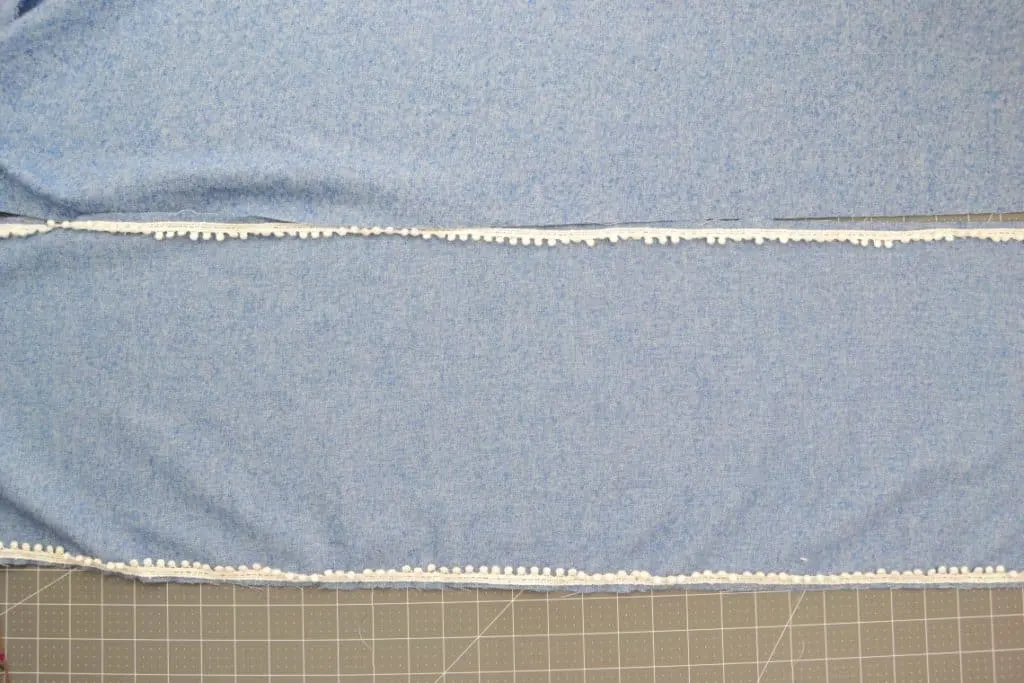
Step 3: Lay the other piece of your fabric down on top of the first piece with the right side down. Pin the two pieces of fabric together.
Sew all the way across the one edge but on the other edge you want to leave an opening of about 4 inches or so somewhere near one end, but not at the very end. See the picture below. I tried to sew right next to my other line of stitching from where I attached the trim earlier.
Step 4: Pull one end of your tube inside of itself almost like you’re turning it right side out but stop short about half way. Line up the two ends of the tube together and pin or clip them together.


Step 5: Sew all the way around the two connected tubes, sewing about 1/2 inch from the edge.

Step 6: Find the hole that you left at the side during step 3. Use it to pull the scarf through so that it’s right side out.
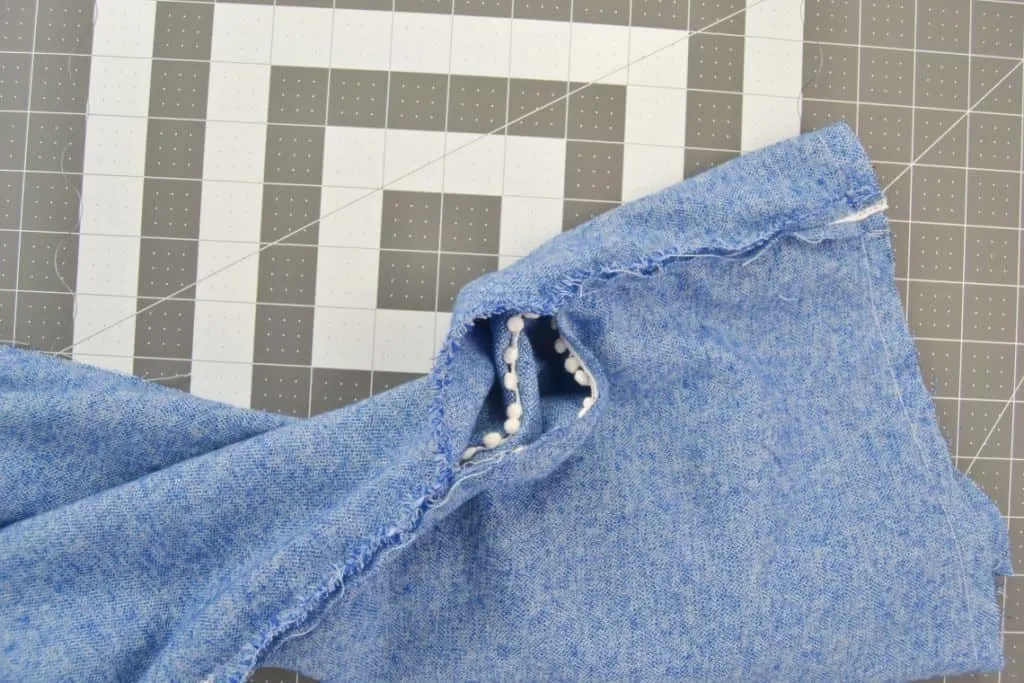
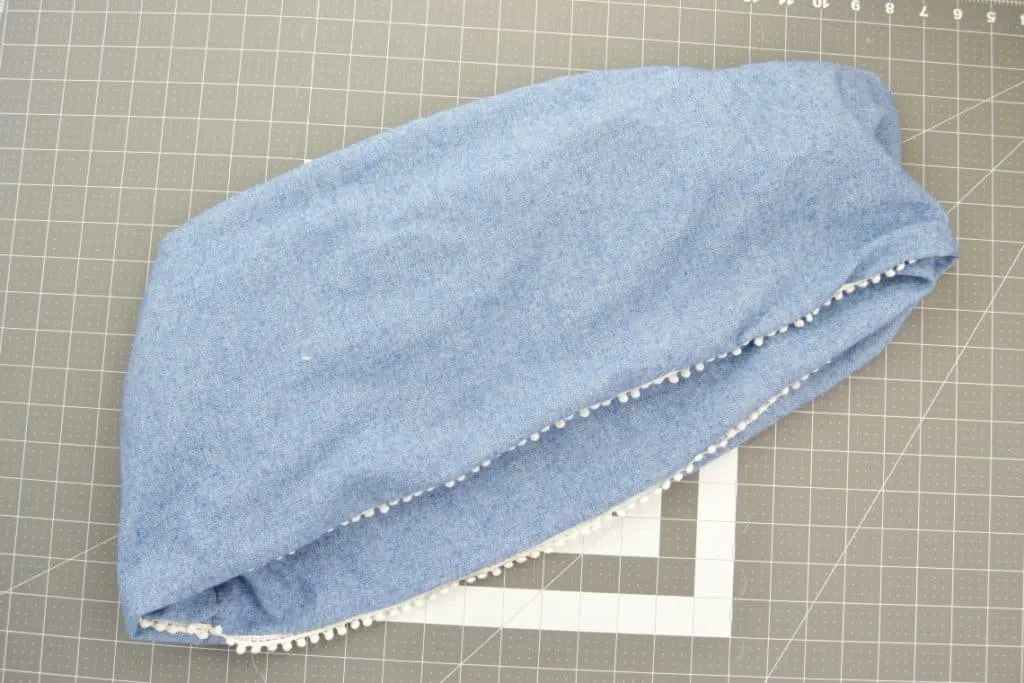
Step 7: Sew the hole shut. You can hand stitch it with a whip stitch to hide the stitching or you can just do it quickly with you machine in a thread that’s close in color so that no one notices.

Now you’re all done!
To put the scarf on you put your head inside the circle.
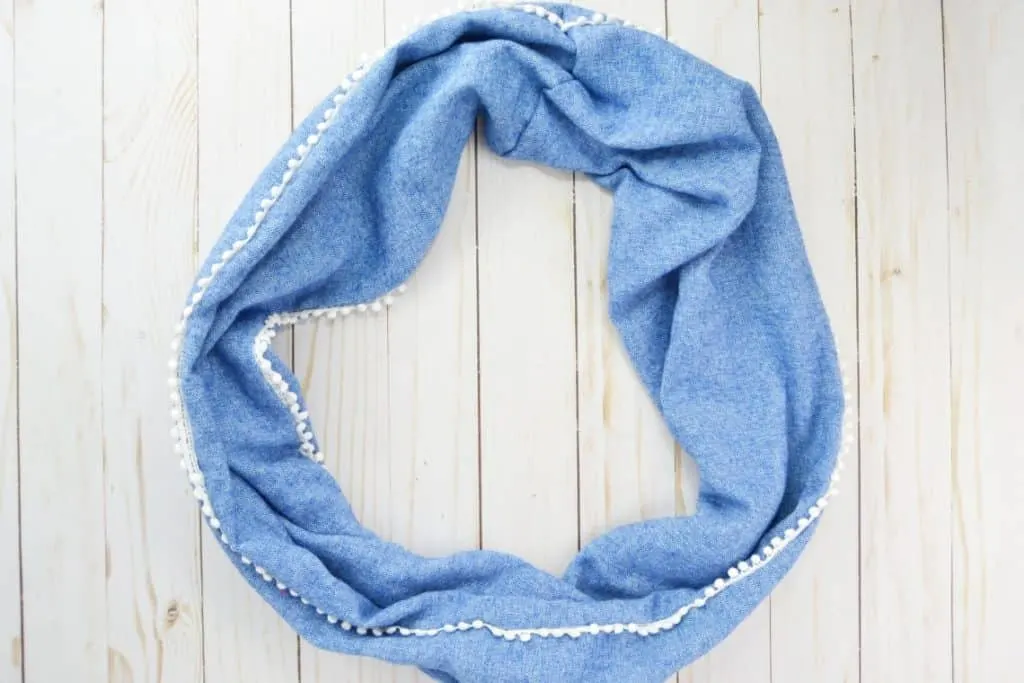
Then cross the scarf in front of you to make a figure 8.
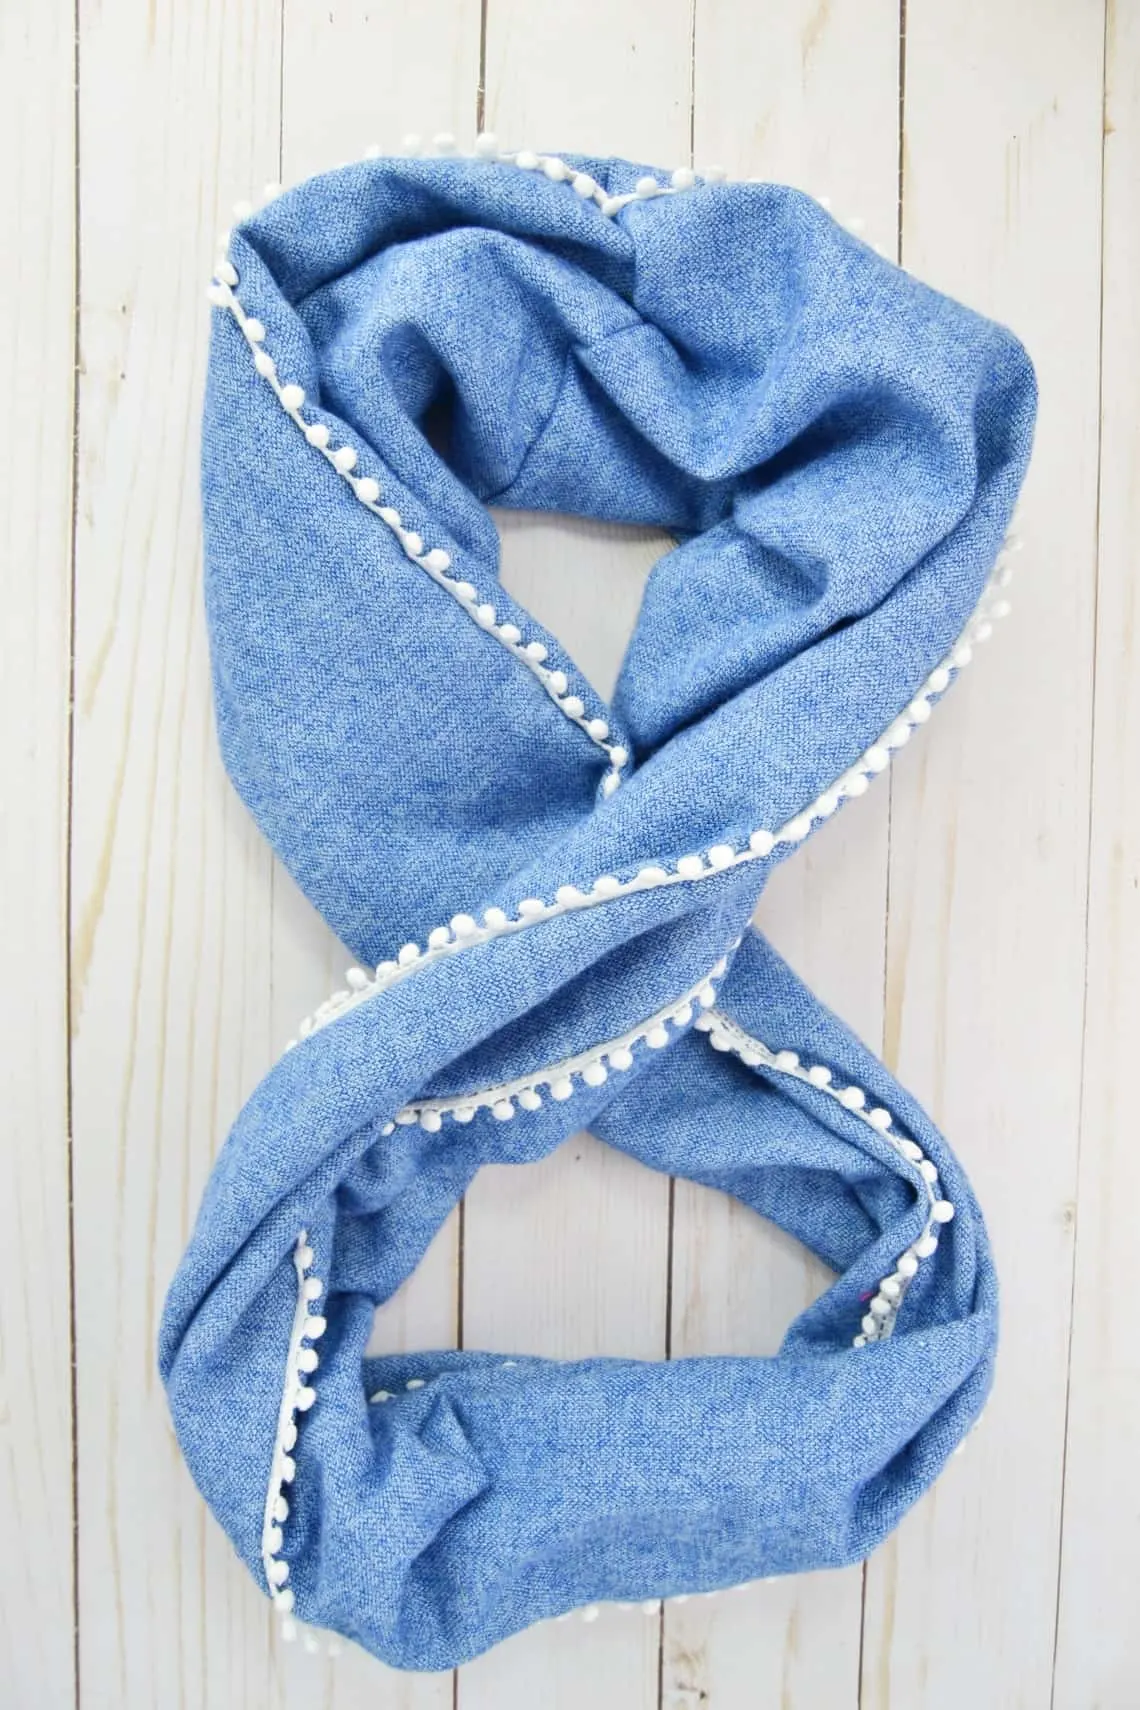
Then pull that bottom loop over your head and adjust the layers to your liking.

Want more winter accesories? Check these out:


Shannon
Tuesday 5th of February 2019
So cute! I love the little pom detailing on the ends!!!
Cat
Wednesday 6th of February 2019
Thank you!