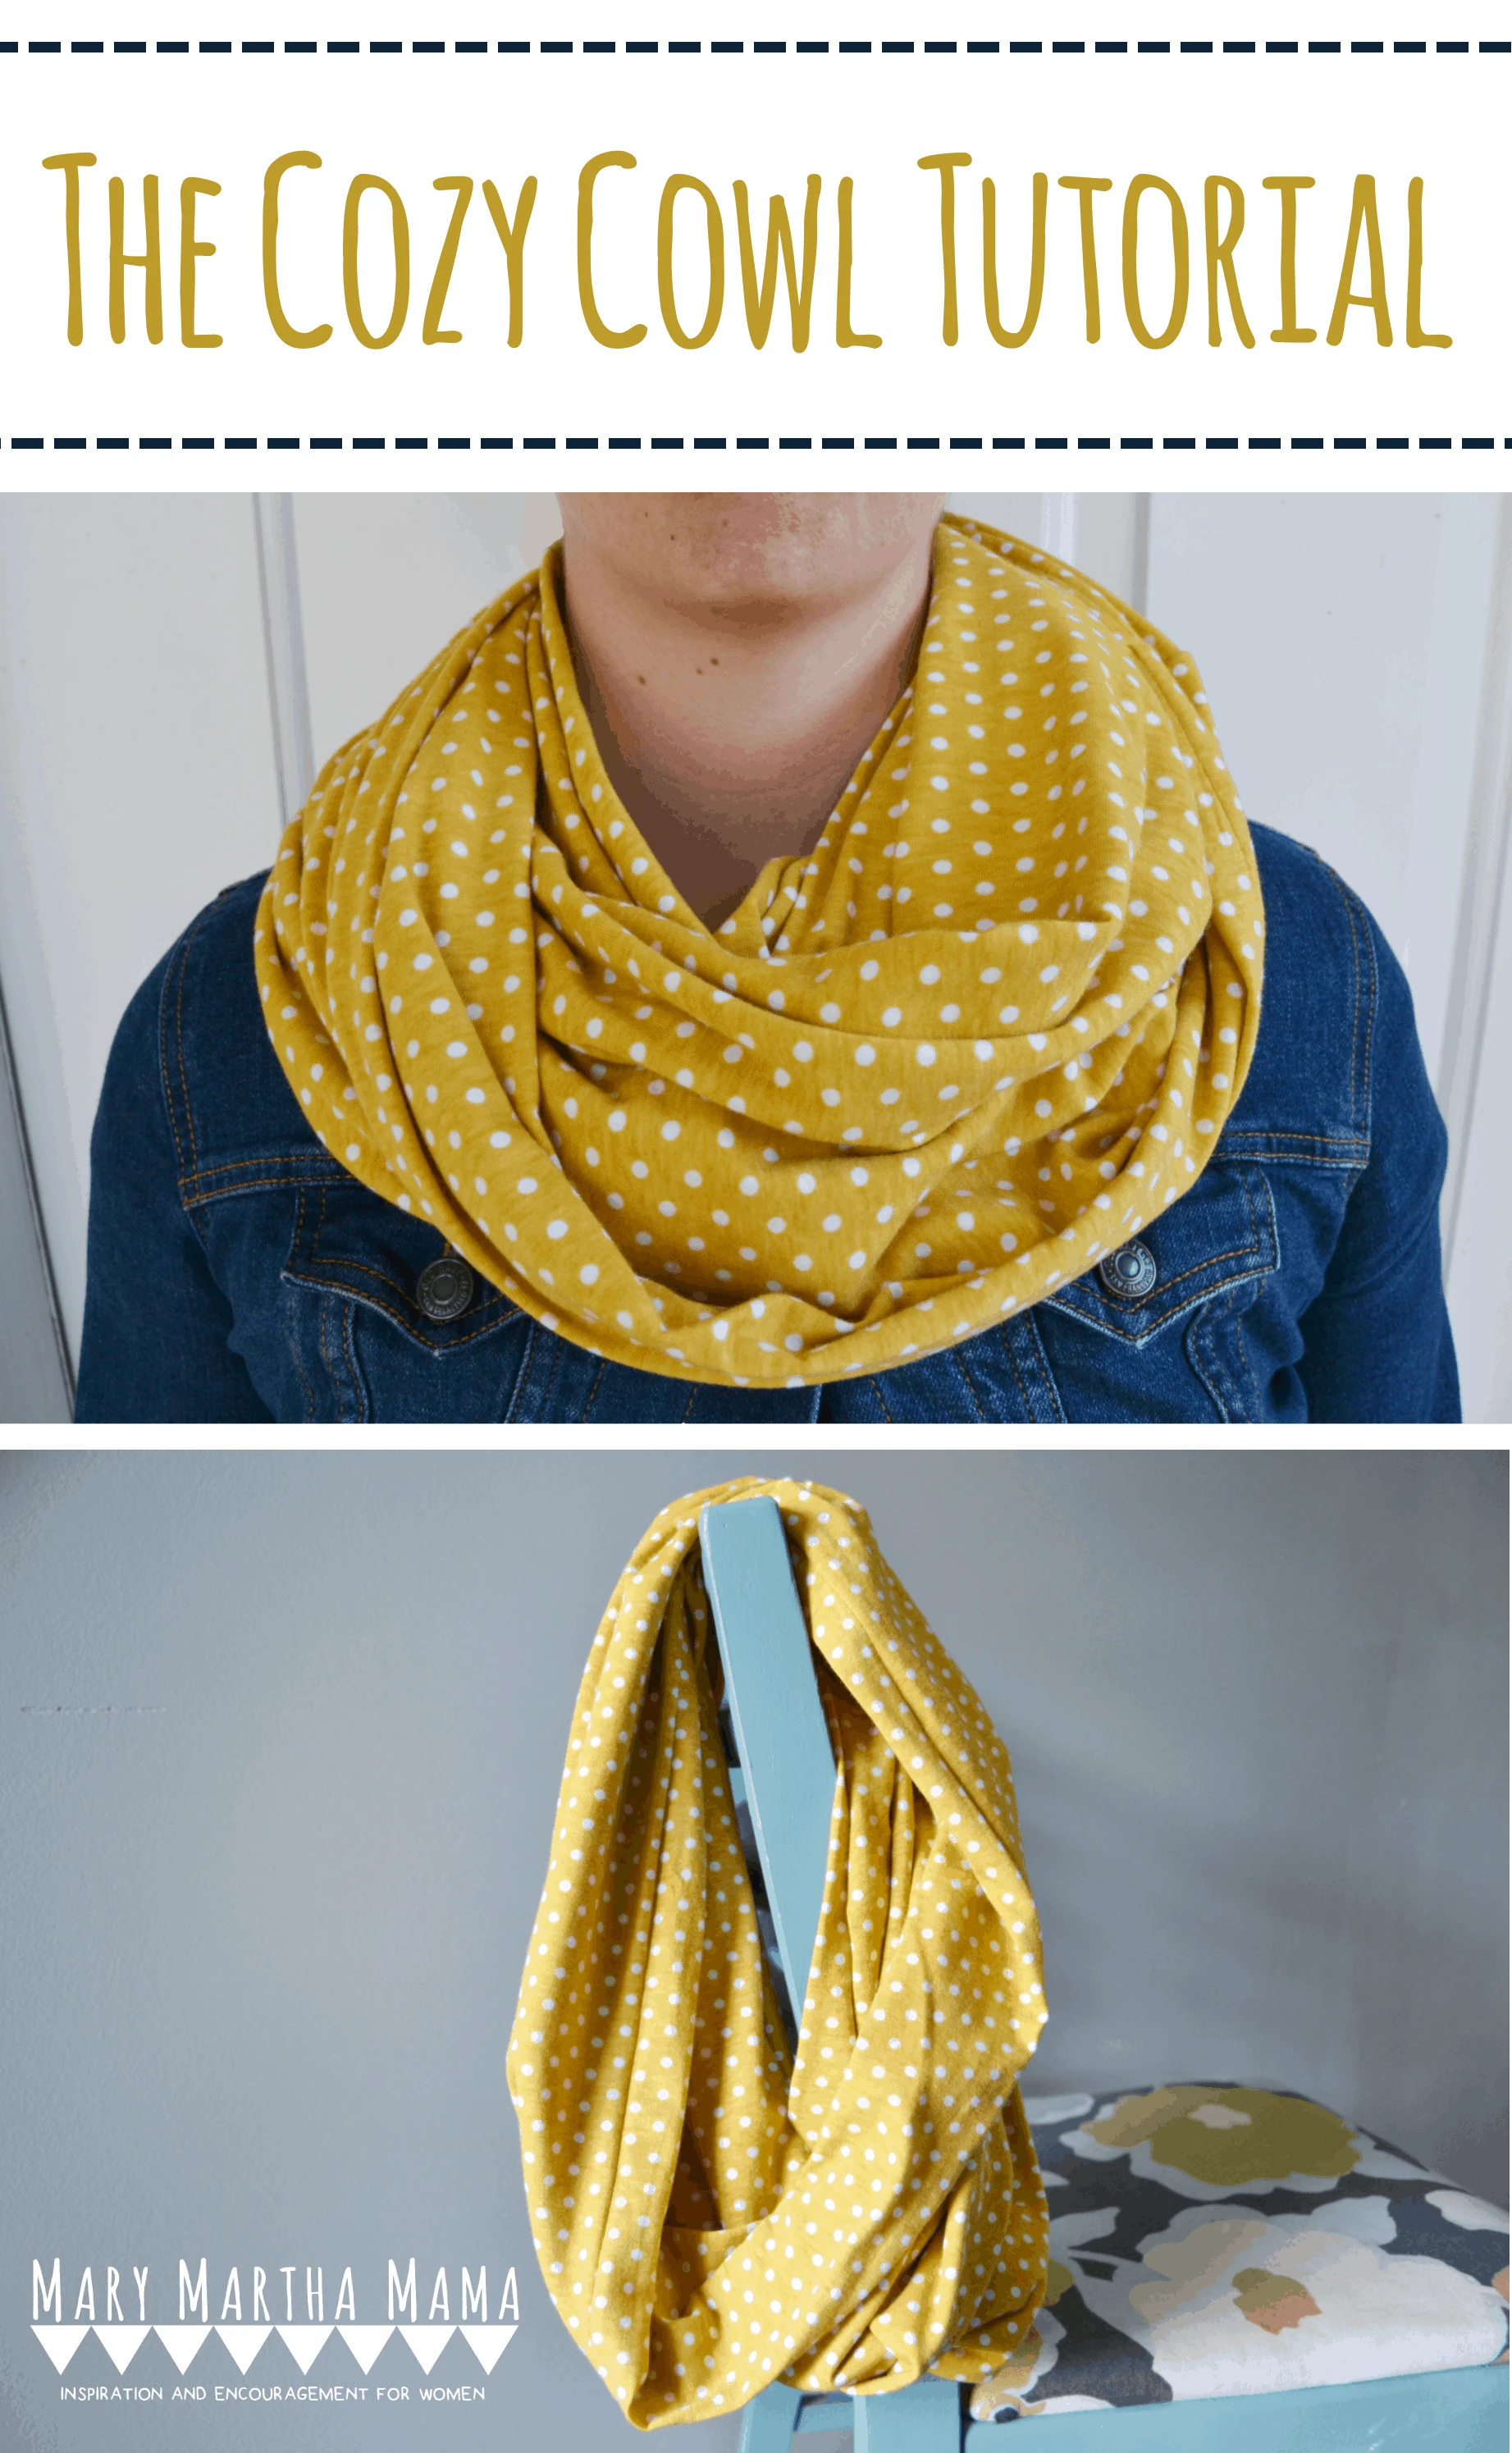
Fall is coming. Labor Day is past and while it’s not officially fall yet it basically feels like it. Here in Ohio a cool breeze has come in the past week or so. In anticipation of fall I made myself a cozy cowl and I’m sharing my tutorial for how to sew a cowl scarf with you all today.


A simple cowl like this is perfect for throwing on over your fall jacket and adding a cute pop of color to your outfit.
To make your own you will need:
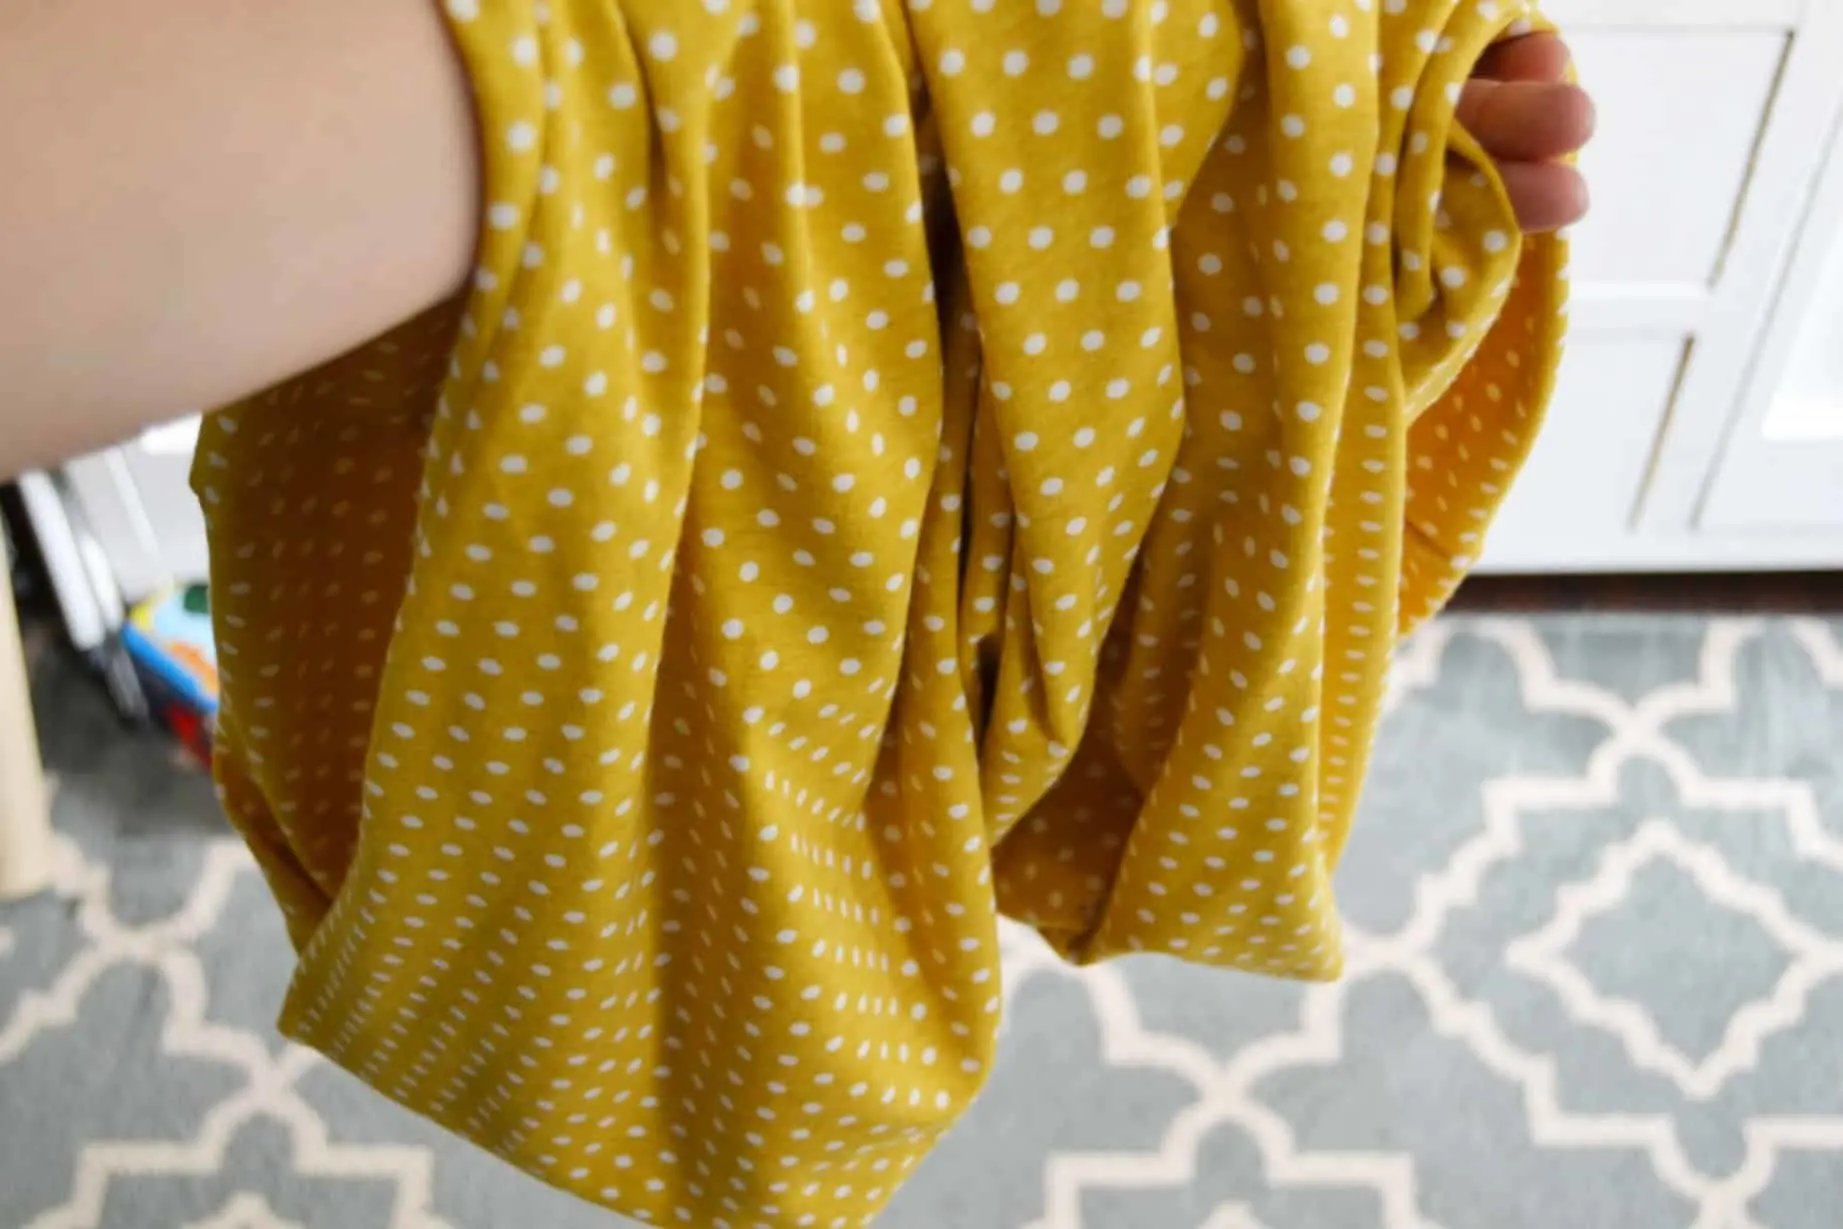
- 1 yard of knit fabric (the one I used was 60 inches wide)
- sewing machine, needles, coordinating thread
- rotary cutting set or scissors
How to Sew a Cowl Scarf
Step 1: Wash, dry, and iron your fabric. Lay it out flat with the right side up. Then fold it in half, folding the two selvedge edges together. Pin along the selvedge edge.
Sew along that edge, going all the way across. I used a zig zag stitch so that the stitches would hold up to a little stretching. Trim any excess from the edge, leaving about 1/2 an inch.


Step 2: Turn the tube you have made right side out. Then fold the bottom opening up toward the top opening, almost as though you are going to turn it inside out but don’t turn it all the way inside out.
Stop when you like up the bottom opening with the top opening.


Step 3: Once you have them lined up, pin them together going all around the top opening.


Step 4: Sew all along that top edge, sewing about 1/2 inch from the edge, BUT leave about 5 inches unsewn. This will leave a small hole in the top.
Use this opening to reach in and pull the cowl out so that it is right side out. Close up the hole by stitching it shut using an invisible stitch.


 Step 5: Now you have basically a finished tube. Stick your head inside the tube and arrange the cowl how you would like.


And now you’re ready for fall! Just throw on your cowl and grab a nice pumpkin spice latte or hot cider. So what is your go-to fall scarf style?

Hannah
Thursday 5th of October 2017
Hands down for this comprehensive post about cozy cowl. with the instructions being clear and concise, any beginners can feel professional sewist in no time :) Thanks for sharing it, i will also subscribe to your blog to get more posts like this in my inbox.
xxx Hannah
Cat
Thursday 5th of October 2017
Thanks for your kind words Hannah!