Weighted blankets are great for those who need sensory input or just like the pressure that the weight of the blanket provides. After reading about them I decided to make one for my son and today I’m sharing my tutorial for how to make a weighted blanket with all of you.

Weighted blankets can be expensive but if you have a little bit of sewing skills then you can make your own for much less. And don’t worry, when I say you need a little bit of sewing skills I really mean just a little. If you can sew a straight line then this is a project that you can make.
Please keep in mind that I am not a healthcare professional nor am I attempting to provide medical advice or practice medicine. Ask your doctor or therapist If you or your child would benefit from a weighted blanket.
Blankets should be used with adult supervision and should not be placed over any person’s head or used in a crib.
How to Make a Weighted Blanket
Supplies:
- fabric (amount depends on blanket size… but you will need 2 rectangles… one for front and one for back)
- weighted pellets (amount depends on size of person the blanket is for… from what I’ve read FOR CHILDREN the finished blanket should weigh about 10% of the ideal weight of the person who is going to use it plus 1 lb. FOR ADULTS that might be too heavy so consult your healthcare professional)
- sewing machine (this is the sewing machine I have)
- food scale or postal scale
- coordinating thread
- sewing machine needle
- rotary cutting set or scissors
- sewing pins

Steps:
Step 1: Wash and dry your fabric. Then cut both pieces to the desired size of your blanket. I made a blanket using two pieces of fleece that were 1 3/4 yards each, so the blanket I made ended up measuring roughly 57 X 60. Trim the selvedges off and square up your rectangles.
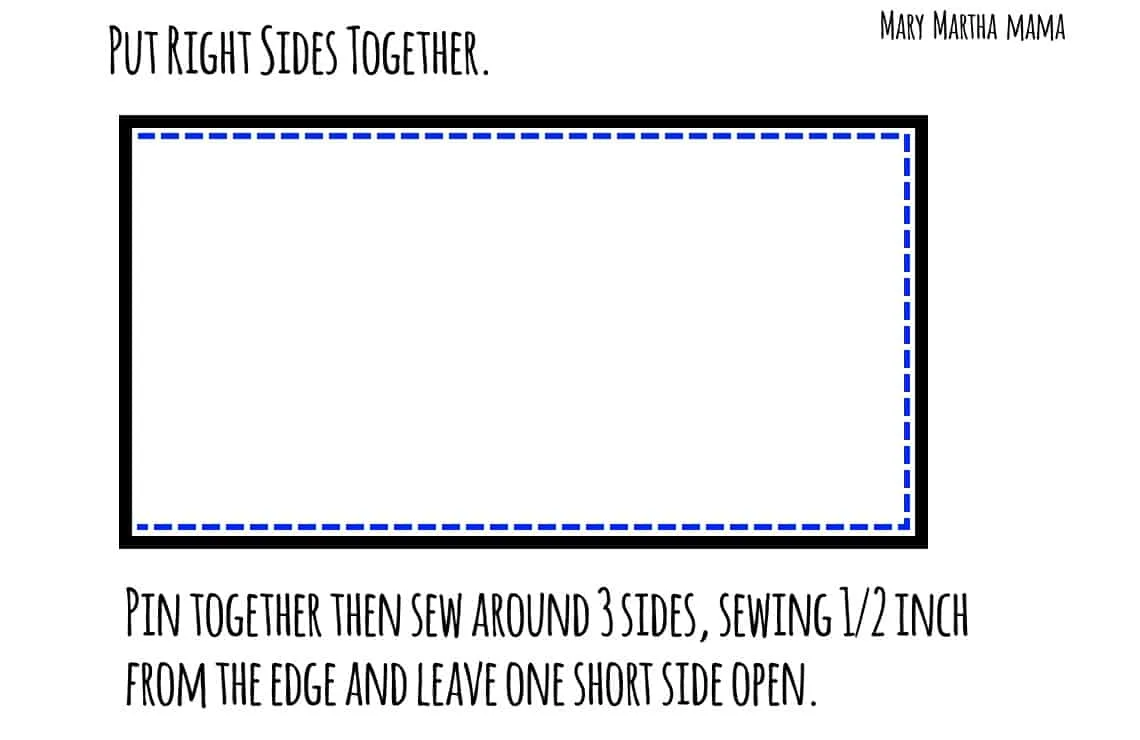
Step 2: Lay one rectangle down with the right side up. Lay the other rectangle down on top of it with the right side down. If your fabrics have patterns then make sure they are going the way you want them to go. Pin and sew them together, but leave one of the shorter sides unsewn. You will sew 1/2 inch from the edges.
Step 3: Take out the pins and turn the blanket right sides out. Push out the corners so that you get the nice points and smooth everything out nice and flat.
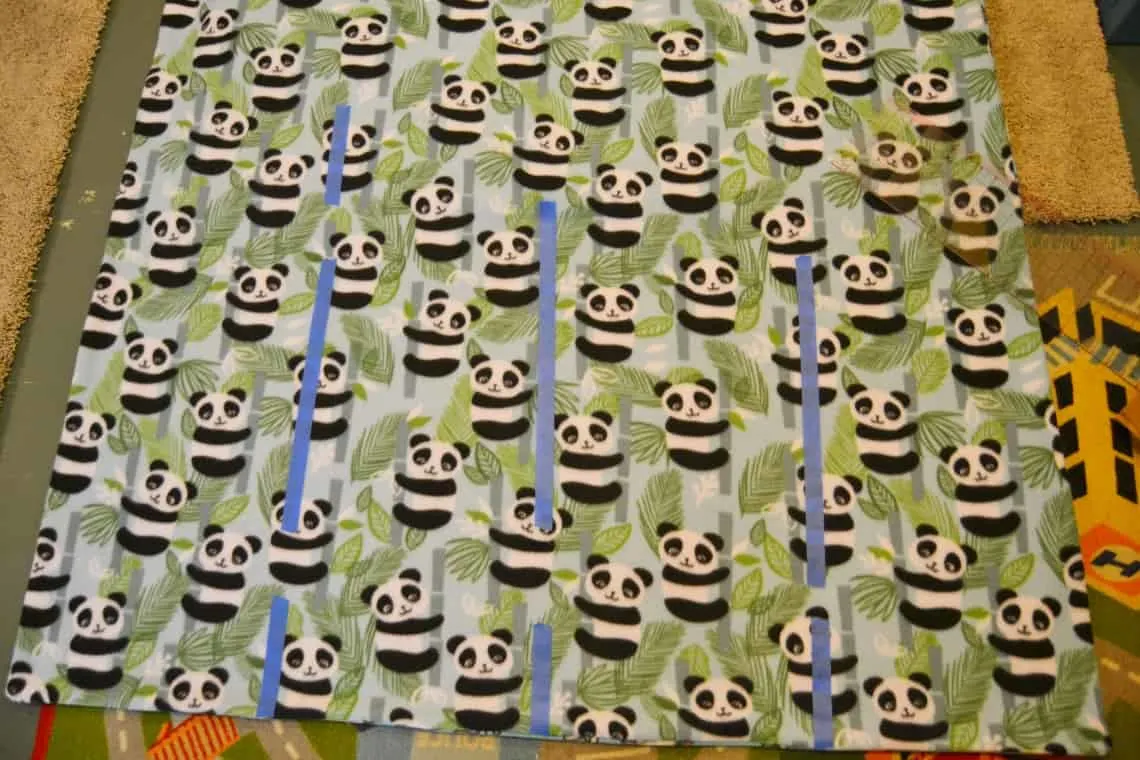
Now you are going to pin the fabric together again and then sew some lines. You are going to divide the blanket vertically into four sections (see the blue lines below). I got out my calculator and divided up the width measurement by four. Then I measured out where to put my three lines and marked them with blue painter’s tape.
You could also mark it with a washable fabric marker or tailor’s chalk but this is what works for me. Then I sewed along the side of the tape from the closed side until 2 inches from the open side. Be sure to stop 2 inches from the end!!!


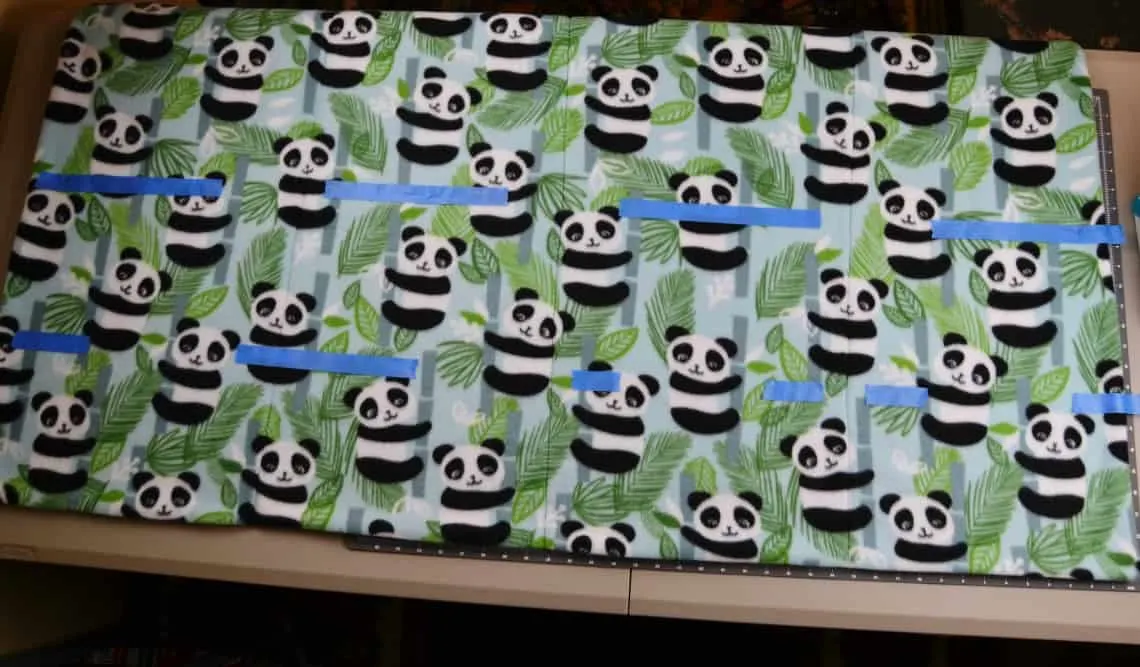
Step 4: Now you are going to measure out lines going horizontally across the blanket. You want to make a grid to keep all your pellets in so that they don’t lump all together in one spot.
Figure out how many sections you want to have (I made 32) and then measure out the horizontal lines and mark them with the tape or marker.
Step 5: Time for more math. I know… ugh. But we’re getting close. You need to figure out how much of the pellets you’re going to have in each section of the blanket.
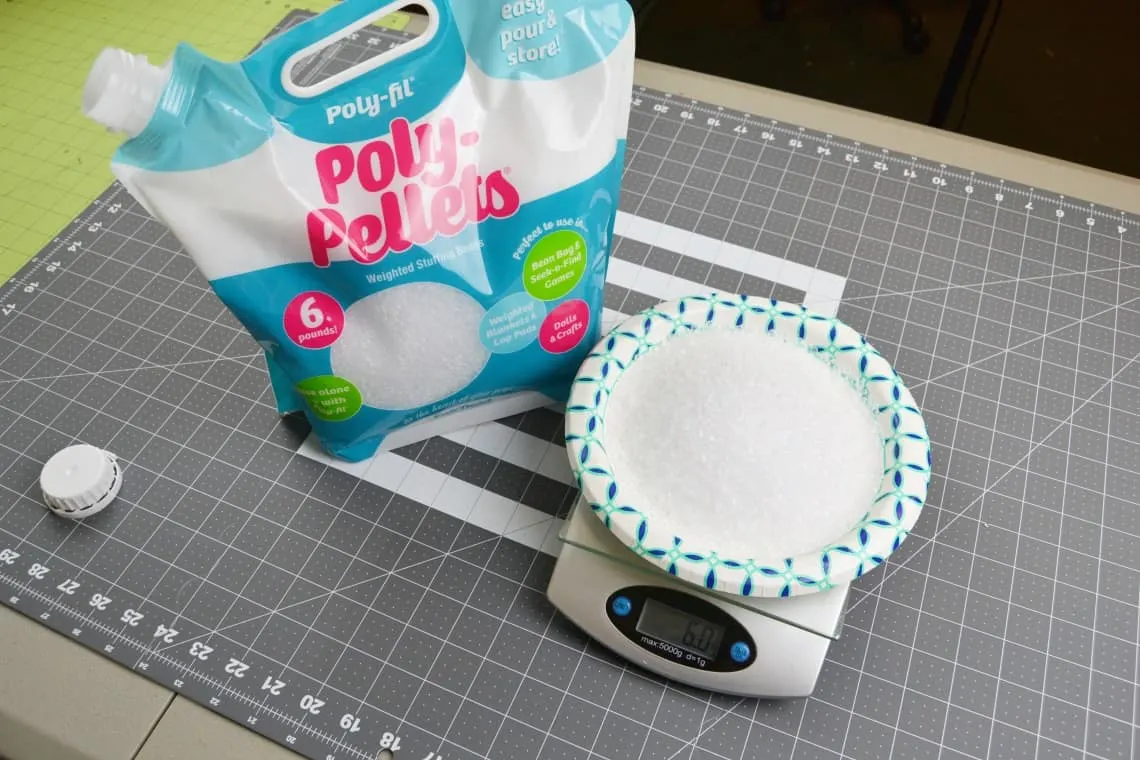
I divided my blanket into 32 sections. I needed 6 pounds of pellets to put into the blanket. To make it easier I decided to work in ounces. So 6 pounds is 96 ounces… divided by 32 sections that means 3 ounces per section. I used my little food scale to measure out the pellets.
Step 6: Pour your measured pellets into the bottom row of sections. Then sew across the top of that section (along your tape or marking) to keep the pellets in that bottom row.
Step 7: Now you add the pellets to the next row and sew along the top of it where you marked. Keep repeating this process until you get to the top row but don’t sew it shut… you are going to finish that top row a little differently.
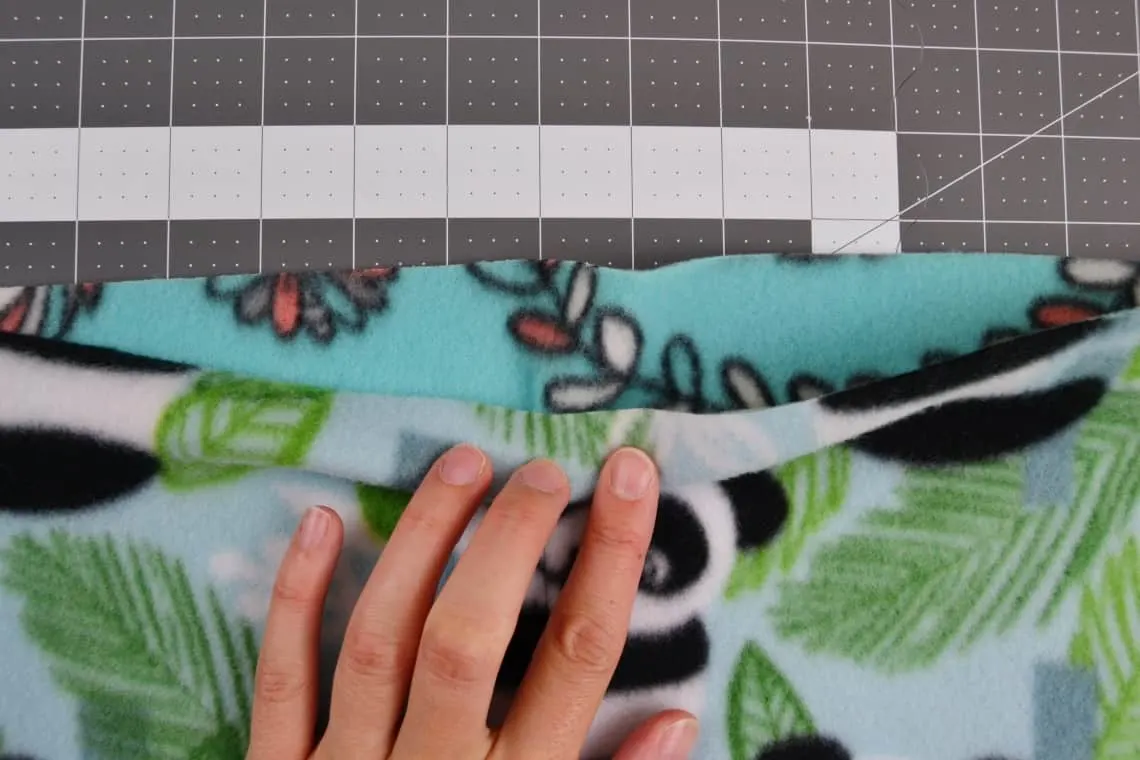
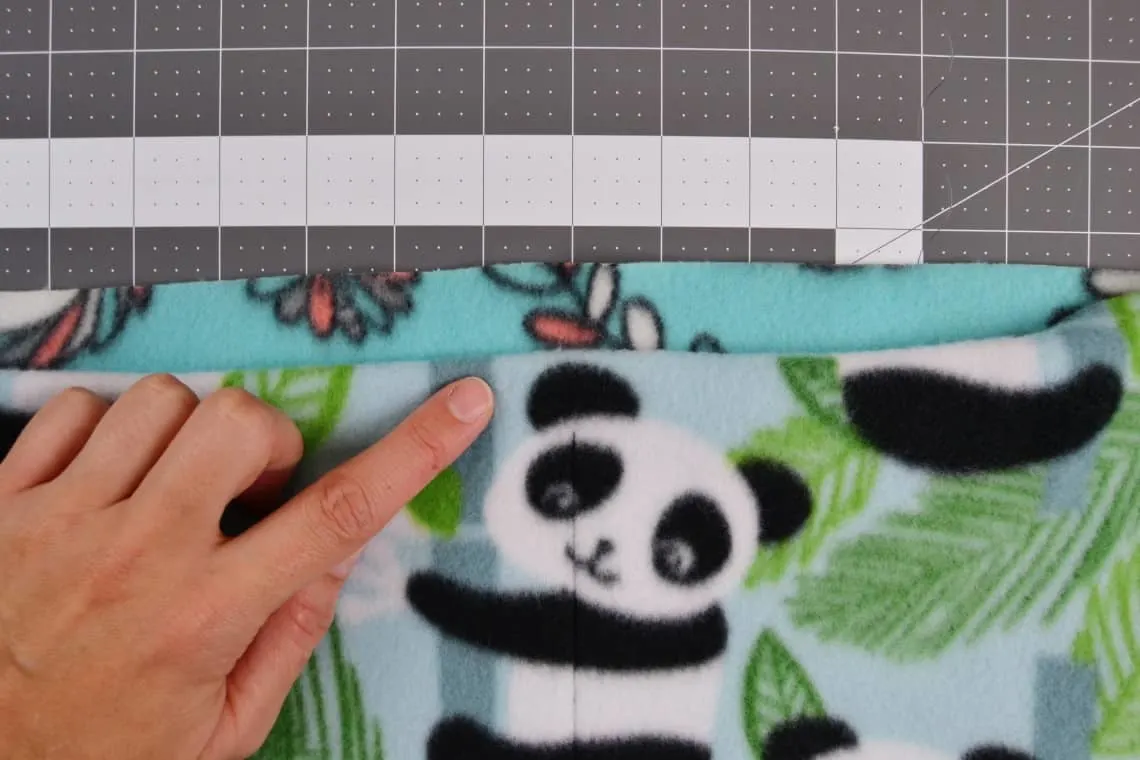
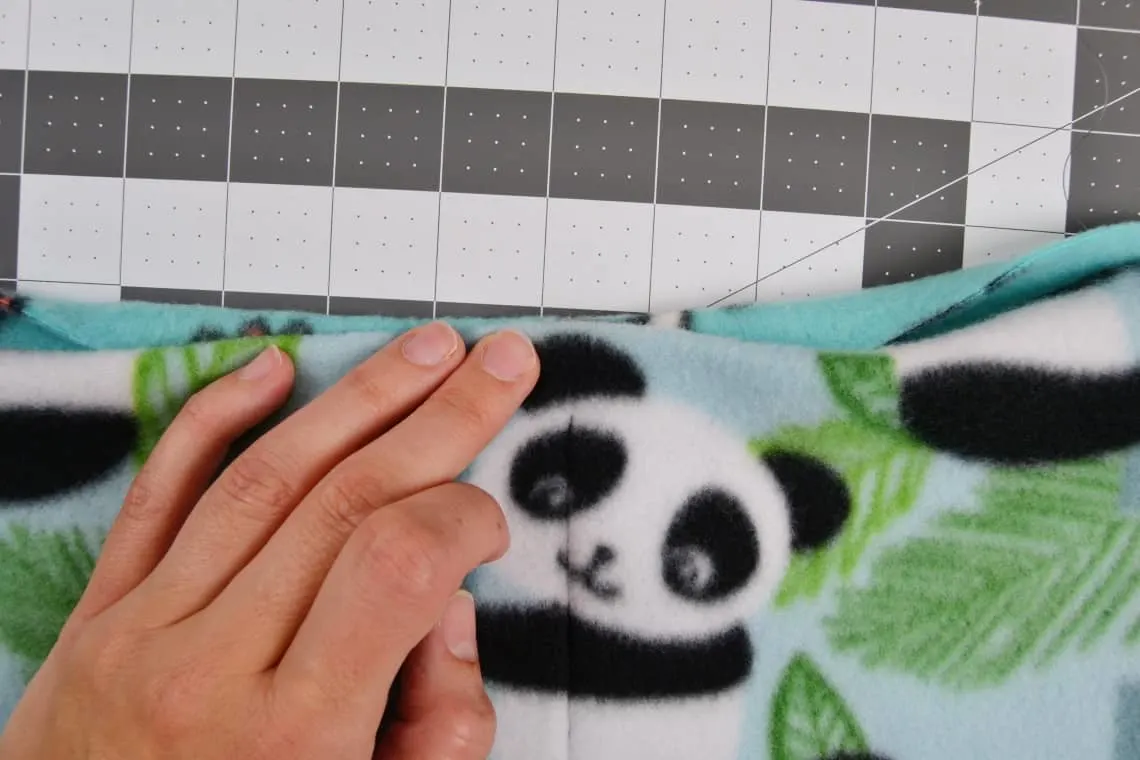
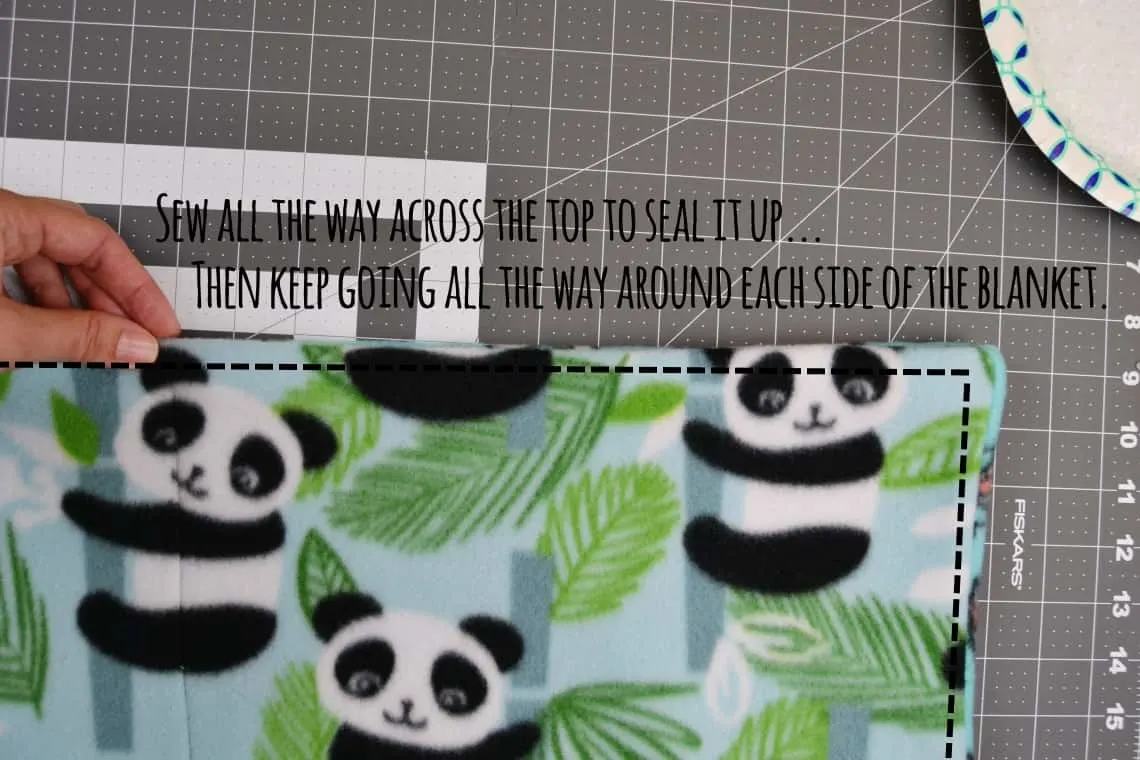
Step 8: Pour your last pellets into the top row. To finish the top row fold each side of the blanket over one inch to the inside. Pin along that top edge so that the pellets don’t spill out and then sew all the way across the top edge to seal it off and then top stitch all around the blanket, sewing 1/2 inch from the edge.
Be careful to keep the pellets away from your sewing needle as you don’t want to try to sew over them. Trim all your threads and you’re done!


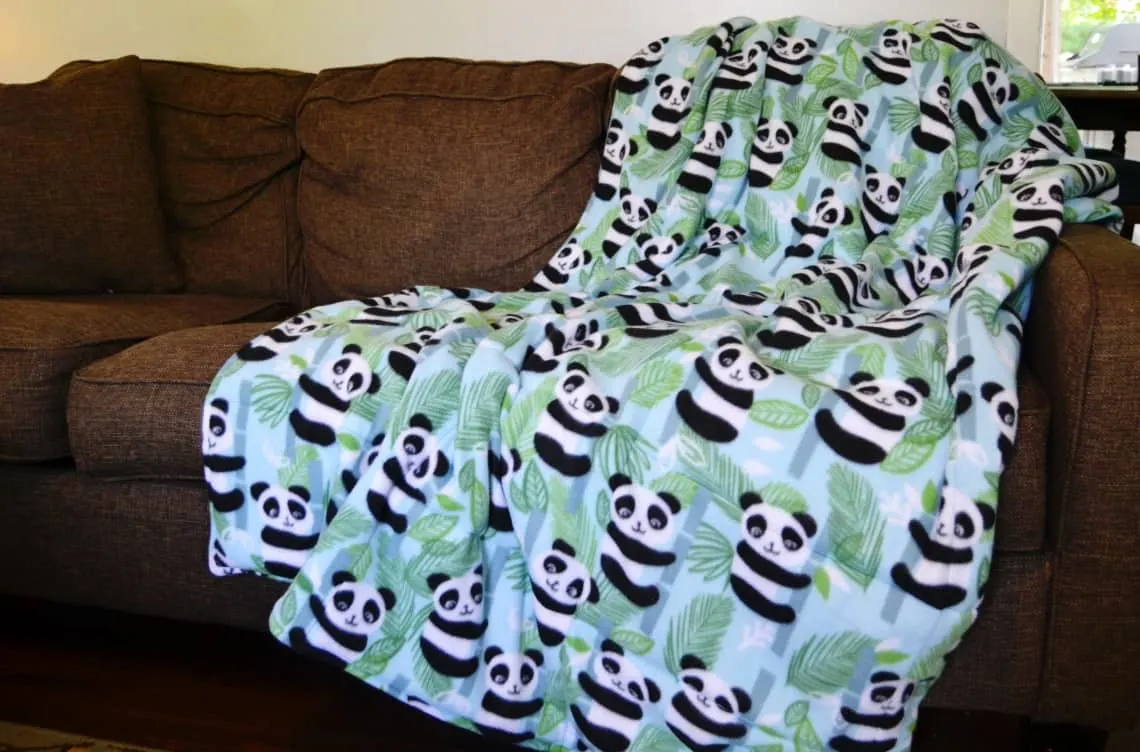
It’s hard to photograph a large blanket like this but hopefully it gives you an idea of how to make a weighted blanket of your own for yourself or a kiddo in your life. If you have any questions at all about how to make a weighted blanket please let me know in the comments below!
Want more blanket projects? Check these out:



louise
Wednesday 26th of December 2018
I was just wandering if I could use rice instead of pellets
Cat
Thursday 27th of December 2018
I don't think you would be able to wash it if you used rice.
Leigh
Friday 7th of December 2018
I do have a question. I have seen some sites mention you should use one piece of flannel/fleece and one piece of a cotton fabric. Do you think this is necessary? Is there a reason for that? I see that you used two pieces of fleece; were you happy with the result? Also, did you have to use a special needle for your machine? Thanks again for your help!
Cat
Saturday 8th of December 2018
So I think that you could use most materials and it would work. I wouldn't use anything too stretchy like some knits that have a ton of stretch or obviously something with a looser knit like a sweater material but I think woven cottons, fleece, and flannel would all work well. It all depends on your preferences. Two pieces of fleece will make a very warm blanket and that may be too warm for some. Using a piece of woven cotton on one side with fleece on the other would make a blanket that isn't so warm and making one that is woven cotton on both sides would make it even less warm, which some people might prefer. The other thing to consider when choosing materials is the weight they add to the blanket. Your total weight for the blanket should include the weight of the fabric plus the pellets. Using fleece will add substantially more weight to the blanket. So you have to keep that in mind when determining how much of the pellets you need to use. For example, if you're aiming for a 7 pound blanket then you need to weigh your fabric first (let's say it's 1 pound) then subtract the weight of the fabric from the total weight to get the weight of pellets you'd need (in this example that would be only 6 pounds).
Another thing to consider is that sewing through two pieces of fleece will be thicker than two pieces of woven cotton or a woven cotton/fleece combo. As for needles I would say a brand- new ballpoint needle. Fleece is rough on needles so a new needle is essential!
Leigh
Friday 7th of December 2018
Thank you for posting such a clear, detailed guide to making a weighted blanket. After looking at numerous sites for instructions, I was not confident that I could do it. Several recommended adding muslin and batting, and I was not sure my machine could handle that many layers. After reading and seeing your detailed instructions, I feel like I can do this! Thanks so much! My adult daughter has been wanting one for a while, and I want to surprise her with this as a Christmas gift. Thanks again!
Cat
Saturday 8th of December 2018
You're welcome!
Joan
Monday 26th of November 2018
Thank you for sharing this project. I KNOW this is going to help many people.
Cat
Monday 26th of November 2018
I hope so!
Joanne Carpenter
Friday 2nd of November 2018
I bought a 14 lb weighted blanket for myself. It was too heavy for me to move under it. I'm writing with my advice not to make or buy a blanket that is too heavy. According to all the recommendations I read I should have bought a blanket that was much heavier.
I had to return the one I bought. But I think I will try making one for myself following your directions. Those weighted blankets are really expensive.
Have you tried washing your blanket yet? Does it come out okay?
Cat
Friday 2nd of November 2018
Yeah, I think it may be a little different for everyone what weight feels best and particularly adults. Generally occupational therapists will recommend 10% of a child's ideal weight so that's why I specified that number but you have to do what works for you. In older teens and adults this formula can be too heavy so please consult your healthcare professional if you are not sure which weight and size is right for you. I have washed mine and it worked out well.