So there are a whole lot of ways to make a diy baby blanket. I’ve made a few quilts and fleece blankets and this is by far the easiest blanket I have ever made. It took me just slightly longer than a nap time to make it but I was playing Lego bricks half the time, so it could probably be done in one nap time.

Yes, I measure projects in nap times around here.
So to make this easy peasy diy baby blanket you will need a few things:
- sewing machine
- rotary cutter or scissors
- cutting mat or board
- cutting ruler
- 2 yards of fabric (1 yard of cotton for front & 1 yard of something soft & thick for back)
- thread


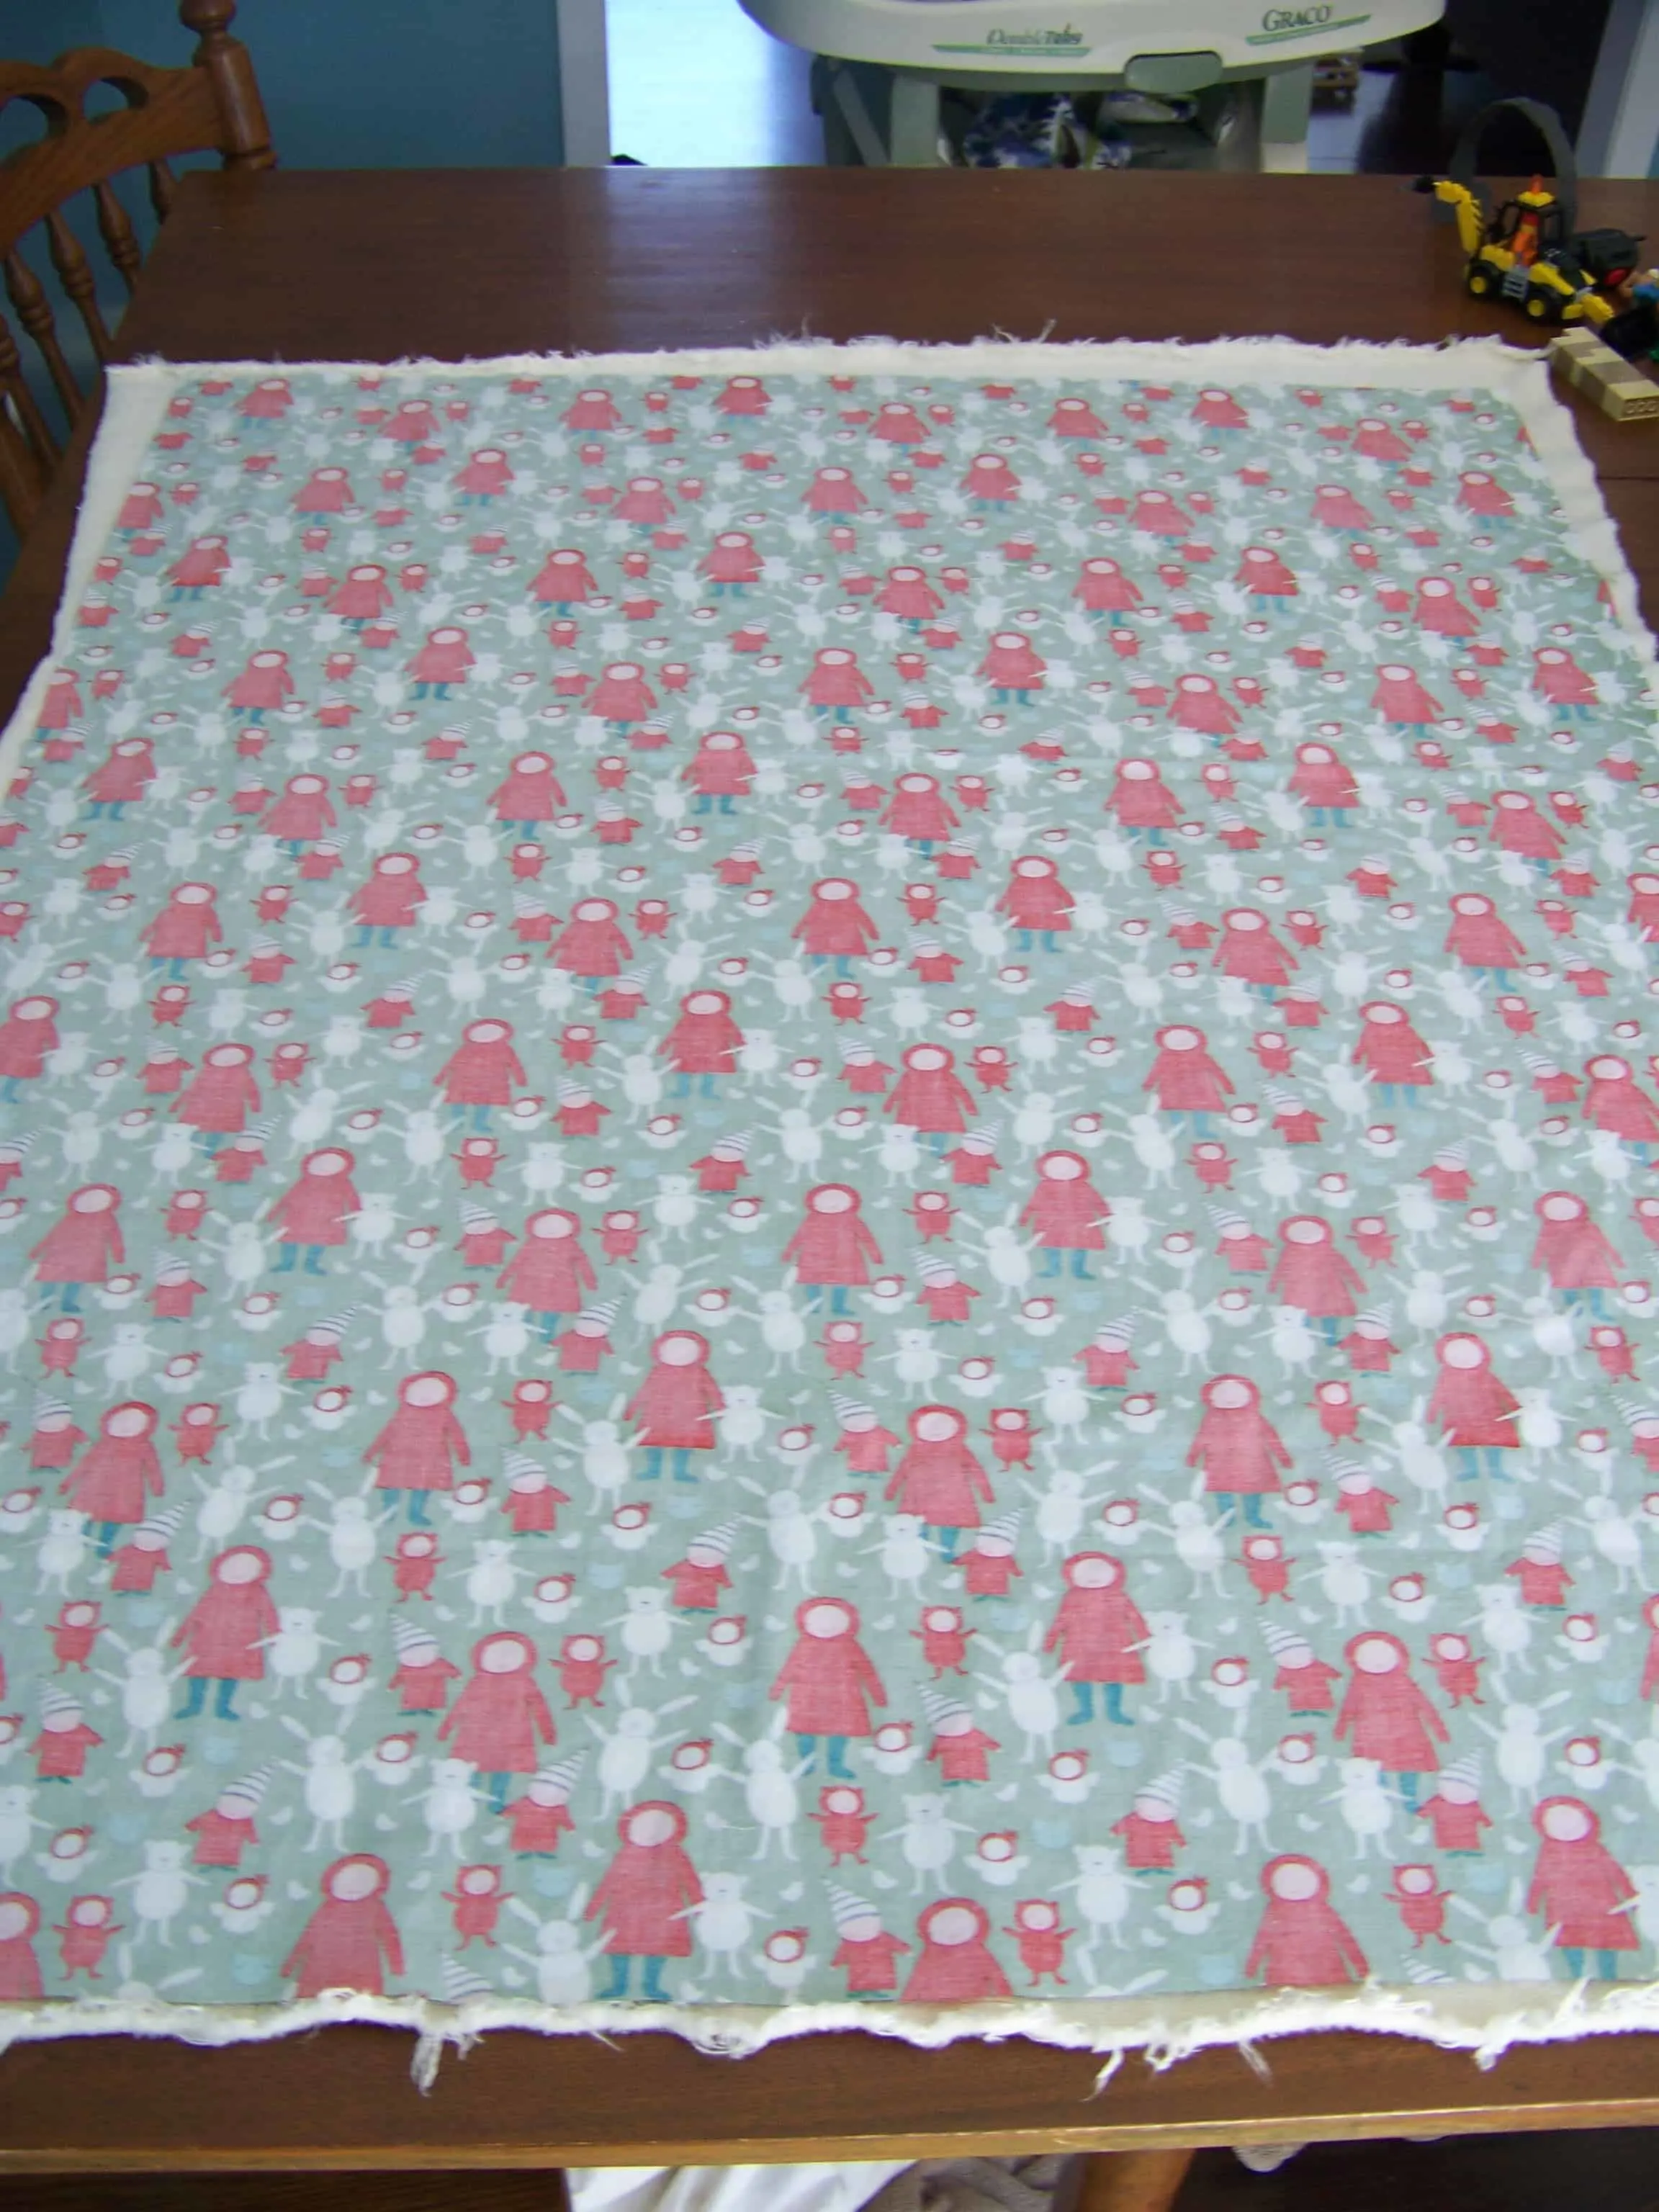
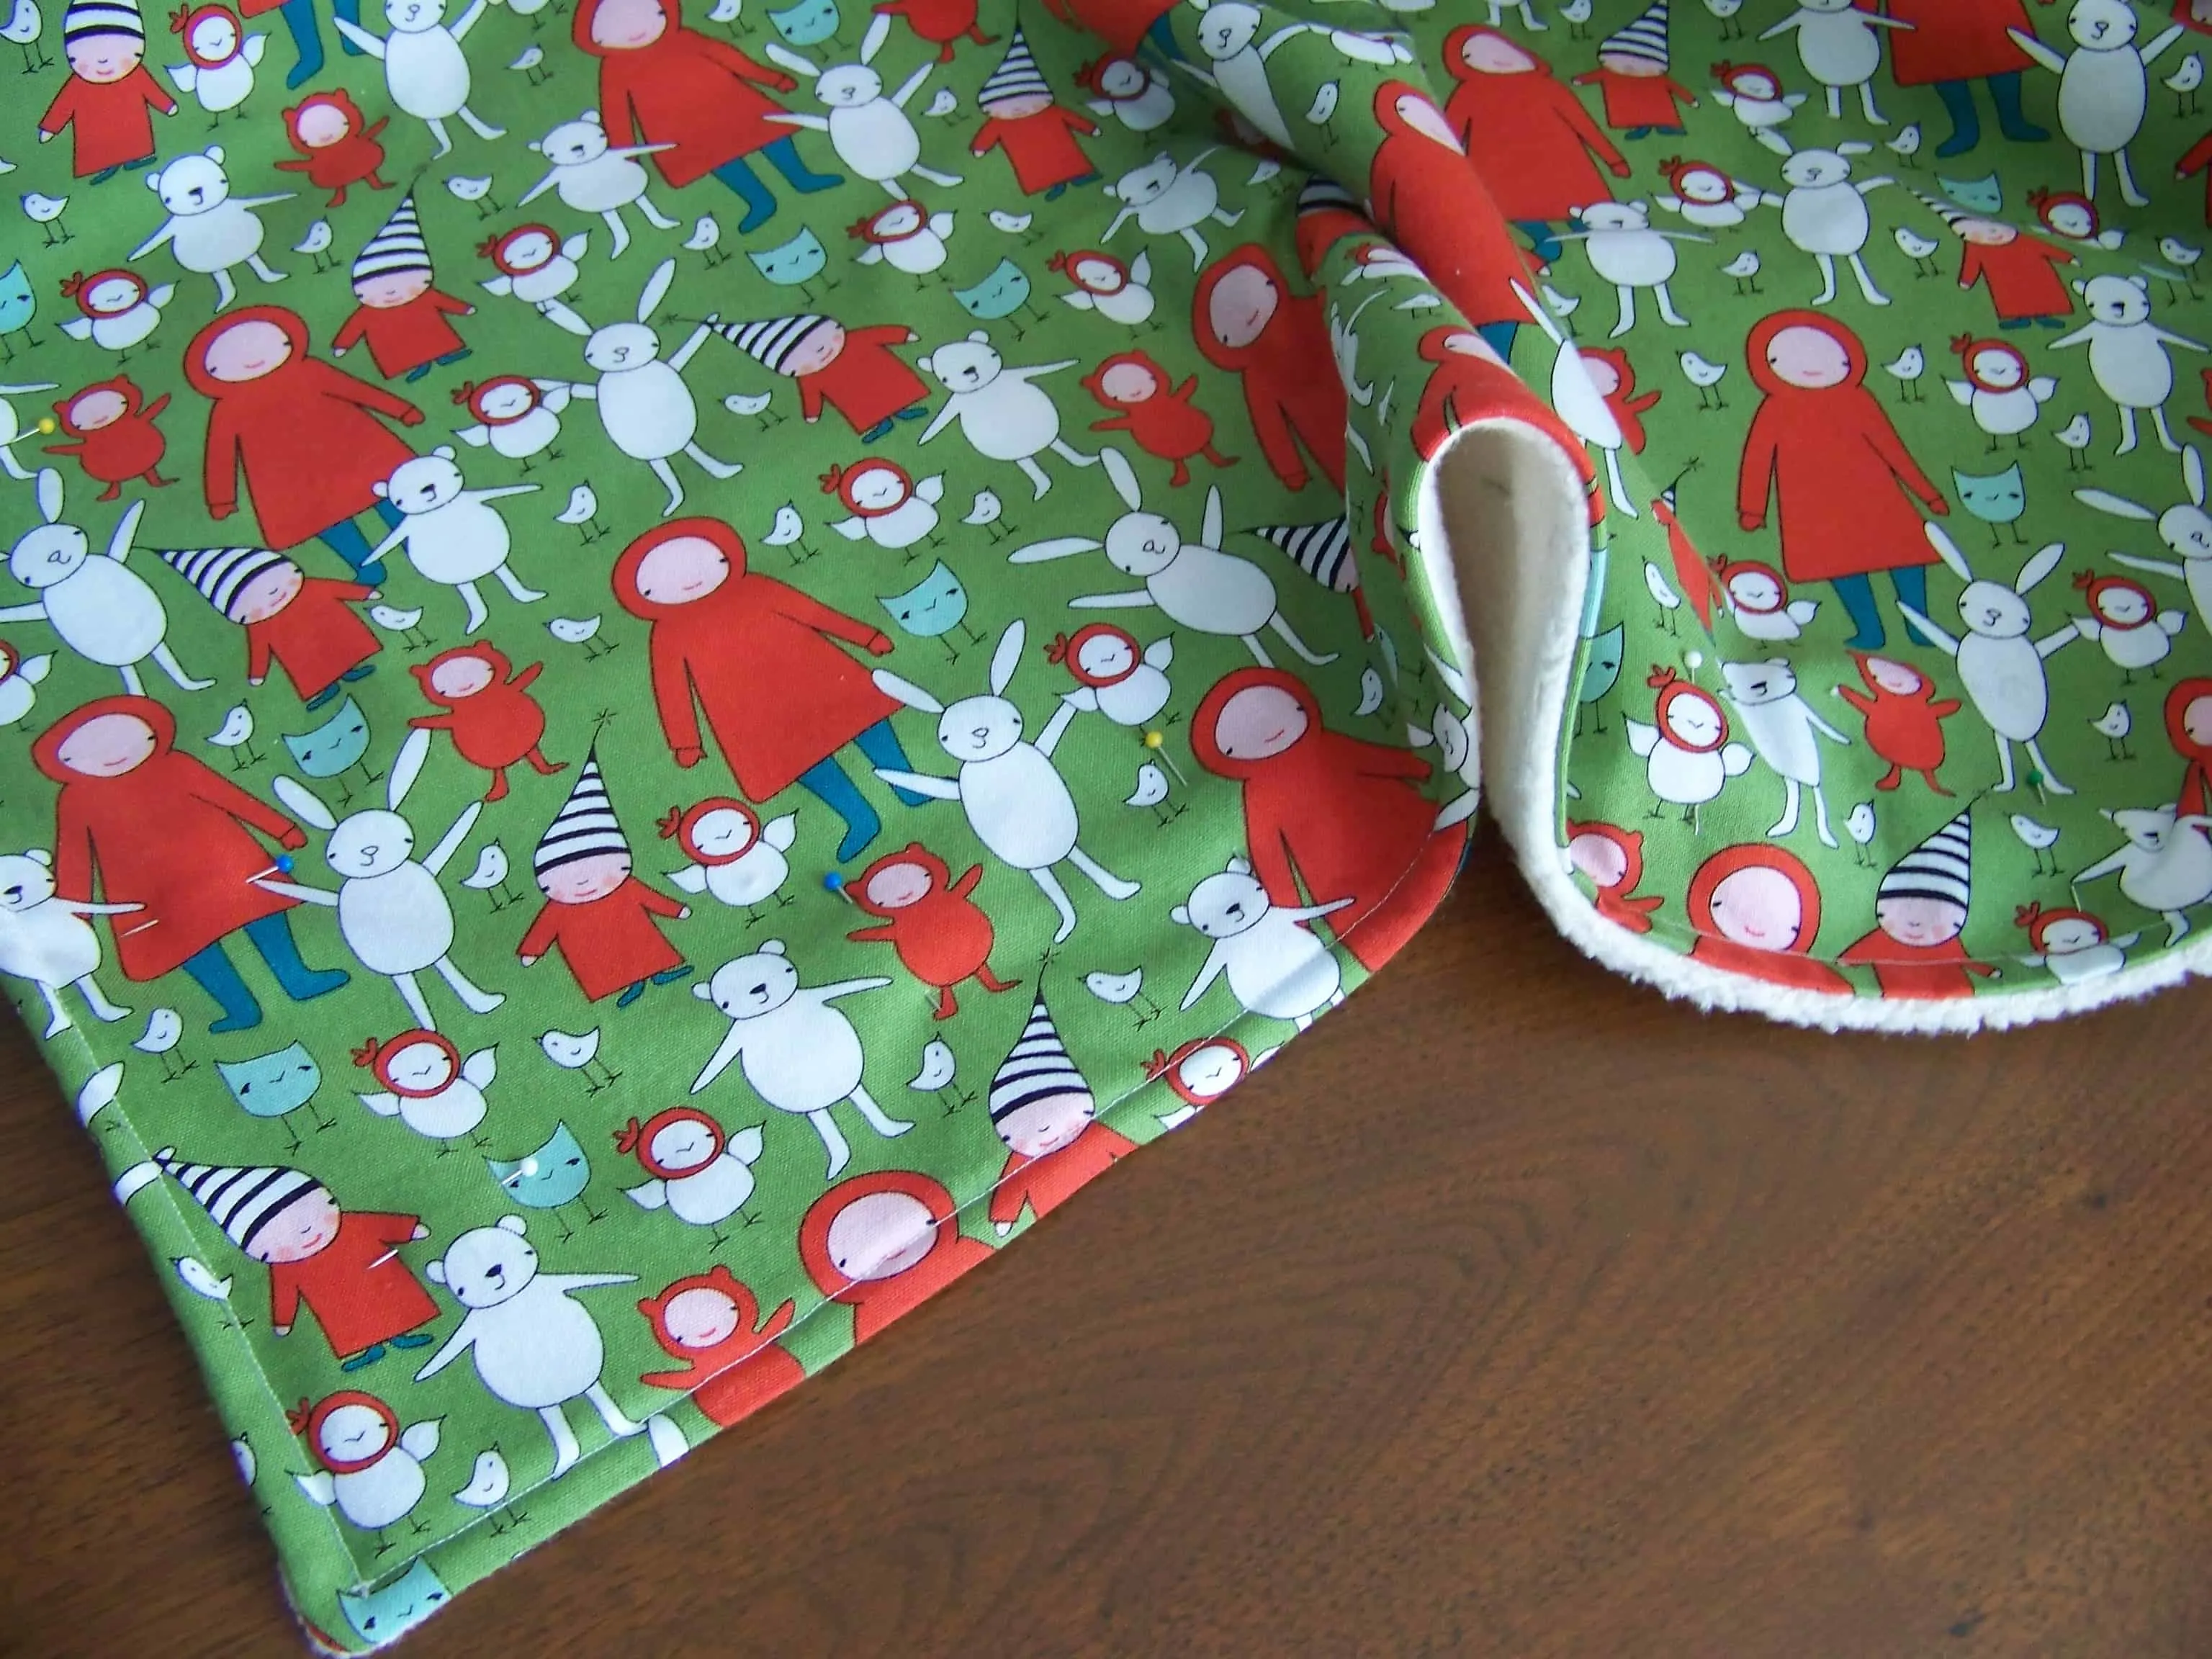
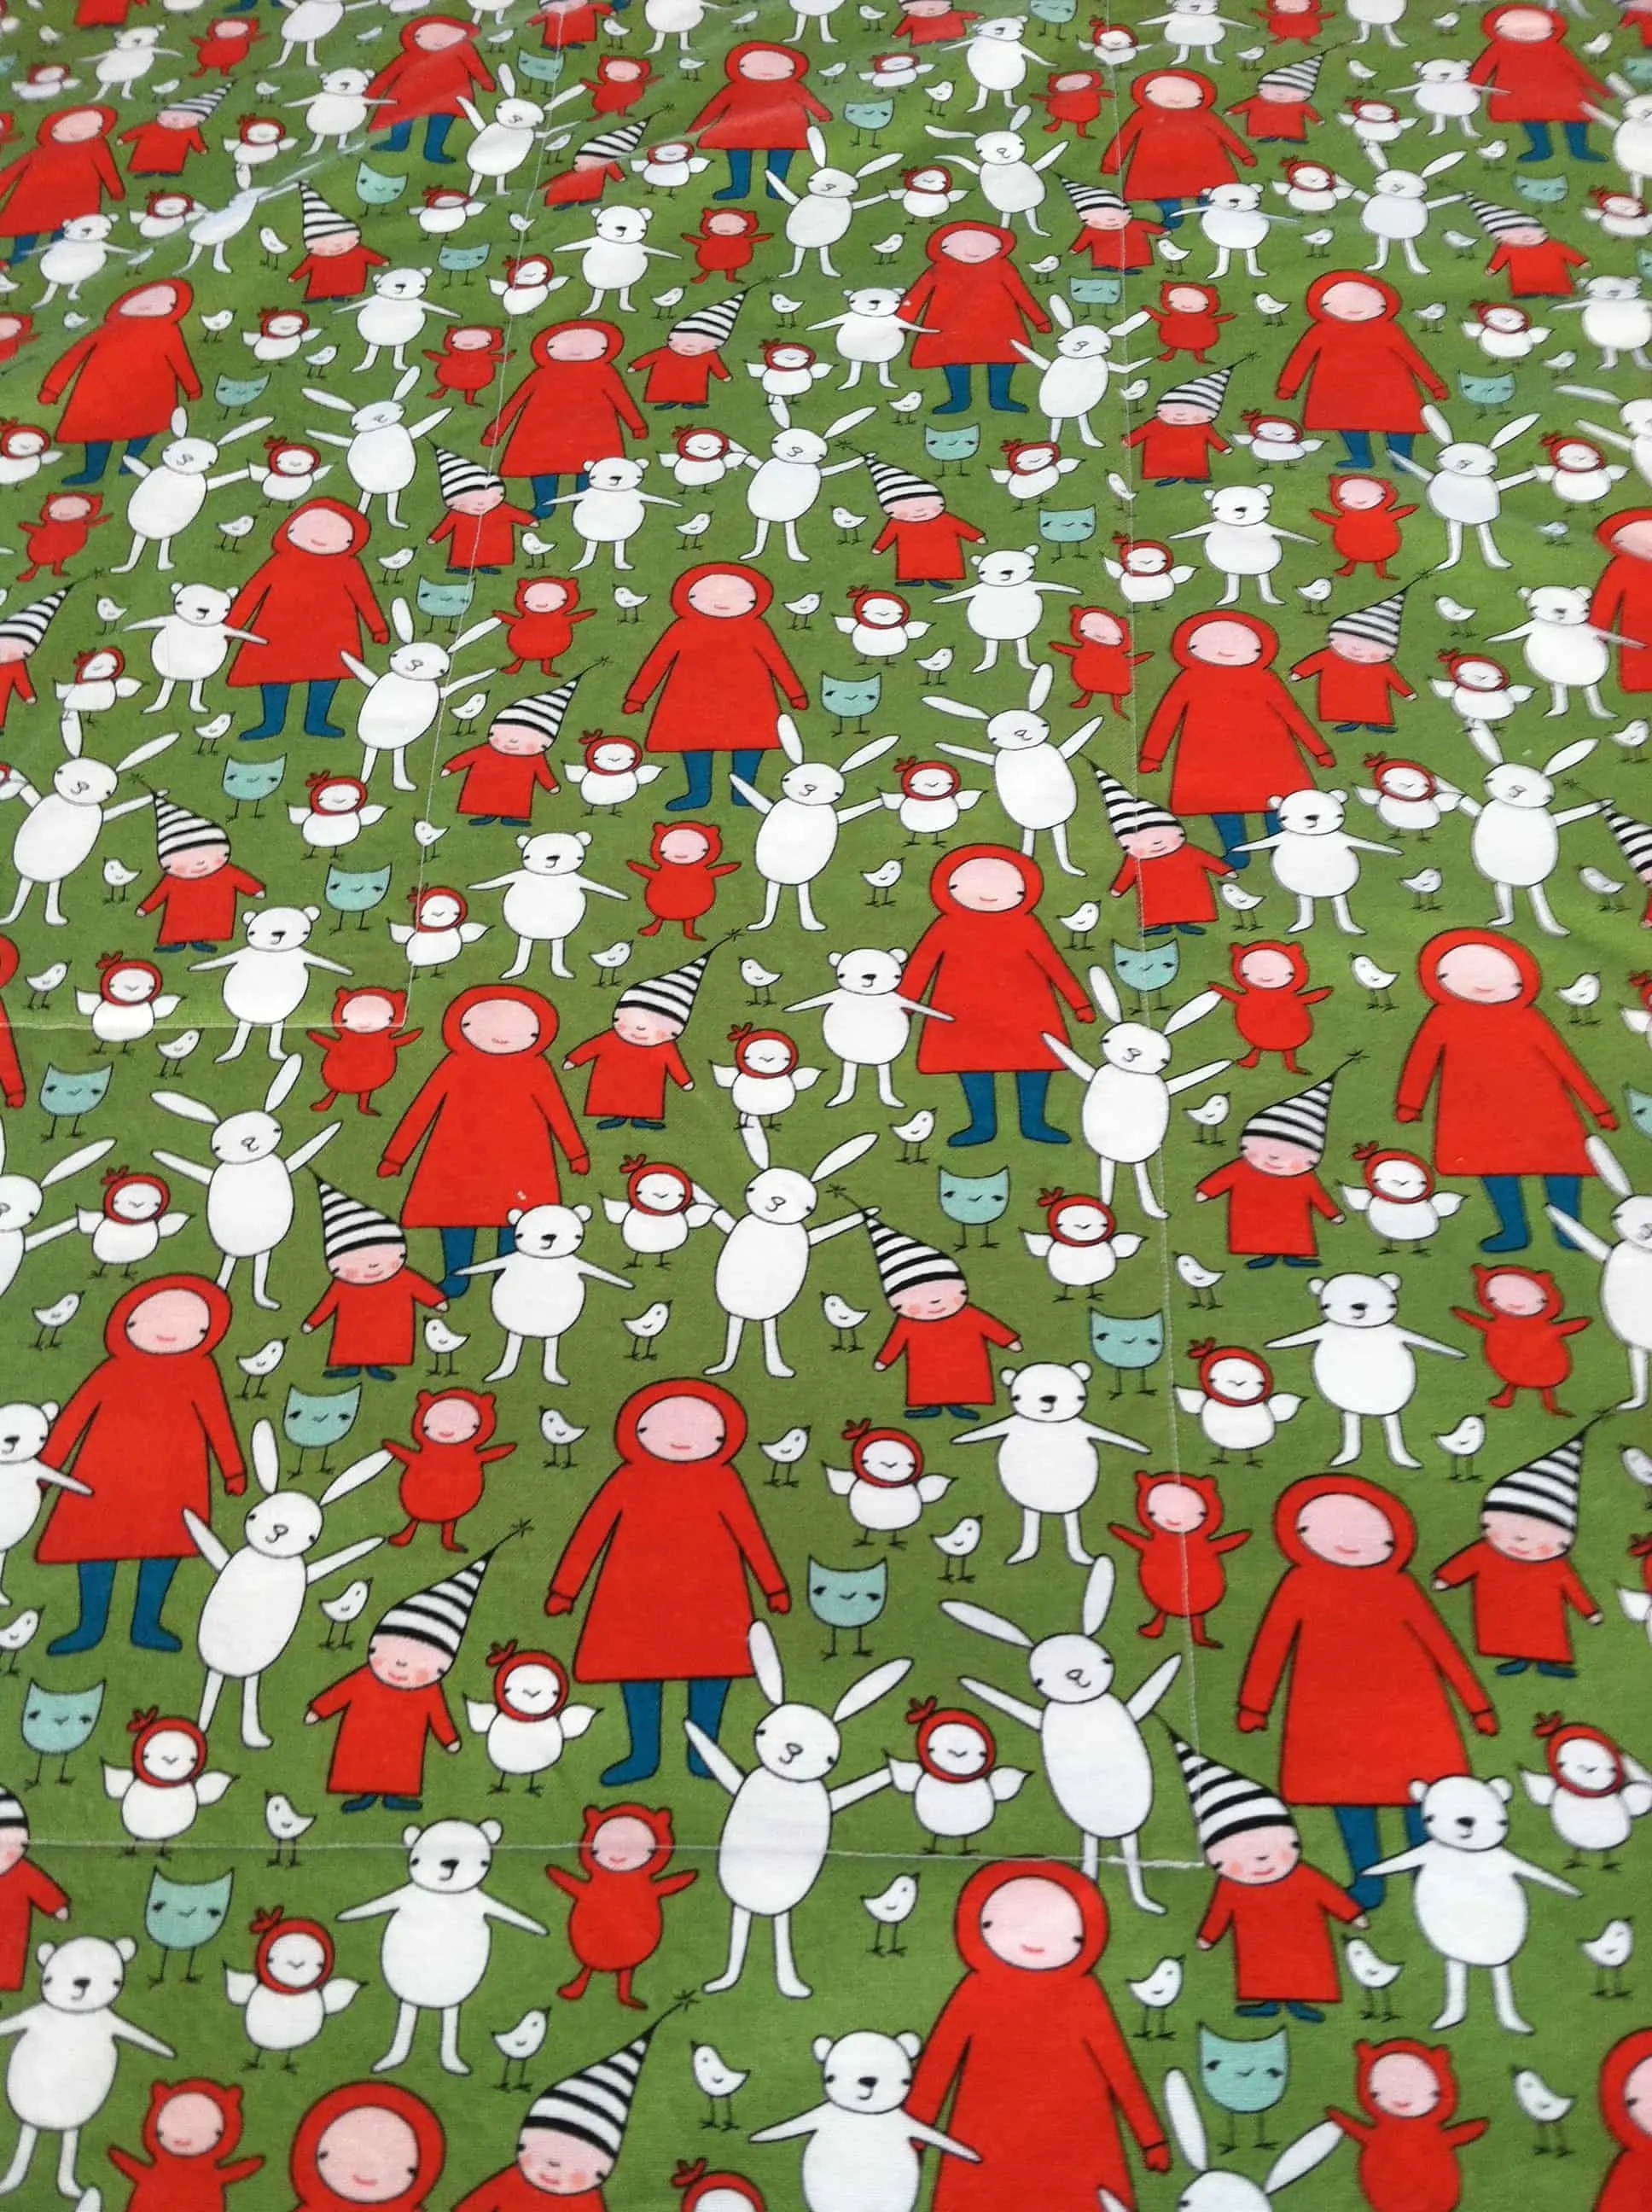
For my fabrics I chose a cotton print for the front. It’s called “Meet the Gang” and it’s by Marisa and Creative Thursday for Andover Fabrics. I got it at Zincks, a local discount fabric store. I paid $1.99 for the yard.


For my diy baby blanket backing I chose organic cotton Sherpa by Michael Miller. I got it from Fabric.com for $19.99 a yard. I bought two yards and split it between this blanket and a blanket I made for my older son.
I love love love this fabric it’s super soft. You could make this blanket with a minky or chenille or flannel if you prefer.


So once you pick your fabrics here is how you make a DIY baby blanket:
1. Wash and dry your fabrics. Then iron the cotton one. I wouldn’t bother with ironing your sherpa.
2. Cut your top fabric to size. I decided to make a stroller-size blanket which is typically about 40X30 or 42X30. I decided to make mine 42X30.
3. Once you have cut your top fabric to size lay the sherpa (back fabric) down on the table with the right side facing up. This will be the soft side that you want to be on the outside of your blanket.
4. Next lay the top fabric (the printed one) face side down on top of the sherpa. Smooth out any bumps or wrinkles in the fabric.

 At this point you should have the right sides of the fabrics facing each other.
5. Now you are going to pin them together so that things stay in place when you are sewing. Put a few safety pins in the middle areas and then use straight pins all around the edges.


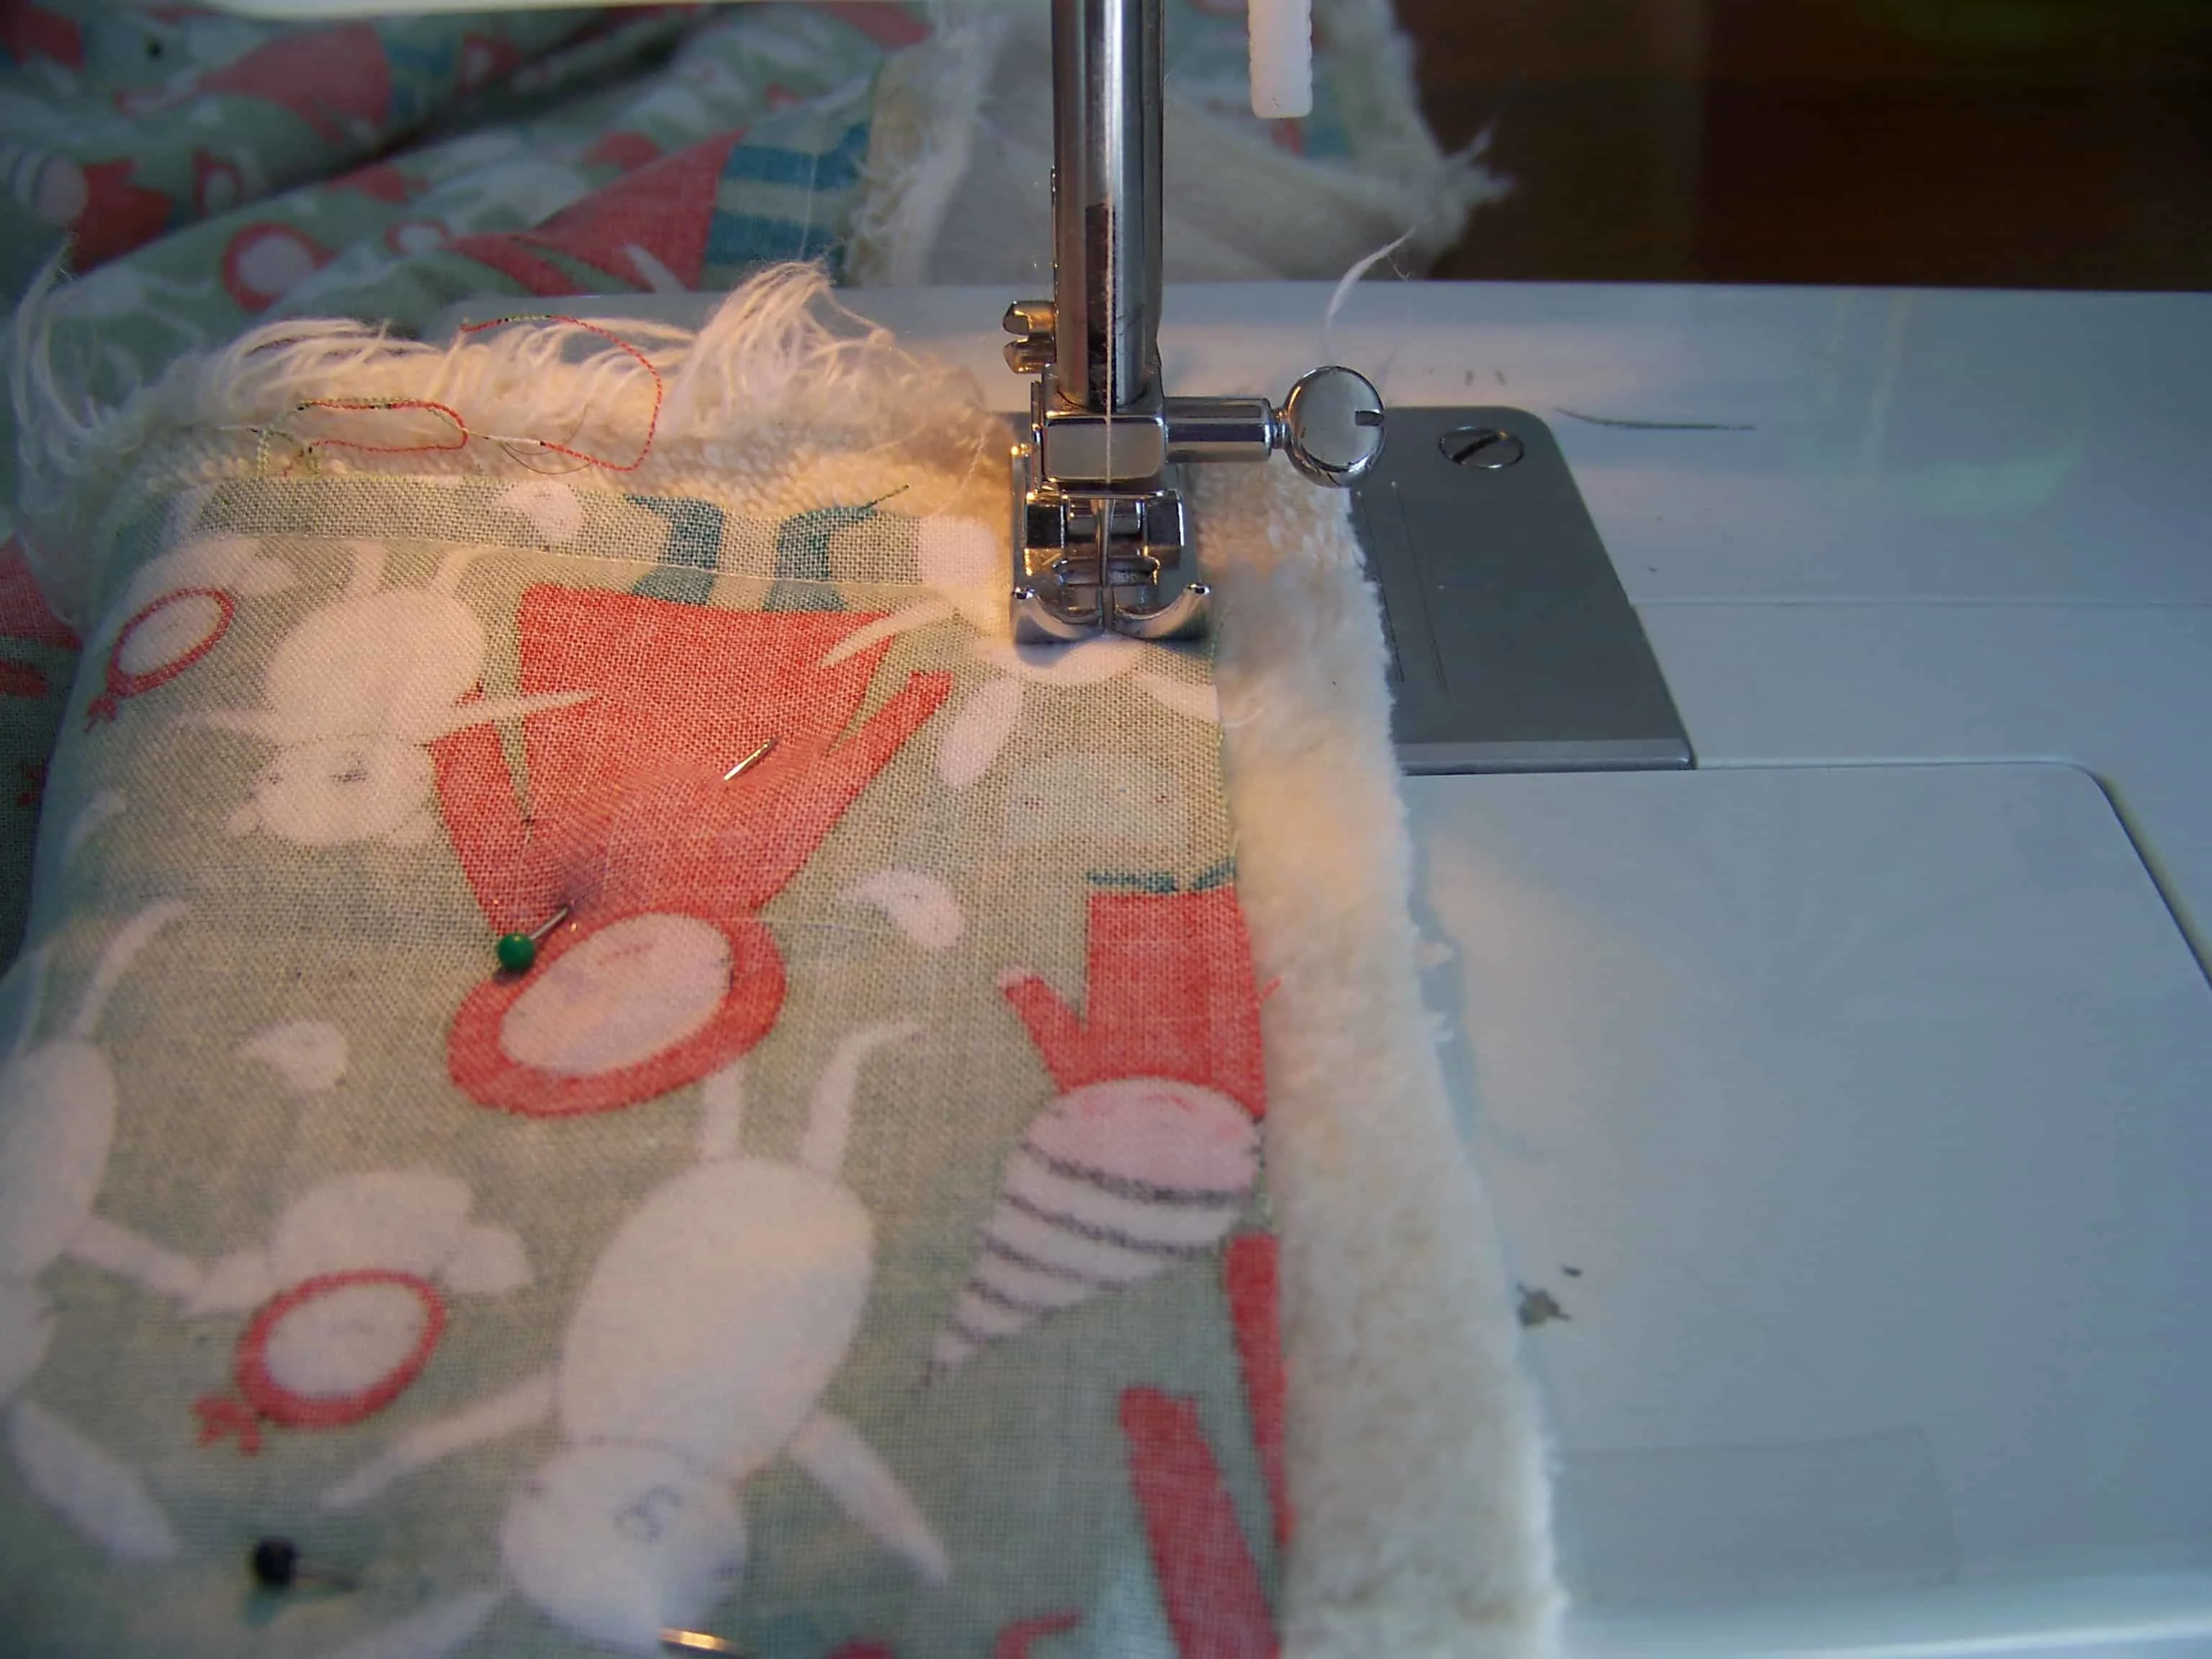
6. Line up your sewing machine’s foot on the edge of the printed fabric. Sew most of the way down to the corner of the blanket.


7. When you get close to the corner slow down. With the needle in the down position, lift your presser foot and pivot your fabric so that you can sew along the next side. Again, be sure that your presser foot lines up with the edge of your printed fabric.

8. Repeat this process for each side until you nearly reach where you began. Stop about 4 inches short of where you began. You will use this opening to turn your blanket inside out in a moment.

9. Remove all the pins from the blanket. Now trim all the excess sherpa from around the edges so that it’s even with the top fabric.

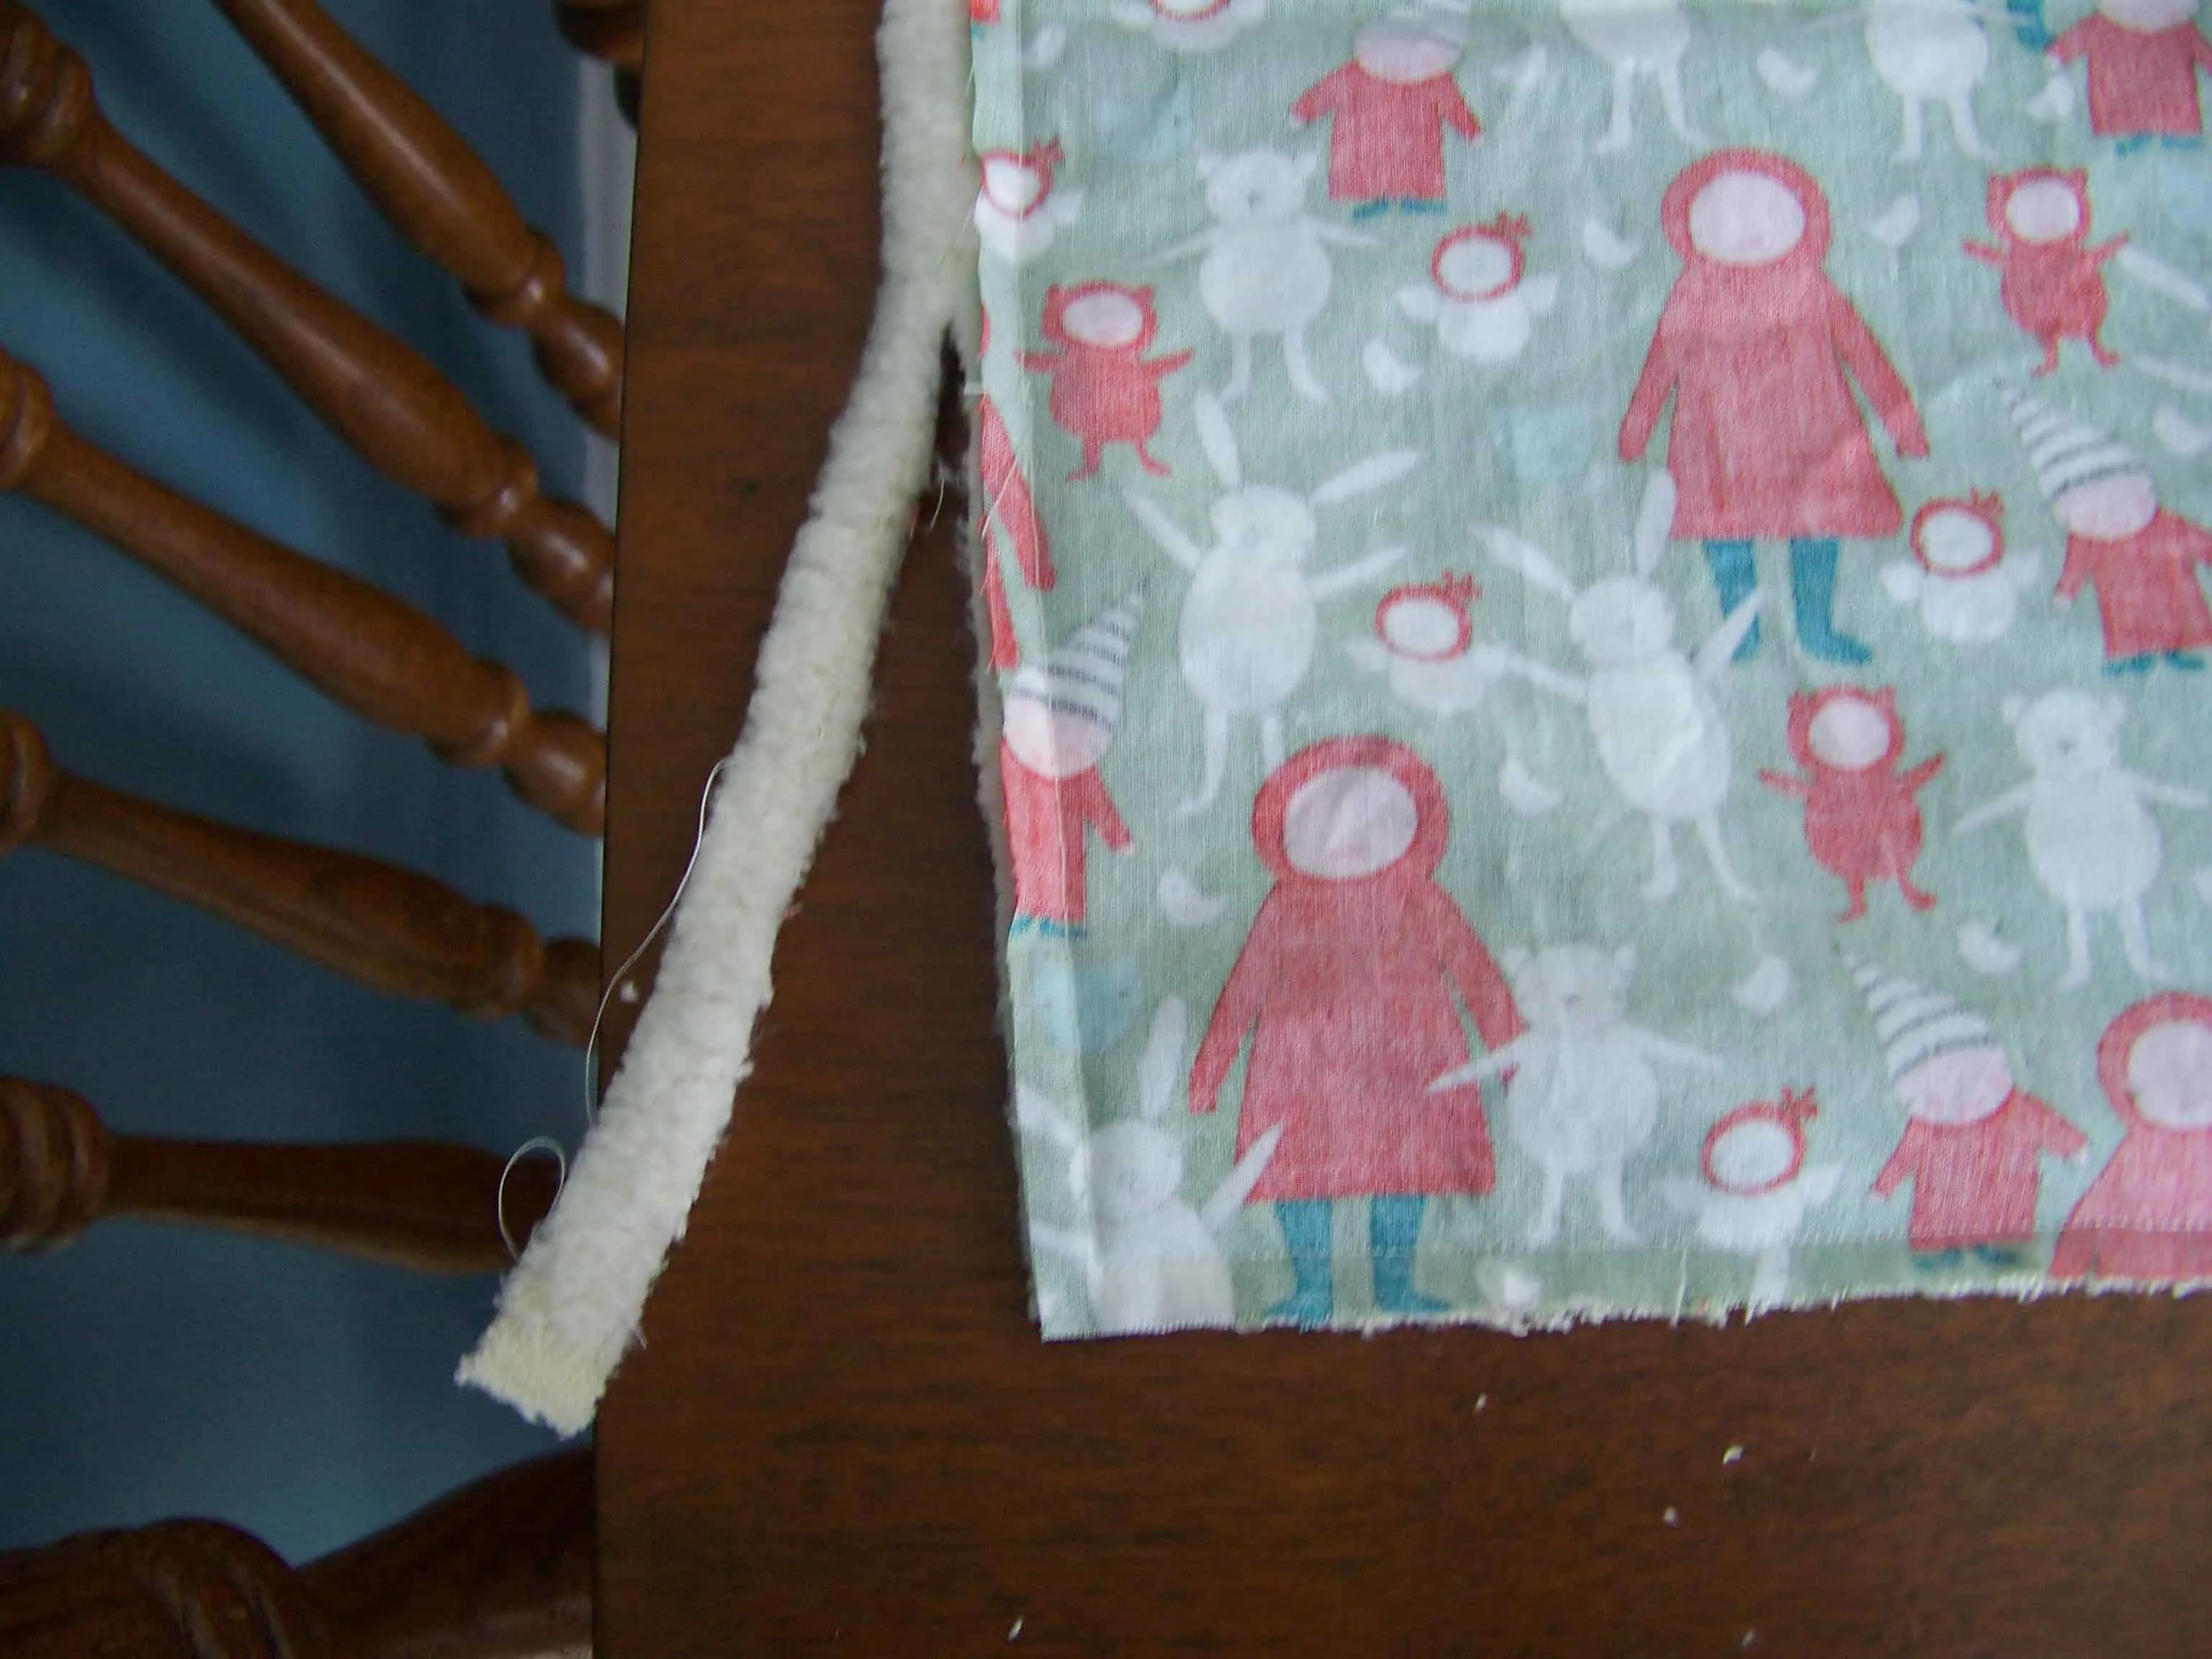
10. Cut the edge off of each corner. This will help our corners to be a little more pointy when we turn the blanket inside out.


11. Now get you are going to turn the blanket inside out using your opening. Reach your hand in to the opposite corner and pull the blanket through.

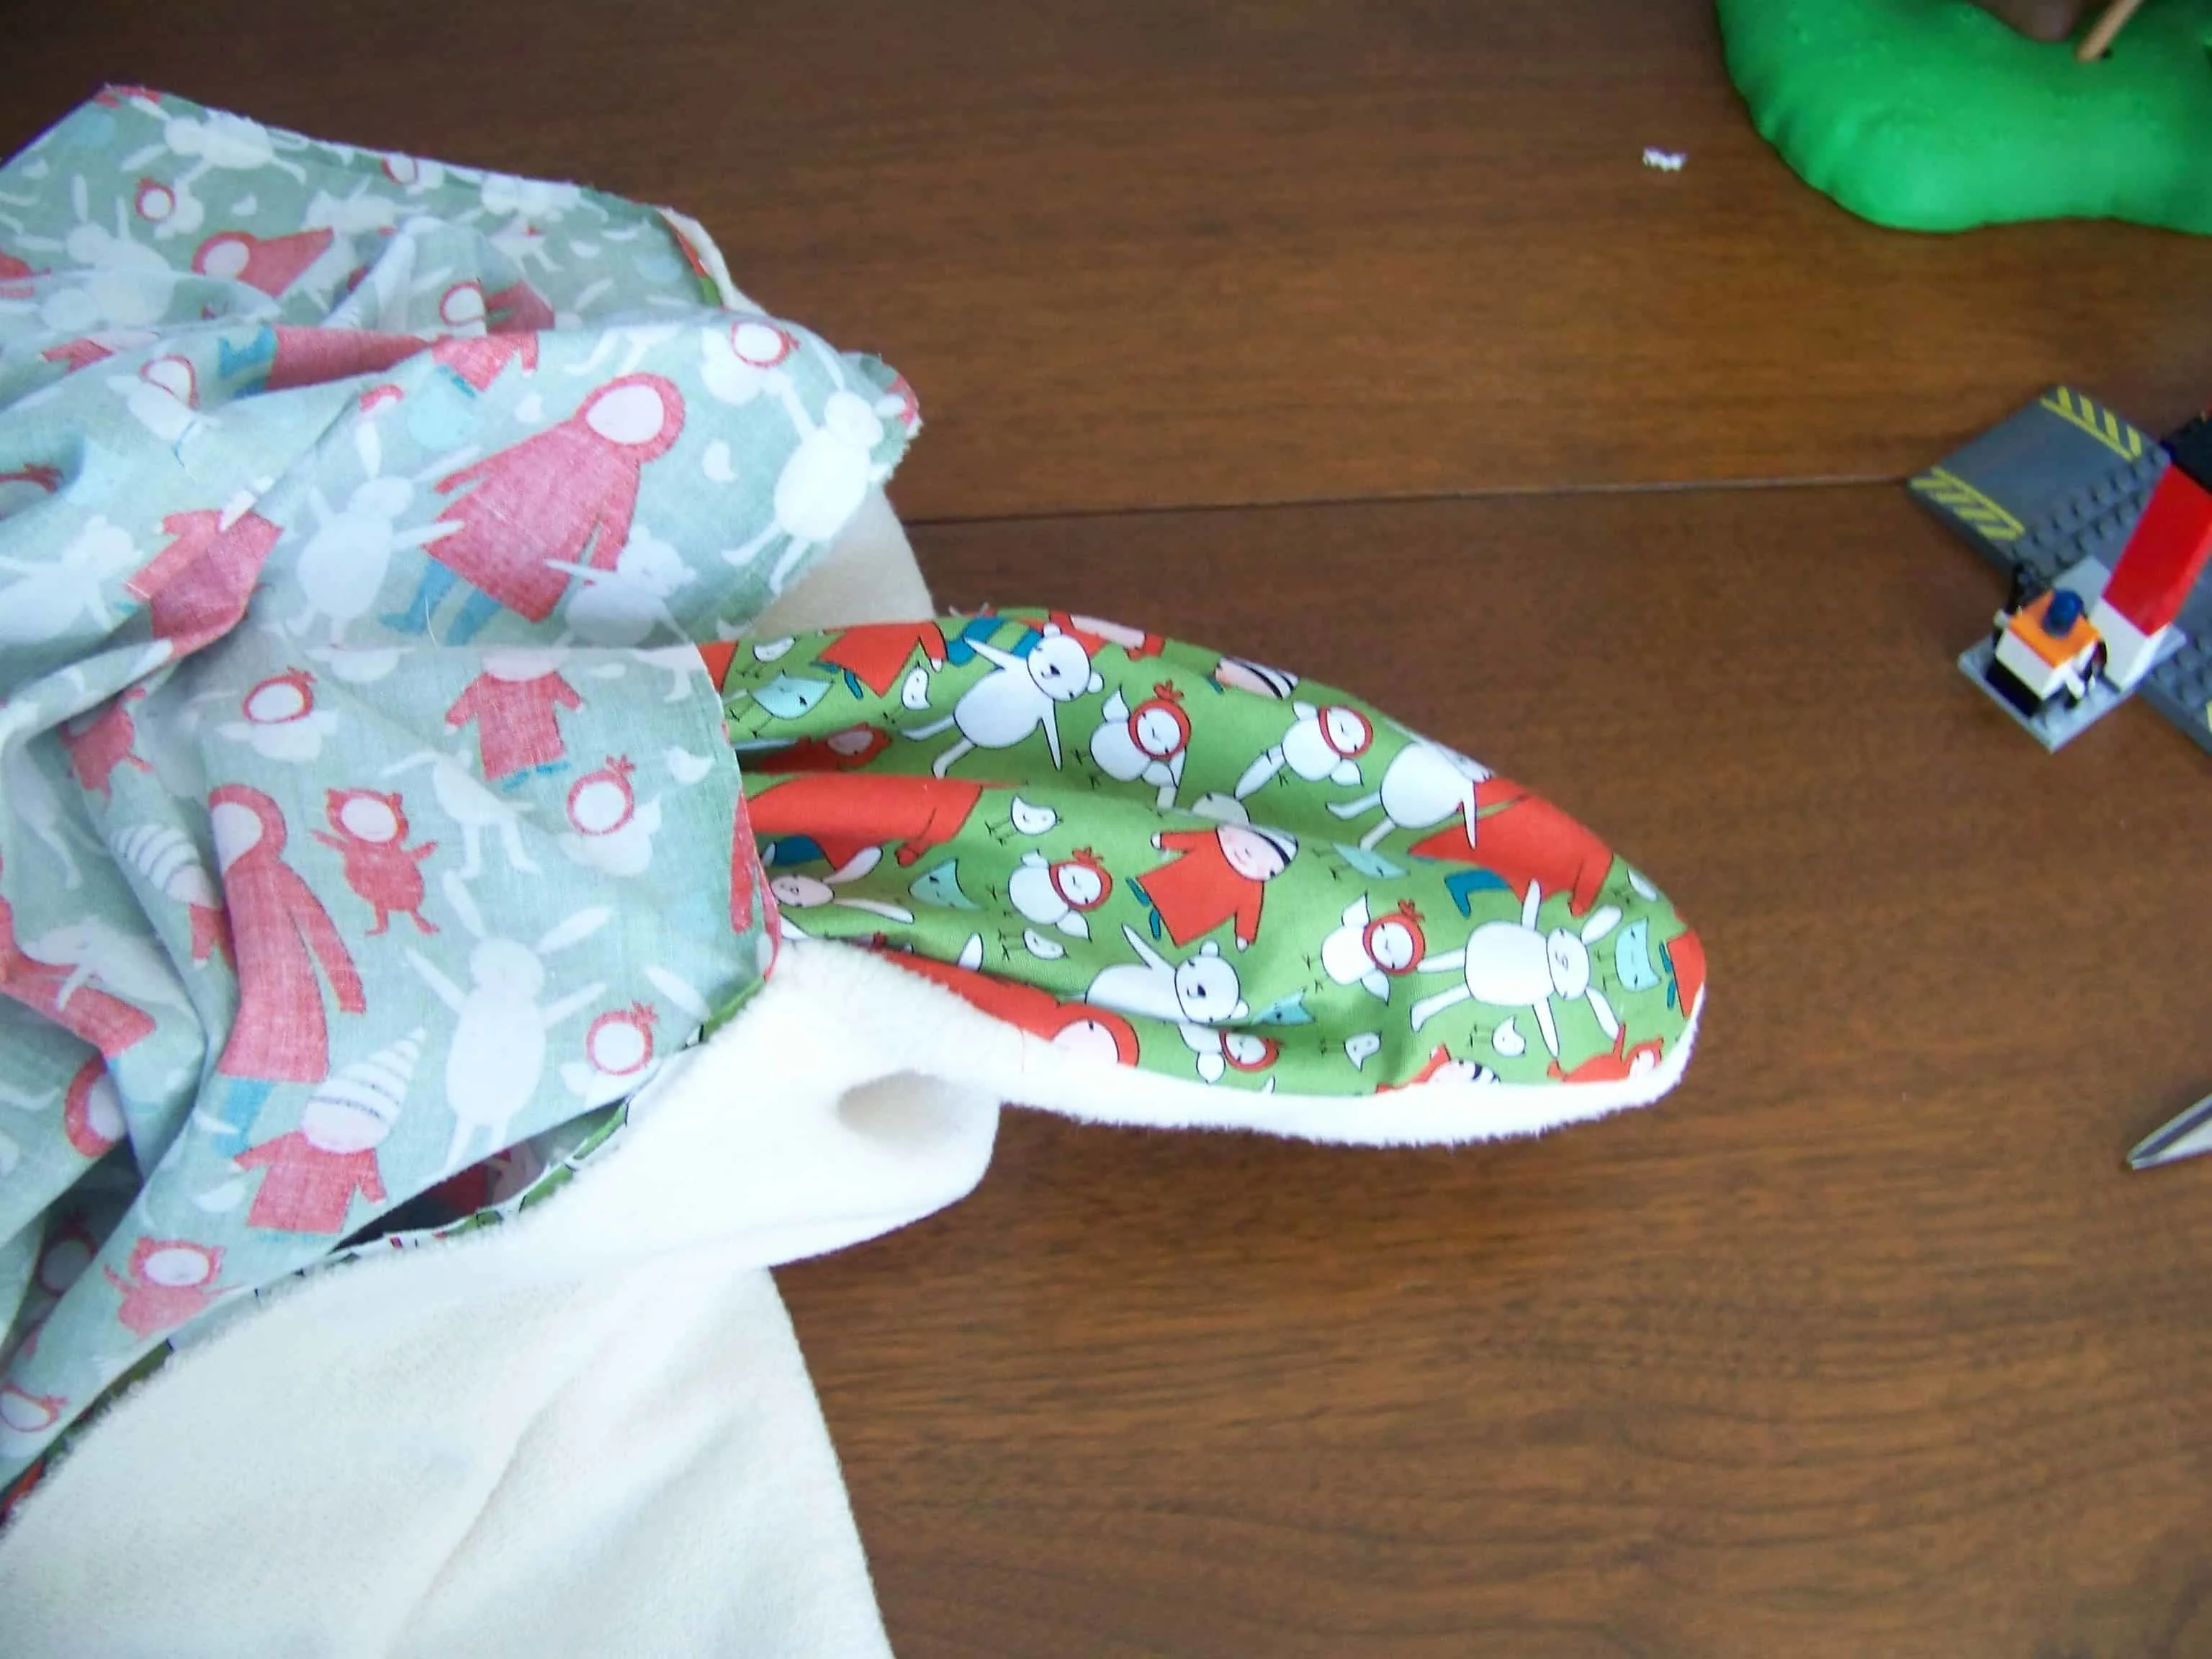
12. Use your finger to straighten out each corner. If you can’t get your finger in there enough then use a pen or something like that.


13. Lay the blanket out flat on the table, smoothing out all the wrinkles you can. Your edges will be a little puffy so iron everything out nice and flat.


14. Pin everything into place again so that there is no shifting while you sew. Also pin the edge of your opening closed.


15. Line up your sewing machine’s foot and sew all the way around the perimeter of the blanket.


16. To keep the layers together in the middle we are now going to quilt the top, but we’re going to do it in one of the most ridiculously easy ways possible. We are going to sew two rectangles in the middle of the blanket. In the end the back will look like this:


To start, line up your sewing mchine’s foot so that the edge of the blanket just touches the side of your machine.


This is a distance of 15 centimeters on my machine so start sewing 15 centimeters in from the edge of both sides. Using the side of the machine as a guide sew until I was 15 centimeters from the other side of the blanket, then lift the presser foot to turn the fabric so that you can sew the next side.
If your sewing machine isn’t 15 centimeters to the foot then adjust according to whatever that measurement is.


Do this all the way around until you have completed one rectangle.
17. To complete the second rectangle you basically do the same thing, except this time instead of using the edge of the blanket to line up with your guide you use the previous rectangle’s perimeter.


18. Trim off all your strings and you are done!
Hand it over to your baby, or in my case big baby. I still contend that at 18 months there’s nothing wrong with calling him the baby.
 Make anything fun lately? I’d love to hear about it! If you make a DIY baby blanket please let me know in the comments below.
I shared this tutorial over at 
Linking up with Thrifty Thursday at Living Well Spending Less.
KellyHa
Saturday 7th of March 2015
Thank you so much for the great tutorial. I have not sewn for years and wanted a pretty simple, yet nice, baby blanket. Can't wait to make one or many more.
Cat
Saturday 7th of March 2015
Aww, I'm so excited to have helped. Best of luck with your new projects!
Sandy
Saturday 28th of February 2015
I do this a lot. Also, you can round the corners so you don't have to worry about getting those little corners to stick out.
Cat
Saturday 28th of February 2015
Yes! Thanks for sharing the great tip!