I love infinity scarves. They stay nicely around my neck and don’t fly around like some other scarves. And let’s be honest… I have a hard time tying scarves in a fashion that looks half way decent. I’ve made myself a few infinity scarves and today I’m sharing with you all how to make a DIY infinity scarf. I just made my new fall scarf from this beautiful plaid flannel that I found at the fabric store. It’s orange mixed in with some grays and blues which is great for me because I tend to prefer cooler colors.
I love the weight of the flannel for fall and I find that it gives a nice warmth but you can use this DIY infinity scarf tutorial to make an infinity scarf out of other fabrics if you prefer to use something different.
To Make a DIY Infinity Scarf You Will Need:
- 1 3/4- 2 yards of fabric (this will make 2 scarves but you need this much to get the necessary length… do 1 3/4 if you want your scarf to be a little closer around the neck, 2 if you want it longer & looser)
- coordinating thread
- rotary cutter or scissors
- self-healing cutting mat and quilting ruler (for use with the rotary cutter if you have one)
- sewing machine (I use this sewing machine)

This is an easy project to make but having the right tools makes it even easier. Fiskars recently sent me their new folding cutting mat along with their thread snips and original scissors.
I already use many Fiskars tools (my cutting mat, quilting ruler, scissors, rotary cutter) and so I was really excited to add to my collection. I received these products free from Fiskars but all opinions expressed in this post are my own. 

 I am absolutely ecstatic about my new cutting mat. It’s much bigger than my old one (24 in X 36 in) and it folds! It folds up so nicely which makes it easier to store, which is great if you’re like me and you craft on your dinning room table so you have to put everything away when you want to sit down and actually eat.

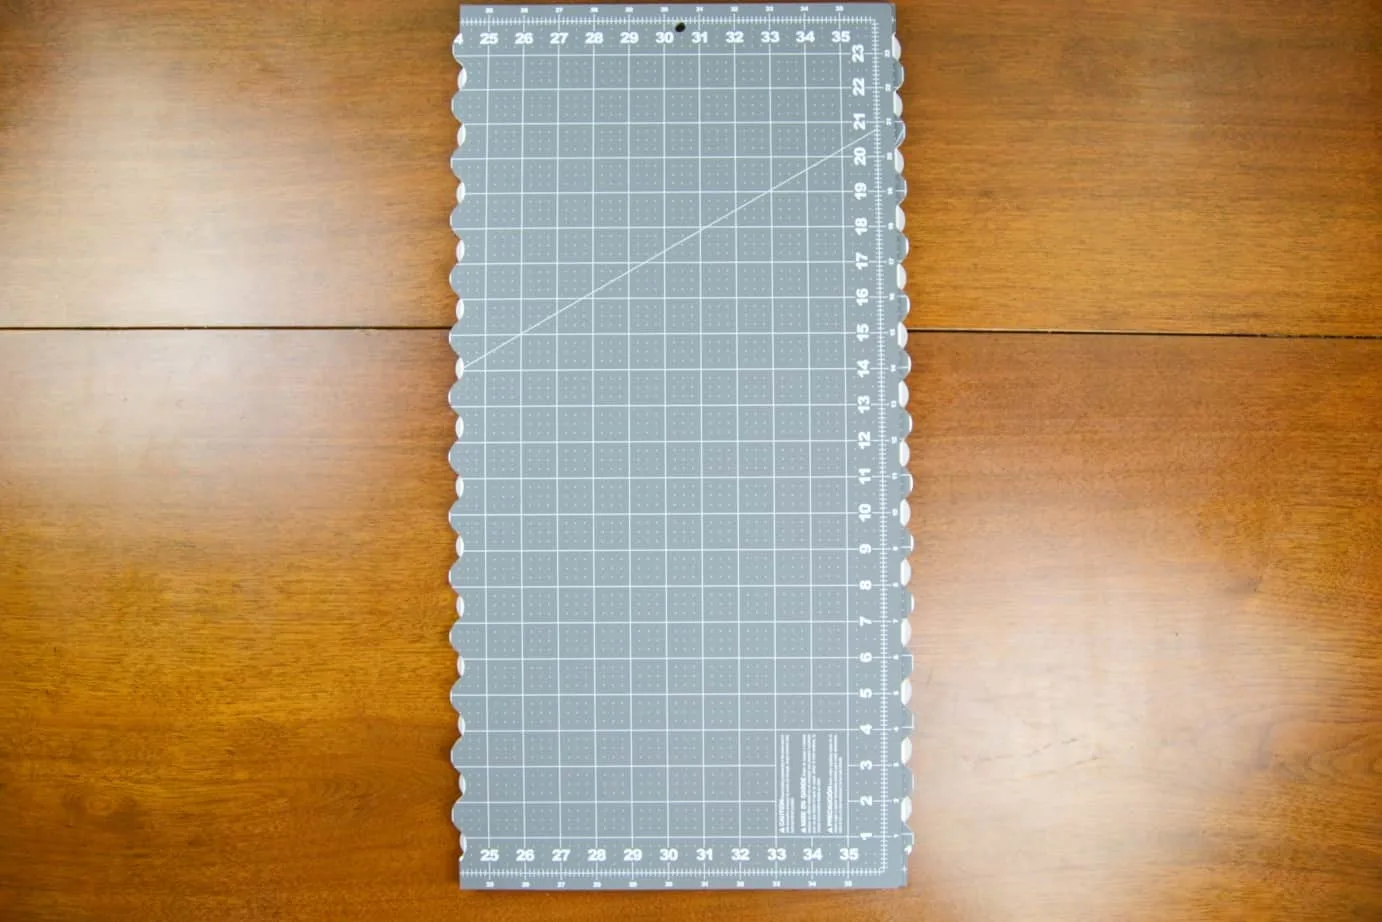
My new mat made it so much easier to do a project with a bigger piece for fabric like this one. Special thanks to Fiskars for providing such amazing products!
DIY Infinity Scarf Tutorial
Step 1: Wash, dry, and iron your fabric (be sure to check your fabric care instructions to see if you should iron it and how to wash it). Then cut your fabric in half, cutting it so that you have two pieces that measure 1 3/4 or 2 yards long by half of the width of your fabric.
Each one of these rectangles will make a scarf. I ended up with two rectangles that measured 22 inches X 66 inches or so.

Step 2: Set one of your pieces aside. Take the other piece and square it off. Basically this just means that you make sure that all the sides are cut evenly and straight and that the corner angles are 45 degrees.
To do this I folded my piece of fabric in half width-wise and used my quilting ruler, rotary cutter, and self-healing mat. 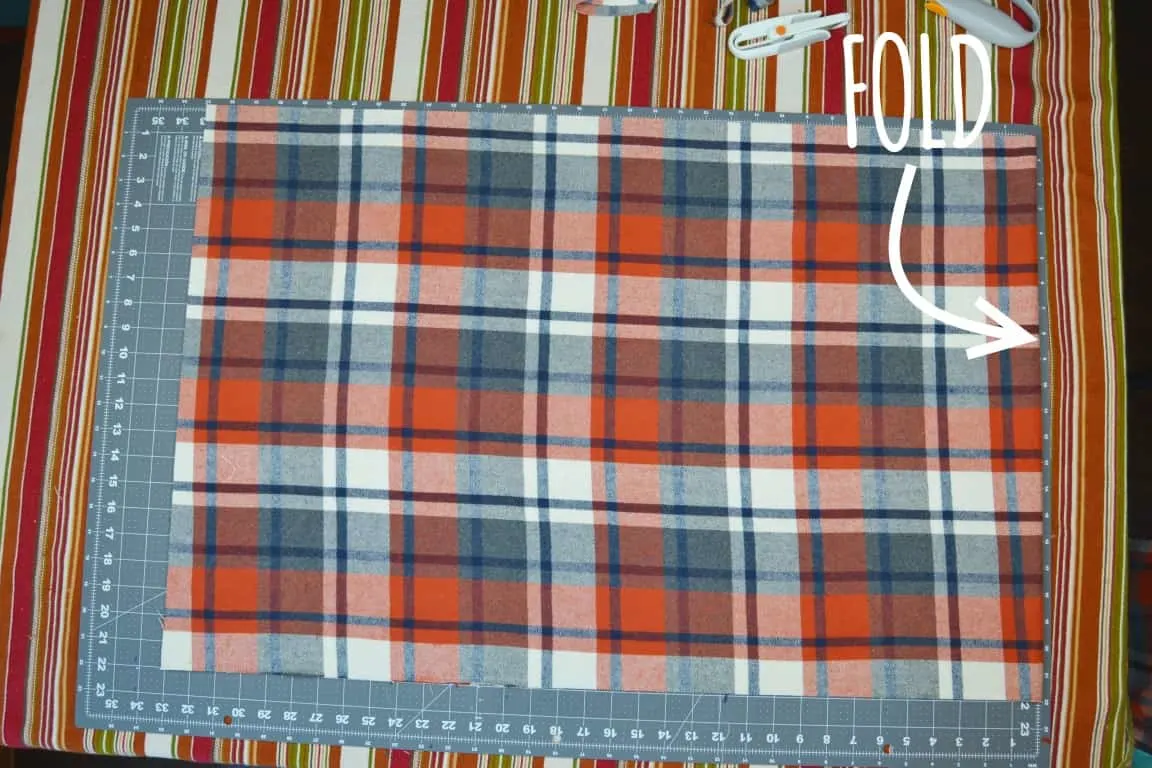
Step 3: Take your rectangle and fold the rectangle in half lengthwise, with the right sides together.
Pin and sew along the open edge at the top but leave about a 4-5 inch opening unsewn somewhere near the end of one side but not all the way at the end. Sew about 1/2 inch from the edge.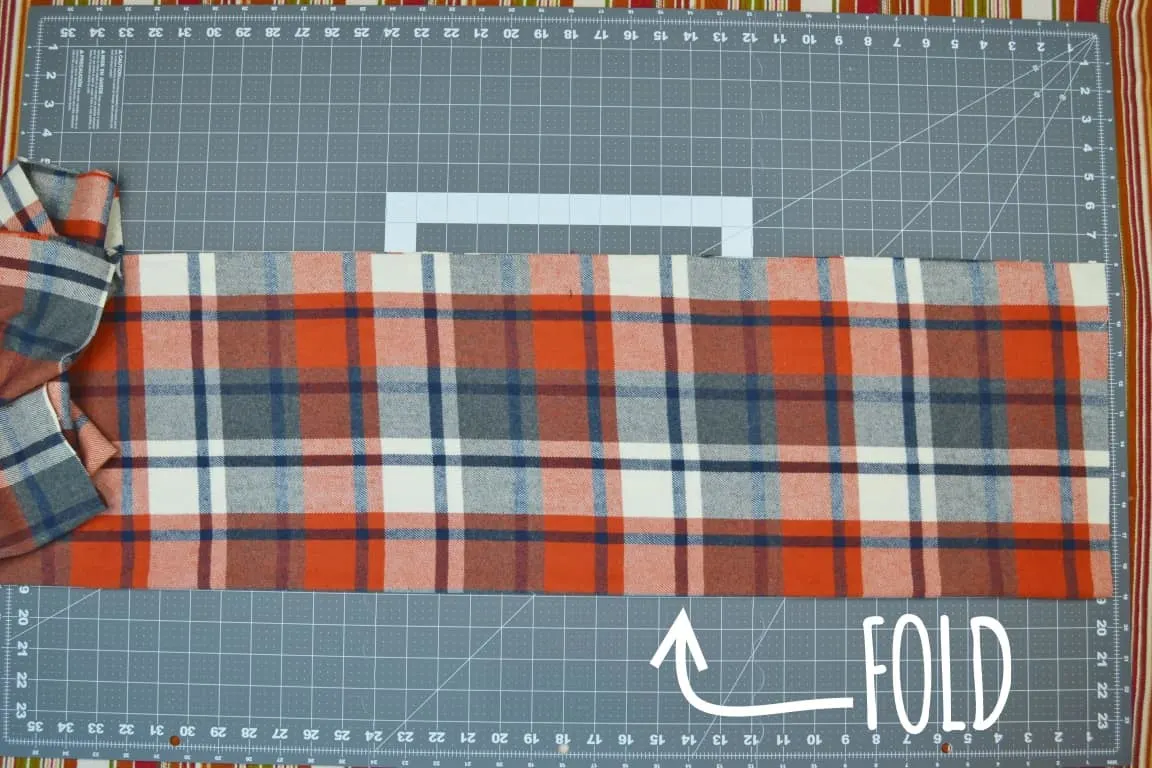
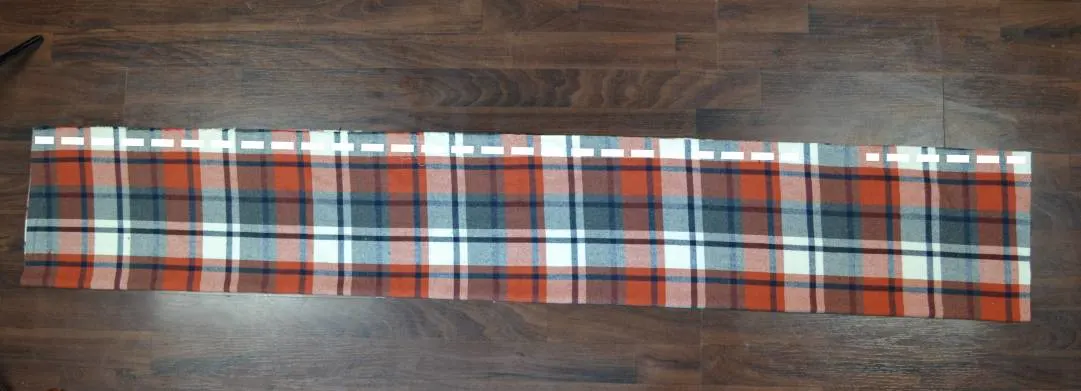
Step 4: Take out the pins, clip your threads and use the quilting ruler and rotary cutter to even out the ends of your tube.

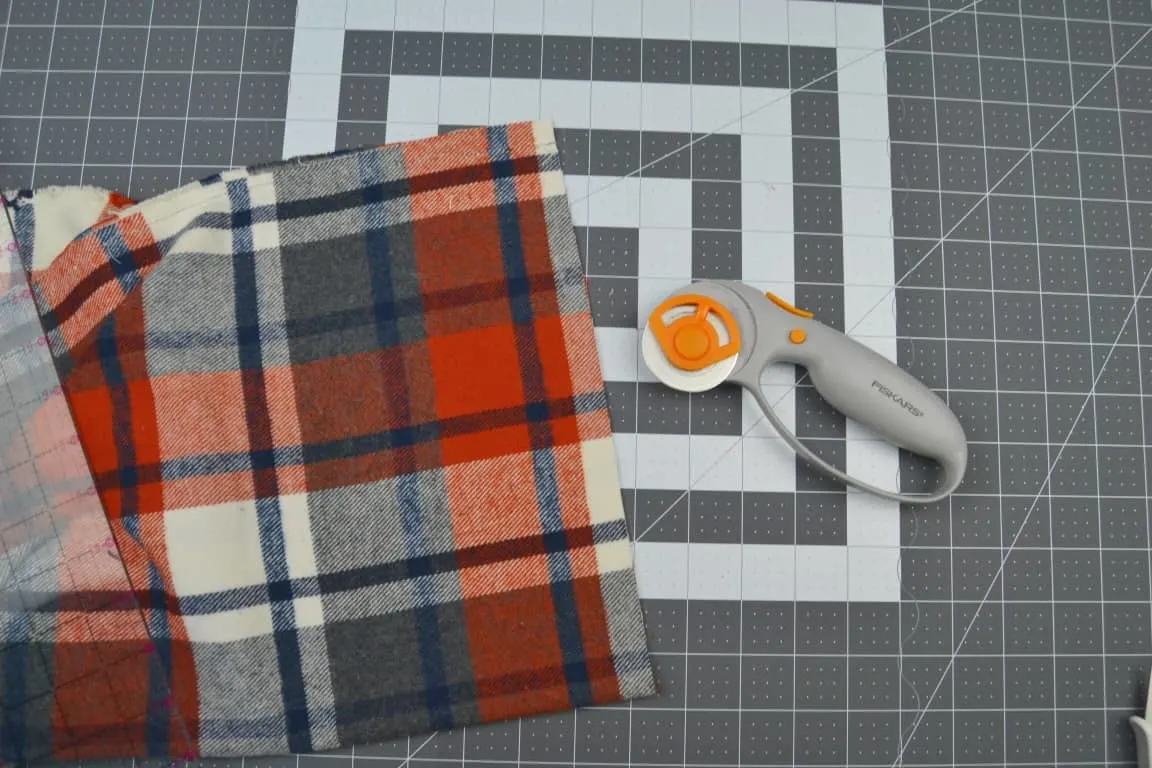
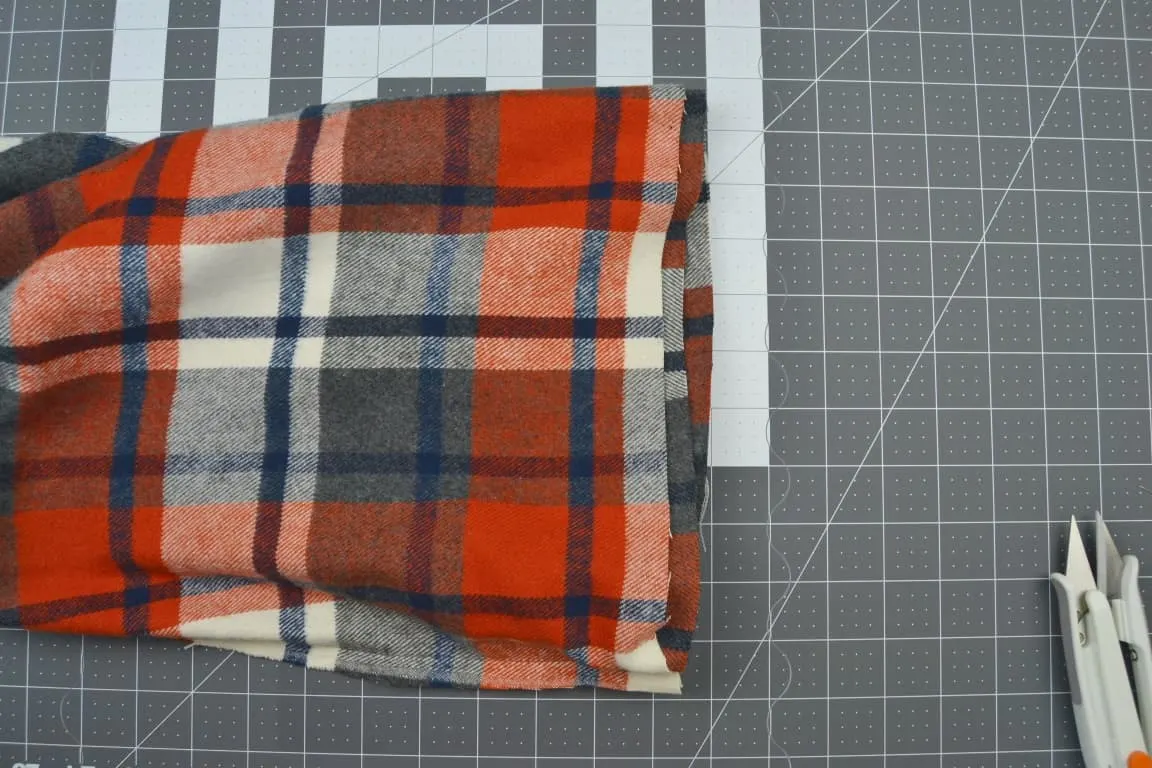
Step 5: Pull one end of the tube into the inside as though you are turning it right side out. Don’t turn it all the way right side out, instead stop once you have pulled the one end to the other.
Line the two ends up together. Pin them together and sew across, sewing around the entire top of your new tube. Again, sew about 1/2 inch from the edge.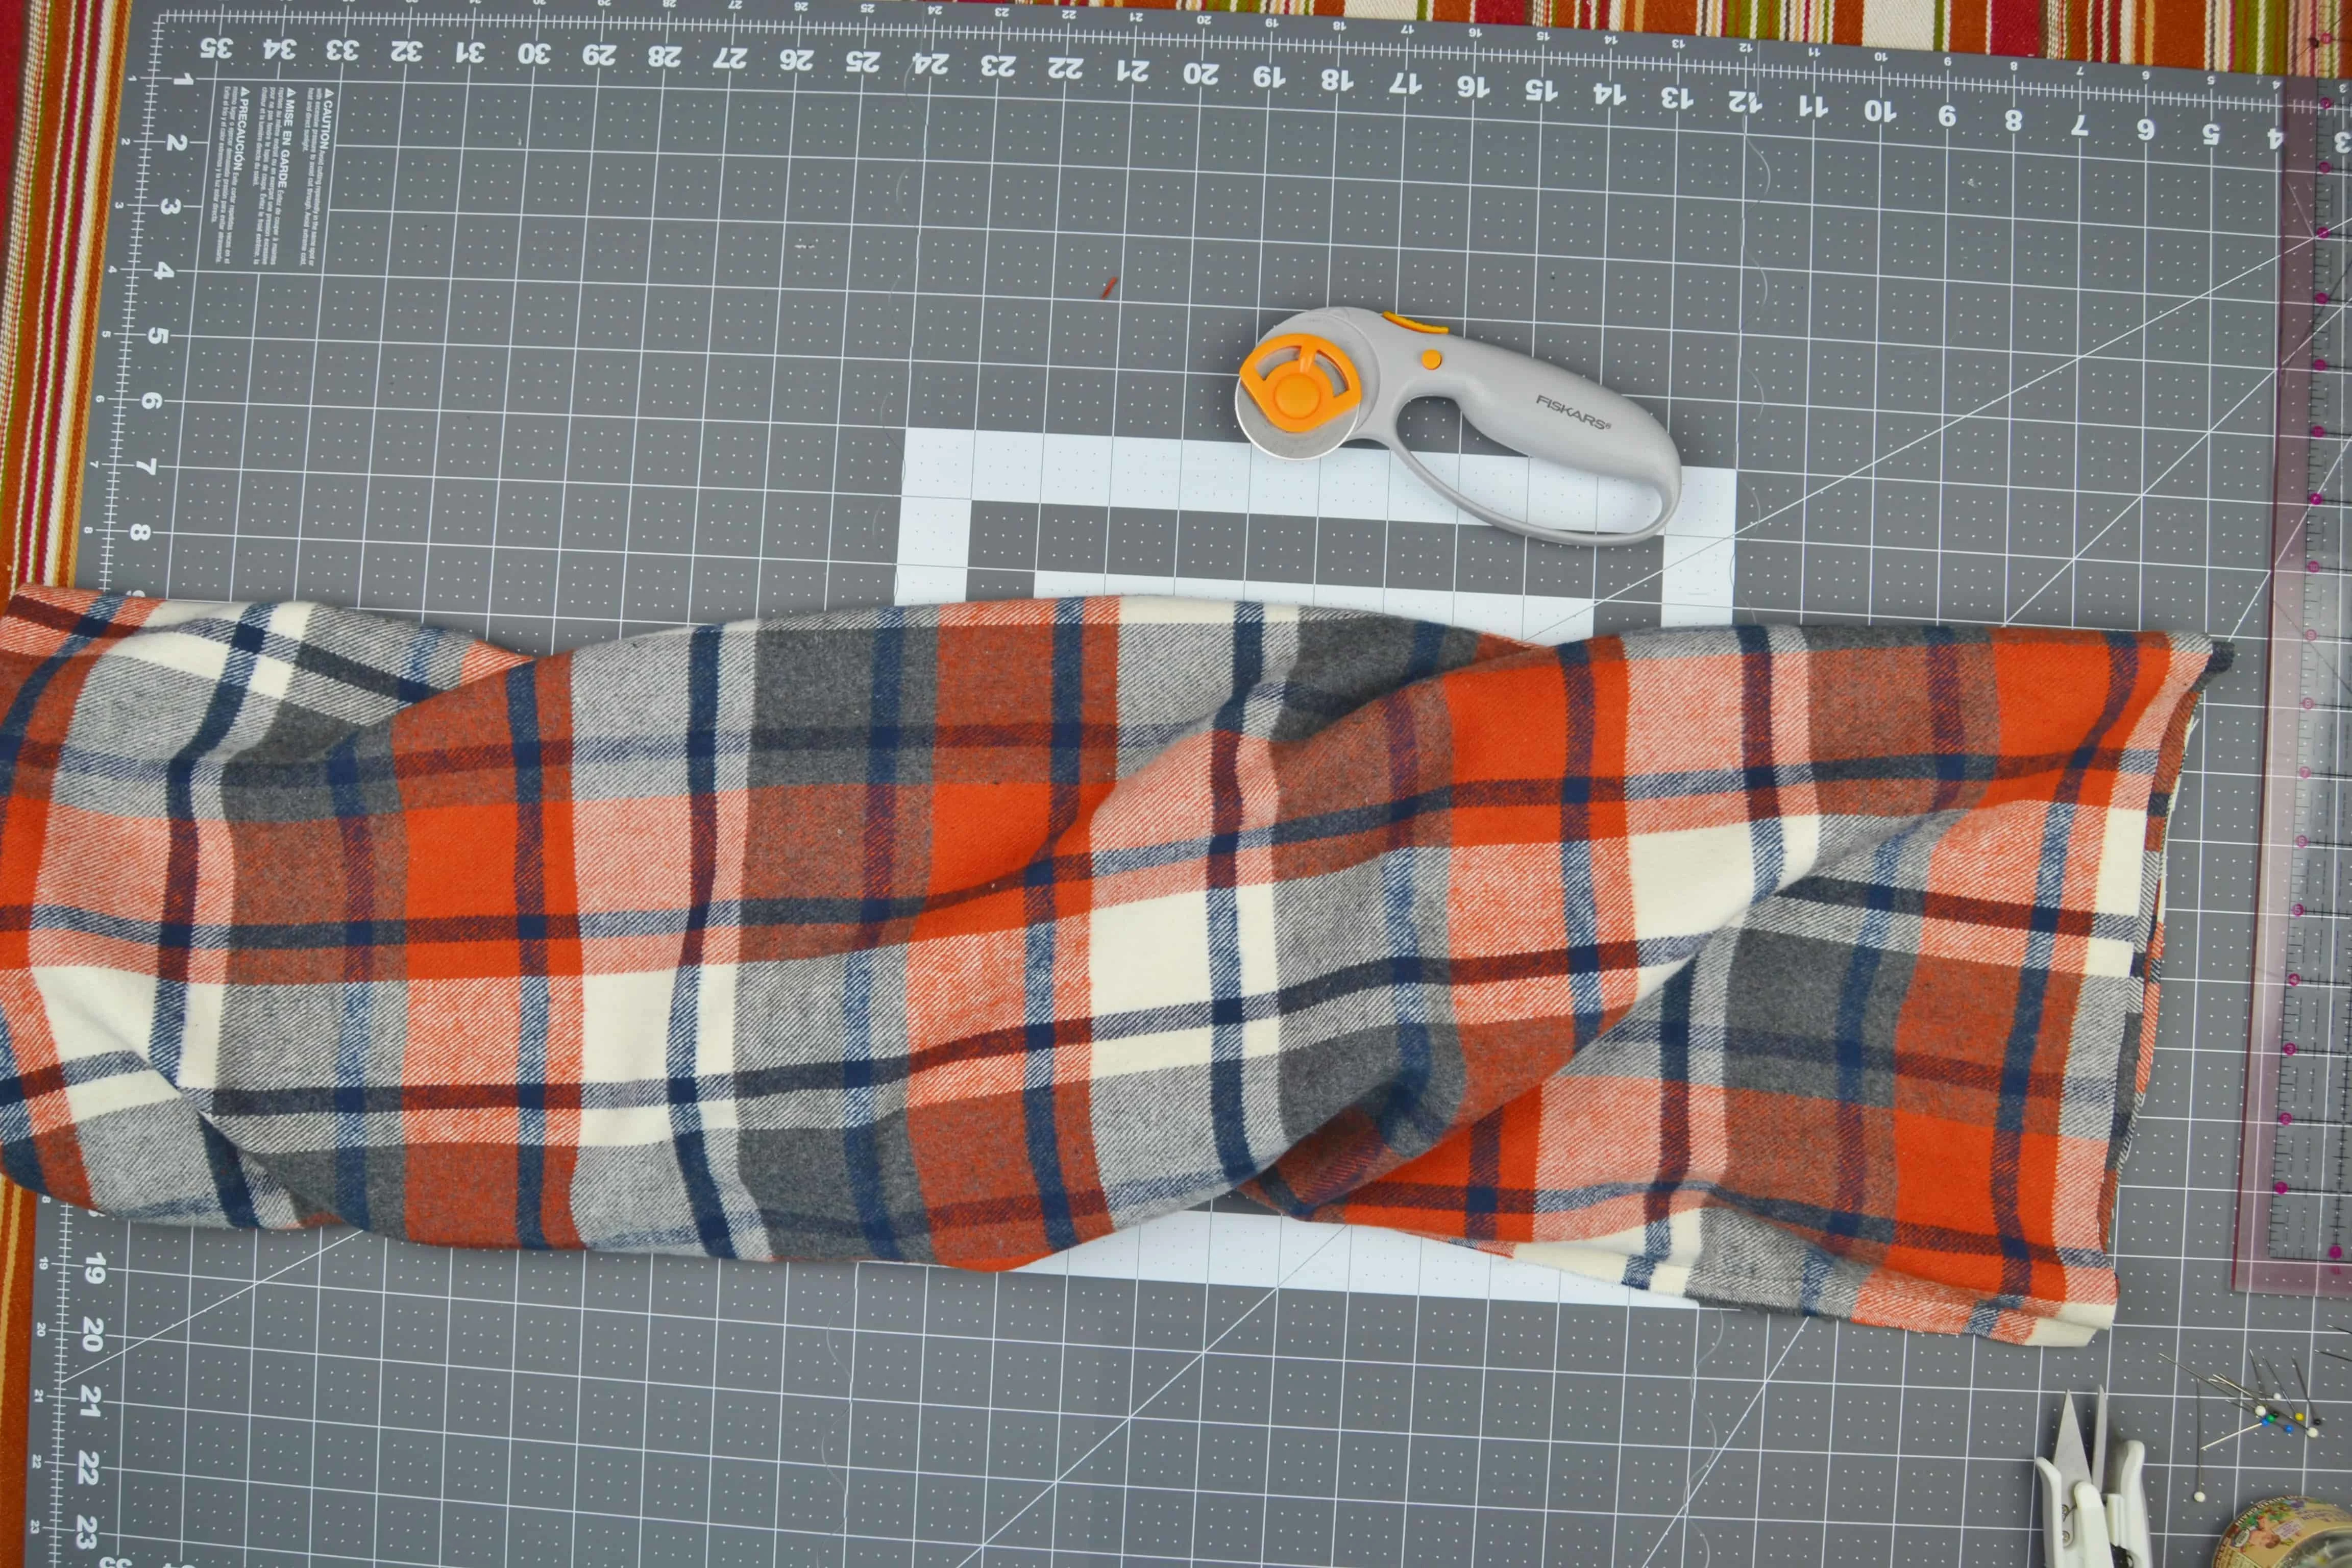

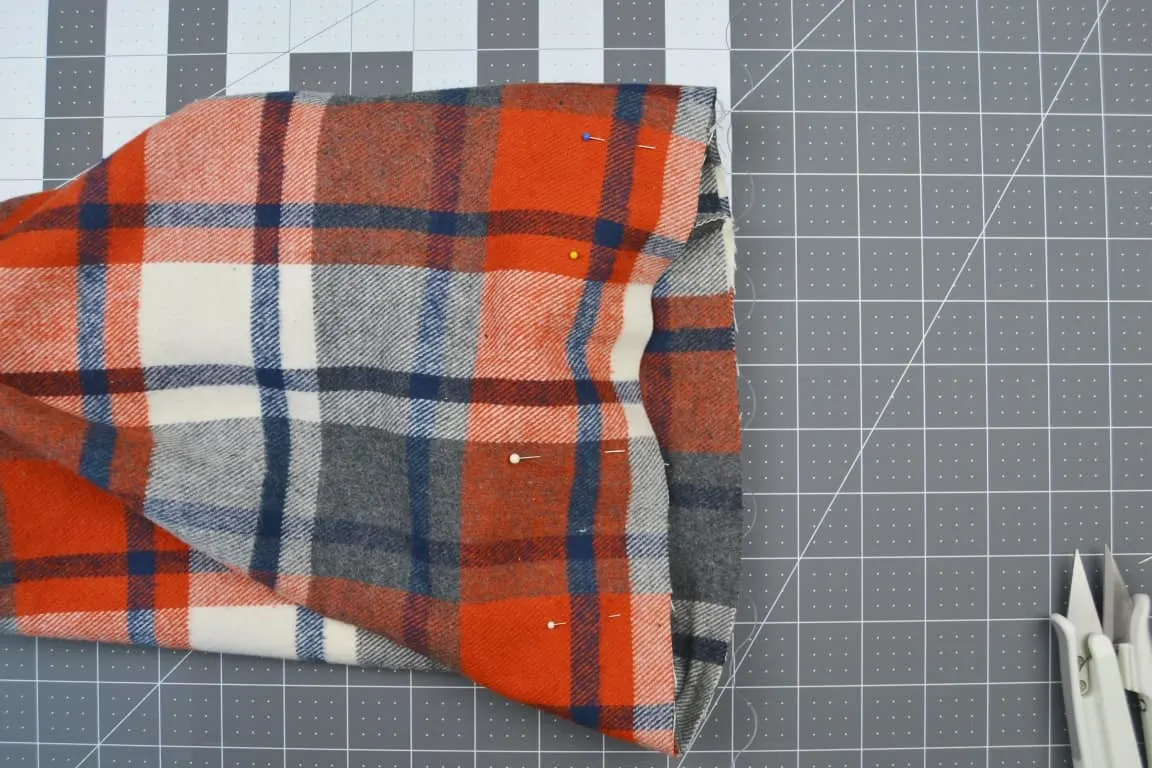
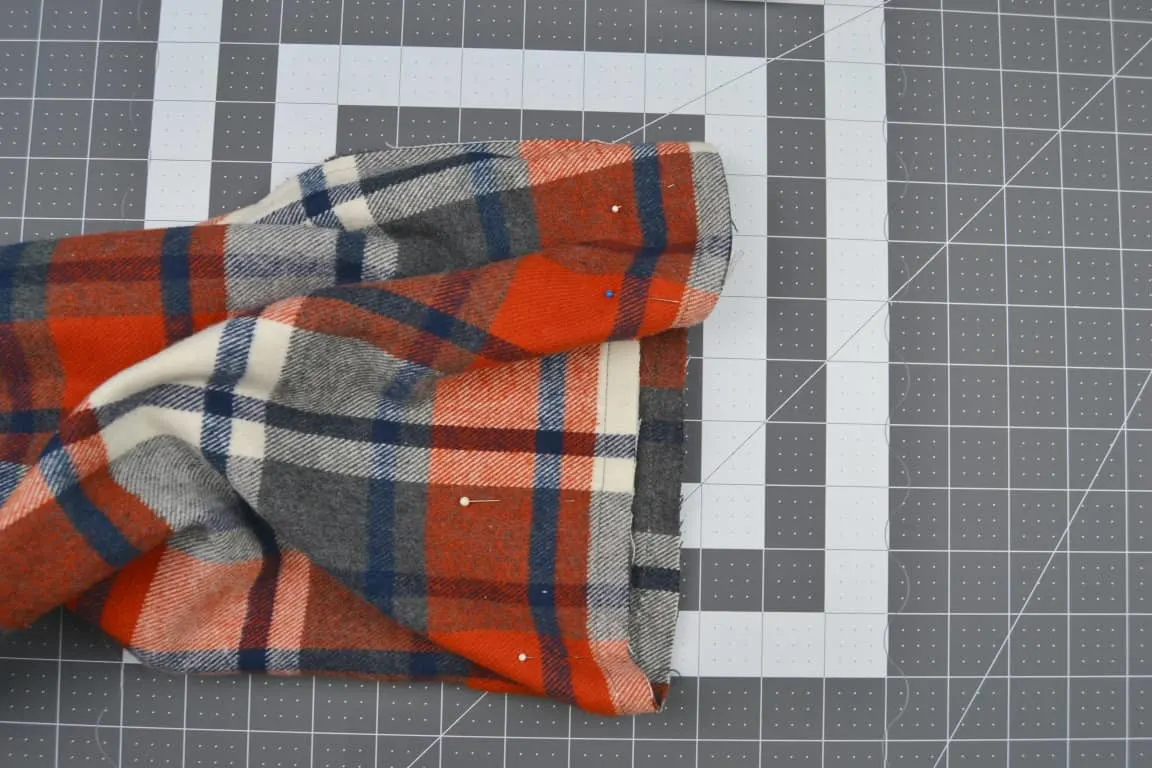 Step 6: Using the hole that you left in step 3 you will turn the scarf right side out by pulling all the fabric through the hole.
  Step 7: Sew that hole shut. If you want to be really neat, you can hand sew it with a slip stitch.
I just quickly sewed it up using my machine because my hole is near the other seam of the scarf so it will always be in the back.
Now you’re done with your DIY infinity scarf!
 To wear it you stick your head inside the loop.
 Then your cross the loop in front of you to make a X.

And then bring the bottom loop up around your neck. Play around with it a little until it sits how you like.
Once you make one these go really really fast! If you make one let me know how it goes in the comments below!
Want more project ideas? Check these out:


Joyce Marion
Sunday 28th of October 2018
Thank you for the lovely...and timely...flannel infinity scarf. I'll be off to the fabric department this week. Thank you, too, for the labor of love in giving us these patterns and such complete instructions. So easy to follow. God Bless your efforts for the joy of the rest of us.
Cat
Monday 29th of October 2018
You're so welcome! I'm happy to help others.
Kelly
Wednesday 17th of October 2018
I am just getting back into sewing, and with Christmas coming up I am thrilled to find your post. This is perfect for the many women in my life. Thank you!
Cat
Wednesday 17th of October 2018
I am so glad to be able to help! Have fun sewing.
Lisa
Friday 28th of September 2018
Love this! And I have some flannel in my stash! Will be making several this weekend! Thanks for sharing.
Cat
Friday 28th of September 2018
It's a great use for flannel. Happy sewing!
Shannon
Monday 24th of September 2018
I love infinity scarves and love the fabric you selected!
Cat
Monday 24th of September 2018
Thank you!