If you are just tuning in and you missed them be sure to check out Lesson 1: Supplies & Lesson 2: Getting to know your machine.
When we left off last week you had just gotten your machine set up and you’re now ready to go! So let’s get started.
I’m going to go over some of the basics using the straight stitch for this lesson. Depending on what you want to do you may need a different stitch but we will talk about that more later.
Getting Started
- To begin place a piece of fabric under the presser foot. Lower the foot down. Remember to always lower the presser foot down before beginning. If you do not lower the presser foot your fabric will go all over the place.
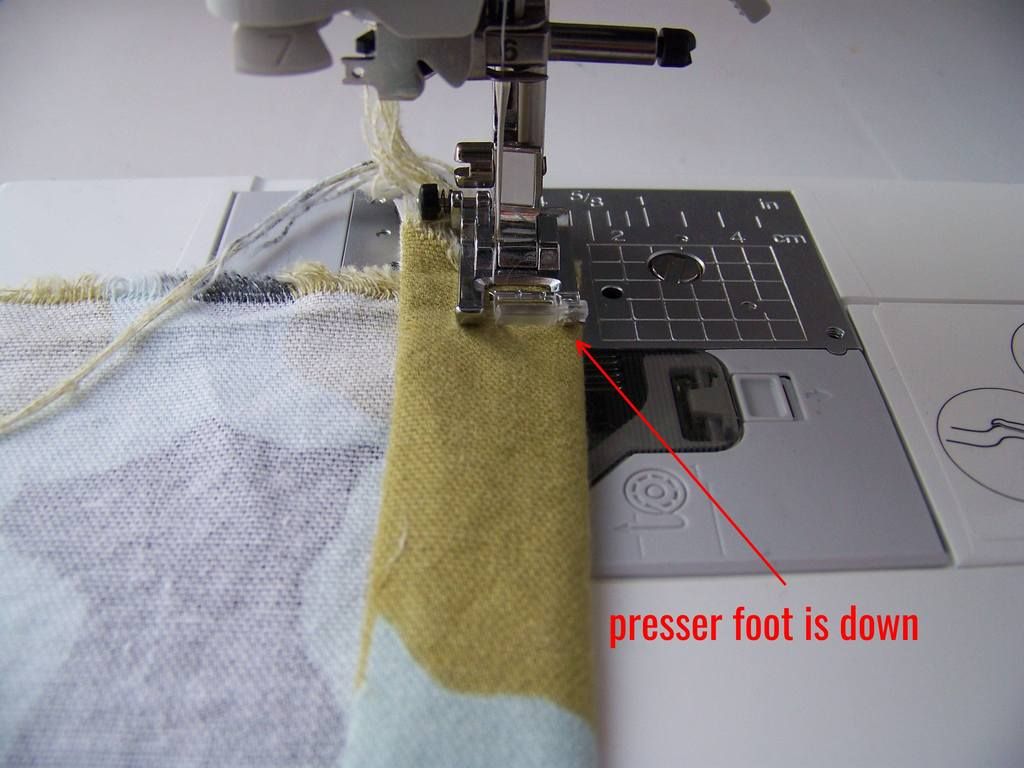
- Begin slowly. You can speed up as you go but begin slowly. If your machine is basic like my Singer Promise then you will control the speed with how far down you press the foot pedal. If your machine is one with more advanced features then you may have a switch that changes the speed range like on my Brother SE400. When I was first learning to sew I sewed much, much more slowly than I do now. Don’t worry about speed. That will come. Go slowly and enjoy.
- After the first few stitches hit the Reverse sewing button and backstitch a few stitches. This will prevent the thread from unraveling. (Only do this with a straight stitch. You don’t want to do this with more complicated stitches.)
While Sewing
- Keep your hands on the fabric to guide it but don’t hold it too tightly and don’t push it through.
- If you need to stop in order to turn a corner then stop sewing. Make sure your needle is down, lift the presser foot, pivot your fabric, and then lower your presser foot down before you begin sewing again.
Stopping
- When you have finished sewing you want to hit the Reverse sewing button and backstitch a few stitches just like you did at the beginning. This will prevent the thread at this end from unraveling.
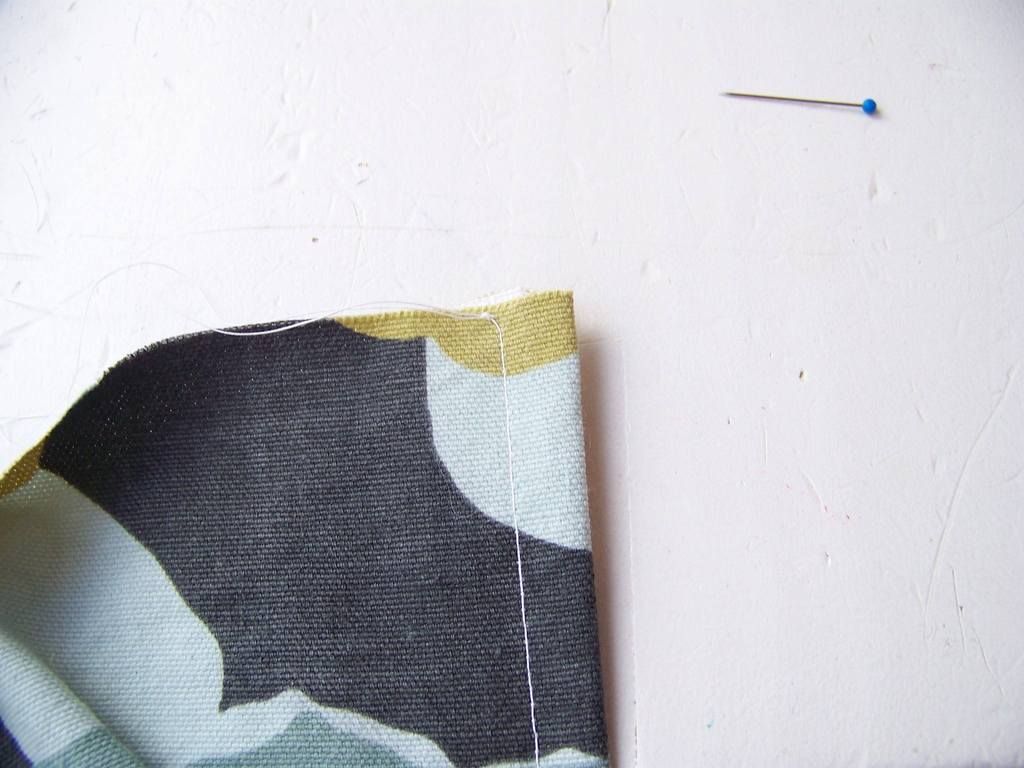
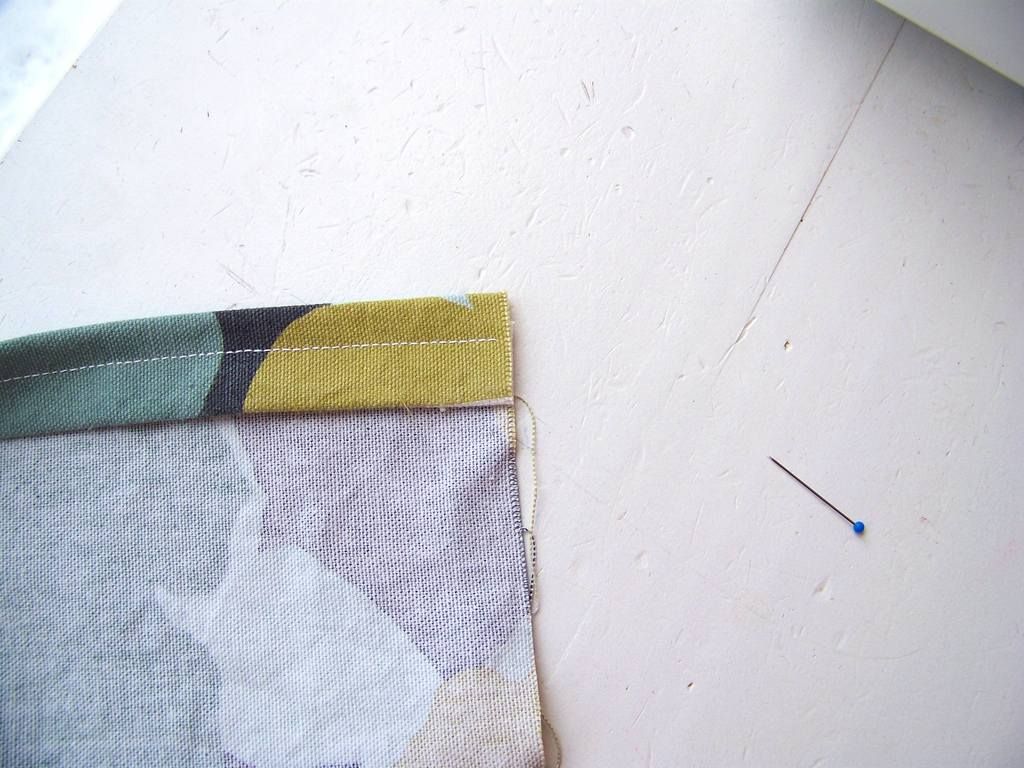
- Sometimes you want to tie off your threads instead of backstitching. When topstitching in particular this looks better. To tie off your threads you:
- Lift your presser foot up and pull the fabric out from underneath. Pull it out so that you get about 8 inches of thread, then cut.
- Then from the wrong side (the side that will not be showing) pull up the bobbin thread. Doing this will pull a loop through from the right side.
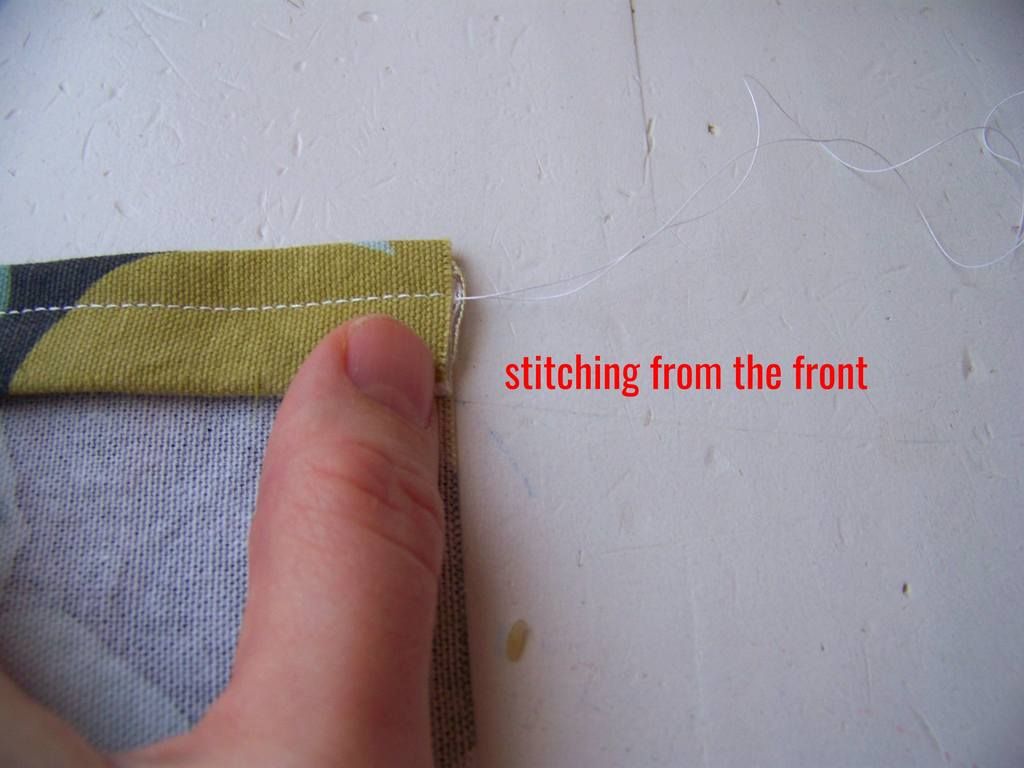
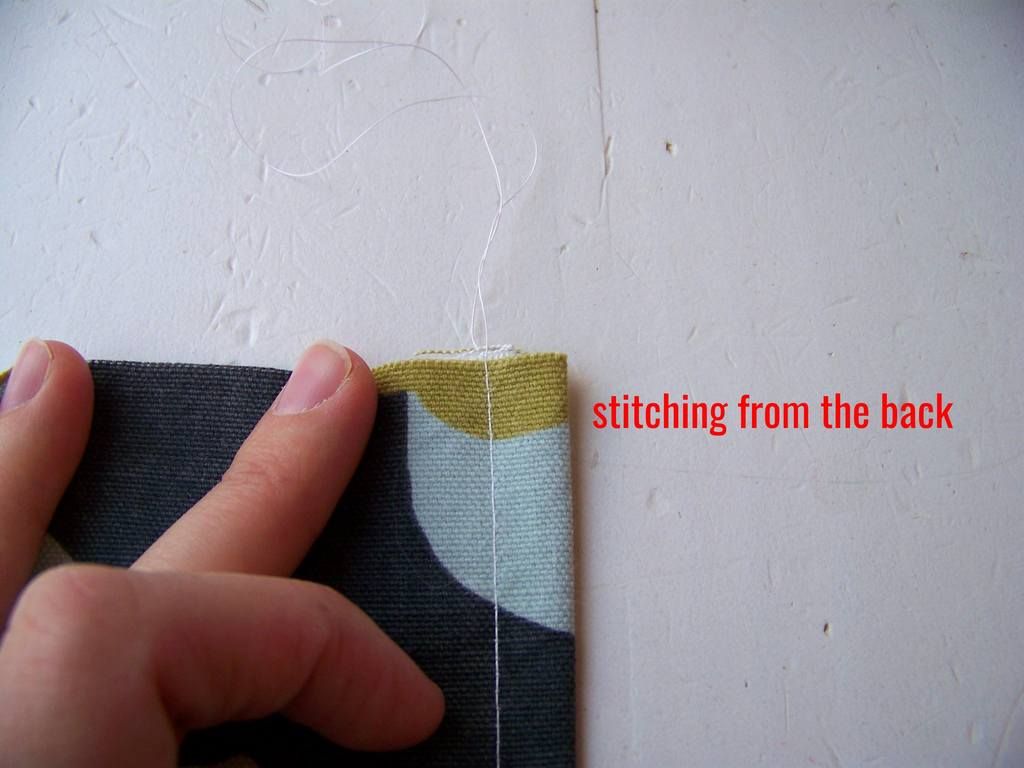
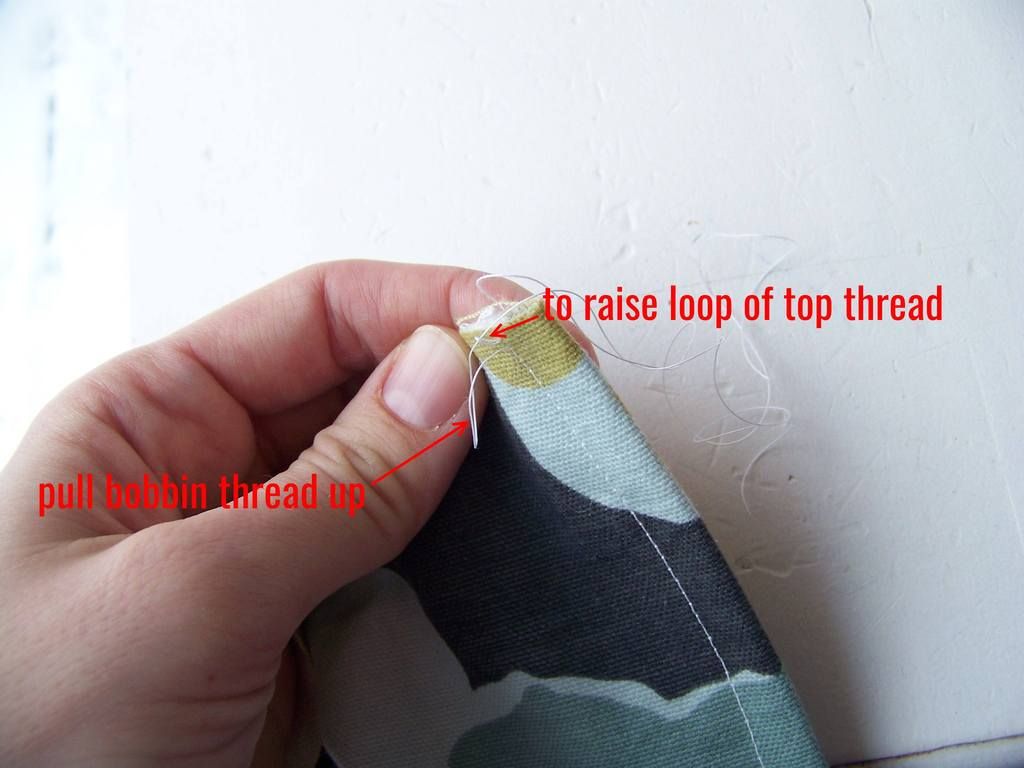 3. Pull on this loop to bring the thread all the way through to the wrong side.
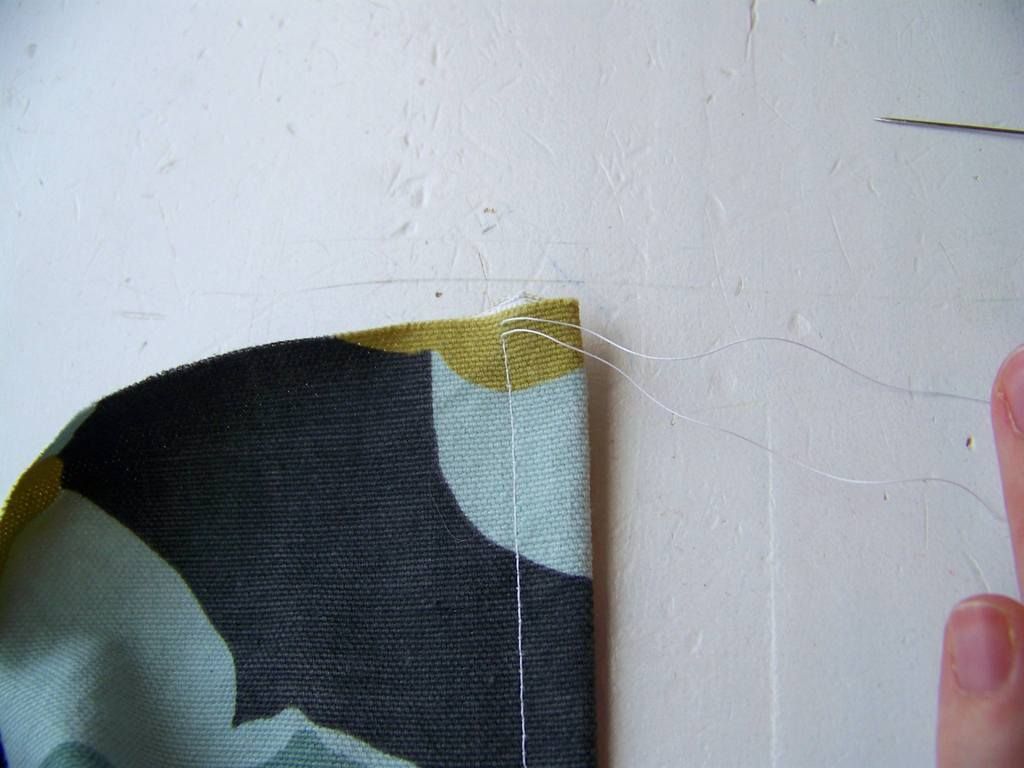 4. Tie the threads into a knot.
Practice
It takes some time to get a feel for your machine. You can (and should) get some inexpensive fabric to practice with but you can also practice with paper. Here are some practice sheets to help you get started. 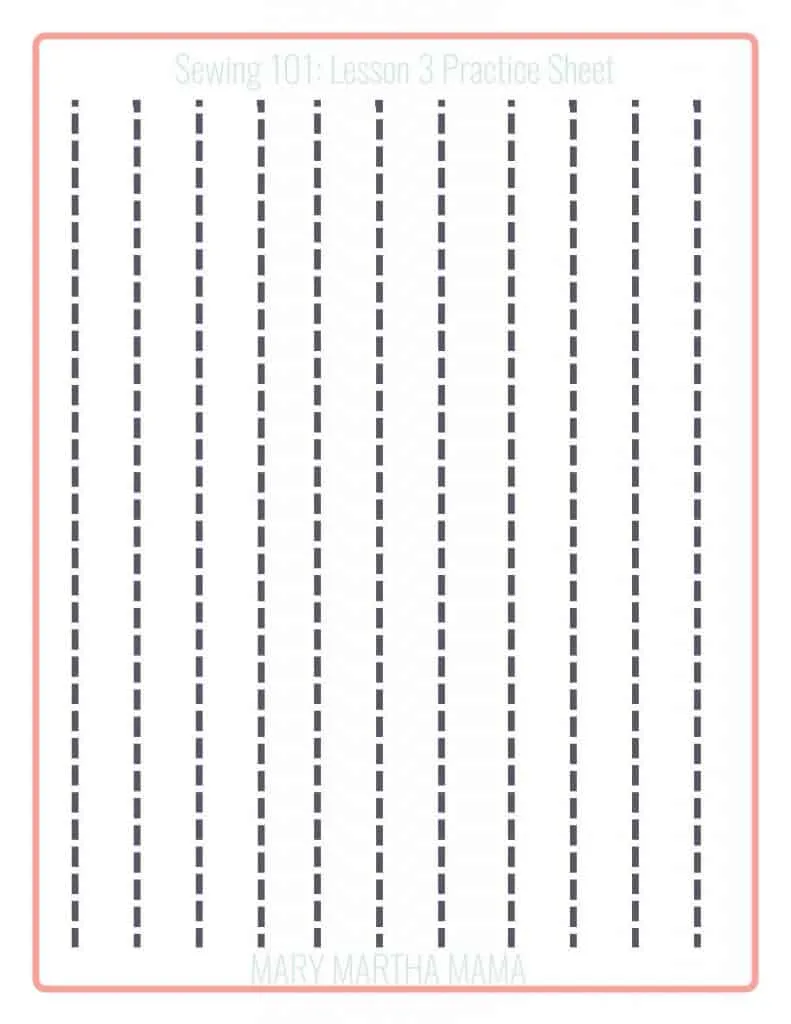
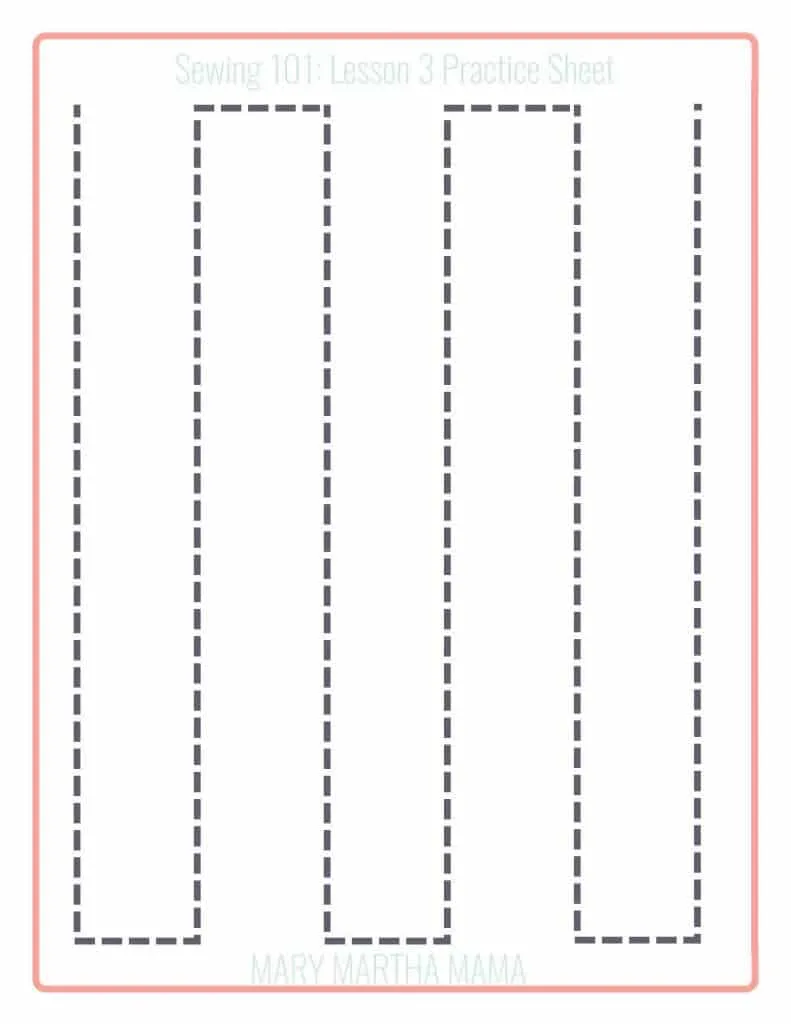 You can get the sewing practice sheets here.
Spend a little time getting a feel for your machine. Next week I will be back with another Sewing 101 Lesson all about fabrics so be sure to subscribe to the blog so you don’t miss a thing.

