Personally I feel you can almost never have too many potholders and dish towels. I am going to show you how to make potholders in a super simple tutorial complete with step by step pictures and a video.


Supplies Needed:
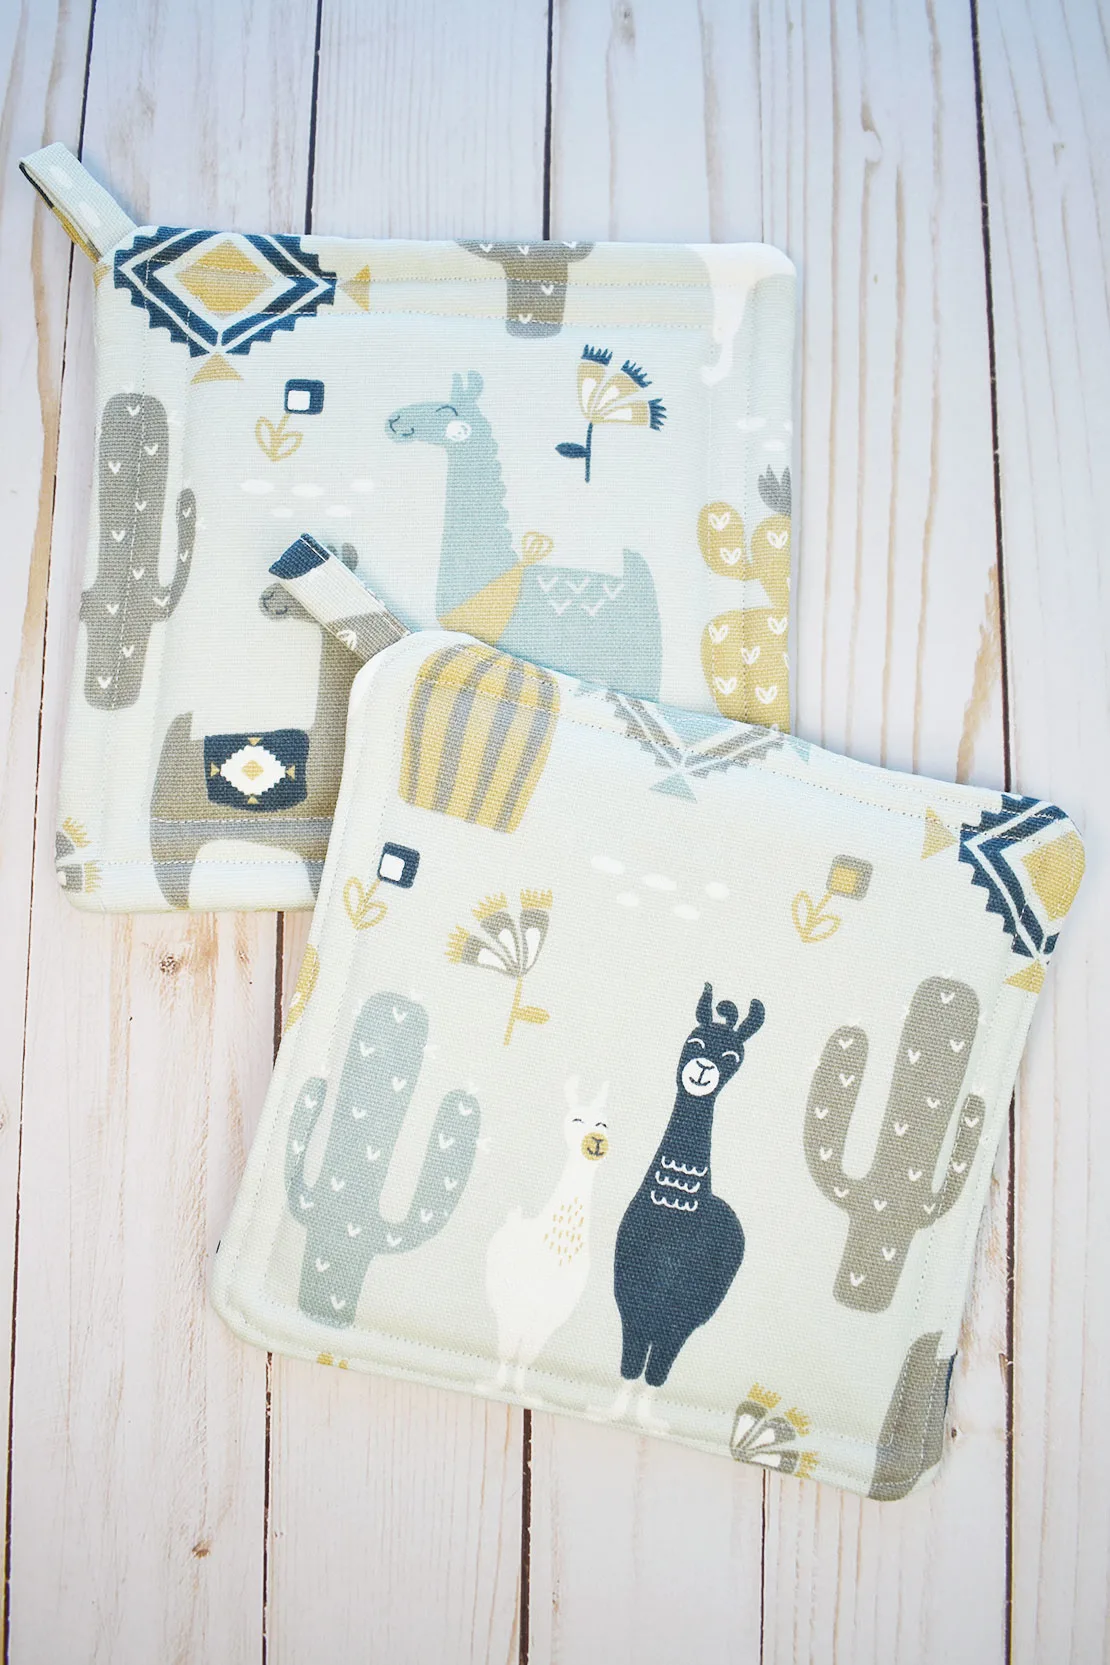
- cotton fabric for front and back of potholder
- Insul-bright insulating batting
- batting
- coordinating thread
- sewing pins or sewing clips
- scissors or rotary cutting set
- sewing machine (I have one that does embroidery but a basic one like this will work)
- sewing machine needle (I used a denim needle since all of the materials together are very thick and stiff)
You don’t need much fabric to make these. I was using up some scraps I had leftover from other projects but if you have to buy new then you will only need 1/4 yard of the fabric, 1/4 yard of the batting, and 1/4 yard of the insulated batting.
What is Insul-bright?
Ok, so a quick explanation on something important we are using for this project- Insul-bright. Insul-bright is a name brand of an insulated batting. This is a batting that is heat resistant. It’s a thicker, stiffer type of batting with metal fibers in it.
How to Make Potholders Video Tutorial
How to Make Potholders Step by Step Written Tutorial
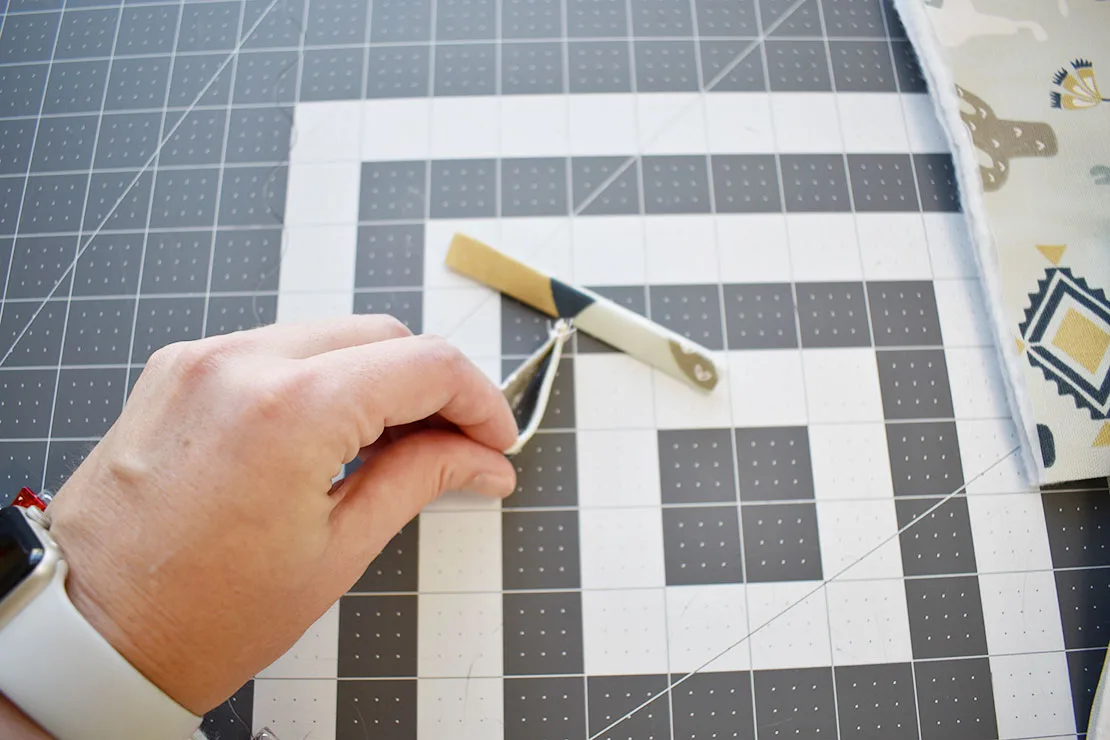
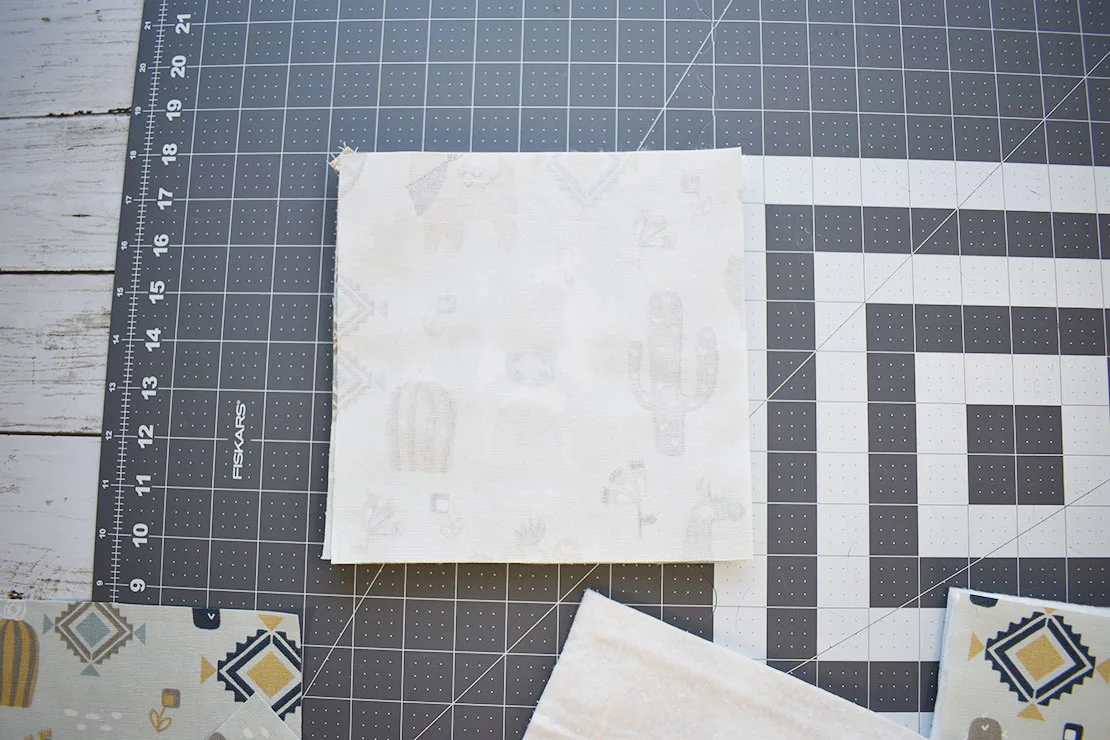
Step 1: Wash, dry, and cut your fabric. Make the following cuts:
- Cotton fabric: two 8 inch squares and a 4 inch X 2 inch rectangle
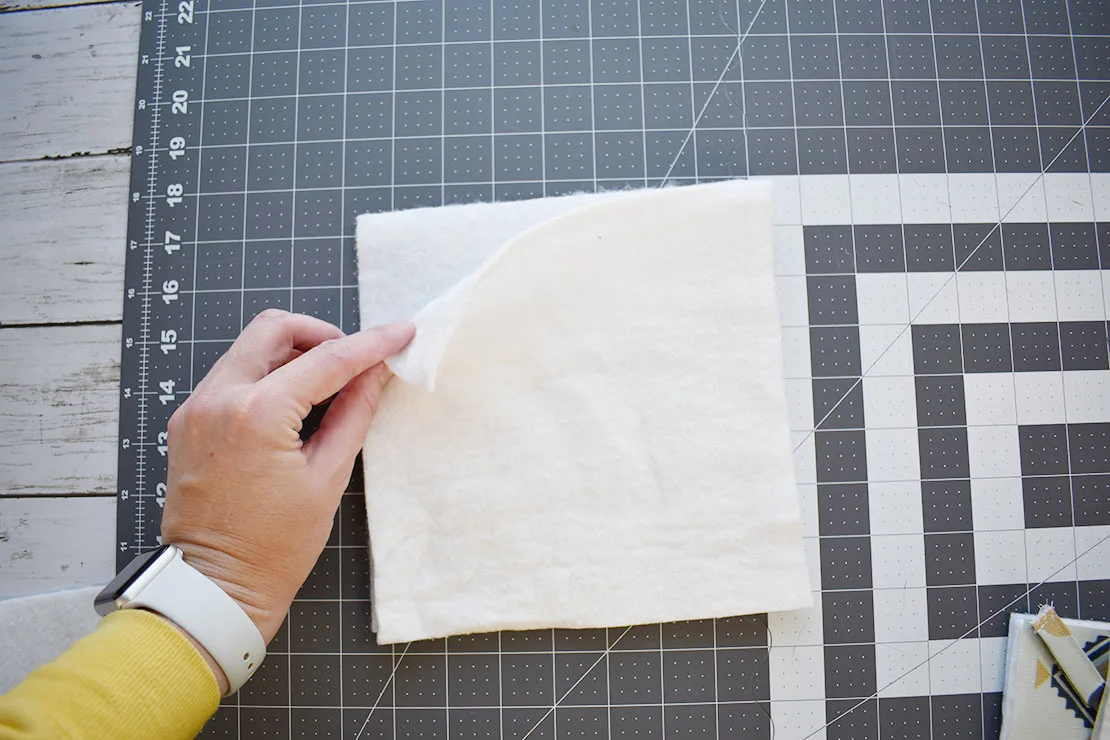
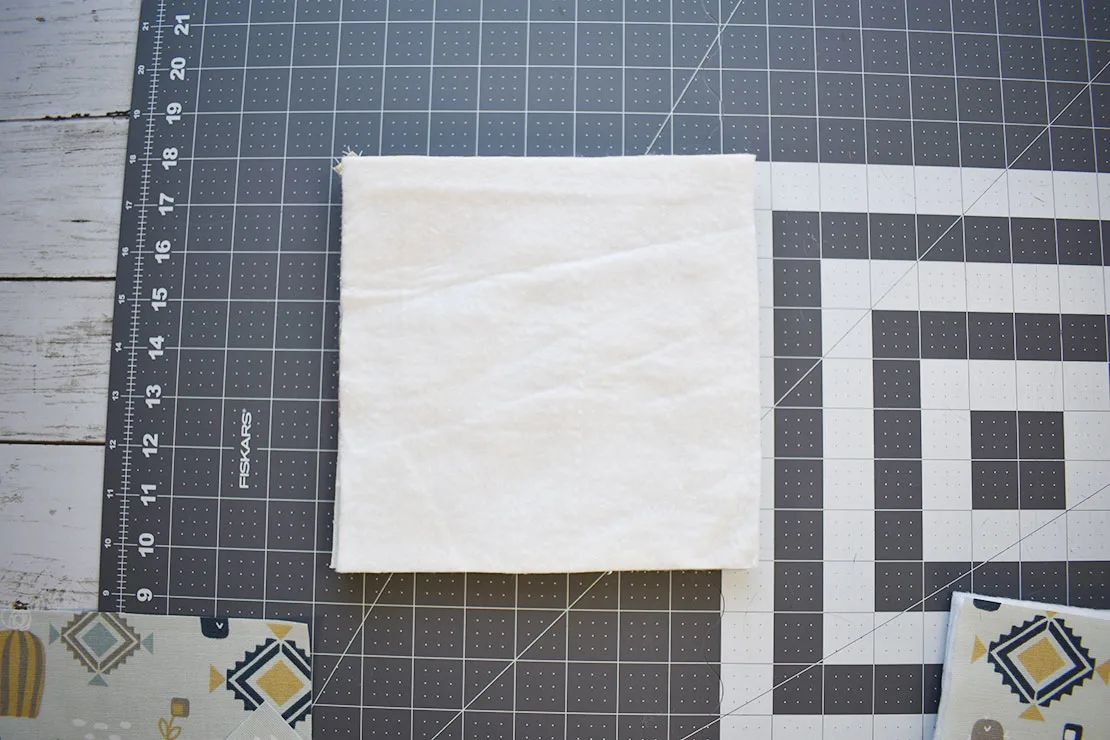
- Insul-bright: one 8 inch square
- Batting: two 8 inch squares


Step 2: Take the rectangle, fold it in half lengthwise, and press it.

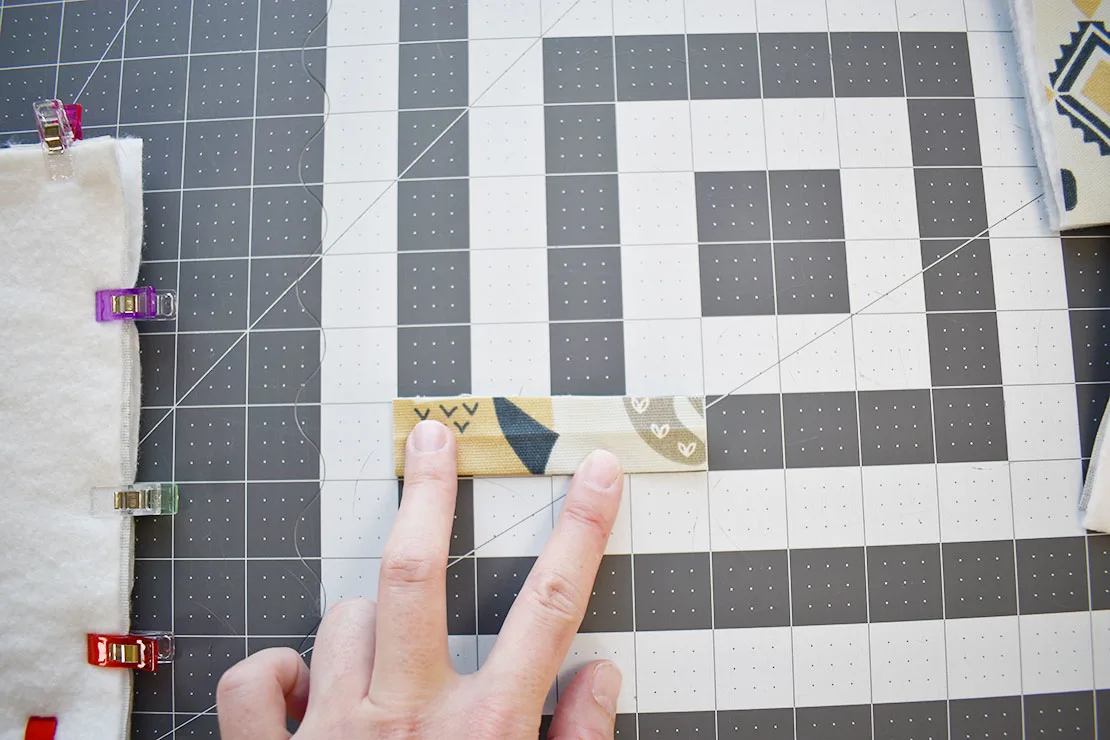
Open it back up and fold both sides to the middle and press.


Sew along the open edge of the long side, sewing 1/4 inch or less from the edge.
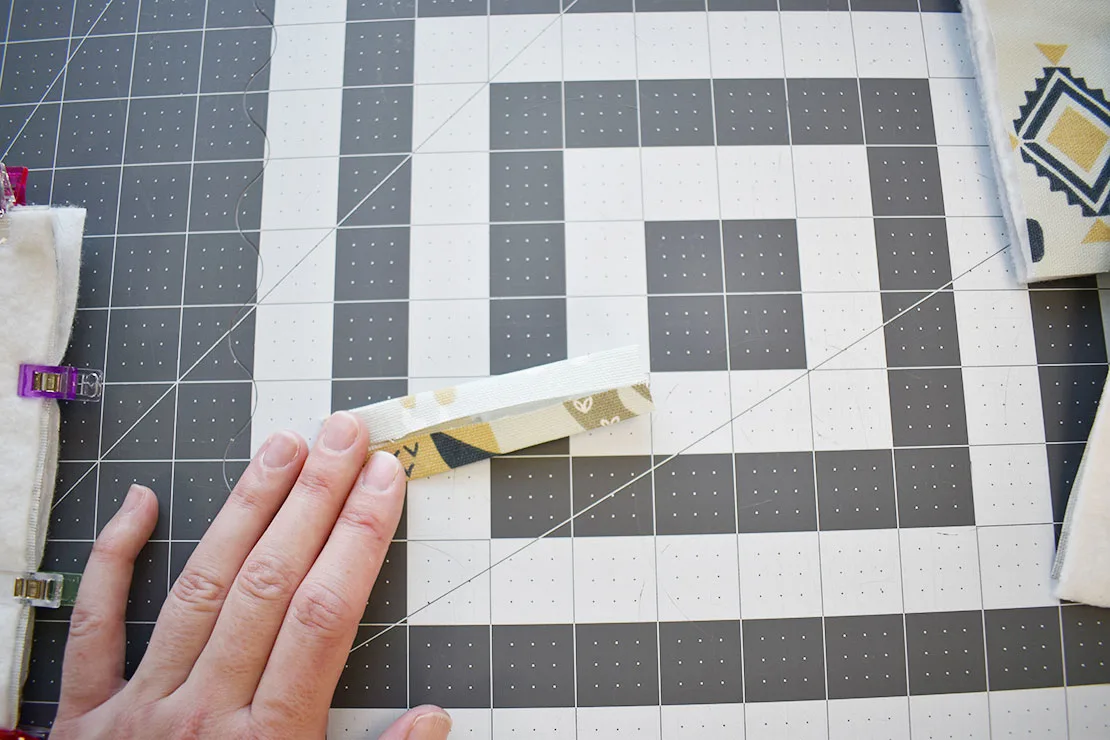
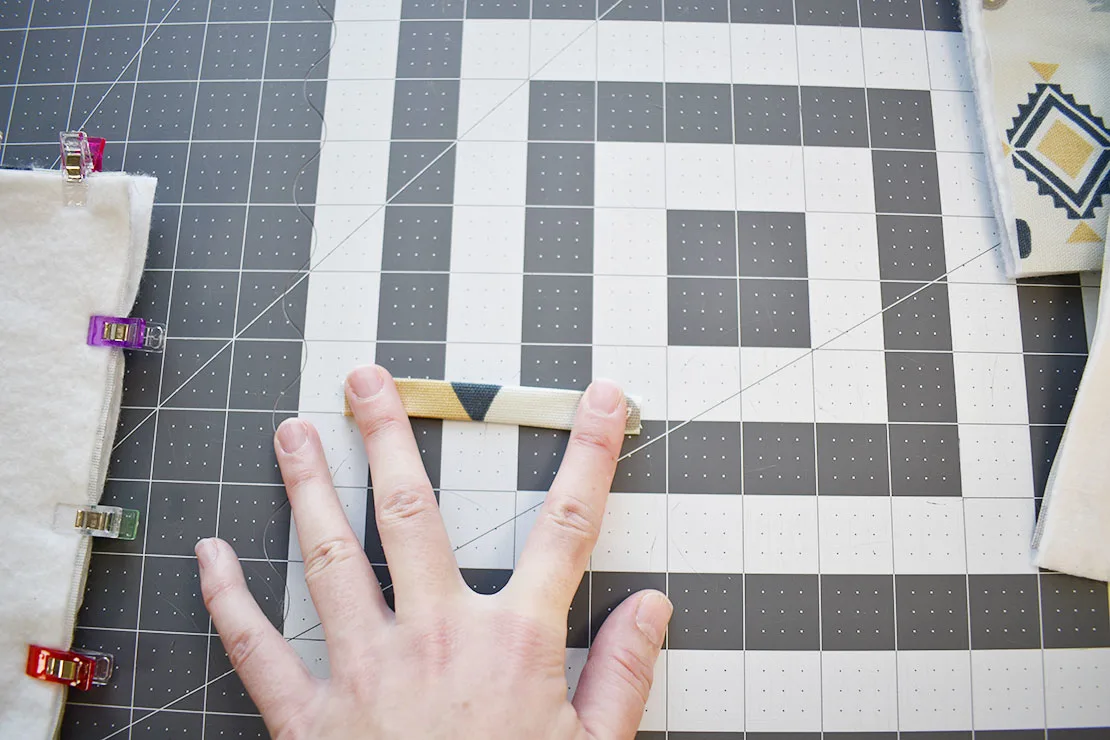
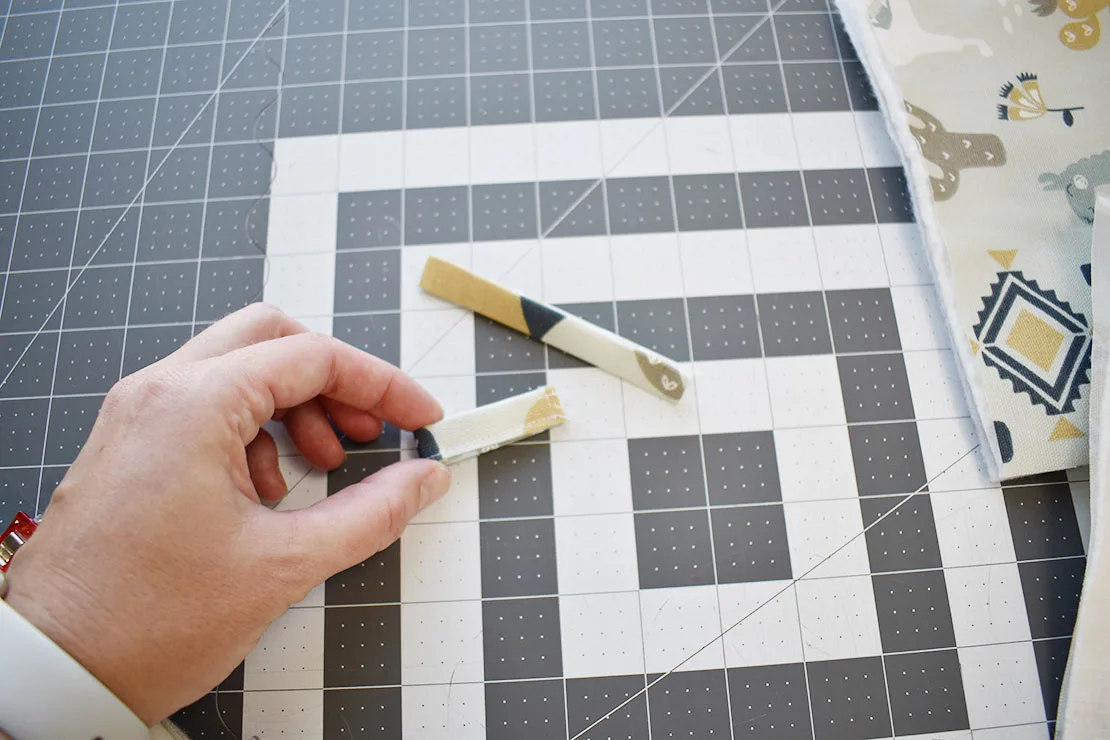
Fold it in half width-wise and press. Sew along the bottom edge, sewing less than 1/4 inch from the edge to make a loop.


Step 3: First lay down the Insul-bright square.
Next lay down one of the squares of cotton batting.

Now take one of the 8 inch squares of outer fabric and lay it down right side up.
Then lay the rectangle piece in a corner, with the folded end toward the inside.


Lay the other outer fabric square on top of this, with the right side down.

Next add the other batting square on top. Pin everything into place.

Step 4: Sew along the edge of the stack, sewing 1/2 inch from the edge. Leave a 2-3 inch opening on one side. Trim the tips off of the four corners, being careful not to cut through the stitches.


Step 5: Use the hole to turn the potholder right side out. Iron it nice and flat. Pin and sew around the edge, sewing a little less than 1/2 inch to 1/4 inch around the edge. I like to do a double topstitch around the edge. You could even do something like quilting lines, squares, or some other fun design on top but just make sure you to sew that one line all the way around the edge so that you close up that hole that you left in the edge to turn things right side out.


And that’s it!
More Fun with Potholders


