Back in December I made some super easy potholders and they could not be more simple. But I also wanted to make some with pockets that would also be easy and I’m sharing my tutorial with you this morning. These might be my best potholders yet! Besides being simple they are also a great way to use up some scraps leftover from other projects.


Here’s what you’ll need:
- cotton fabric for front and back of potholder
- Insul-bright insulating batting
- coordinating thread, sewing machine, needle
Step 1: Wash, dry, and cut your fabric. Make the following cuts:
- Cotton fabric: 1 10X9 inch rectangle for the front, 1 10X9 inch rectangle for the back, 1 10X14 inch rectangle for the pocket piece and a 4 inch X 2 inch rectangle for the loop
- Insul-bright: 1 10X9 inch rectangle, 1 10X7 rectangle (If you wish you can also add in a layer of batting or insulated batting in these same dimensions for thicker potholders)


Step 2: Take the 4X2 inch rectangle for the loop and fold it in half length-wise. Iron it flat.


Sew along the open side, sewing 1/4 inch from the edge.


Press so that the sewn edge is in the middle.


Fold in half length-wise and press again.


Fold in half width-wise and sew a zig zag stitch near the open end in order to form a loop. 

Step 3: To make the pocket take the 10X14 inch rectangle in half width-wise and iron flat.


Open up the fold and put in the 10X7 inch piece of Insulbrite. 

Fold the top piece back down.

Step 4: Make a stack. First lay down the fabric for the back of the potholder with the right side up.


Then lay the loop piece down with the sewn side laying outside of the main fabric. Next put the pocket piece on top, with the right side up.

Then top with the front fabric with the right side down.

Finally lay the 10X9 piece of Insulbrite on top. Pin all the layers together. Sew around the edges, sewing 1/2 inch from the edge but leave an opening of about 4 inches on one side. You will use this to turn the potholder right side out.

Step 5: Trim the corners off.


Step 6: Use the hole that you left to turn the potholder right side out. Iron it all nice and flat. Then topstitch around the edges, sewing 1/2 inch from the edges.


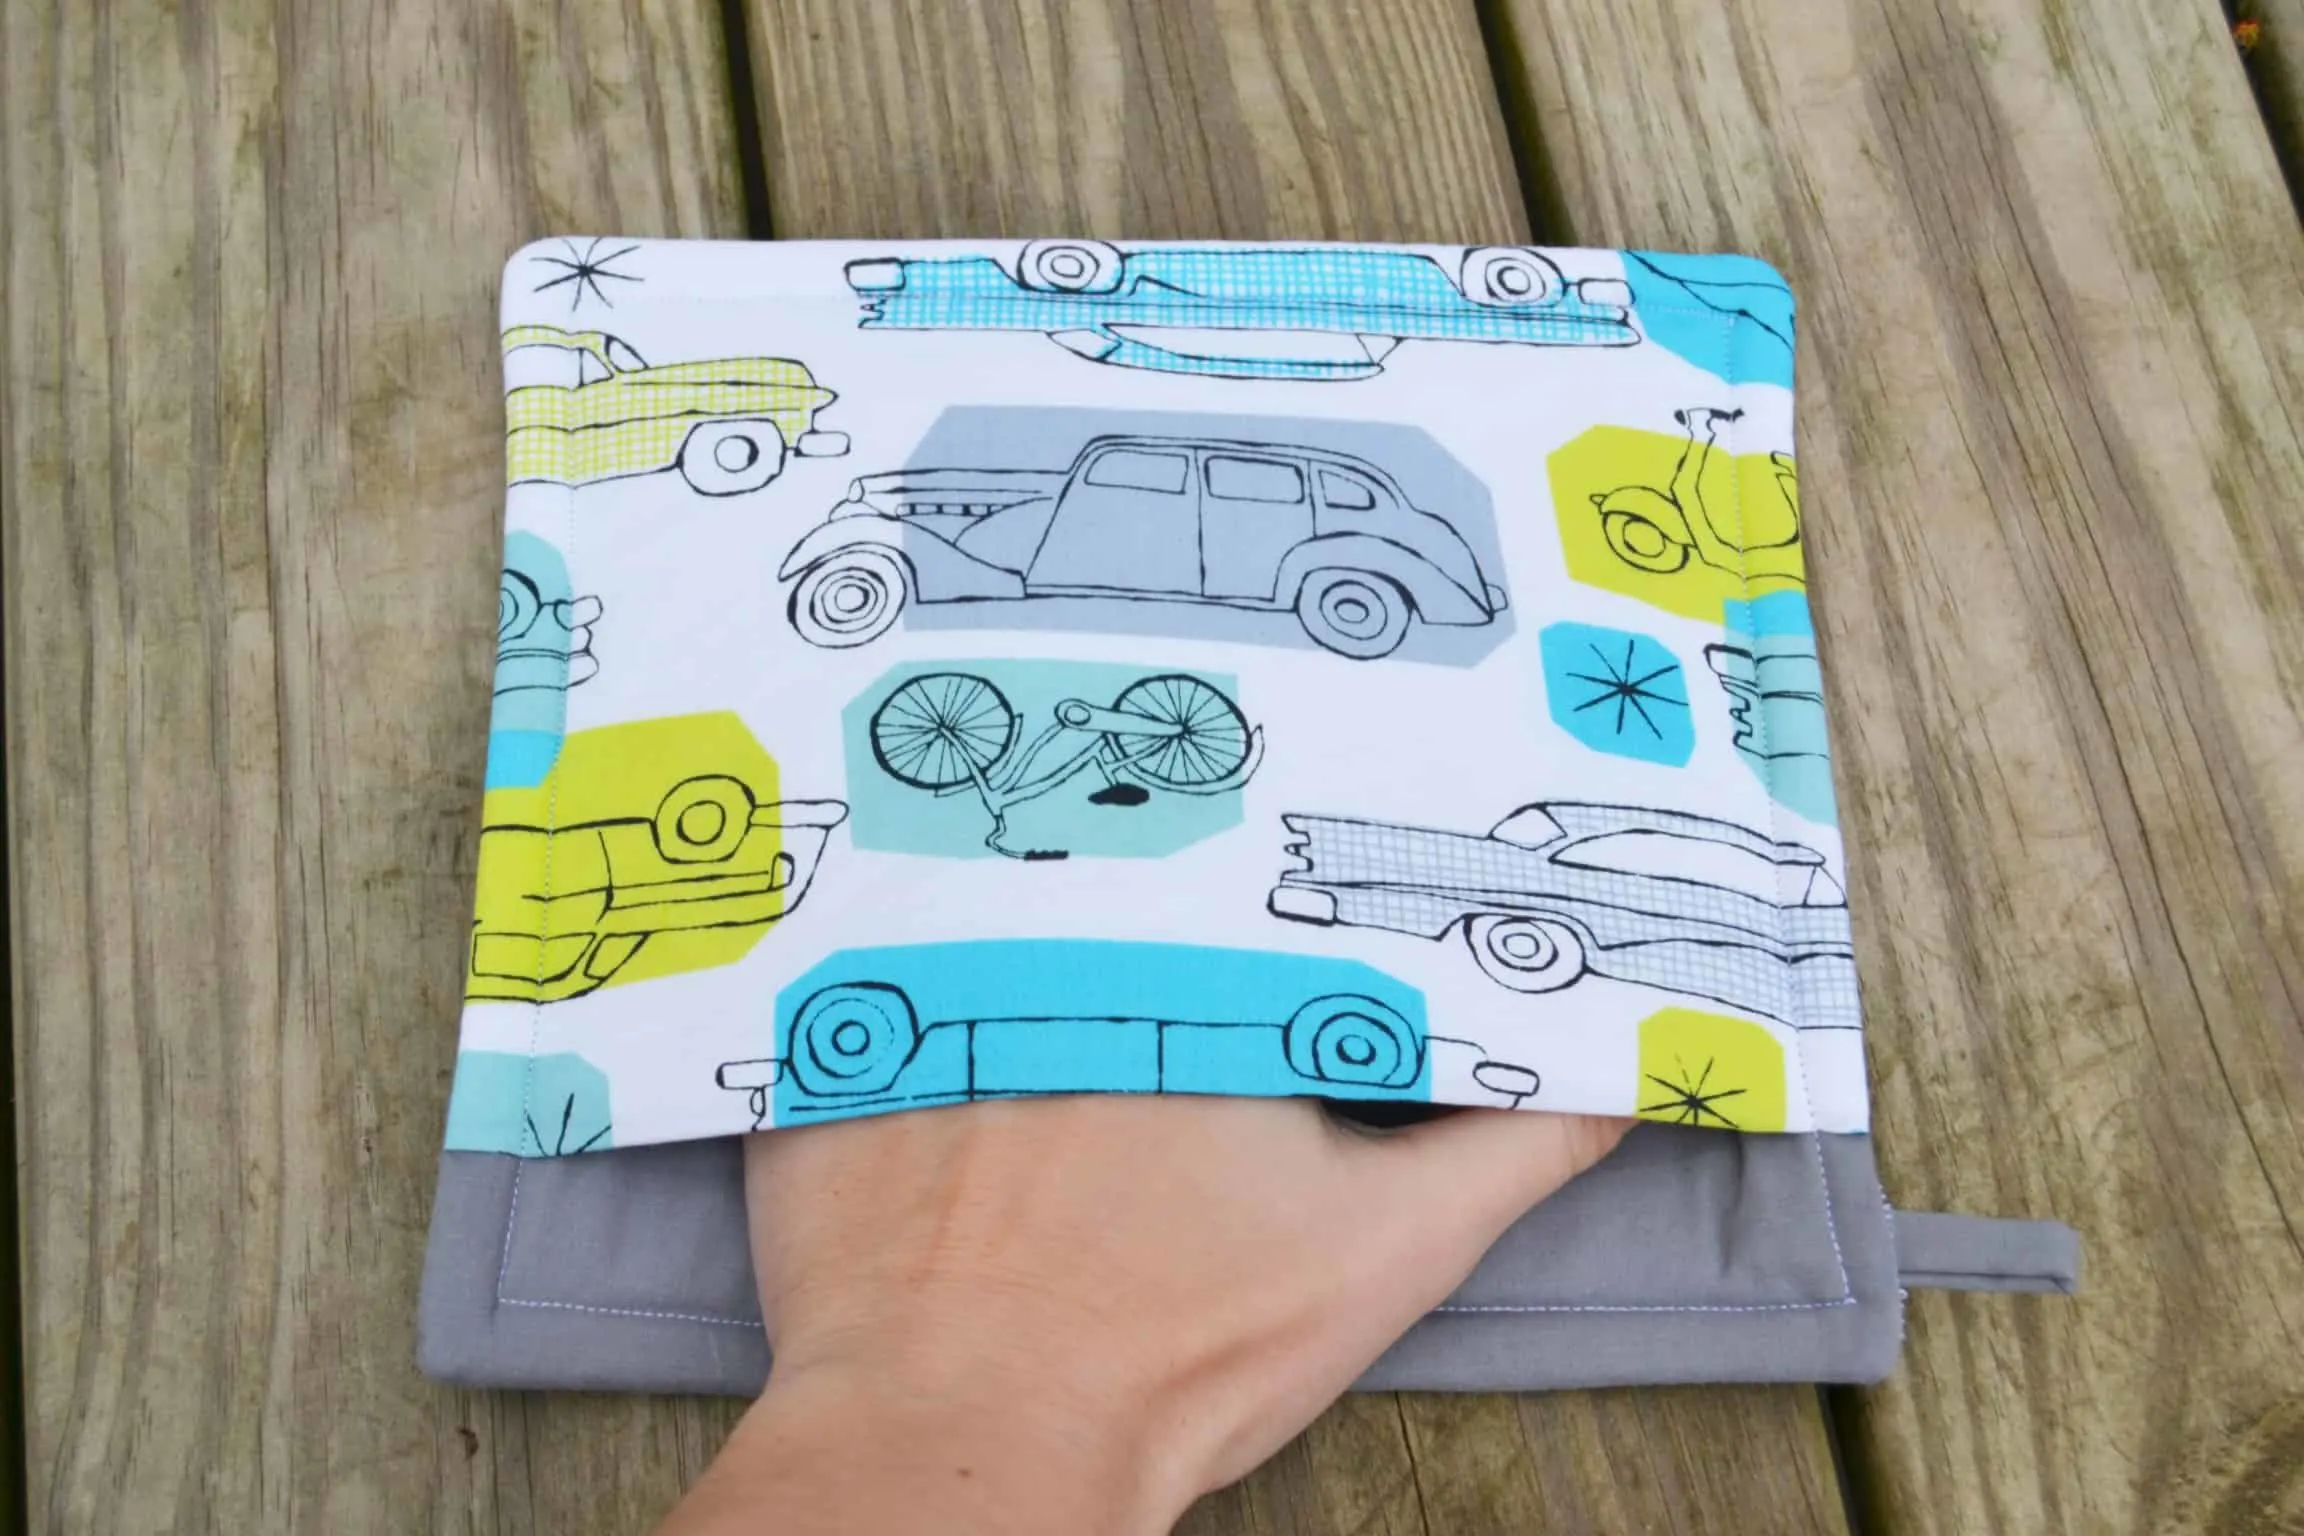
You’re all done!


More Potholder Tutorials


Bill tesh
Saturday 8th of April 2017
You can copy the whole tutorial by holding down the mouse as your drag from top to bottom of the tutorial to select it, then paste it into Notepad. Then come back to each picture and right click, and copy image. Go back to notepad location where the picture should be and paste. You have to do one picture at a time, but it works.
Cat
Saturday 8th of April 2017
Thanks Bill!
Donna
Friday 7th of April 2017
I wish this had been printable.
Cat
Friday 7th of April 2017
I will look into how I can do that for tutorials here on the blog. Thank you for the suggestion.
Glenda Hyde
Tuesday 21st of March 2017
Looks very quick and easy , Will need to try when I purchase some insulbright , Thank you so much for the Tutorial , Very helpful! GOD BLESS ! Glenda
Cat
Tuesday 21st of March 2017
You're welcome!
Tine
Thursday 9th of March 2017
Good Idea, generaly potholders are too small .
Cat
Thursday 9th of March 2017
Thank you! The great thing about making your own is you can make them any size you want. :)