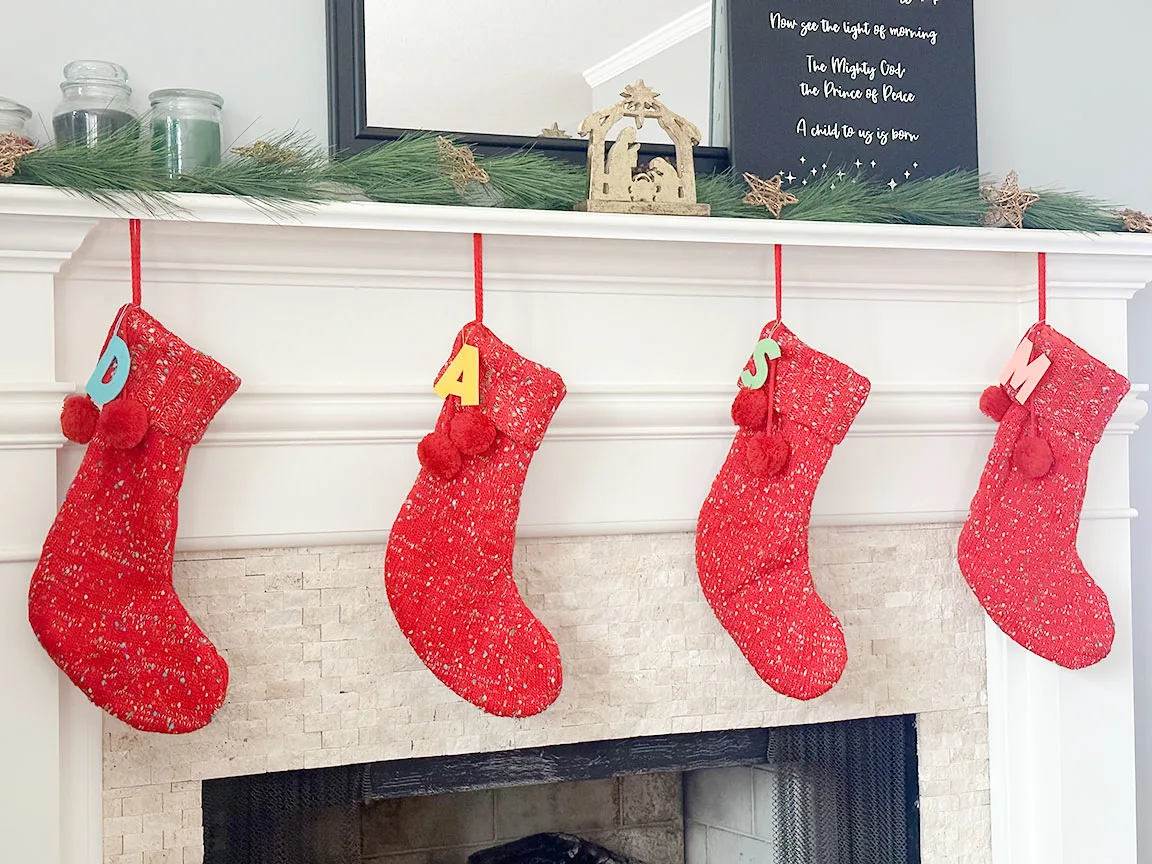
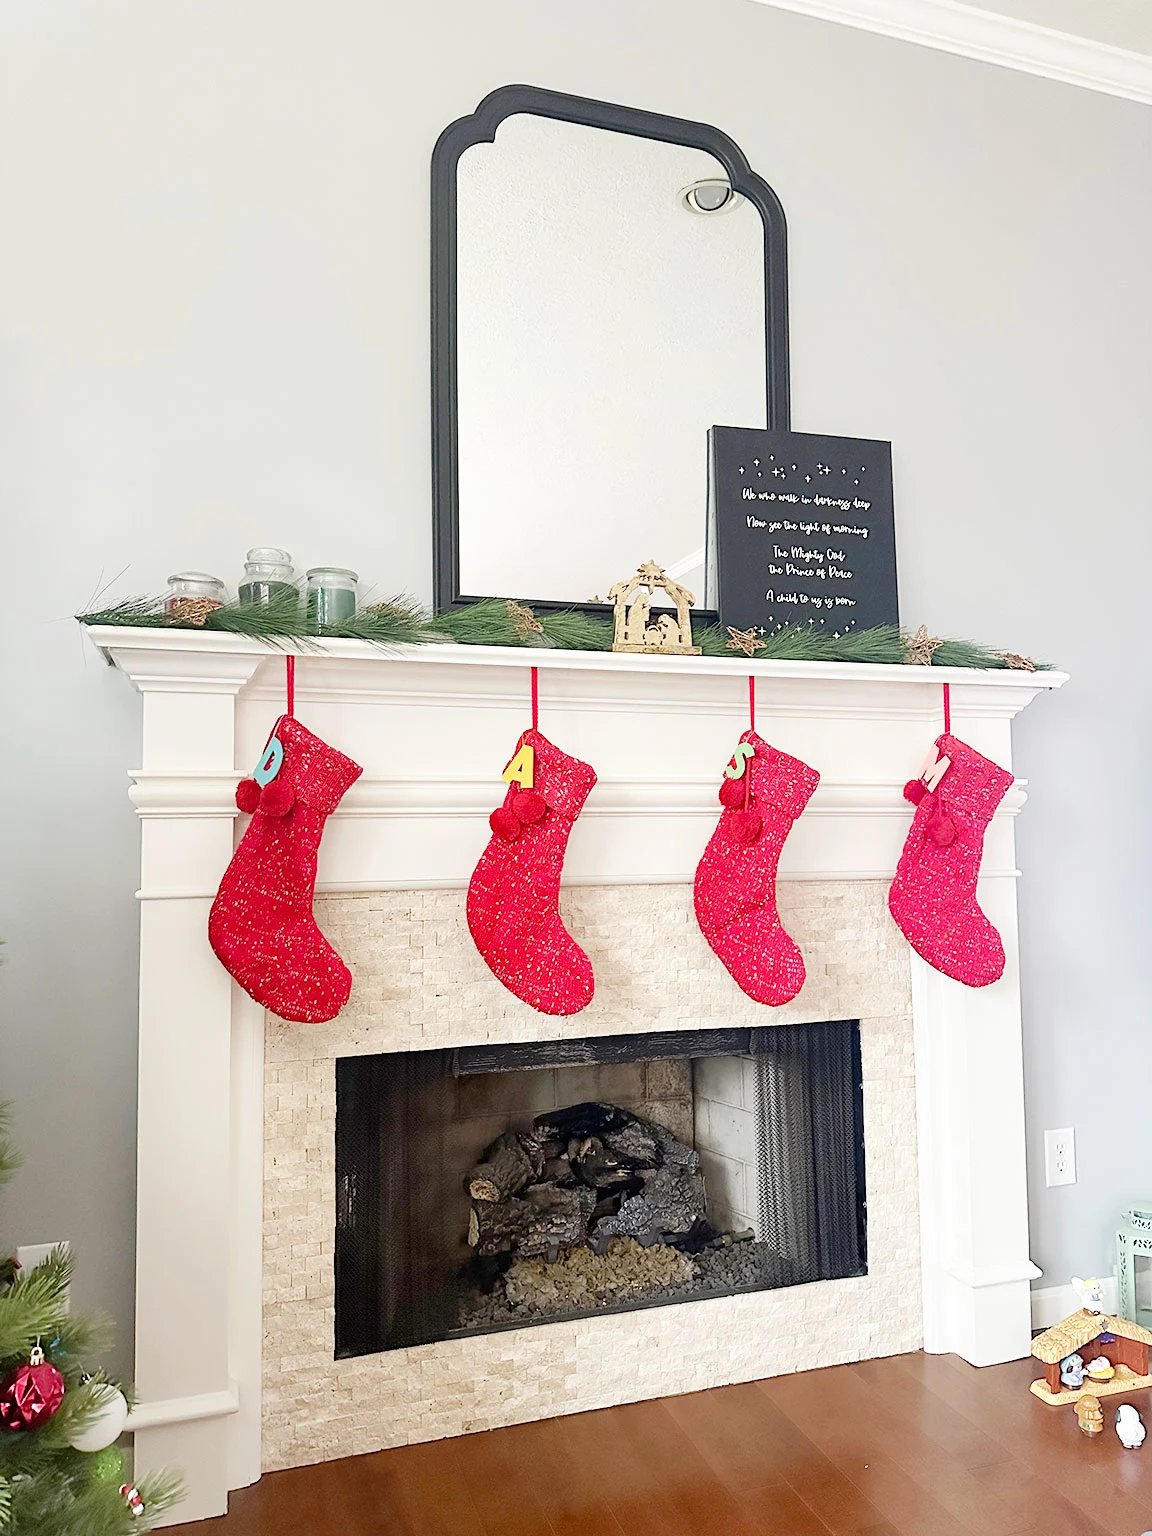
Last year we moved and I was so excited we have a mantle and fireplace now! This Christmas I have been working on making our mantle festive. I got some new stockings and I decided to have a little fun and make some initial tags for each one. I’m going to share my DIY Stocking Name Tags with you all today!

So there are 2 different ways you could make these. To make it easy I used my Cricut Maker 3 to cut out my letters but you can totally make this without a cutting machine! To do that all you would need to do would be to open whatever word processing program you wanted, type out your initials in a font you like, adjust the size to your liking, and print out your paper. Then cut out those paper letters and trace around them on the felt. Finally you would cut out your felt letters.
Supplies Needed for DIY Stocking Name Tags
- Cricut Maker 3 (or use the method described above)
- rotary blade
- Fabric Grip cutting mat
- felt
- embroidery floss
- hot glue gun and glue sticks
Tutorial
Design
Type your initials into design space. Type each letter twice. You need 2 of each letter because you need a front and a back.
Pick a font that you like, ideally one that’s an outline style. Then adjust the size so that the letters are the size you want. I used the font BFC Craft Table and I adjusted my letters to be about 3 inches tall.
If you are wanting to make each letter a different color then you will need to separate the letters from each other and make sure they are not grouped. Then click on the little colored square at the top (under the word Operation) to change the color for each letter.
Cut
Quick note: It will be easier to cut felt on your Cricut Maker 3 if you have a sharp blade and if you use a stiffer felt like the ones made by Cricut.
When you are ready click the Make it button. Check the positioning of the letters on the cutting mat in Design Space and then click Continue. Design Space will walk you through the steps of selecting the correct blade and loading your materials. Load your mat with he felt on it and let the machine cut. Unload the mat when it’s all done.
Assemble
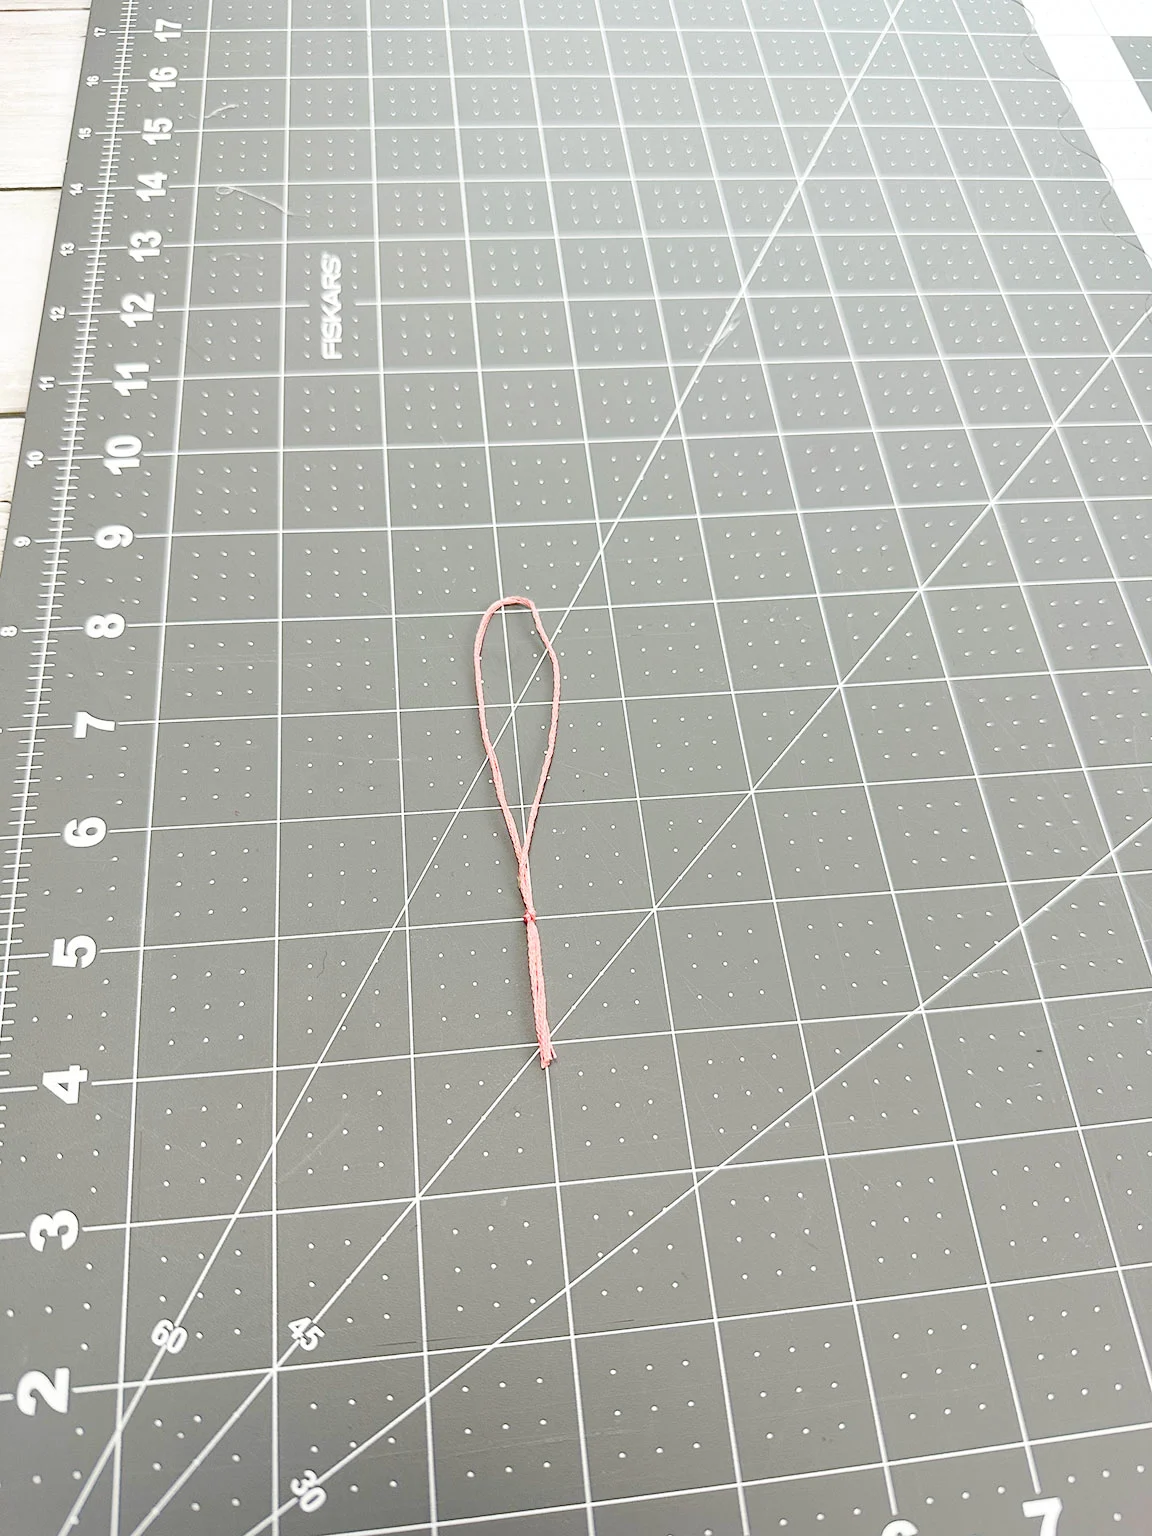
Cut a piece of embroidery floss about 9 inches long or so. Then tie a knot to make a loop. The loop part should be about 2.5-3 inches. Look at the example in this picture.
Take your loop and lay it on top of the felt letter cutout in the top left corner. Glue it down with the hot glue gun.
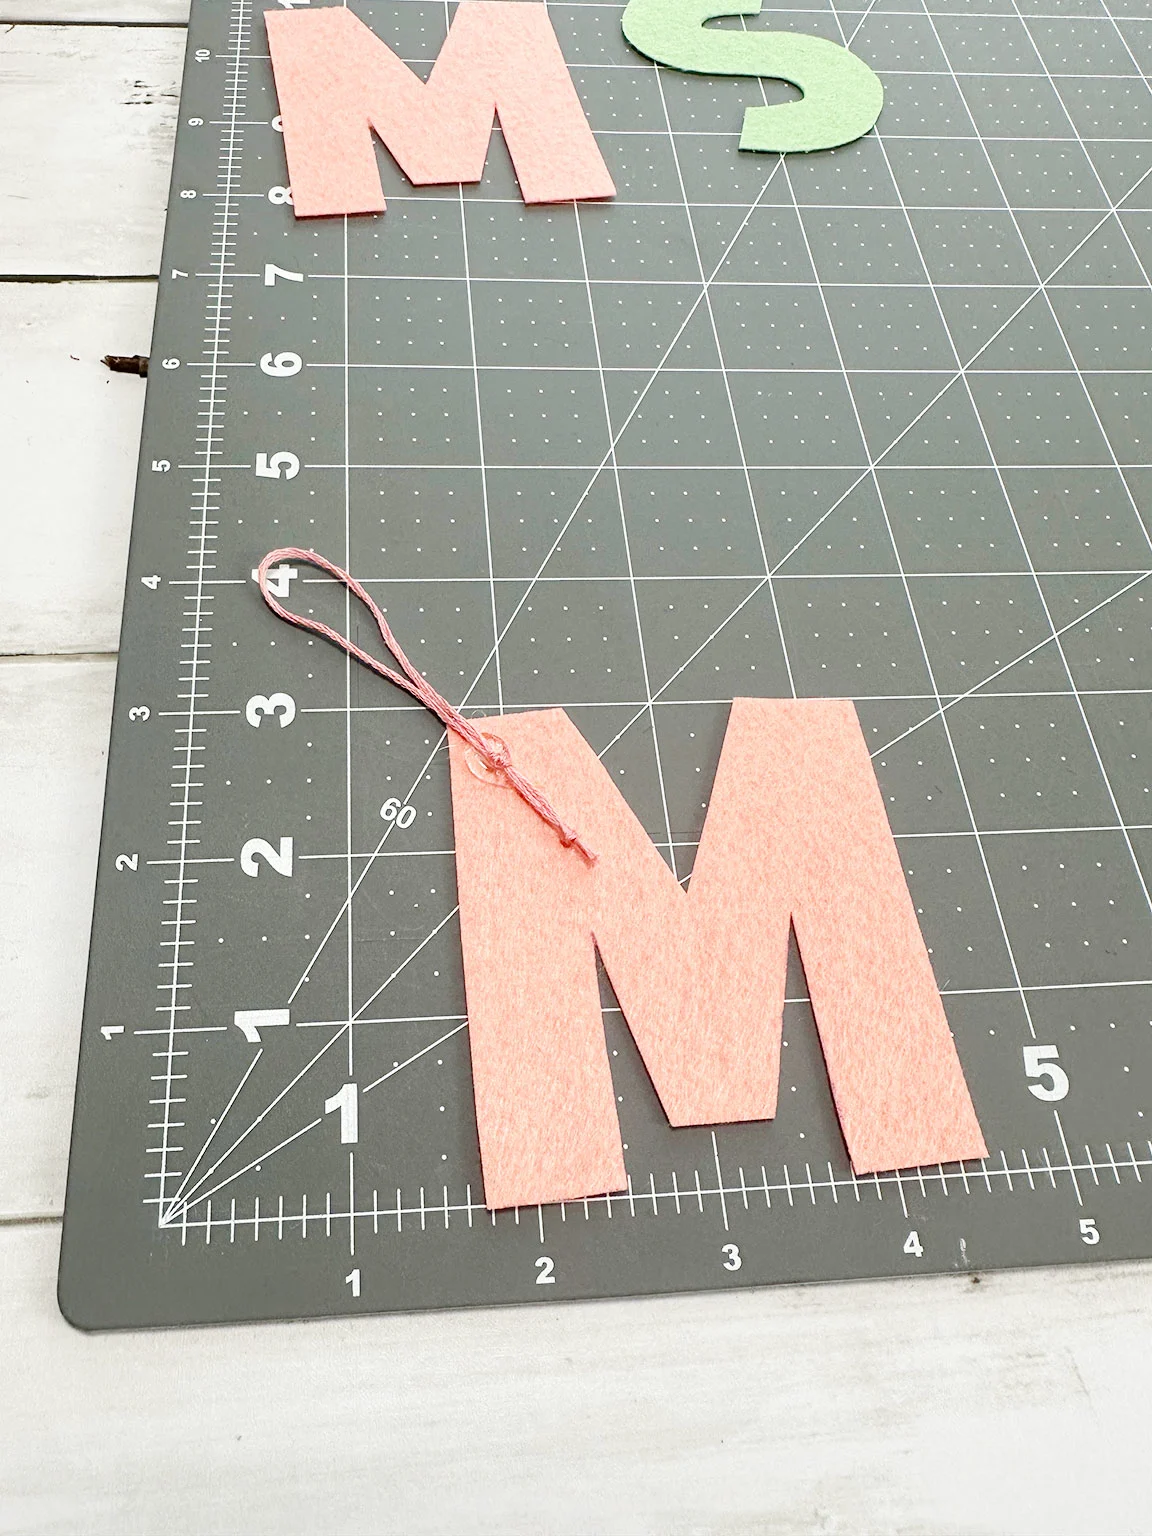
Then outline the letter in the hot glue.
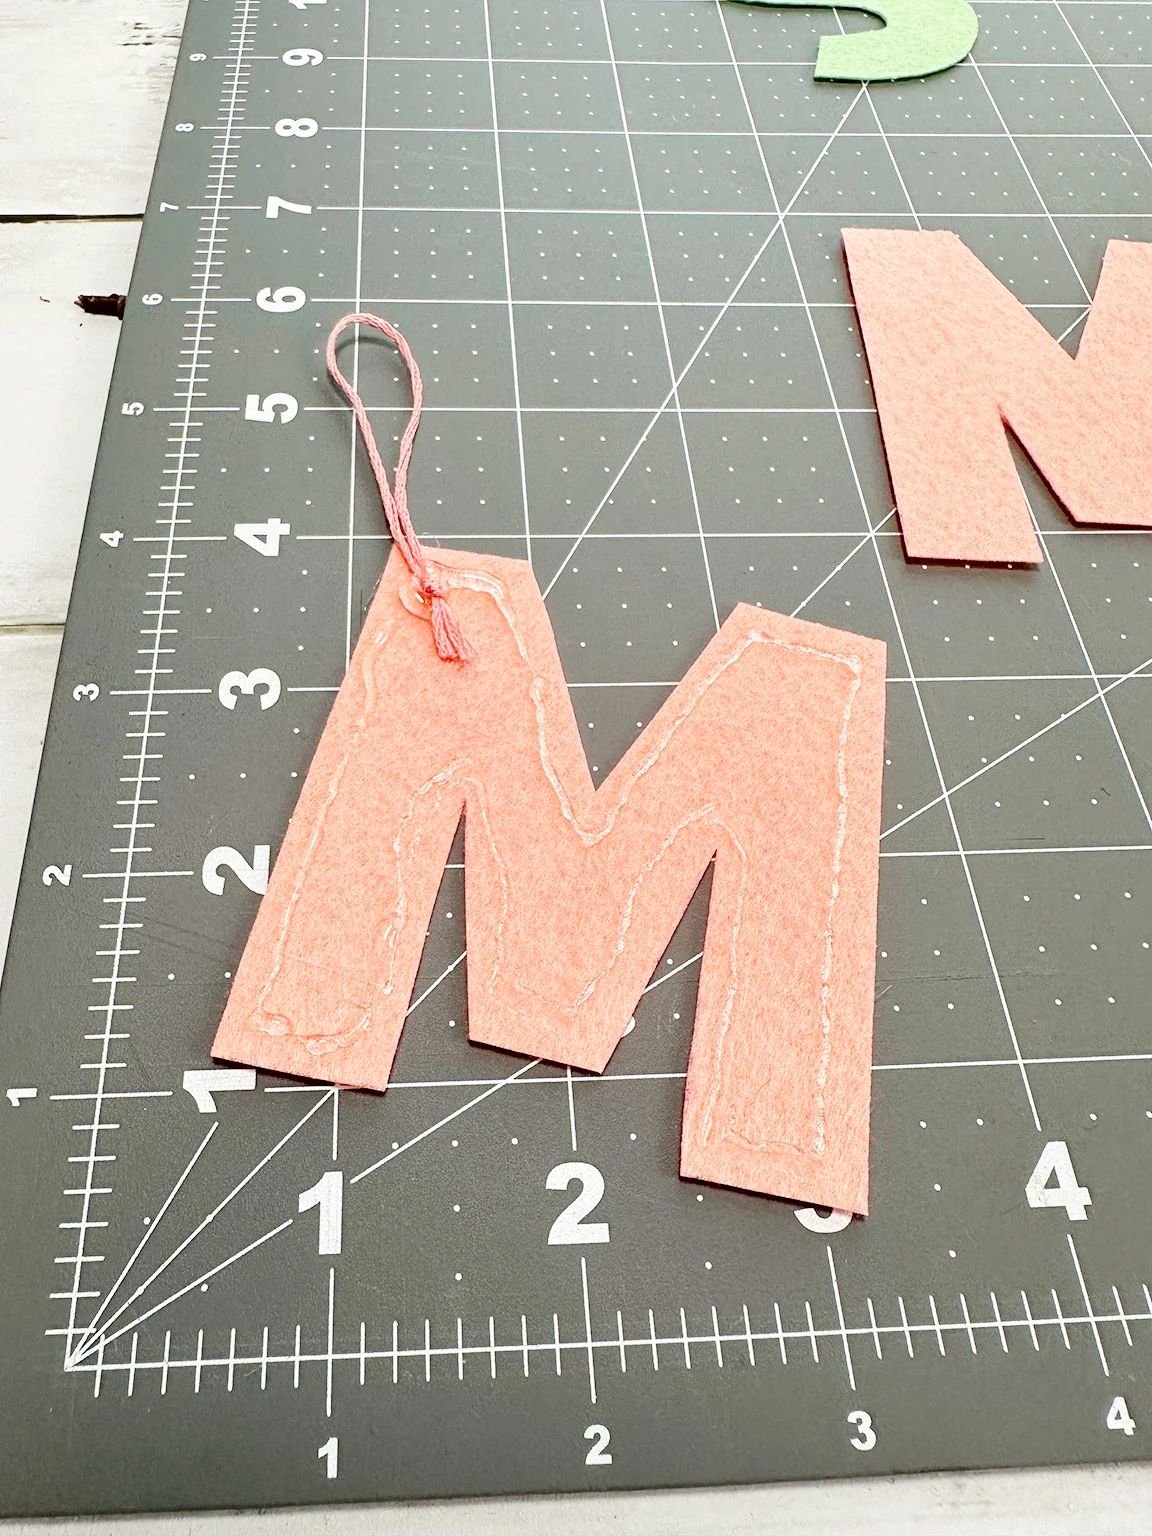
Put the second cutout of the letter on top of it. Press it down to let the glue attach the top piece to the bottom.
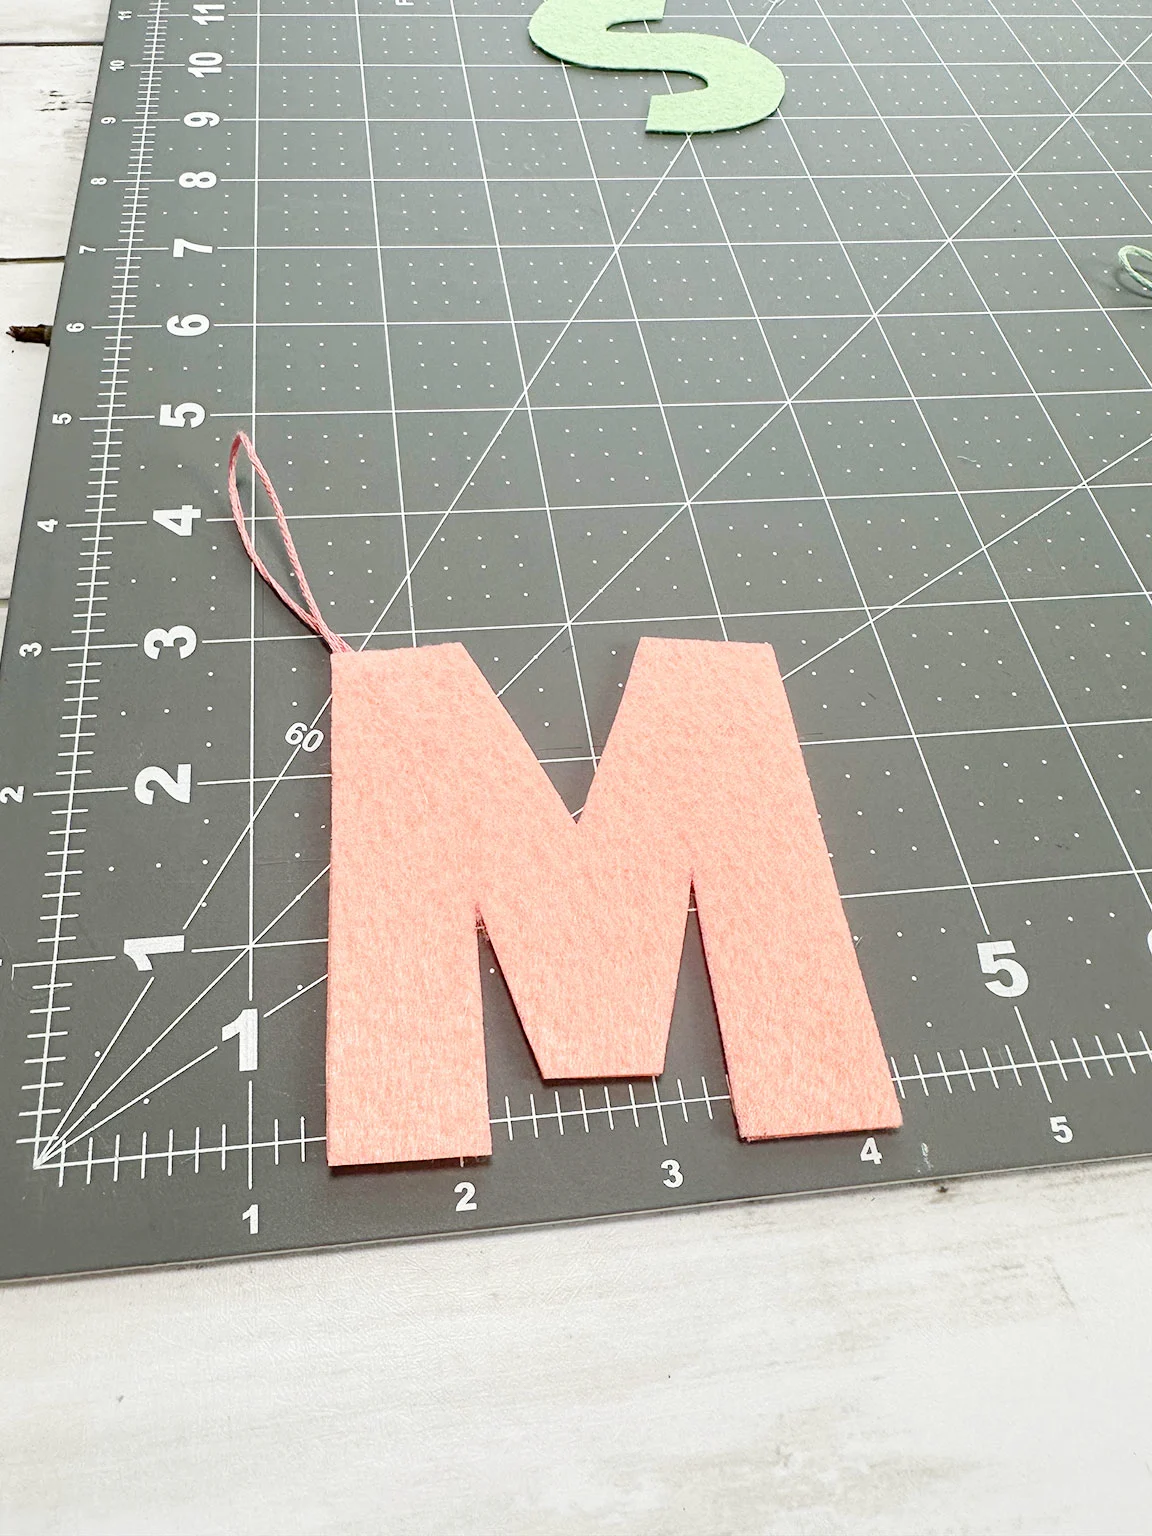
And that’s it!
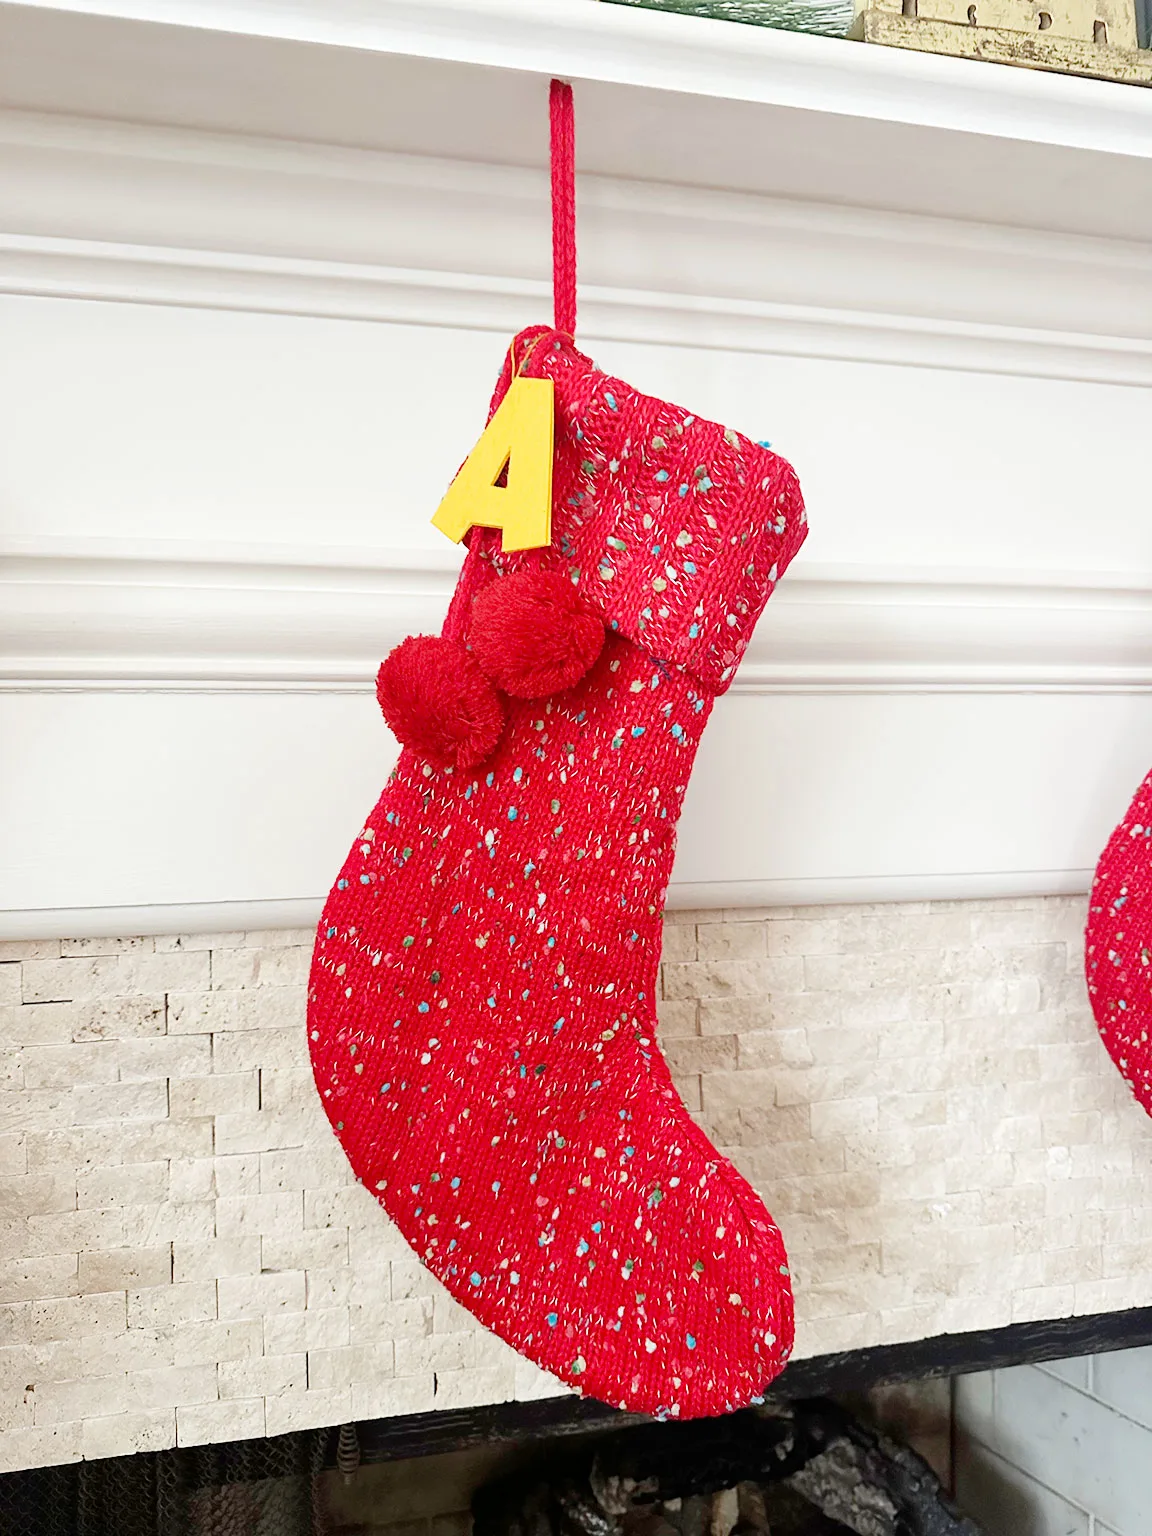
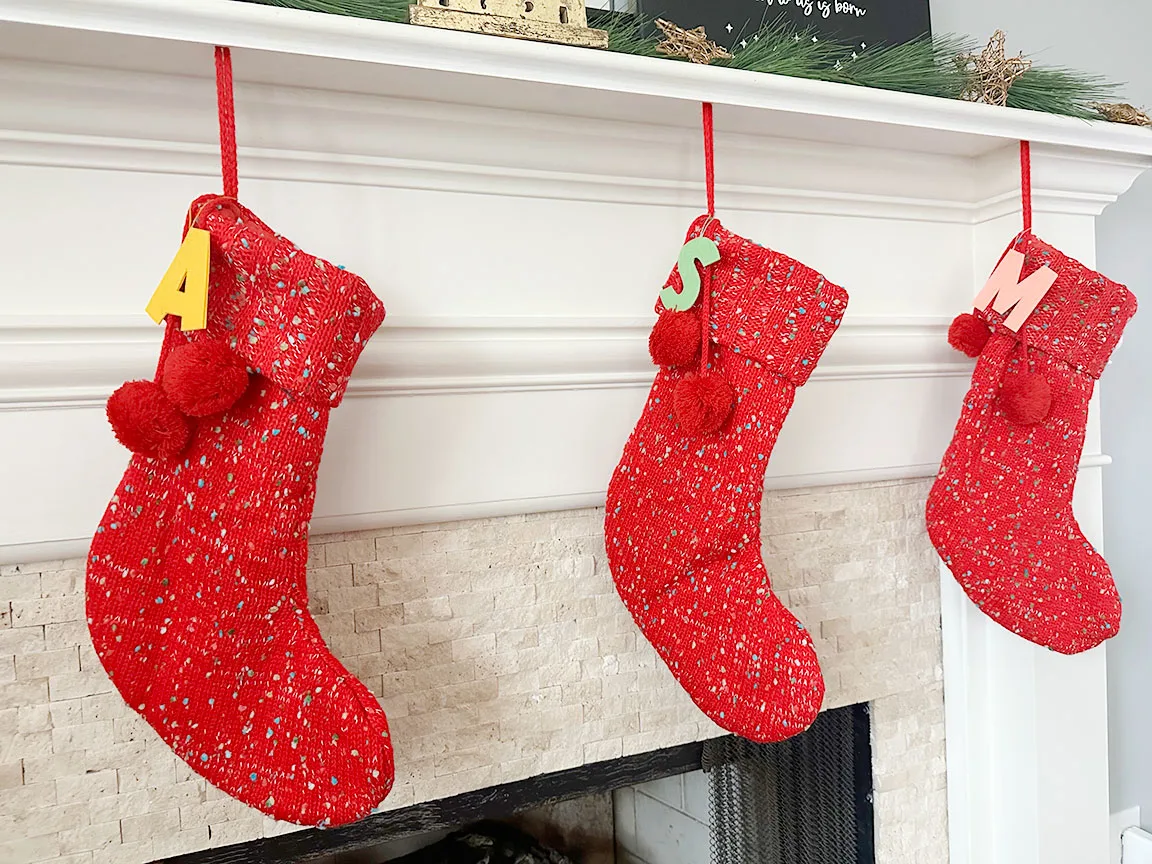
I’m really enjoying the mantle this Christmas!
