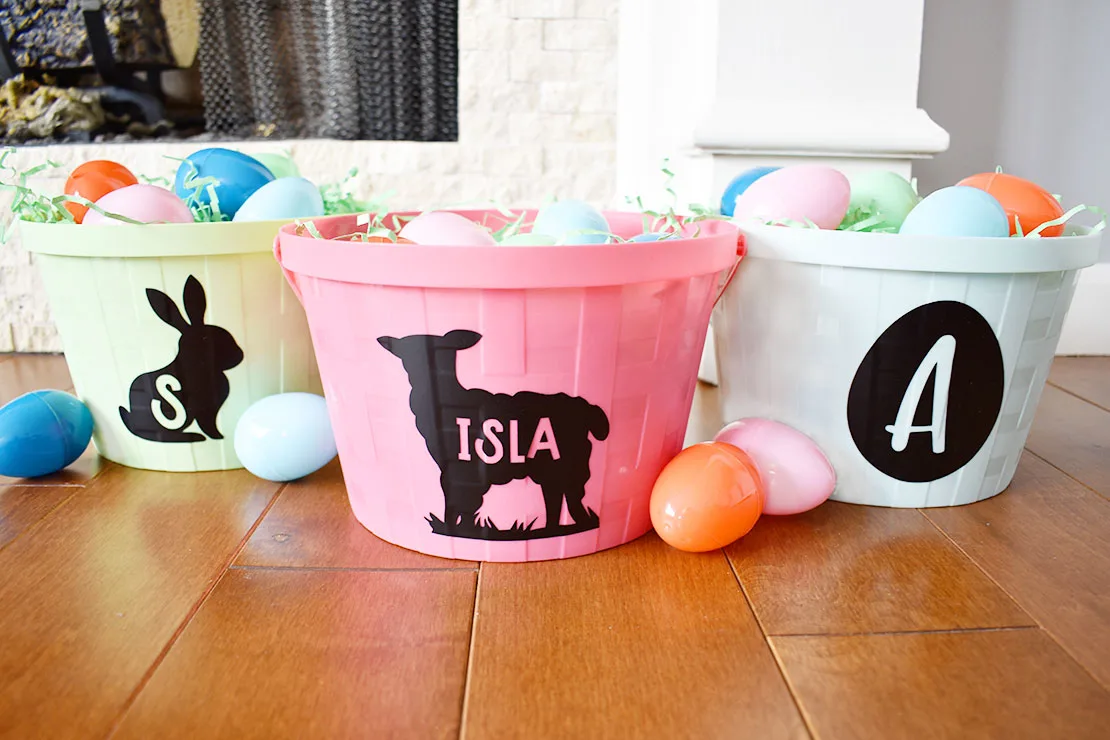
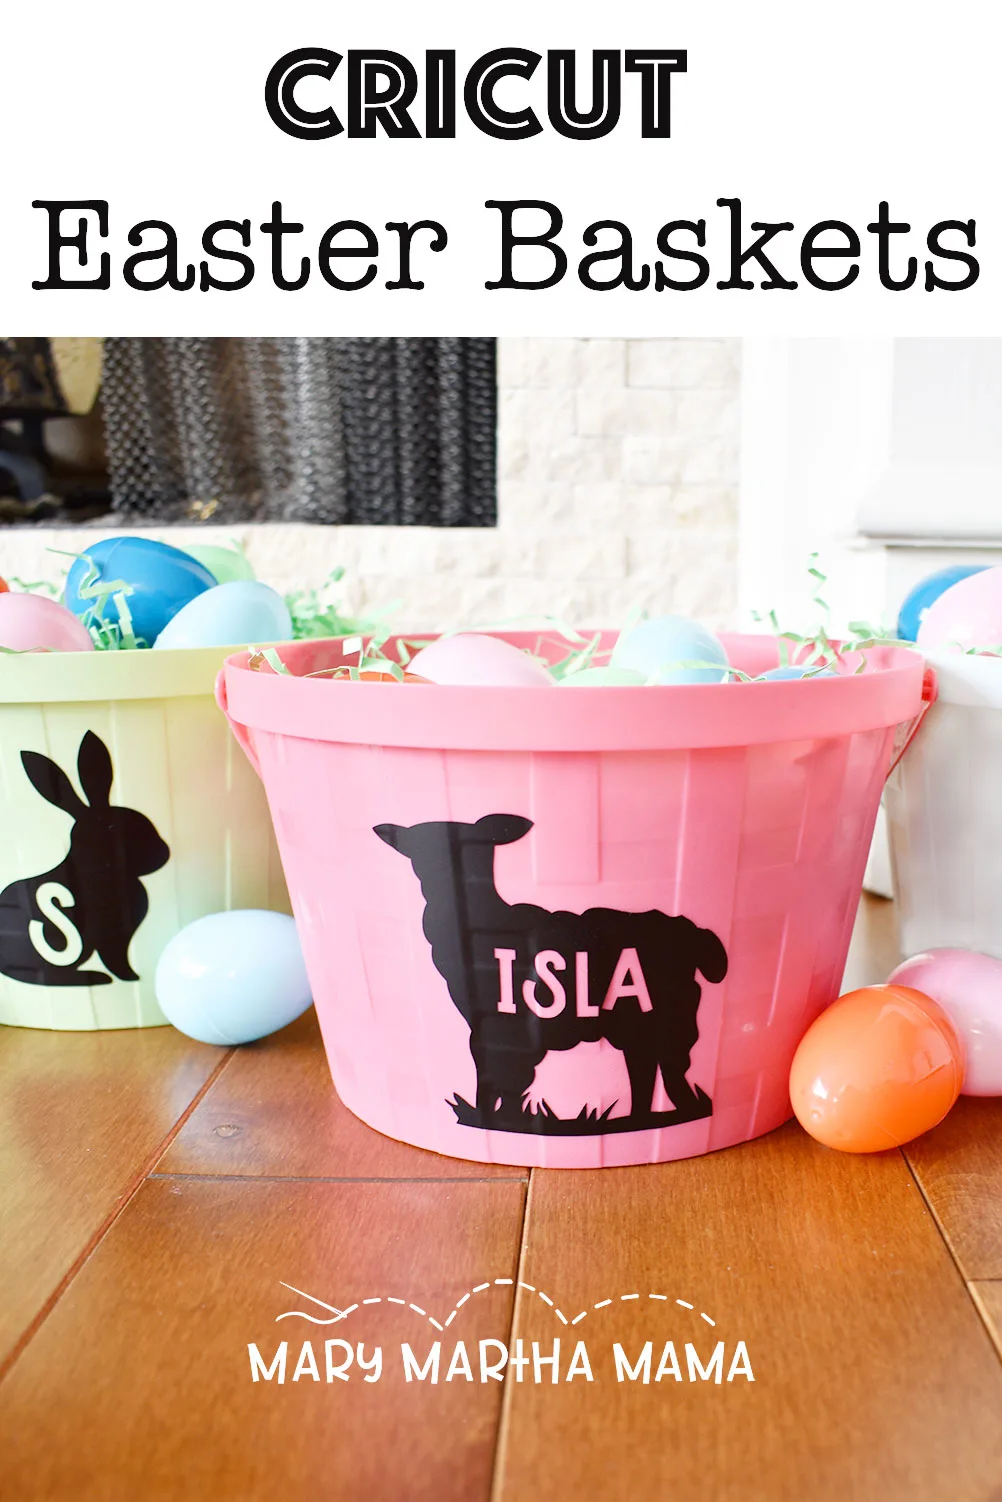
A few weeks ago I found these cute Easter baskets in the Target Dollar Spot and knew they would make some cute Easter baskets with a little help from my Cricut Maker 3. If you like this style you can apply the steps from this tutorial to make your own Cricut Easter Basket with the images and initials that you like.
Supplies Needed
- plastic Easter baskets (I found mine at Target)
- smart black vinyl
- Cricut Maker 3
- transfer tape
- weeding tool

Cricut Easter Basket Tutorial
Make Your Design
Open up Design Space. Choose an image that you like to use for the silhouette of your design. Then type out the name or initials that you want to use in your design. You can adjust the size and font to make it look how you would like.
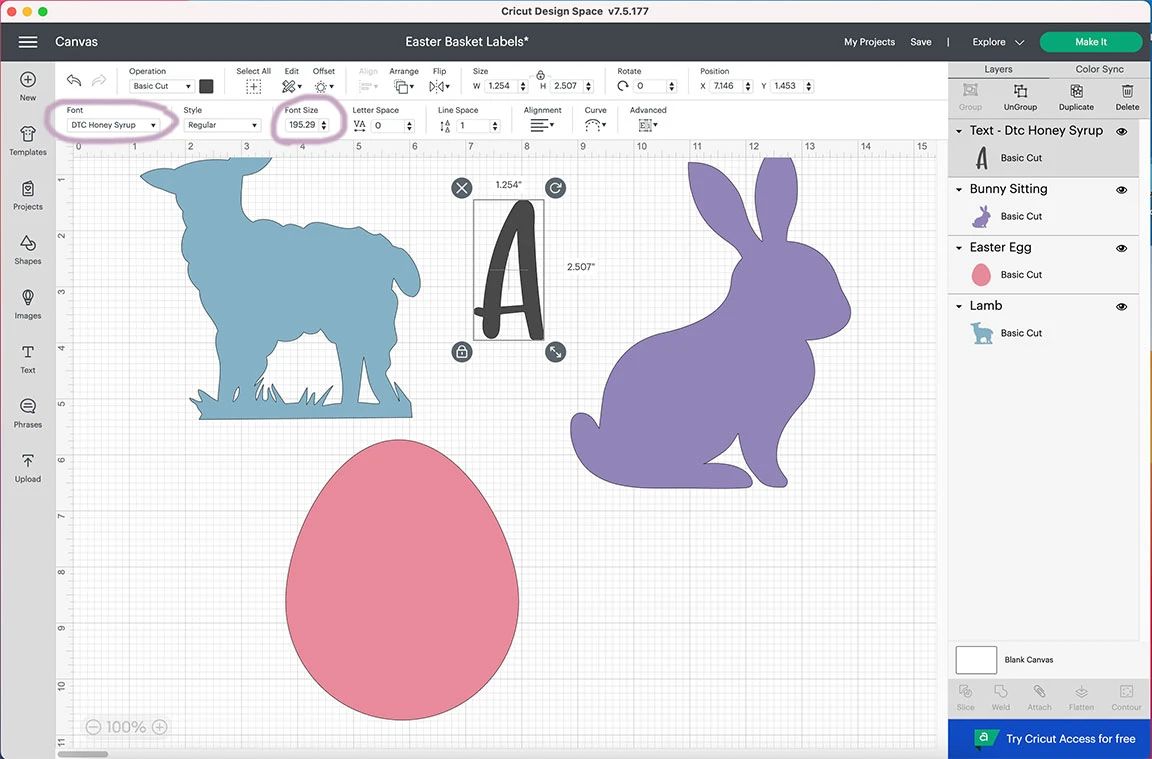
Now place your initial or word on top of the silhouette image. Adjust the size and placement until you like what you have.
Then select both the text and the image. You can click on both on the sidebar menu to the left to select them. Then click the slice button on the bottom right of Design Space.

Your design is now cut into three parts. If you move the silhouette and click on the text you will be able to delete the text now.

Cut the Design
Now click the green Make It button. Design Space is now going to walk you through loading your material and the appropriate cutting tool. I love using smart vinyl for this project and my vinyl roll holder makes this so so easy with the Maker 3.


Apply the Design
Remove the vinyl from the Cricut Maker 3 when it is done cutting. Then use one of the weeding tools to remove the vinyl that is not part of your design.

Then take the transfer tape and apply it to the front of your vinyl.
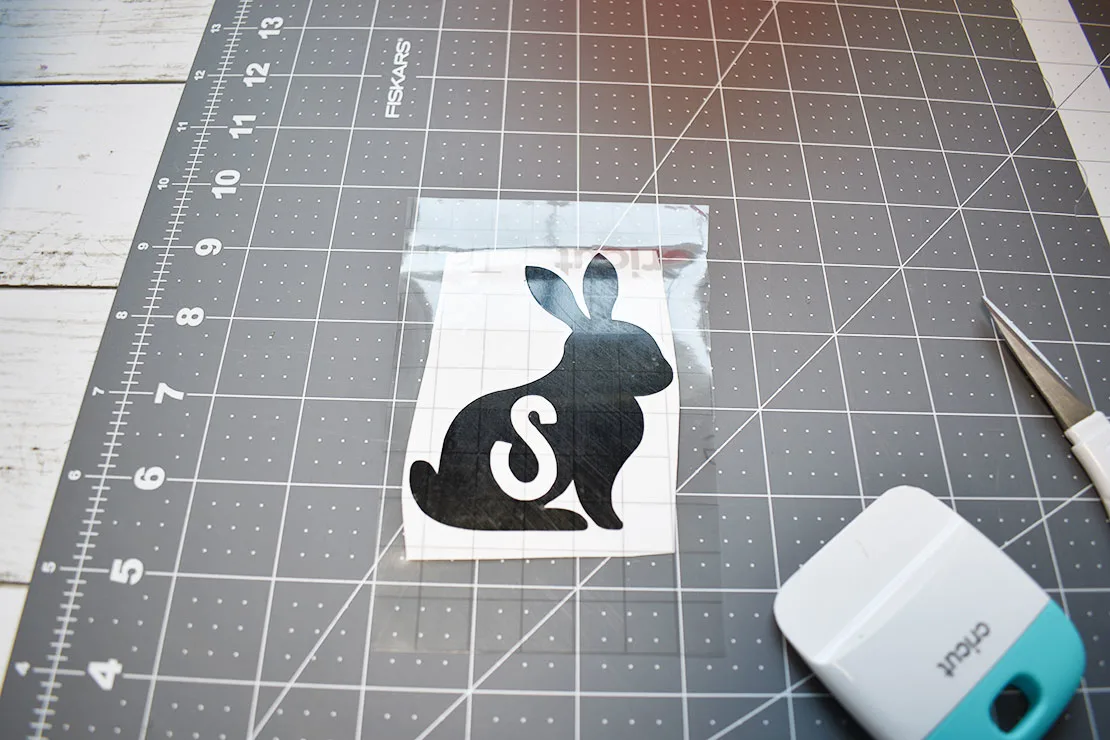
Press the transfer tape down firmly on both the front and back to get it to adhere to the vinyl. Then peel the paper backing away from the vinyl.
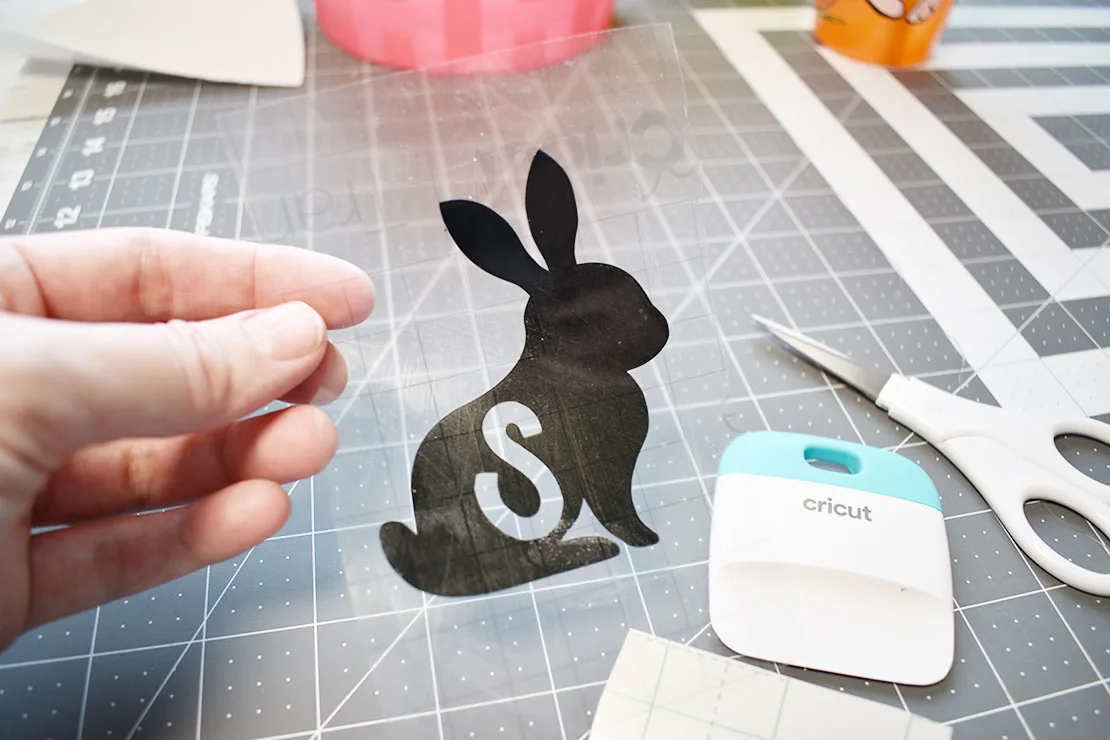
Now use the transfer tape to apply the vinyl design to your Cricut Easter Basket.
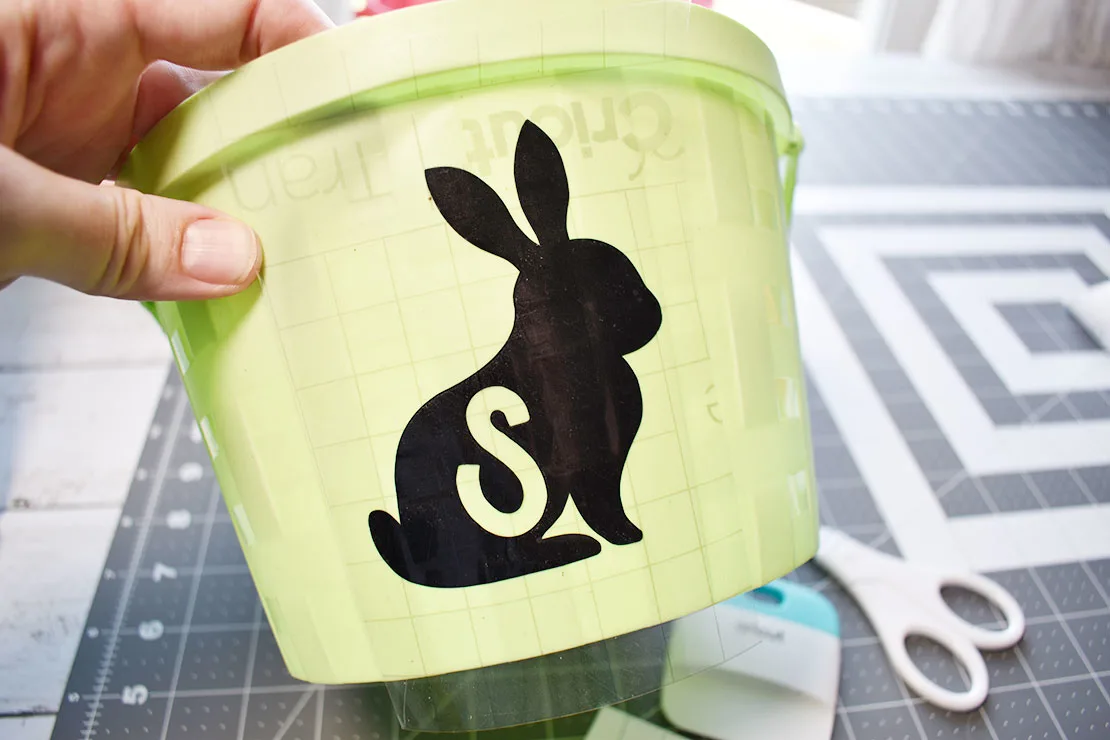
Smooth the vinyl down completely then peel the transfer tape away.
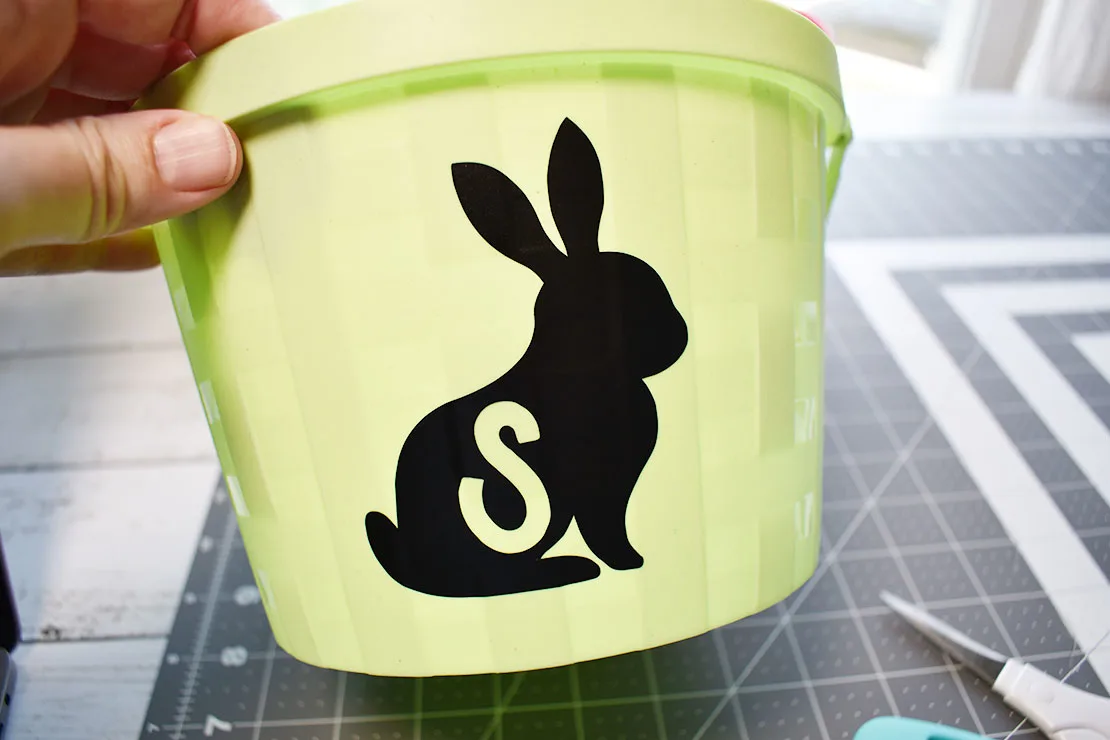
You’re done! Now fill that Easter basket with some goodies.
