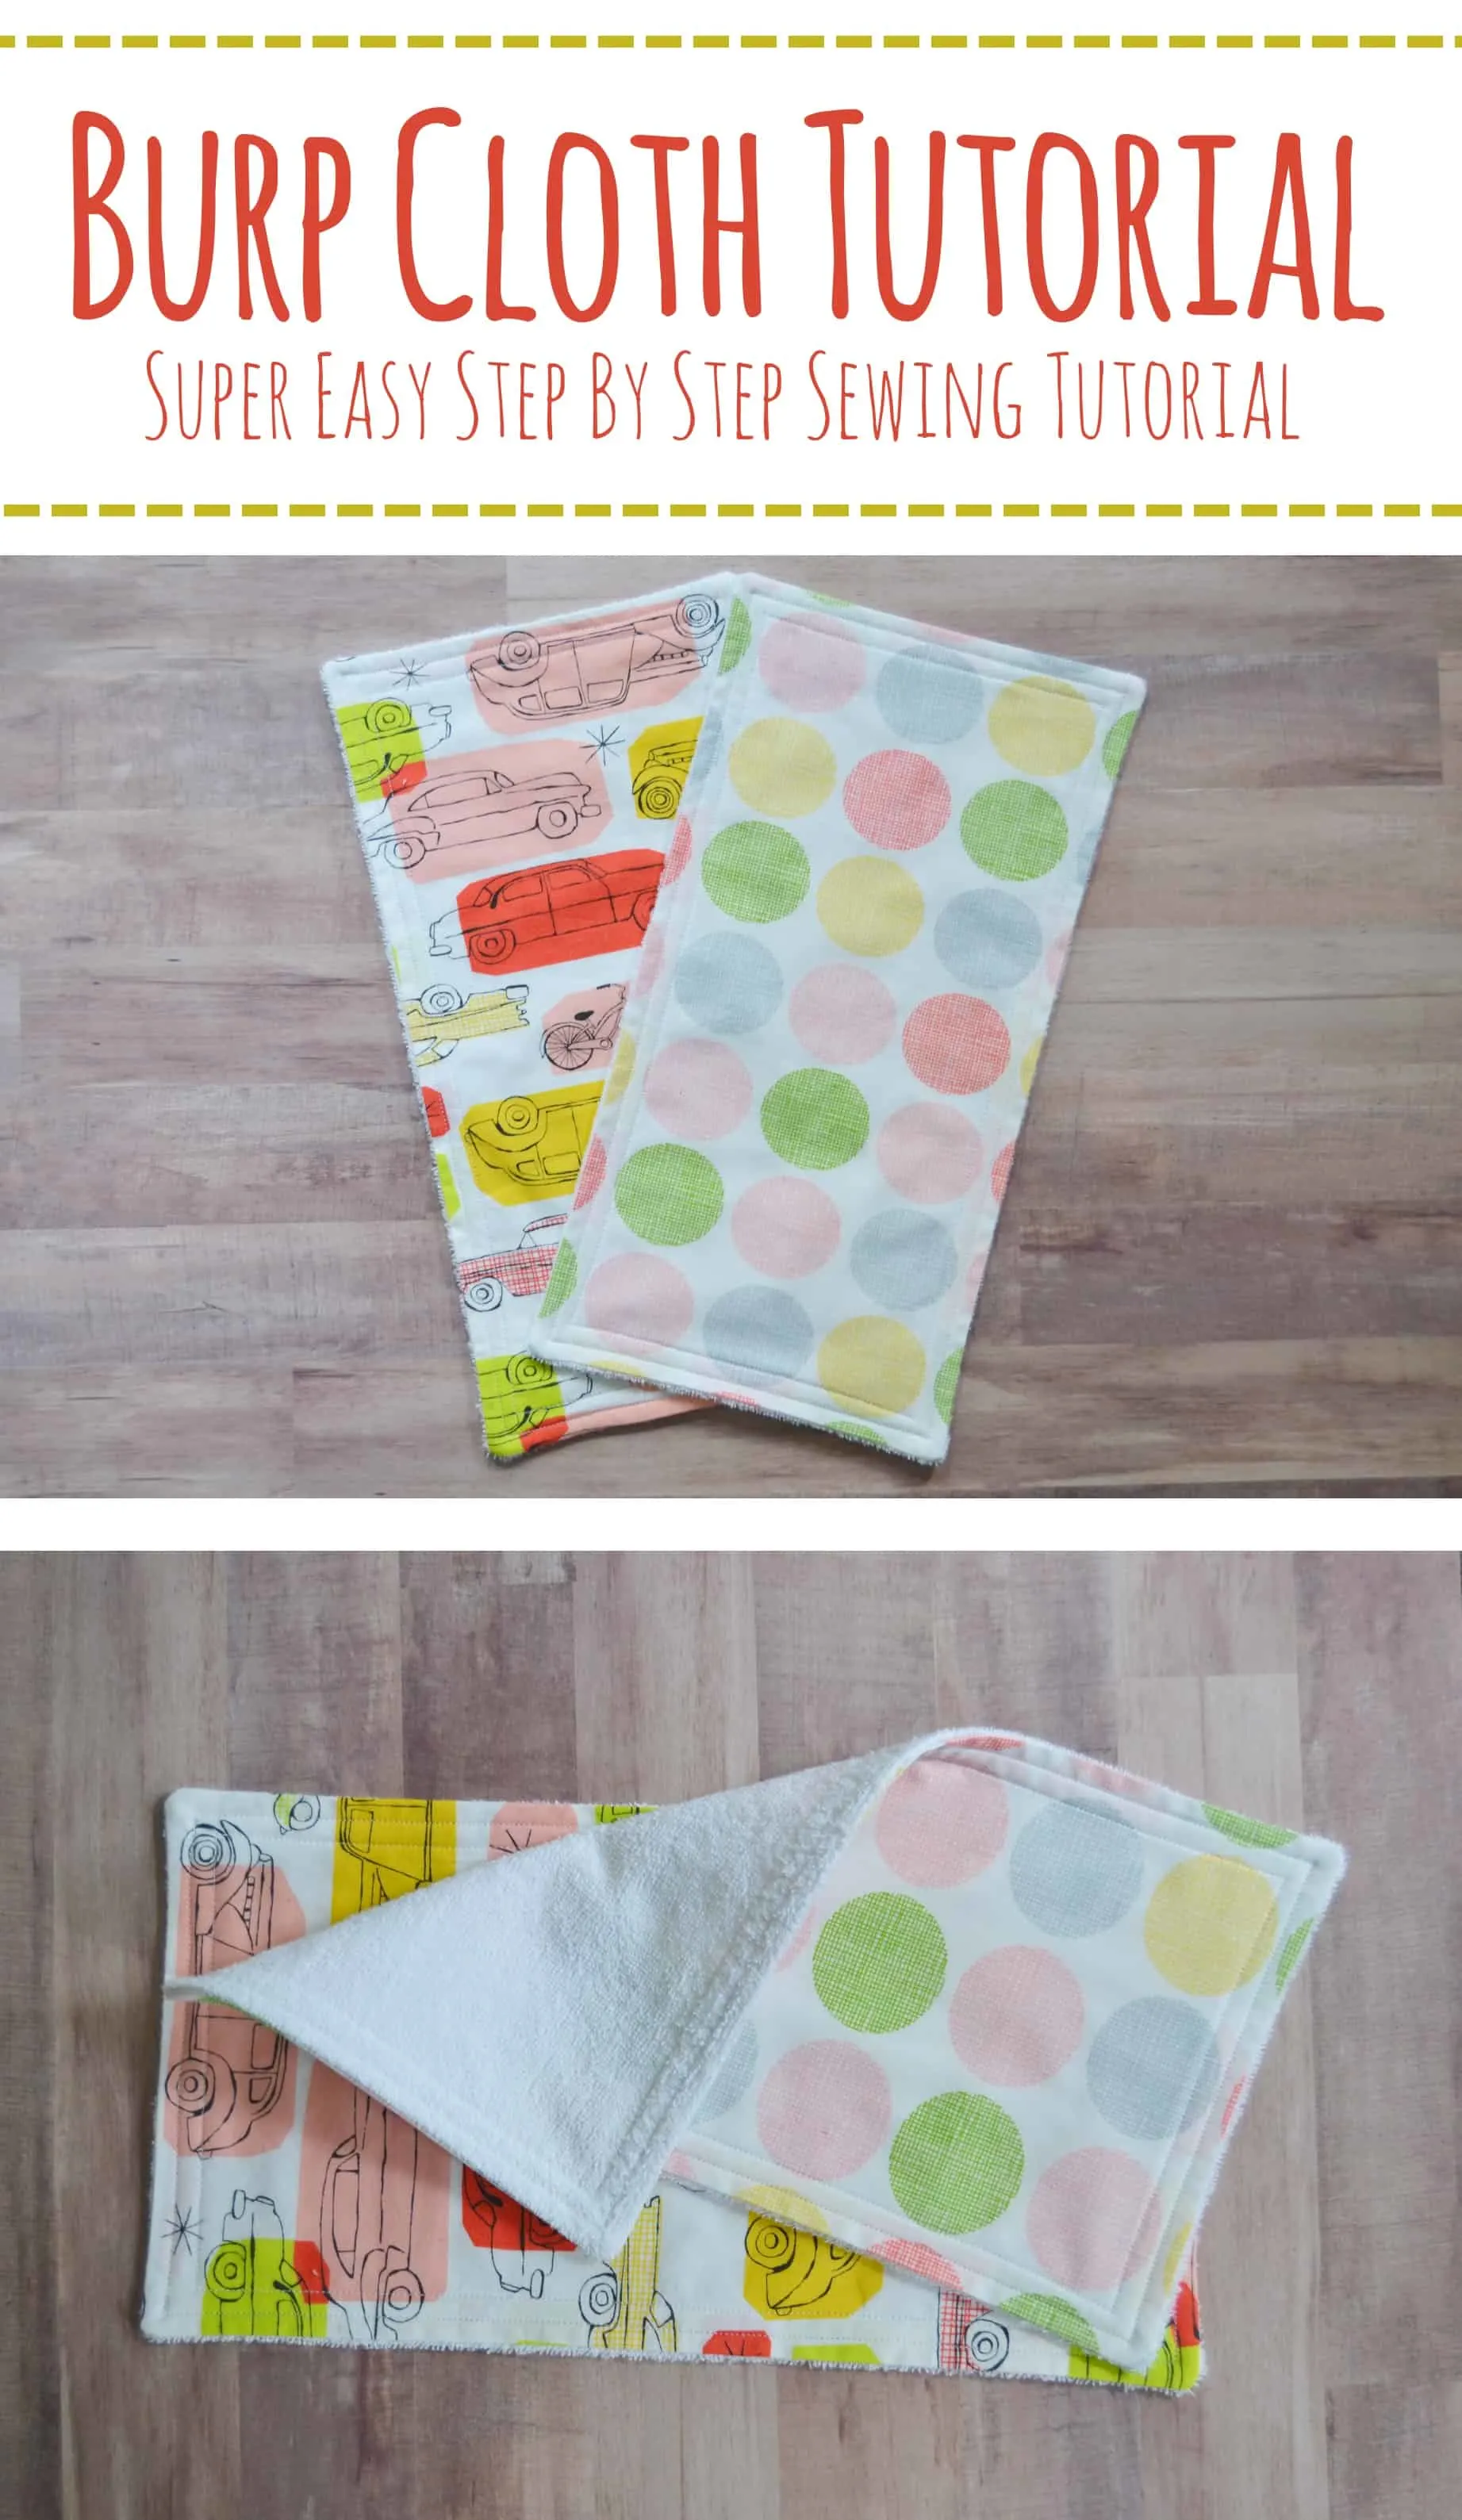
I love to make burp cloths as part of the gifts I give for baby showers. Today I’m sharing with you all my diy burp cloth tutorial. If you can sew even a little then you can do this. It’s super simple to make your own burp cloths and quick too. 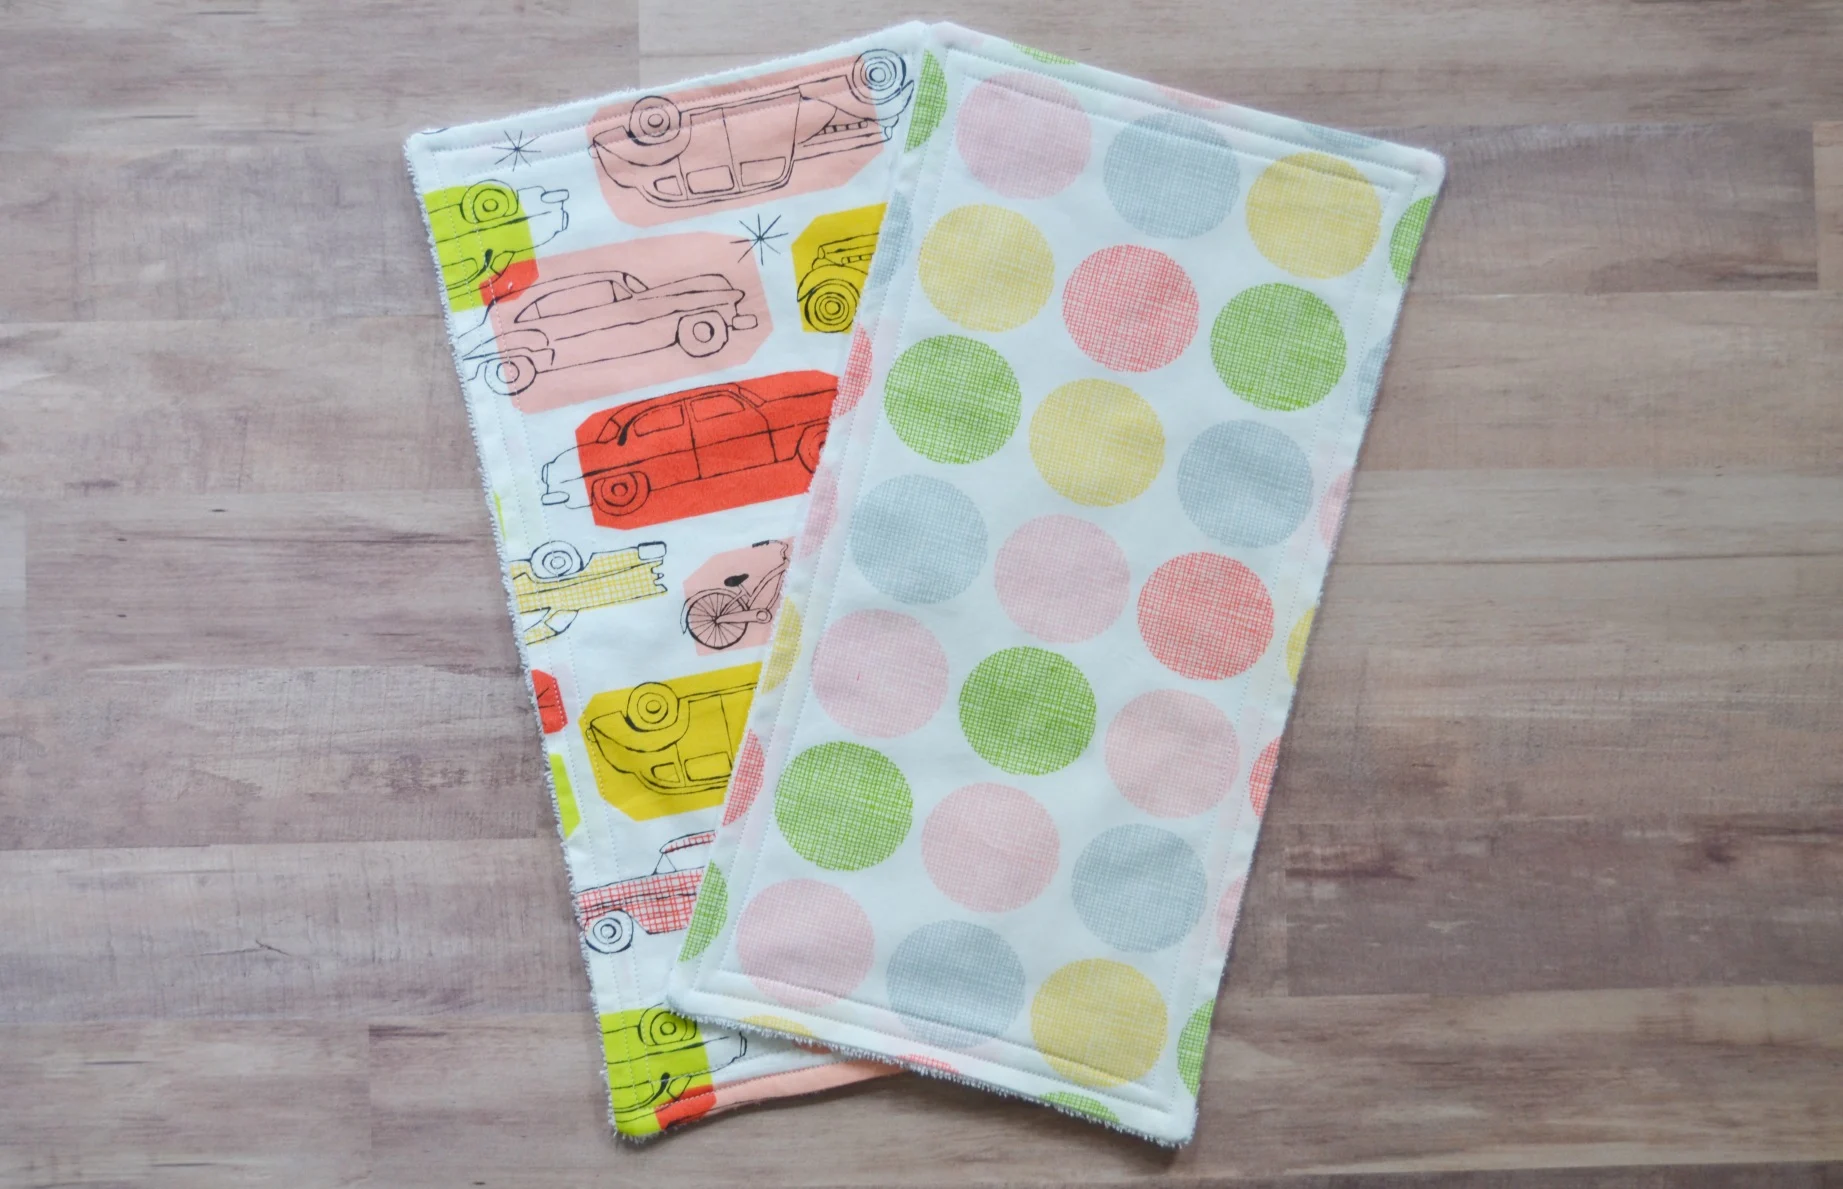
I’ll hold your hand and take you through it step by step. You can watch the video below or you can read my step by step tutorial with pictures below if you prefer
DIY Burp Cloth Tutorial Video
DIY Burp Cloth Tutorial
1. Pick out some fabrics. You can make burp cloths out of a variety of fabrics. I like to make mine out of cotton prints on the front and I use terry cloth as my backing. W
henever I make a set for someone I typically make three burp cloths using three coordinating fabrics. Wash your fabrics. Then iron them.
2. Cut out your fabric. I keep it simple by making my burp cloths rectangles. I cut my fabric into a 15.5 X 8.5 inch rectangle.
This means that my finished product will be about 15 X 8 inches. To make things simple I use a template that I made and cut around the edges with my rotary cutter.
3. After I cut out the front fabric I pin it to the terry cloth backing face down.
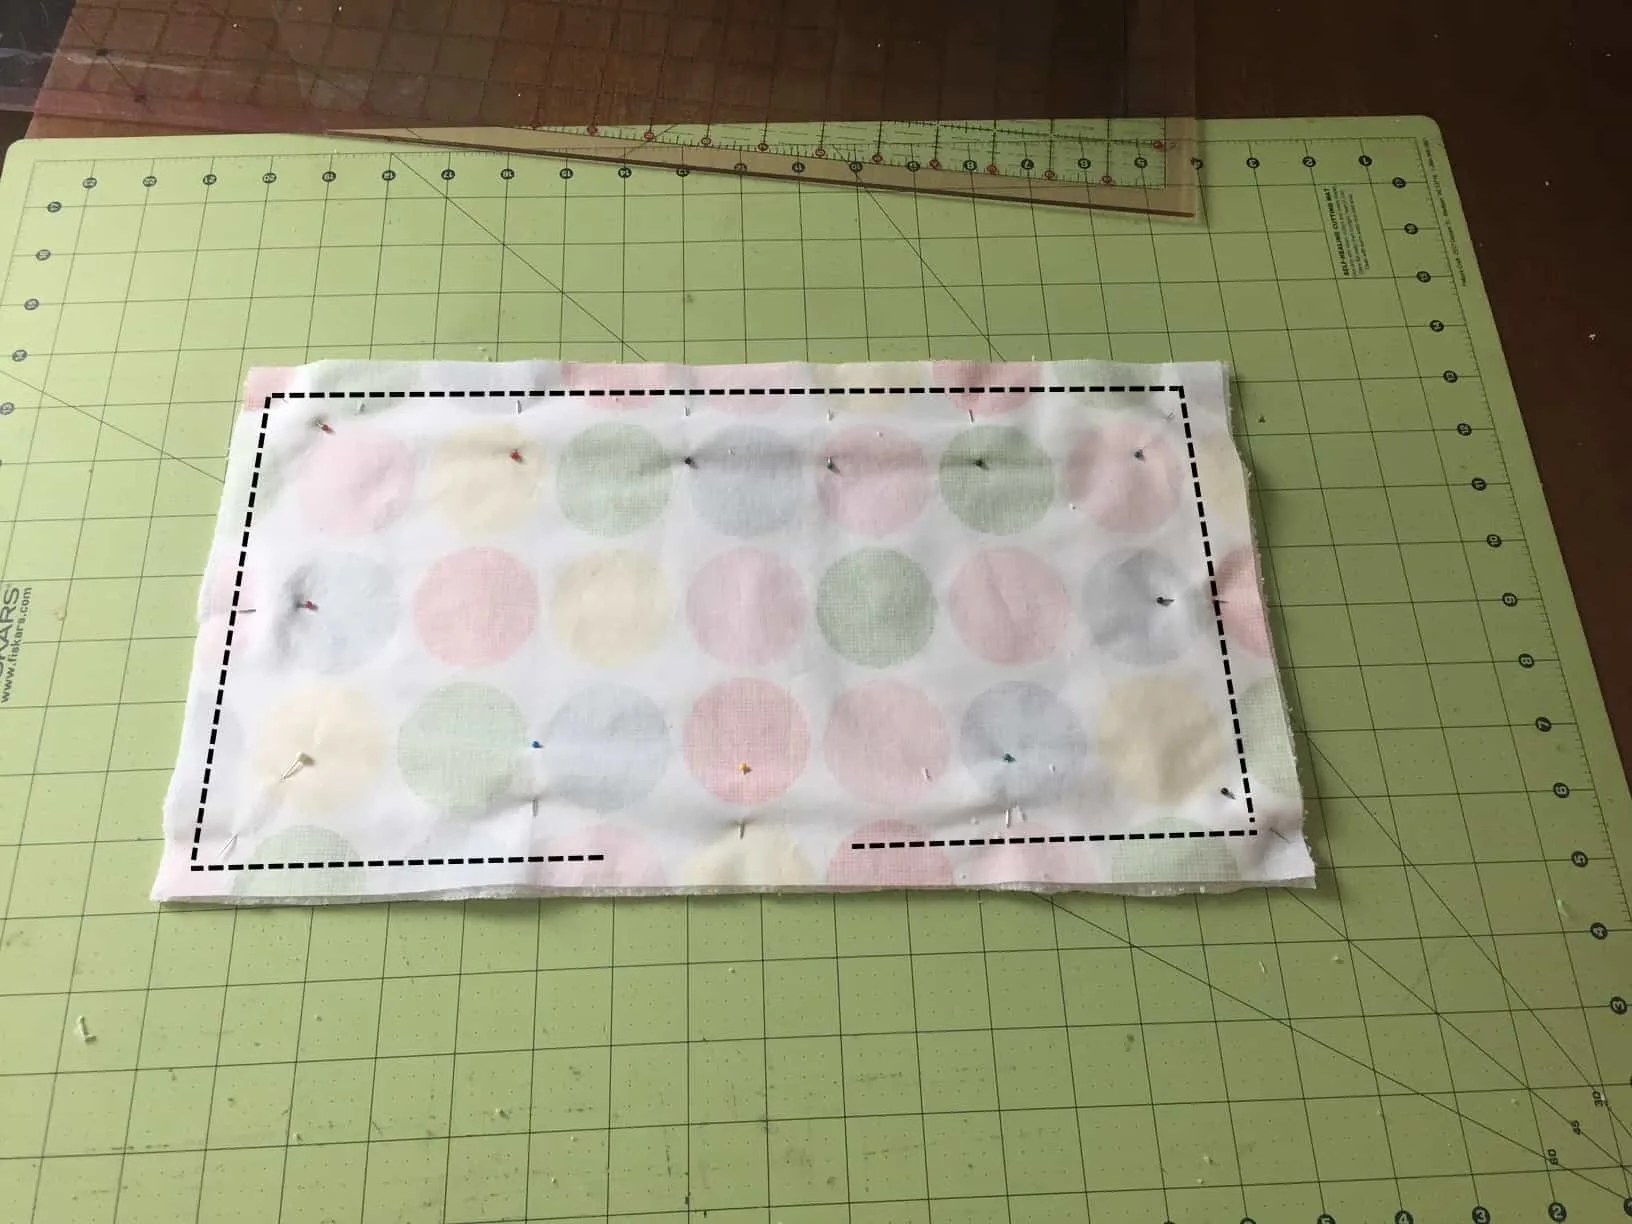
4. If the terrycloth is sticking out from under the quilting cotton then I cut out around the top piece so that they are the same size.
5. Now sew around the edge of the burp cloth, leaving a 1/4 inch around the edge. Stop sewing about 3-4 inches from where you begin so that you have an opening with which to turn the burp cloth inside out. When you begin and at the end you should back-stitch a little to make it stronger.

6. Clip the corners of the rectangle. This will help the corners to look nicer once we turn it inside out.

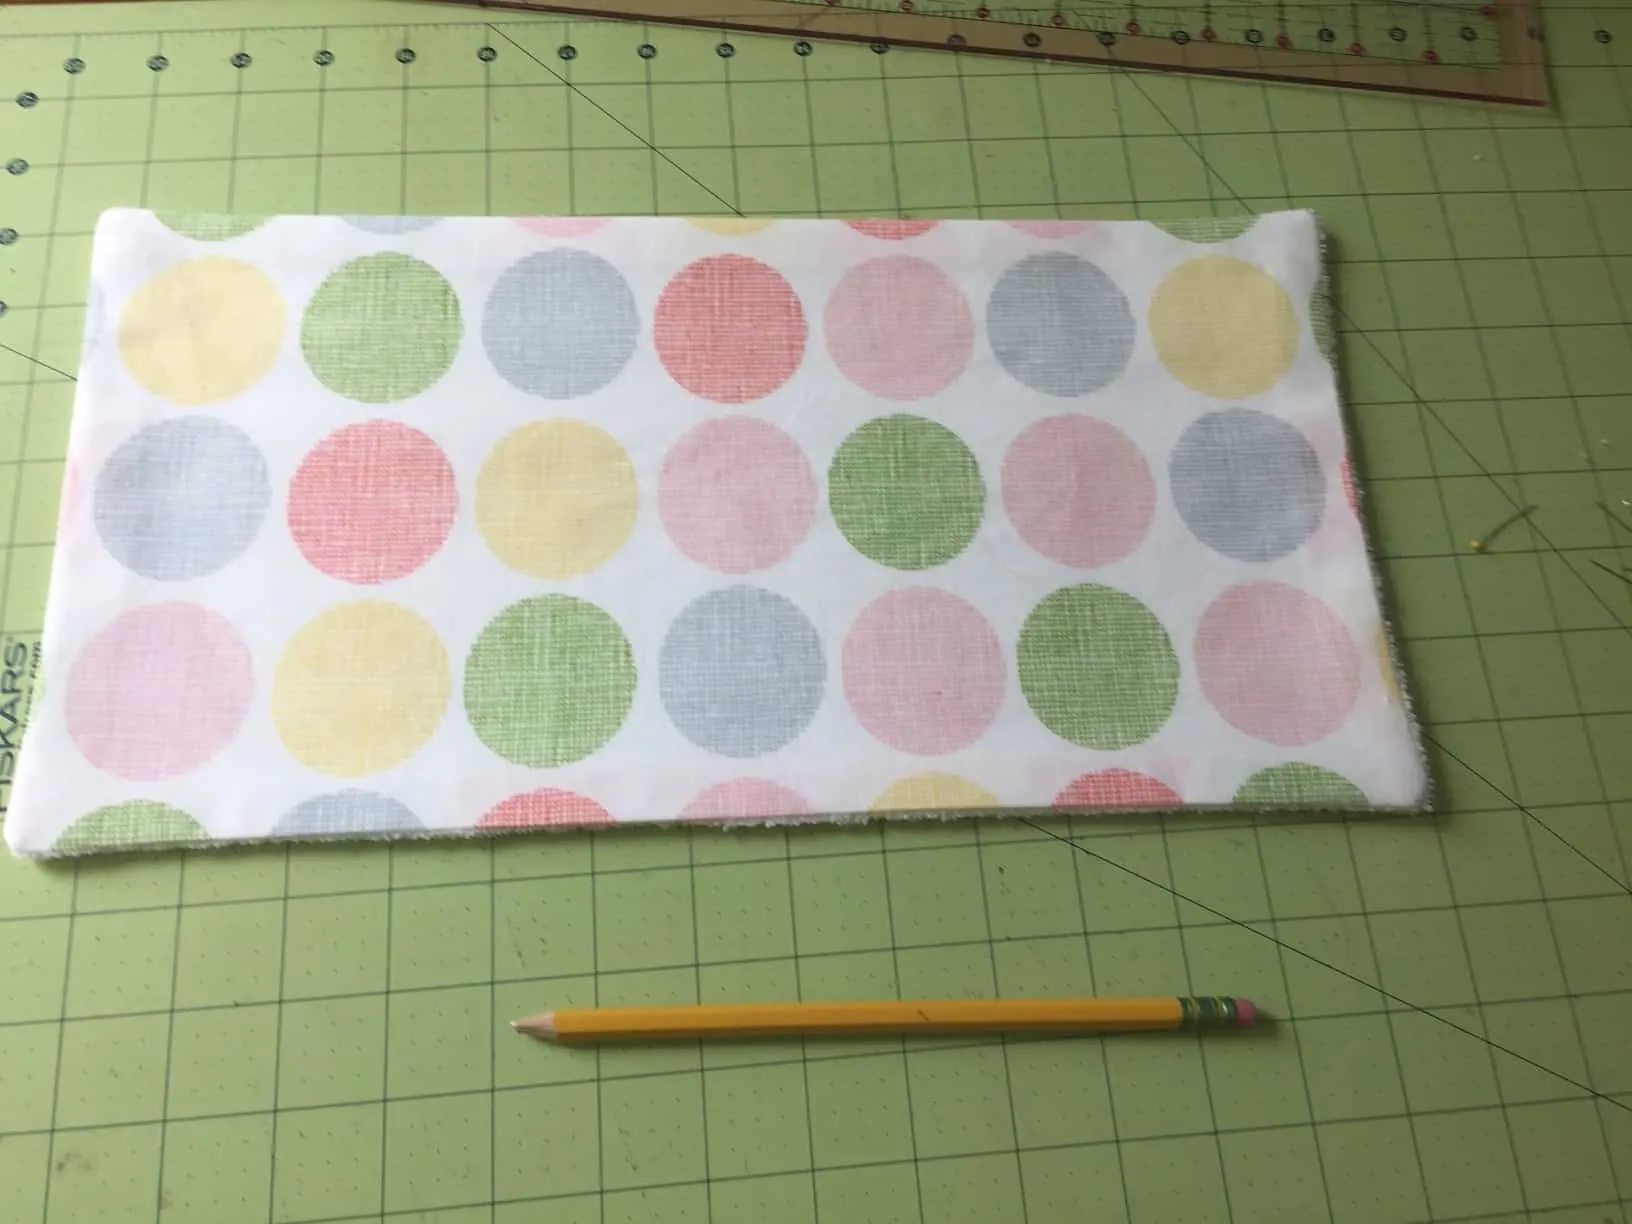
7. Turn the burp cloth inside out by pulling it through the hole that we left. Use a pencil to push the corners of the burp cloth out.

8. Iron the burp cloth. Then top stitch around the border of the burp cloth.
When you have finished, trim the strings and you are done. Sometimes I like to top stitch a second time around the border to make it look a little more finished.
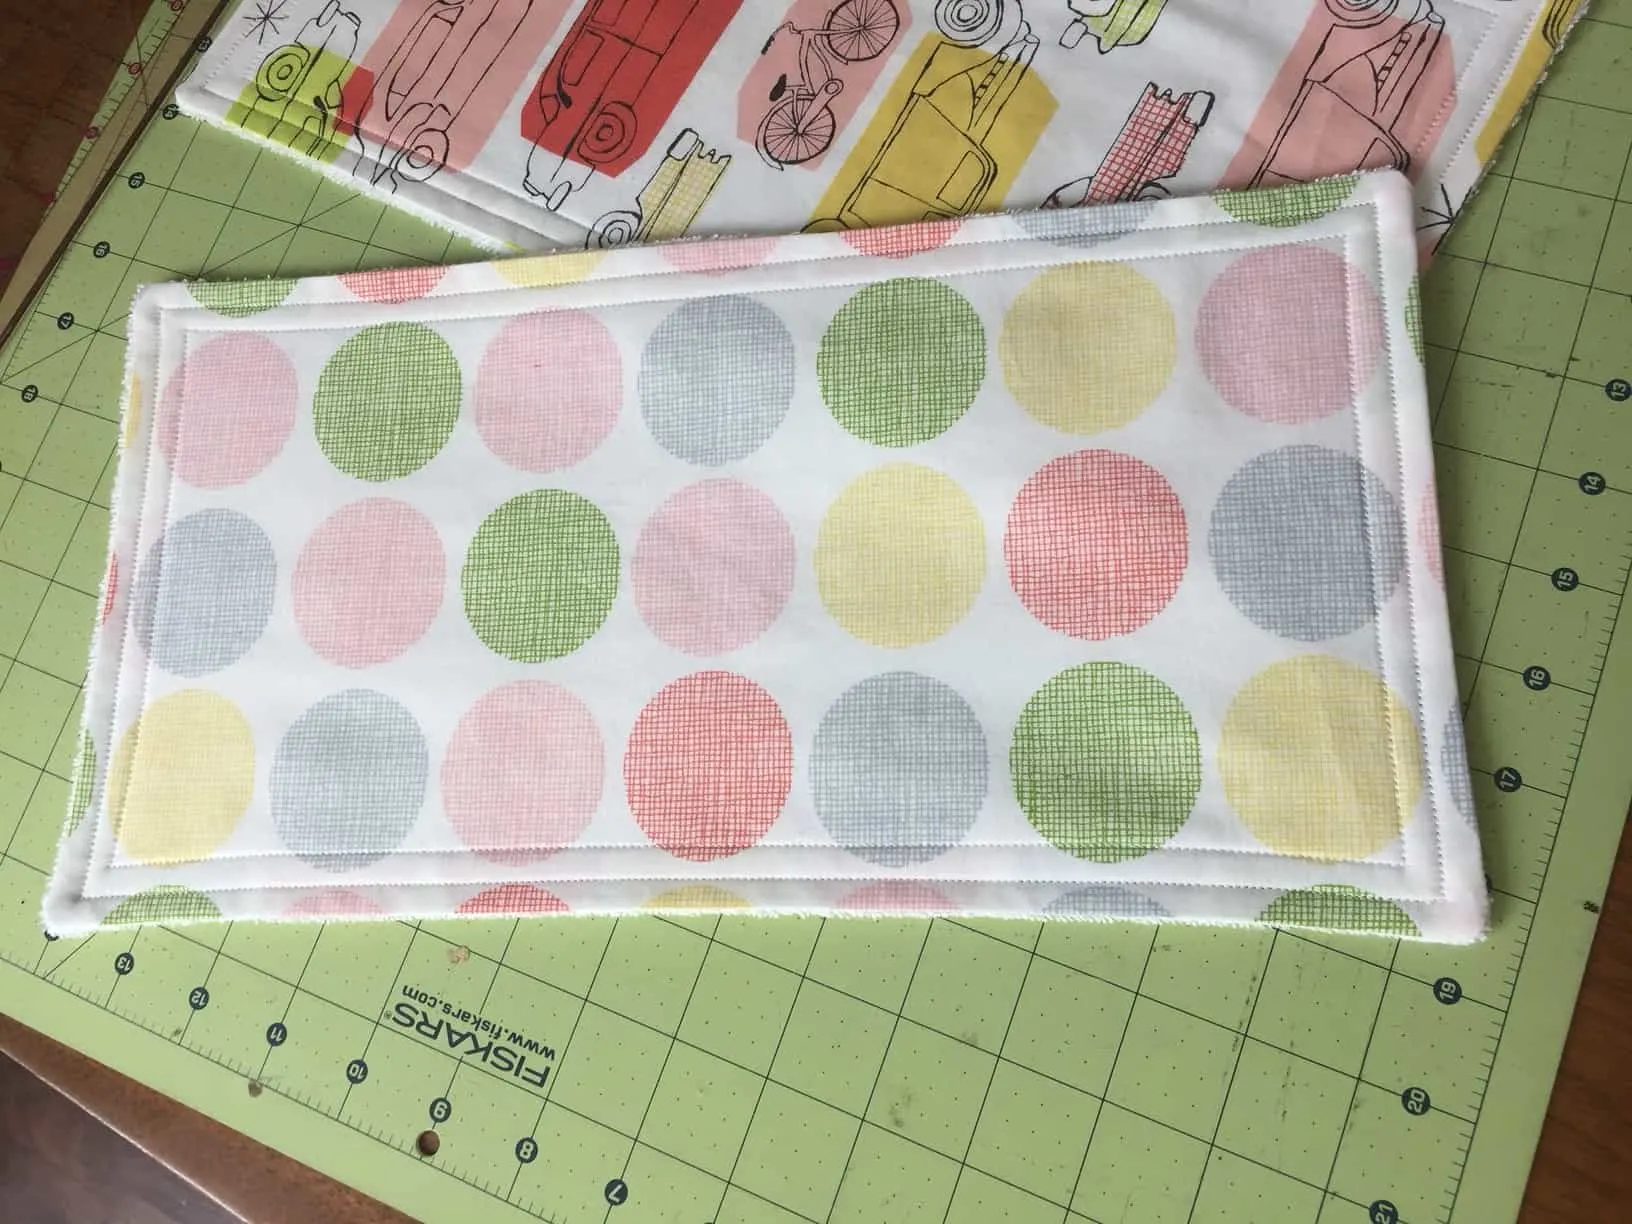

Did you like my DIY burp cloth tutorial? Ready to make your own? Let me know if you have any questions and I will try to help.
Want more burp cloths? Check out my pom pom burp cloth tutorial, my contour burp cloth tutorial, or my half contour burp cloth tutorial.

Misty Nicole Overstreet-Roberts
Tuesday 18th of March 2014
What an awesome tutorial, as my husband and I are trying!
Hi, there! My name is Misty Overstreet-Roberts, and I am the owner/blogger at The Lady Prefers To Save, http://theladypreferstosave.com. I would love it if you could take a look at my blog and subscribe, like my Facebook page https://www.facebook.com/Theladypreferstosavecom, Twitter pagehttps://twitter.com/LDYPrefers2Save, and Instagram pagehttp://instagram.com/theladyprefers2save, and I will reciprocate with the same! In the overwhelming world of blogging, its always great to meet new friends. Thank you!
Cat
Tuesday 18th of March 2014
Hi Misty! Thanks for stopping in. I'm checking out your site right now- loving the Christmas shopping series! You are on the ball. I'll definitely be subscribing as you have great content.
Theresa
Friday 14th of March 2014
I like set 5!
Cat
Saturday 15th of March 2014
Thank you! Hopefully you saw that the giveaway closed on March 12th at midnight. Thanks for stopping in!
Sara Cunningham
Wednesday 12th of March 2014
I like set two. I would either save them for myself for a future child or give them to my next relative that has a baby.
Natalie S
Wednesday 12th of March 2014
These are adorable! I love set #1!
Leah
Wednesday 12th of March 2014
I love number 5 - so classy! It'd make a great gift for a friend who's expecting later this year :)