Disclosure: This shop has been compensated by Collective Bias, Inc. and its advertiser. All opinions are mine alone. #FirstMomentsMadeSimple #ForBetterBeginnings #MomsFirsts #CollectiveBias

Babies need a whole lot of stuff. I remember registering at Babies “R” Us when I was pregnant with our first son and it took a long time to scan everything because there is just so much that you need.
Babies “R” Us has Registry 101 Events the 1st Saturday of the month and they have experts on hand to help you with your registry set-up. They also have a Registry Completion Event the 3rd Tuesday of the month to help you close out your registry and they even offer a completion discount for all items on the registry not purchased.
When I get a new baby gift for a friend I like to get something practical off of their registry and I like to make them something as well. I almost always include some burp cloths because they are so ridiculously easy to make. Today I’m going to show you my pom pom burp cloth tutorial.
This burp cloth tutorial is easy to follow and I give you pictures for each step so you know exactly what to do. This is a perfect project for sewing beginners!
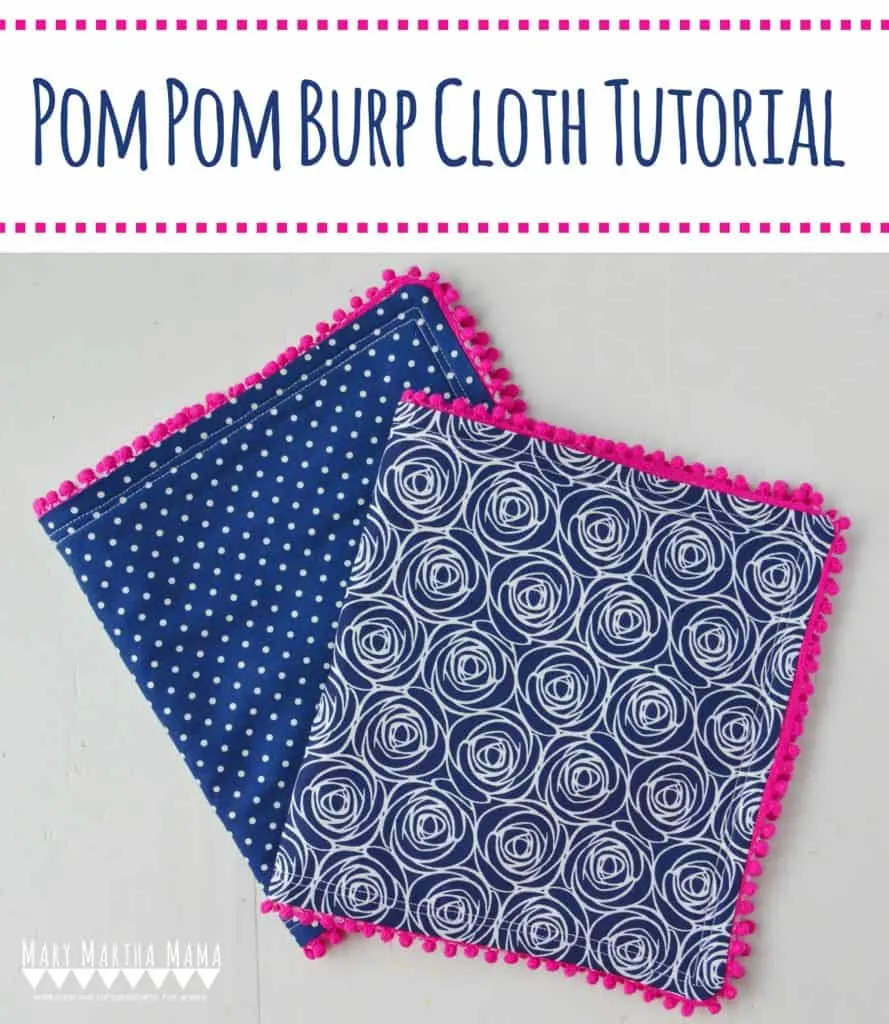
Pom Pom Burp Cloth Tutorial
To make these adorable pom pom burp cloths you will need:
- woven cotton fabric for the front of the burp cloths (for each burp cloth you need a 9 in X 16 in rectangle)
- terrycloth fabric for the back of the burp cloths (for each burp cloth you need a 9 in X 16 in rectangle)
- pom pom trim (for each burp cloth you need 51 inches of pom pom trim)
- sewing machine, needles, thread, pins
Step 1: Wash, dry, and cut your fabrics.


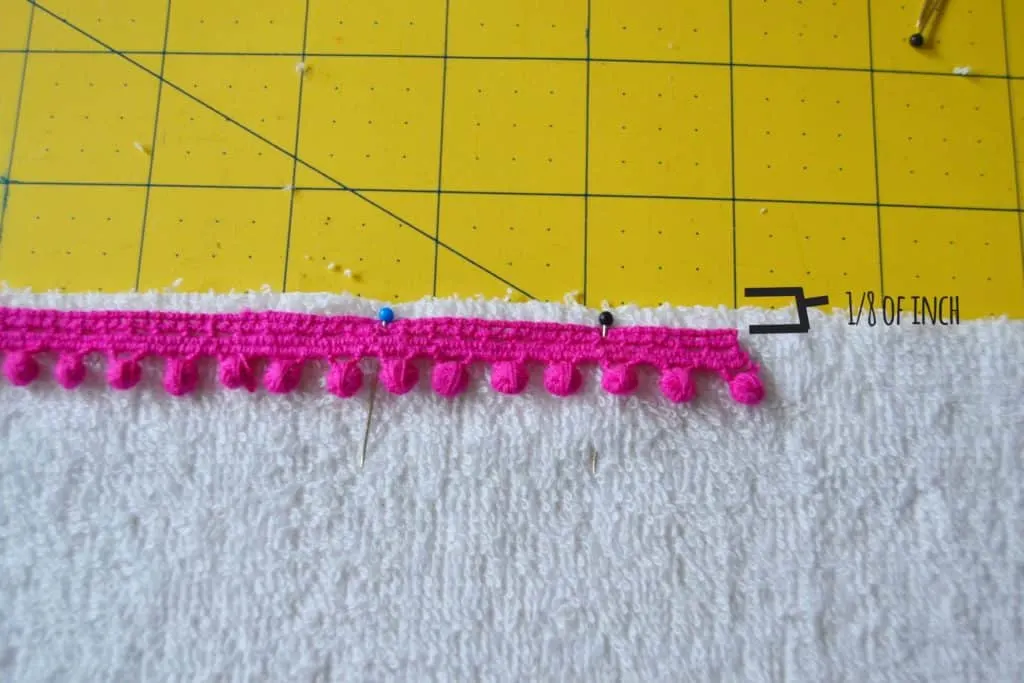
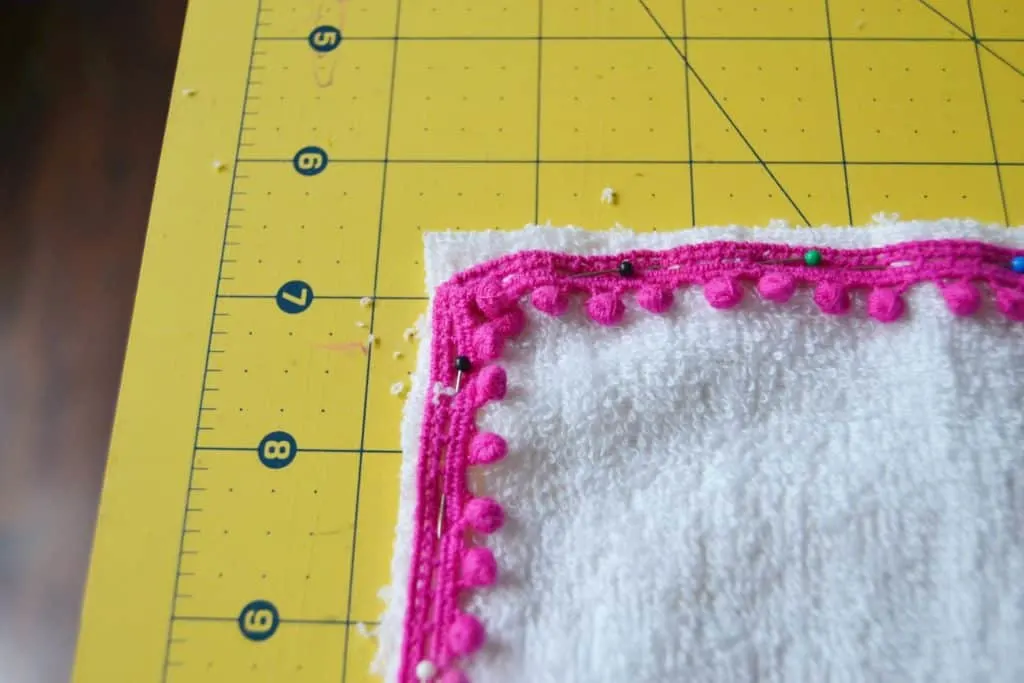
Step 2: Lay down the terrycloth piece. Lay the pom pom trim down on top of it. Line it up with the pom poms facing inward, going around the edge. Pin the trim down an 1/8 of an inch from the edge. Pin it going all the way around all four sides, overlapping the trim at the end.


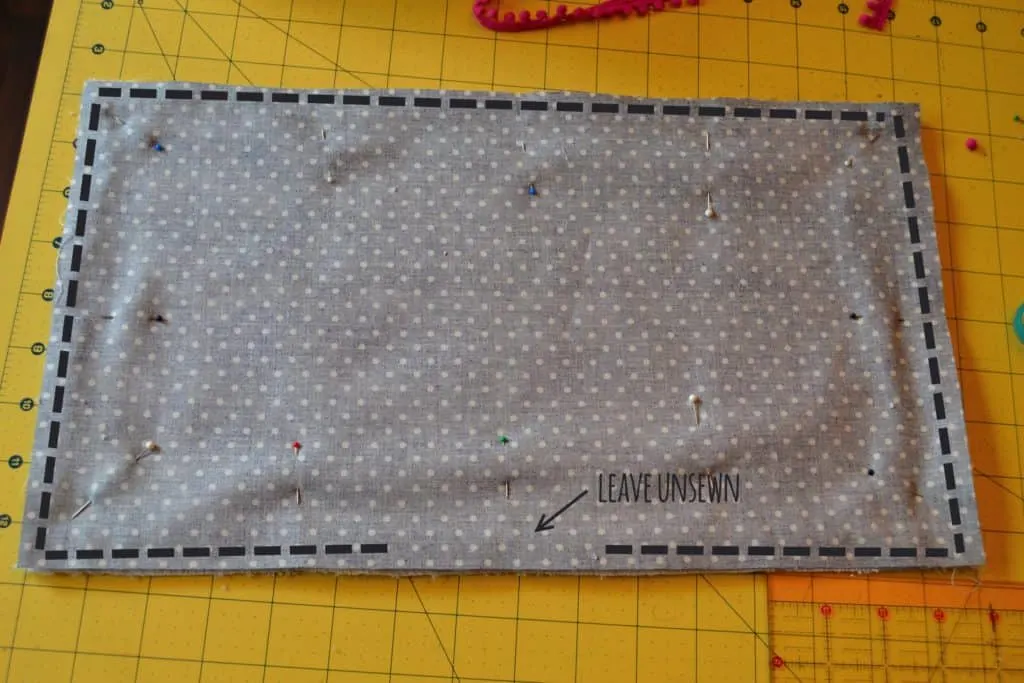
Step 3: Lay the front fabric on top of the terrycloth, with the right side of the fabric down. The trim should be in between the terrycloth and the front fabric. Pin the front fabric down to the terrycloth.
Sew around the edge of each side, sewing 1/4 inch from the edge. Leave about 4 inches of one side open. Make sure you backstitch both when you start and when you stop.

Step 4: Trim the points off the corners. This will help your corners look nicer once you turn it right side out.


Step 5: Use the hole that you left on that one side to turn the burp cloth right side out. Use a pen or something similar to push the points of the corners out. Press the burp cloth flat with an iron.


Step 6: Pin the opening closed. Now topstitch around the edge of the burp cloth, sewing 1/4 inch from the edge. Then topstitch all the way around the edge a second time, sewing 1/2 inch from the edge.
If you have a double needle then just use that instead of going around twice.


And you’re done! Now you have a great baby shower gift.

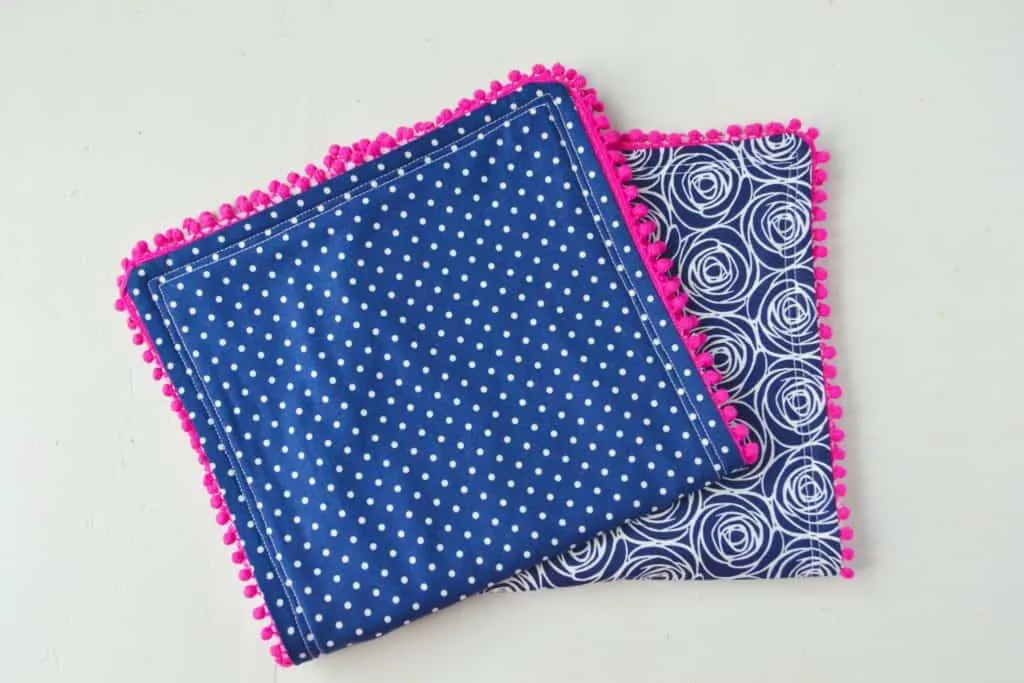


Cute fabric on the front, absorbent terrycloth on the back. You can never have enough of these! If you try them please let me know your thoughts about my pom pom burp cloth tutorial in the comments below.
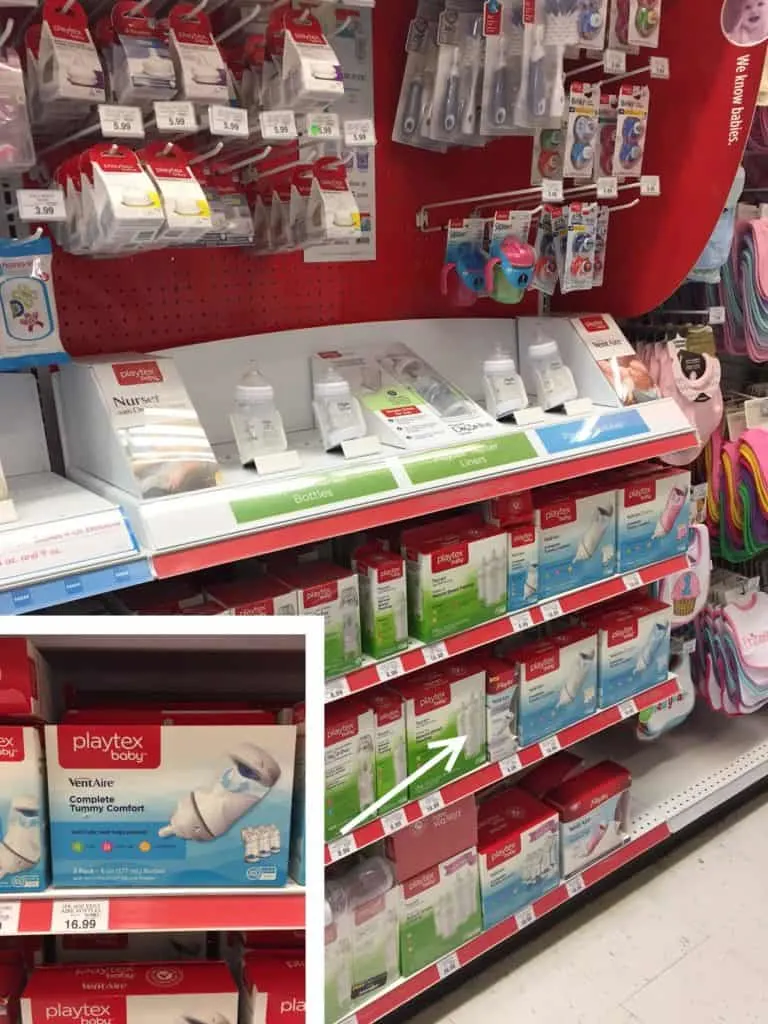
My boys had bad reflux and spit up all the time so burp cloths like these were essential. Another essential for our boys were the Playtex Baby™ VentAire® bottles.


I recently picked up some Playtex VentAire bottles at Babies “R” Us. Babies “R” Us has a great selection of Playtex Baby products that you can register for or purchase now.

Playtex BPA Free Baby Bottles are designed to give you a better beginning by meeting your baby’s unique feeding needs. The VentAire bottle has a micro-channel vent in the bottom that’s unique in that it’s designed to keep air at the back of the bottle and out of your baby’s tummy. Virtually no air mixes with the milk meaning less gas, spit-up and overall fussiness. The bottle is angled which promotes a semi-upright feeding position. This feeding postition helps to prevent ear infections. The VentAire bottles come with the Most Like Mom® NaturaLatch® Nipple which helps your baby latch on naturally. It has a wide shape and a raised texture to help baby latch on naturally.
In 2017 the VentAire was a “Mom’s Pick Best of 2017” finalist in the BabyCenter Awards, which are voted on my real moms. I know from my own experiences with my two sons that they are fantastic for babies with colic or reflux. Many times I like to include these bottles in my new baby gifts.
Want more? Click here to discover tips for better beginnings.
Stephanie Grams
Thursday 20th of April 2017
Love the look of these and will be making some! Thank you for sharing:)
Cat
Thursday 20th of April 2017
You're welcome! Happy sewing!
Sarah Coggins
Tuesday 18th of April 2017
Love the fancy touch the pom pom trim adds! I bet older babies would love touching those as they are held in burped. Pinning to remember for future baby gifts!
Cat
Wednesday 19th of April 2017
Thank you! I love them too.
Cristi Comes
Tuesday 4th of April 2017
These are so cute. Now I just need to get my sewing machine out and actually learn how to use it. haha {client}
Cat
Tuesday 4th of April 2017
You should! It opens up a whole new world of craft and diy projects.