I love using my Cricut Maker for cutting fabric for my sewing projects. In my initial review of the Cricut Maker I showed how I made a baby bib with my basic baby bib pattern and today I’m sharing my new baby bib pattern for the Cricut Maker.


Supplies Needed
- Cricut Maker (If you don’t have a maker you can print out the pdf of the bib pattern, trace it, and cut it out by hand.) (get the Maker on Amazon or Cricut)
- 12X24 inch Fabric Grip Mat (get it on Amazon or Cricut)
- woven cotton fabric for the front of the bib
- terrycloth (or some other absorbent fabric) for the back of the bib
- coordinating thread
- sewing pins or sewing clips
- sewing machine (I have a Brother SE400- this one is similar)
- sewing machine needles
- velcro or snaps to close the baby bib
Cricut Maker Bib Tutorial
Get the Project File
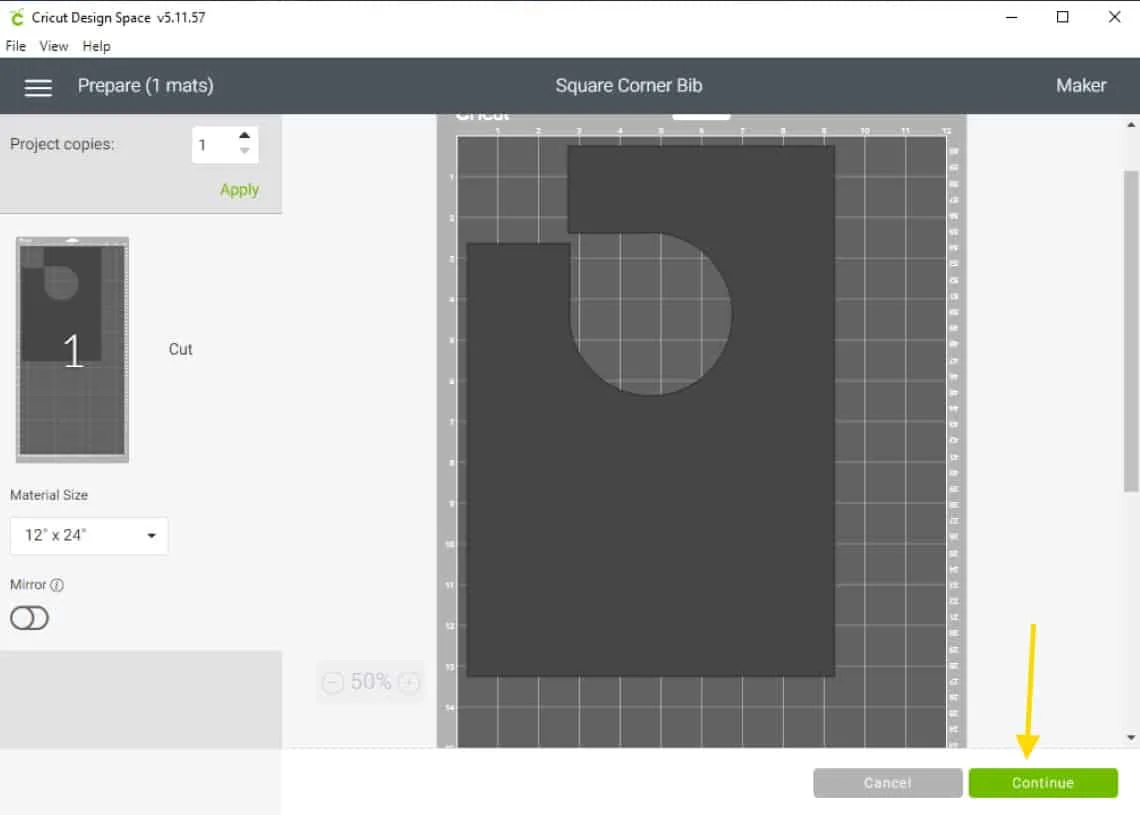
Open up design space and then open up this- Square Corner Bib. Click “Make” and then it will take you to the mat screen. Here you’ll see where it will cut out the fabric on your mat and you can move it if you need to.
You can also change the number of “Project Copies” to 2 because you need to cut out fabric for both the front and back of the bib. Then click “continue”.

Cut Your Fabrics
On the next screen you will be walked through the steps to set up your machine to cut. Pick your material from the list or click “Browse all materials” if you don’t see it.


Then be sure to put in the right blade (the rotary cutting blade in this case) and then smooth your piece of fabric onto the cutting mat. Load your mat into the machine. Press the “Go” button and it will do all the cutting for you.


After you have cut one then you will load the mat with your fabric on it into the machine and have it cut the second piece.
Pin and Sew
Lay your terrycloth piece down and then lay the cotton fabric piece down on top of that with the right side down. Pin or clip them together. Then sew around the outside (sewing about 1/2 inch from the edge) almost all the way around but leave a few inches unsewn on the bottom edge.


Clip and Notch
Clip diagonally across the corners. You’ll cut a little triangle off of each one but be careful not to cut into your stitches.


Around the neckline you will want to cut some notches. These notches and clipped corners will help everything to lay nice and flat once you turn it right side out.


Topstich and Add Closure
Reach into the hole that you left open in the bottom and turn the bib right side out. Give it a good press with your iron. Then topstitch all the way around the edges of the bib sewing 1/4 inch from the edge. Finally attach the velcro or snaps that you will use to close the bib.


And then you’re all done!


More Cricut Projects


