I mentioned last Friday that my new backsplash is one of my favorite things and it truly is. This afternoon I’m sharing all the details and my full MusselBound Tile Mat Review!
So forever (nearly 4 years) ago we bought our first home.
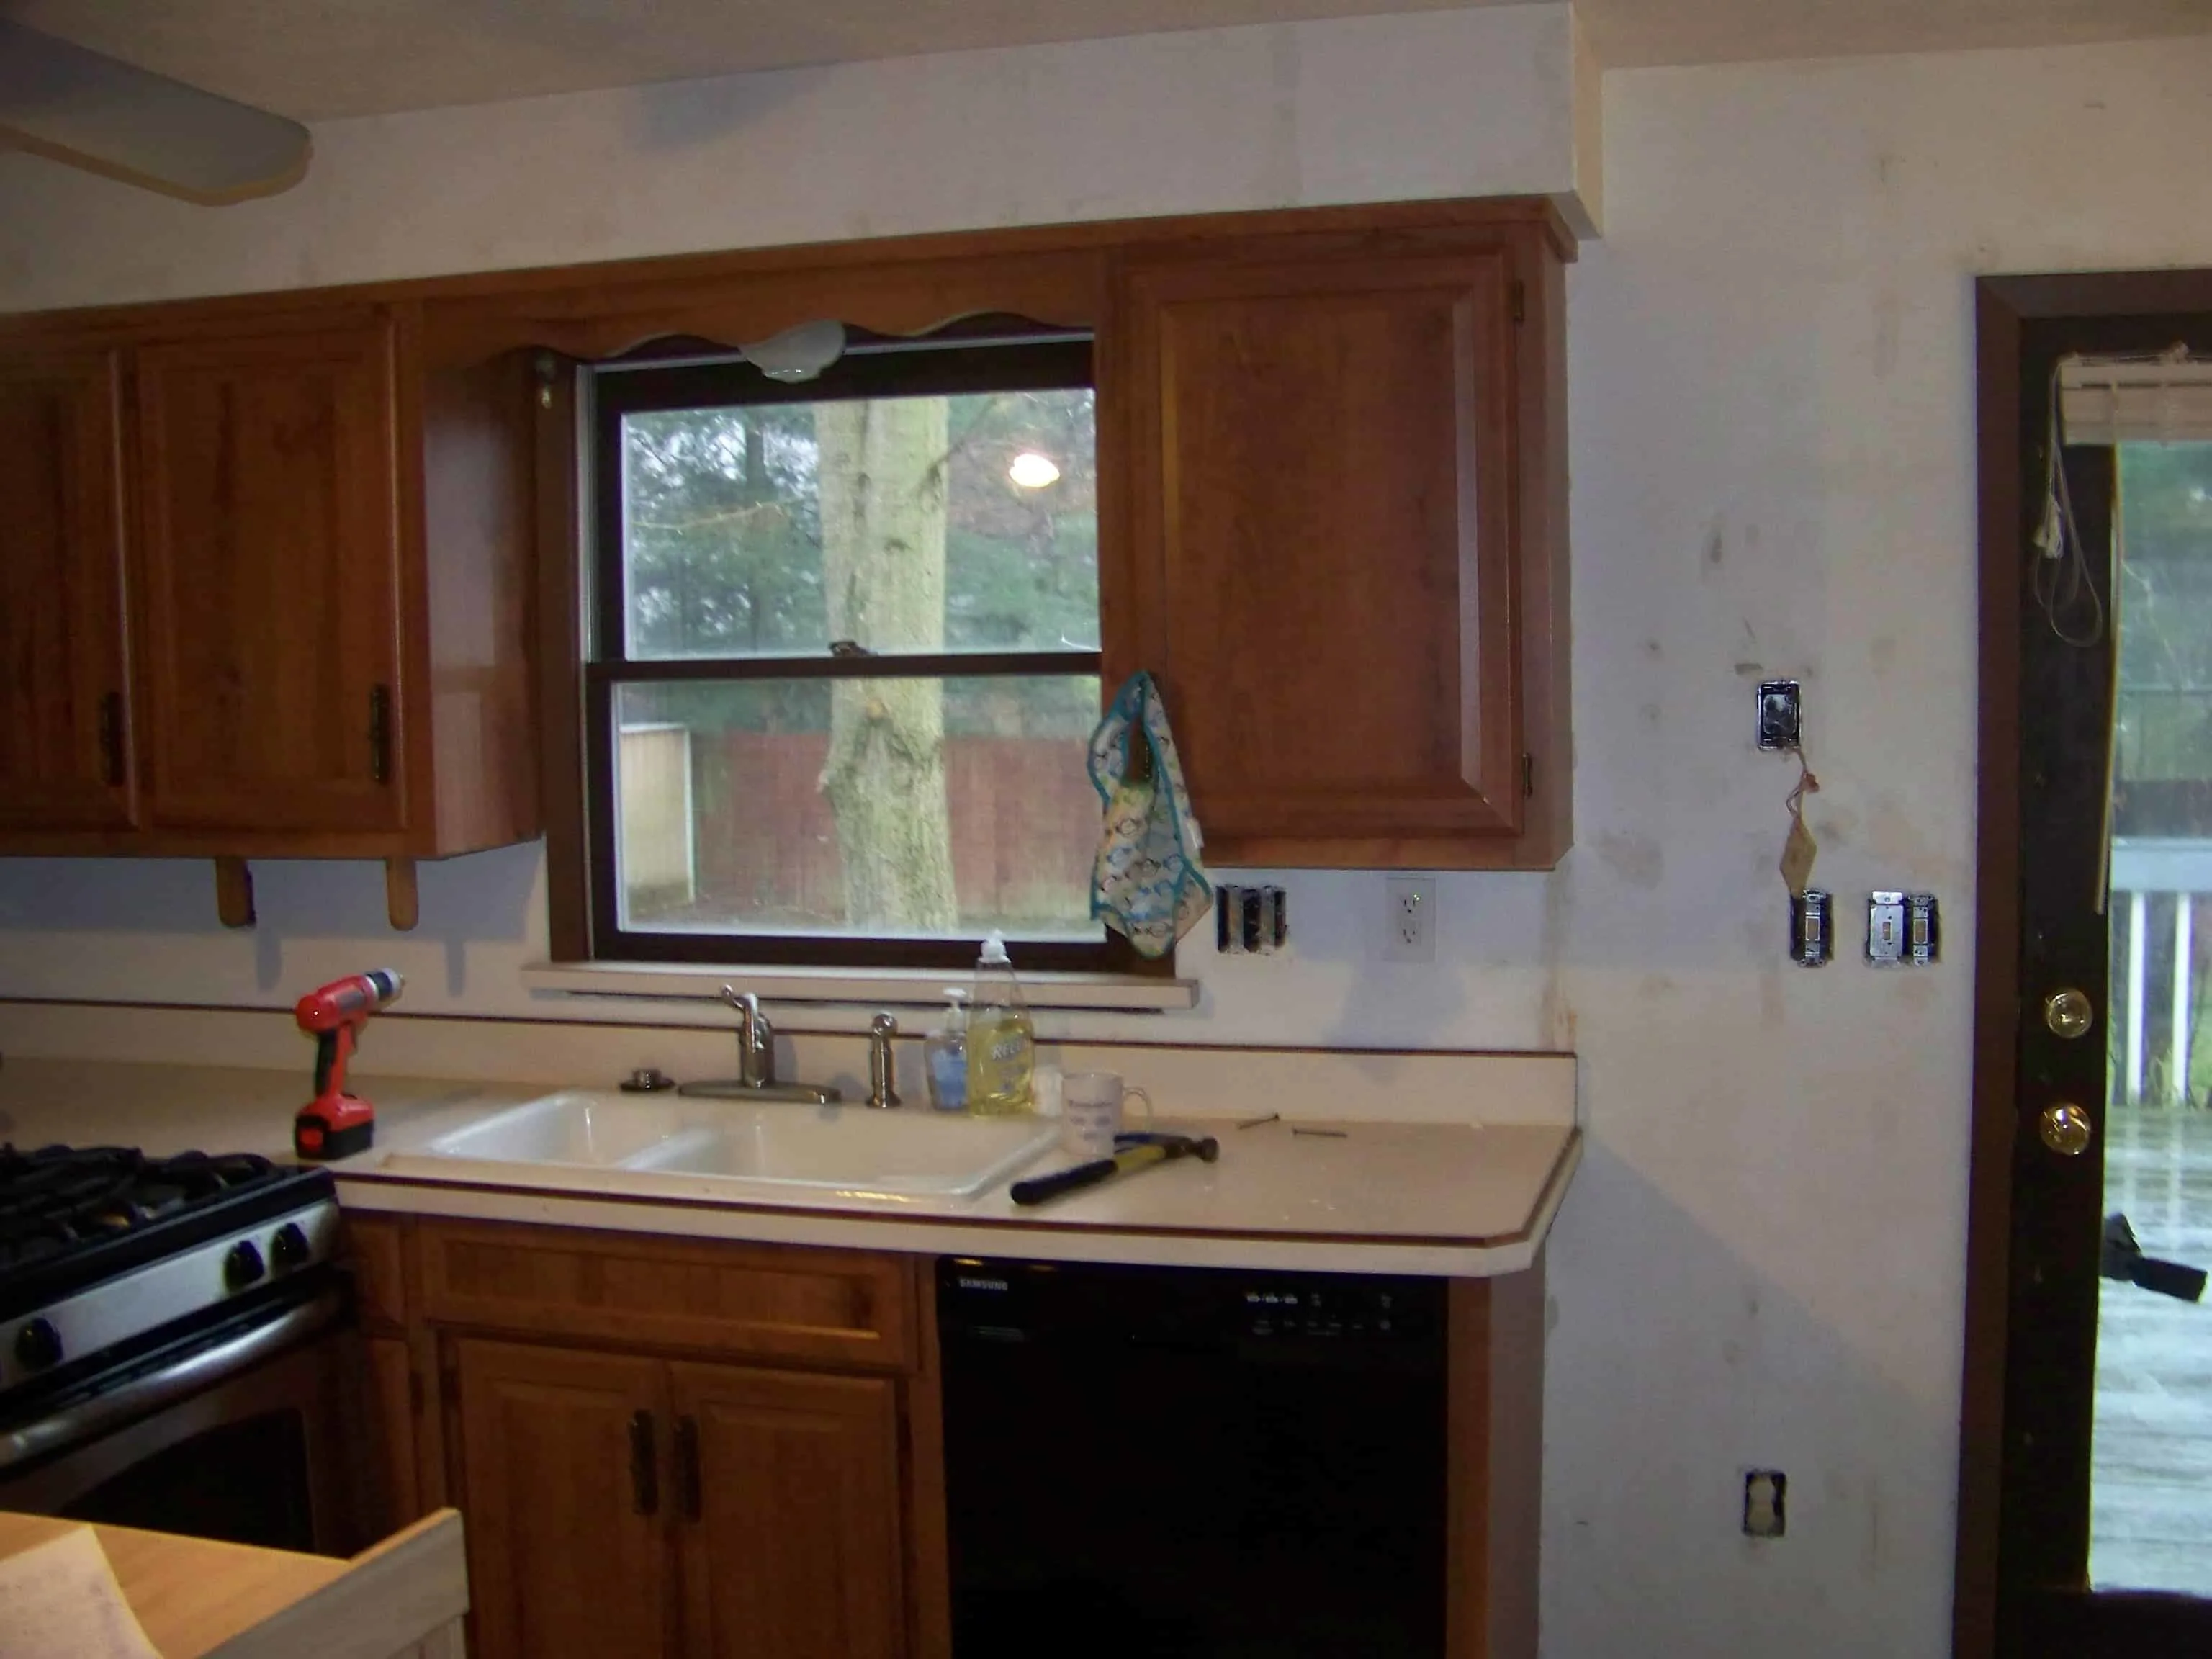
The First Parts of Our Kitchen Renovation
And it came with a kitchen that reflected the home’s era- 1989 to be exact. Unfortunately I neglected to take any photos until we were nearly done taking down the wallpaper.


Here’s the wallpaper layers close up:


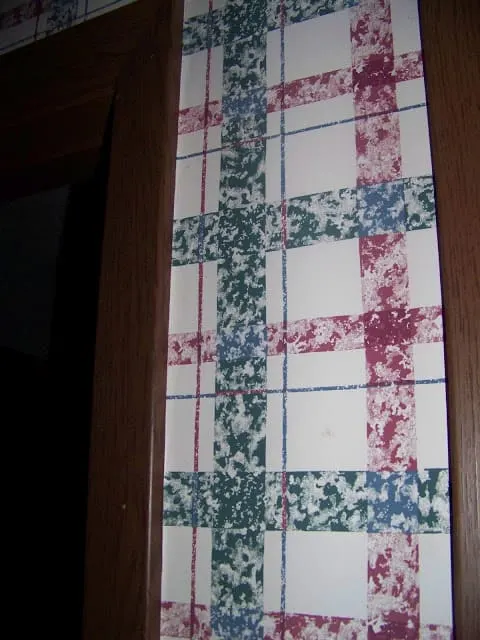
For 1989 it was a pretty kitchen. Lots of pink and emerald green goin’ on! But I wanted to freshen things up so we removed the wallpaper, painted the walls, painted the ceiling, painted the trim, painted the cabinets, replaced the hardware, replaced the counter tops, replaced the light, and replaced the flooring.
Oh, and we had to get new appliances since the fridge and stove were missing and the others did not work. Actually, I think the trash compactor did work, but we thought more storage would be useful so my father-in-law built us a cabinet to go in its place. It’s the one between the stove and fridge that has butcher block counter top.


We did most of the changes to the kitchen within the first 9 months of moving in. And we bought the tile for the backsplash around that time. And nearly 3 years later it was still sitting in the garage staring at me, begging me to install it.
The Backsplash
At the beginning of this year I determined that this would be the year. Therefore, when my niece let it be known that she was looking to earn some money during her Spring Break I scheduled her to babysit one day so that I could do it. My kids adore her and I was excited to have the opportunity to get this done without it consuming one of our weekends.
It also gave me the opportunity to do something fun- to surprise my husband. He’s pretty good at surprising me (I love surprises) but I have a hard time keeping a secret and so it’s rare that I actually surprise him. Although, I did pull off my mystery date night last Fall.
So I scheduled my niece to babysit in secret and also borrowed my father-in-law’s tile saw on the sly. As soon as my husband left for work that Tuesday morning I prepped the kitchen. Then I picked my niece up, got my supplies from Lowes, and rushed home to get to work while she babysat.
In an attempt to get it all done in one day I chose to try MusselBound Tile Adhesive Mat in lieu of the mastic adhesive stuff that you’d usually use. If you’ve never seen it before, basically think of it as double-sided tape that’s super aggressive.
There’s not a ton of info out there about it but we saw a similar product used on an episode of This Old House and it had good reviews on the Lowe’s website, so I decided to go for it since it seemed to make things easier and quicker. I’m sharing my Musselbound Tile Mat Review hoping that it might help you out.
Musselbound Tile Mat Review
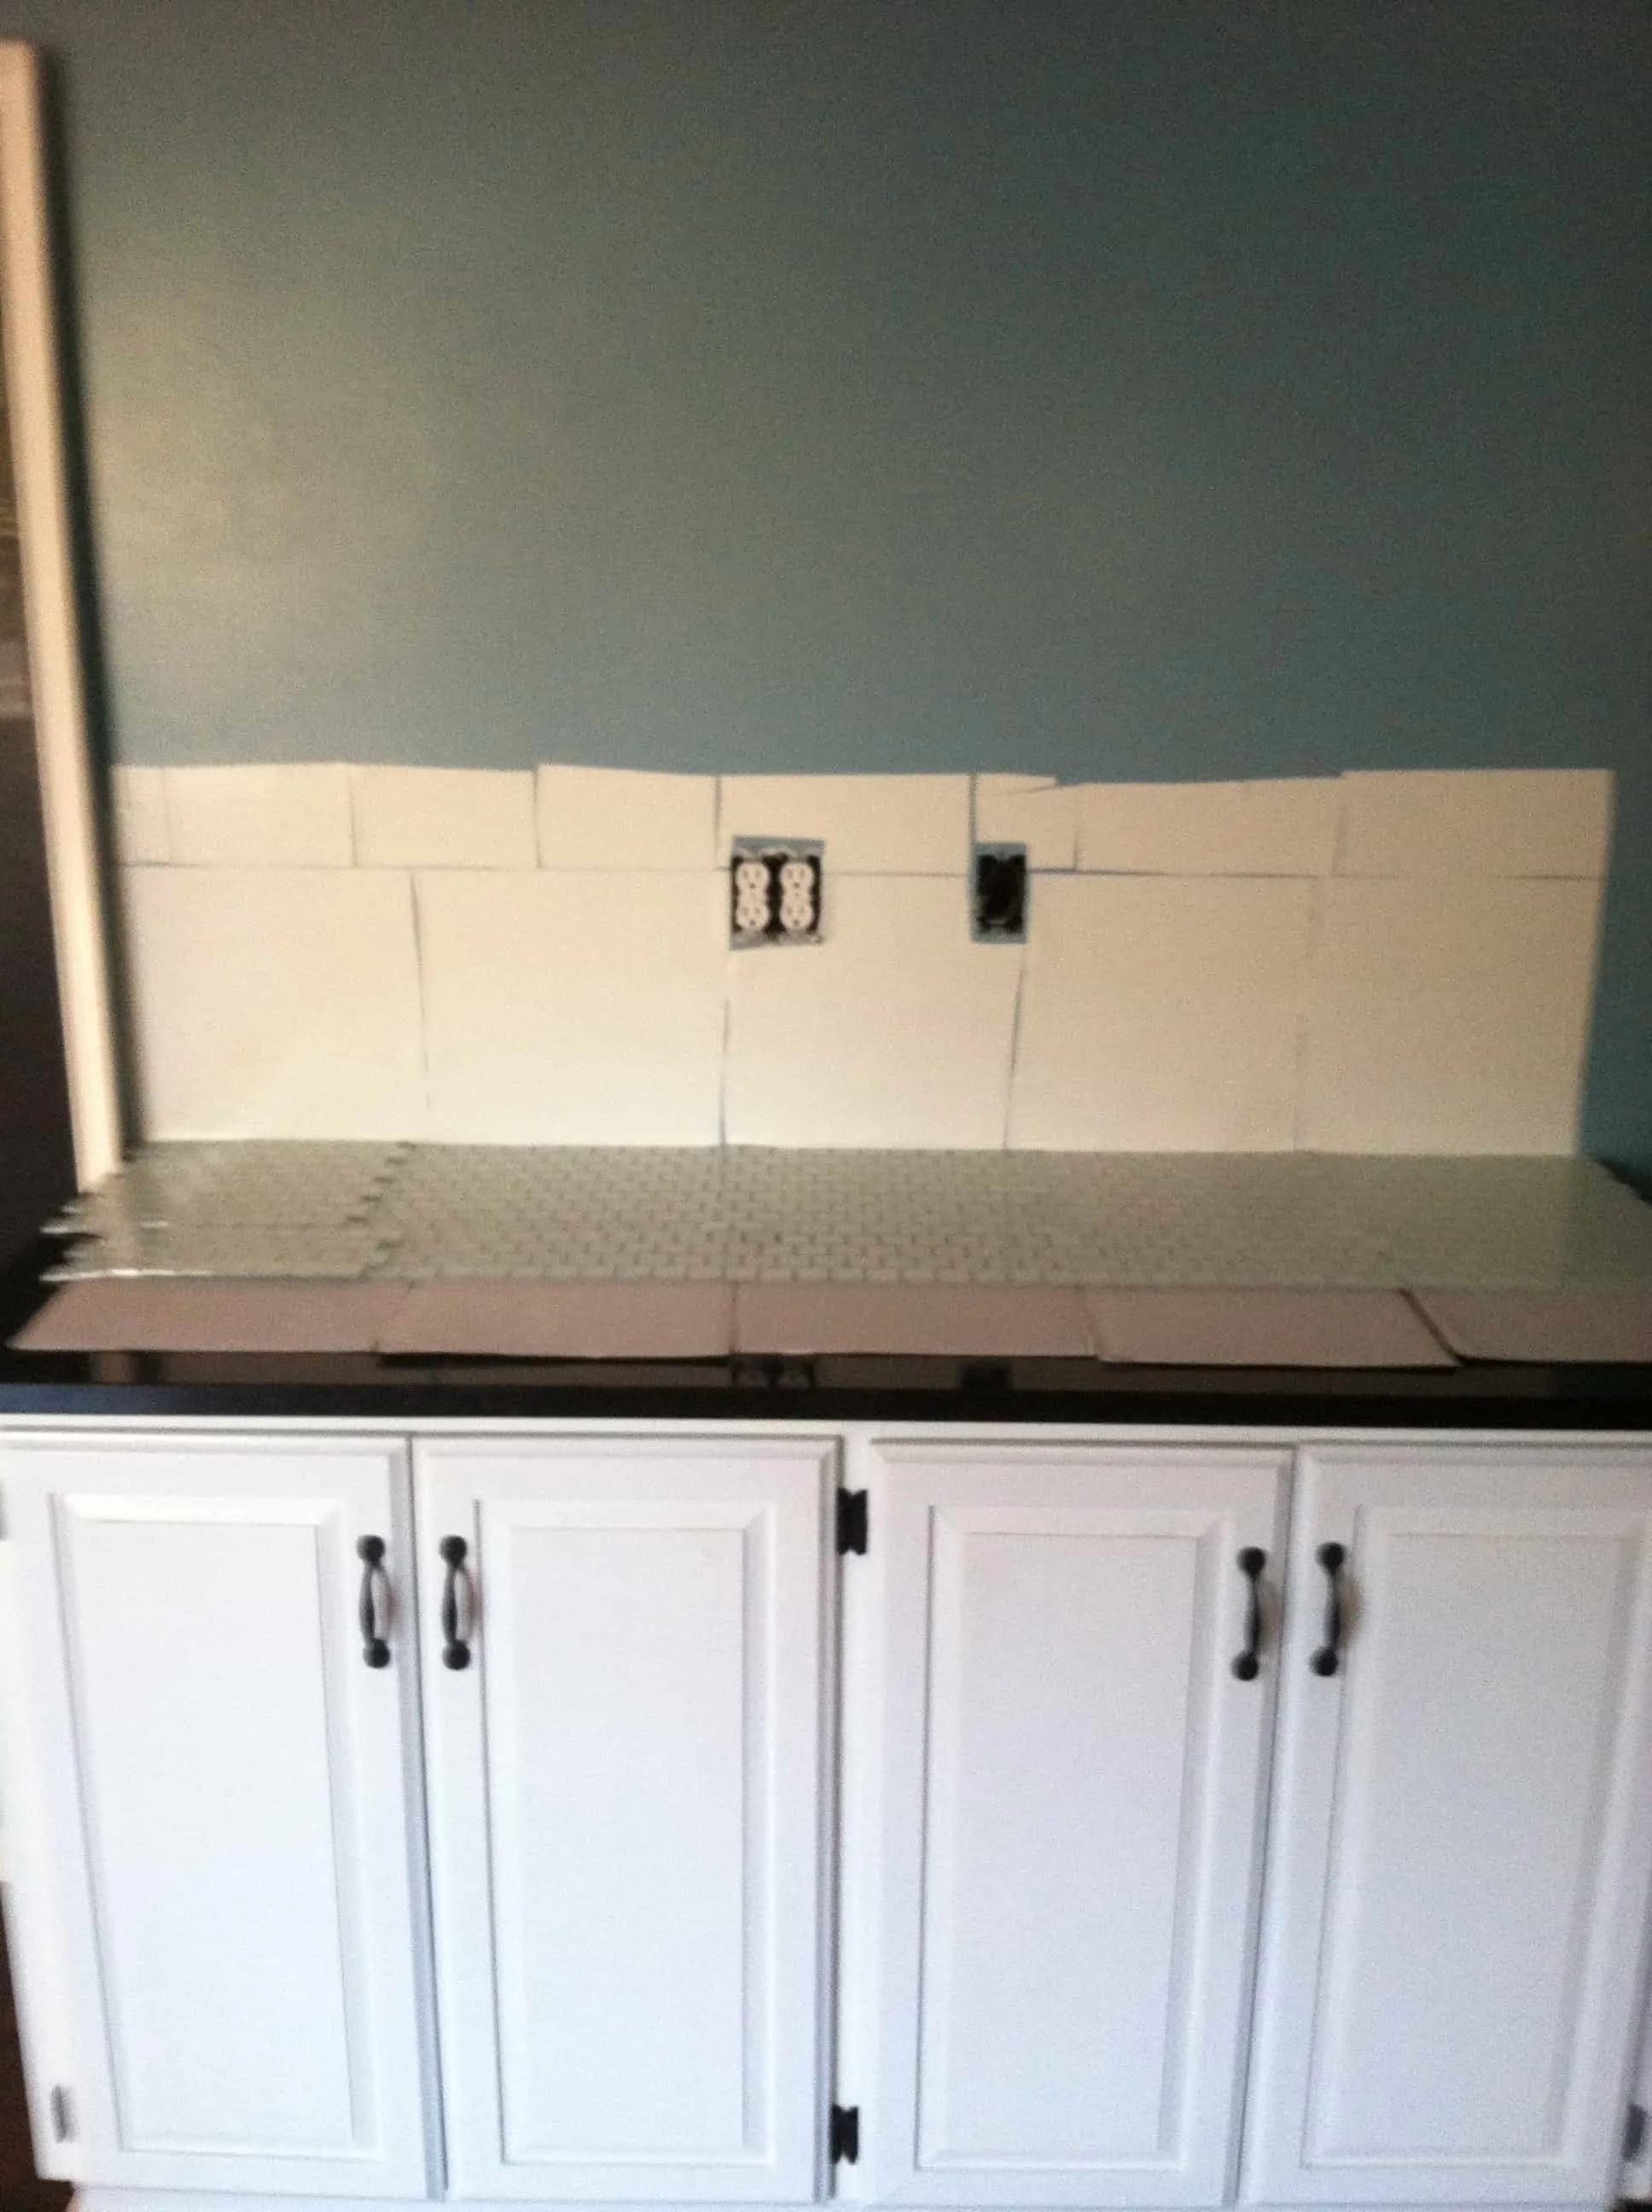
Applying the Mat
So once I got my niece settled in with the kids I got to work applying the adhesive tile mat to the wall. It comes in a roll and so you unroll sections then apply to your wall.
Honestly I envisioned this process going a little more quickly than it did, but I had to cut round outlets, the window sill, etc. Figuring that all out took some time and then make sure I applied it smoothly without letting it wrinkle.

Cutting and Applying Tile
Then I applied my sheets of tile. Well, I did a little measuring and planning, then a few cuts with the time saw then I applied my tile. To apply the tile you remove the liner off of the adhesive tile mat and place your tiles on it. Next you use your float to apply pressure for 30 seconds to really press the tile into the mat.
If you don’t quite get things right you can lift your tile up again and move it. However, I would do that before you press it in with the float because once you press it in it’s stuck for good.


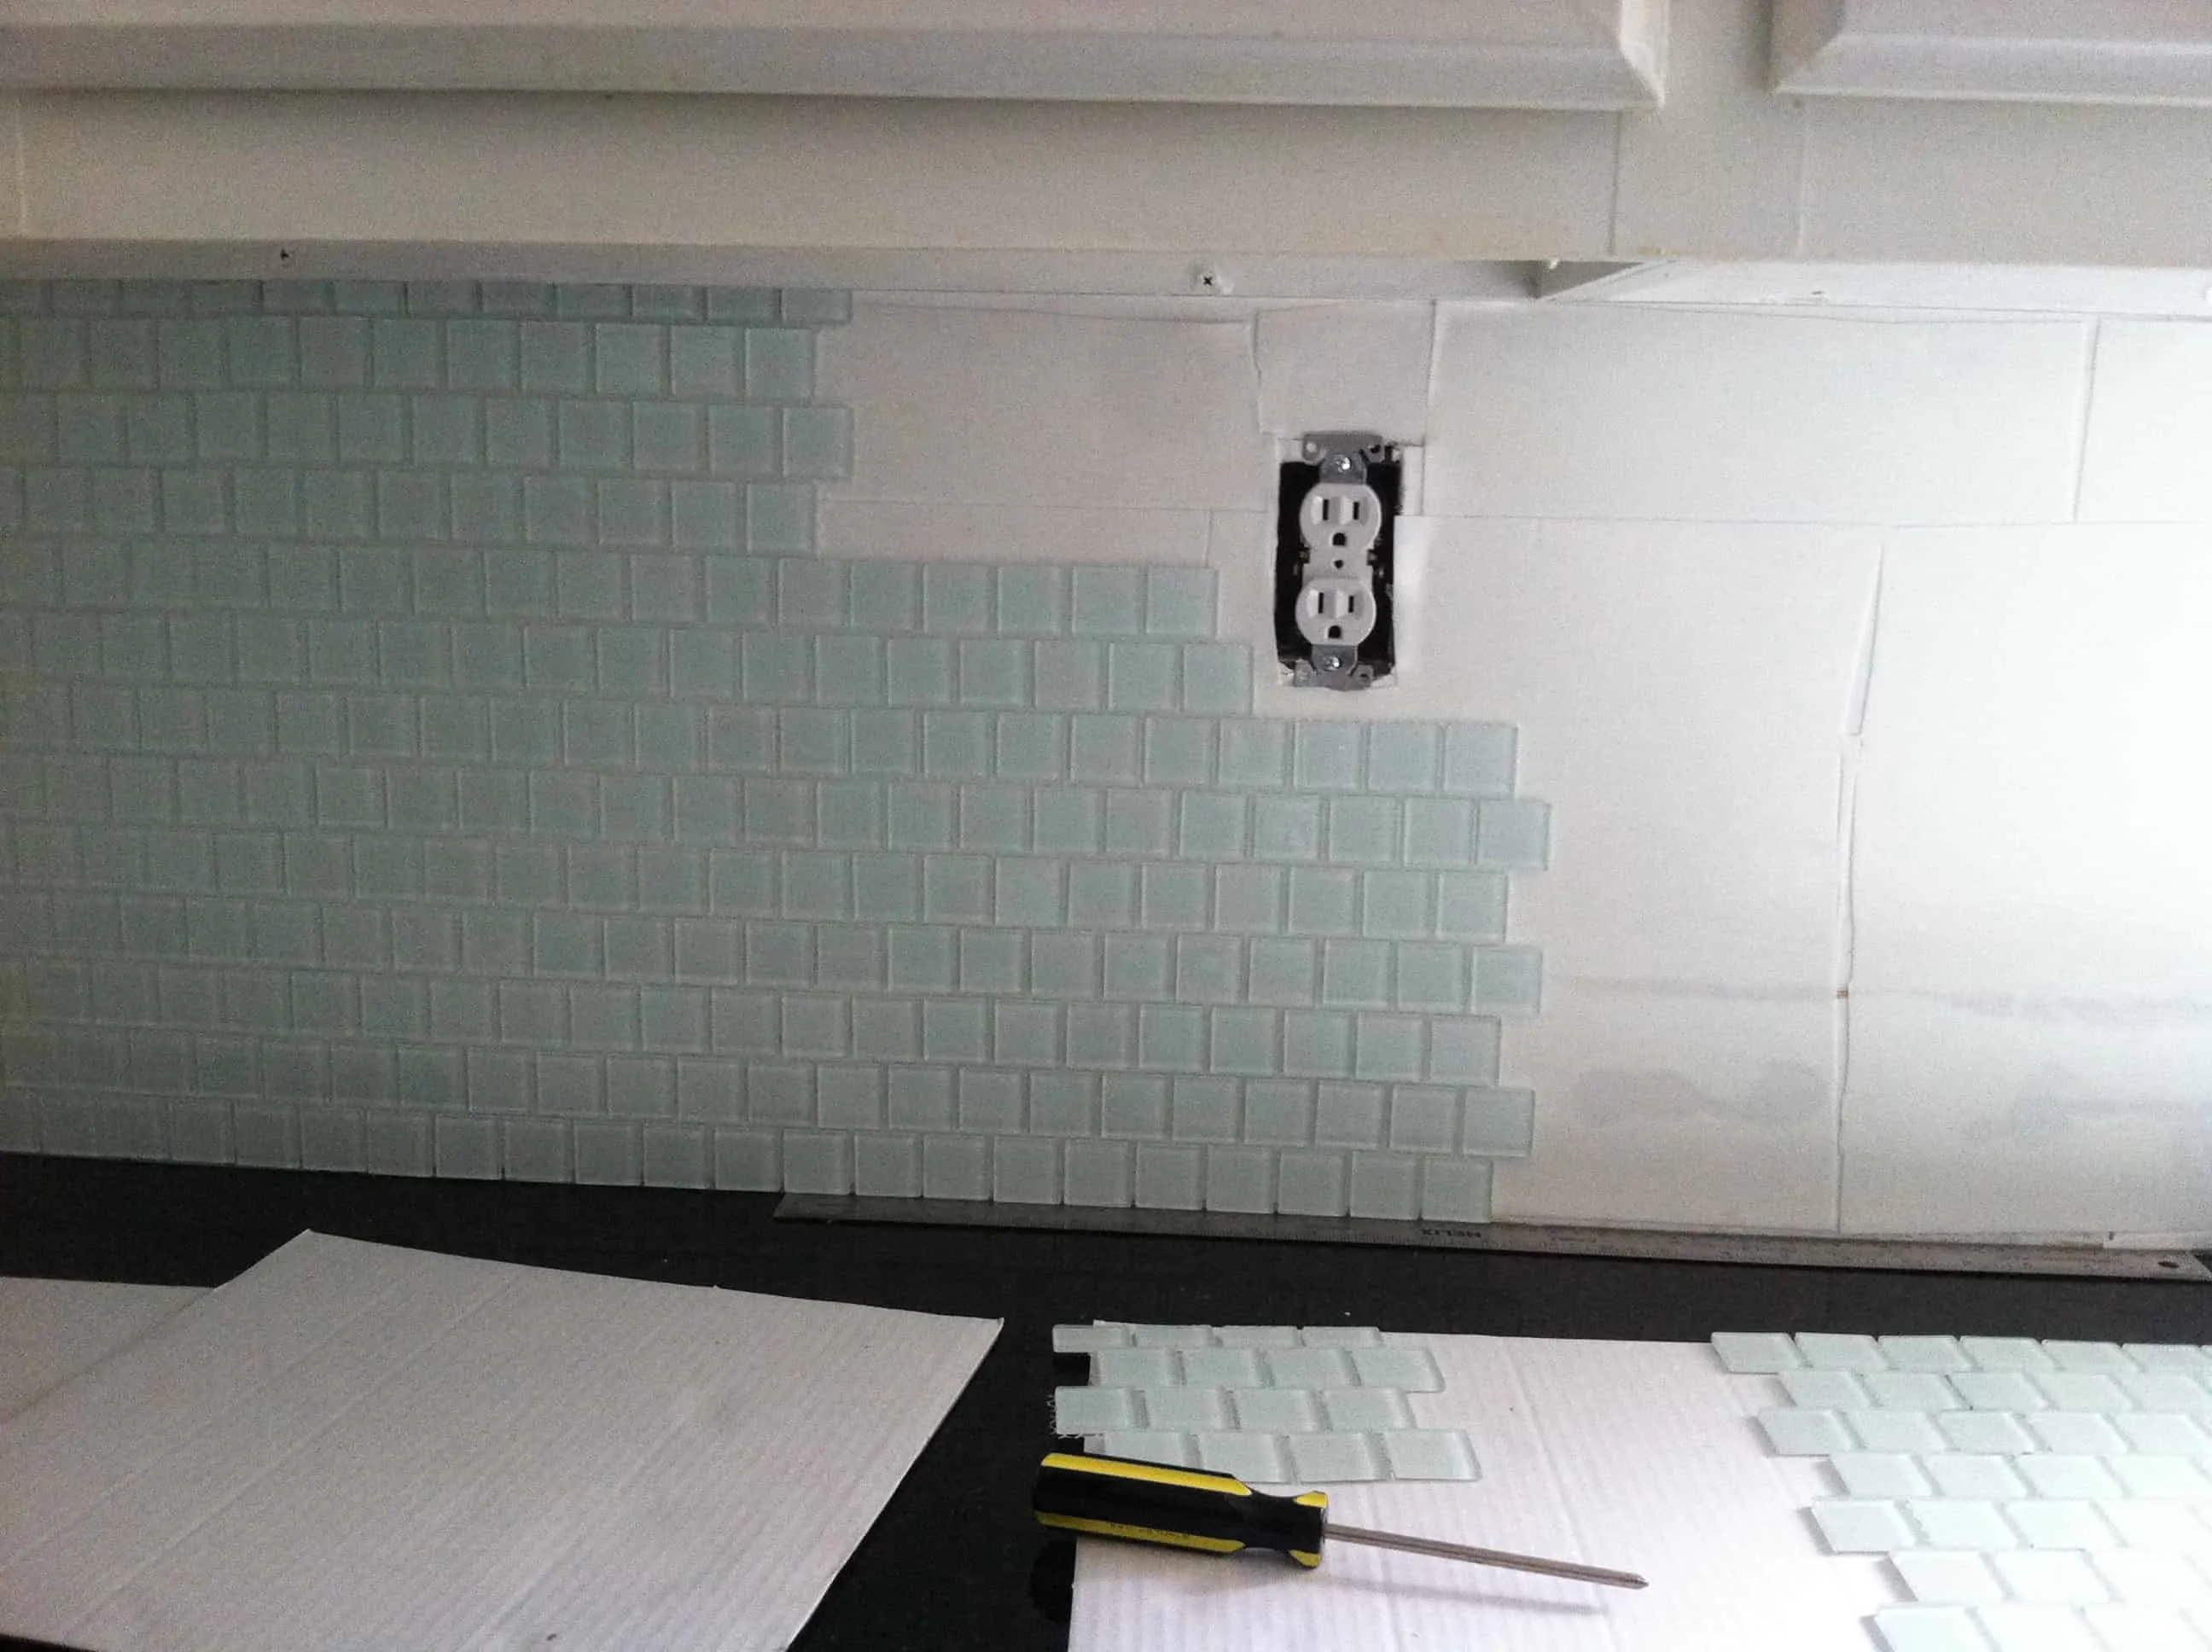


This step in the application took some time because I had to stop to measure and make cuts. Speaking of cuts, can we talk about the tile saw for a minute?
Using the Tile Saw
So this was the part of the process that intimidated me. My husband used the saw when we tiled our kids’ bathroom but I did not. I’m not all that intimidated by power tools in general but saws make me a little nervous. I made sure to read the directions and follow all the safety precautions and everything went pretty well.
Sometimes the mesh tile sheets were a little difficult to work with when cutting because the saw would kick the tile up a little because of the mesh but I managed to make all the cuts that I needed with only a few tiles broken in the process.
One thing they mentioned in the This Old House video that I’ll repeat here because I think it merits repeating is that you need to let your tiles dry before applying them to the time mat because after you use the saw they are going to be wet. If you apply them while they are still wet they may not adhere properly.
So I spent the morning and afternoon applying the tile mat, and cutting and applying tile. Honestly I’m not sure if using the tile mat is a time-saver over going with mastic, but I like that you don’t have quite so much mess or concerns about mixing and applying the mastic adhesive correctly. I feel that the greatest advantage to using an adhesive tile mat is that you can grout right away without having to wait 24 hours like you normally would.
Except I didn’t.
Grouting
By the time it was time for my niece to go home (just before my husband got home) I had finished applying tile but had not grouted. And I was really tired. So instead of “Surprise, look what I totally finished while you were at work today!” it was “Surprise, look what I started and didn’t finish!”. Not quite as fun or gratifying, but it was a surprise.
I was way too tired to grout that night and I wasn’t going to dump a project in his lap mid-way through so I decided to finish up the next day.
Before the boys got up the next morning I prepped everything so that I’d be ready to go when my little one took his afternoon nap.
As soon as he was down I mixed my grout and applied it.


After waiting the amount of time on the bag I used a damp sponge to wipe the excess grout off.
Once the haze appeared I wiped everything down with a cloth.


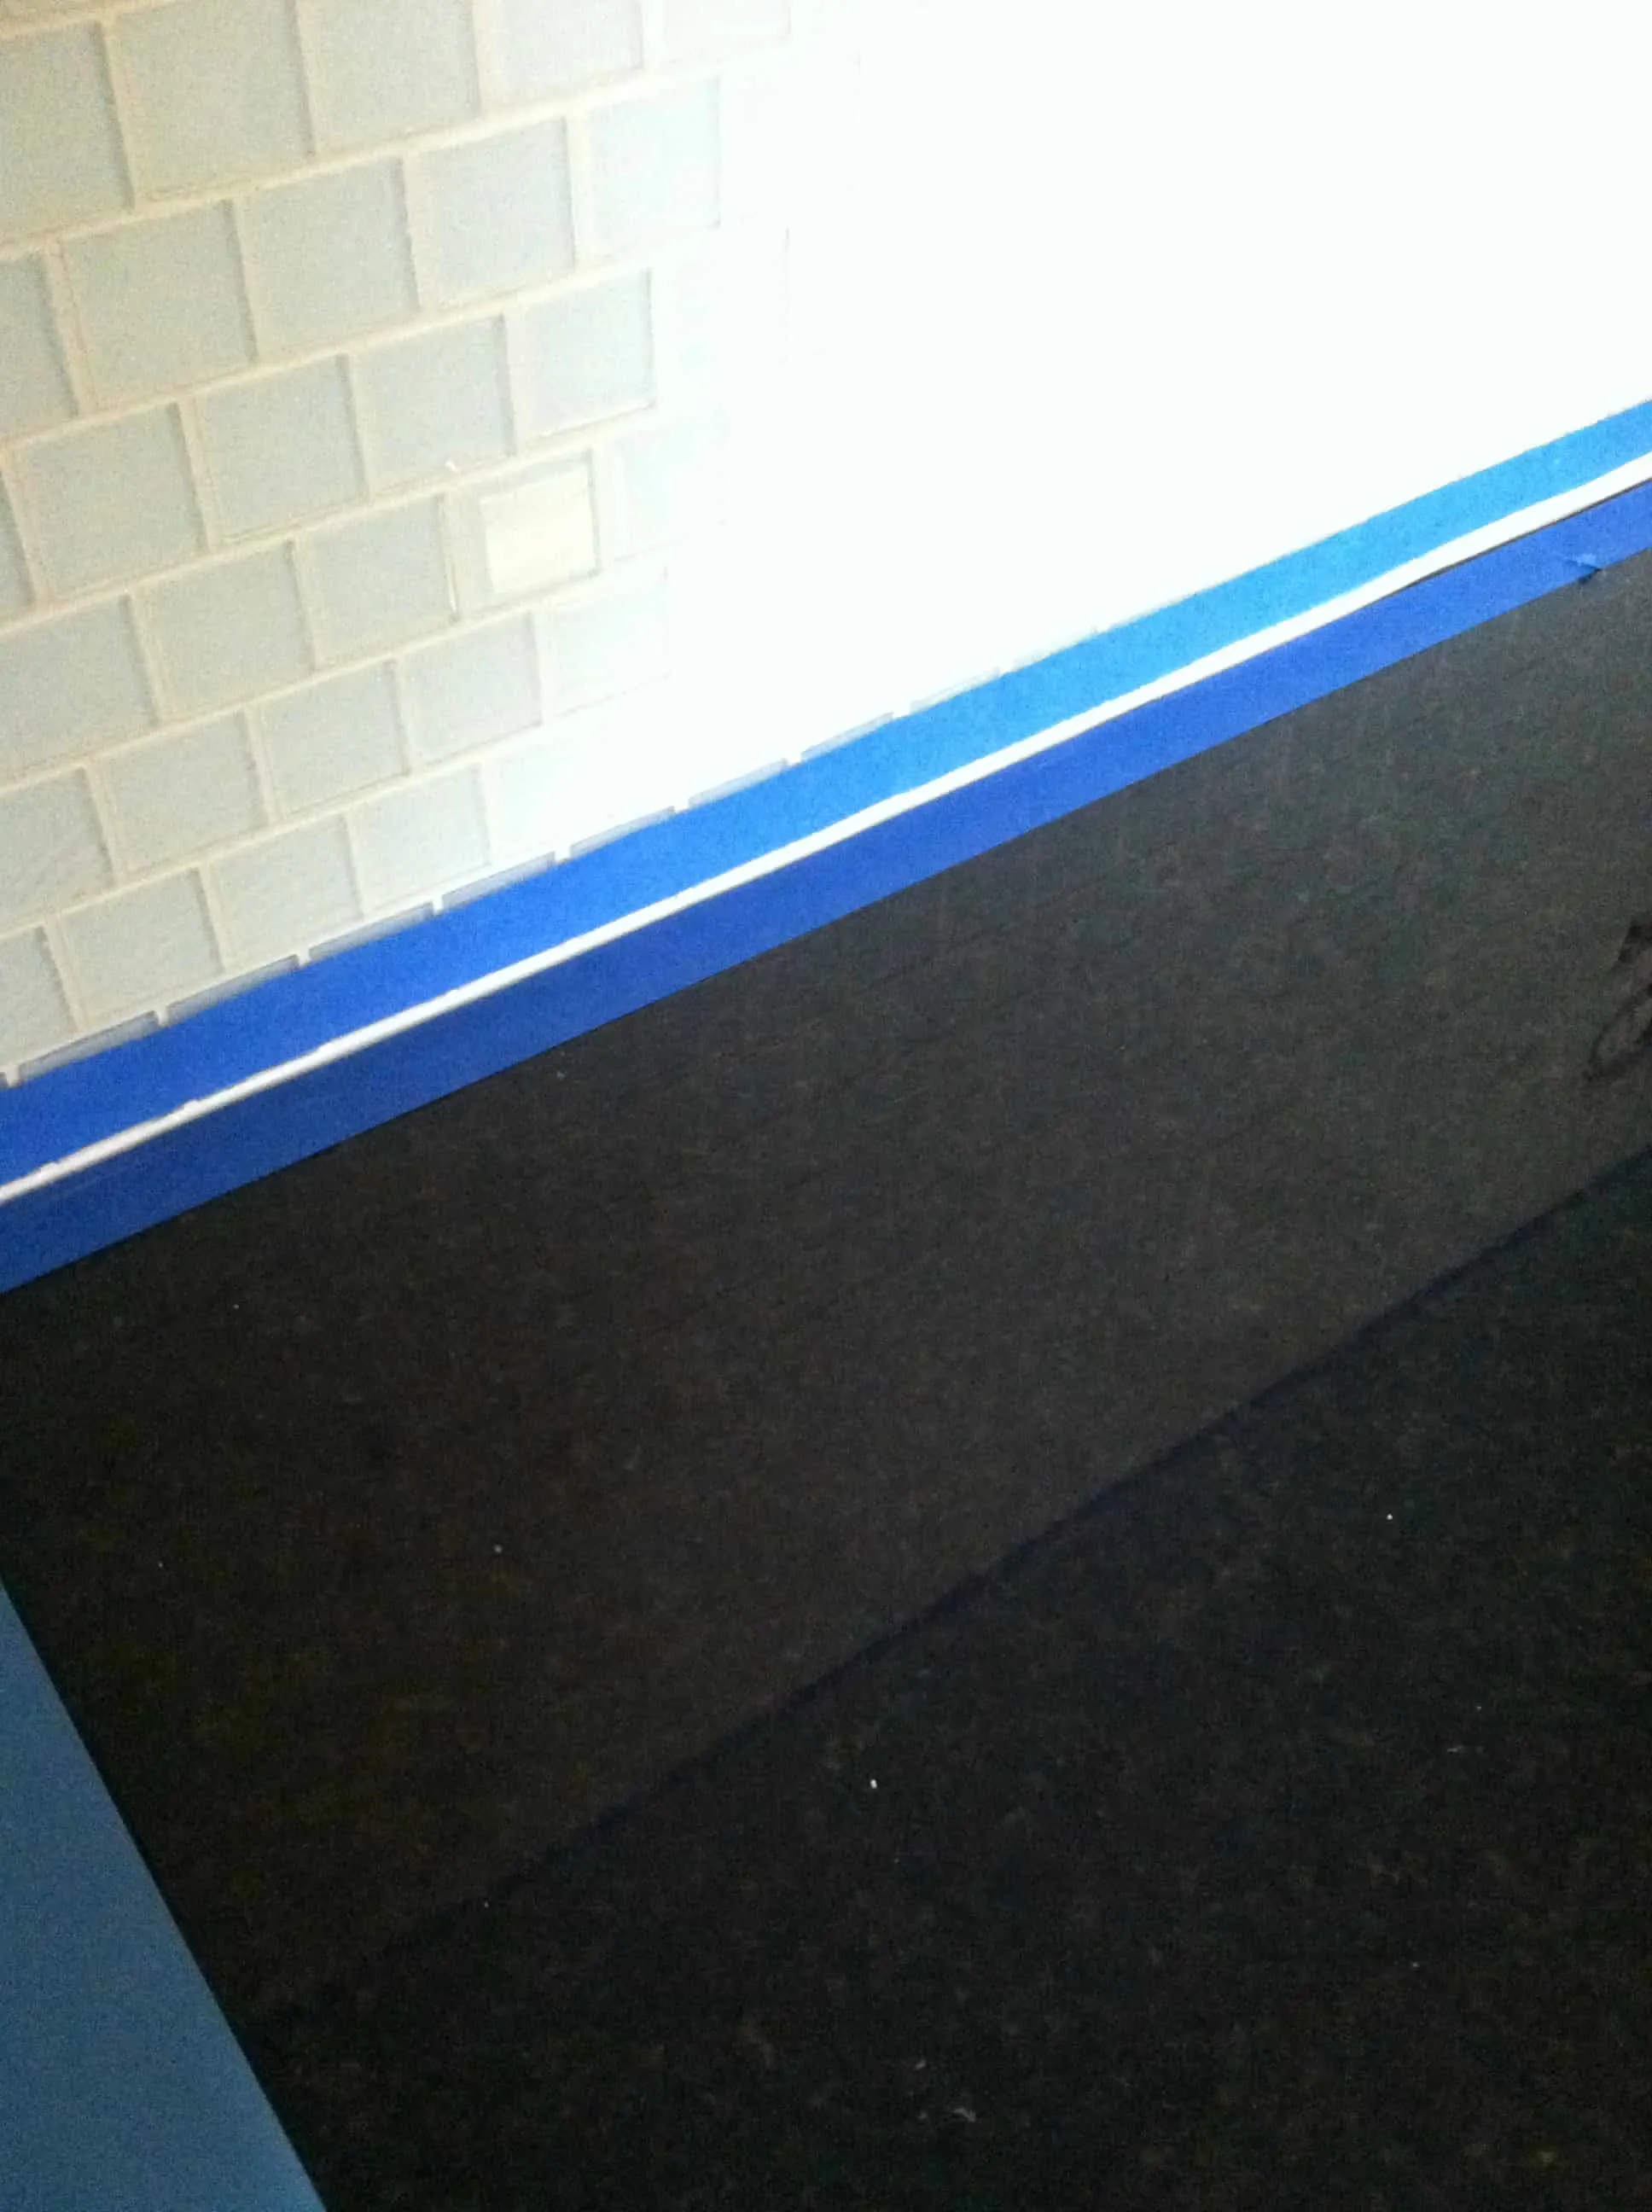
Caulking
Then I cleaned everything up and taped off where I was going to apply caulk along my edges. If you do this be sure to remove your tape as soon as you can to prevent the caulk from adhering to- this will mess up your caulk lines.


Finishing Touches
Later that night I cut the power and added extenders to the electrical outlets and light switches so that they would be flush with the new tiles.


I tried photographing the kitchen a few times and it’s just very difficult to do. It’s a little on the dark side, so I apologize for the photo quality issues.
Overall Musselbound Tile Mat Review
I see some imperfections in my work (I really should have used spacers between sheets of tile!) but overall I’m pleased with the results and I’m so excited that it is actually done after all that time! Now we just have 2 more things to do in the kitchen:
- replace the light above the sink
- build floating shelves above the one counter without upper cabinets (the caulk over there is a little wonky on top but I’ll fix that when we build the shelves)
Four years in and we are still working on the kitchen… but I guess that’s life, isn’t it? I think HGTV makes us think that something is wrong if our homes are not finished in a weekend- but that’s not reality.
Anyone else have something that took waaay longer than you thought it would because you just never got around to it? Let me know if you have any questions about my Musselbound Tile Mat review?

leslie
Tuesday 21st of April 2015
It looks PERFECT!!!! I'm so jealous!!! I love it!!!
Cat
Tuesday 21st of April 2015
Thanks Leslie!