This shop has been compensated by Collective Bias, Inc. and its advertiser. All opinions are mine alone. #PowerToThePen #MyGo2Pen #CollectiveBias 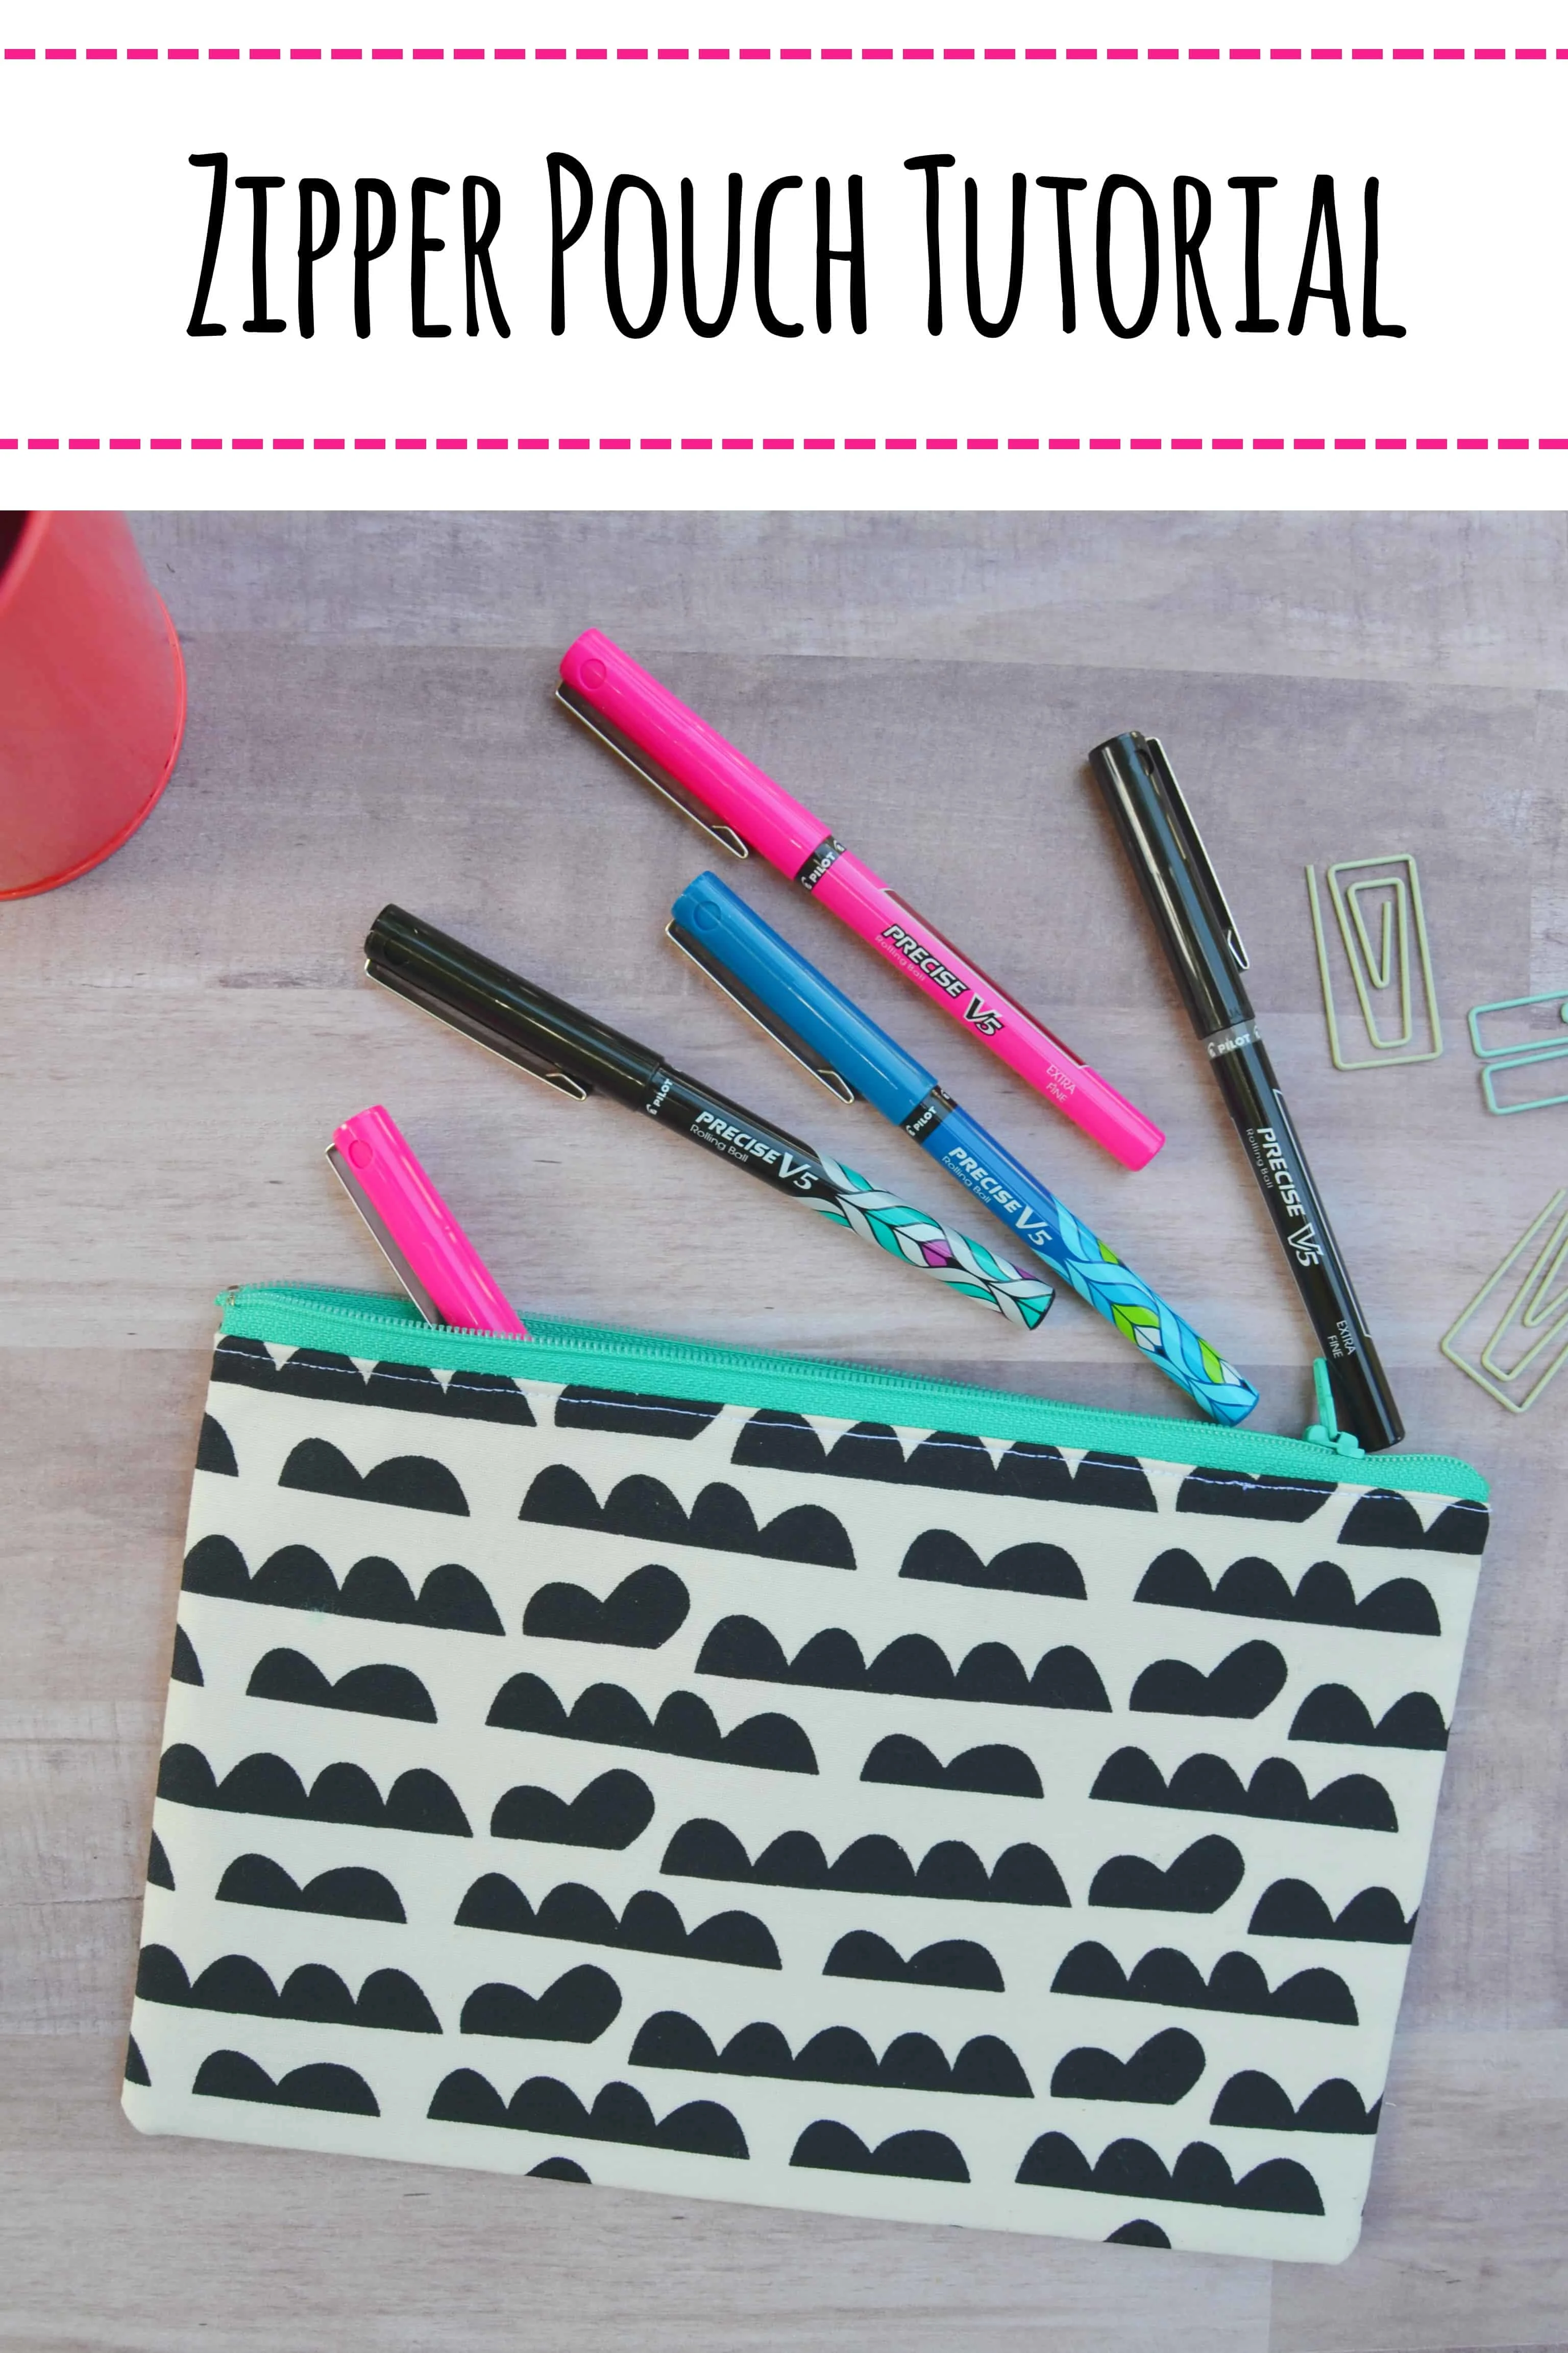
I don’t use pencils. I can’t stand them. I can only write with pens and I have passed my love of good pens down to my sons. I recently made some pen pouches so today I’m sharing a super simple zipper pouch tutorial along with some of my favorite new pens.
You’ll want to grab some of them for back to school and sew up a little pouch to carry them.
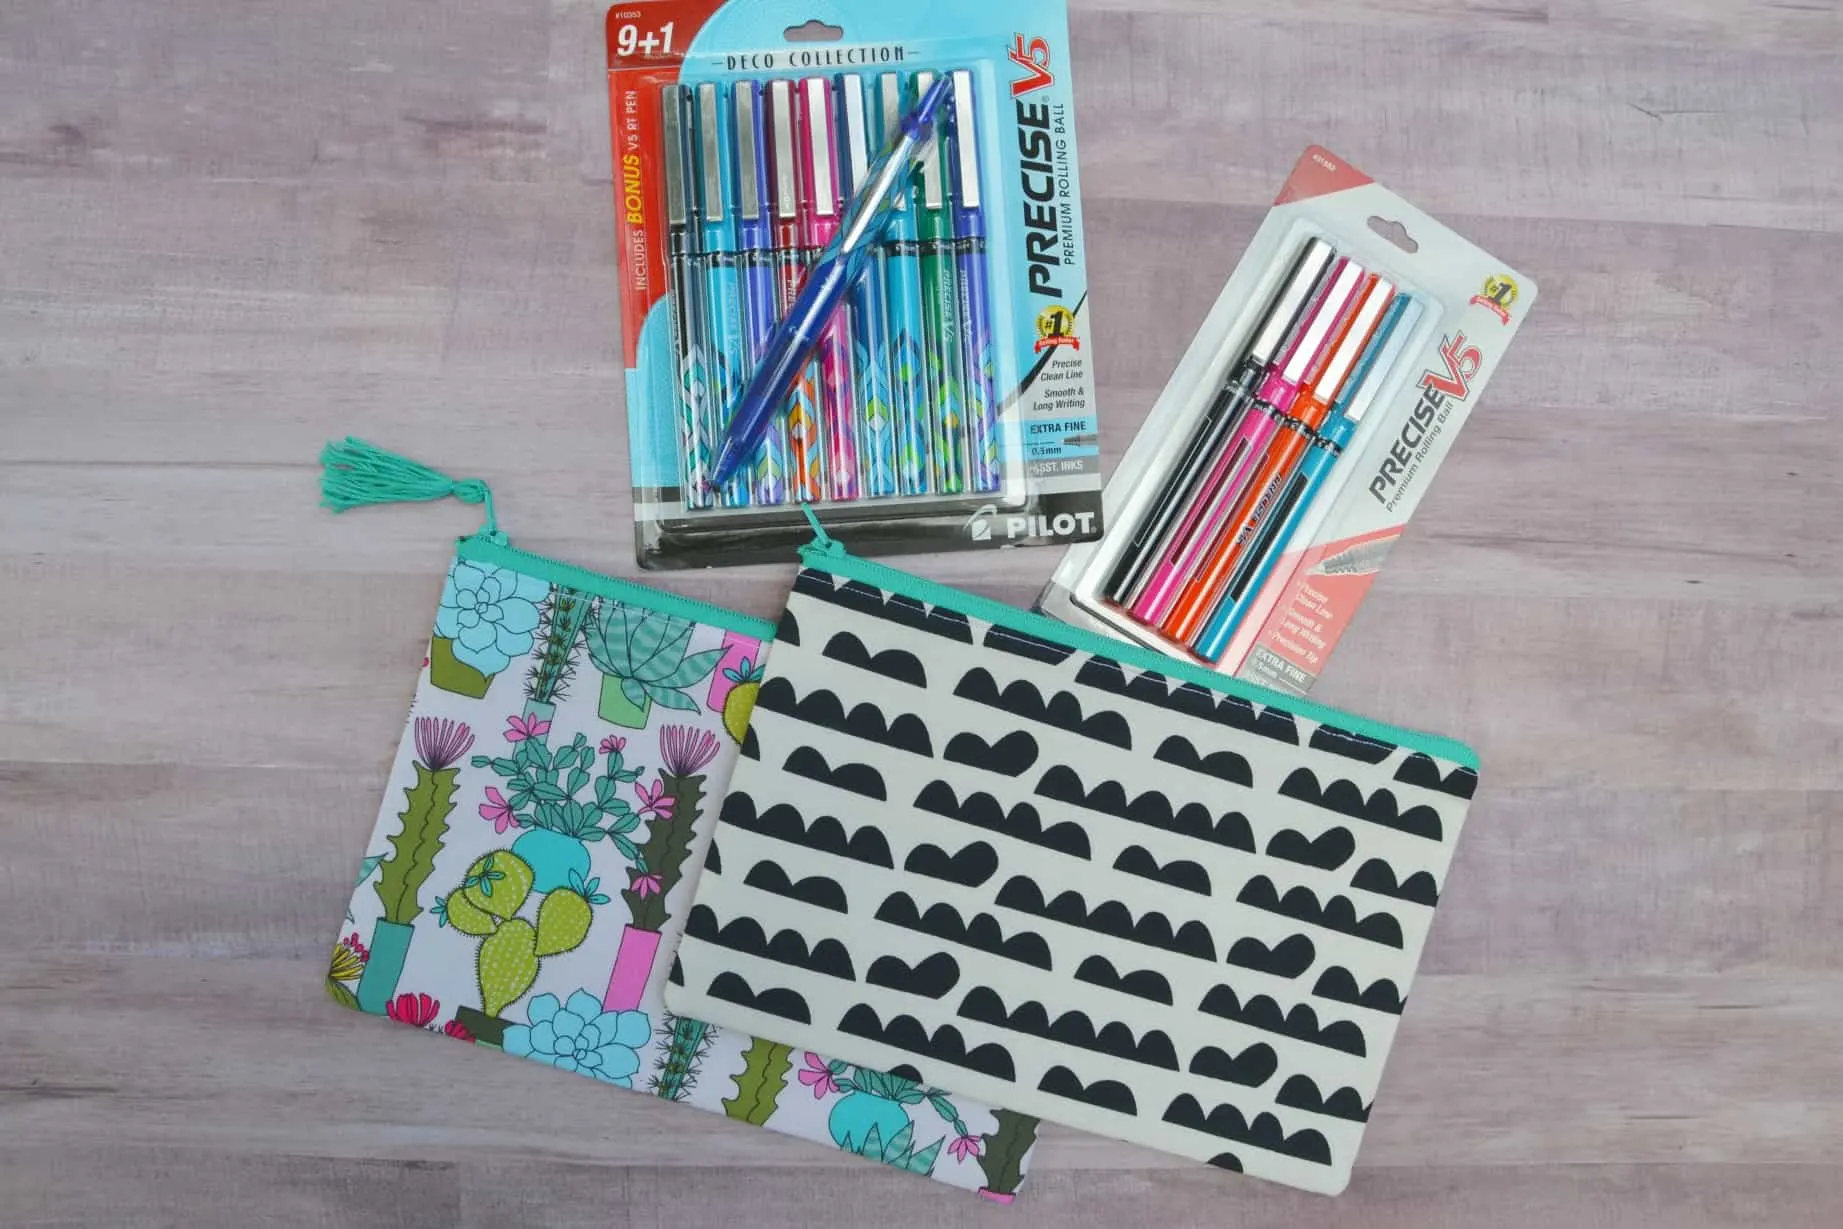
On a recent shopping trip I picked up some Pilot Precise® pen packs at Walmart. I picked up the Precise V5 pen pack and the Precise V5 Deco pen pack.
I found the Precise V5 Deco pack on this special end cap and the Precise V5 pack in the office supplies section.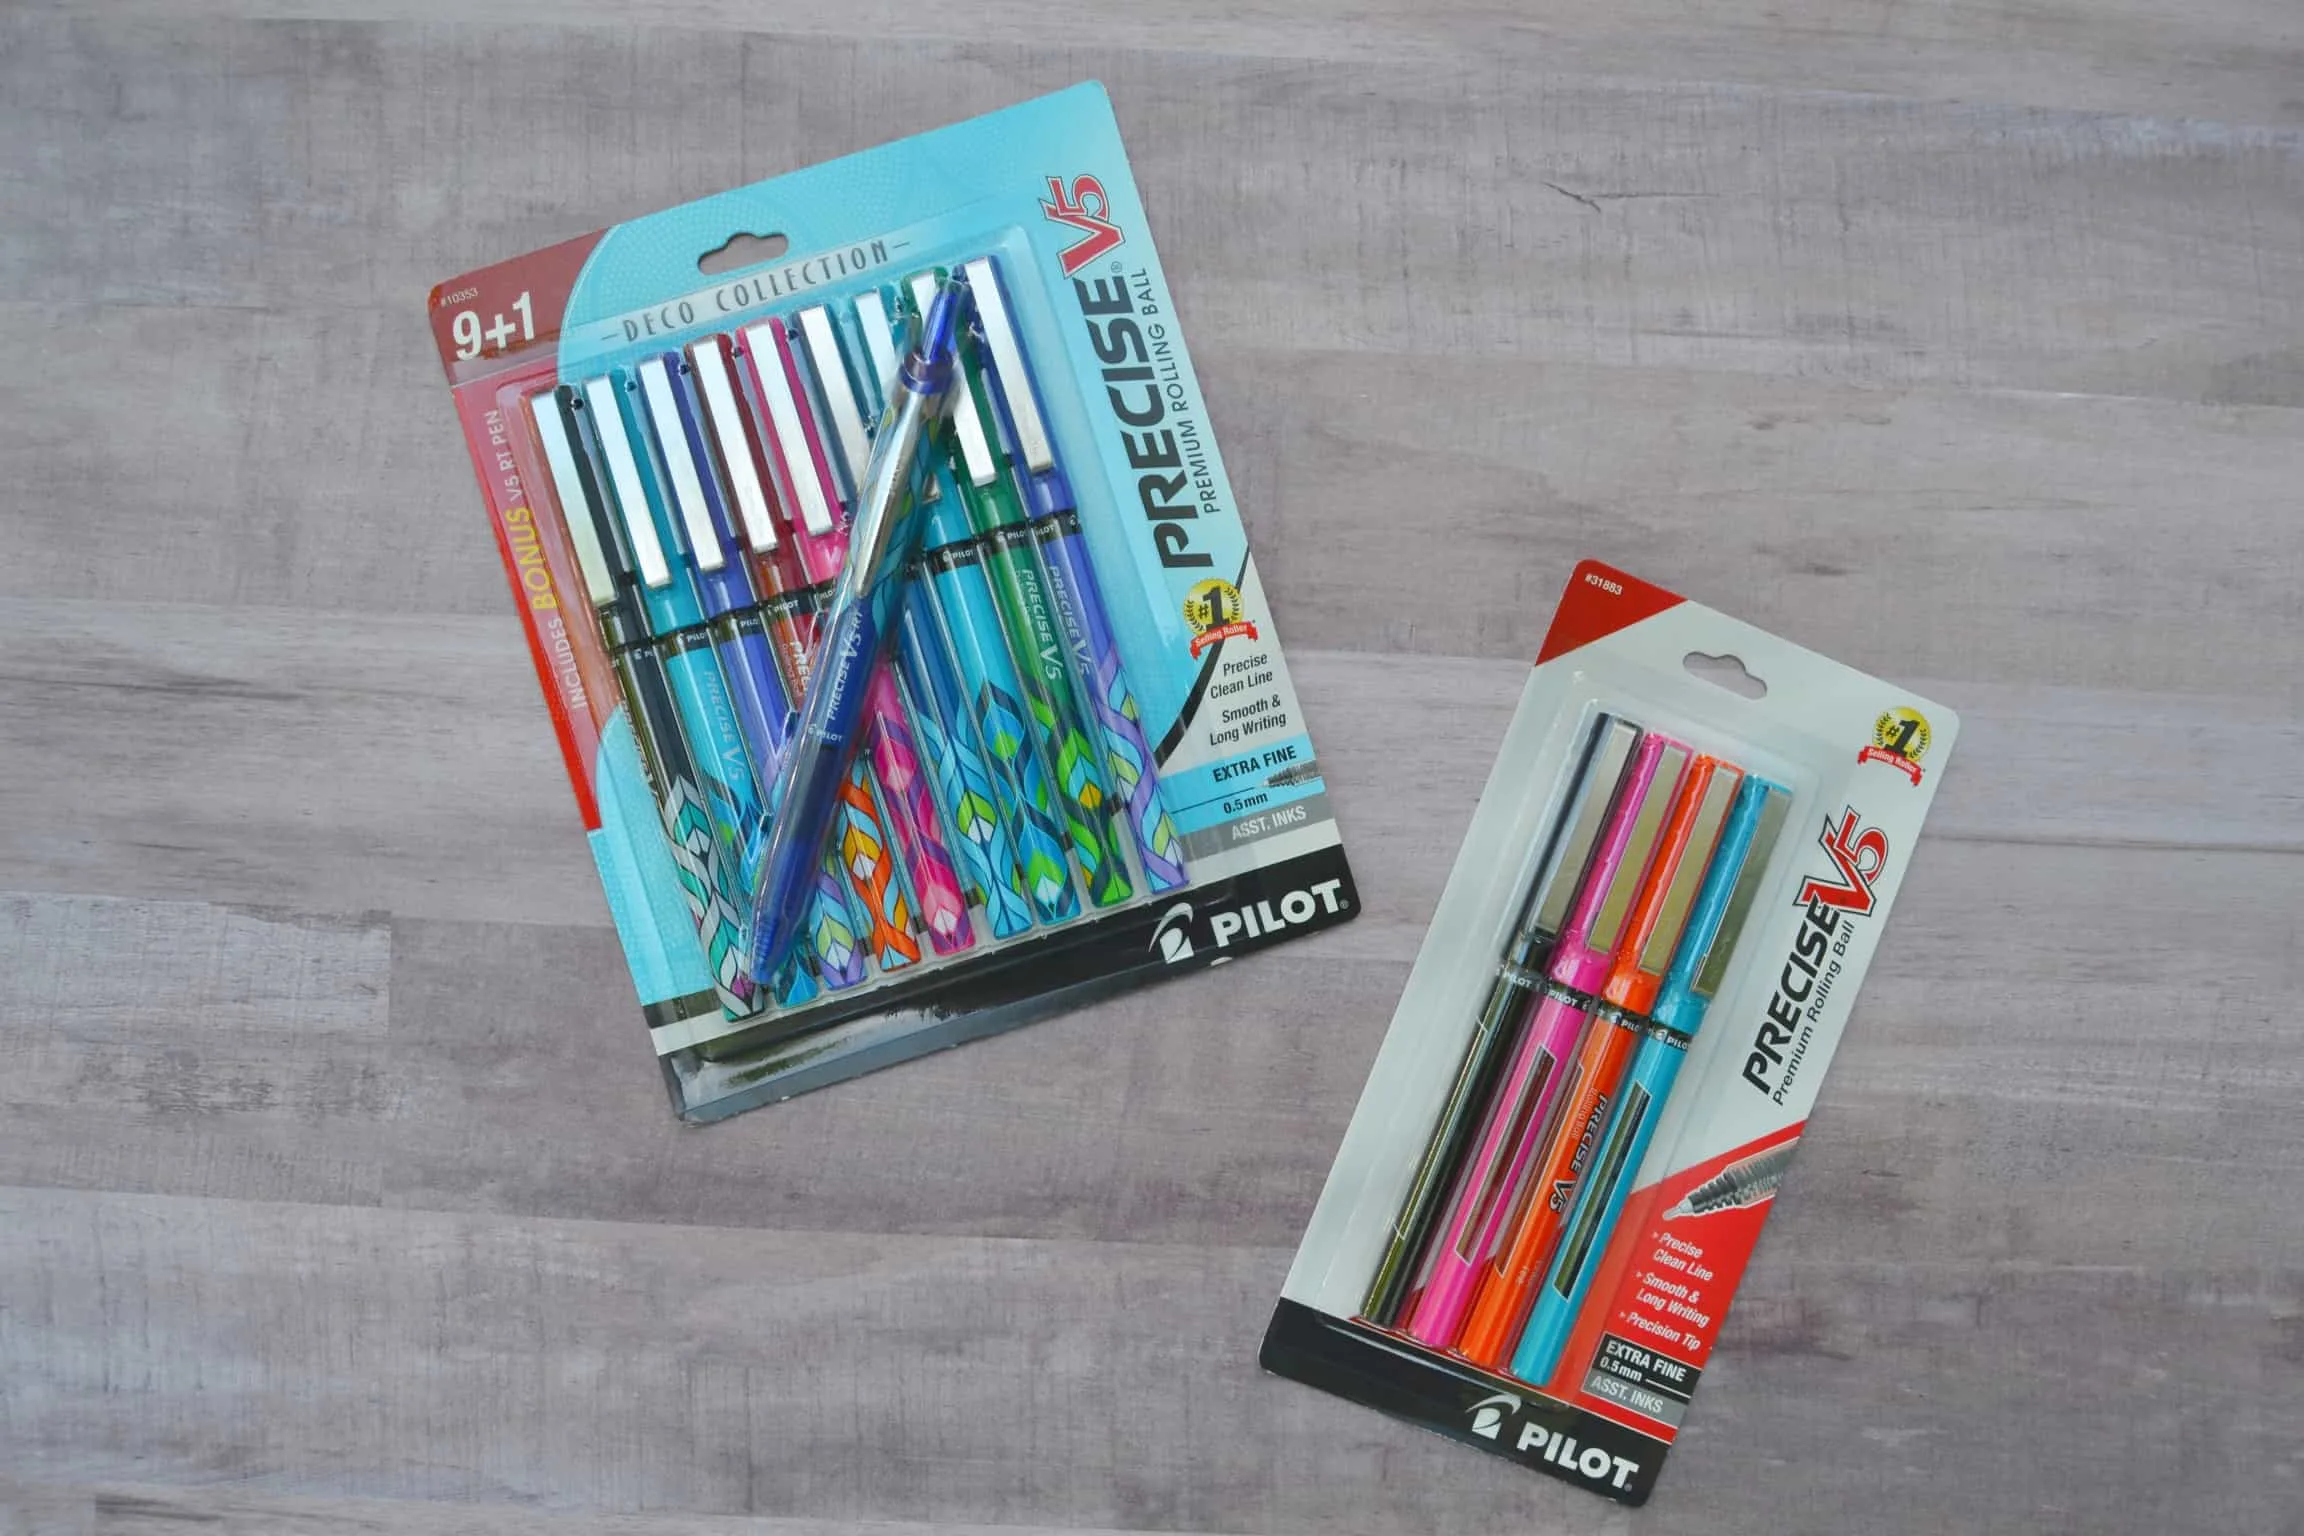

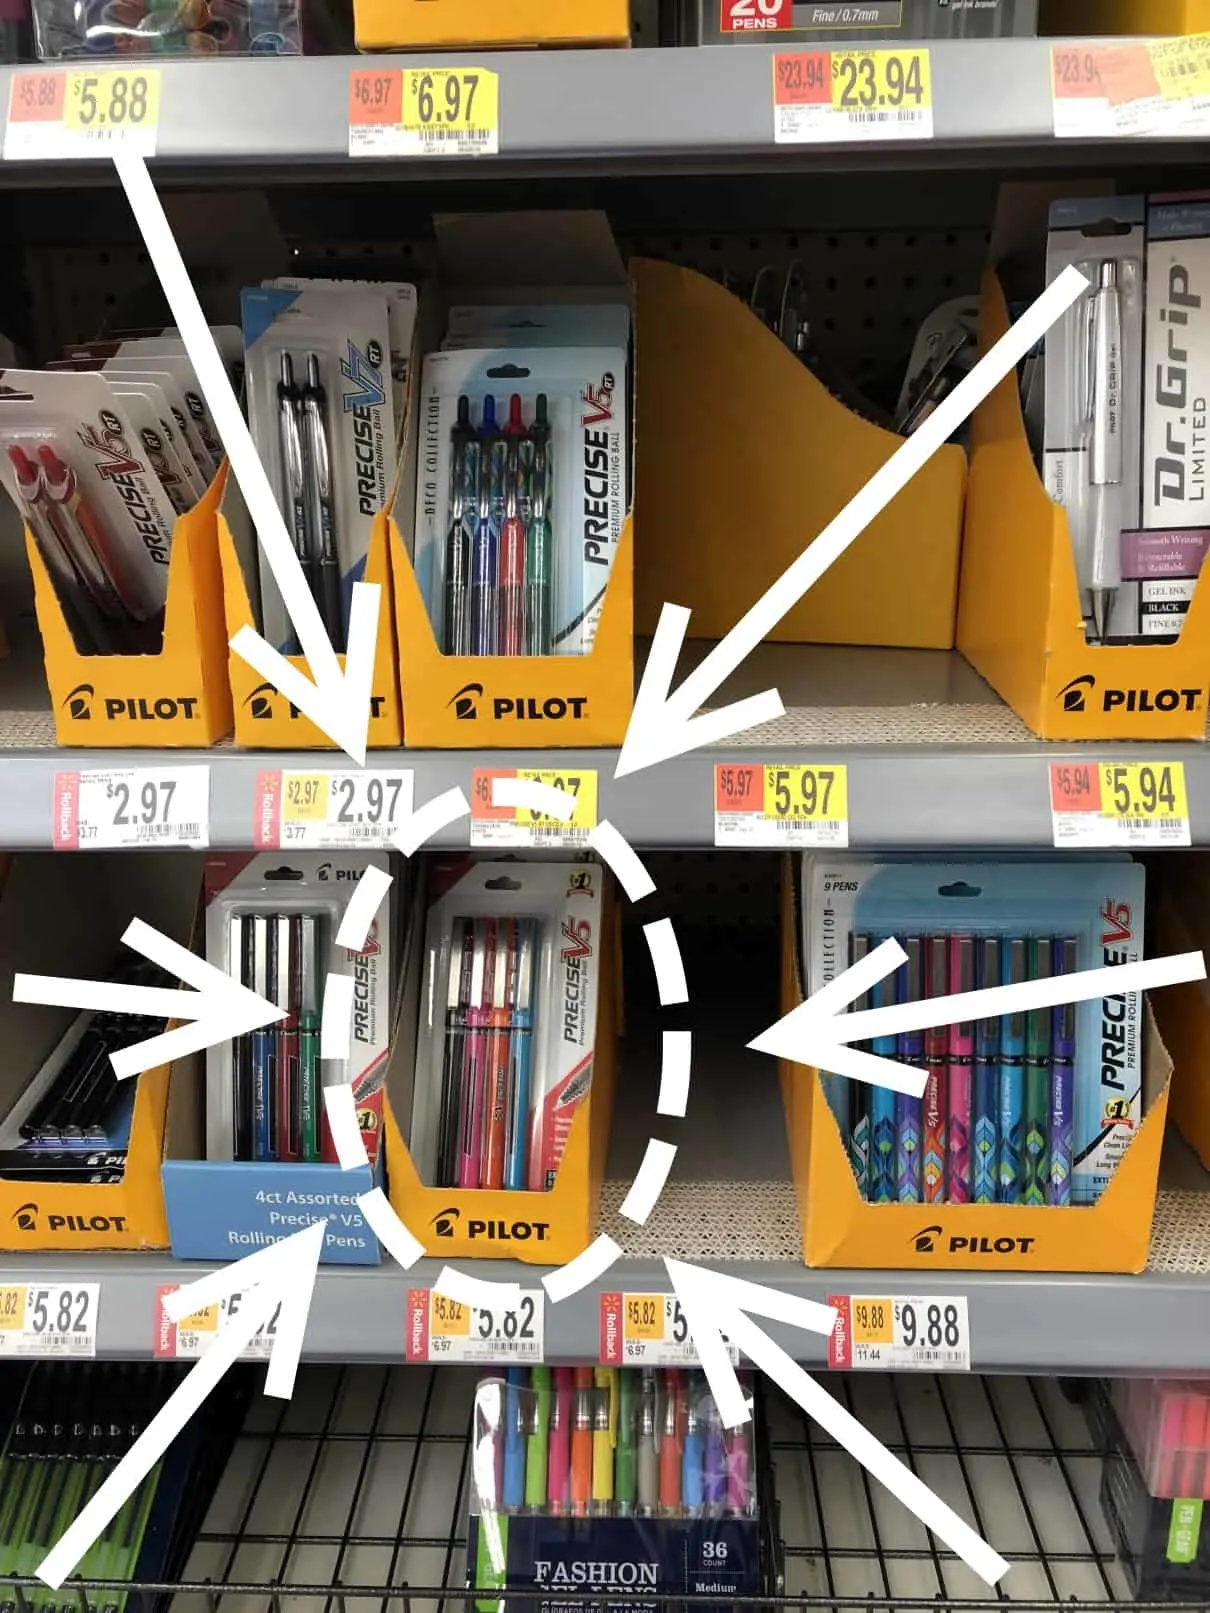
I love how the precision point and modern design provide an incredibly smooth writing experience. The inks are rich, vibrant colors and I love the variety of colors you get, especially in the Deco Collection. They are available in new colors and a vibrant Deco wrap!
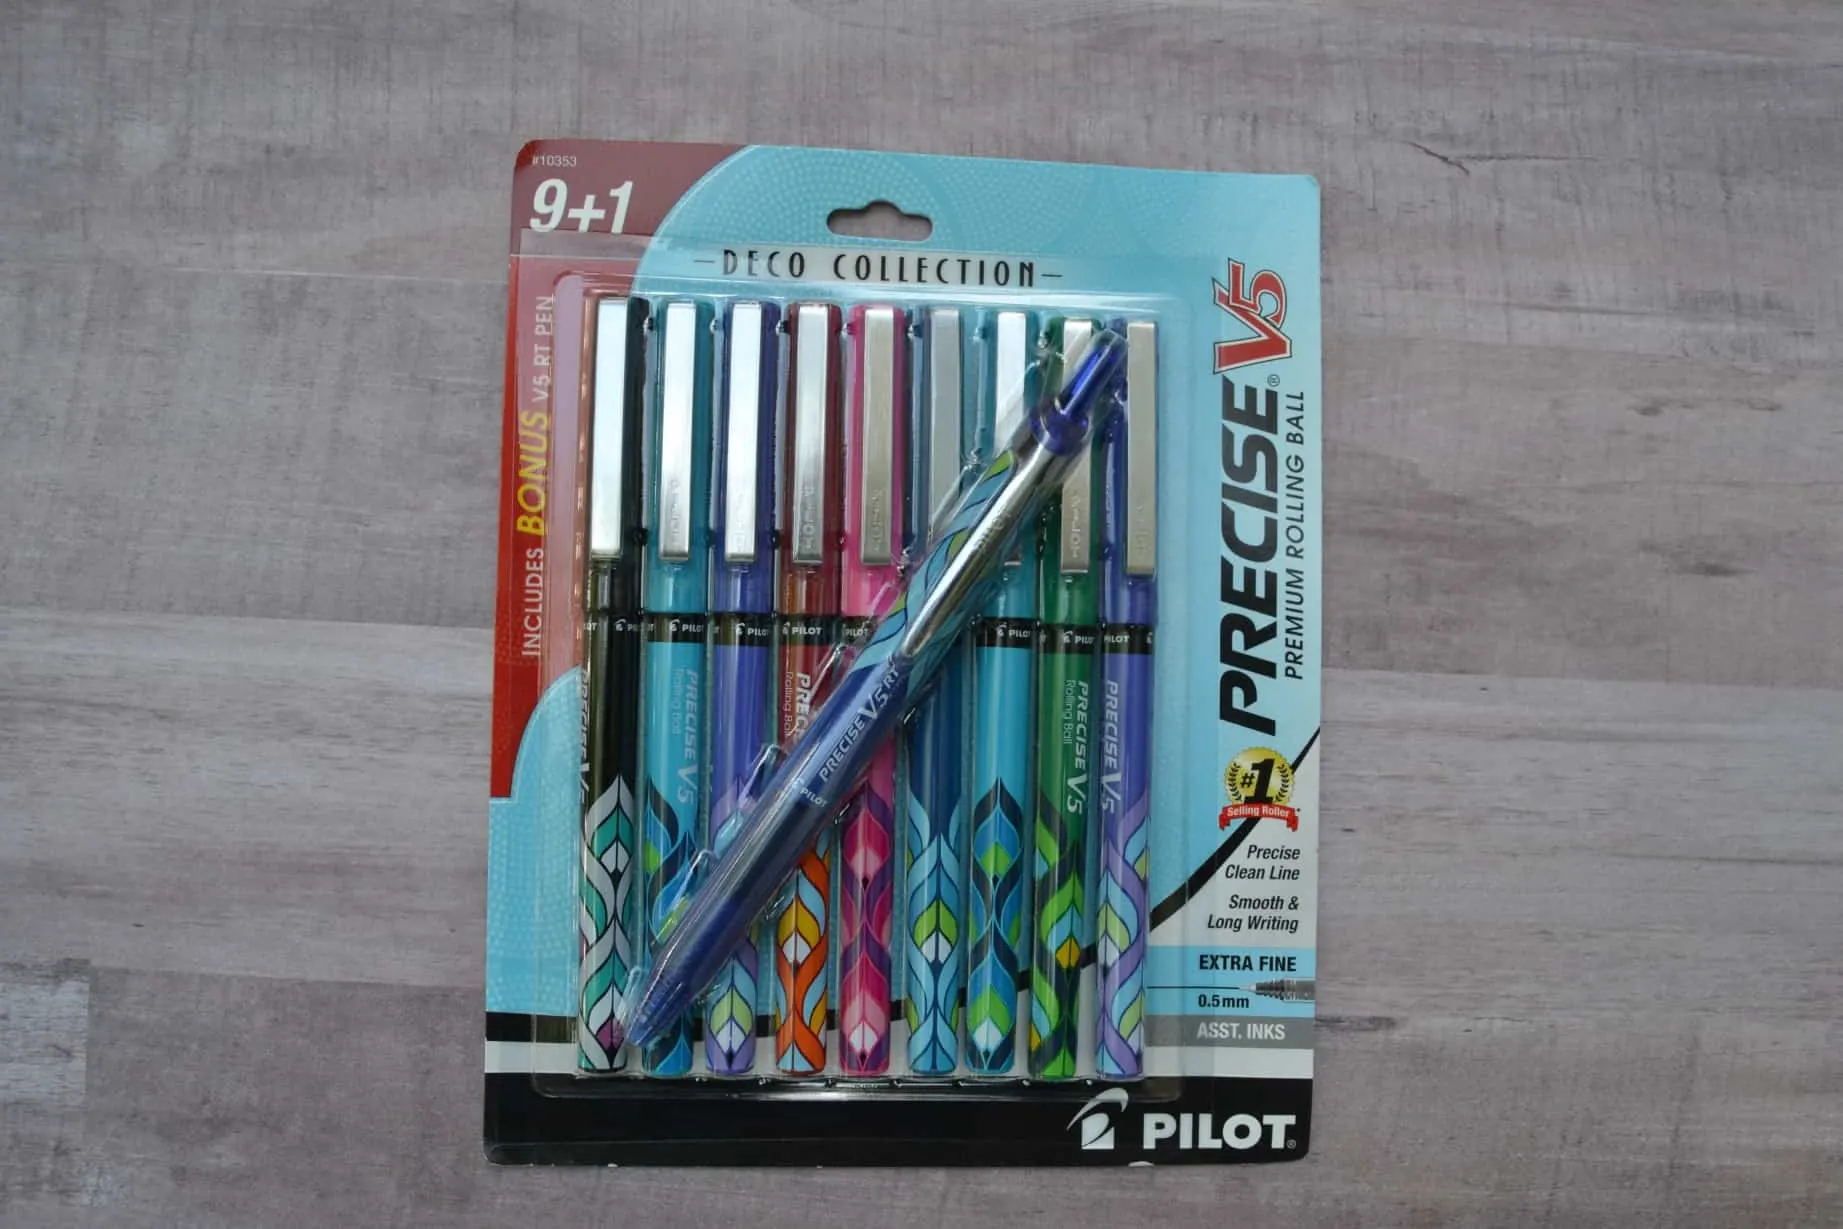
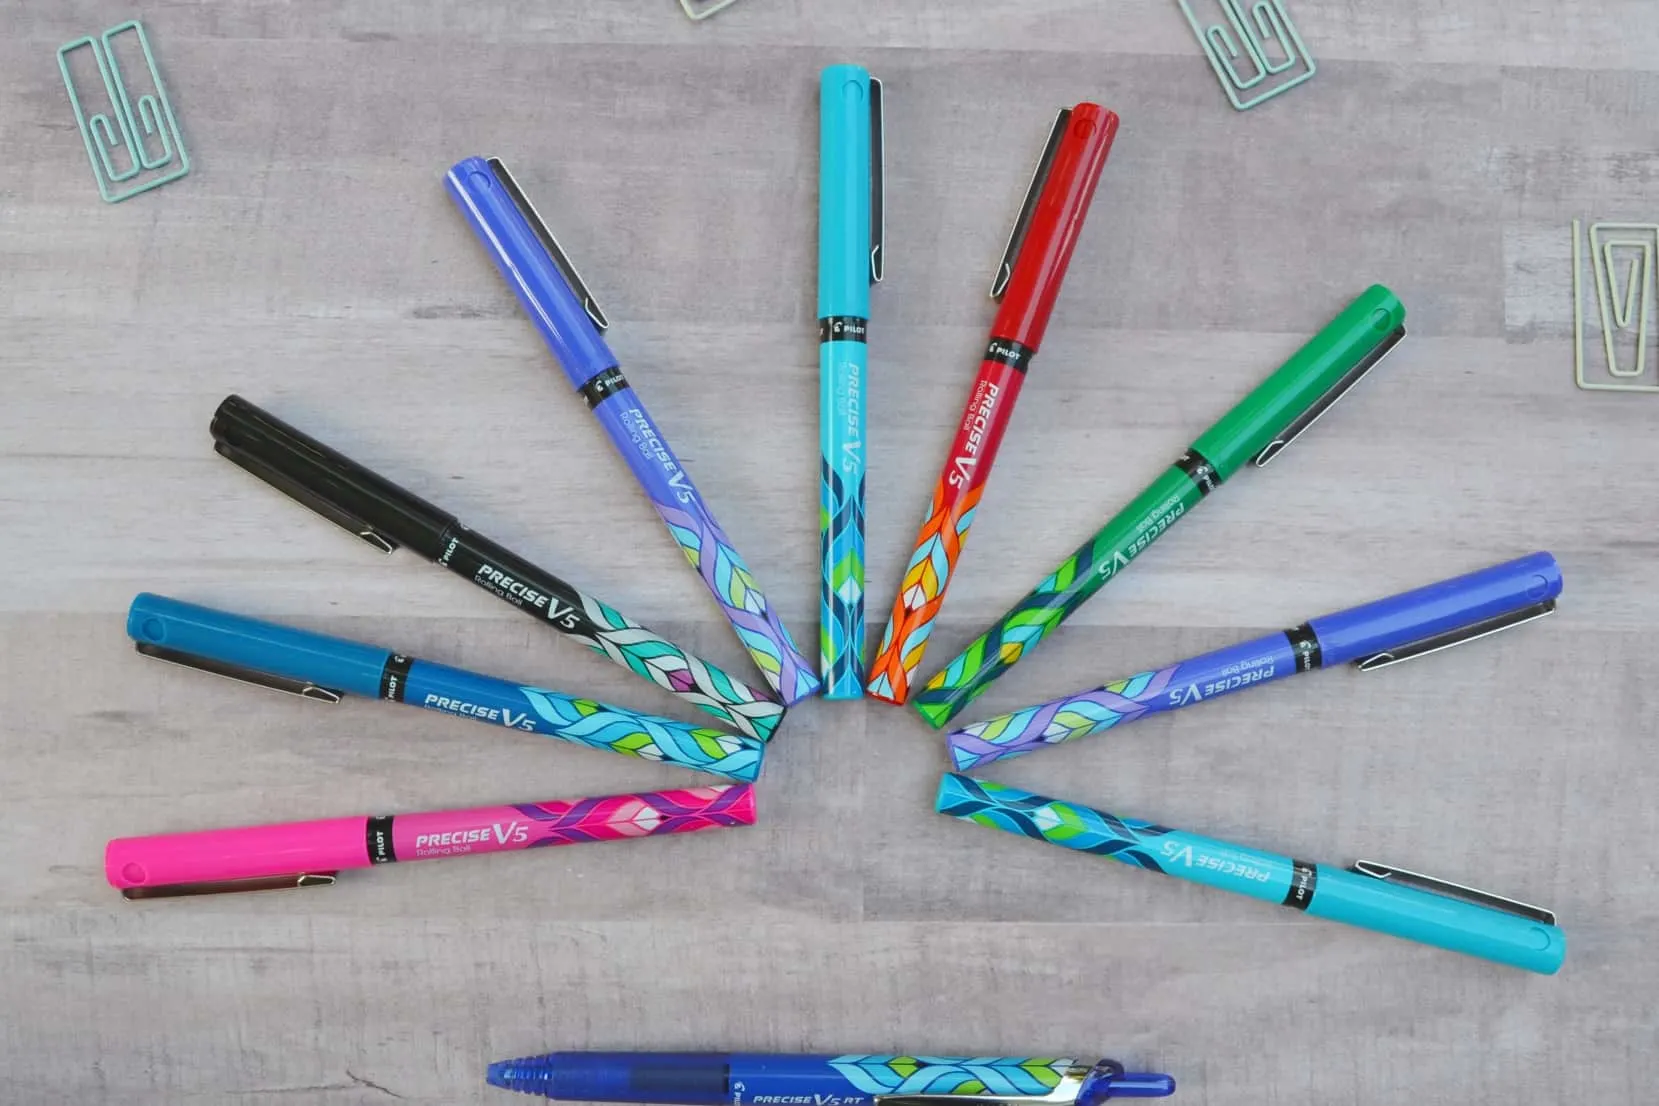
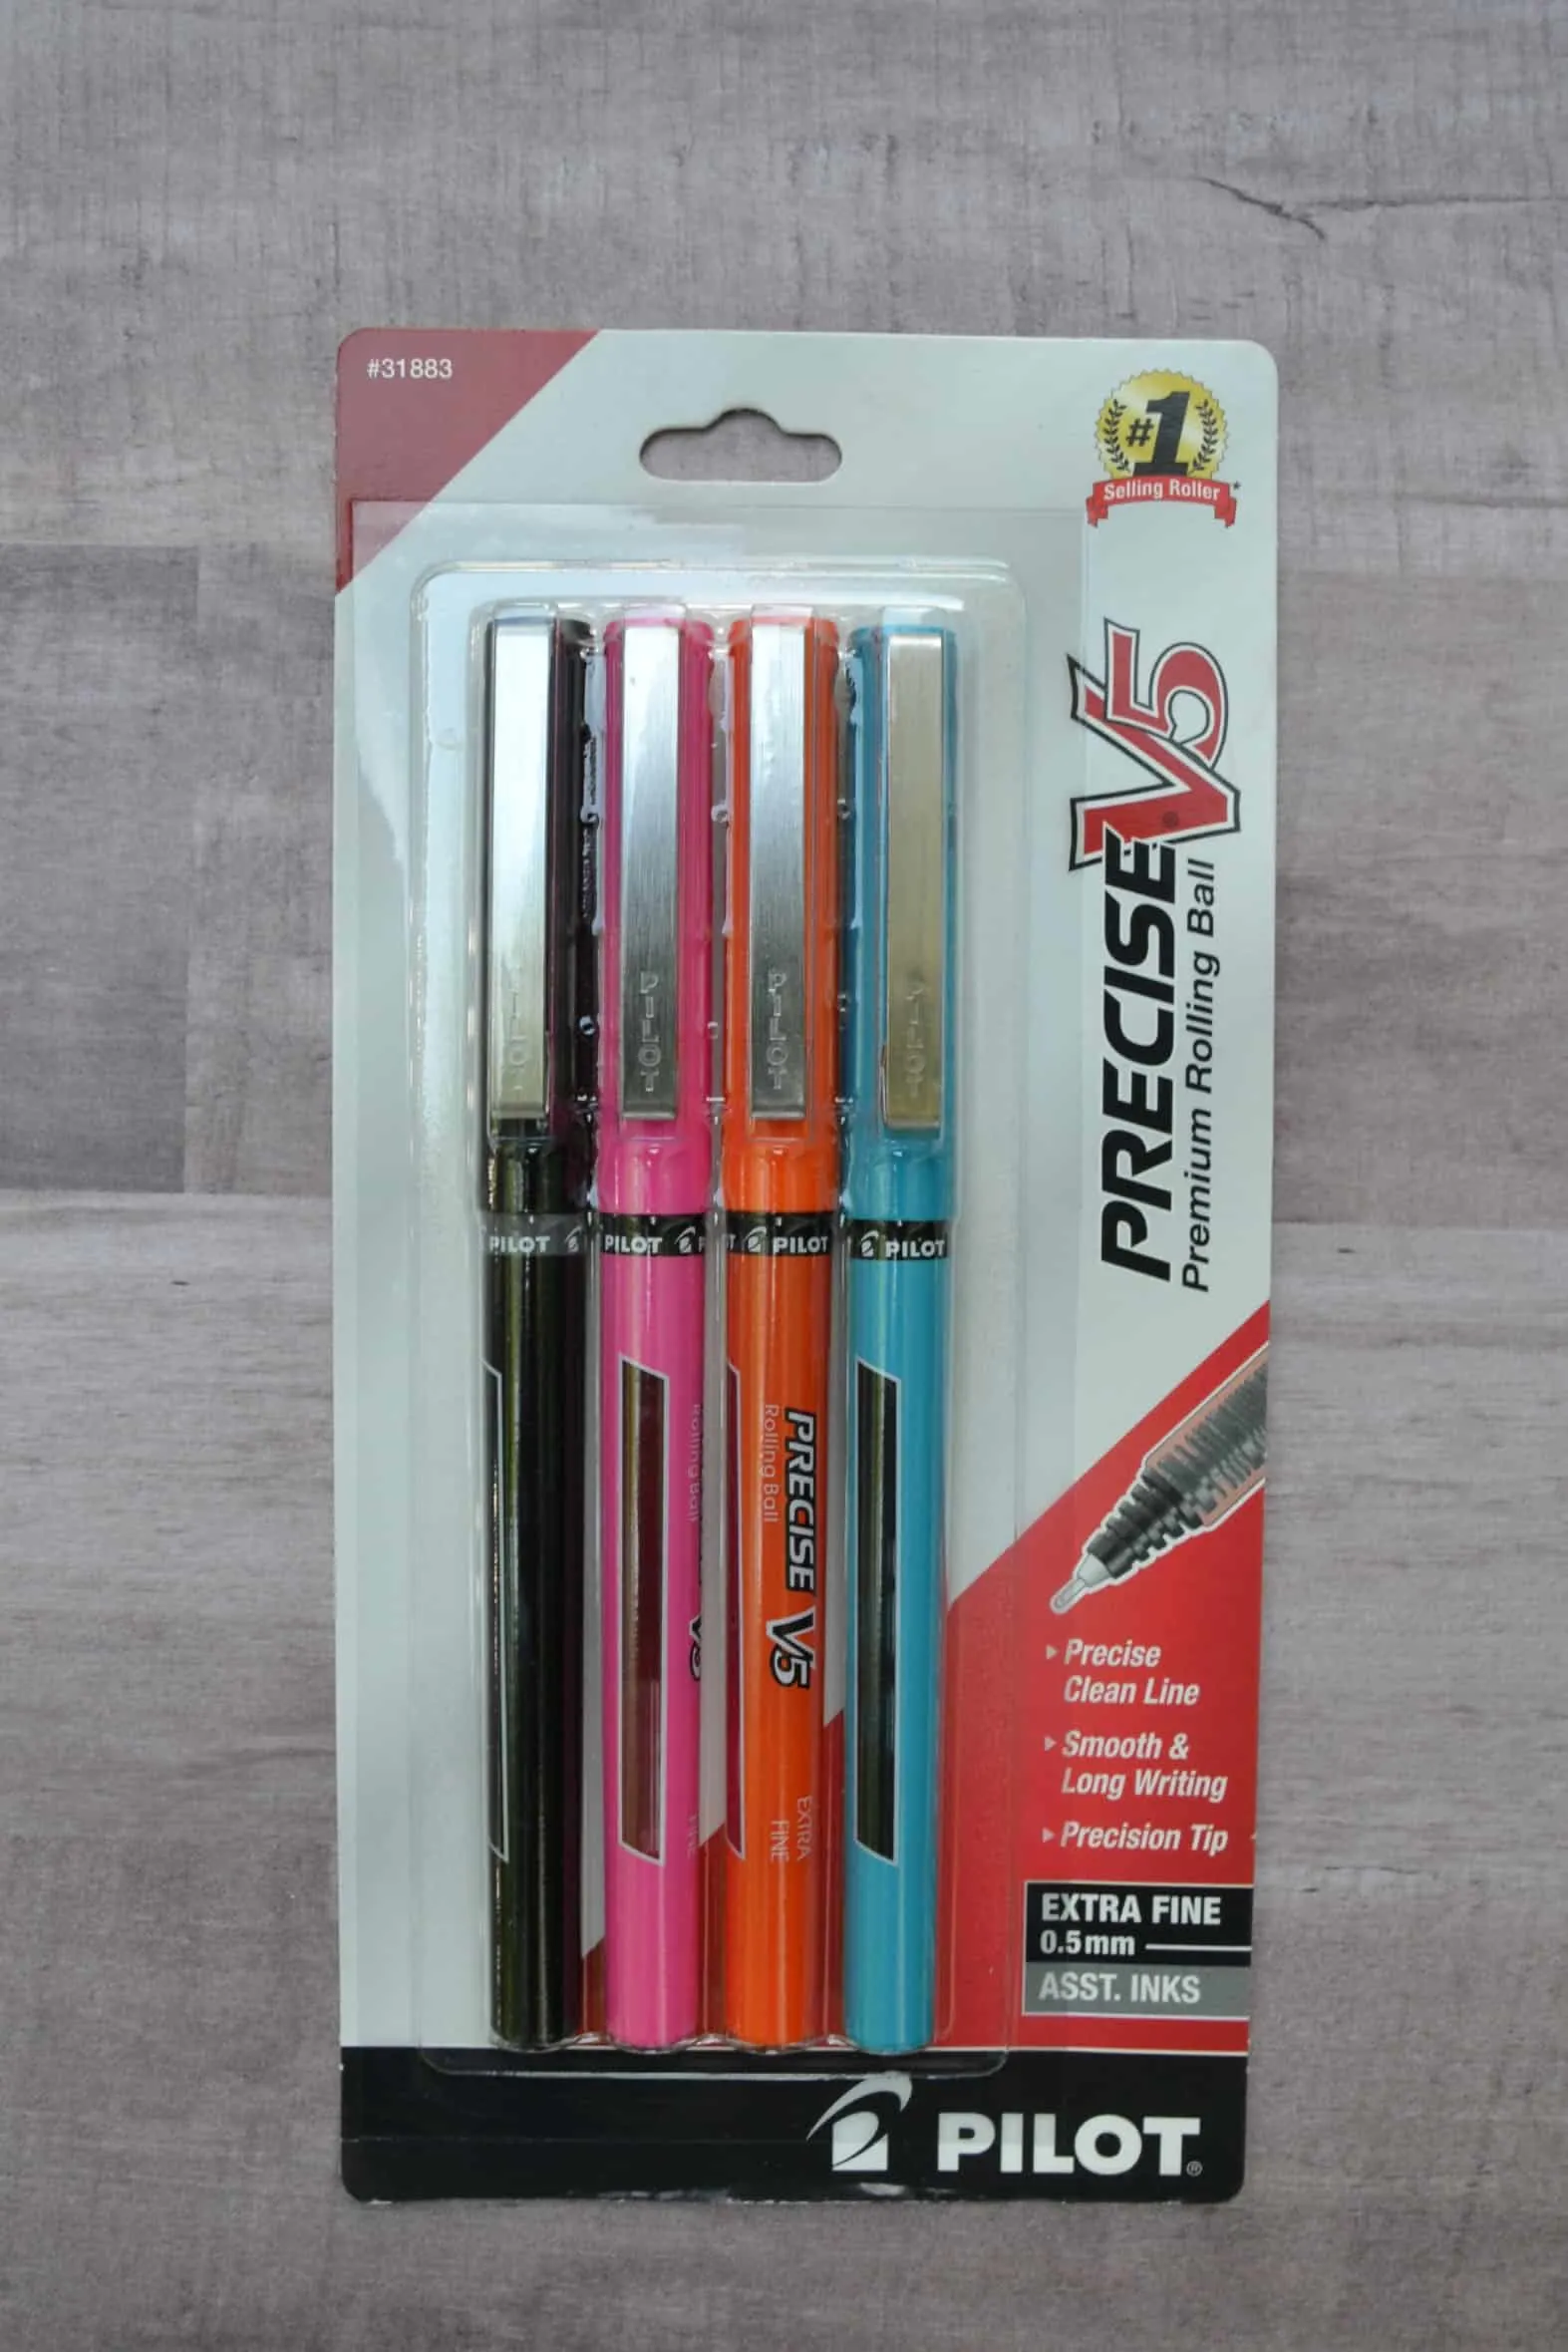
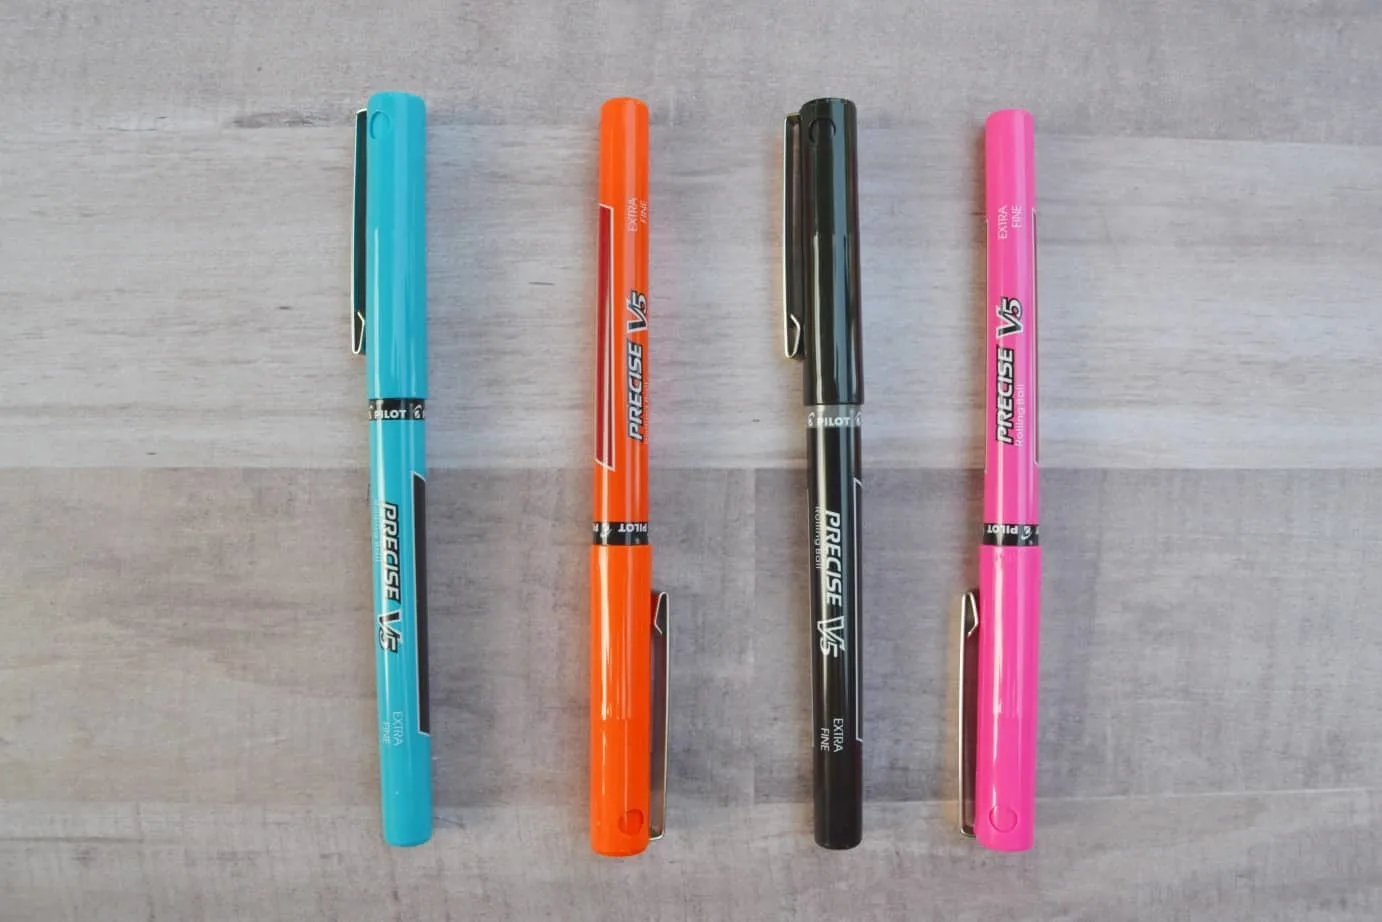 After stocking up on my new pens I sewed up some quick zipper pouches for carrying them around and I’m sharing the tutorial below.
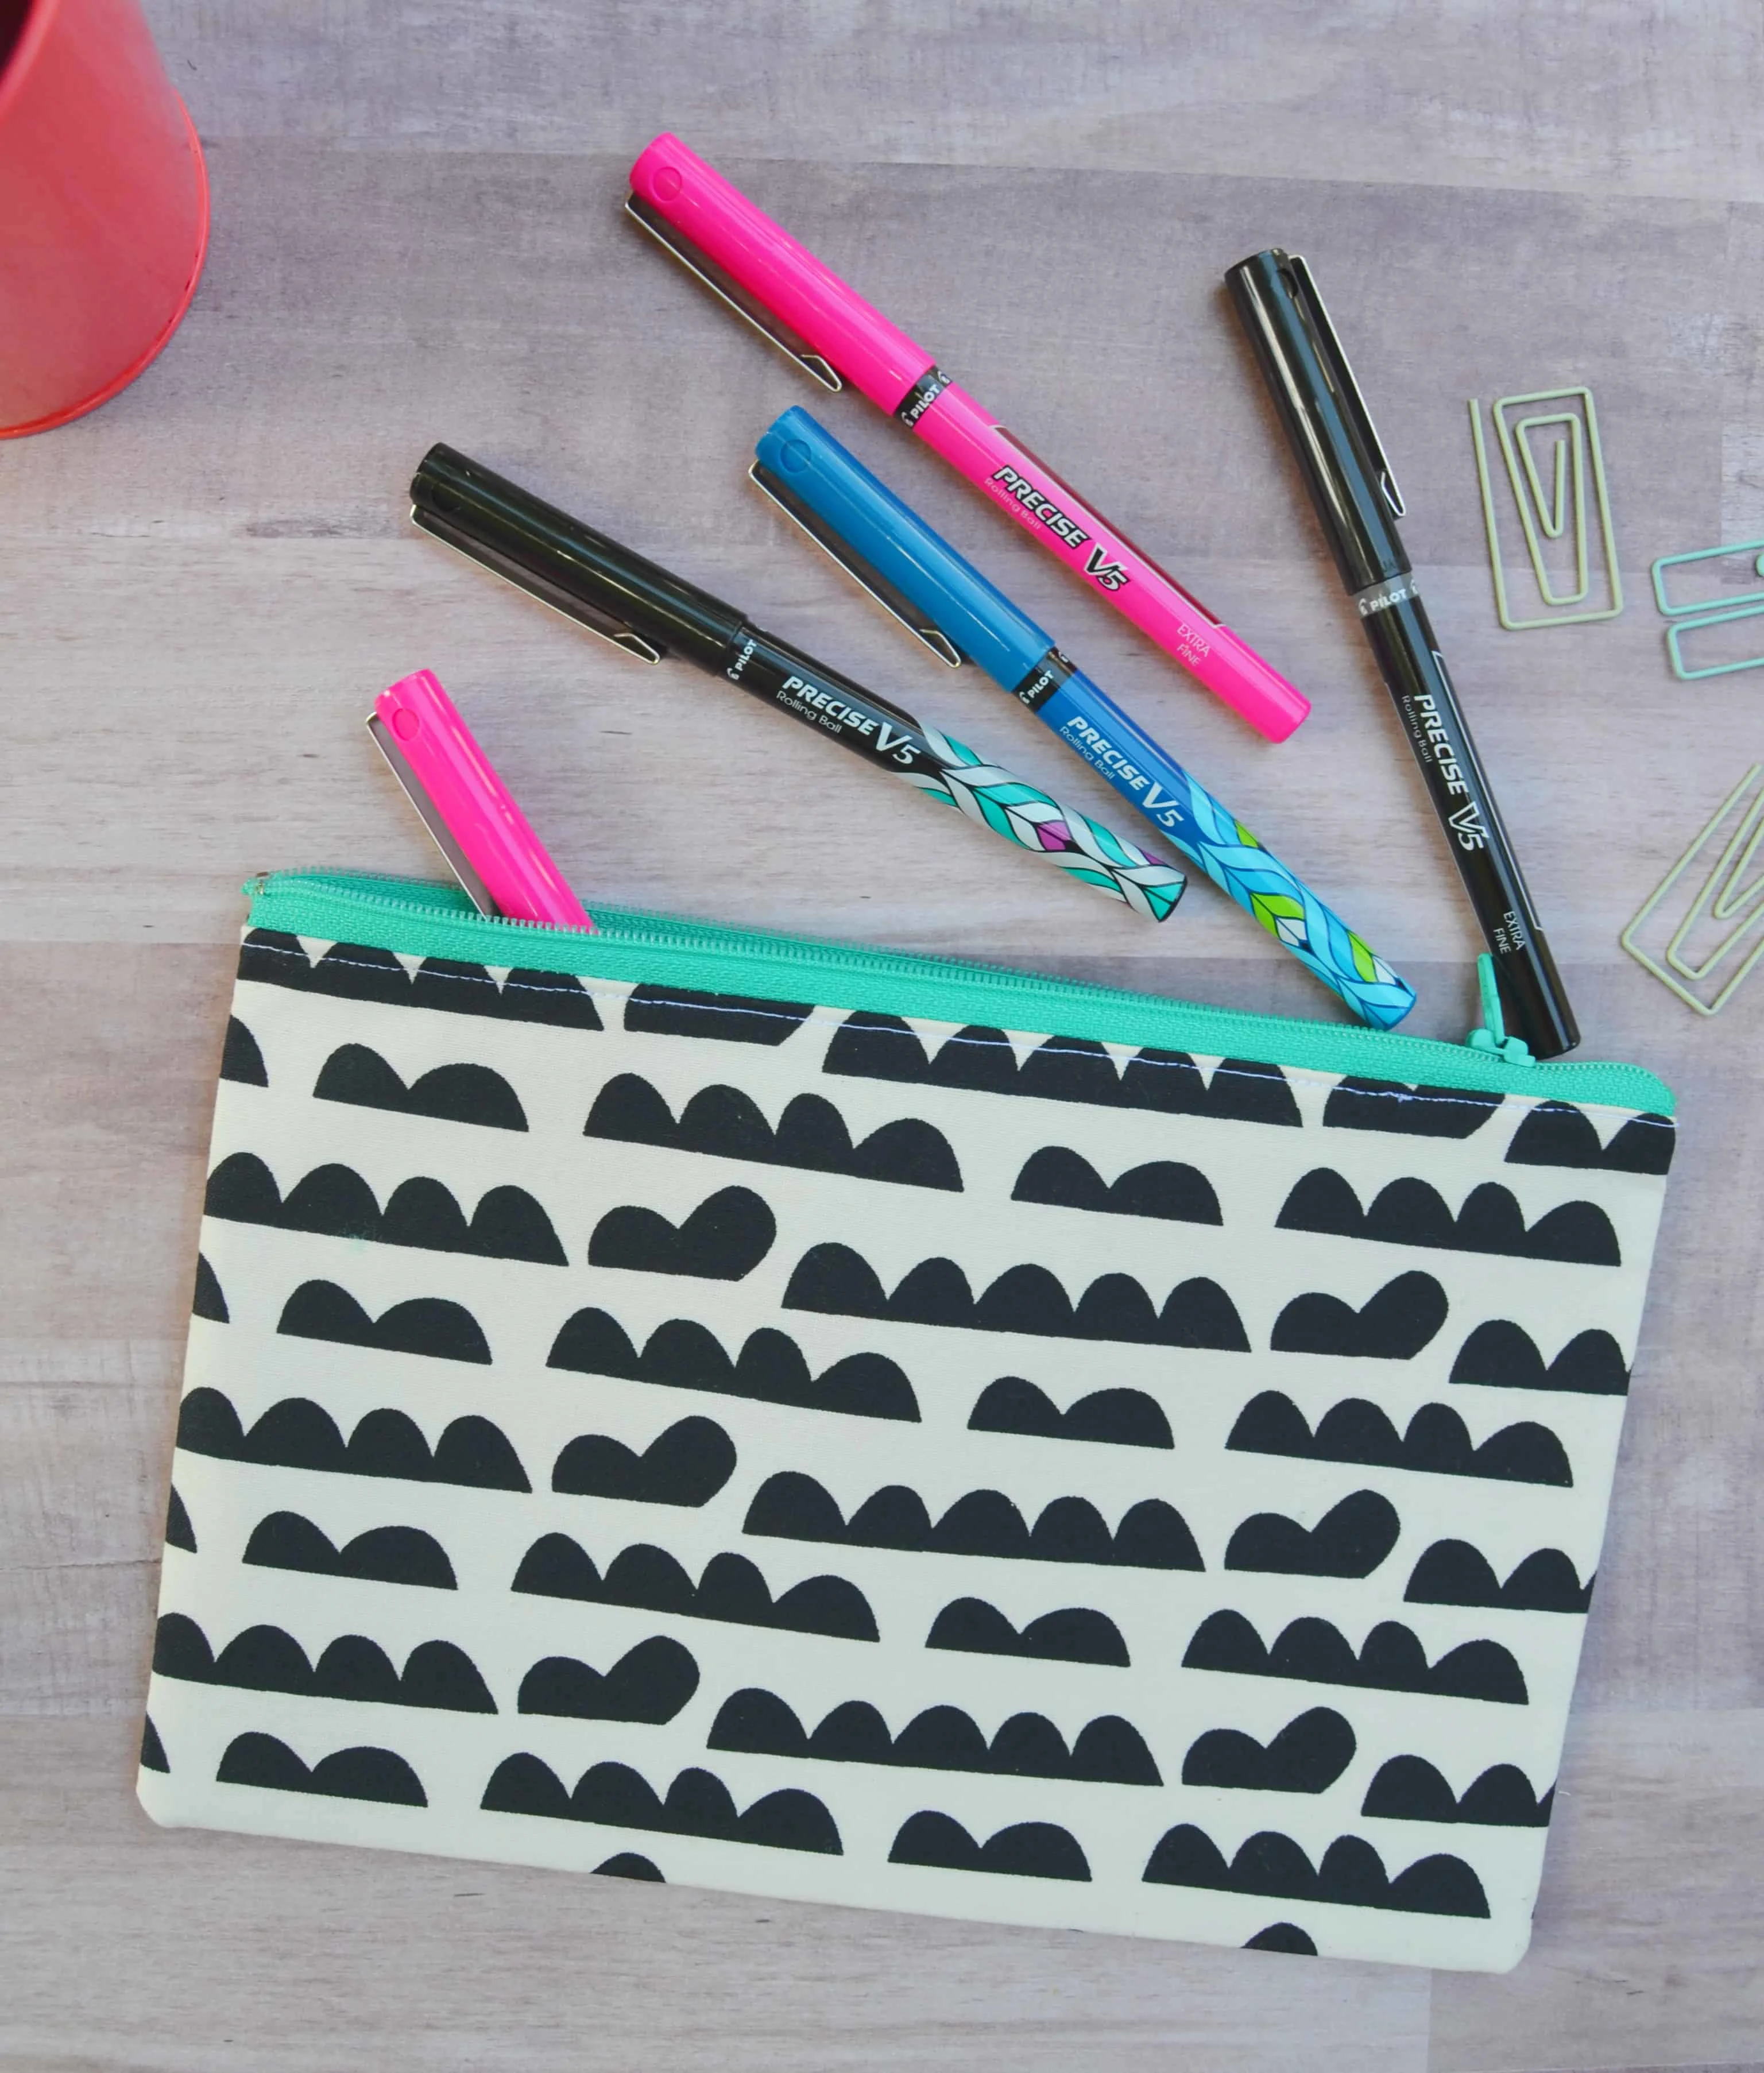
Zipper Pouch Tutorial
Supplies:
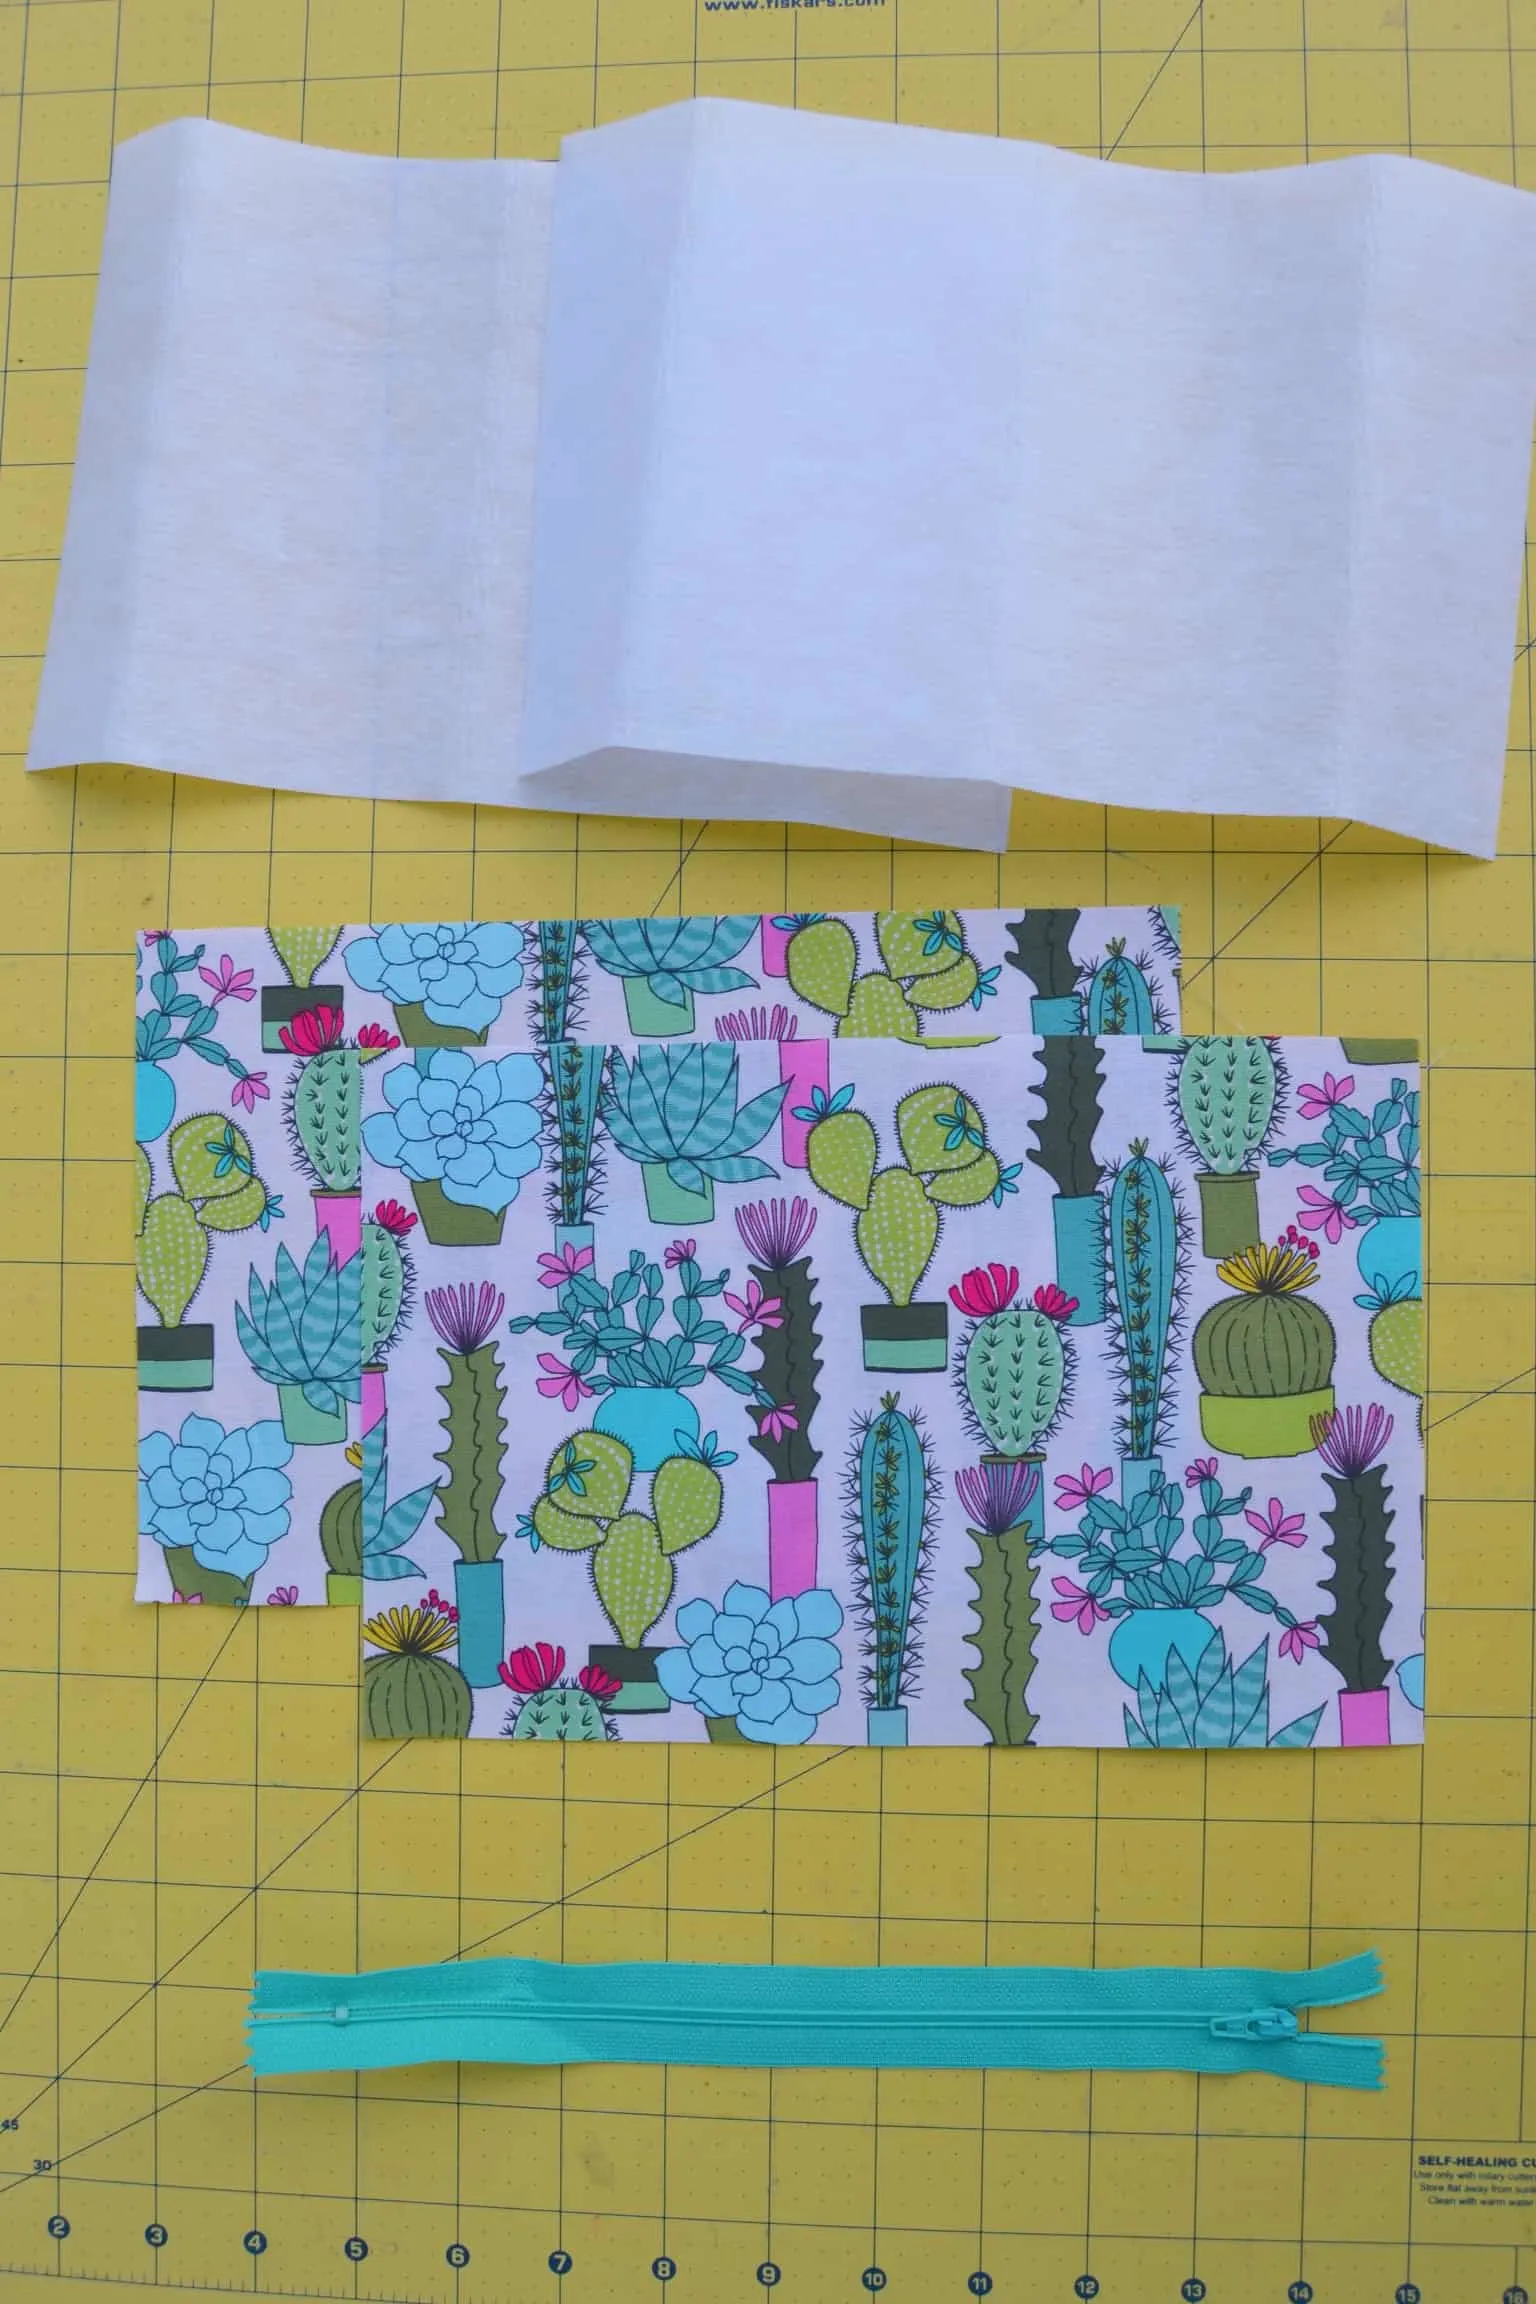
- 1/4 yard of cotton fabric
- 1/4 yard of iron-on fusible interfacing
- 1 9 inch zipper
- embroidery floss (optional if you want to make a tassel)
- sewing machine and needle
- coordinating thread
- pins
- rotary cutting set or scissors
- iron
- pinking shears
Step 1: Wash, dry, and iron your cotton fabric. Then cut out your rectangles you will cut out 2 rectangles measuring 10 in. X 5.5 in. from the cotton fabric and 2 rectangles measuring 10 in. X 5.5 in. from the fusible interfacing.
This will make a pouch that is large enough to hold a handful of pens.
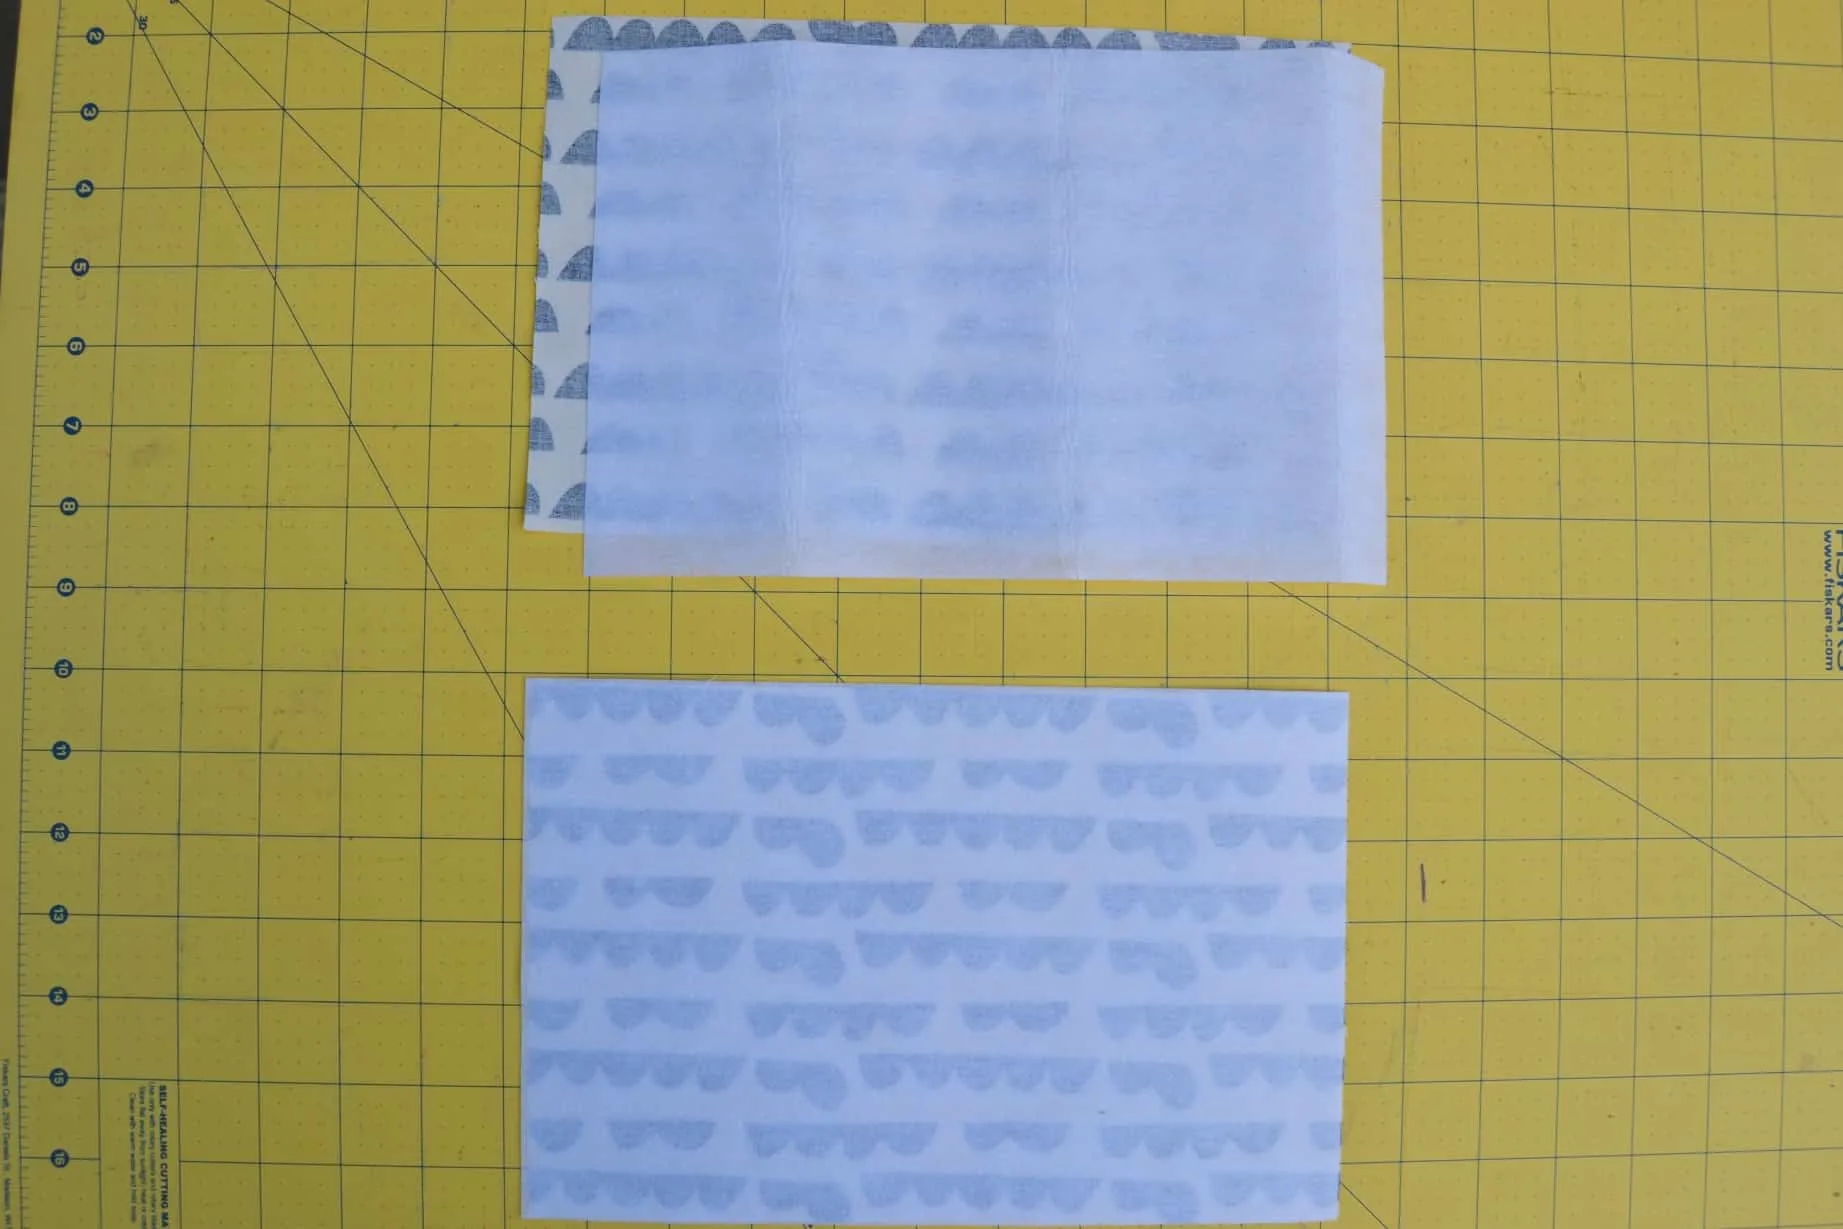
Step 2: Lay your cotton pieces down with the right side down. Follow the package directions and iron your fusible interfacing onto the wrong side of your cotton fabric rectangles.
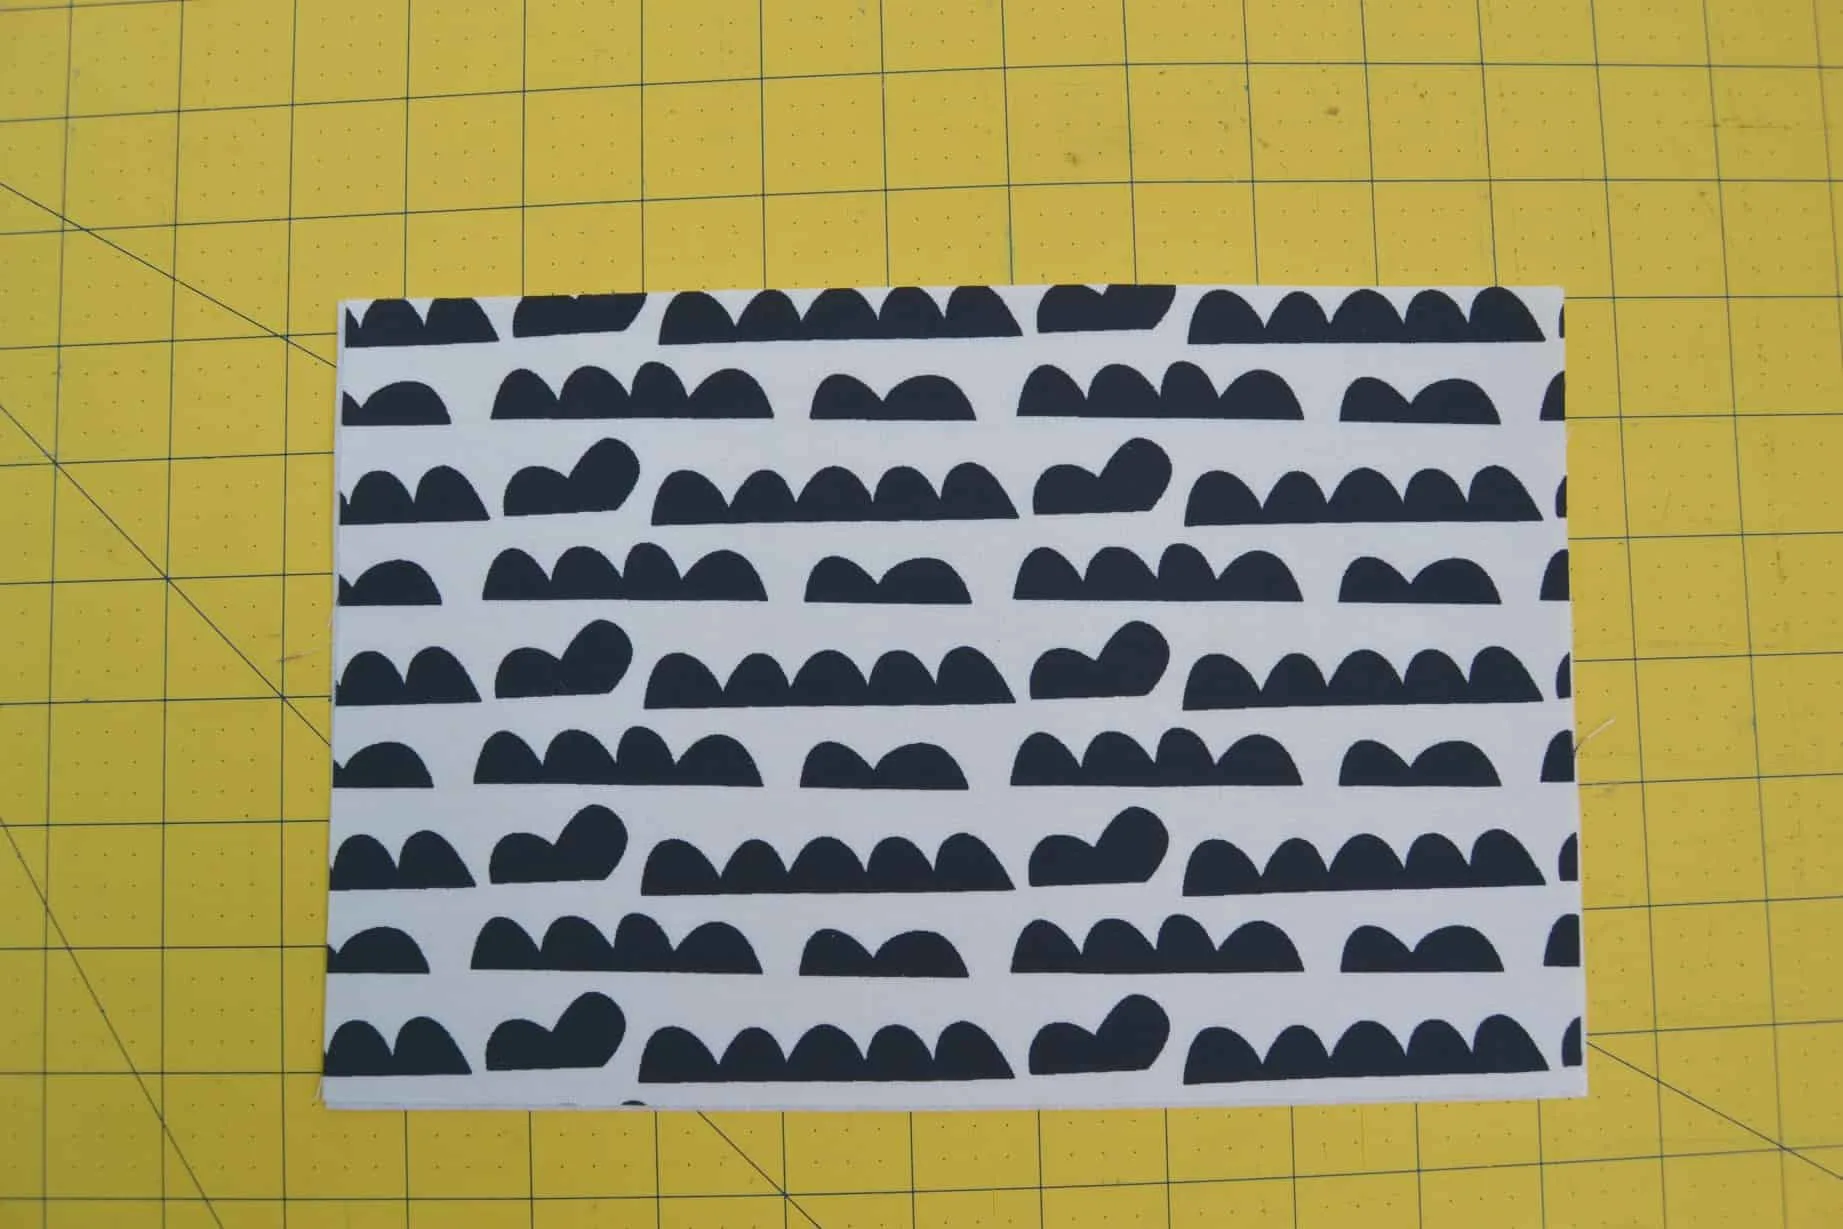
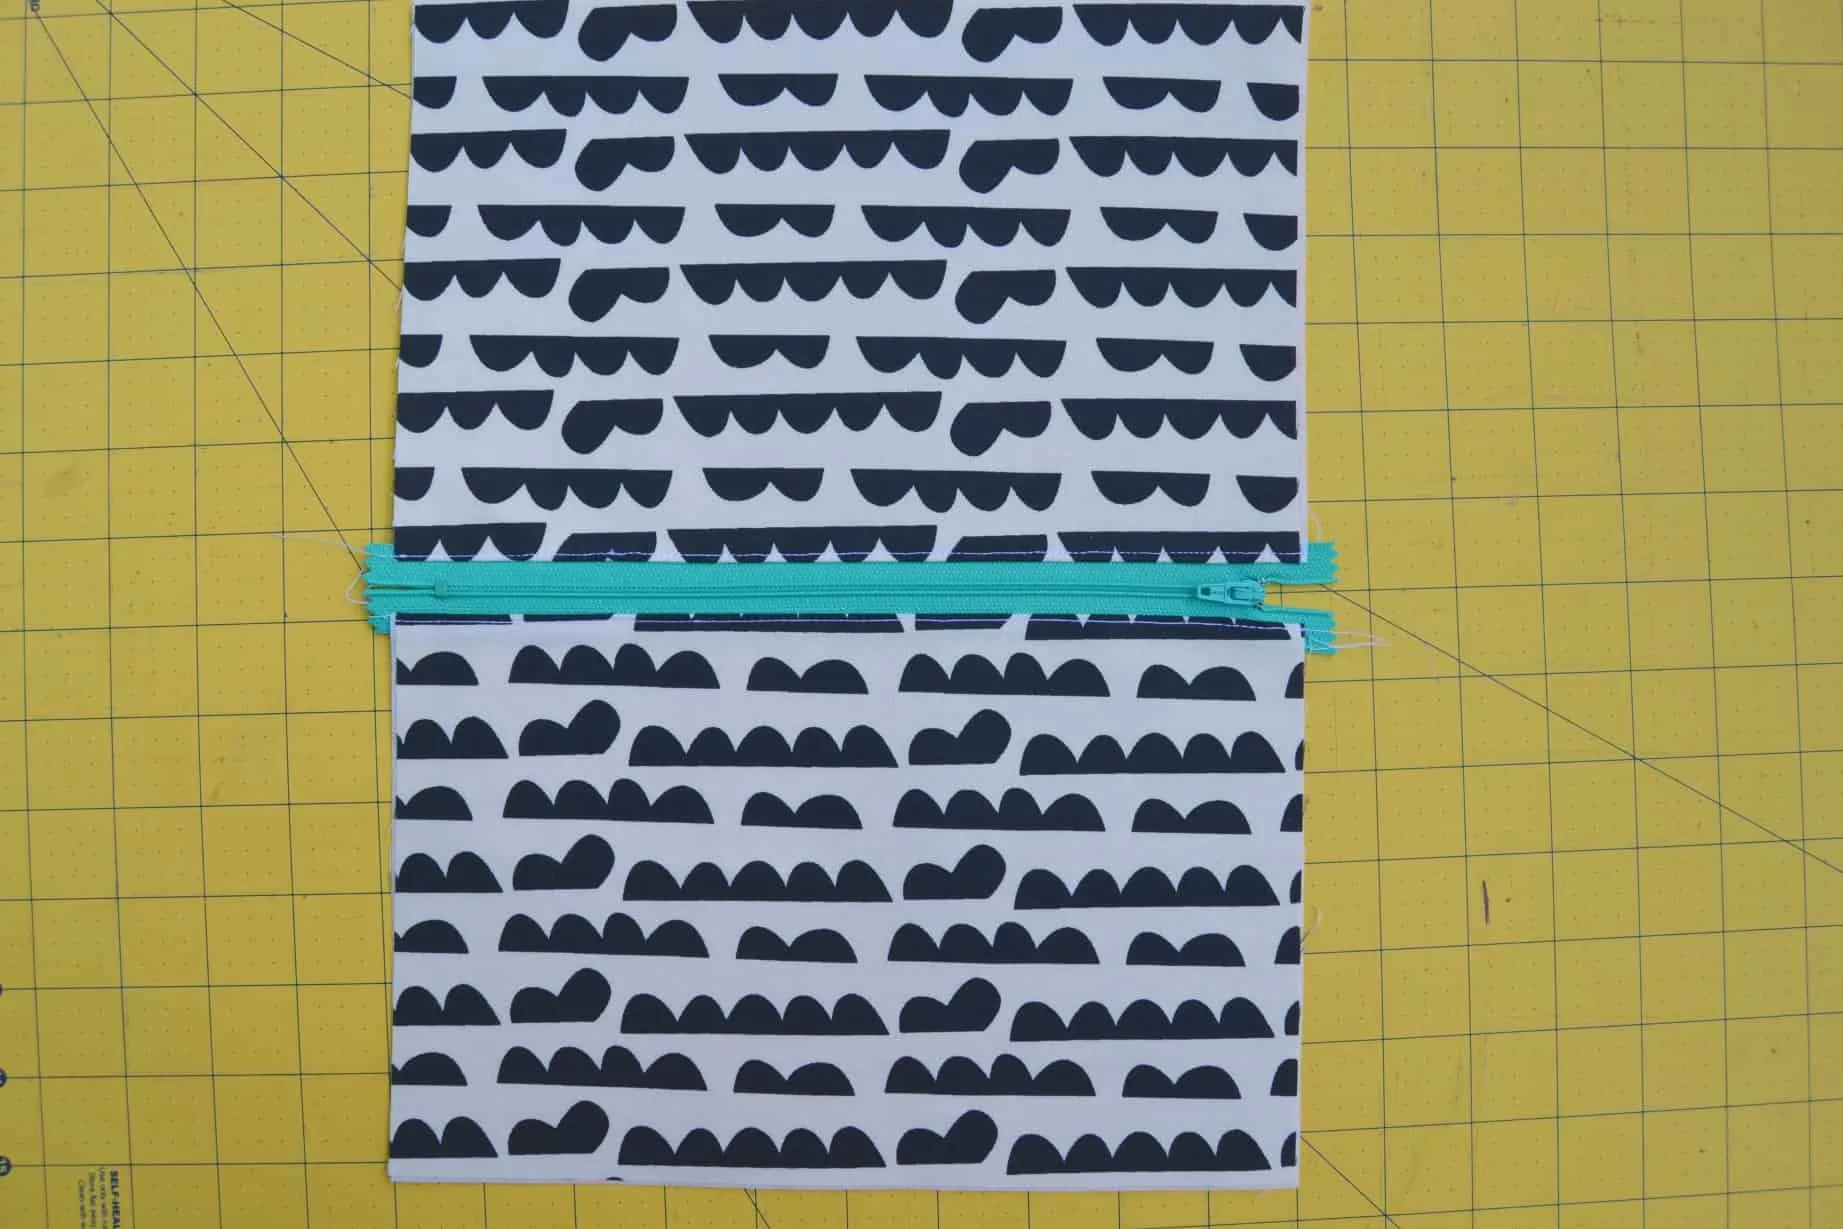
Step 3: Lay one of your cotton/interfacing rectangles down with the right side of the fabric up. Lay your zipper down on top of it, with the right side of the zipper facing down. Pin the zipper into place and then sew it down.  Step 4: Take your other piece of cotton fabric/fusible interfacing and lay it down with the right side up. Then take your other piece with the zipper attached to the top and lay it down on top with the right side down. Line the zipper up with the top and pin and sew it onto the second rectangle.
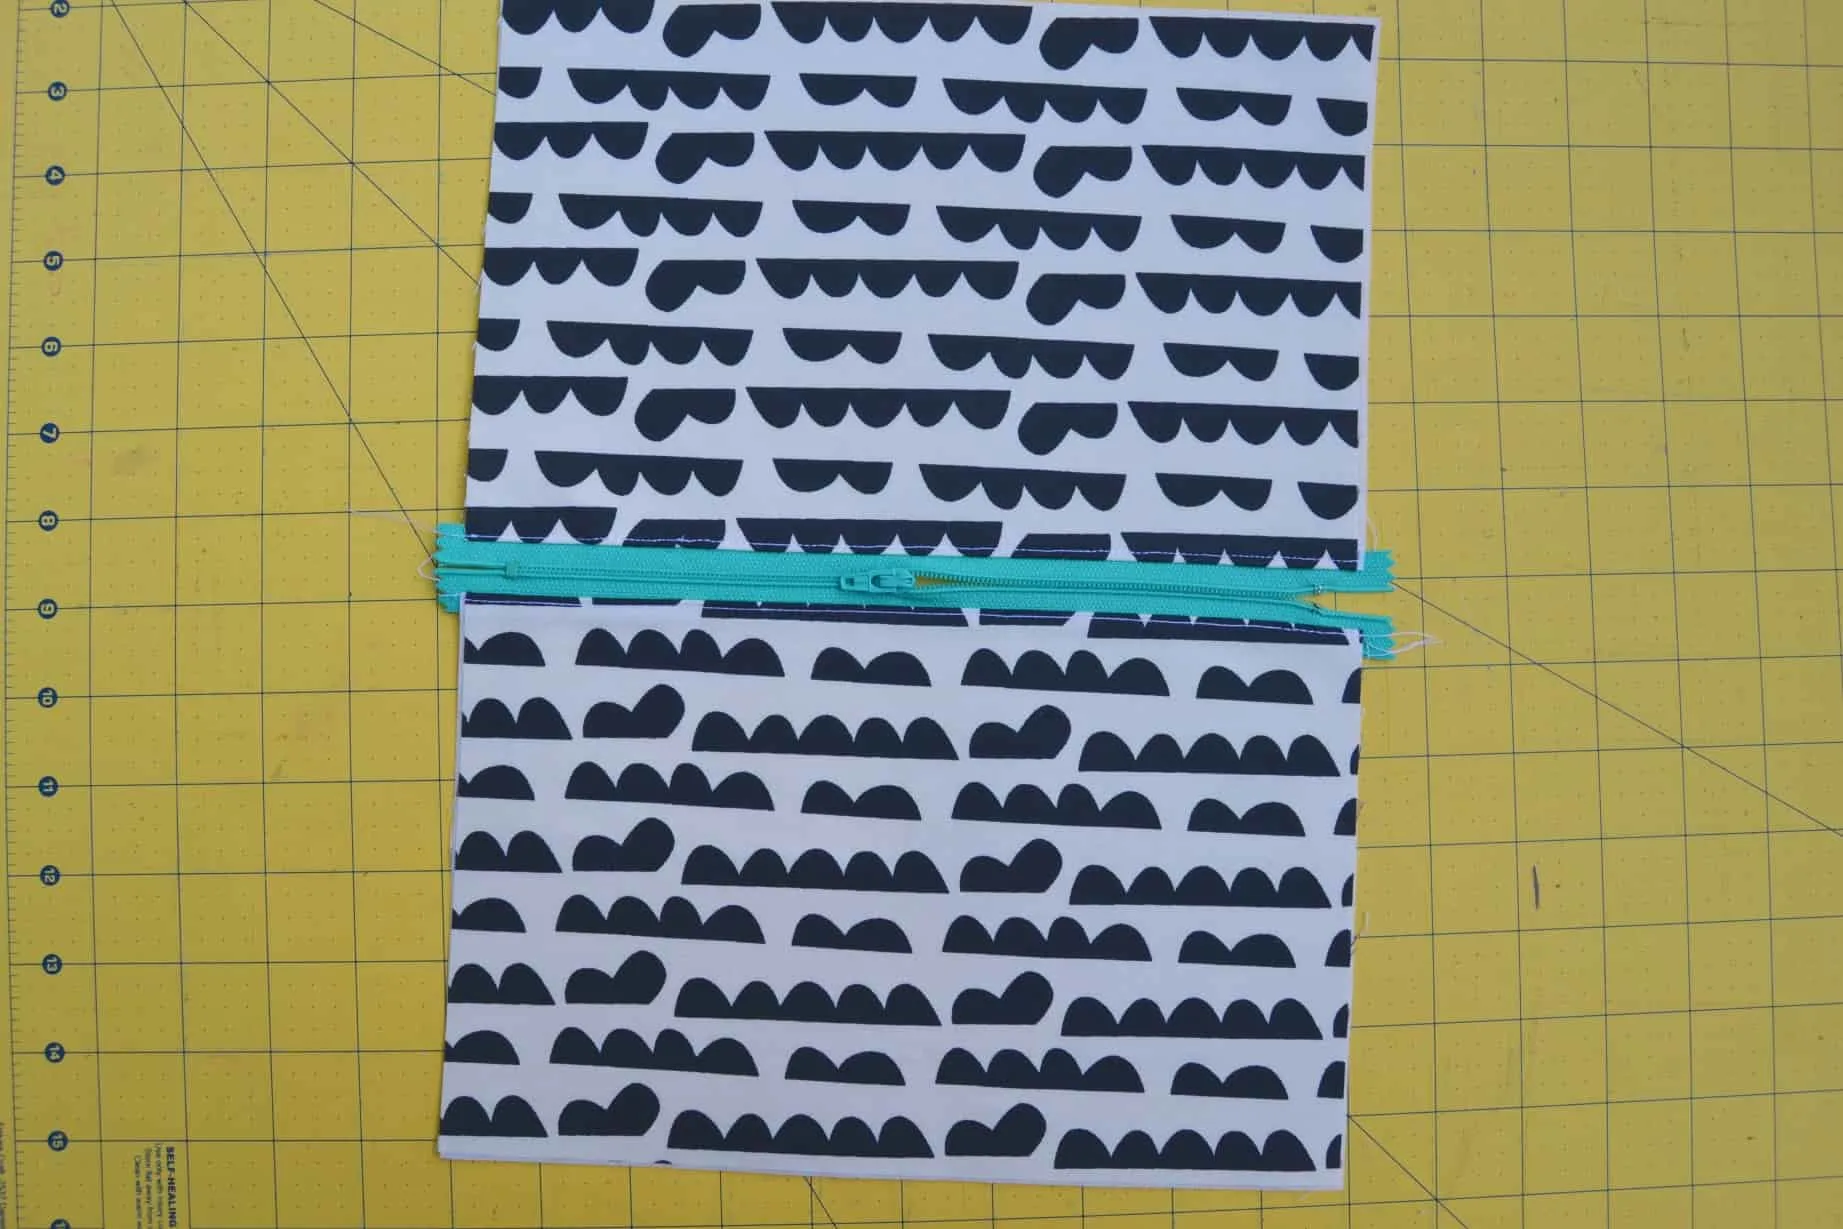
 Step 5: Open it up and it should look like the picture below. Press it nice and flat. Then sew along the dotted lines below.
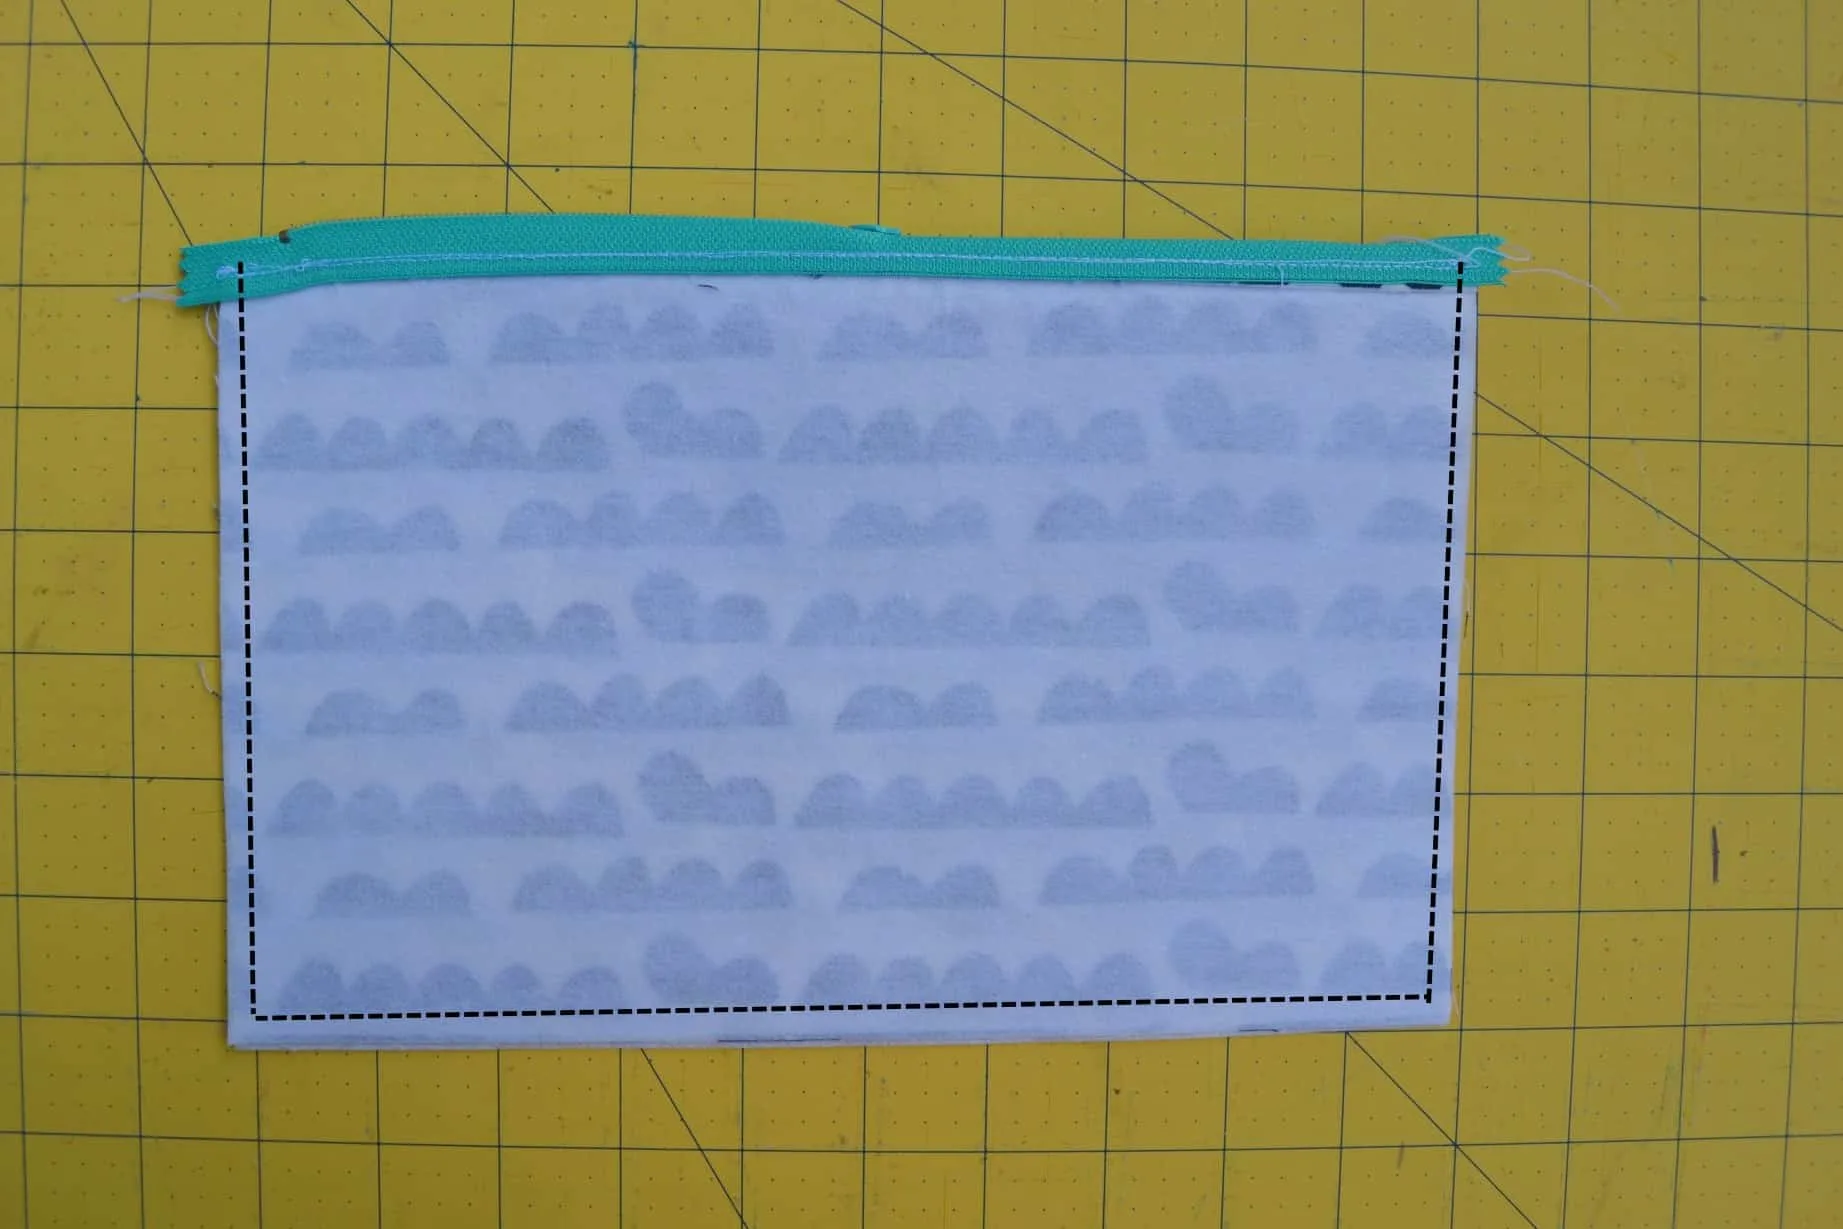
 Step 6: Unzip the zipper half way. Then the top to the bottom. Pin and sew around the three edges, following the dotted line in the picture below. Sew 1/2 inch from the edge.
Step 7: Notch the corners and then trim around the edges with pinking shears.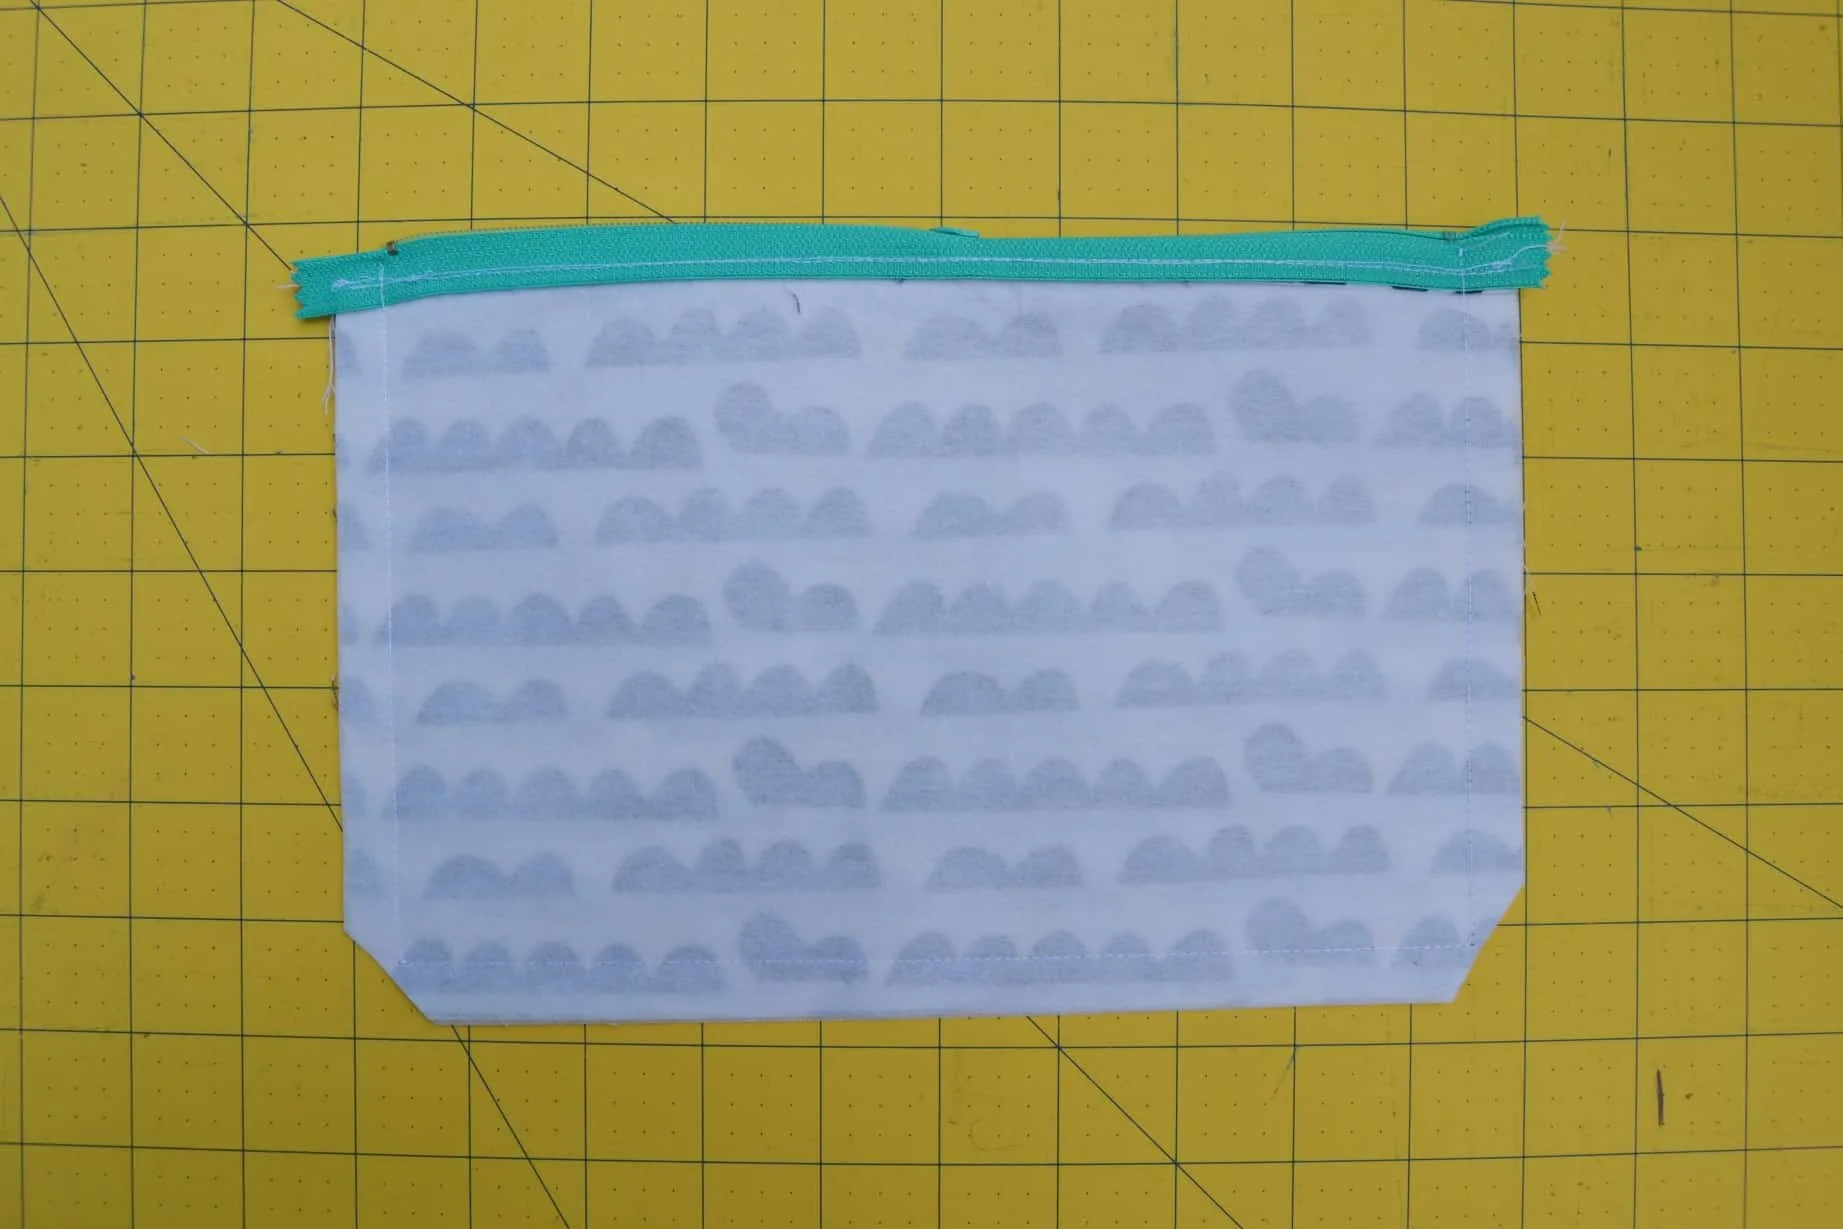
 Step 8: Reach into the pouch, unzip it the rest of the way, and turn it right side out. Use something like a pencil to help poke out the corners and give it a little press.
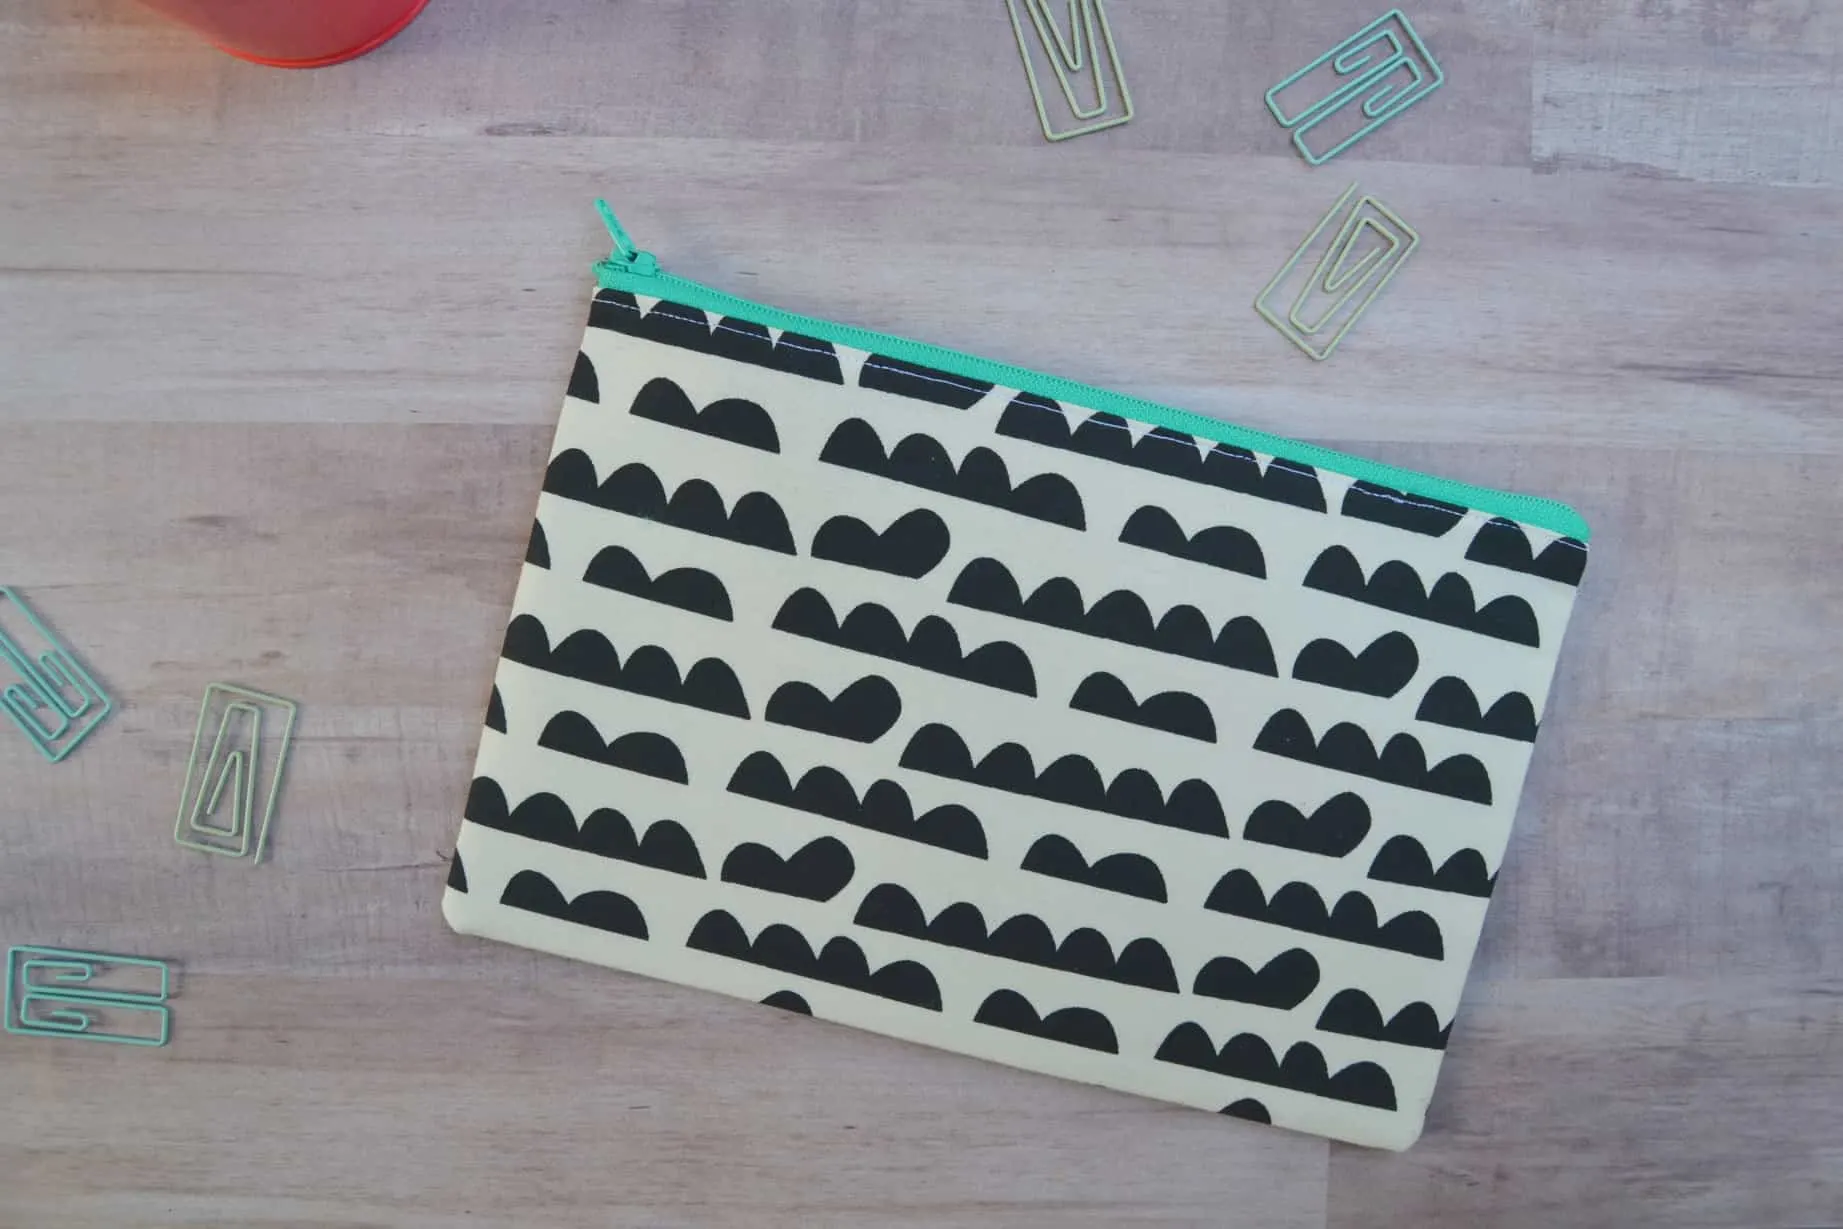
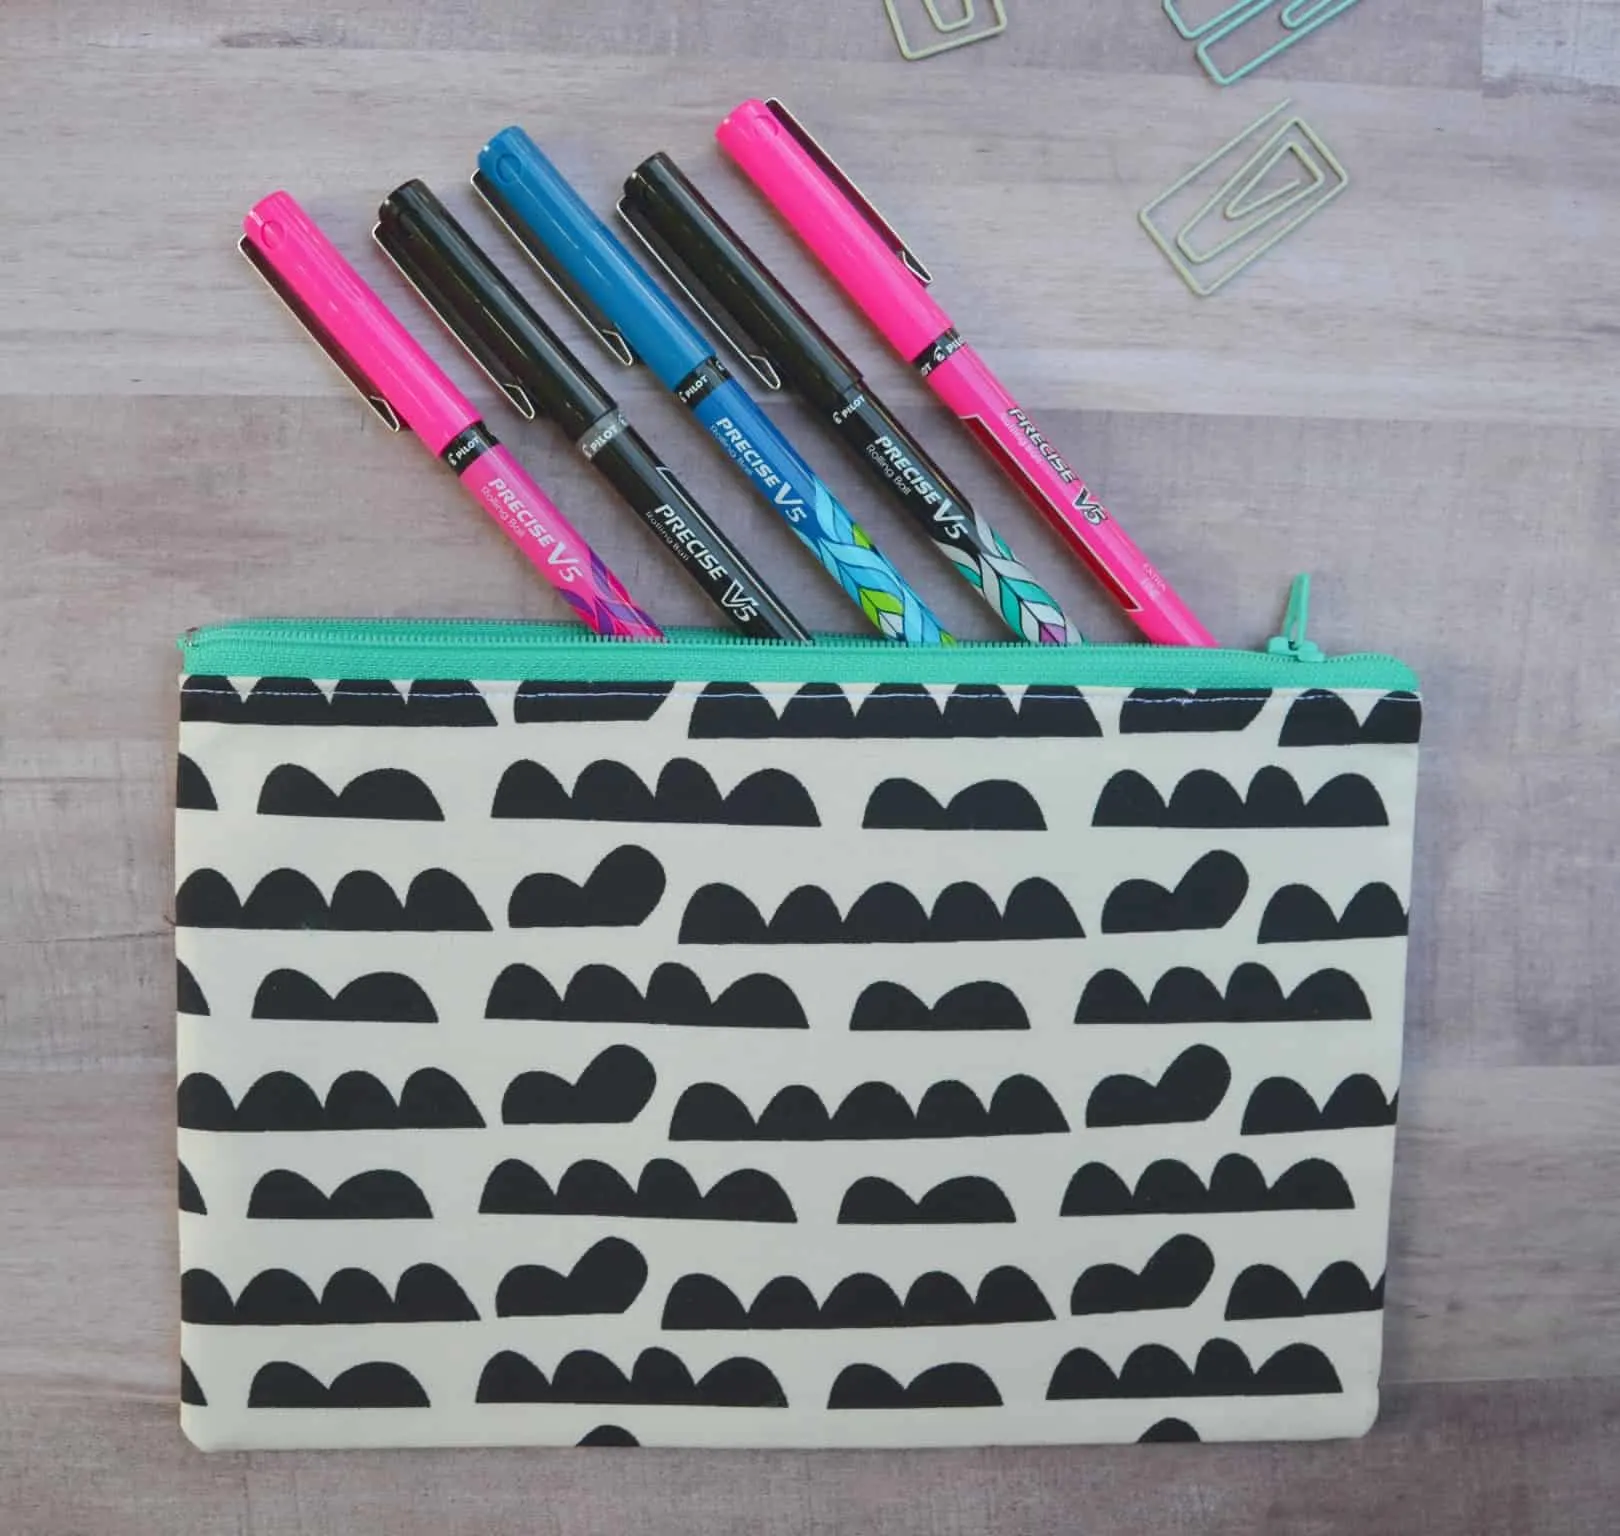
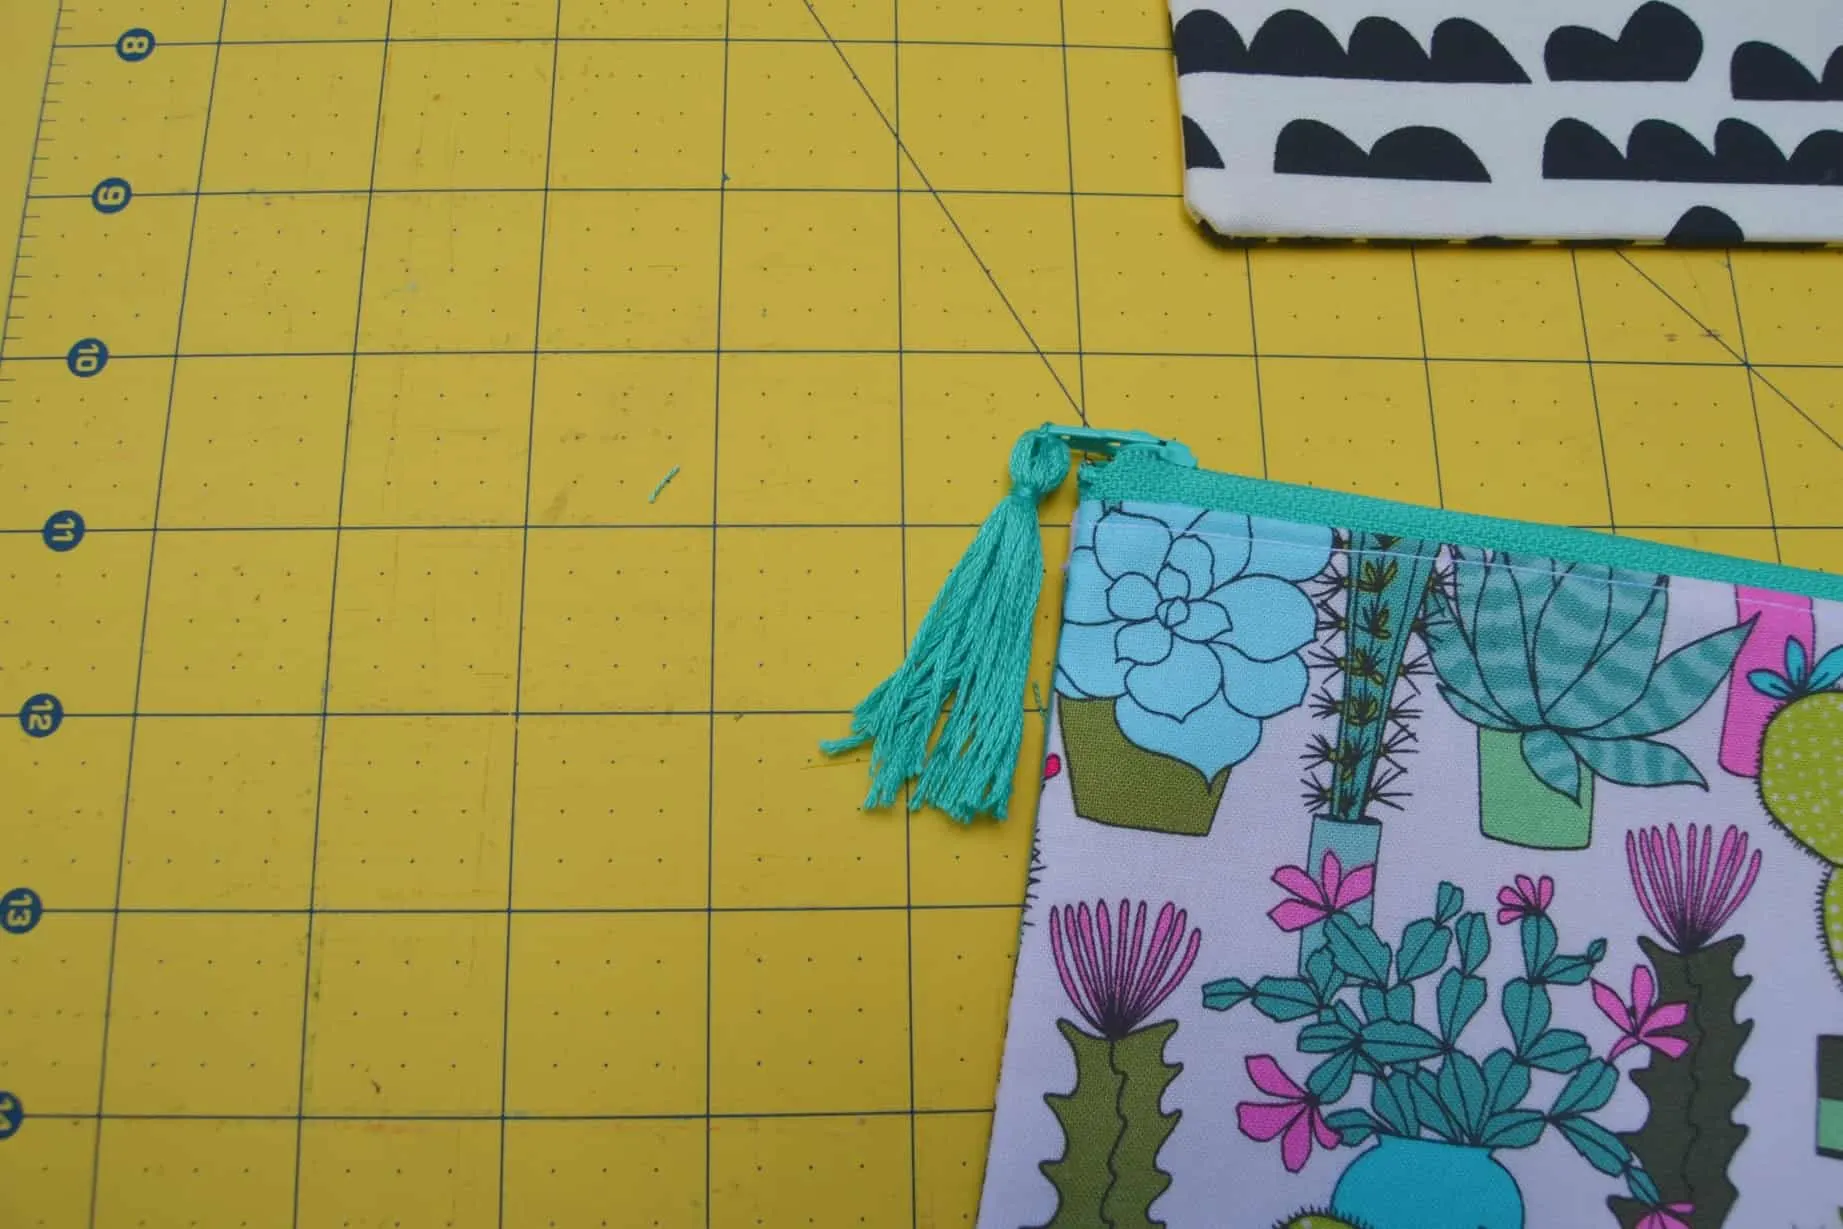
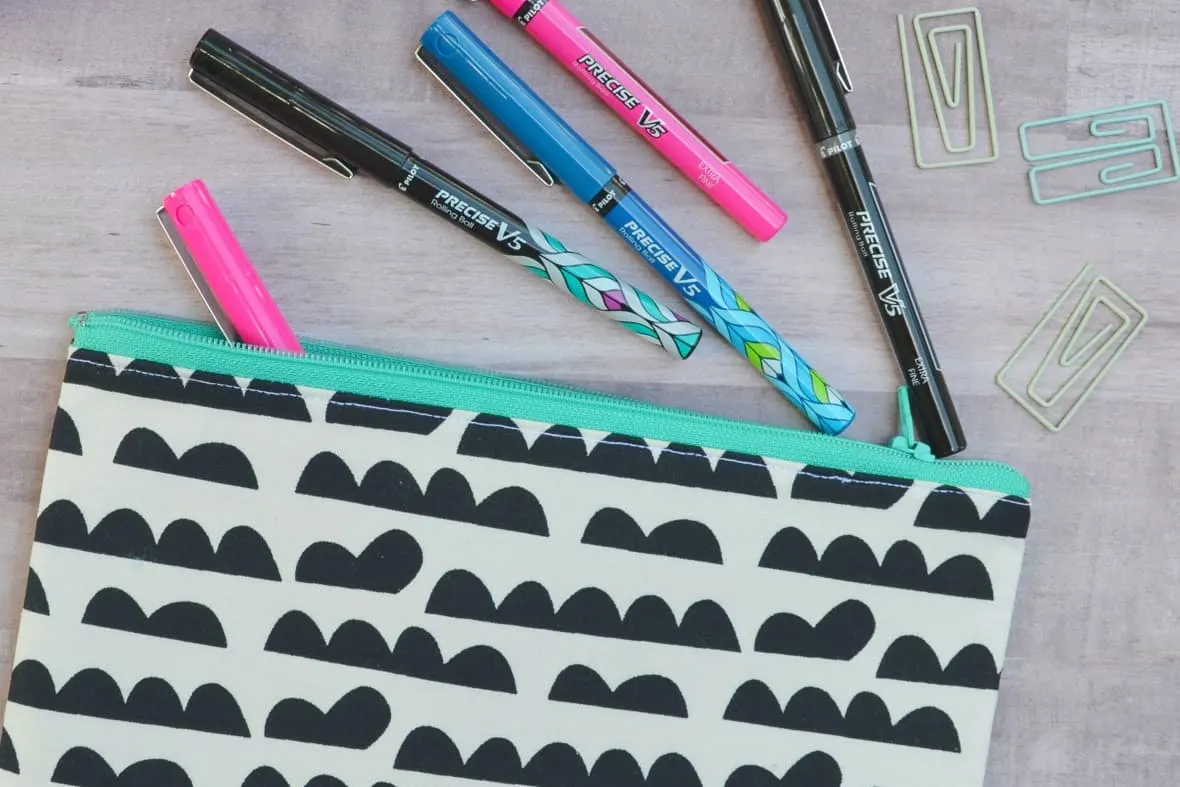 Now you can totally be done at this point but if you want to do a little bit more you can add a tassel to it like this little cactus one I made.
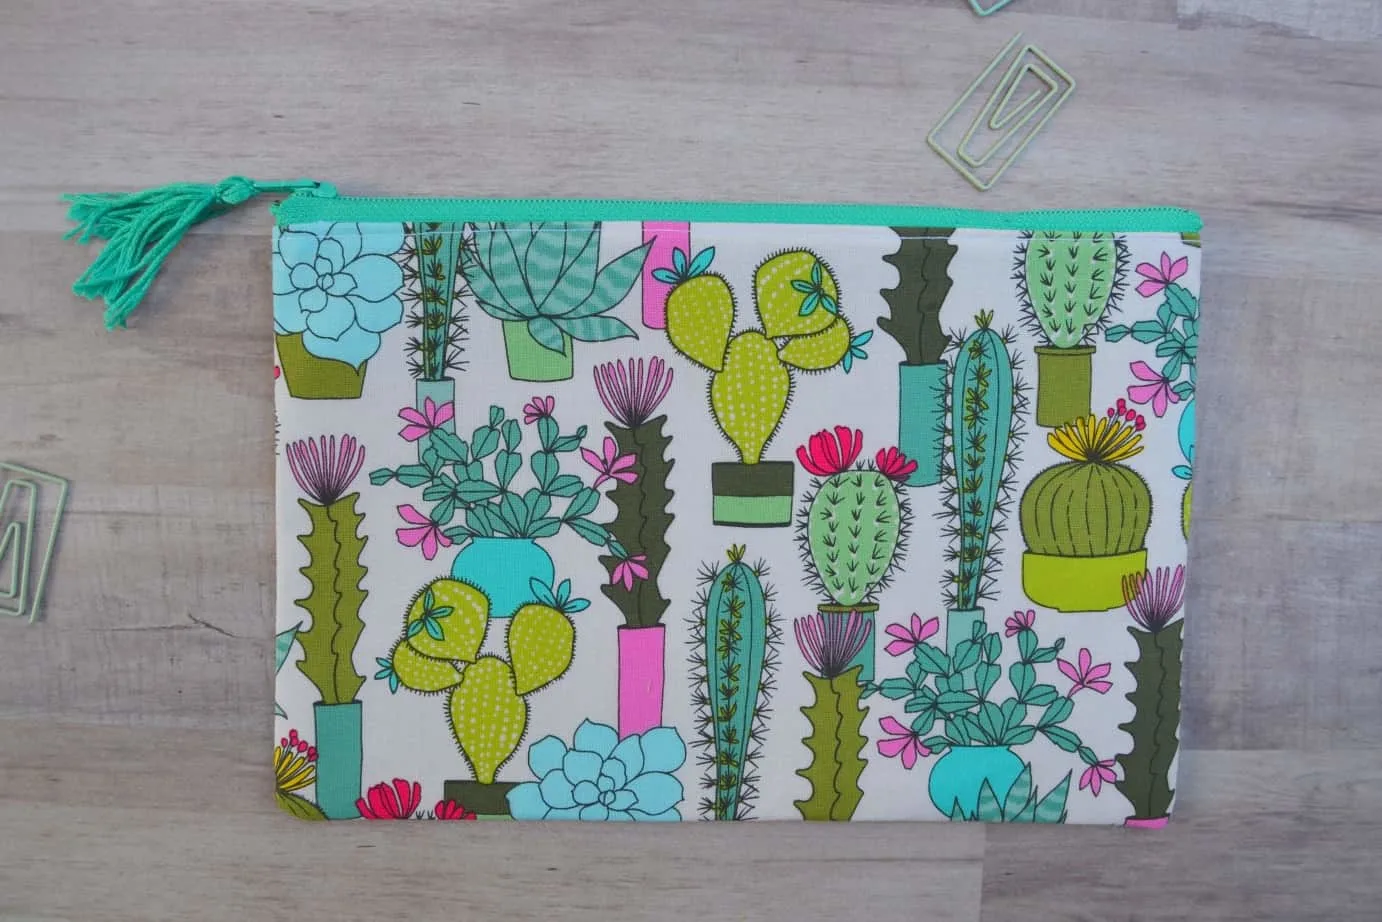 To make the tassel:
 Step 1: Wind some embroidery floss around 3 fingers.
Step 2: Cut one end of the loop you made.
Step 3: Take another piece of the embroidery floss and tie it around the middle.
Step 4: Flop the top group of floss threads over that middle knot that you tied.
Step 5: Take another piece of embroidery floss and tie it around the new middle. The original tie piece from step 3 will become the thread that the tassel hangs from- use it to tie the tassel to the zipper.
And now you have a tassel!
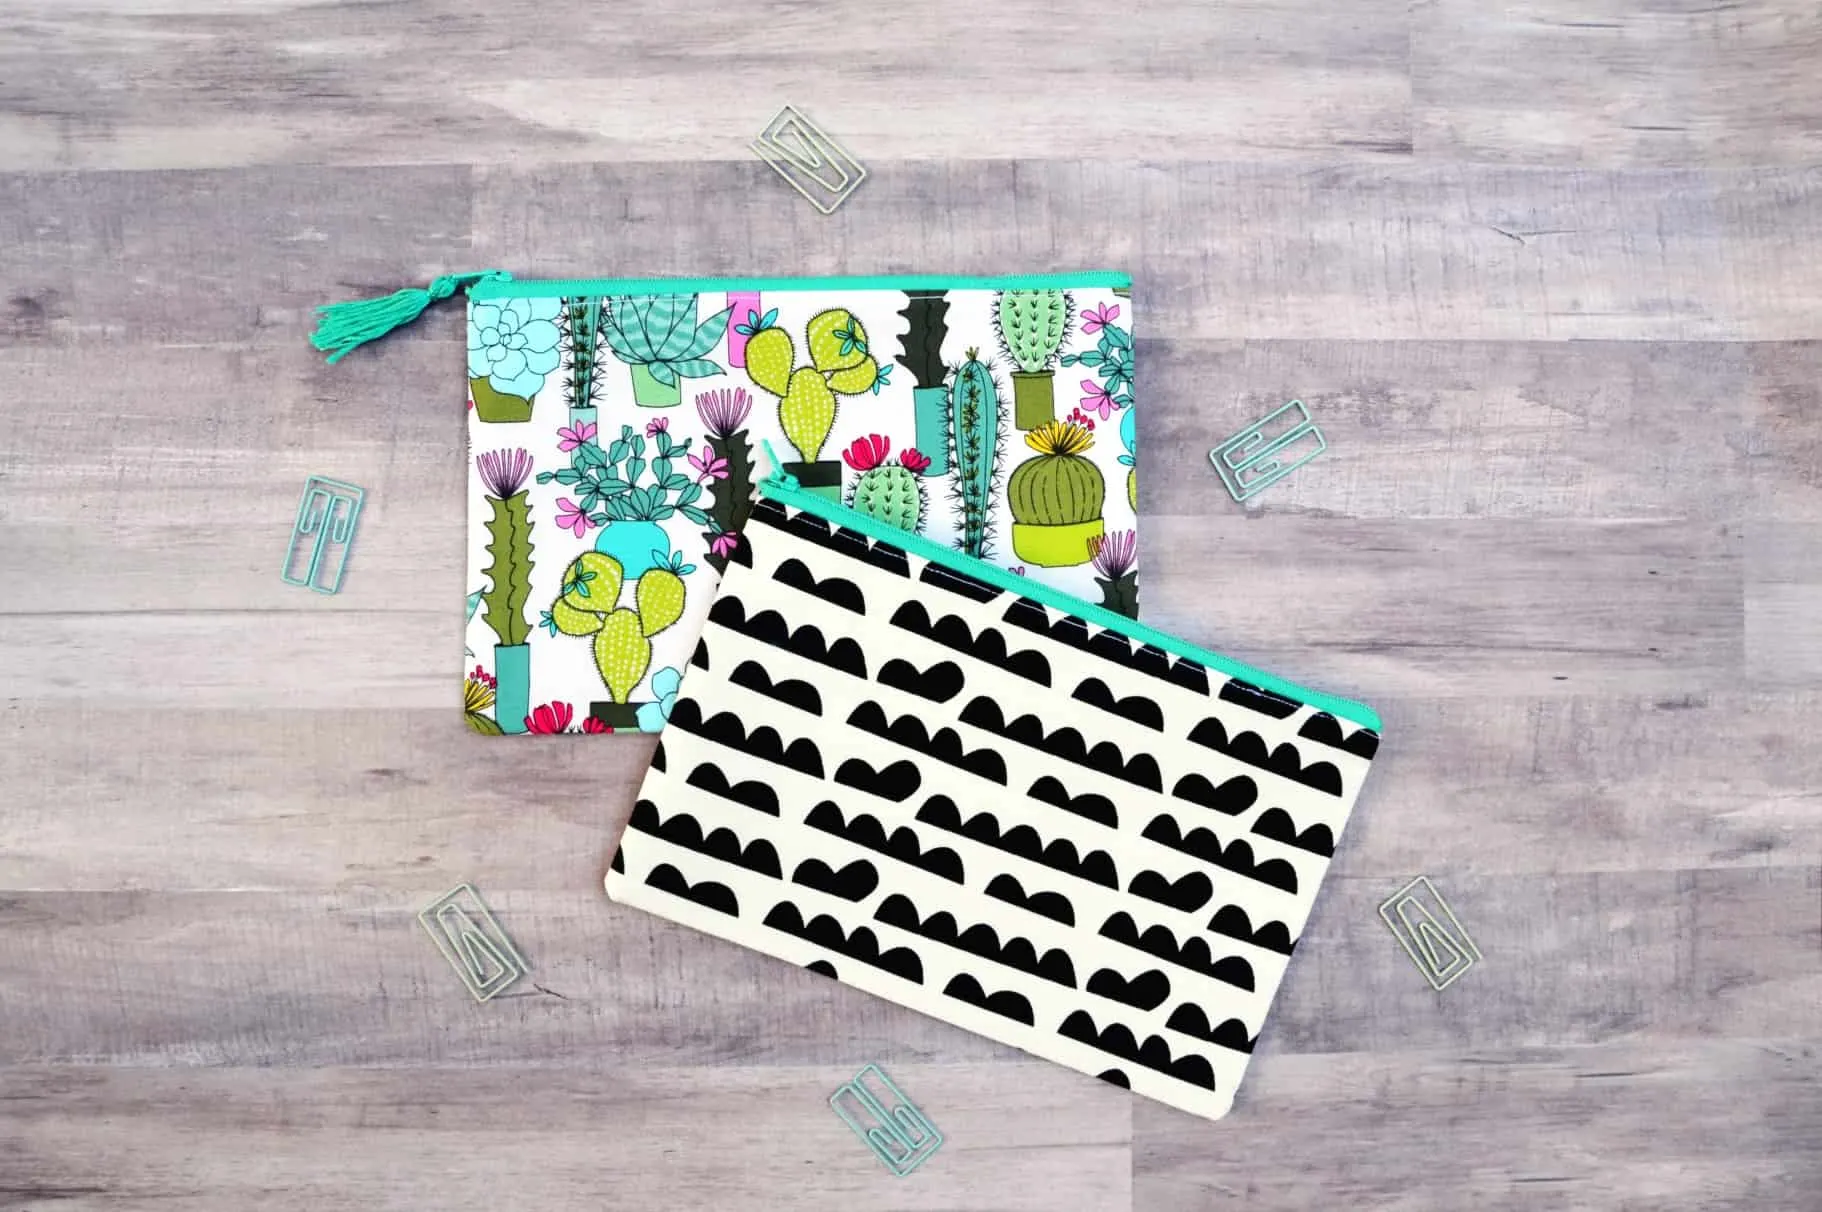
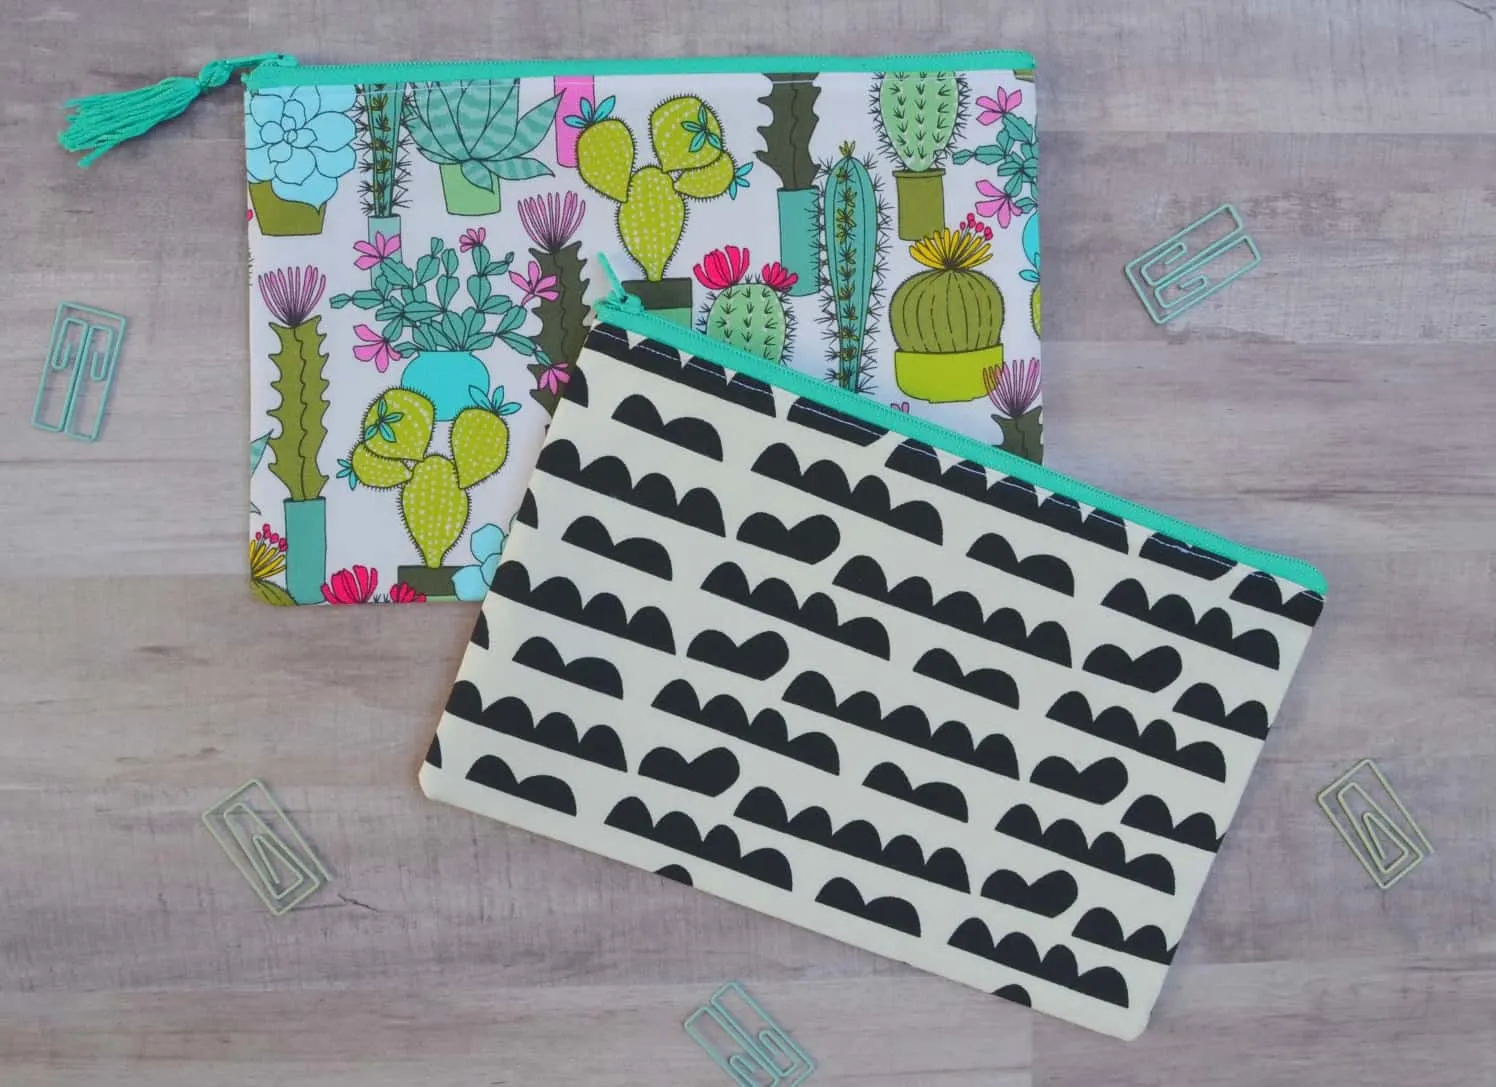 That’s the whole zipper pouch tutorial. Now you’ve got two awesome options for making a simple zipper pouch to carry around all your pens! Which one will you make? Let me know in the comments below and be sure to stock up on the new Precise pens!

Charlotte
Friday 10th of August 2018
Thank you so much for great ideas.....
Cat
Friday 10th of August 2018
You're welcome!
Shannon Molenburg
Friday 20th of July 2018
These are the cutest!!!!! Love your choice in pens too :)
Cat
Friday 20th of July 2018
Thank you!!!
Kelly
Thursday 19th of July 2018
Loving those Deco wrapped pens, especially the bonus clicker pen. I like to keep these in my purse or car. #client
Cat
Thursday 19th of July 2018
I love a good clicker pen! So handy!