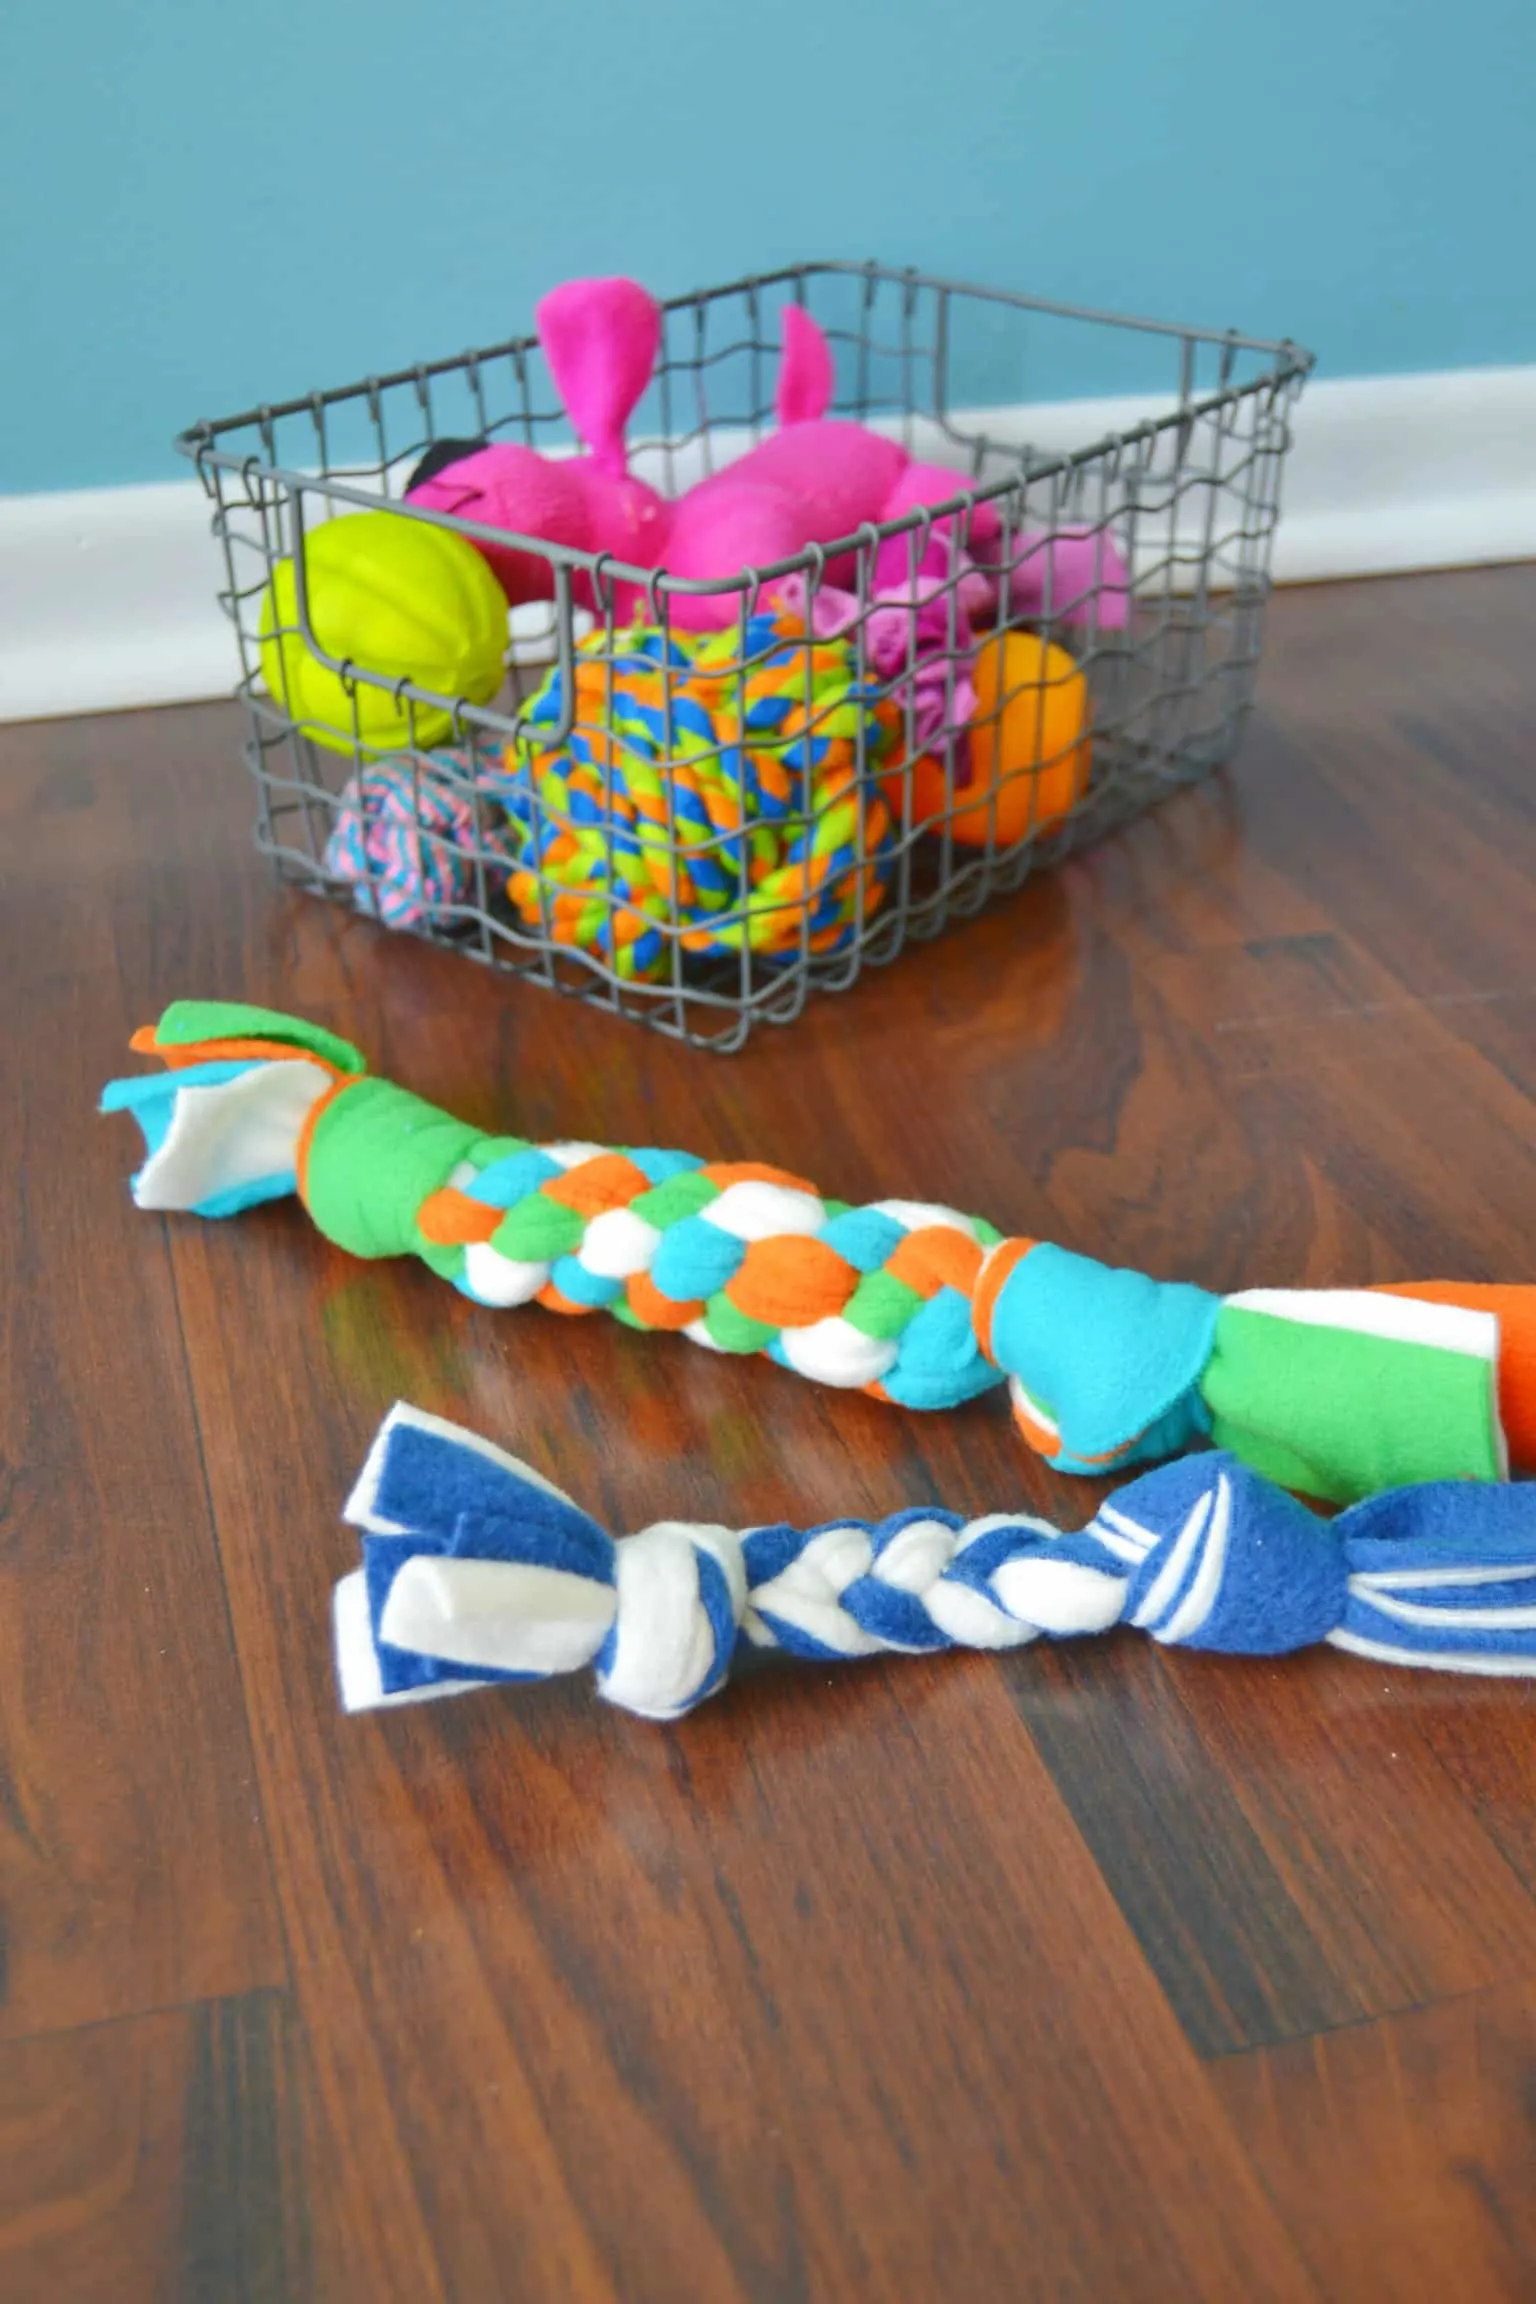
Make your furry friend some festive fleece dog toys for Christmas this year! I know that Christmas is just around the corner but you’ve got plenty of time because you can make one from this dog toy DIY tutorial in no time at all.


I absolutely love crafts like this that are what I call a triple threat- inexpensive, easy, and quick. And since your furry friend is going to chew on these it only makes sense that you would want it to be all 3 of those things.
So like I said I’m going to share tutorials for how to make two different types of rope-type dog toys that are good for tossing around and playing fetch. Homemade toys are wonderful BUT as with any other toy please be sure to supervise your dog for safety.
DIY Fleece Dog Toy Tutorial #1
The first rope style diy fleece dog toy is super simple. It’s a basic braid. To make this one you will need:
- 6 1 inch X 18 inch pieces of fleece fabric
Step 1: Lay the 6 fabric strips on top of each other and tie a knot in one end. I find it helpful to tape the braid down onto a table or put it between your knees.
This helps you to be able to pull things tight as you go along. Separate the fabric out into 3 pairs.


Step 2: Braid the fabric.


Step 3: When you have braided what you want to braid then you will tie a knot on the other end to finish it.


This size of fabric will make a small rope toy, about 9 inches long. If you want to make a longer toy then use longer strips.

Tutorial #2
The second rope style is a little more complicated therefore I’m going to try to break it down more. For this one I channeled my younger self from summer camp days when we would make those plastic lanyard things that you could make into a necklace or key chain. Remember those?
This one uses a square knot technique. Here’s what you will need:
- 4 2 inch X 30 inch pieces of fleece fabric
This size of fabric will make a medium sized rope toy, about 13 inches long. If you want to make a longer toy then use longer strips.
Step 1: Lay the 4 strips of fabric on top of each other and tie a knot in one end.

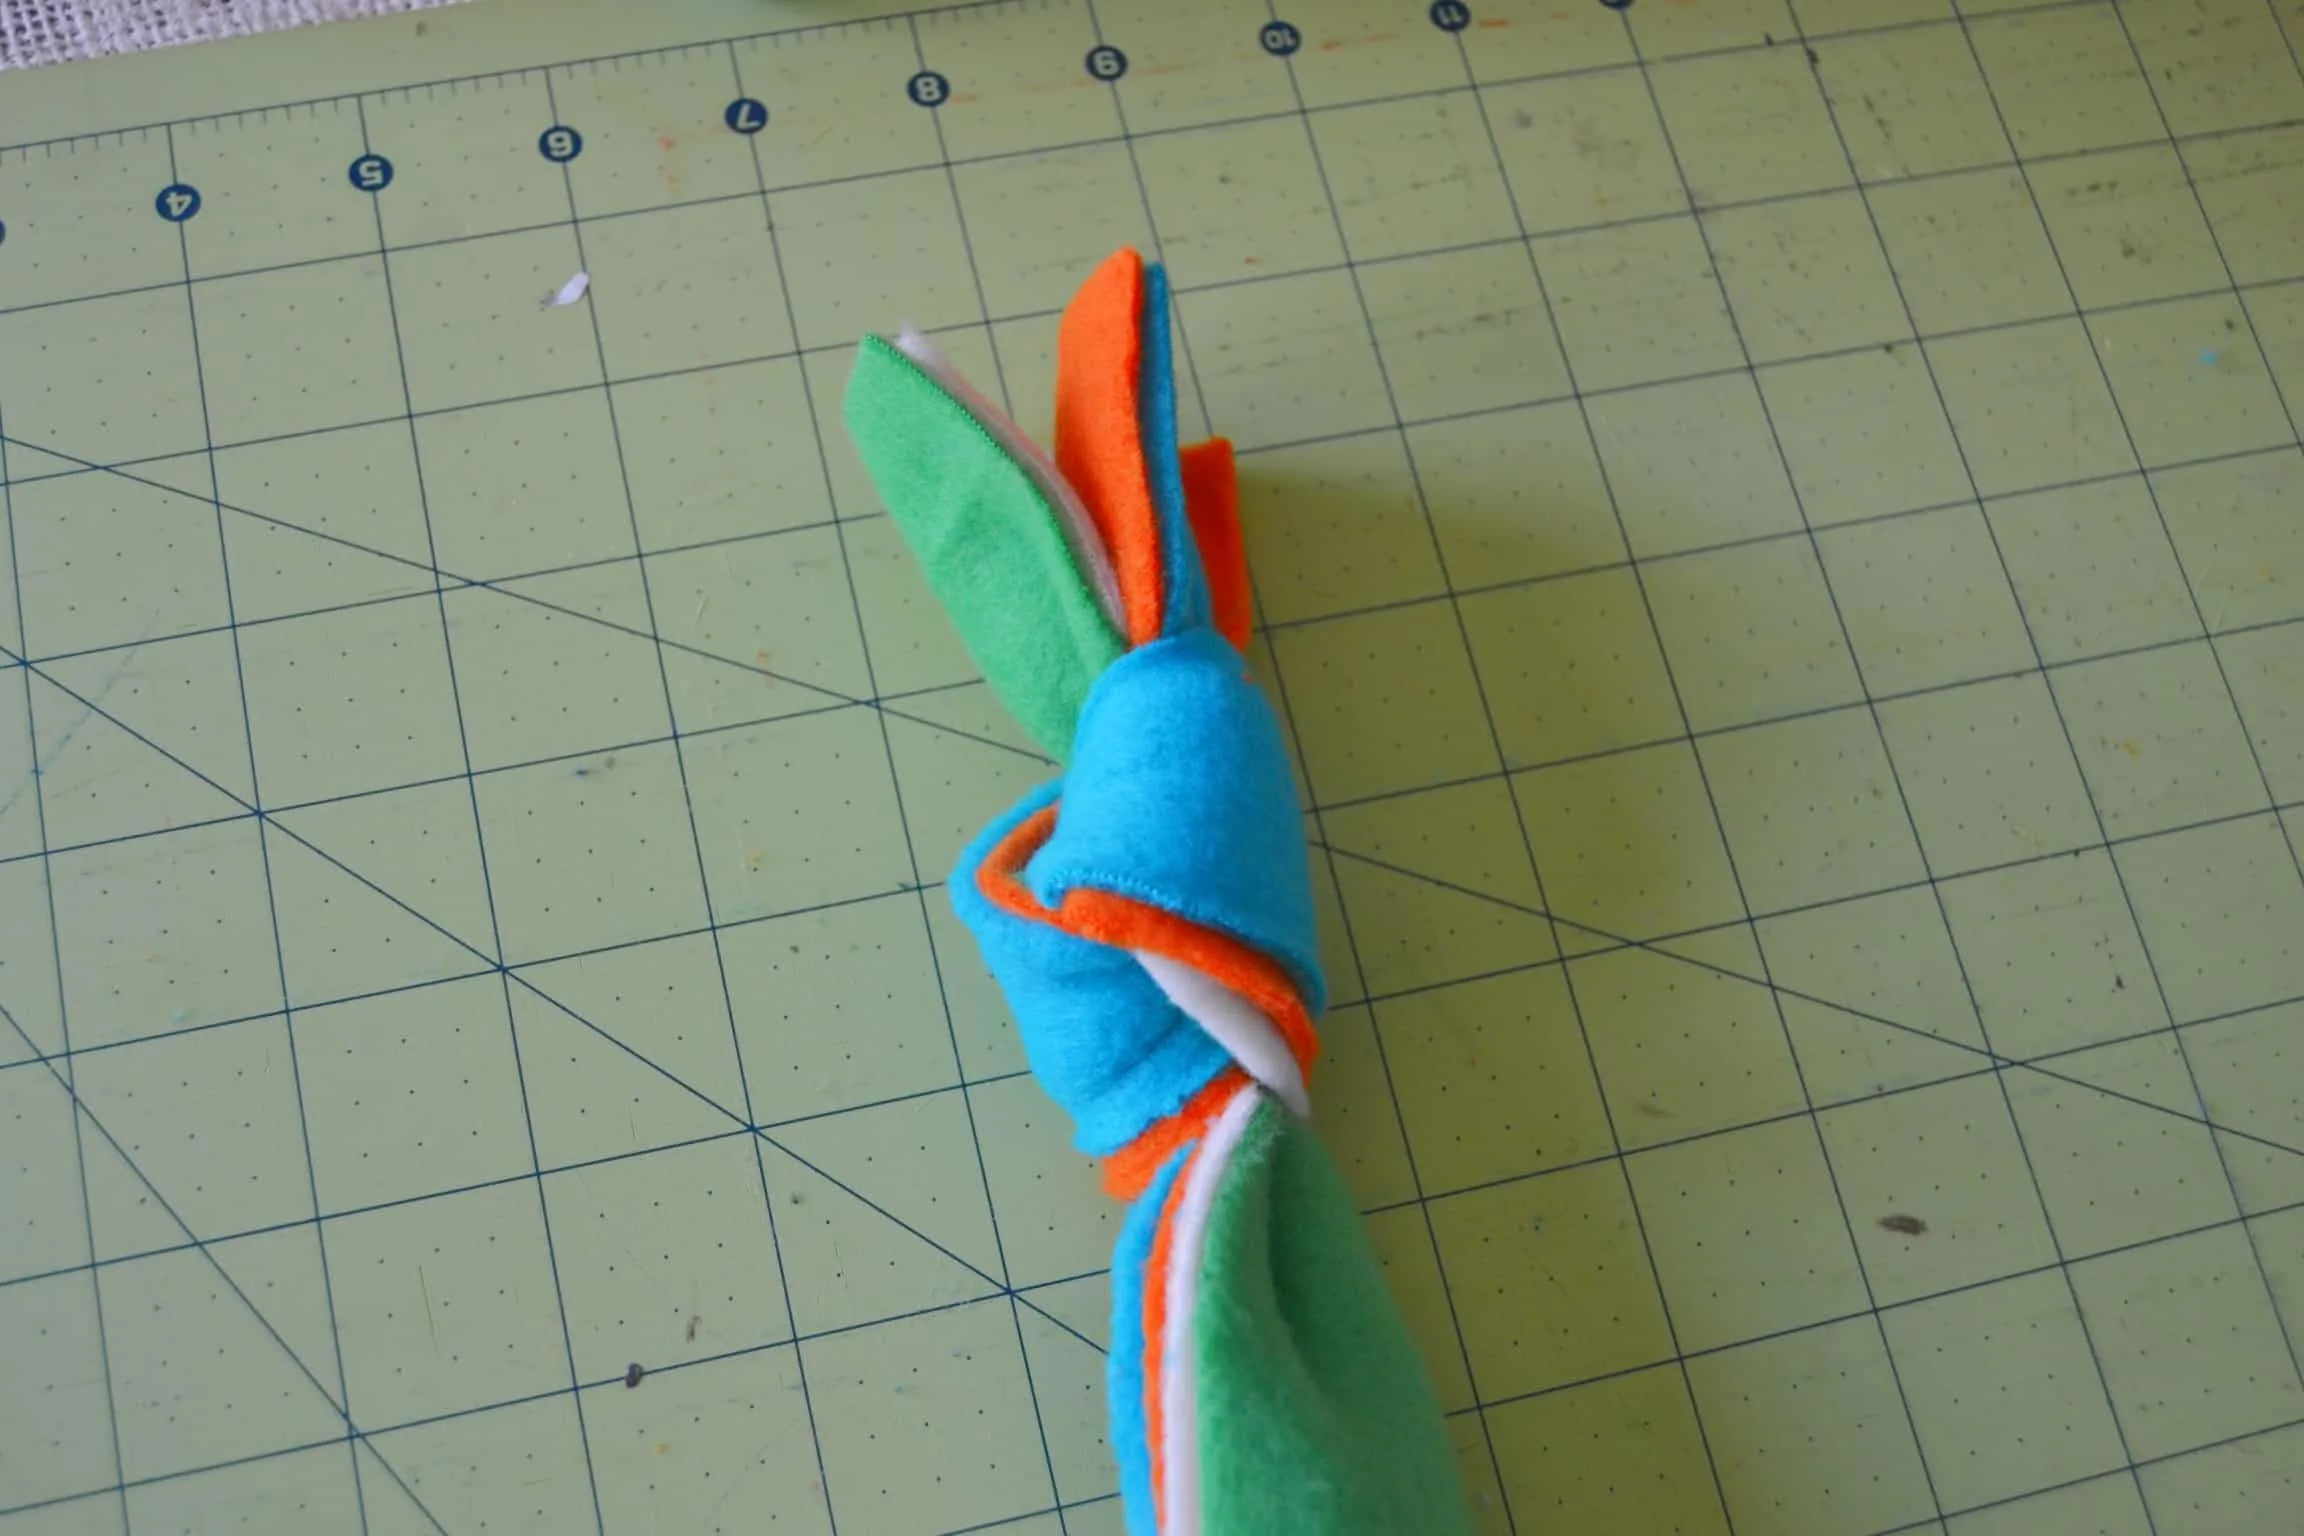
Step 2: Next place the knot in between your knees. Spread the pieces of fabric out into a cross pattern.


Step 3: Make a square knot. Fold the bottom piece up to the top left. Then fold the top piece down to the bottom right. Fold the right piece to the left, going over, then under the two pieces of fabric in the middle.
Then fold the left piece over to the right, going over, then under. Pull all four ends of fabric to tighten the knot. The picture sequence below should help make this more clear.


Step 4: Keep making knots, like so.


Step 5: To finish things off then make a knot just like you did at the beginning. Trim the ends so that they are nice and even.


And that’s it! You now have two different styles of doy toys that were easy to make!


More Dog DIYs


