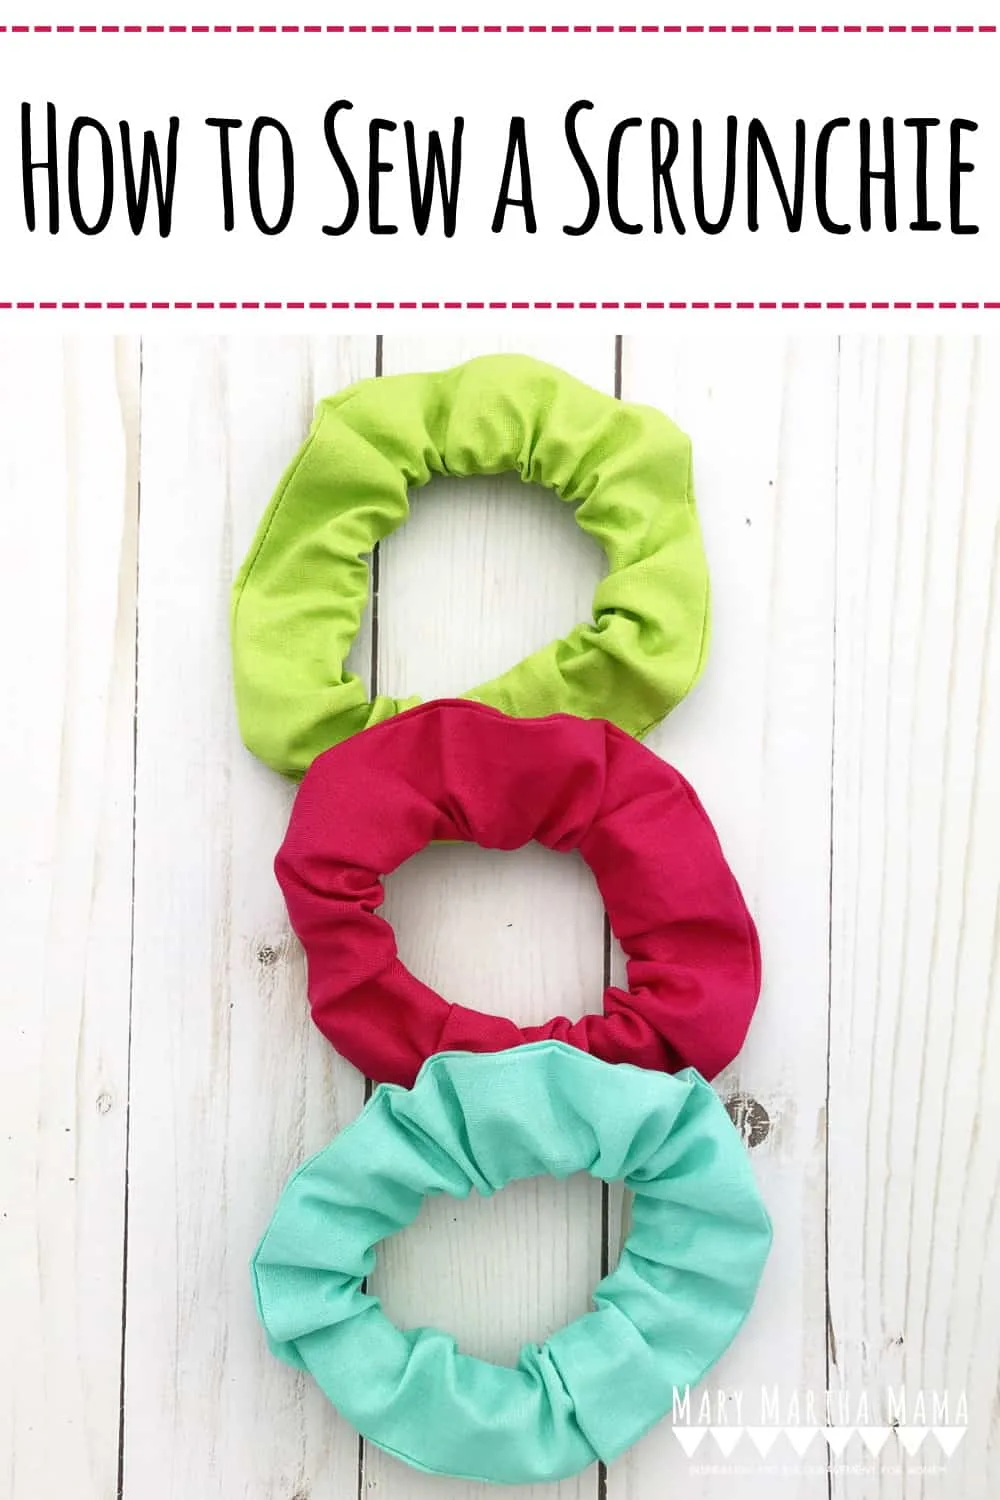
I really didn’t think I’d ever see them come back, but they did! I’m sure you couldn’t help but notice that scrunchies have made their way back and today I’m going to show you how to sew a scrunchie.

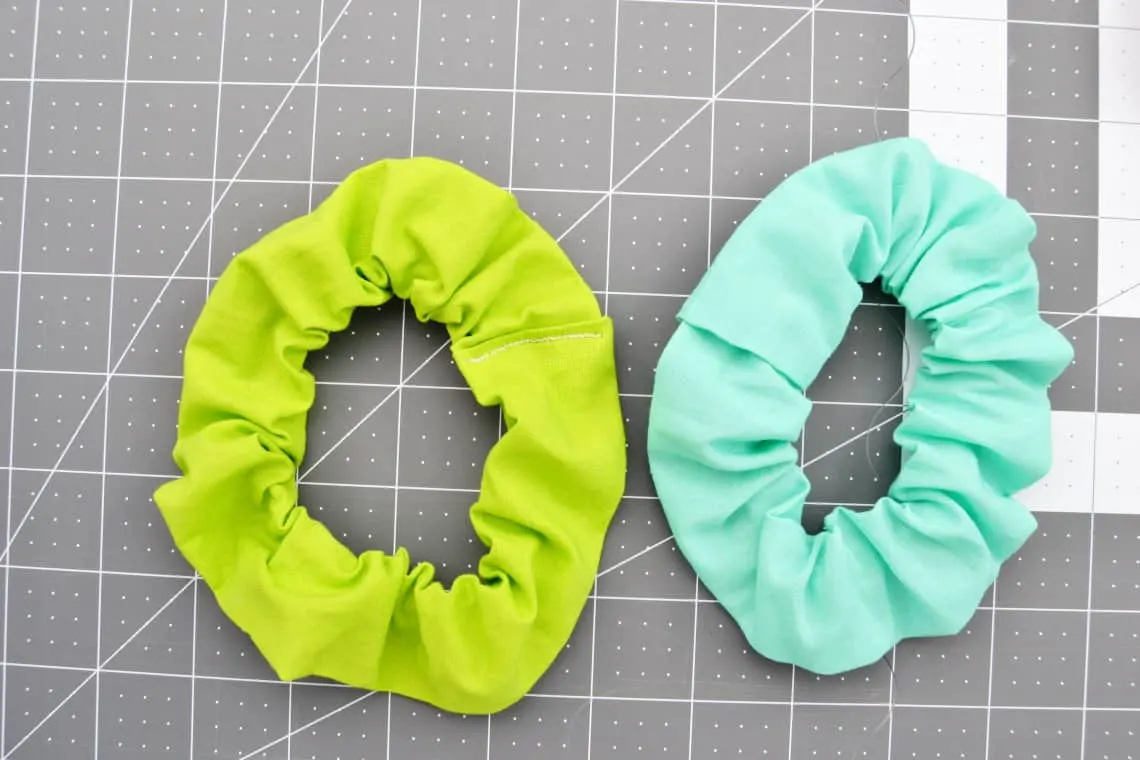
Now you can sew a scrunchie out of whatever fabric you want and this is a great use of some scraps. I will say that it’s easier to sew a scrunchie with a stiffer fabric than something that’s super silky or stretchy.
So you may want to try this tutorial first with a woven cotton or a thicker, stiffer knit cotton in order to get the hang of it before trying it with something like silk.
Supplies Needed
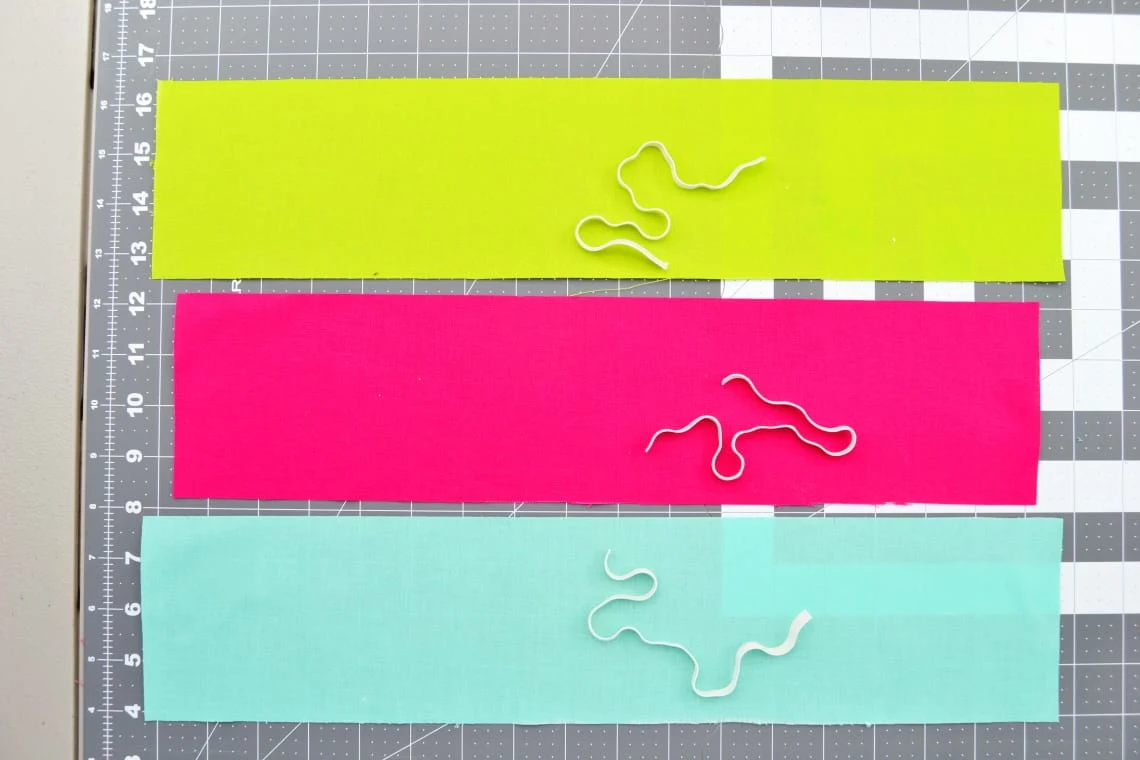
- a piece of 1/4 in elastic measuring 10 in
- a piece of fabric measuring 4 in X 18 in
- sewing machine
- sewing machine needle
- sewing pins or sewing clips
- scissors or rotary cutting set
- safety pin
- hand sewing needle
- coordinating thread

How to Sew a Scrunchie
Step 1
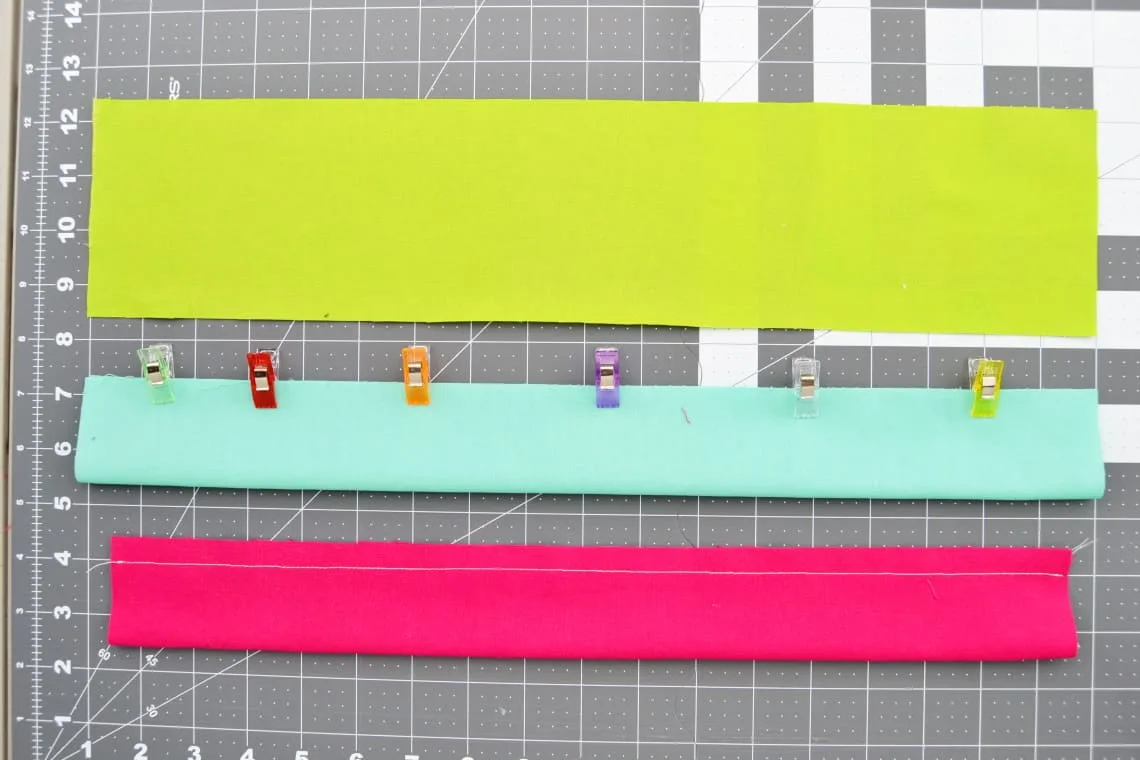
Fold the piece of fabric in half length-wise with the right sides together. Pin or clip it so that it holds itself in place.
Step 2
Sew along the open edge, sewing about 1/2 inch from the edge.

Step 3
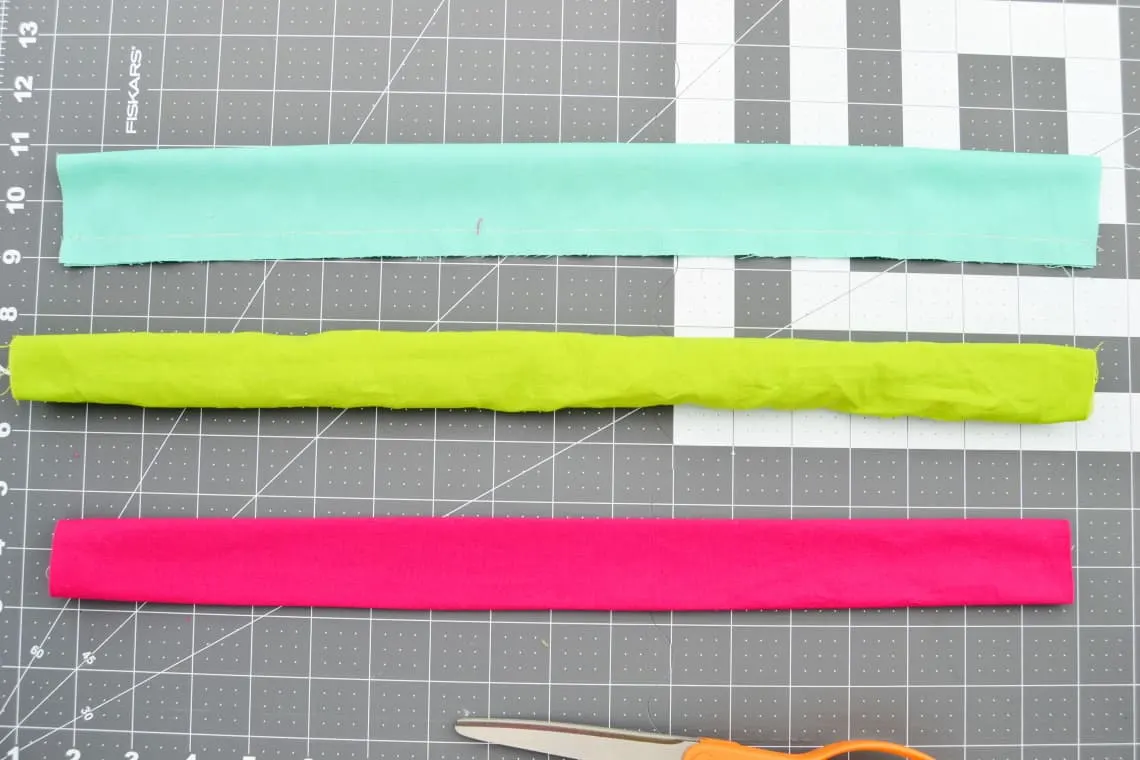
Turn the tube you just sewed right side out. It will probably get pretty crumpled with the turning process so give it a little press.

Tuck one end of the tube to the inside and press.


Step 4
Attach your safety pin to one end of your piece of elastic. Pull the pin through the tube.

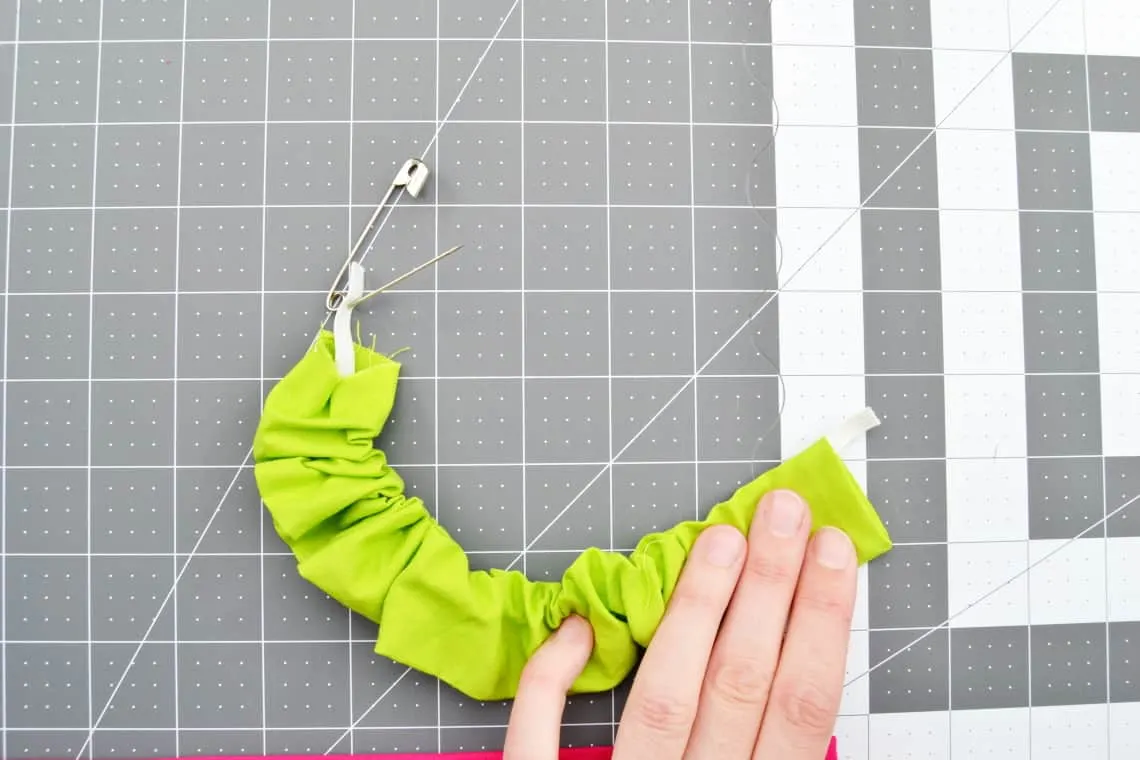
Curve the tube around so that both ends of your elastic overlap by about an inch. Clip or pin them together then sew them together, going back and forth with a zigzag stitch a few times to make sure it’s strong.

Step 5
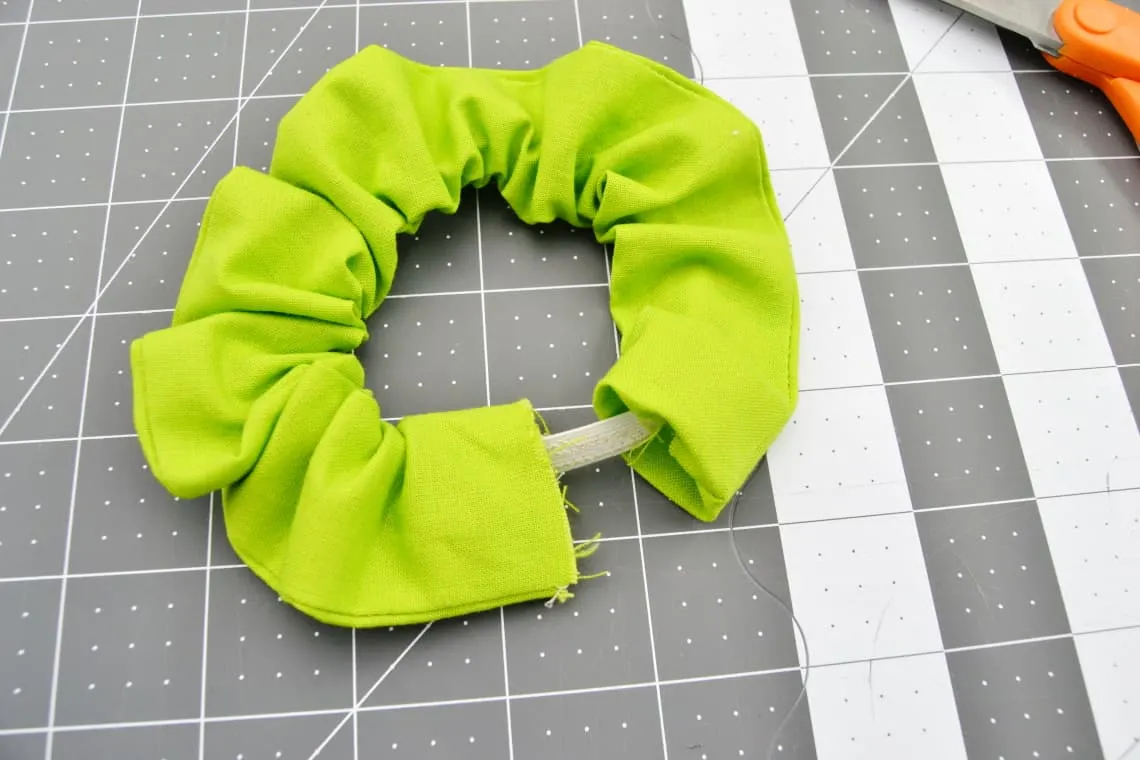
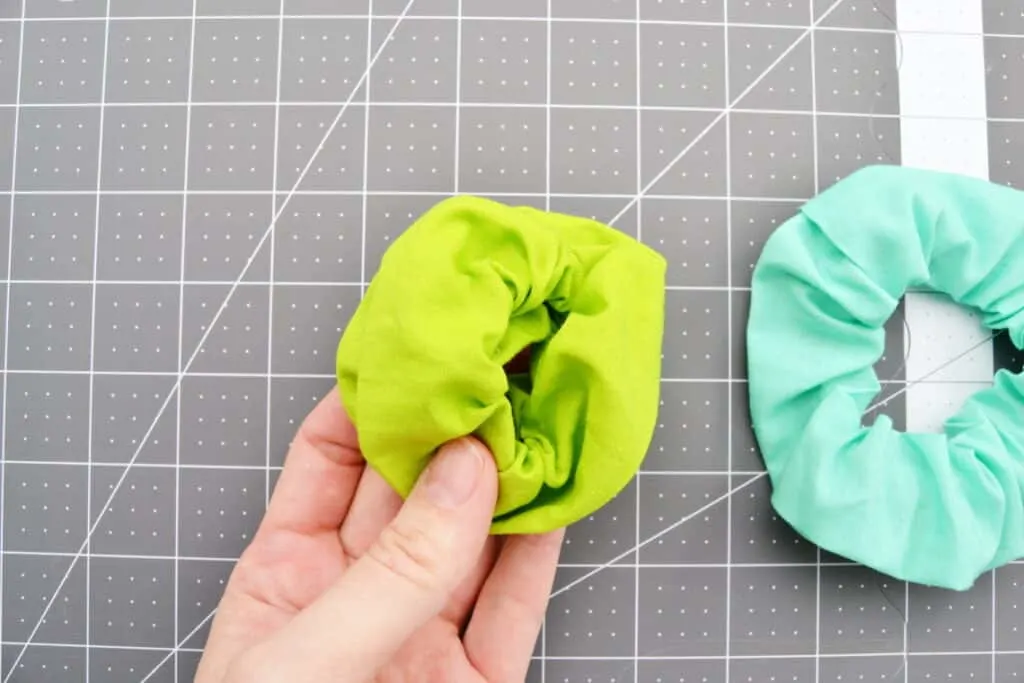
Then insert one of the ends of the tube into the other end.

Use your hand sewing needle and some thread to sew the two ends of the tube together, all the way around. I did this with the blue one and pink one. You can’t see the stitches because of the fold of fabric on the end of the tube that I tucked under.
Alternately you could just do this with your sewing machine like I did with the green one but you’ll be able to see it.

You wouldn’t really notice it too much if you use a coordinating thread. It’s also less visible when you double the scrunchie up like you would to put your hair up.

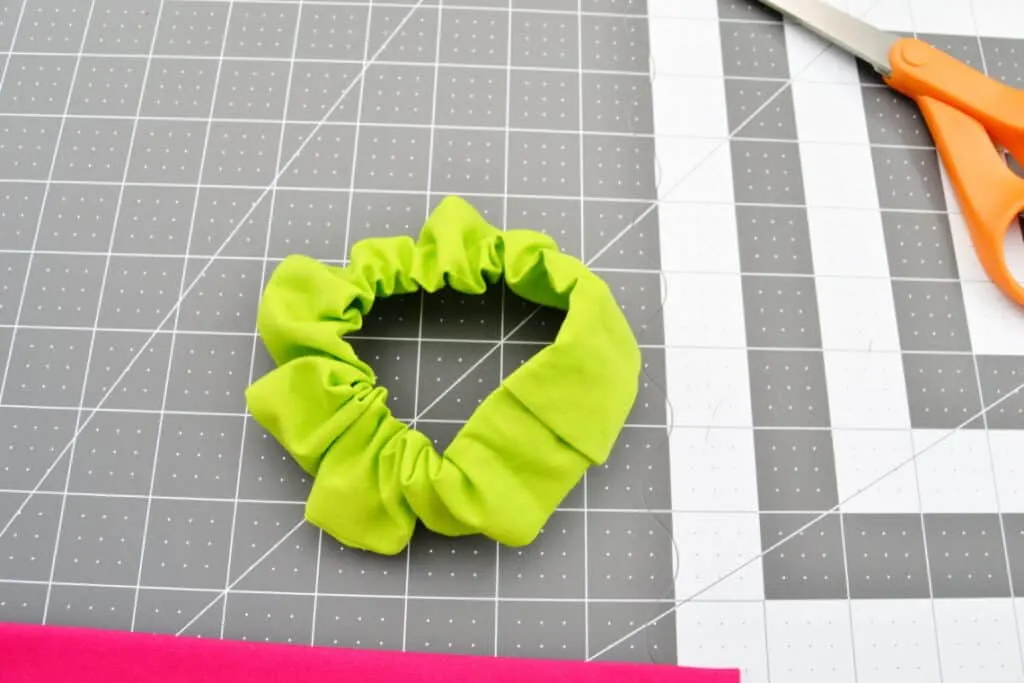
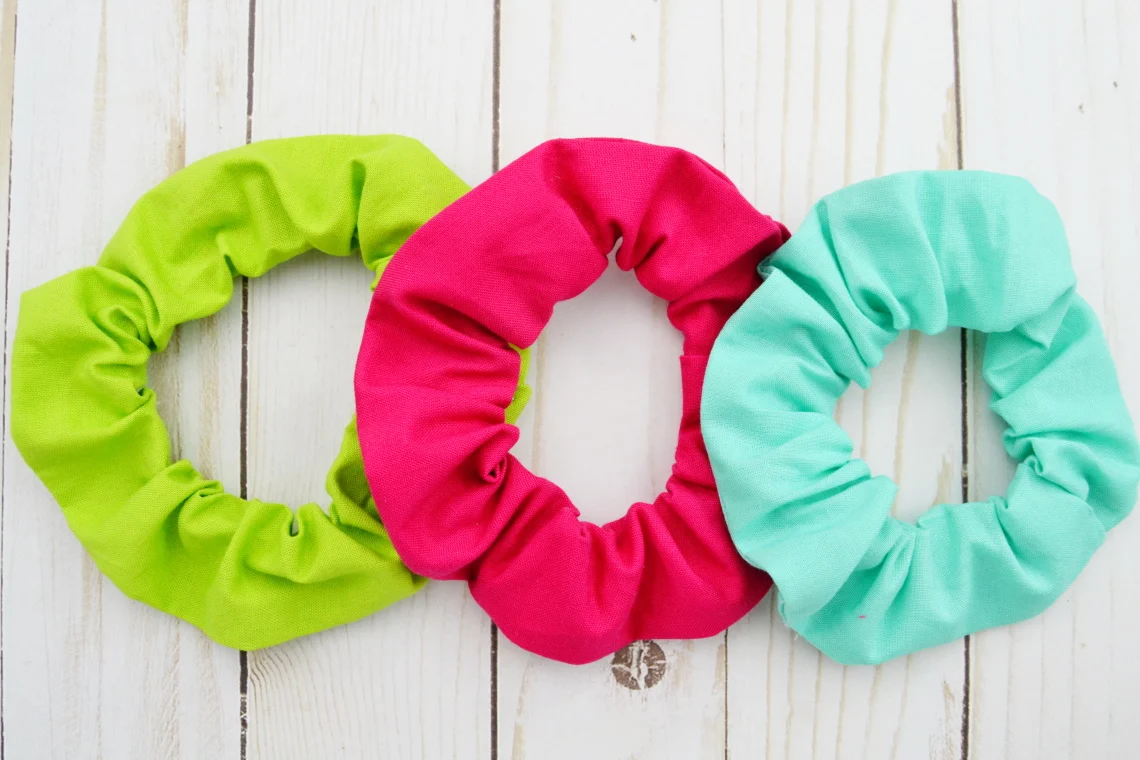
Now you’re all done!

Want more sewing posts? Check these out:


