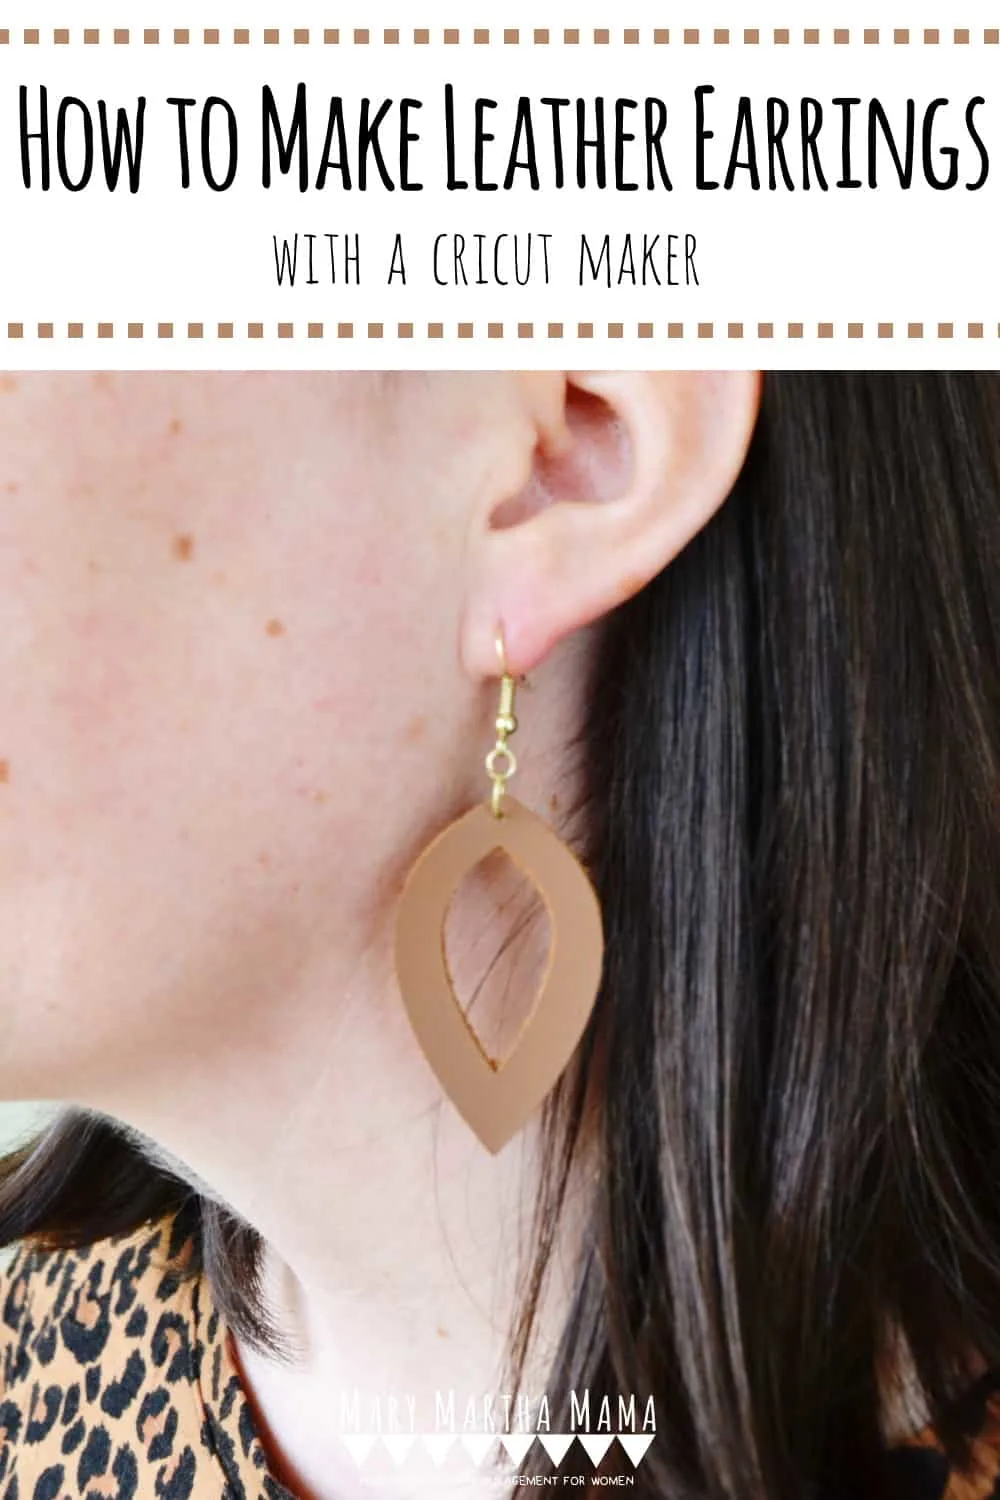
I’ve been spending a little time working with my Cricut Maker 3 lately and I want to share with you some of the quick and easy projects I’ve been making. Today I want to share how to make leather earrings with a Cricut Maker 3.

Unfortunately I just cannot do big, heavy earrings. I love leather earrings because they are a big statement piece but they are also light which is really nice.
The beauty of making leather earrings on a Cricut is that you have it cut out any shape that you like and your can pick out whatever leather you want for a completely custom look.
How to Make Leather Earrings with a Cricut Maker 3
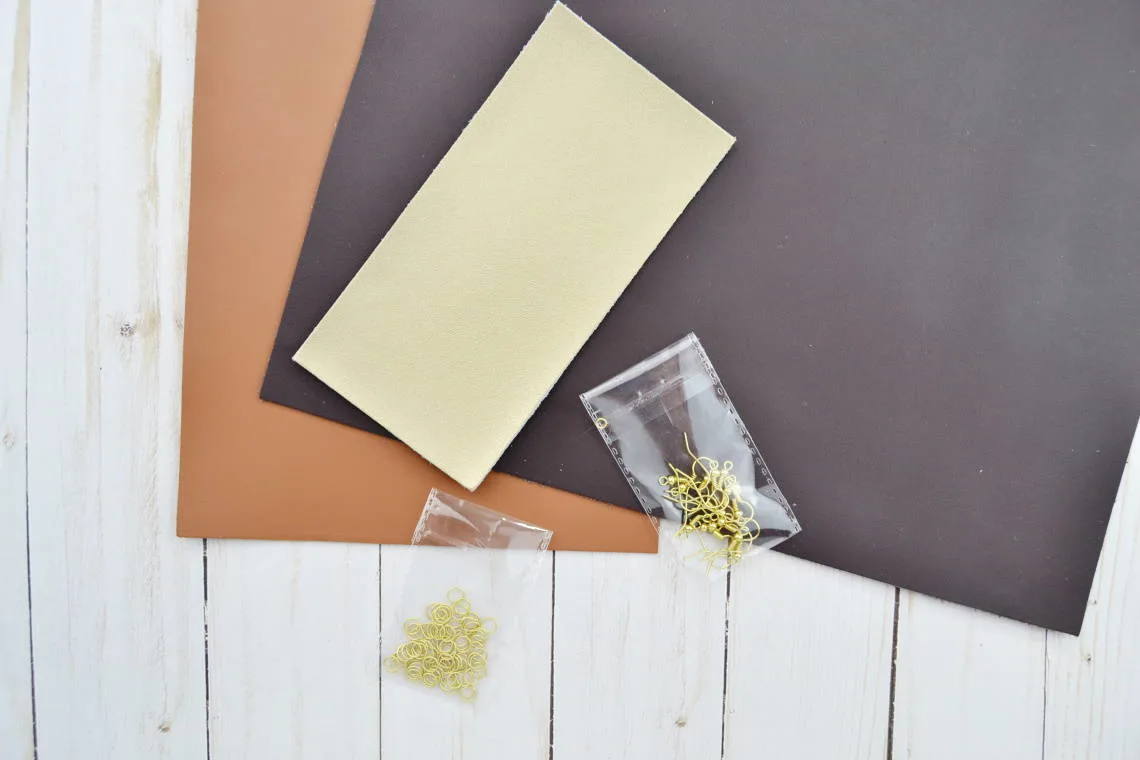
Supplies Needed
- Cricut Maker 3
- Strong Grip Mat
- Cricut Deep Point Blade or Knife Blade (depends on the leather you use)
- Leather
- earring wires and jump rings
- needle-nose pliers

Tutorial
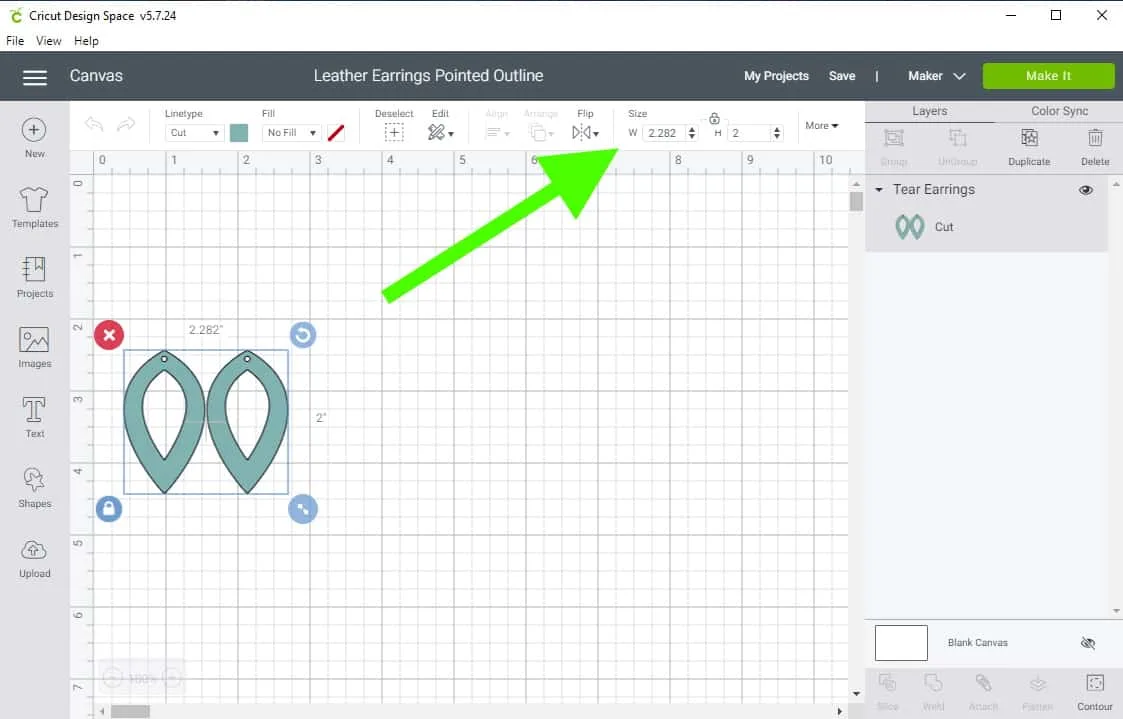
Pick Out Your Design
Design Space has several earring designs that you can choose from in the images or you can pick one of the designs that I did which I linked below. If you have Cricut Access then these designs are free.

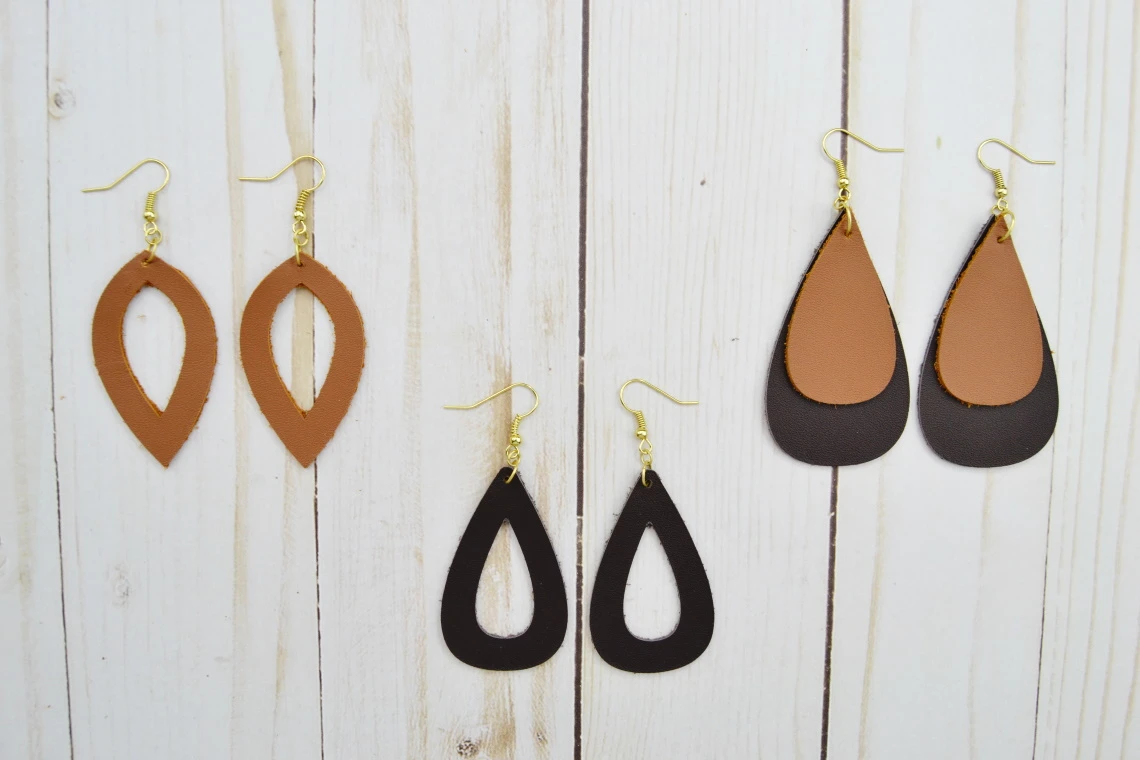
Pointed Earrings Project in Design Space
Tear Drop Outline Earrings Project in Design Space
Layered Earrings Project in Design Space
Once you open up the project file you want then click “Customize”. This will allow you to adjust the size of the earrings to a size that you would like.

Cut
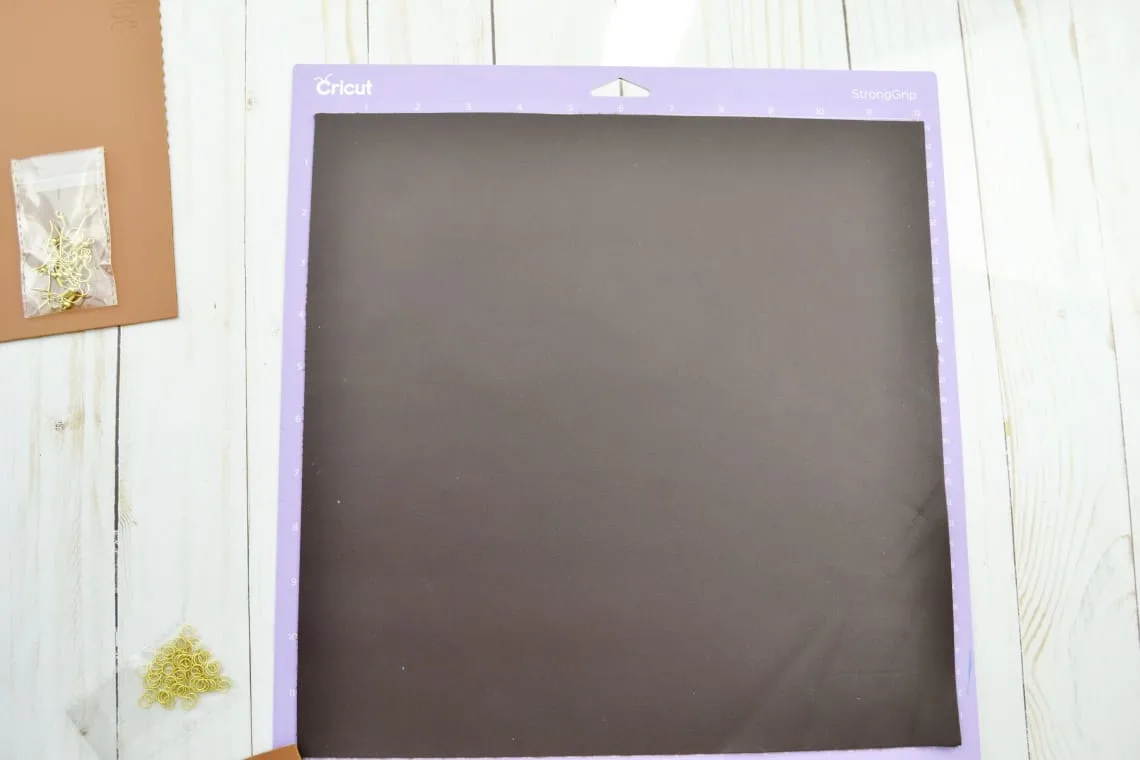
When you are happy with your changes then click “Make”. Your Cricut Maker will then walk you through the steps of getting your leather loaded onto your mat and loading in the right blade and everything.
Be sure to use your Strong Grip Mat and be sure to move the little yellow guides on the bar of your Cricut Maker all the way over to the right side.


When everything is set up and loaded in then go ahead and click the “Go” button.

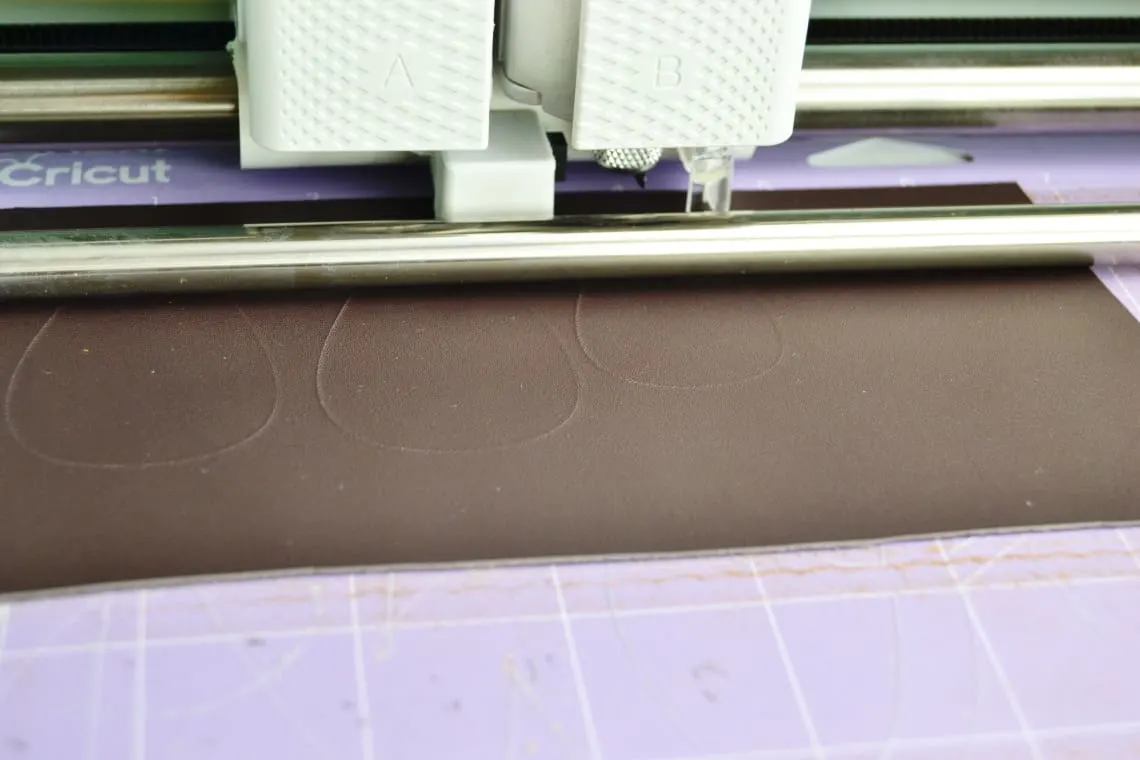
Once it is done cutting the Cricut Maker will ask you if everything looks good or if you think it needs to do another pass of cutting. Be sure to take a good look at things and determine if your project needs it. It will depend on your leather and it’s thickness. I like to have it do one more pass just to be on the safe side.
Add the Wires & Jump Rings
When your shapes are all cut out then you need to attach the earring wires and jump rings to them to make them into earrings. To get these earrings to face forward I added two jump rings to connect them to my earring wires. This is where your needle-nose pliers really come in handy.


When everything is put together then you are all done!


More Projects
Now that you know how to make leather earrings with a Cricut Maker you will want to check out these other jewelry tutorials: