This is a sponsored post written by me on behalf of Cricut. All opinions are 100% mine.
Once you learn how to make fabric key fobs you’ll want to make up a bunch. These are perfect for using up some small scraps of fabric and batting and would make great little stocking stuffers. Making them with the Cricut Maker 3 makes it go even faster.

Supplies Needed
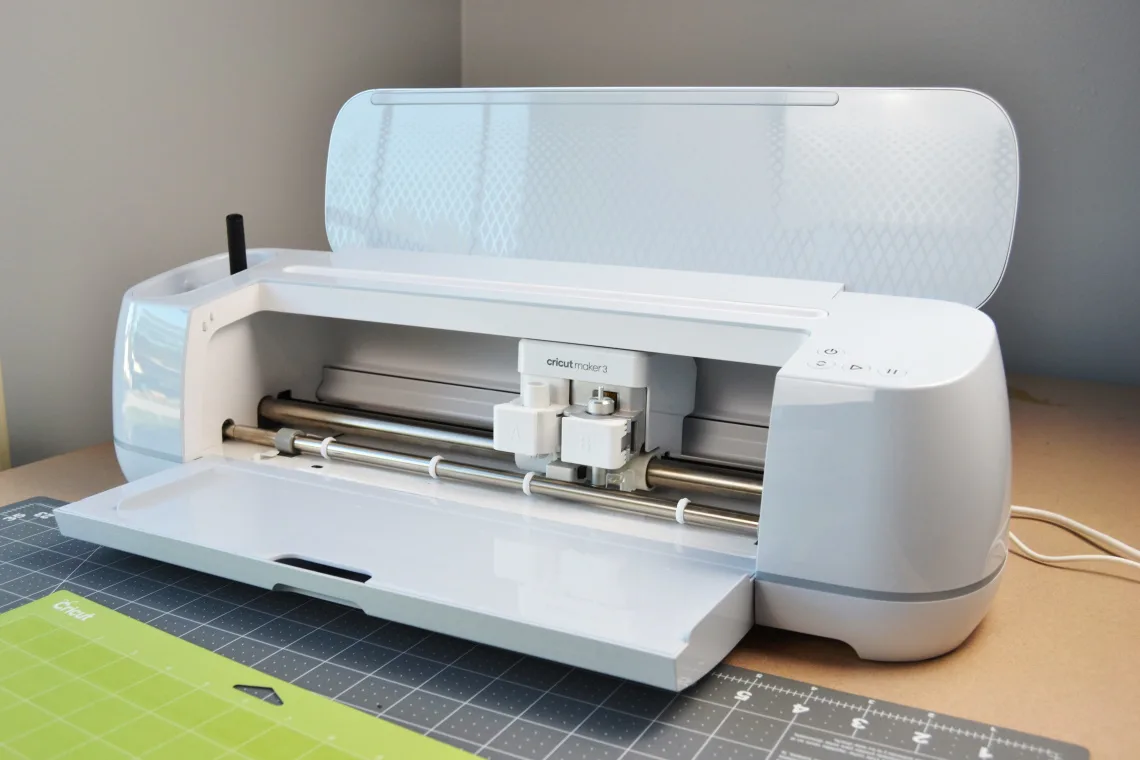
- Cricut Maker 3
- fabric cutting mat
- rotary cutting blade
- key fob hardware kit
- fabric
- batting
- coordinating thread
- sewing machine
Fabric Key Fob Tutorial
Put your fabric onto the FabricGrip mat and load the rotary blade into the Cricut Maker 3. Open up my Design Space project file. Follow the steps in Design Space to have it cut the fabric out. The 2 larger strips will be your inside and outside fabric. The smaller strip is the batting.


Once everything is cut out then you will lay the piece of batting on top of one of your fabrics. Note that the fabric is right side down. Press the edges of the fabric strip so that they fold over the batting.


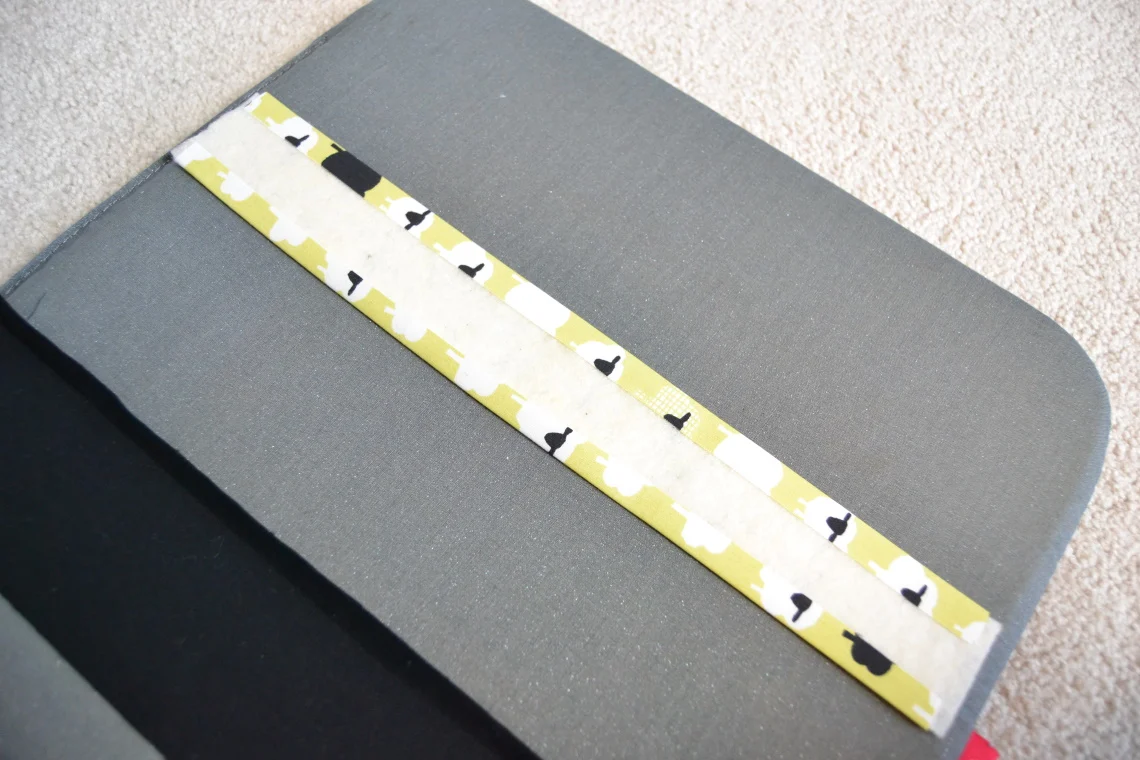
Then fold the sides of the other fabric strip in so that it is the same size as the first one. Next lay the one fabric on top of the other, with the folded parts together (on the inside).


Pin the two pieces together. Then sew around the outside edge, sewing 1/8th an inch from the edge all the way around.

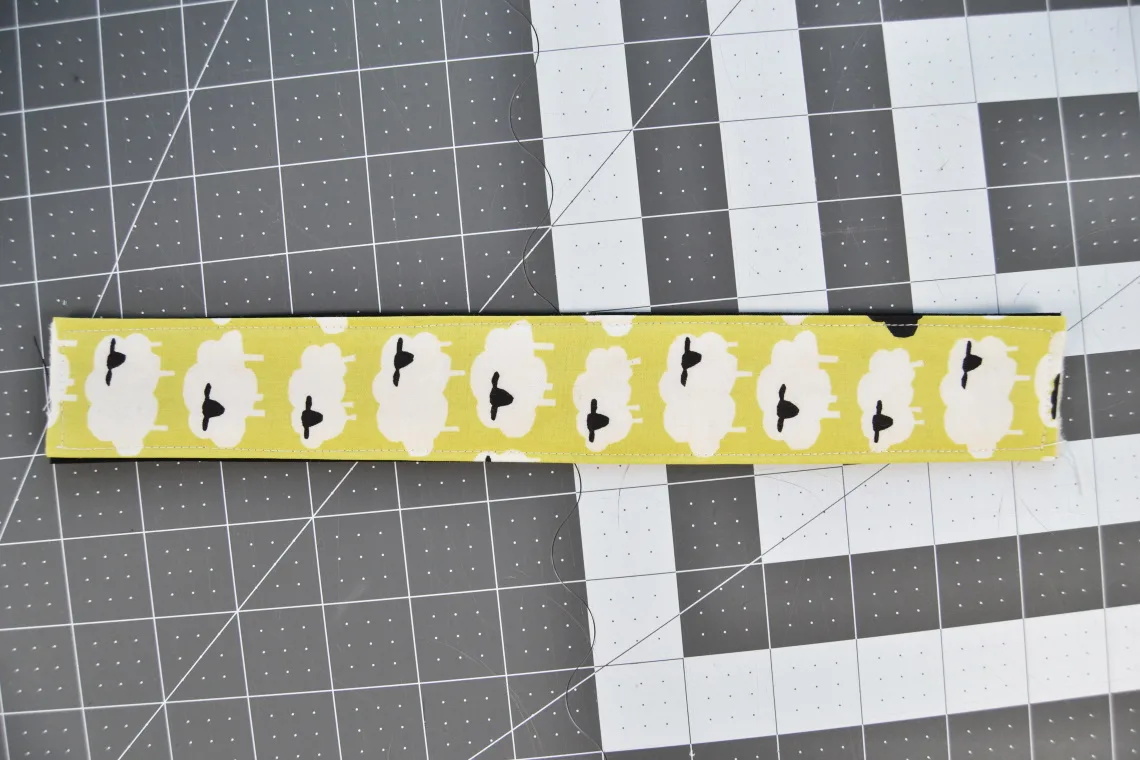
Next fold the fab in half, with the inside fabric on the outside. Sew along the open edge, sewing about 1/4 inch from the end.


Then flip the key fob right side out and use the clamp tool included in the key fob hardware kit to attach the key fob key chain hardware to the end of your key fob. And you’re done!

