This is a sponsored post written by me on behalf of Cricut. All opinions are 100% mine.
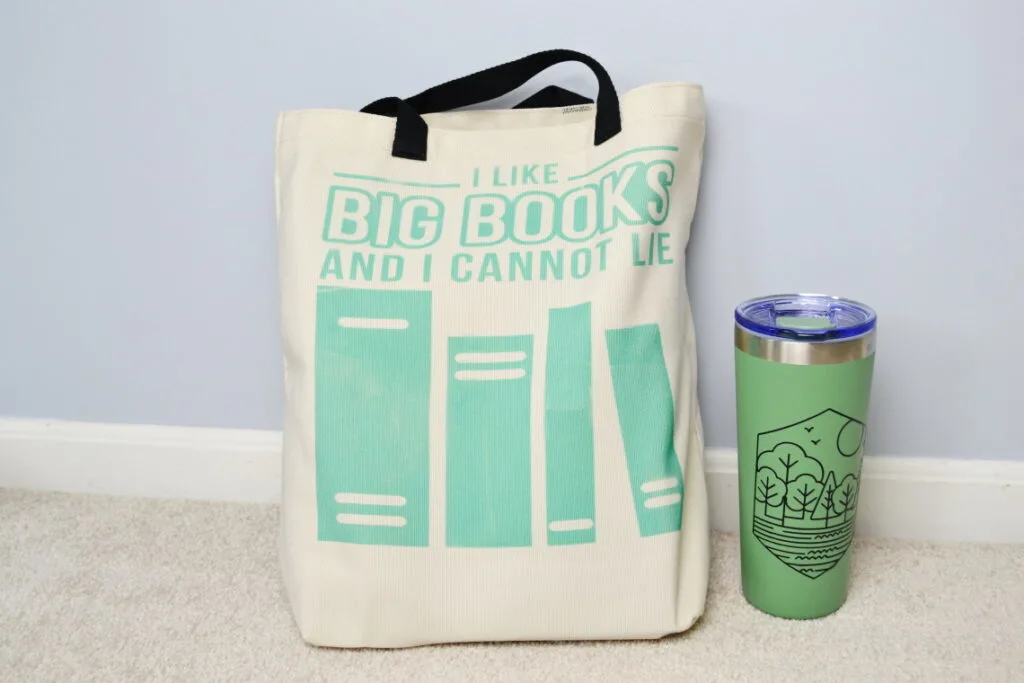
I love a good tote. I basically have a million of these but they are so useful for carrying everything from groceries to library books. For today’s DIY gift I’m showing you how to make a fun library tote for all the book lovers in your life. It would be a great gift especially if you filled it with a book or two or a gift card to a local bookstore.
Supplies Needed
Book Tote Tutorial
Pick a nice design for your tote in Design Space or you can use my Book Tote project file. Click Make it. Then on the next screen they will show you the design as it will appear on your mat. You will need to click the mirror button on the left side of the screen. You also need to be sure that you load your mat with the infusible ink transfer sheet with the ink side up. Follow the instructions as Design Space walks you through loading everything.


Once your design has been cut out then you will remove the pieces of infusible ink transfer sheet that are not part of your design.


Put a piece of cardstock onto an EasyPress mat and then slide them into your canvas tote. Lint roller the front of the tote to make sure there is nothing on it. Cover the tote with a piece of butcher paper. Press the tote at 385 degrees Fahrenheit for 15 seconds. Remove the butcher paper and let the tote cool.
Lay your design down on the tote with the ink side down.


Cover your design with a piece of butcher paper and use your EasyPress 2 to press it at 385 degrees for 40 seconds with light pressure. Carefully lift off the EasyPress 2, butcher paper, and transfer sheet. All done!