This is a sponsored post written by me on behalf of Cricut. All opinions are 100% mine.
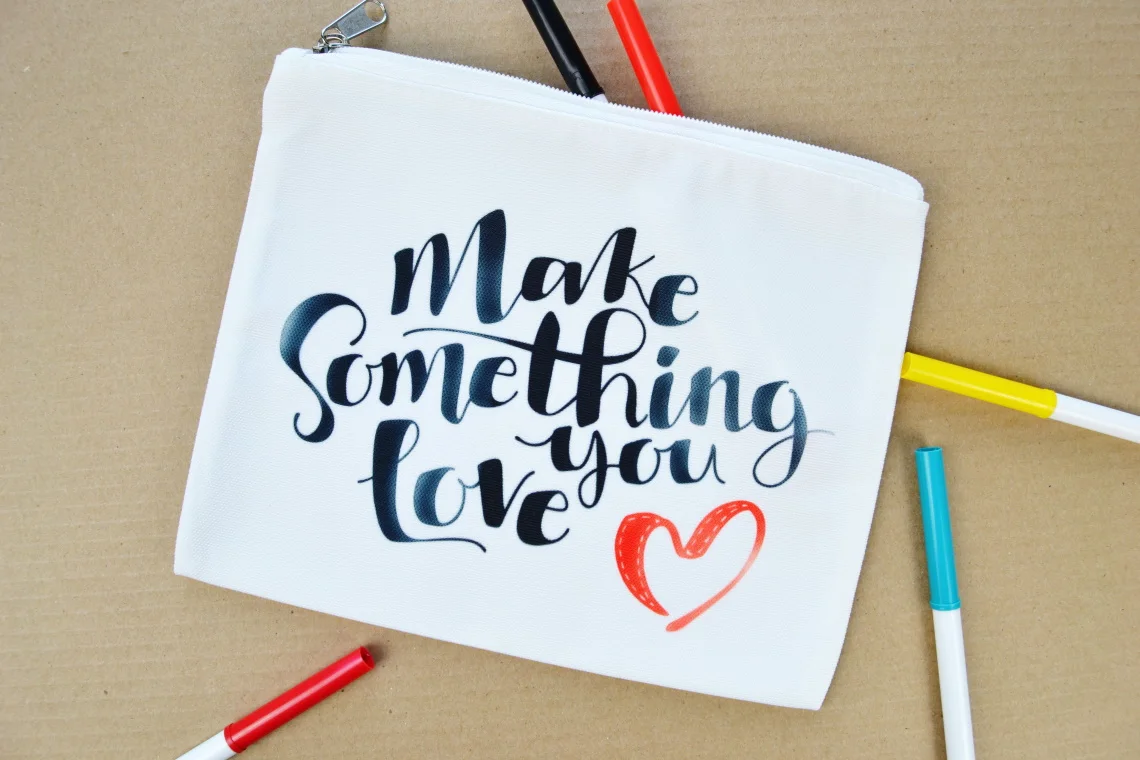
This is the third pouch-based gift I have suggested in my DIY Christmas gifts series but I absolutely love the idea of making a personalized pouch and then stuffing it with something that your recipient will love. In this post I’m going to show you how I made this customized art pouch that you could stuff with some many awesome art supplies. Art supplies make a fantastic gift for kids because it encourages creativity and putting them in a pouch helps them be a little more portable.
Supplies Needed
Customized Art Pouch Tutorial
Grab a fun image that you want to add to your art pouch or you can use my project file. Make sure when you go to make it that you mirror your image and put the transfer sheet onto your cutting mat with the inked side up.

Once your design is cut you will remove the pieces of transfer sheet that are not part of your design.

Prepare the cosmetic bag blank. Set your EasyPress2 to 385 degrees Fahrenheit. Slip a piece of cardstock into the bag. Cover it with a piece of butcher paper. Press the bag for 15 seconds.
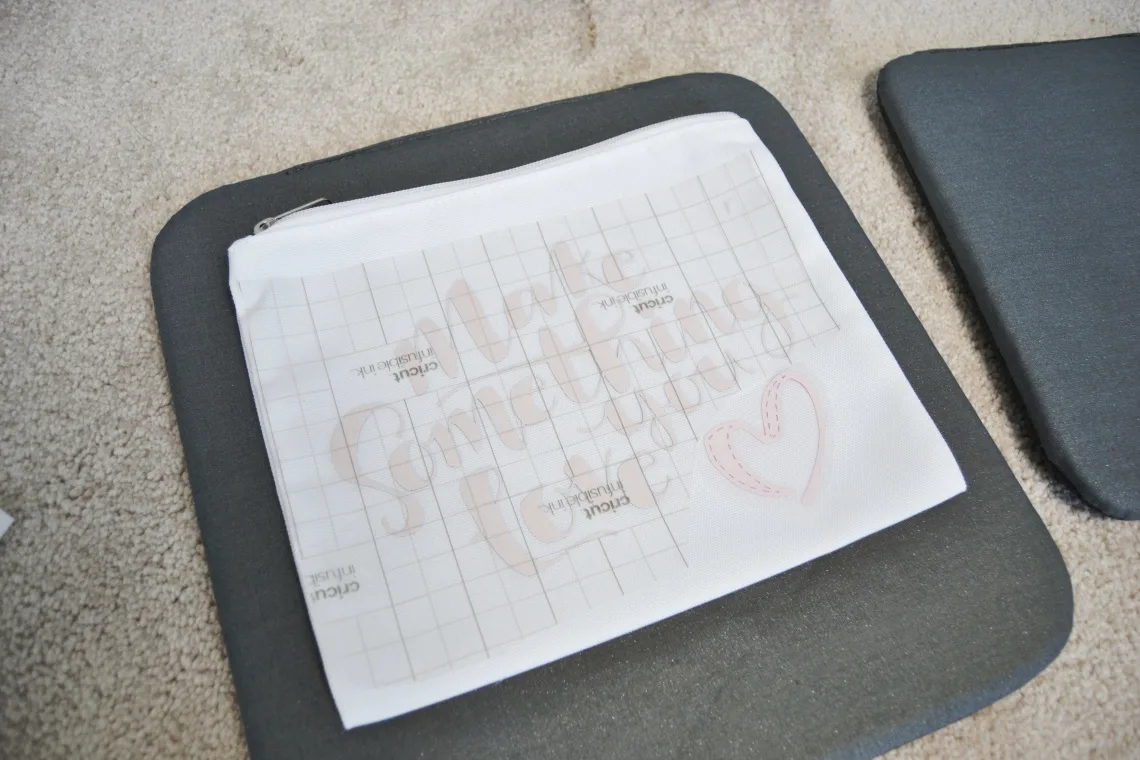
Remove the butcher paper and place the design onto the top of the cosmetic bag with the ink side down, shiny side up.

Cover it again with butcher paper and press for 60 seconds.

Carefully remove the EasyPress2, the butcher paper, and the liner. And you’re done!

