In addition to my felt ball garland I added a Happy Halloween banner to my mantle to help decorate for Halloween. I used my Cricut to cut out the banner and I’m sharing the project file and tutorial with you all today.


Supplies Needed
- my Happy Halloween Banner project file
- felt
- baker’s twine or ribbon
Tutorial
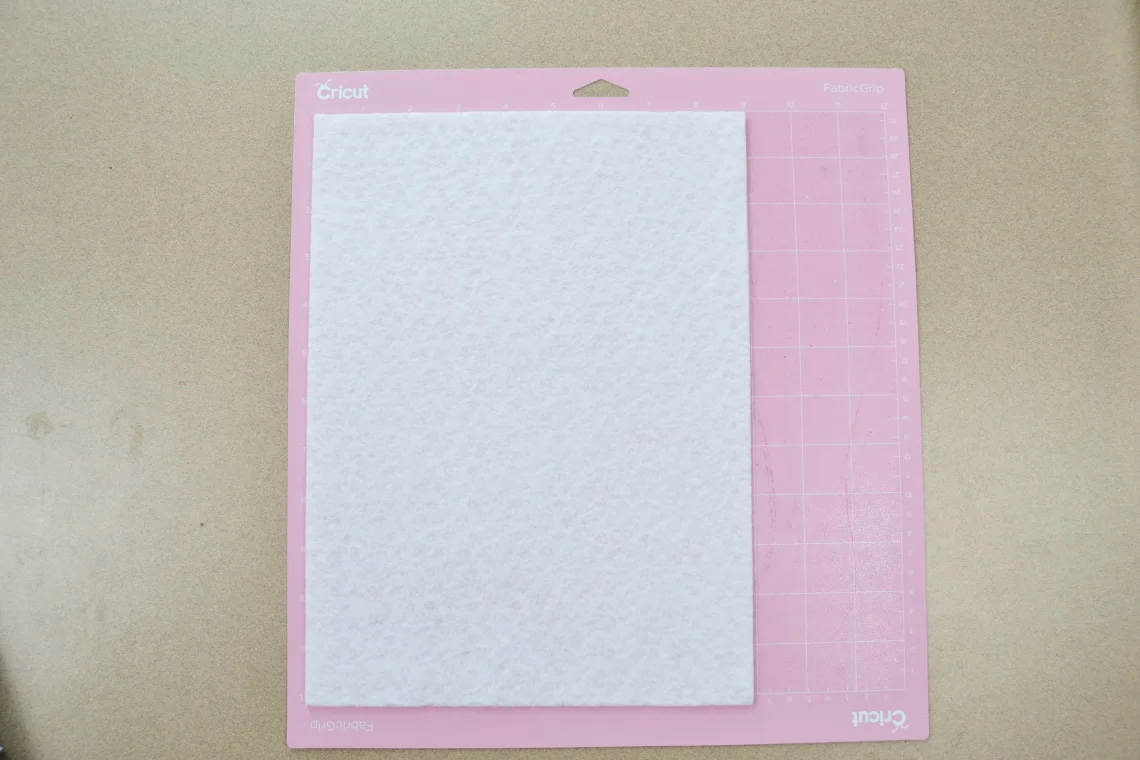
Open my Happy Halloween Banner project file. Then click Make It. Design Space will then walk you through the steps of selecting the materials and loading the appropriate blade. Load the felt onto the mats, paying attention to the colors on the mats in Design Space.

Once all of the letters and pennants are cut out then glue everything into place. Then string them along in the proper order to make the banner. I used a couple of pieces of embroidery thread that I twisted together to make it look a bit like baker’s twine because I was all out of baker’s twine.

