This is a sponsored post written by me on behalf of Cricut. All opinions are 100% mine.
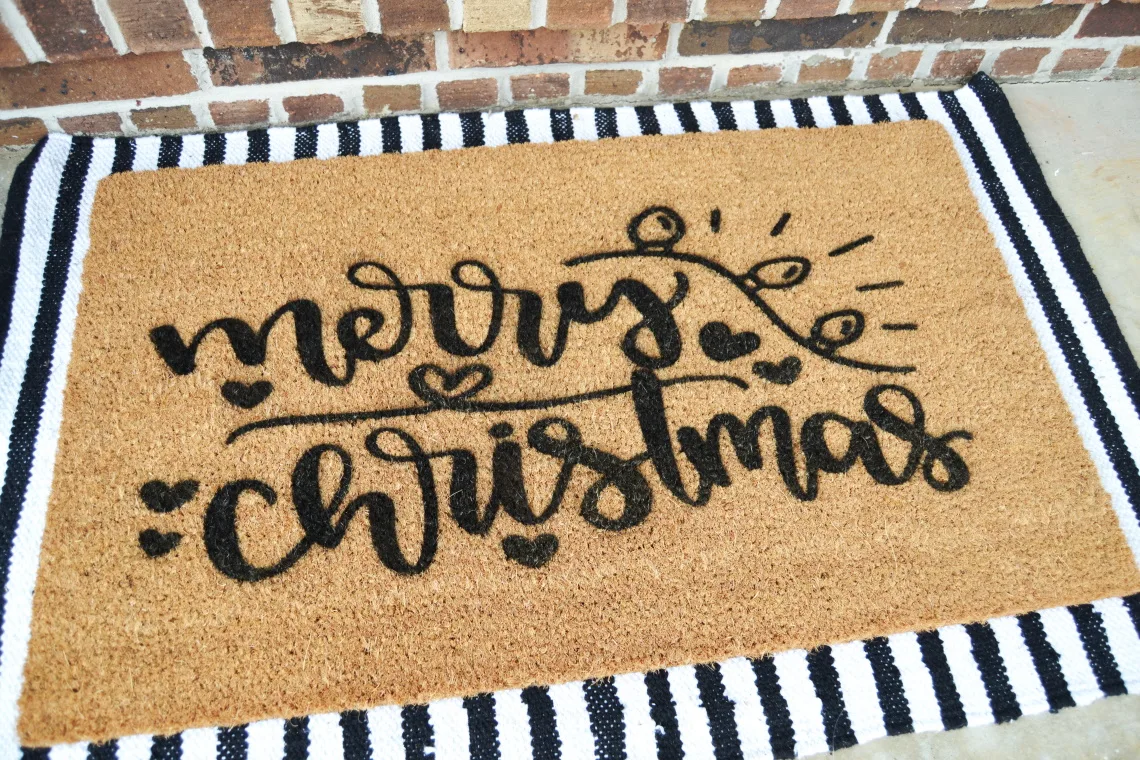
I’m continuing on today with my DIY Christmas gifts series and today I’m sharing how to make a festive doormat with the Cricut Maker 3.

Supplies Needed
- Cricut Maker 3
- Removable Smart Vinyl
- Roll Holder
- Cricut Transfer Tape
- a doormat
- spray paint
Christmas Doormat Tutorial
Open my Merry Christmas project file in Design Space. Click Make It. You do not need to mirror the image. Go ahead and click continue. Design Space will then walk you through selecting the materials and blade. I utilized the removable Smart Vinyl. I needed a nice long cut to cover the size of my doormat so I used the 3 foot roll and the Roll Holder. I love this new feature with the Cricut Maker 3.

After you cut out the design you can trim right across the end of the vinyl with the cutter on the Roll Holder. Then use the weeding tool to weed out the design and leave the negative space on the backing paper. I know, this is like the opposite of normal but in this case we are using the vinyl as a stencil.

Now cover it with transfer tape. Then remove the paper backing from the vinyl so that the vinyl stencil is attached to the transfer tape.

Use the transfer tape to transfer the vinyl stencil to the front of the doormat. Press it down firmly to transfer the vinyl stencil onto the doormat.

Use the spray paint to cover the letters of the doormat. Cover the edges of the doormat so that there will be no overspray. Then peel away the vinyl stencil and you’re done!


