This is a sponsored post written by me on behalf of Cricut. All opinions are 100% mine.
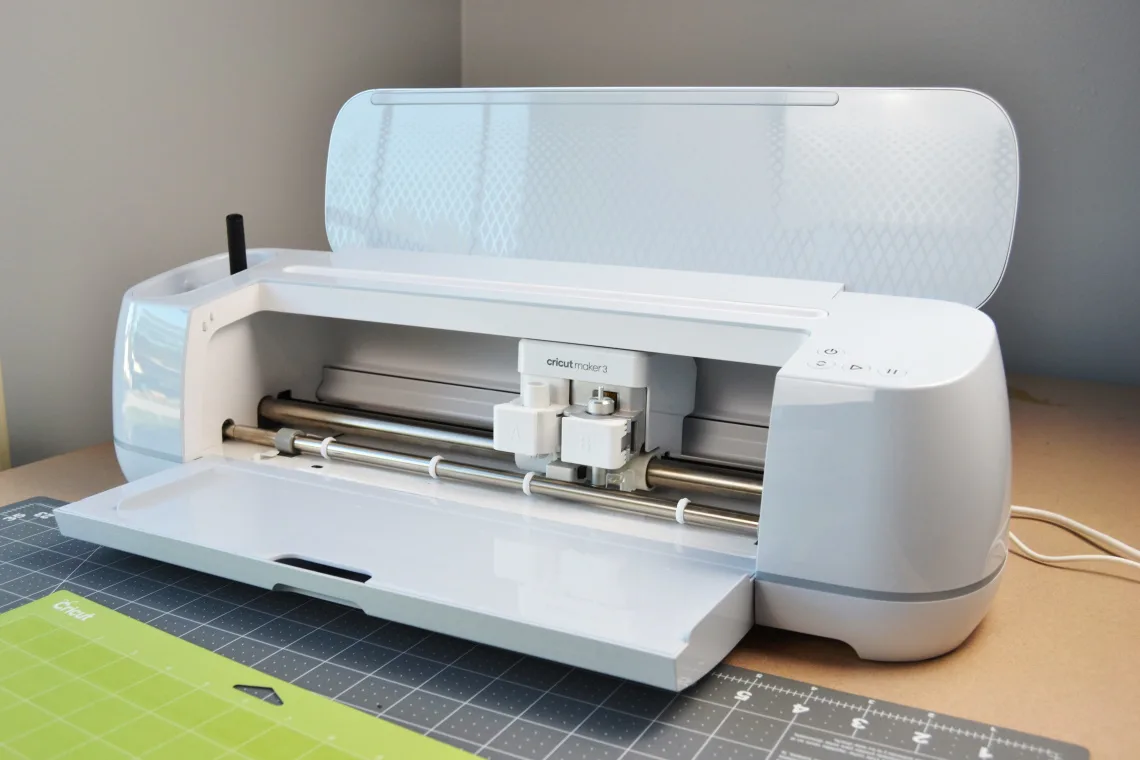
Happy Monday! I’m continuing today with my DIY Christmas gifts series and today I’m sharing how to make an easy felt flower wreath with the Cricut Maker 3. I’ve made loads of felt flowers in the past but I love how the Cricut Maker 3 makes cutting everything out so much faster.

Supplies Needed
- Cricut Maker 3
- Felt Summer Sky Sampler
- wooden wreath form
- green paint
- hot glue gun
- hot glue
Felt Flower Wreath Tutorial
Open my Felt Flower Wreath project file. Change any of the colors of the flowers to your colors so that you know which mats to load when. Then click Make it and follow the steps as Cricut guides you through choosing your materials and loading the correct tool. Once the felt is cut you will peel it off of the mat.

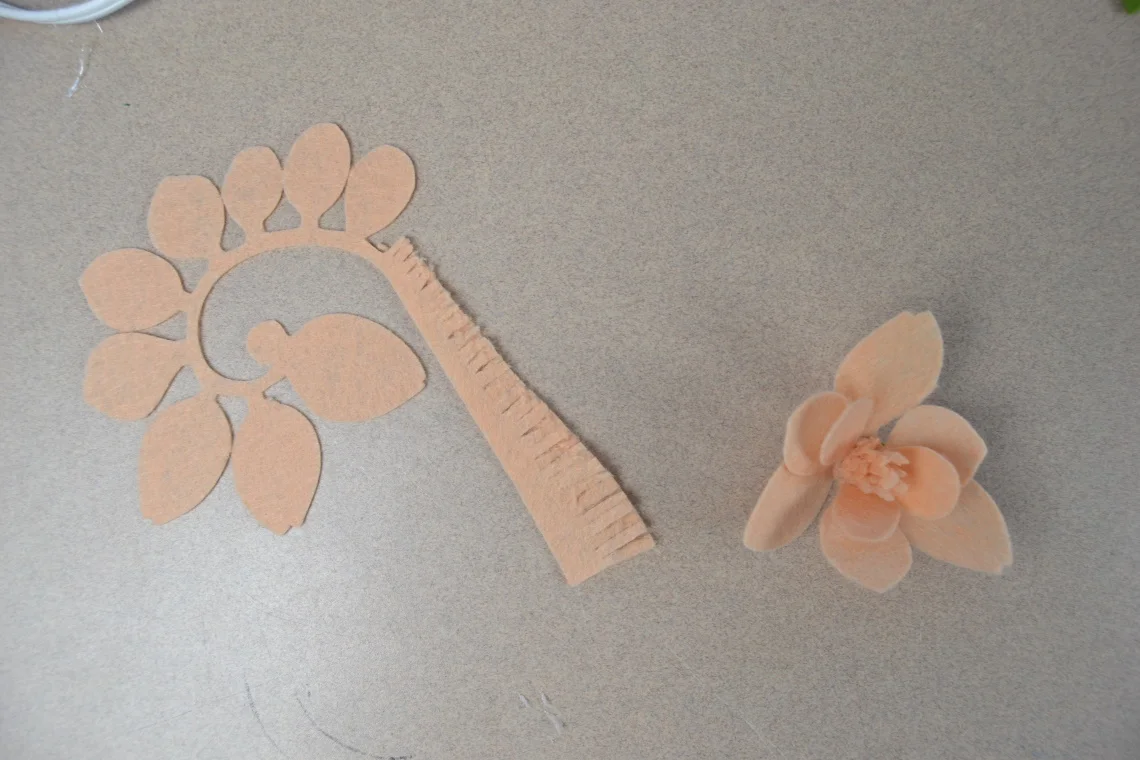
Now you will use the glue gun to put your flowers together. The swirl ones are super simple to make. Hot glue along the edge and press and twirl it as you go.


For the green bumpy swirl you make them exactly the same way.

For the next one you do the same gluing along the edge and rolling technique.

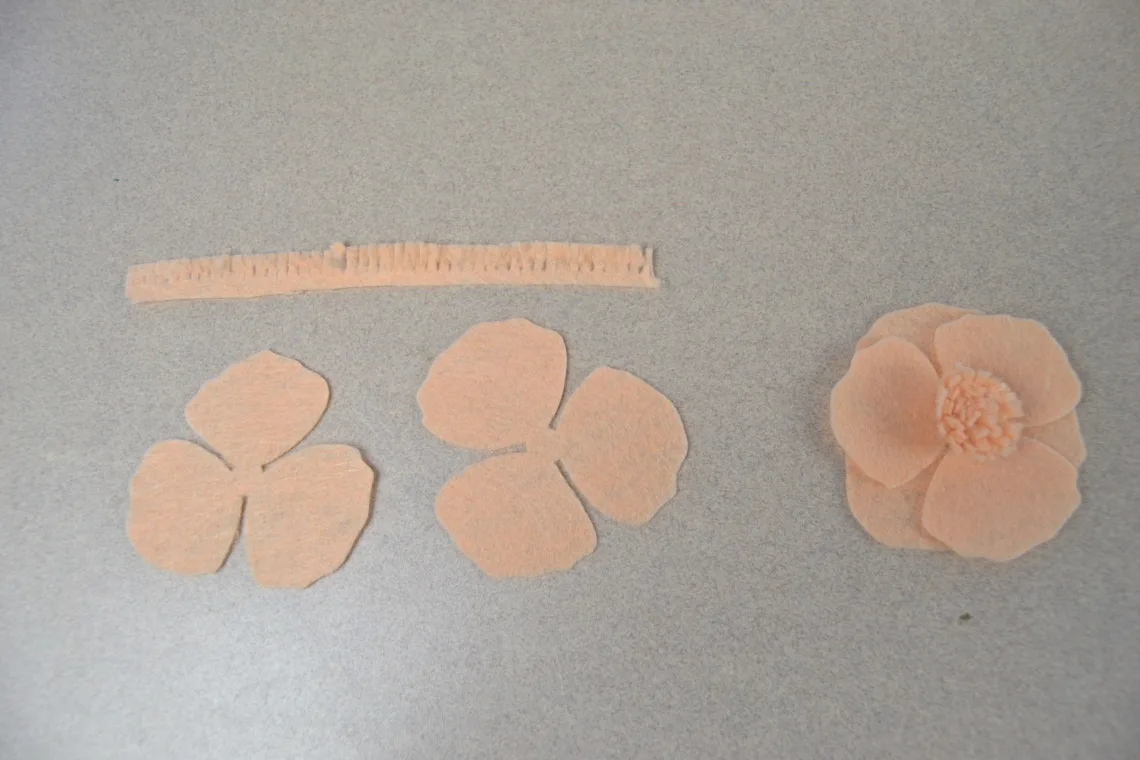
The other pink one is make by gluing the one on top of the other. Then you use that roll and glue technique for the inside part. Glue the inside part to the top of the stack of the 2 petal layers.

And for the final flower line up the petals with the center circle’s notches. I then glued the petals to the back of the circle.

I did the same with the other 5 petals and circles and then glues them one on top of the other.

Finally I arranged the flowers on the wooden wreath form that I painted. I glued each one into place with the hot glue gun and it was all done!

