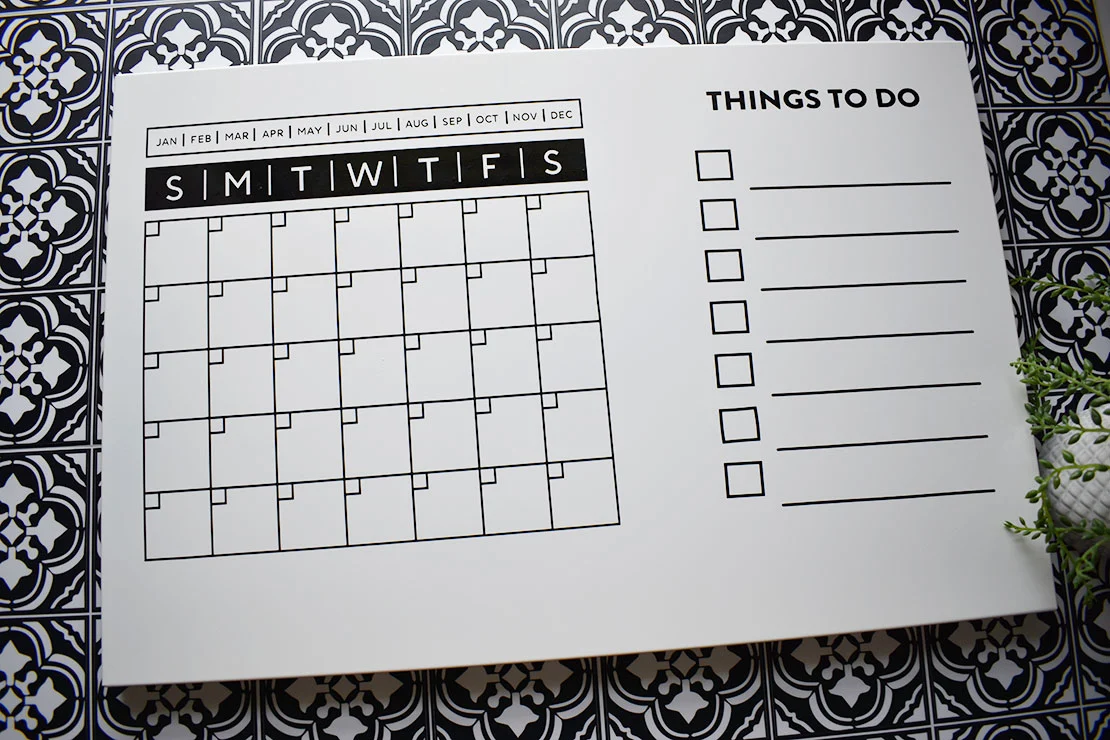
I don’t know about you but I need all the help I can get with organization. This time of year especially we have a ton going on and so I wanted to make myself a DIY whiteboard calendar just for all of my work stuff so that it is separate from our family calendar. Today I’m showing you how you can make one too!

Supplies Needed
- Cricut Maker 3
- black vinyl
- transfer tape
- weeding tool
- scraper tool
- Whiteboard (I used this one from Ikea)
DIY Whiteboard Calendar Tutorial
Cut the Design
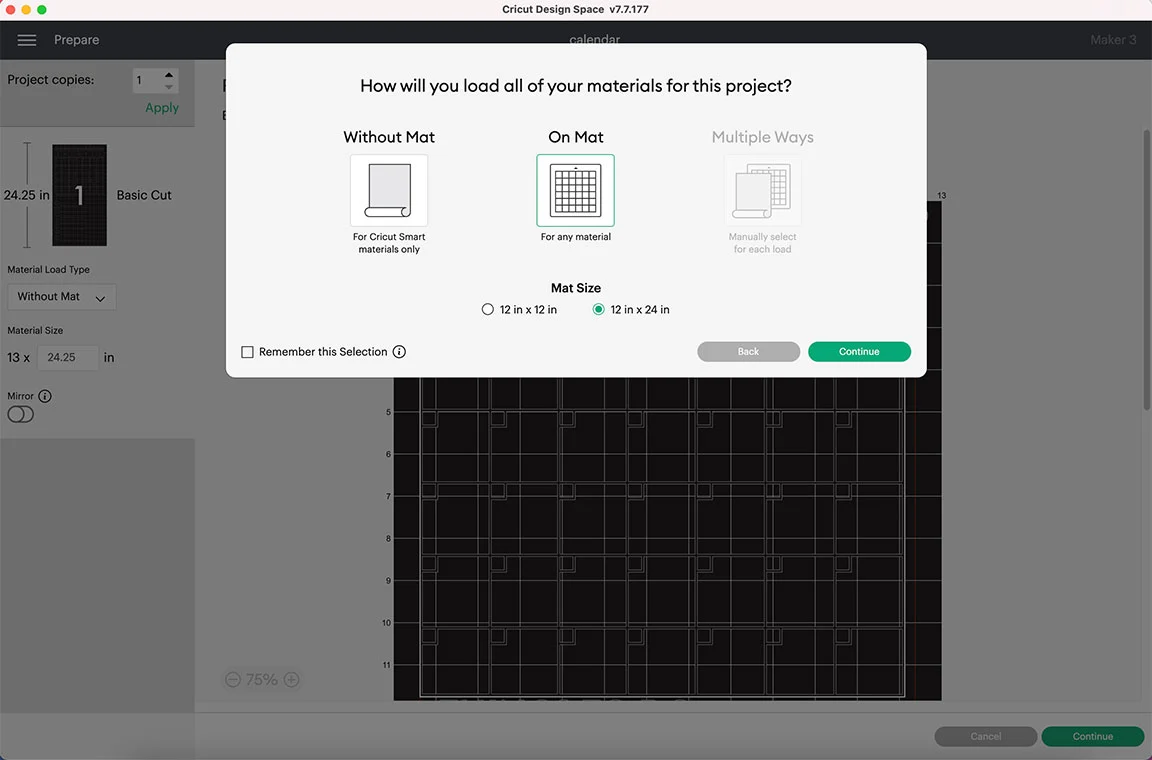
Use one of the calendar images in Design Space or use my calendar project file. Adjust the size of the images to fit your whiteboard. When everything is to your liking hit the Create button. Design Space will then have you select how you will load your materials and size of mat if you are using one.
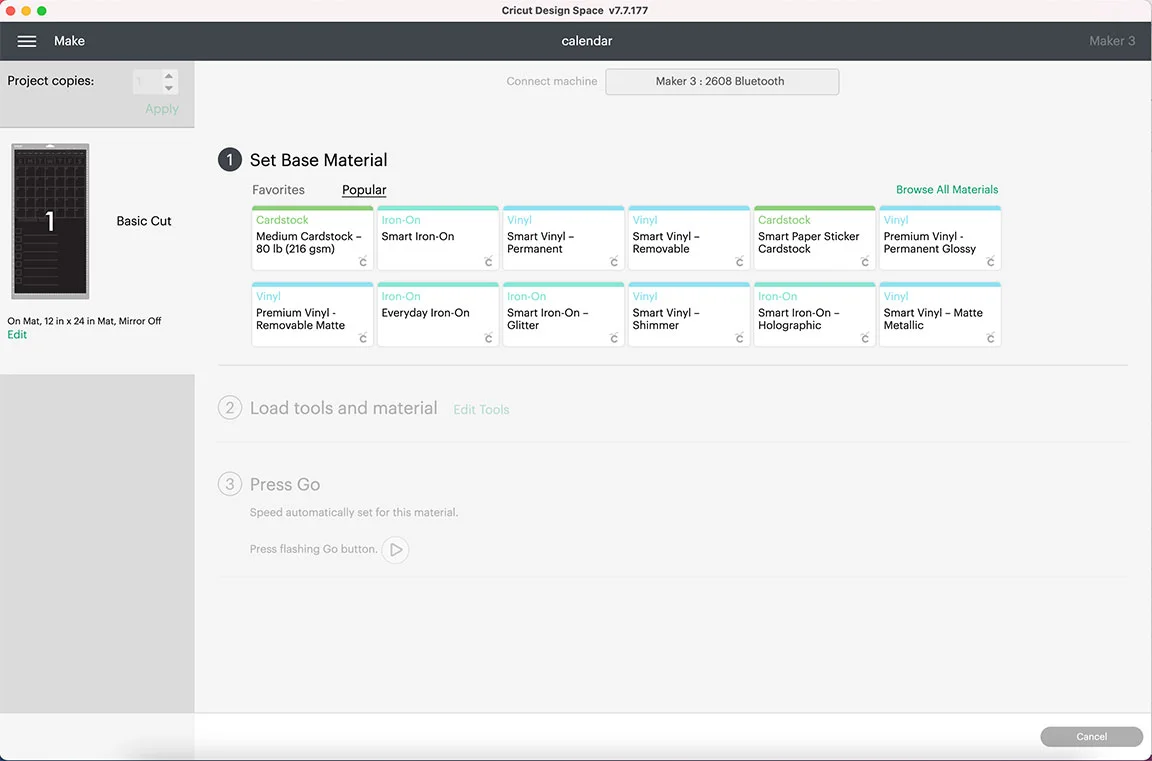
Next Design Space will have you select your material and walk you through loading the correct blade and the material. One you do all that you will hit the Go button and the machine will begin cutting.

Apply the Design
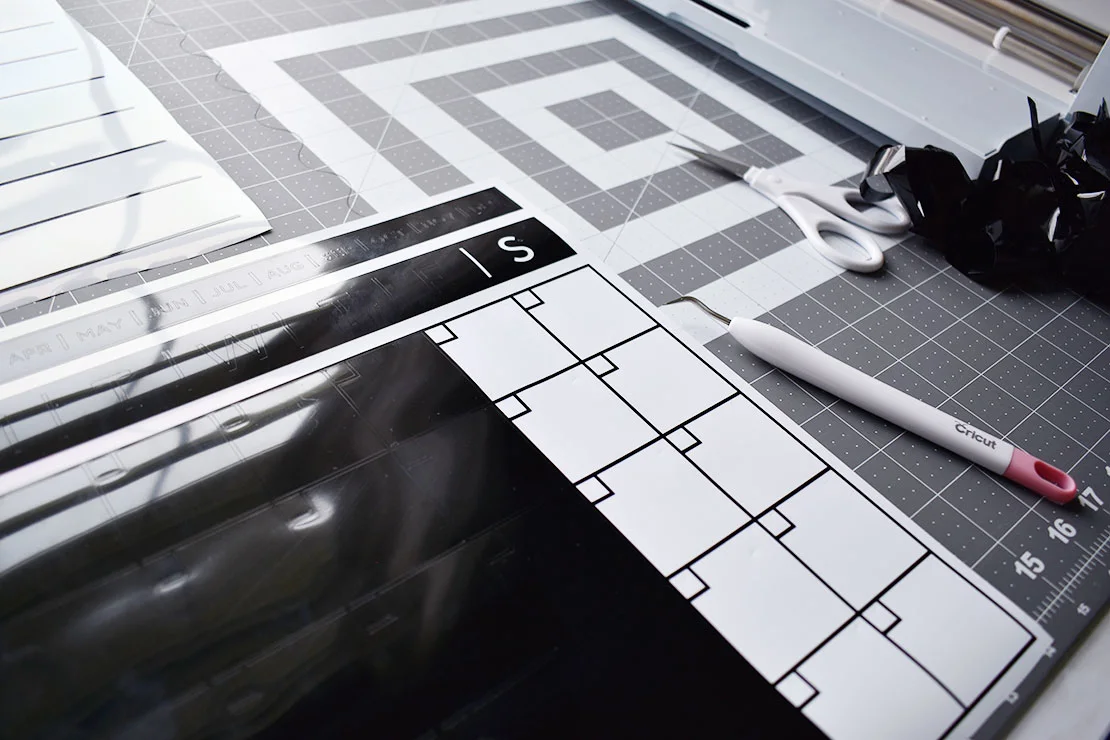
When the Maker 3 is done cutting the design press the unload button. Next you will weed the vinyl. This means you will remove the pieces of vinyl that are not part of your design. The weeding tool makes this a much easier job.
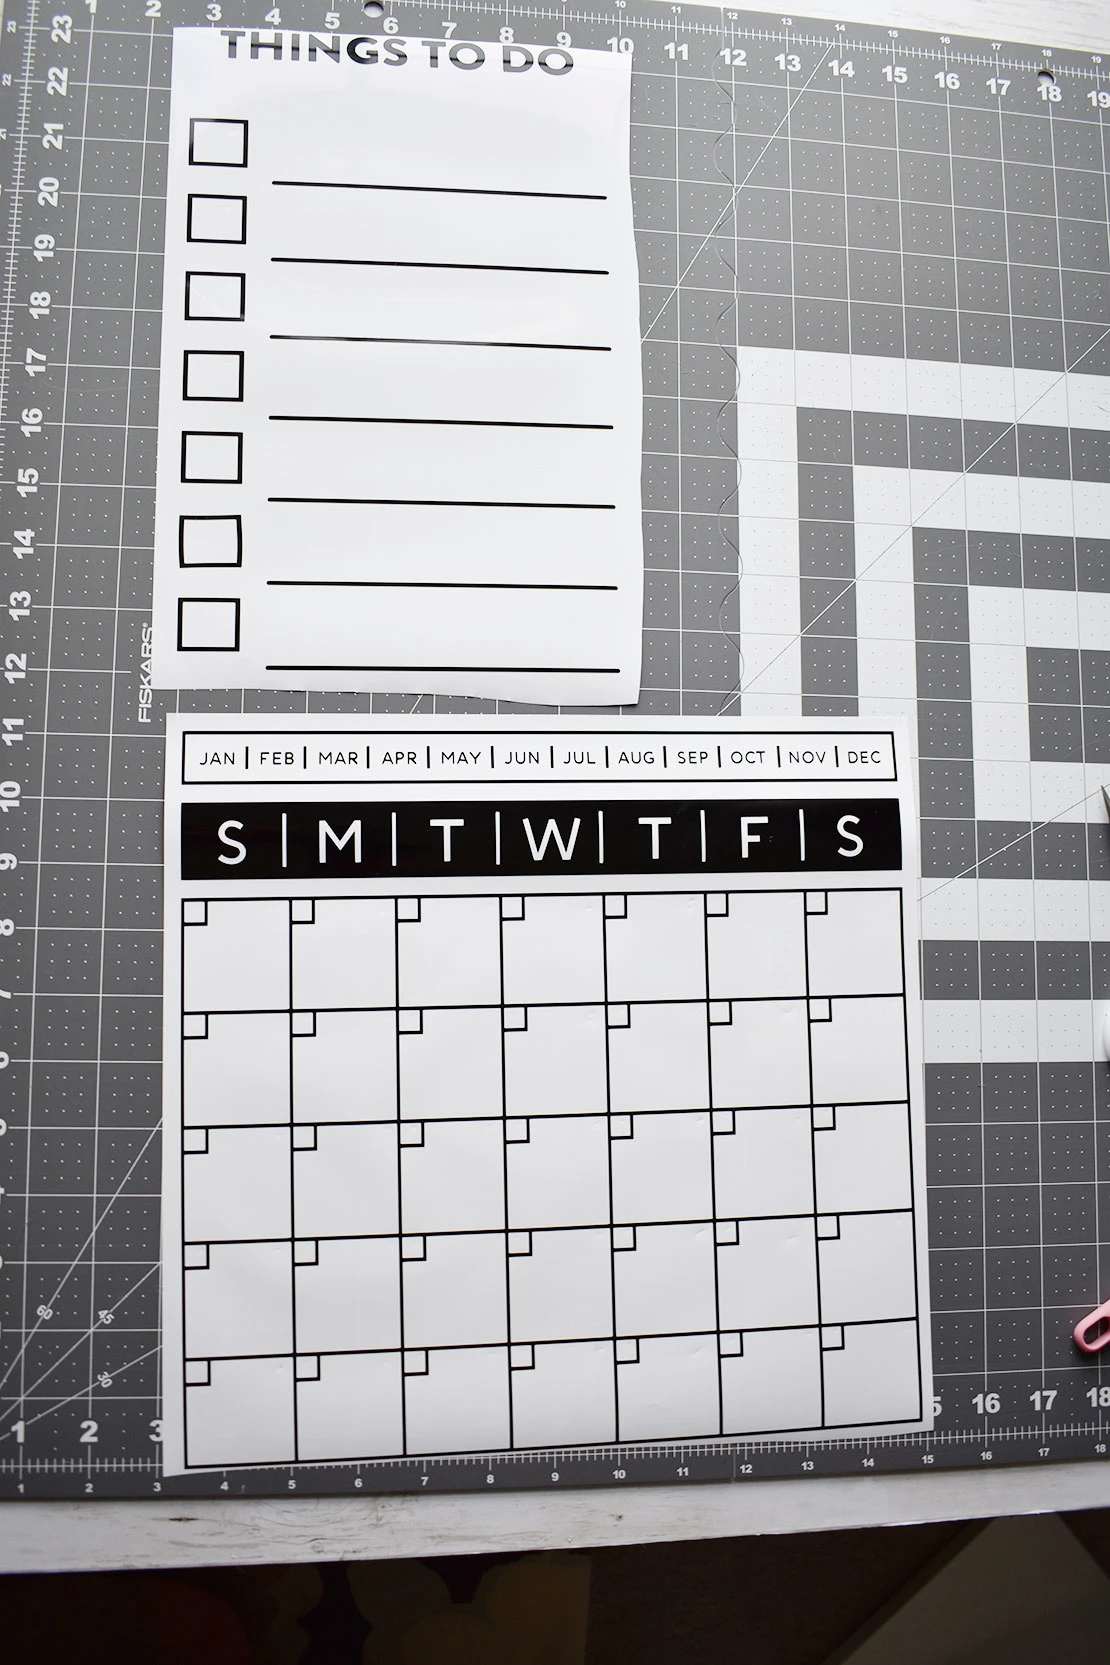
Now peel the backing off of the transfer tape and apply the transfer tape to the front of the vinyl. Use the scraping tool to really get it firmly applied.
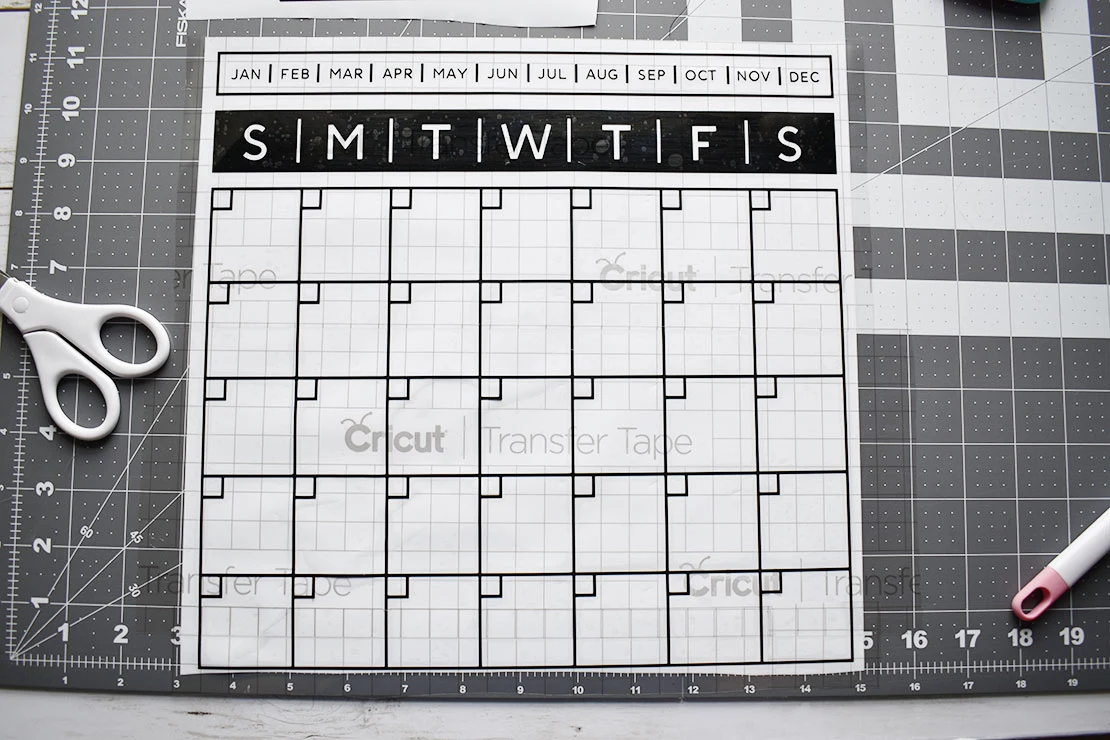
Flip the design over and peel off the paper backing from the vinyl so that the design is now on the transfer tape.
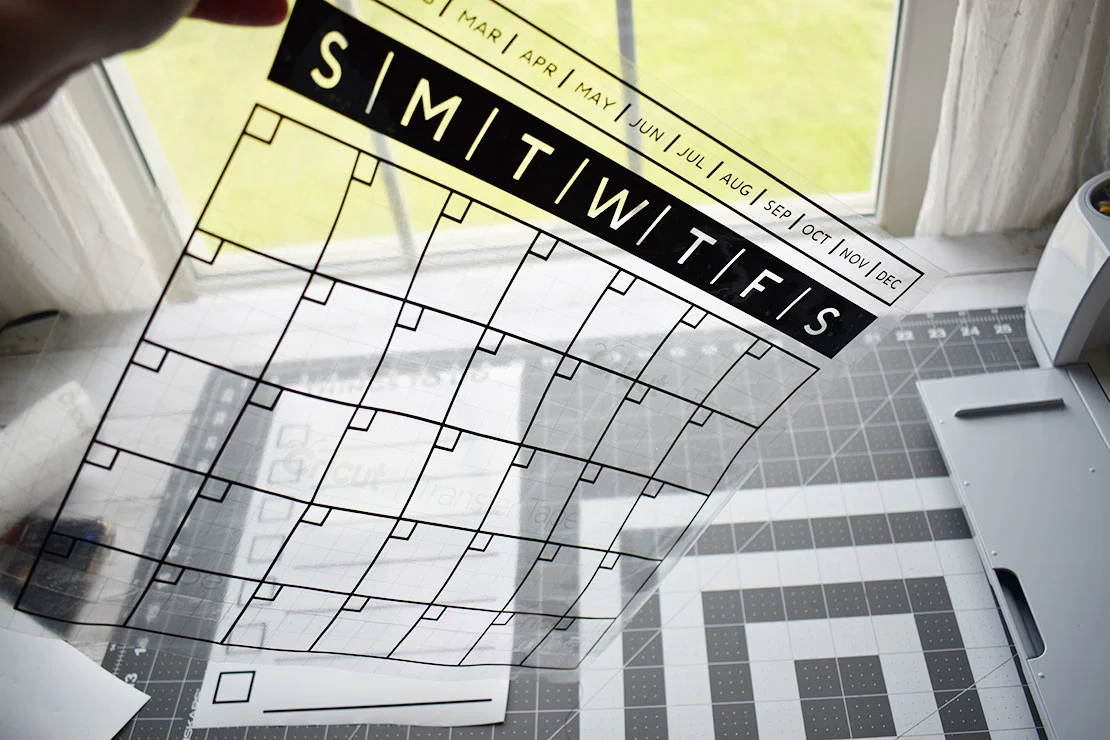
Use the transfer tape to apply the design to your whiteboard. Press and smooth everything down with the scraper tool.

Then peel the transfer tape off. You’re all done!



Rachael
Tuesday 17th of May 2022
This is so cute and handy! Thanks for sharing.
Cat
Wednesday 18th of May 2022
Thank you so much!