Over a year ago we got new couches. And when we put our old couch out to the curb we put the old ottoman out as well. It was broken and coming apart at the seams. Our boys had used and abused it, and it was time.
For a year we kept an eye out for something to replace it. Well, a lazy eye really. I didn’t go out of my way to hunt ottomans. But when we were in furniture stores I’d loosely keep an eye out.
And I saw nothing. Nothing that was big enough or what we had in mind style-wise. So I decided to build one. I had some plywood leftover from building the boys’ play kitchen and my father-in law had some he was willing to part with as well so I decided to utilize those resources and go for it.
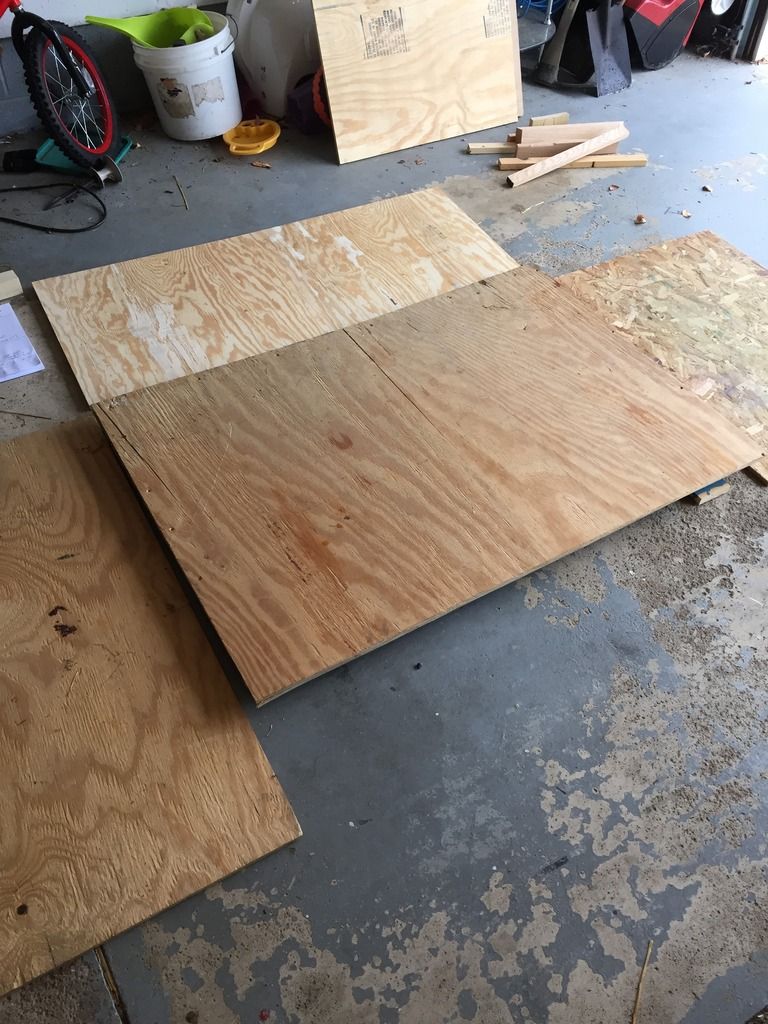
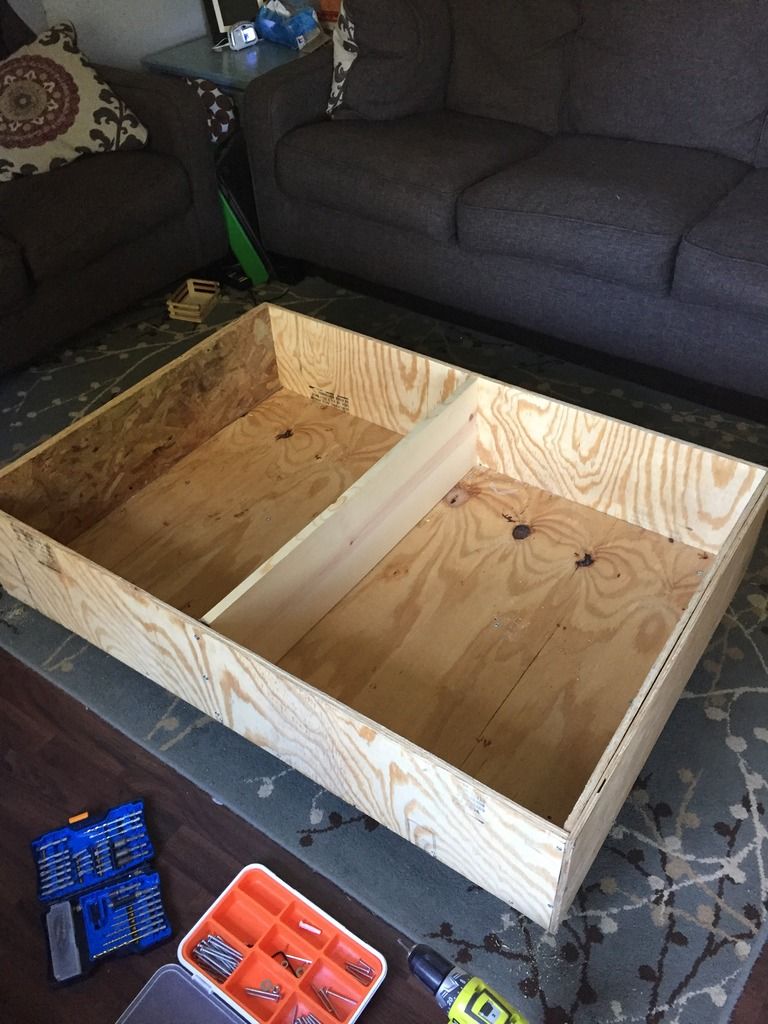
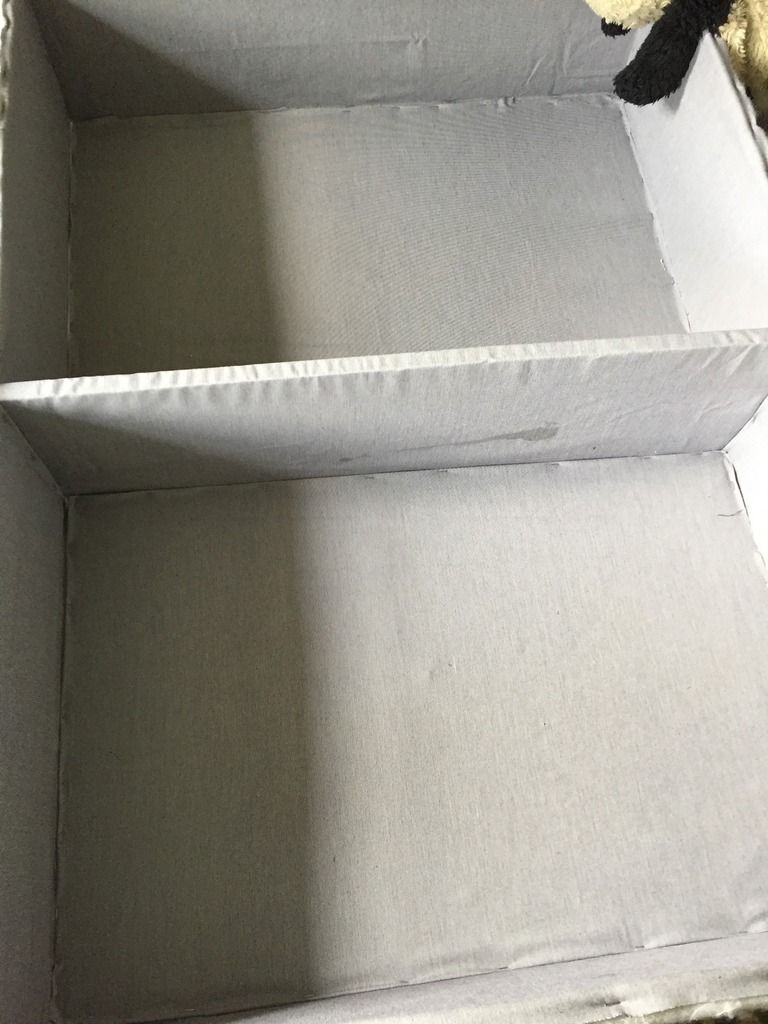
I built a basic box with a divider in the middle and a top. To make it a bit sturdier I doubled up two of the sides, top, and bottom by screwing and gluing together two pieces of plywood. The long sides of my rectangle were thicker plywood so I didn’t feel the need to do it for those sides.
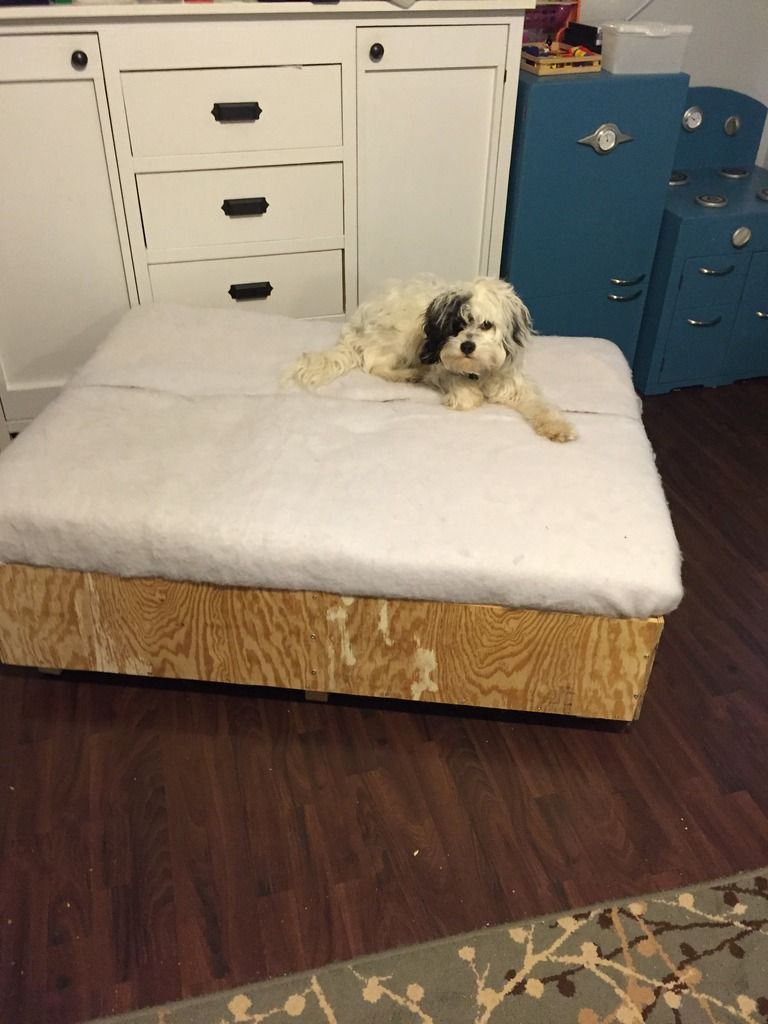
The box is about 48 inches X 33 inches. The box itself is 10 inches tall plus the 3 inch legs, making it a total of 13 inches from the floor to the top of the box.
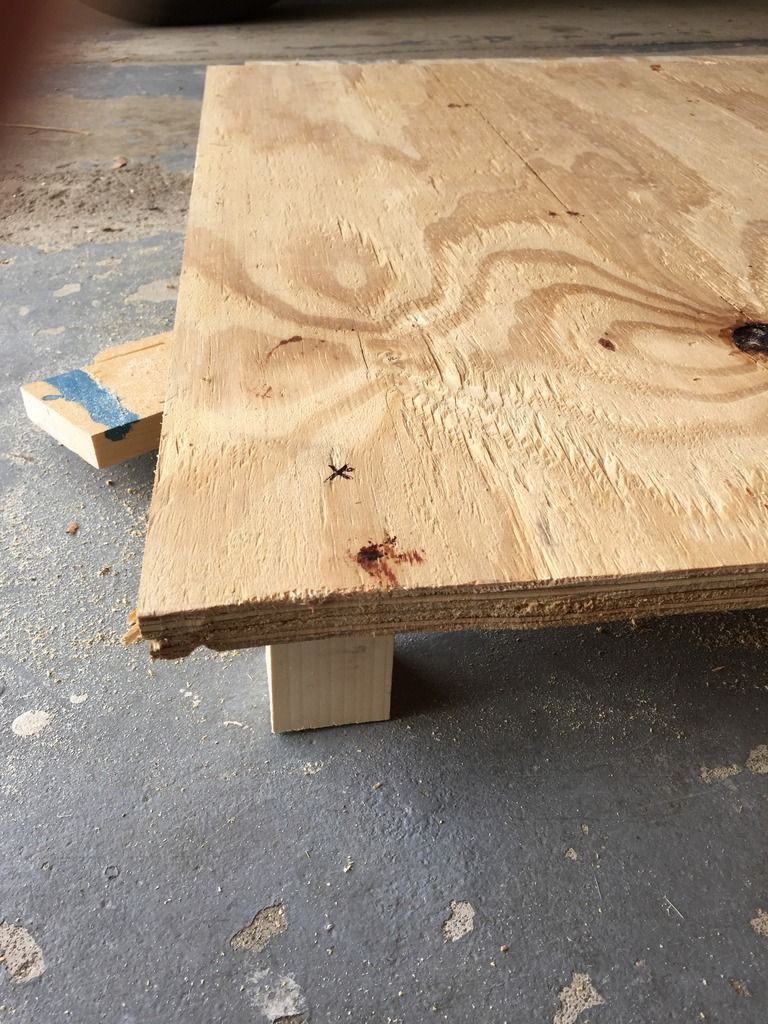
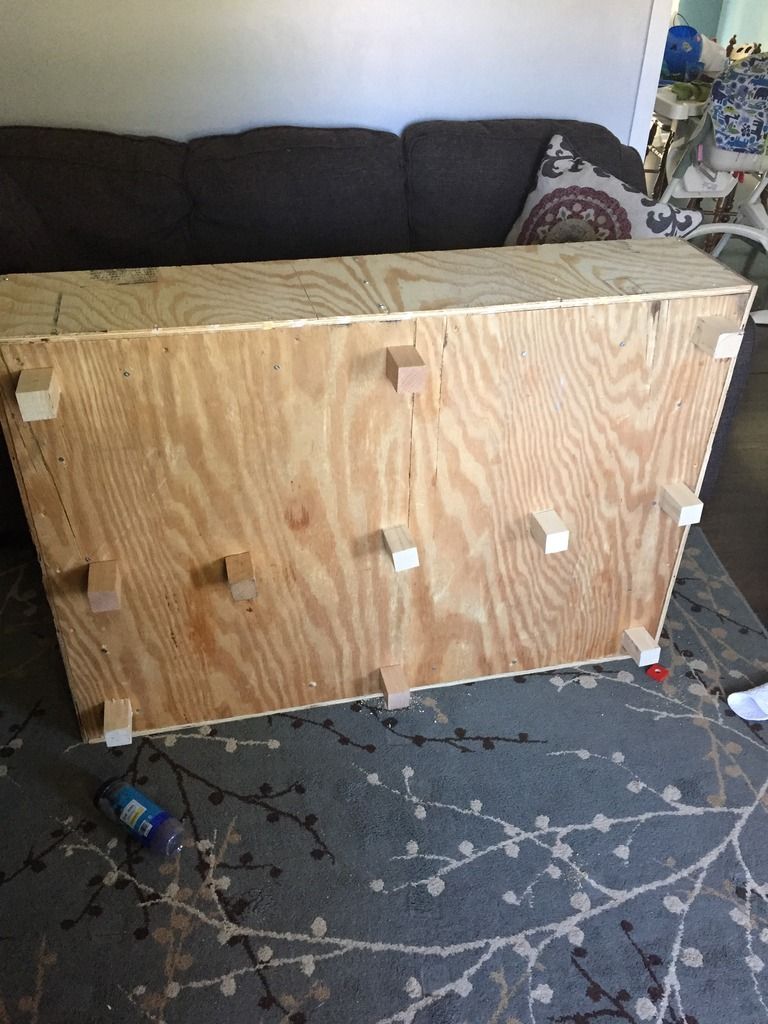
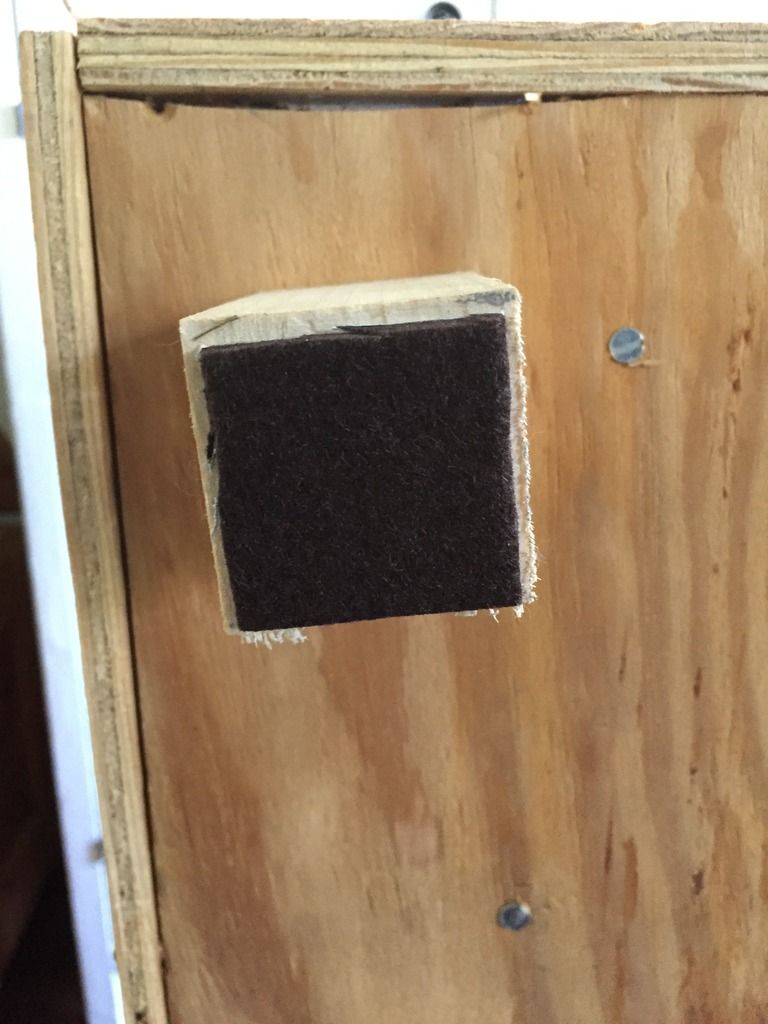
Then I put legs underneath. I cut 3 inch pieces of a 2 X 2 to make the legs. On the bottom of each leg I put furniture pads do that the legs would not scratch the floor. The ottoman sits on a rug but I move it off to vacuum so I wanted to make sure that they wouldn’t scratch the floor.
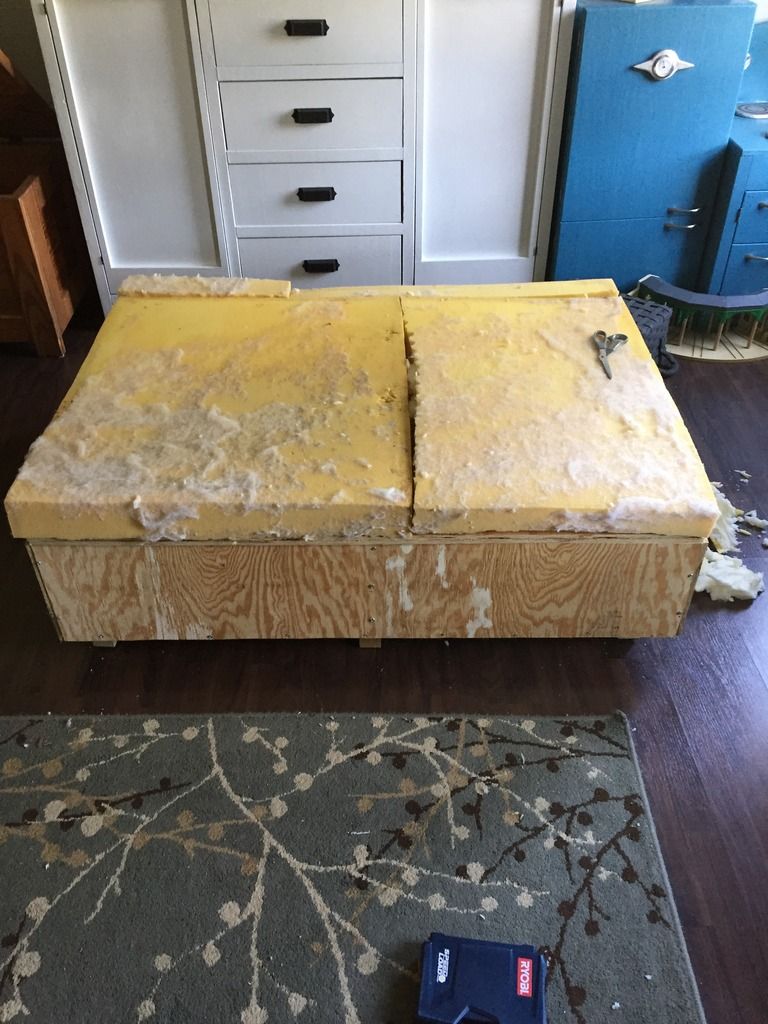
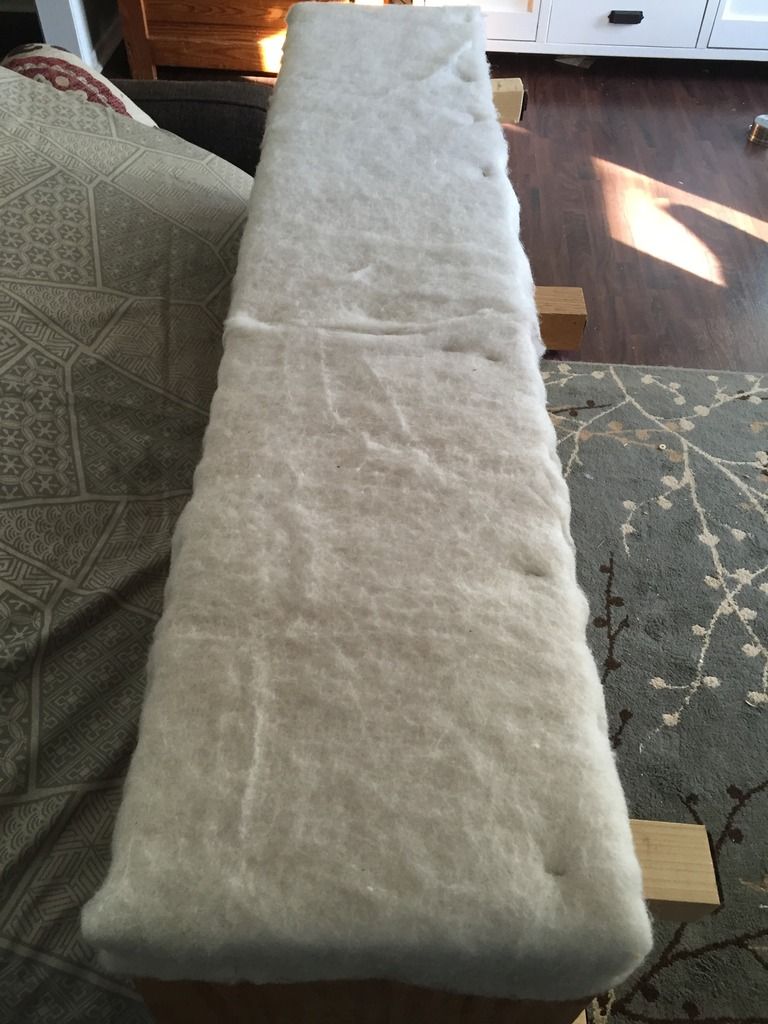
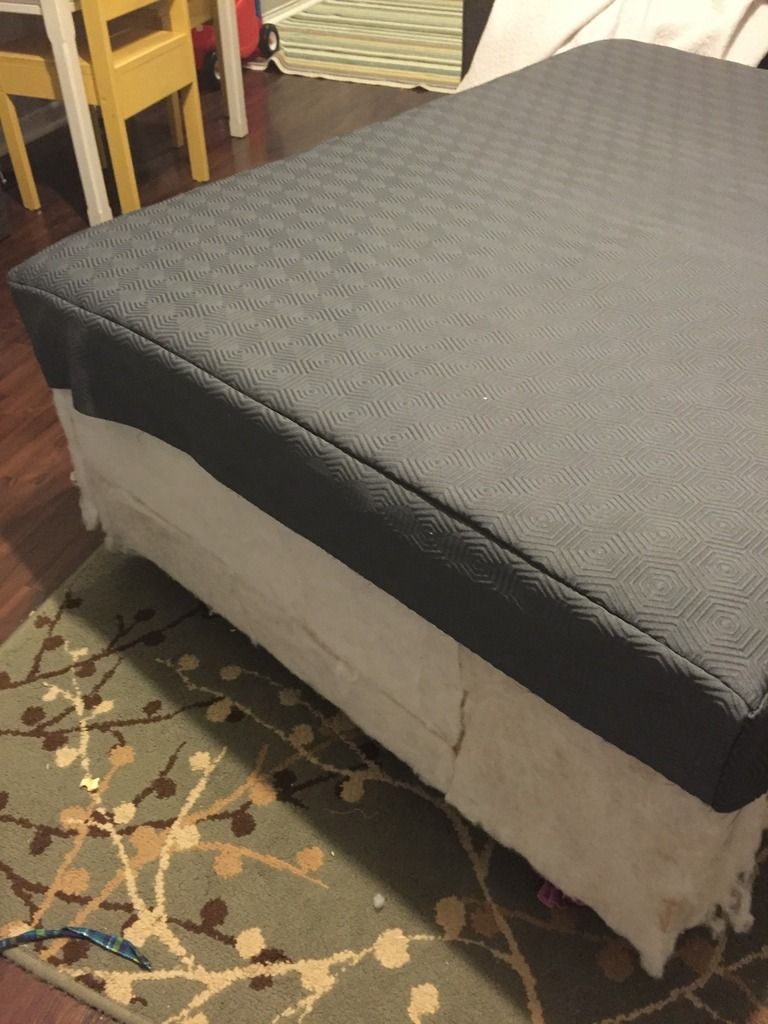
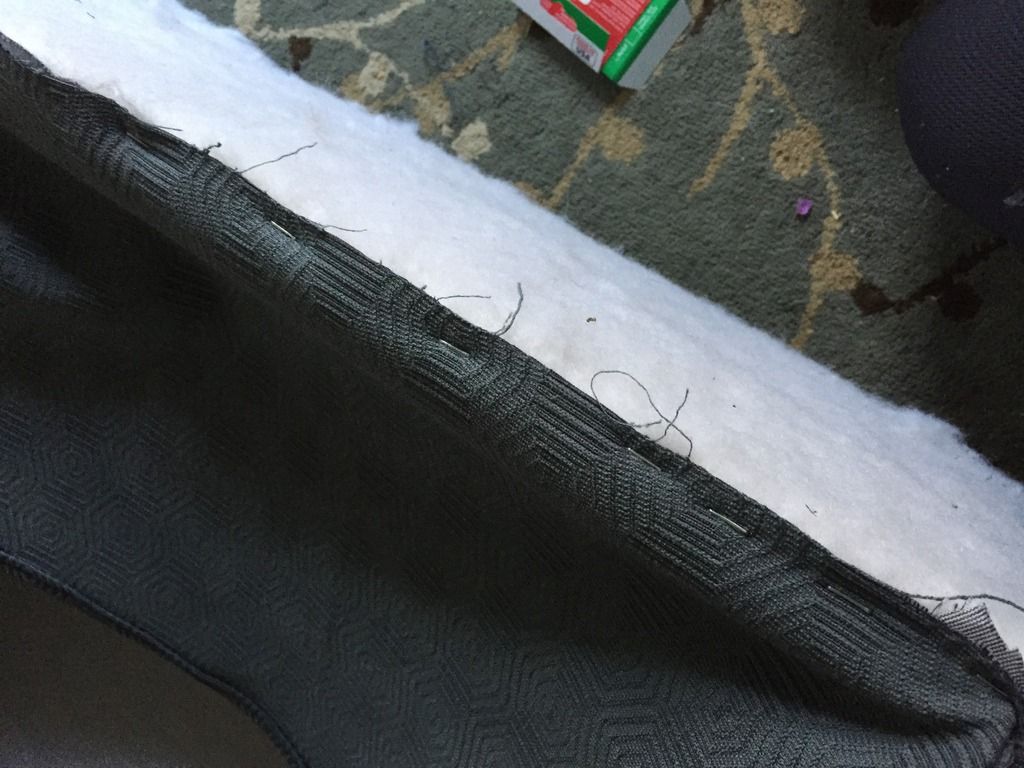
Next I stole foam and batting from our old couch cushions (I knew those would come in handy for more than a trampoline for the boys!). I used the foam and batting to cover the ottoman and box.
I know it’s not pretty but reusing these enabled me to save a lot of money. If you don’t have foam and batting on hand you can get them at your local fabric store. I cut my foam so that it was about 3 1/2 inches in height.
I covered the inside with fabric from my stash. Being a fabric hoarder does have its benefits. To keep the fabric in place I used a spray adhesive and stapled it down with my staple gun.
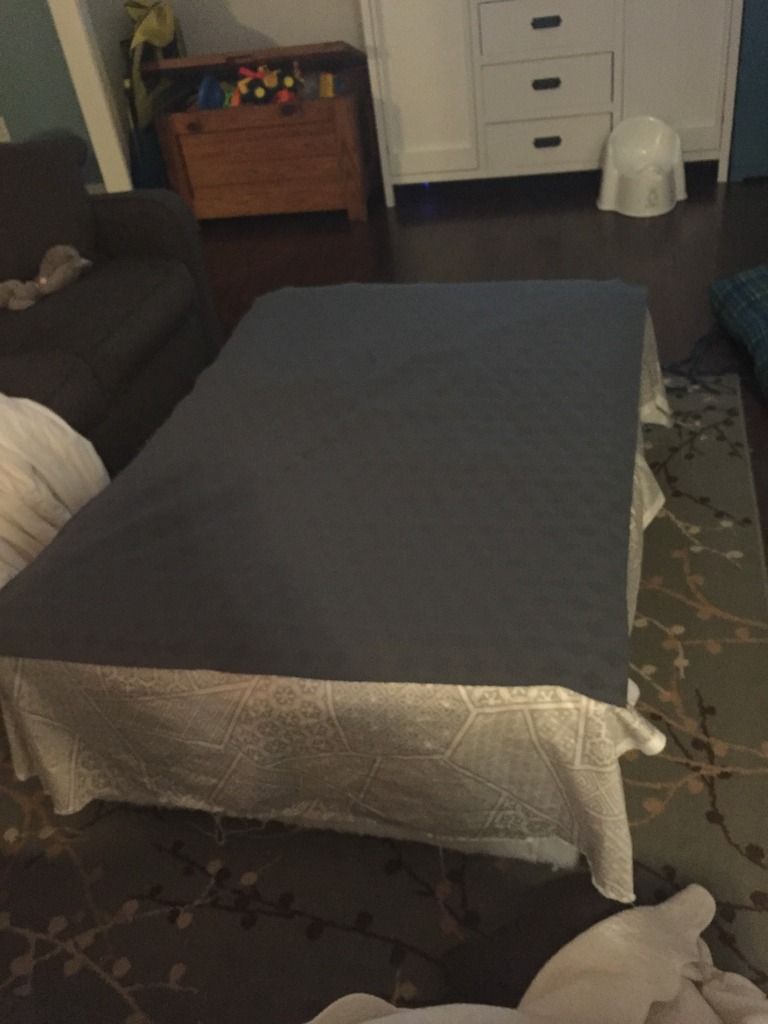
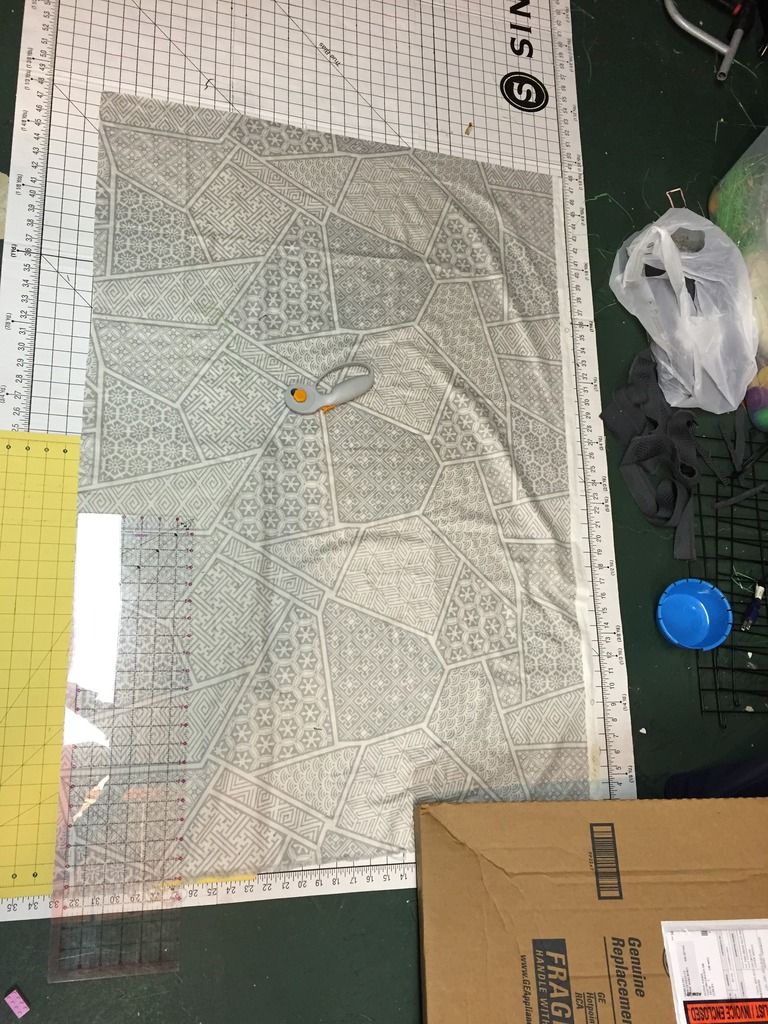
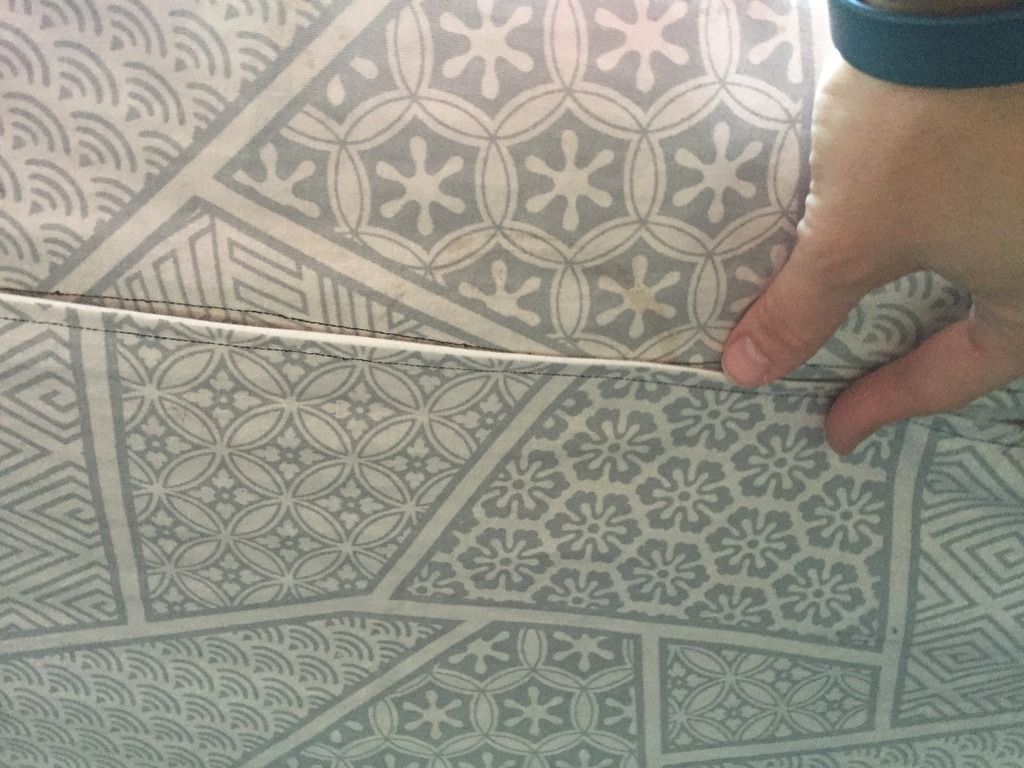
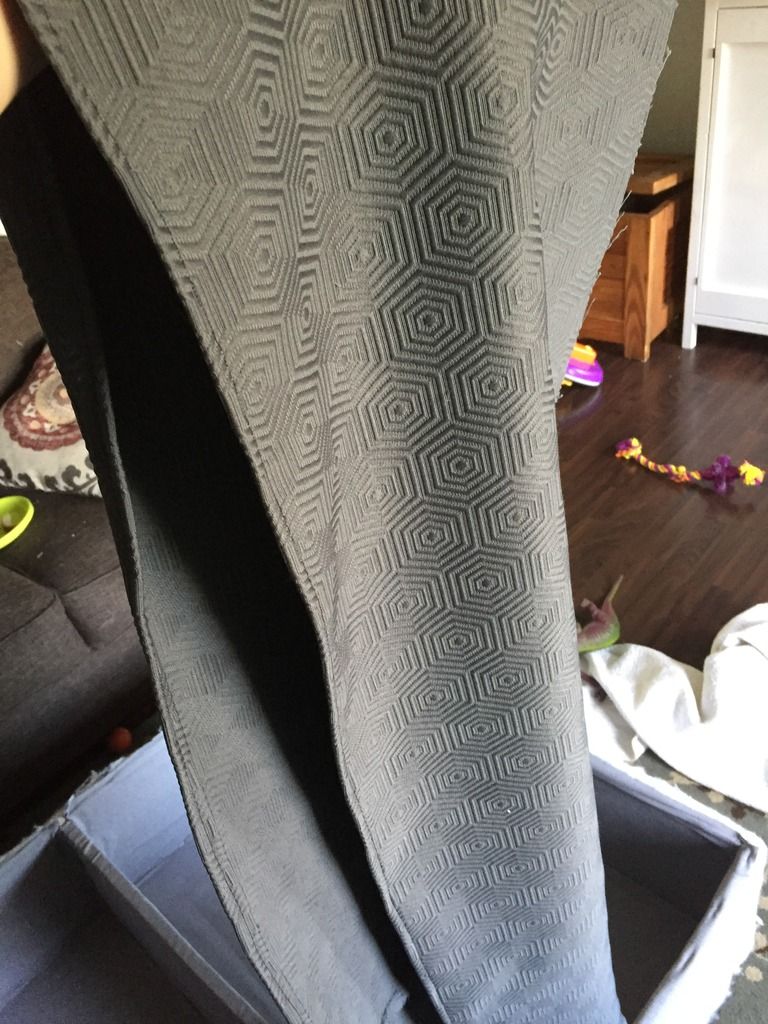
Then I made a “pillow case” if you will for the top. I cut fabric pieces for the top and sides then pinned them around the edges to ensure that it would fit well. Then I sewed the top and sides together and turned them right side out to see how things were progressing.
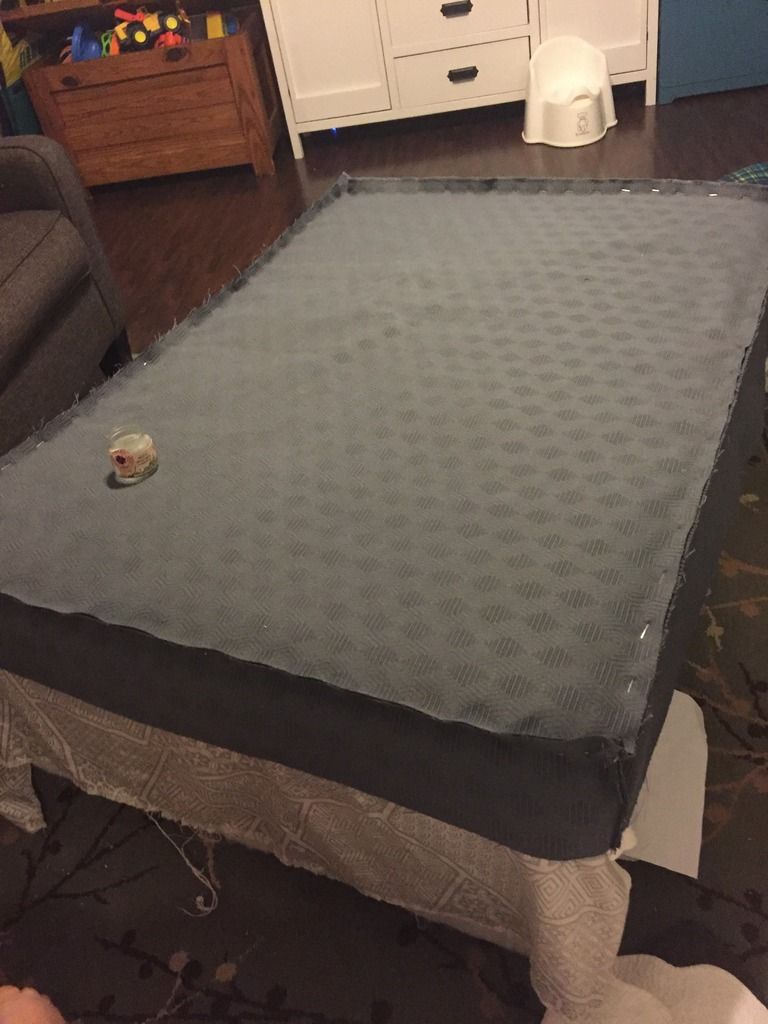
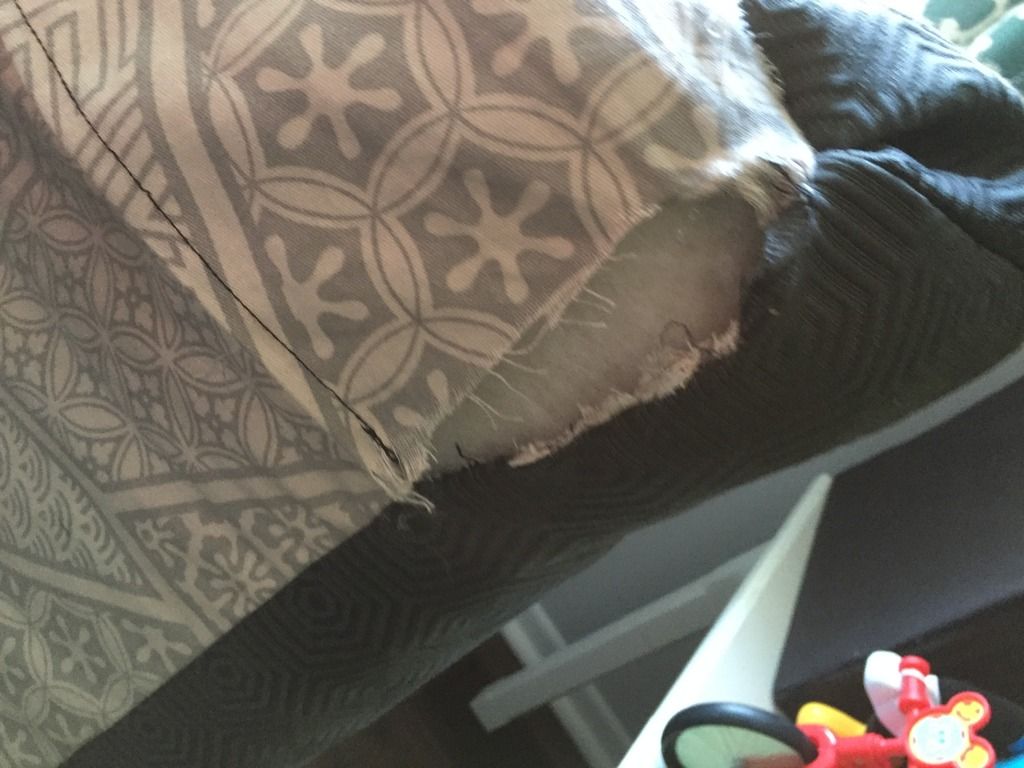
To finish the “pillow case” for the top I took some fabric from my stash to make the side of the case that would be on the inside of the ottoman. I did a french seam on the one side then sewed it to 3 sides of the fabric from the top of the “pillow case”, leaving the side with the french seam out. I did the same with another piece of fabric that was big enough for them to overlap a little and in doing so enclose the entire top.
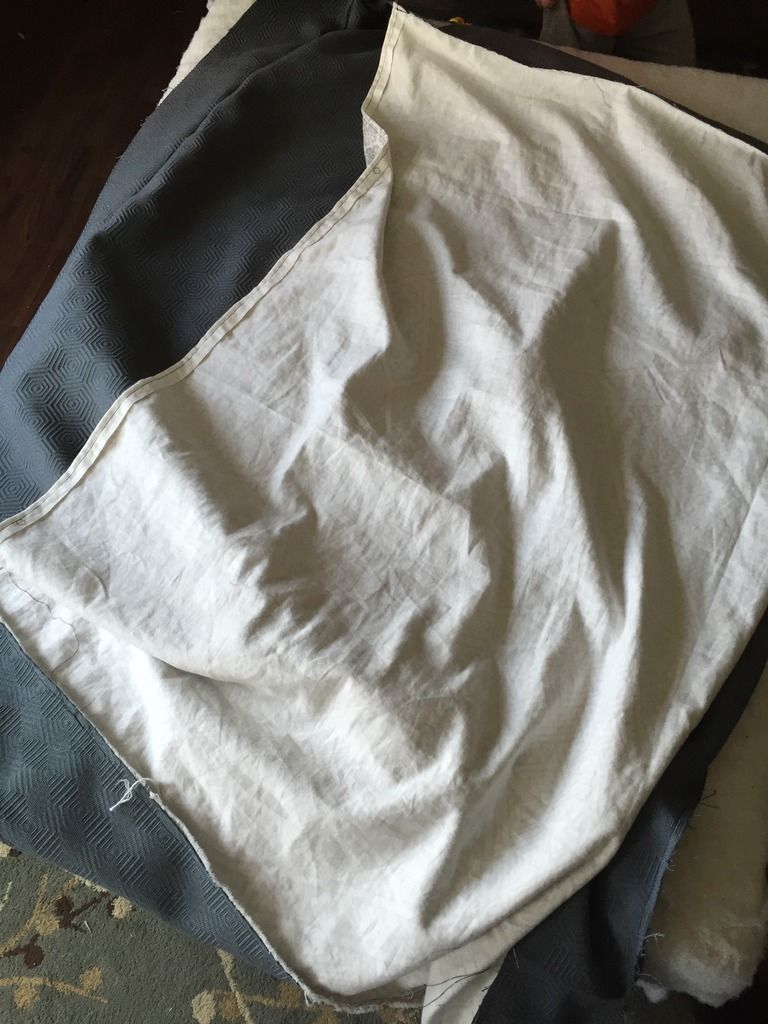
When I went to slide the ottoman top into its pillow case I couldn’t do it so I had to cut into the one side of the case in order to fit it on. I just stapled everything down in that corner and it doesn’t look perfect but it’s on the inside of the ottoman so it doesn’t bother me.
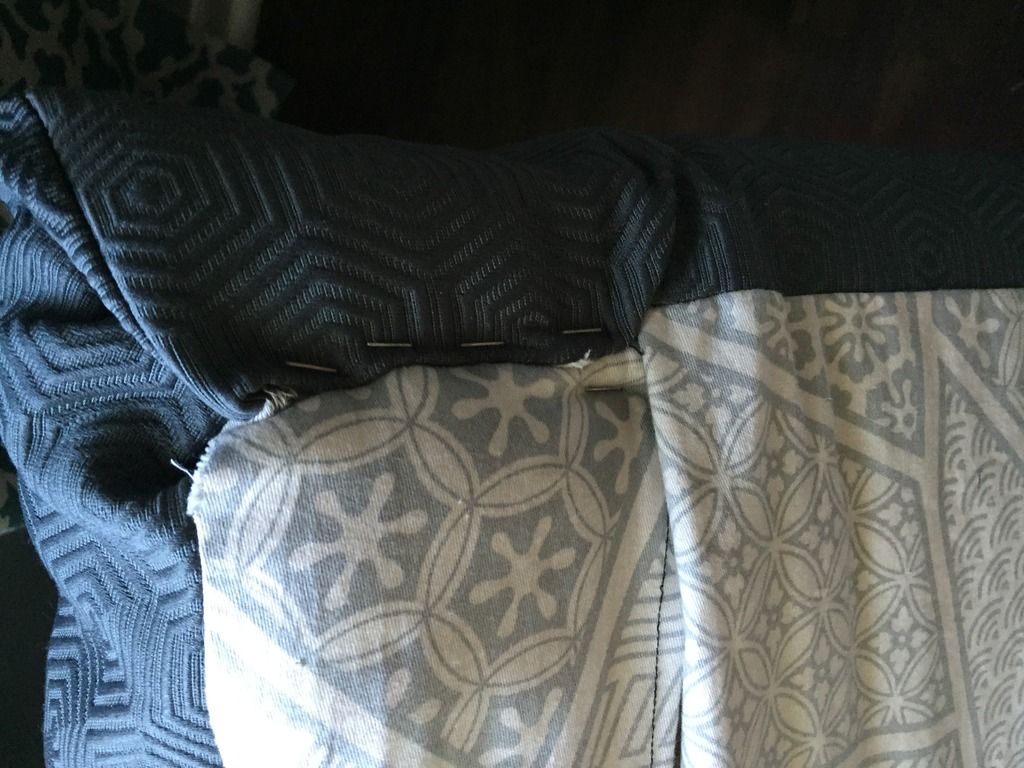
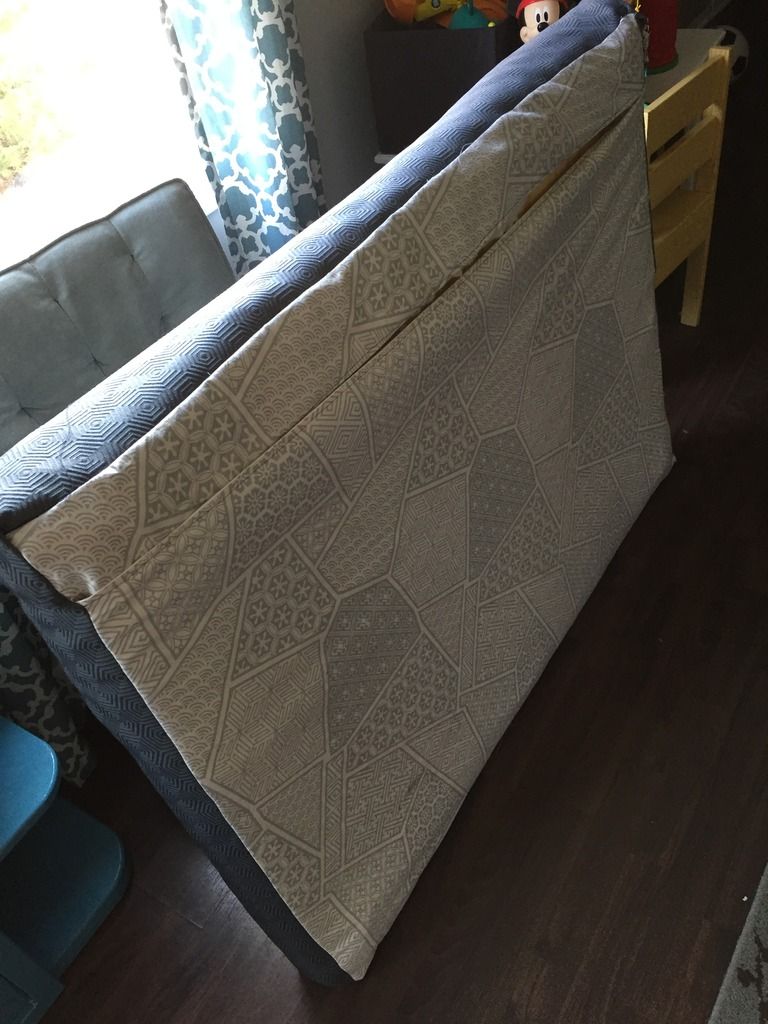
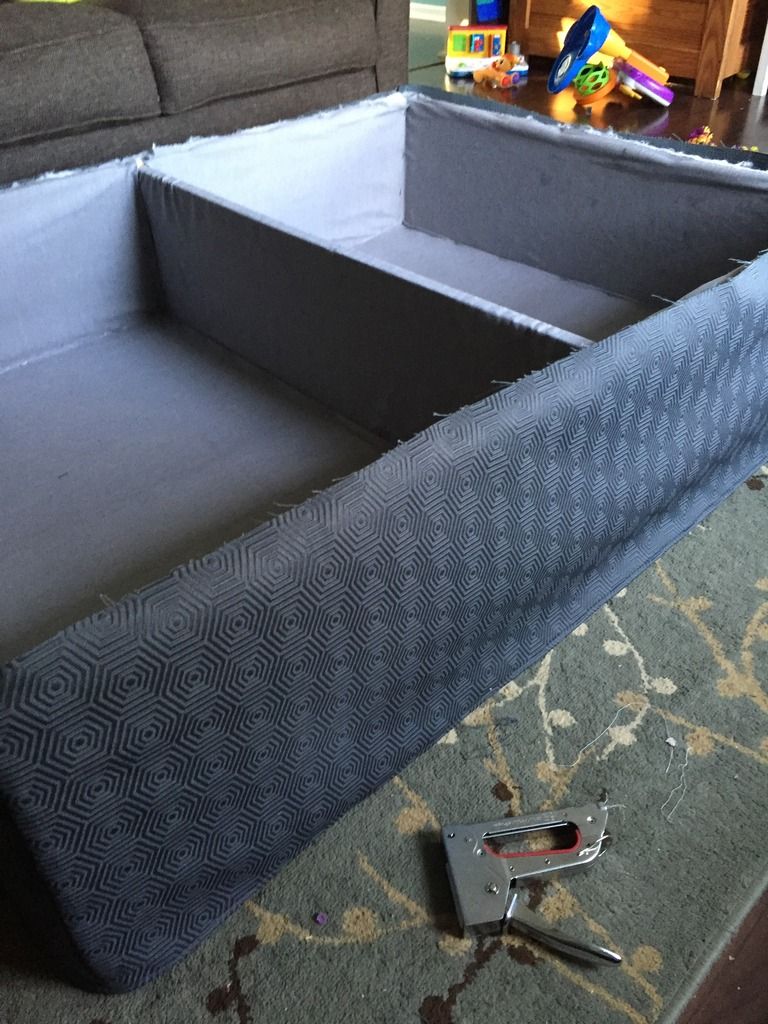
Next I sewed the skirt to cover the bottom of the ottoman. To do so I cut pieces for the 4 sides of the ottoman, sewed them together on their sides to make a big loop, and then hemmed the bottom of that loop with a french seam.
To attach the skirt to the ottoman I wrapped it around the edge of the ottoman. Next I flipped the skirt up so that the right side was facing down and stapled it around the edges. Then I flipped the skirt back down.
 Finally I attached the hardware. I attached hinges to one side and a lid support to each side. Both the hinges and the lid support are from Home Depot.


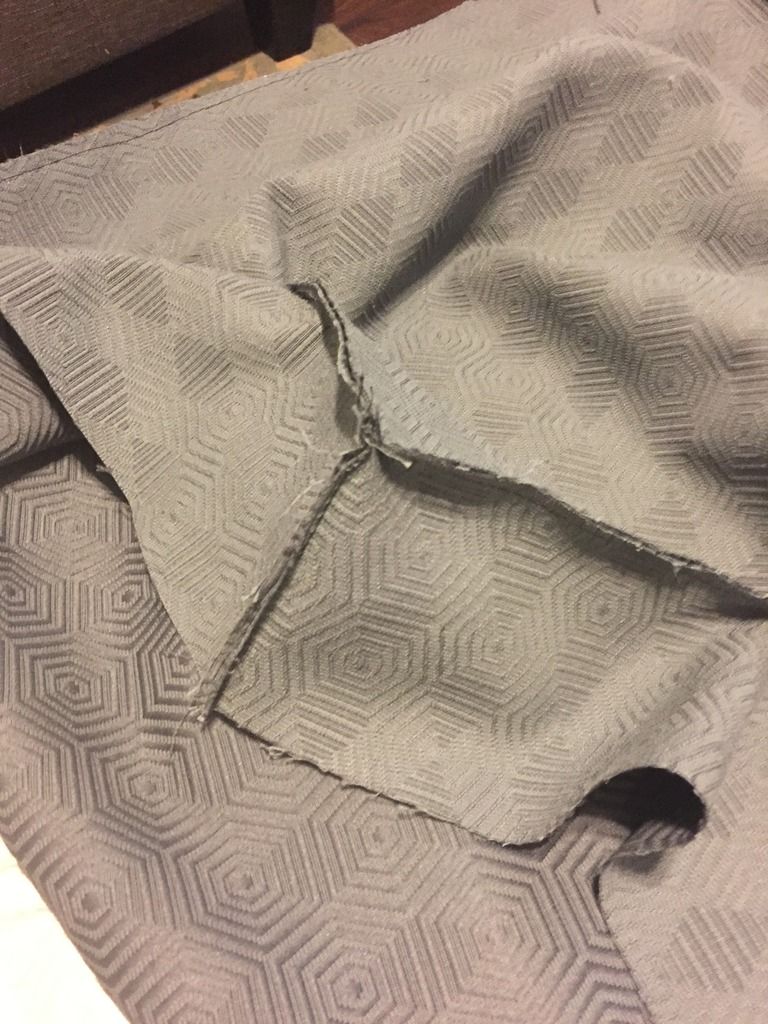
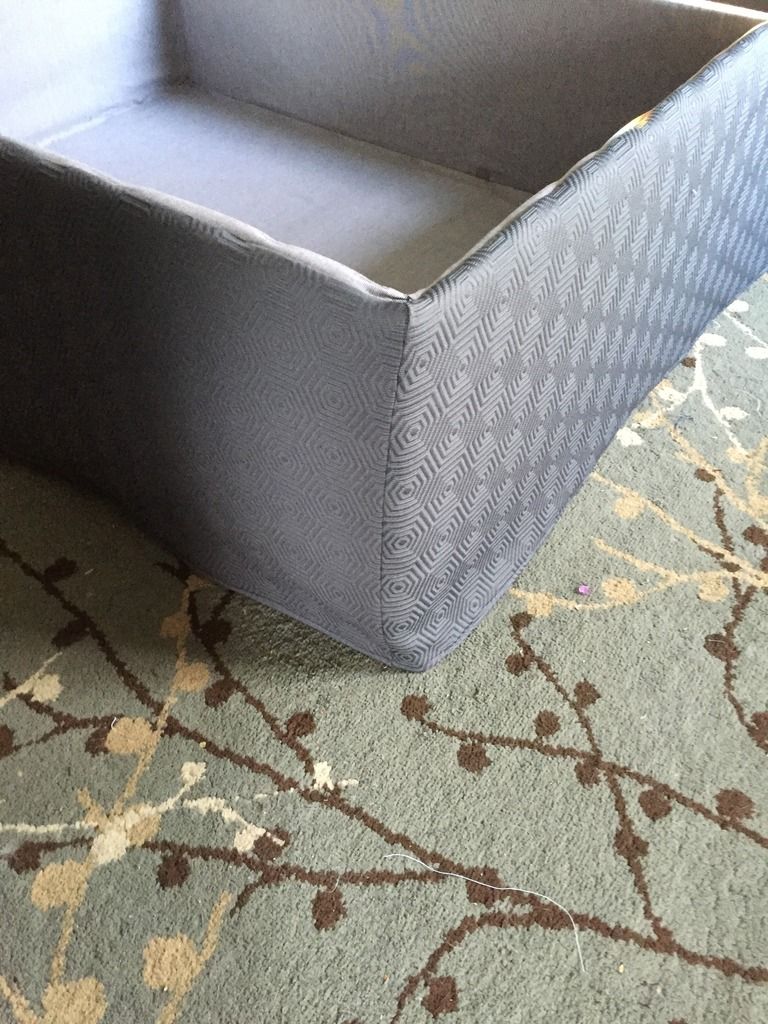
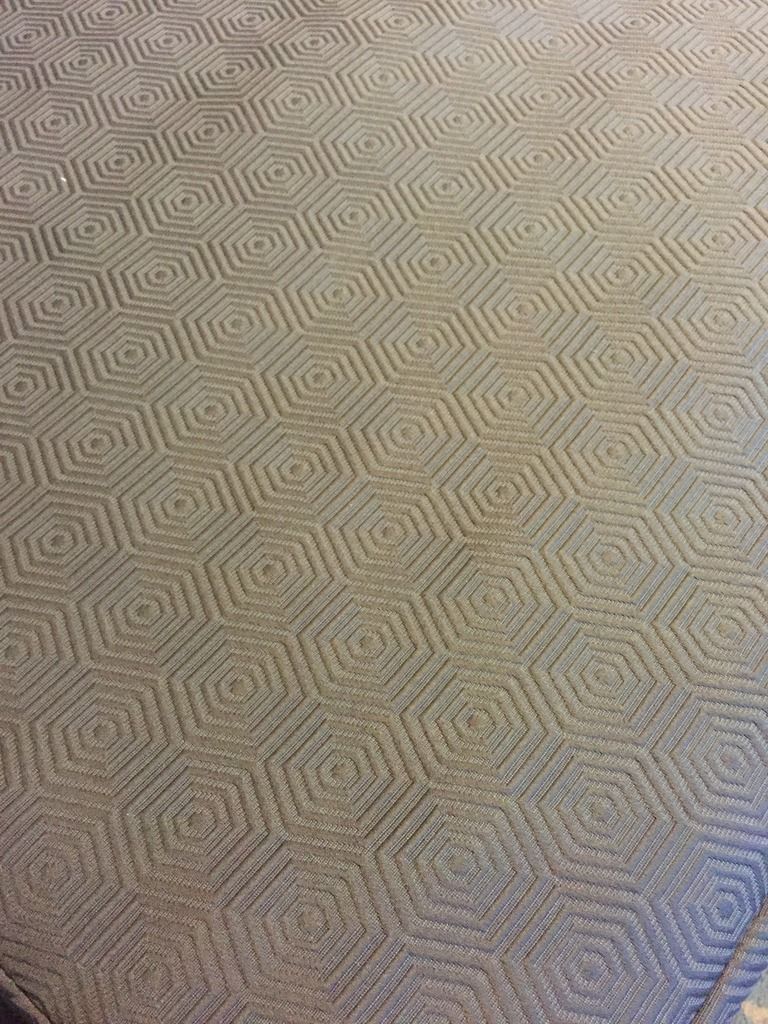
I love the fabric. It’s a Nate Berkus fabric from Joann Fabrics. Here’s a close up-
Thanks to having a bunch of supplies and tools on hand this was a relatively inexpensive project. Here’s my budget breakdown:
Fabric- $36
Hinges & Lid Supports- $18
Total: $54
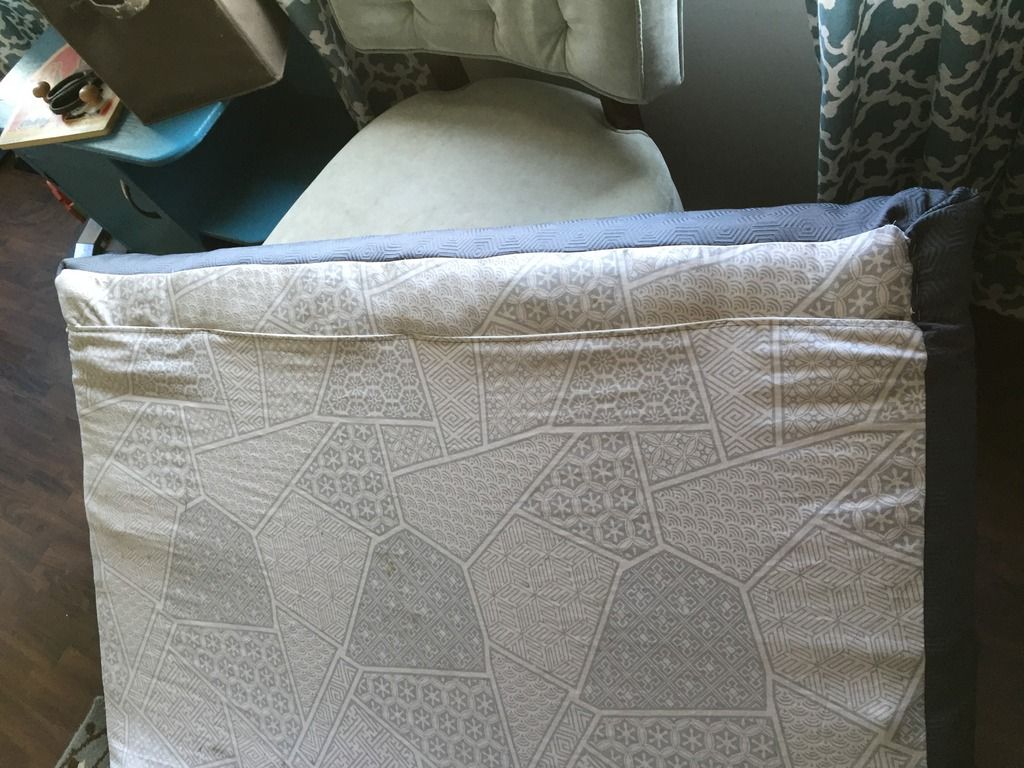
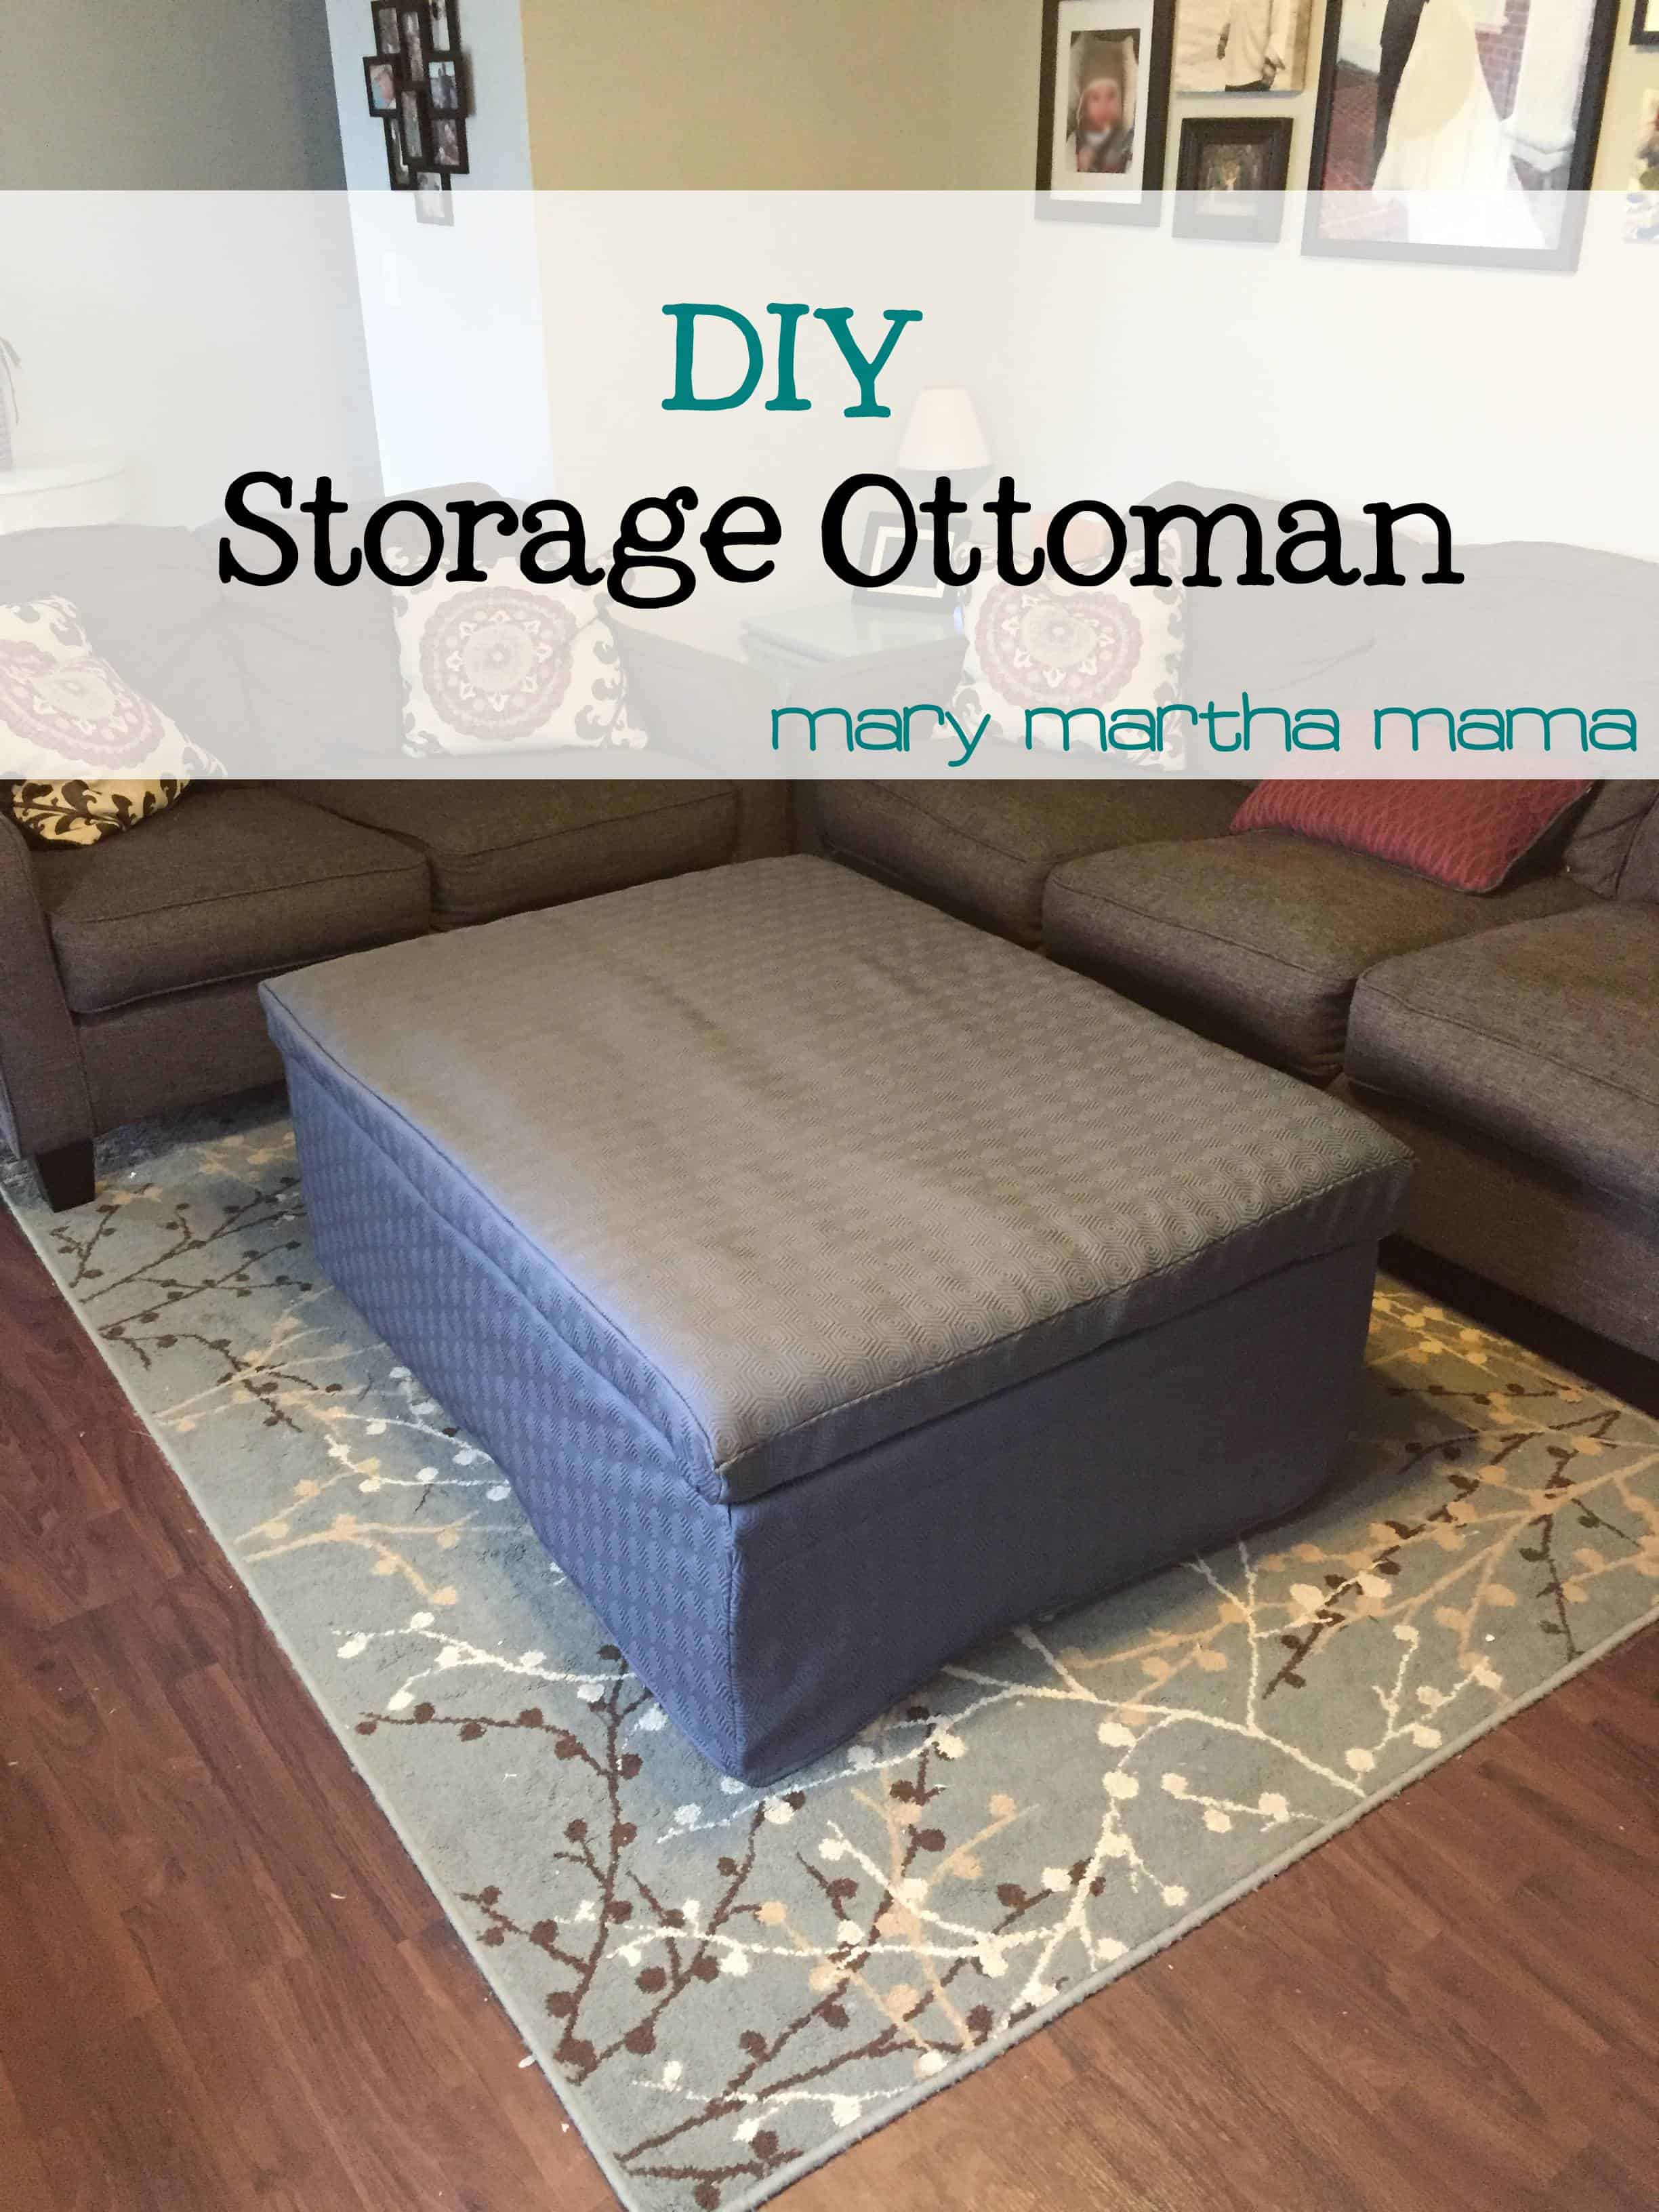
I think $54 is great for an ottoman that is approximately 48 inches long X 33 inches wide and X 17 inches high.
Is it perfect? Nope. Nothing I make ever is! But it’s so so functional for our family and we are thoroughly enjoying the extra storage and place to put our feet up. And with that I am thinking my big DIY projects are done for a while. I like to take it easy in the winter. Well, I try to anyway.
What are you working on? I’d love to hear about it in the comments below!
Mary
Sunday 10th of January 2016
Awesome work, so would want to try this for under the window sill and skinnier rectangle and maybe have rolling leg posts . For storing blankets and setting in the sun. Thank you.
Cat
Sunday 10th of January 2016
You're welcome! You should totally try it!
Cara
Tuesday 1st of December 2015
What an awesome DIY project! Great tutorial as well! I'm not very handy with power tools but I just might be able to talk my husband into helping build this. Thanks for sharing :)
Cat
Tuesday 1st of December 2015
Thank you!
Mariana
Monday 16th of November 2015
Oh my goodness! You're awesome! I can't believe you made that! Great job!
Cat
Monday 16th of November 2015
Thank you! It took me a few weeks, but it's done!