For quite some time A, my older son (who is almost 4!) has really enjoyed playing with the play kitchen at the library. So a few months back I started scheming about how I could possibly make a play kitchen for him and S for Christmas.
We considered buying a kitchen since that would be easier but none of the other play kitchens that we saw really fit the bill of what we were looking for. Well, I should clarify that none of the play kitchens in our price range were what we wanted.
Essentially there was only one play kitchen that had all the characteristics we wanted (not plastic, bigger so that my tall boys could both play with it, and plenty of storage for play food) and that was the Pottery Barn Kids Retro Kitchen Collection. And it is on sale right now for only $615. Waaay out of my budget.
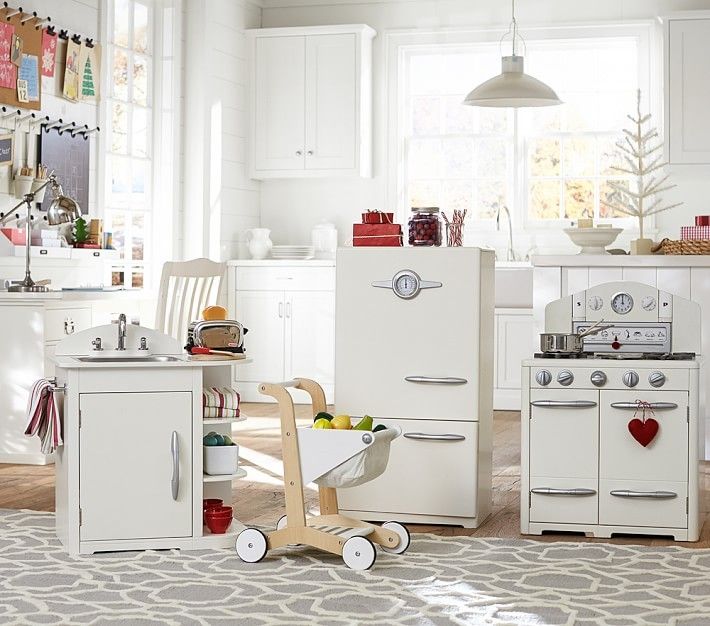
So I set out to find some plans on the internet for a kitchen that would be similar in size and awesomeness and thankfully I found them! Camille from Imperfectly Imaginable had already done all the work of designing plans for a knock-off of the Pottery Barn kitchen. And God bless her for generously sharing them with the rest of us!
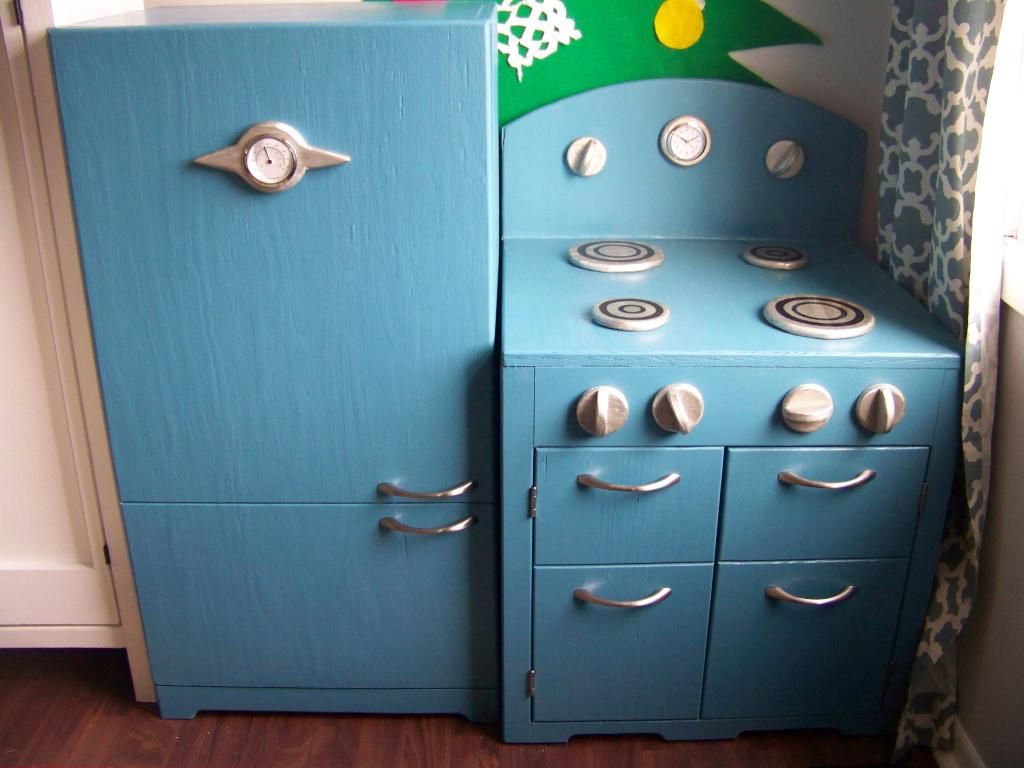
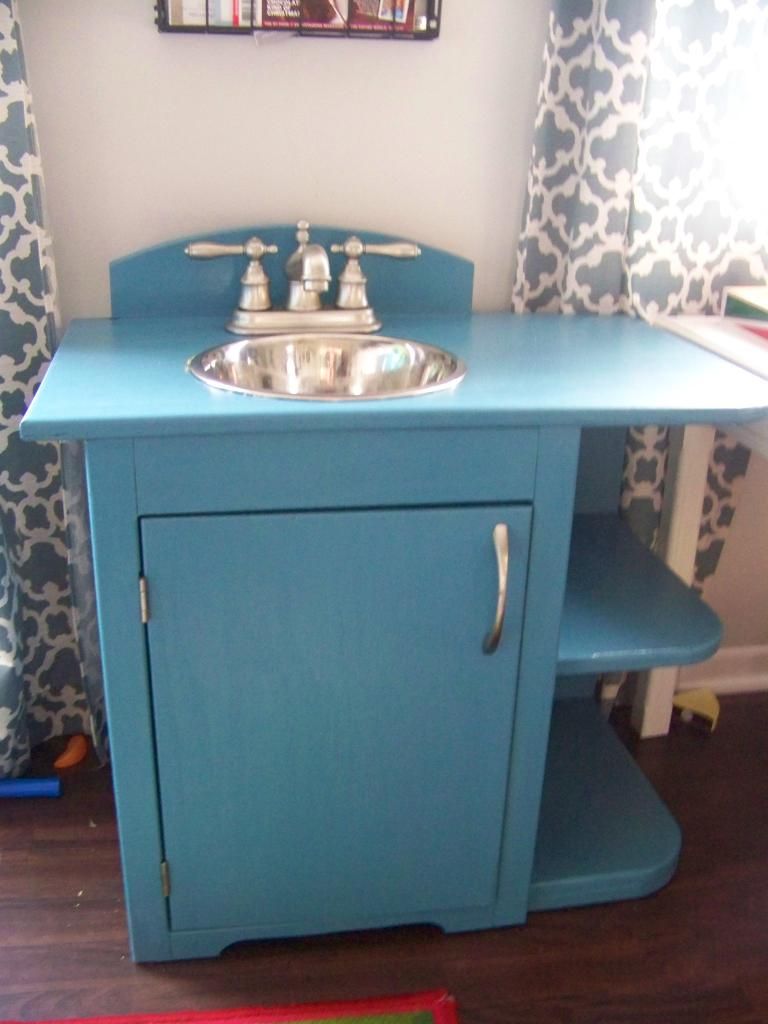
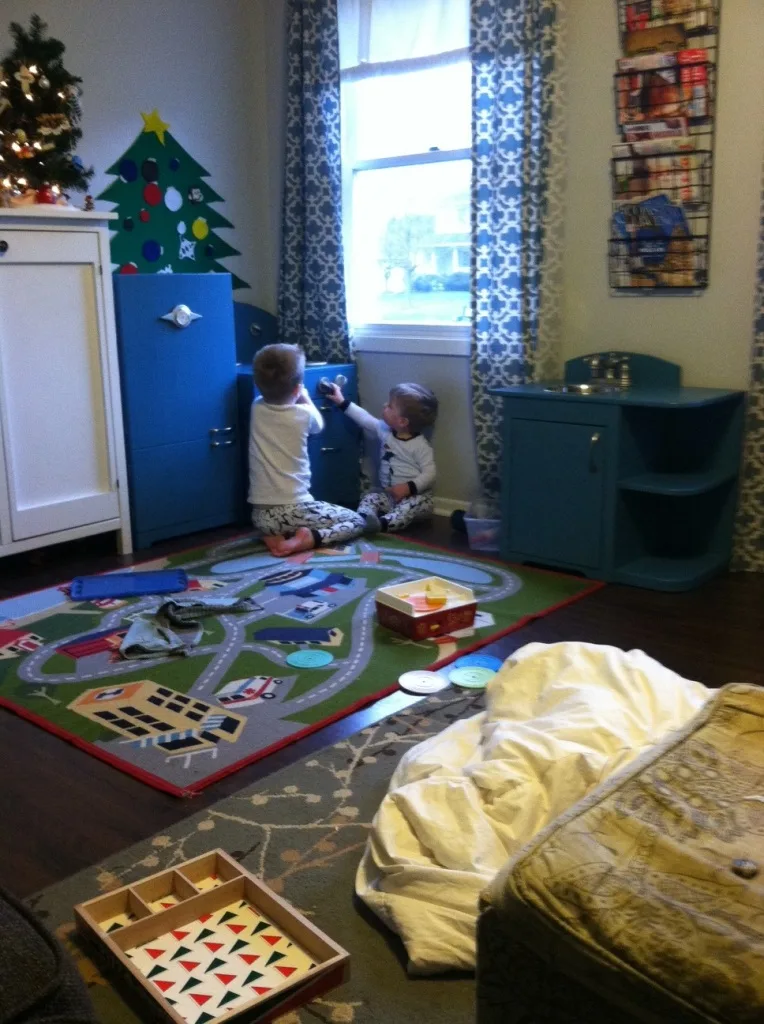
With Camille’s plans and my father-in-law’s help I was able to build this kitchen for my boys’ Christmas present:
<
(Please note: Some of the links in this post are affiliate links, which means that if you click on a link and make a purchase I will receive a small commission. Thank you for supporting the blog! Read my disclosure policy here.)
I mostly followed Camille’s plans so I won’t give too detailed of an account of how we did it, but I will share a few of the details and some ways in which we deviated from the plans. In terms of materials I opted to go with plywood instead of the MDF that Camille used.
I chose to do so because it was slightly cheaper but I would advise you to use MDF if you want to make a play kitchen. Spend the extra money. I was not able to sand it quite as smooth as I thought I was going to be able to and you can see some of the woody-ness through the paint. I’m ok with it as it is, but for the few extra dollars the MDF probably looks much more smooth than the plywood.

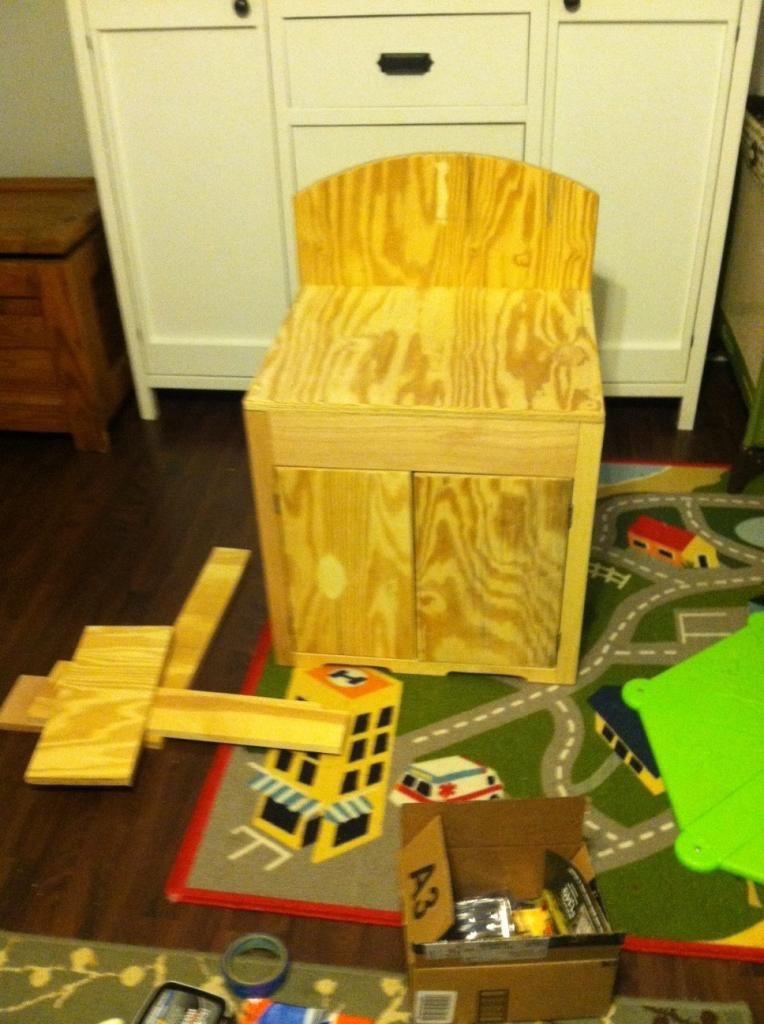
So we built the kitchen out of plywood mostly following Camille’s plans. We changed a few little things (I did my burners differently, changed a few measurements, shaped the back of the oven a bit differently). After building each piece at my father-in-law’s garage I brought them home where I did the puttying, sanding, and painting.
For the fridge we thought it would be fun to make the front magnetic. Prior to painting it with the blue paint I painted two coats of Martha Stweart’s Magnetic Effect Paint, sanding between each coat.
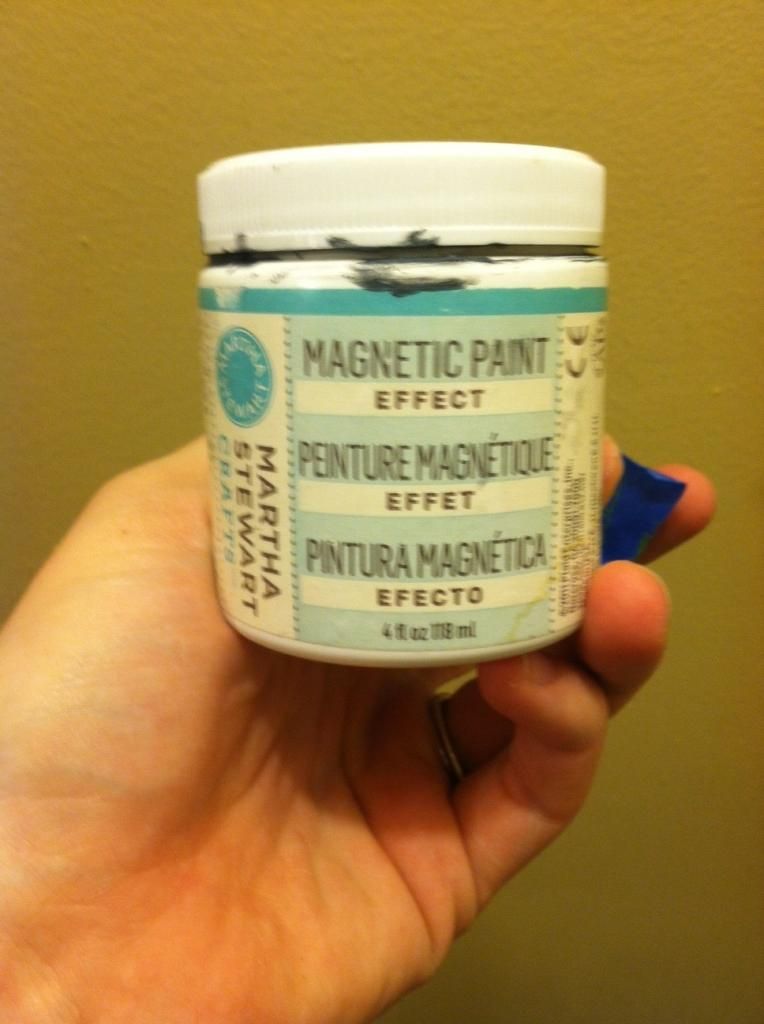
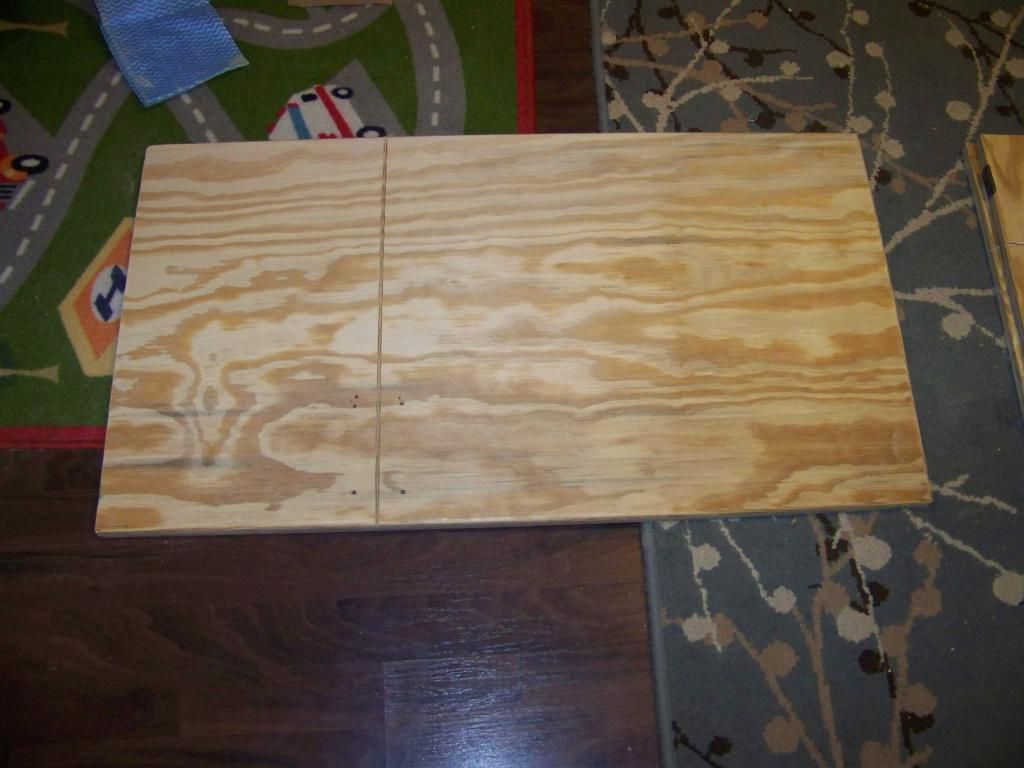
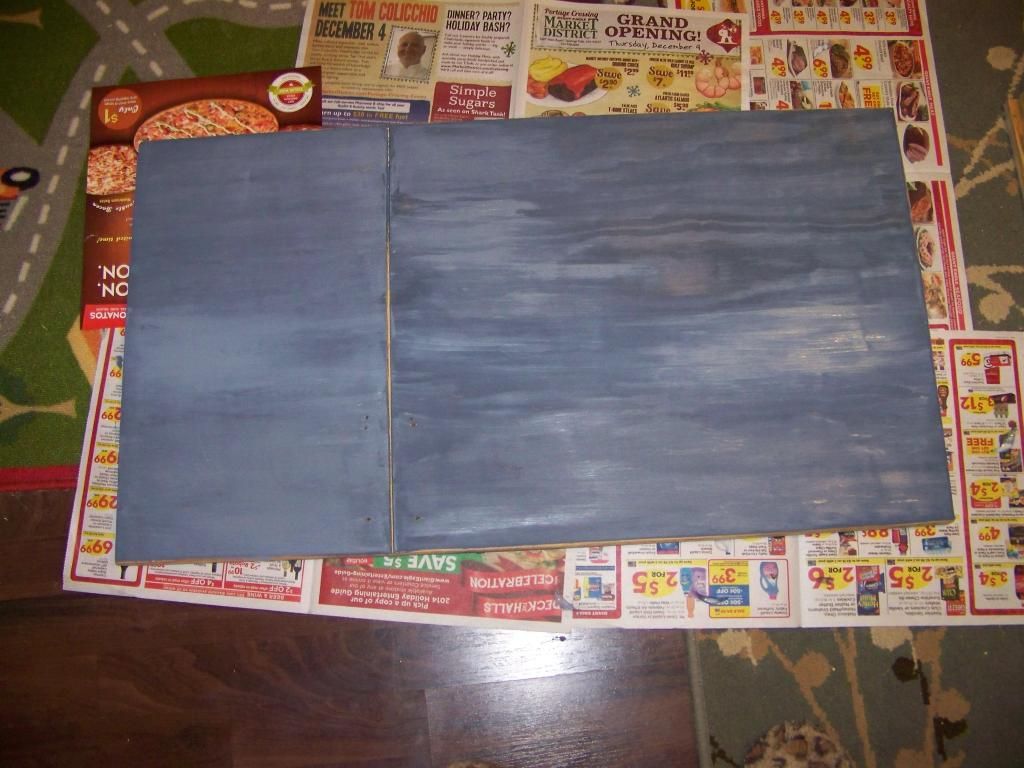
This stuff is thick. For the record, it did work but not extremely well. We can stick lighter things to the fridge but nothing too heavy. Perhaps I did not do enough coats or painting over it with two coats of blue plus the clear coat was too much. This doesn’t really bother me too much because S snatches down anything that we put on there almost immediately. It was a $4 experiment so I’m not too disappointed that it doesn’t work well.
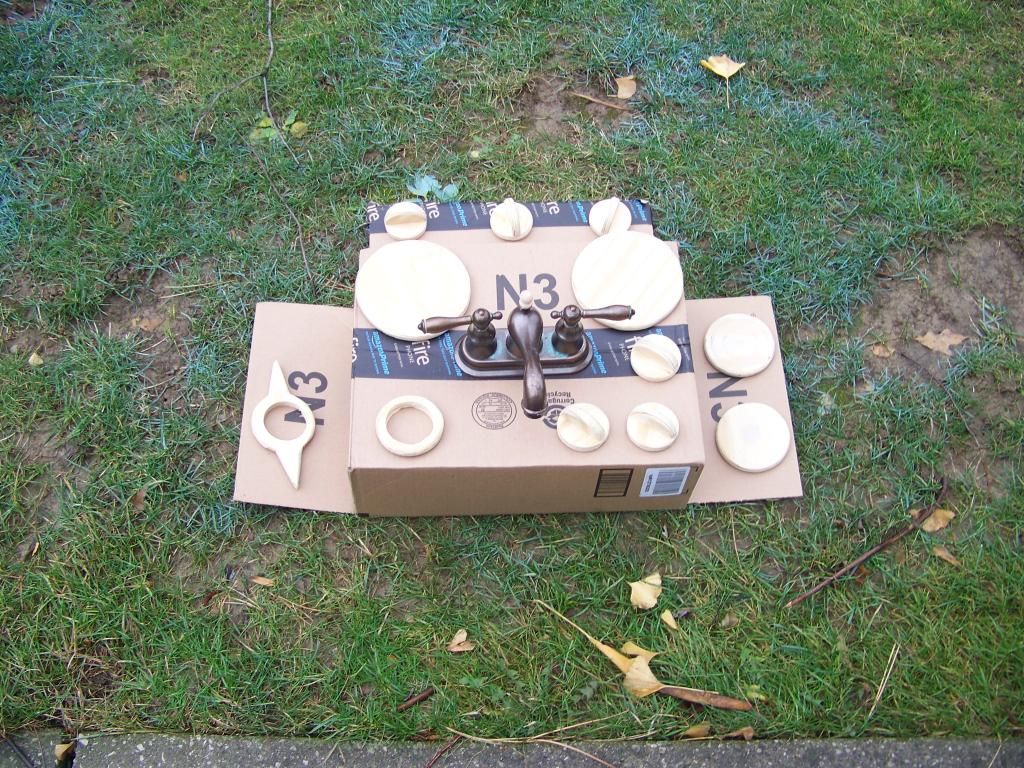
For the front of the fridge I decided to mimic the details in the Pottery Barn pieces. We cut the main part of the dial out of wood, routered the edges, sanded and spray painted it silver. Using a circular drill bit my father-in-law cut out the hole for the temperature gauge to sit in.
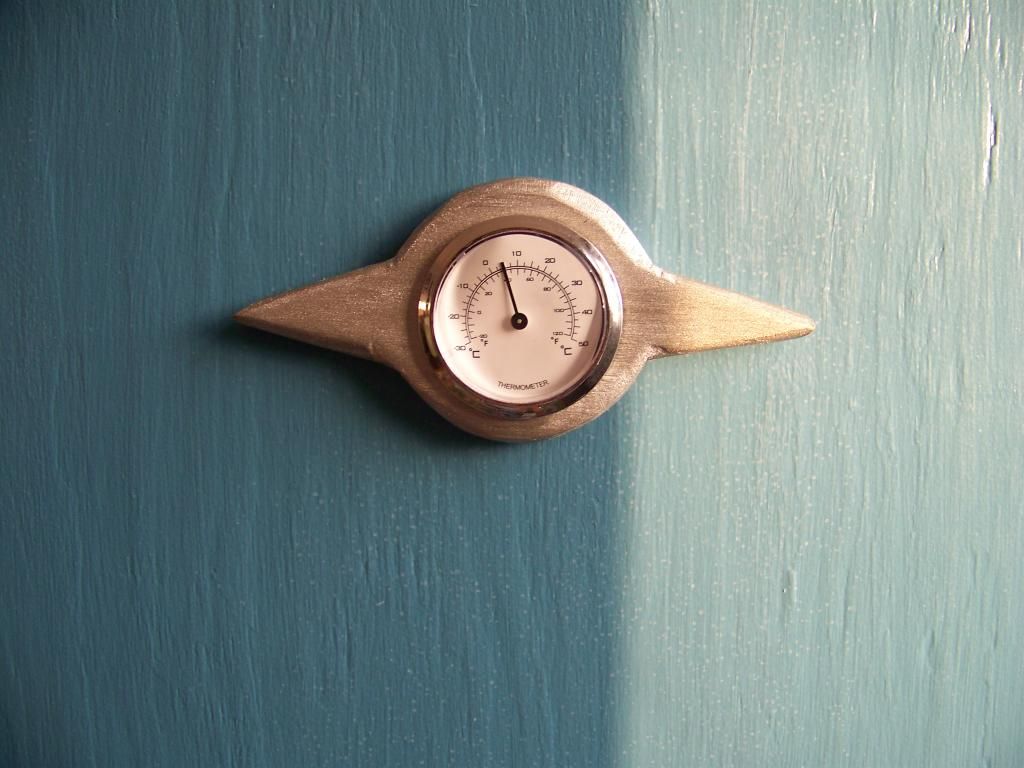
The temperature gauge is from this weird thing I found at Marc’s one day. I love that place! You never know what you’re going to find in aisle one. It had a clock, a hygrometer, and a thermometer in it.

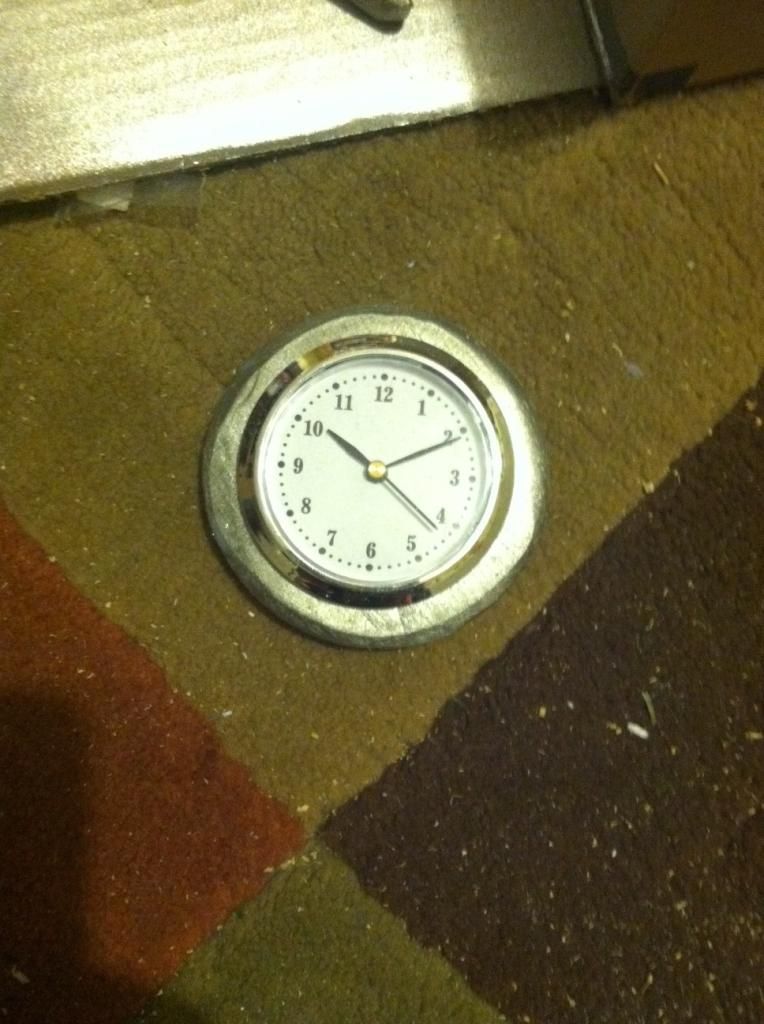
I stole the clock for the oven from the same device.
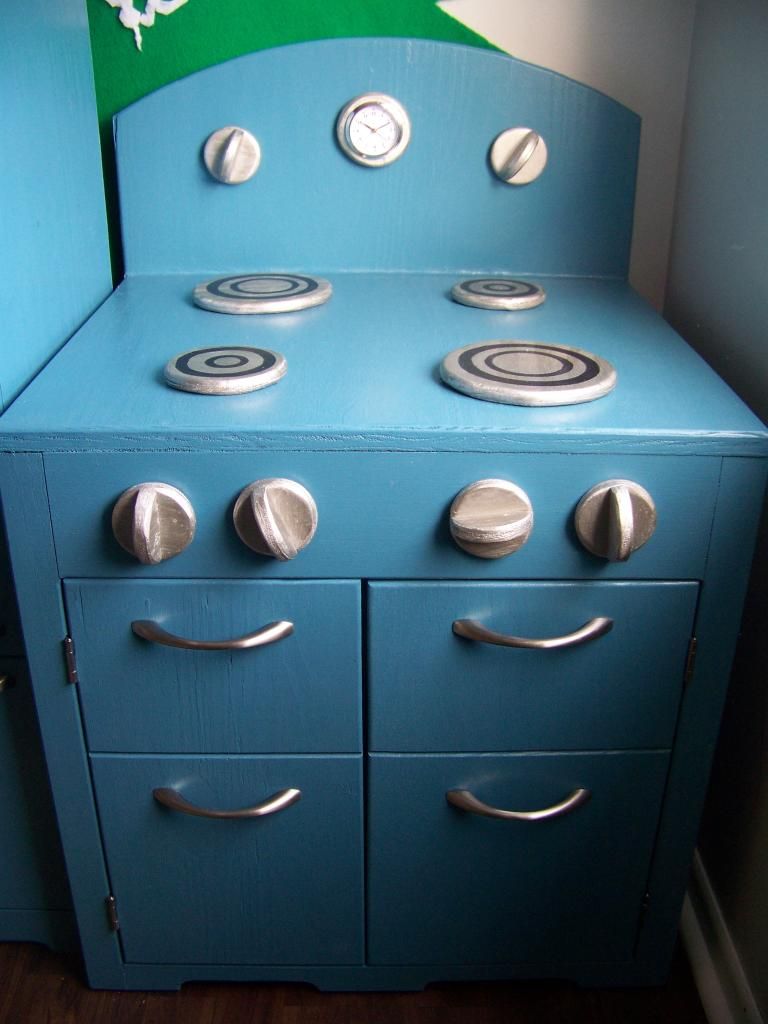
I also made the oven knobs and burners out of wood and painted them with the same silver spray paint.

To make the burners I used a jigsaw to cut circles out of plywood, sanded and painted them. The I traced various objects with a black sharpie to make circles for the burner grates.

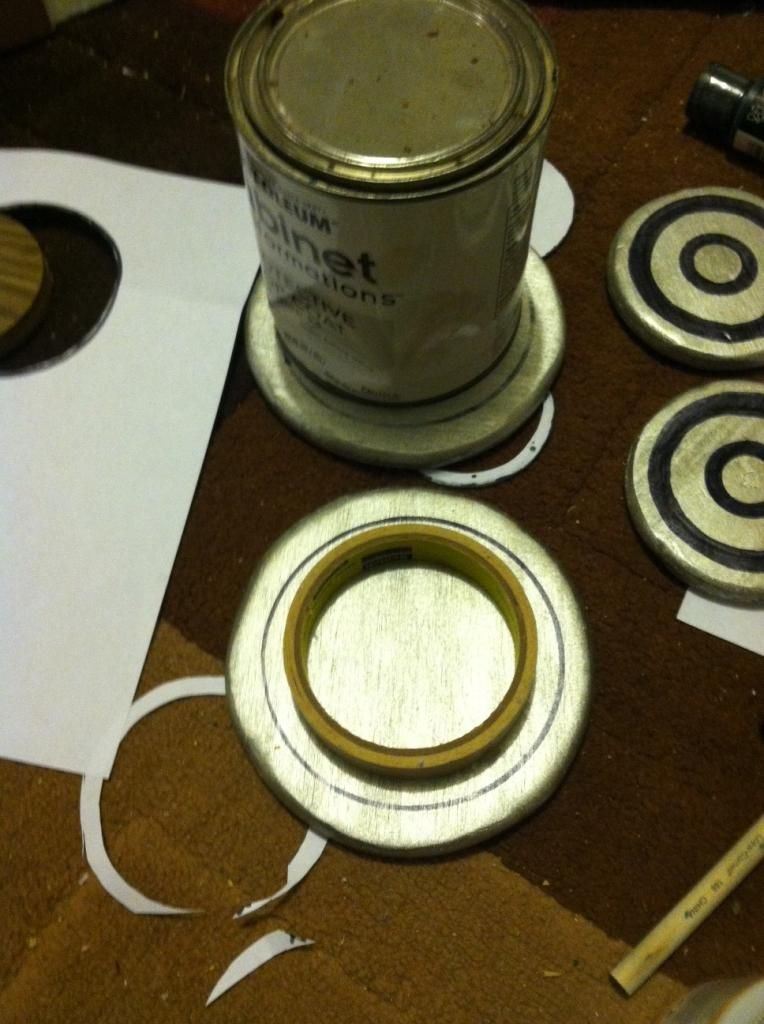


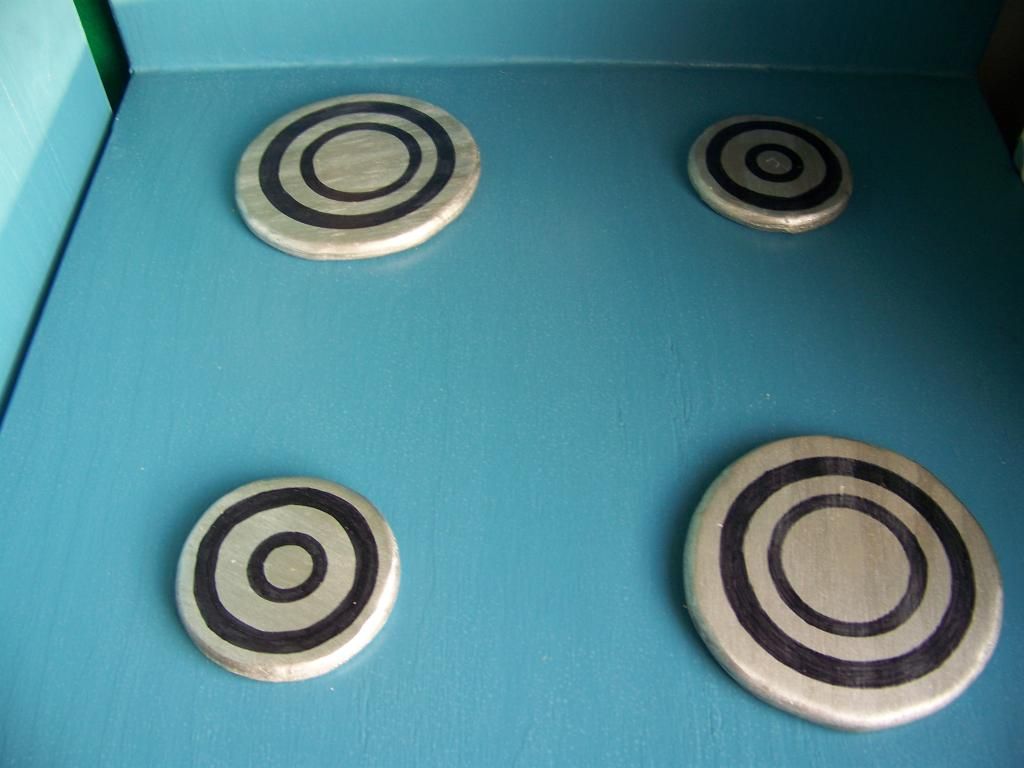
The circles are by no means perfect. I’m a bit type-A so it does bother me, but I’ve been trying to tell myself this-
I might see the imperfections and my kitchen might not be pinterest-worthy, but I know that my boys are going to love it. They will not see the flaws. They will see a place to cook and have fun playing and pretending.
Life lessons from building a play kitchen. Now, back to the details. The stove knobs are also made of wood. My father-in-law cut some circles out of wood using a circular drill bit. We then cut some of the circles in half. For each knob I glued a half circle to one other circle. Then I sanded and painted them.
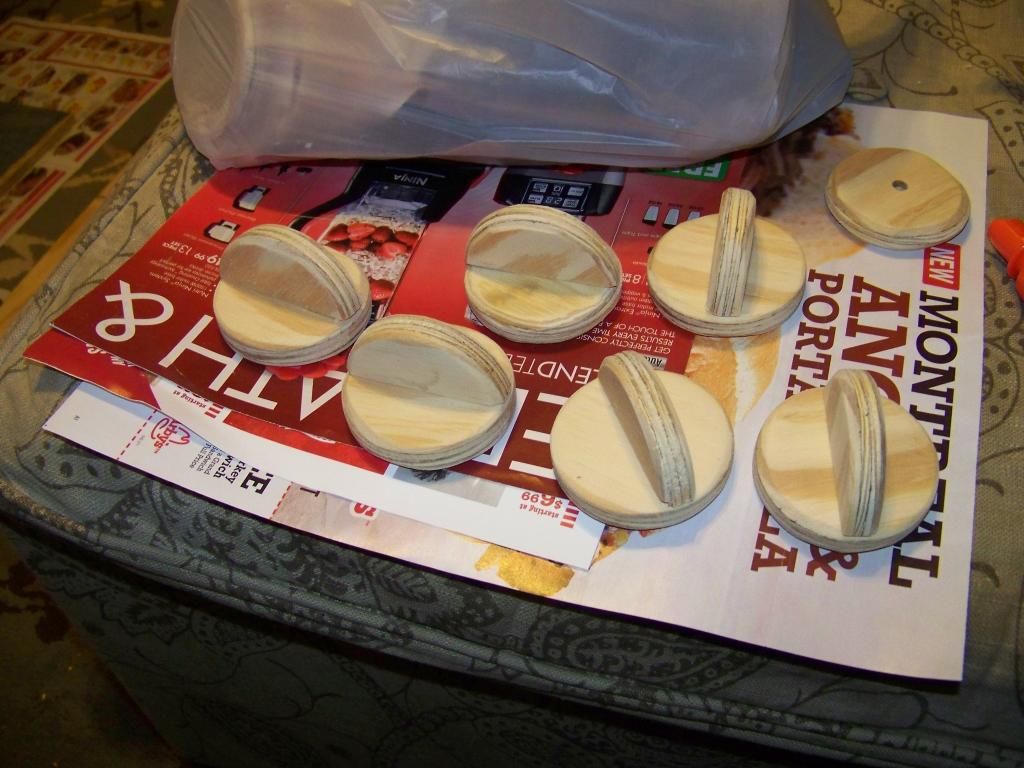
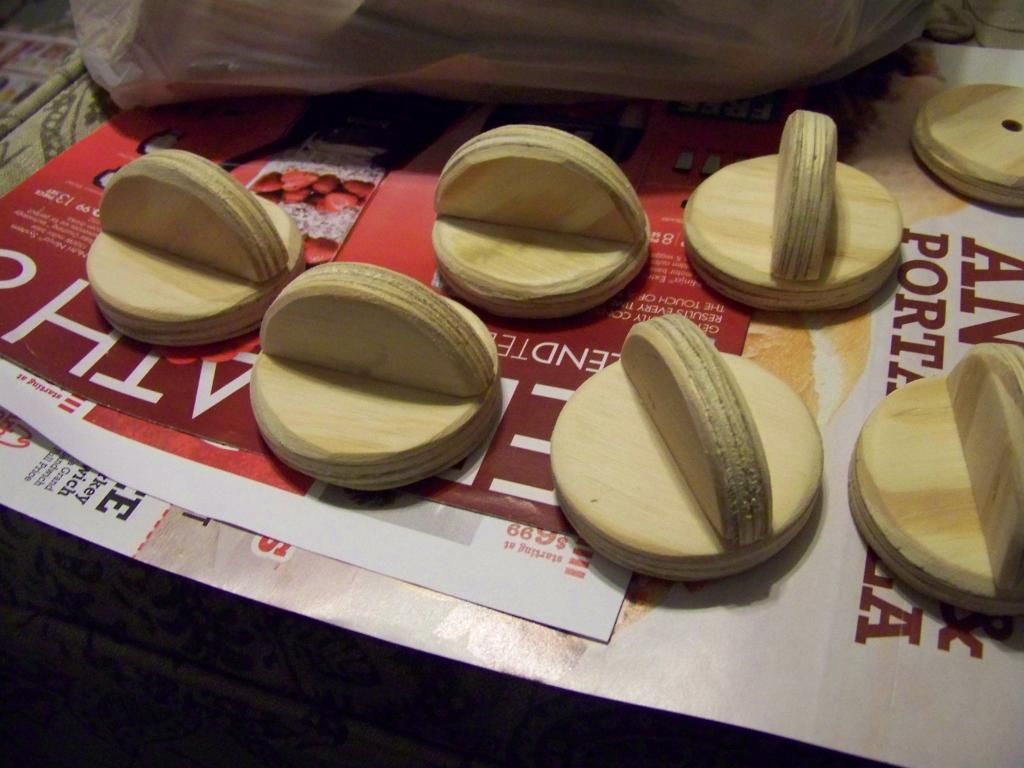
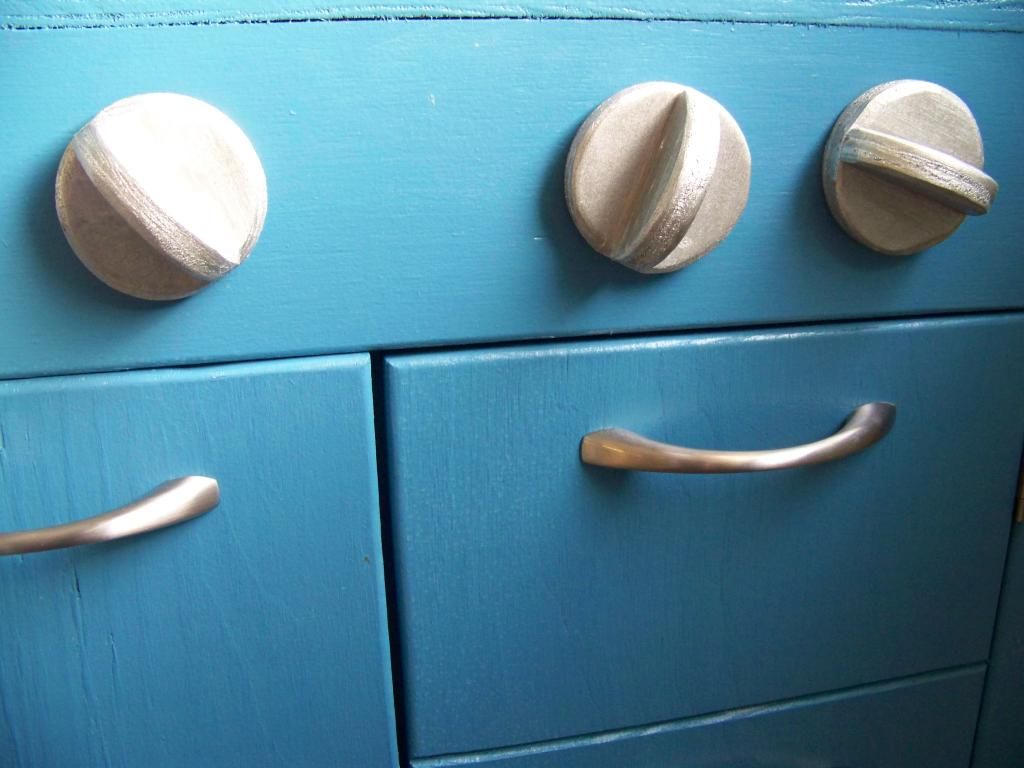
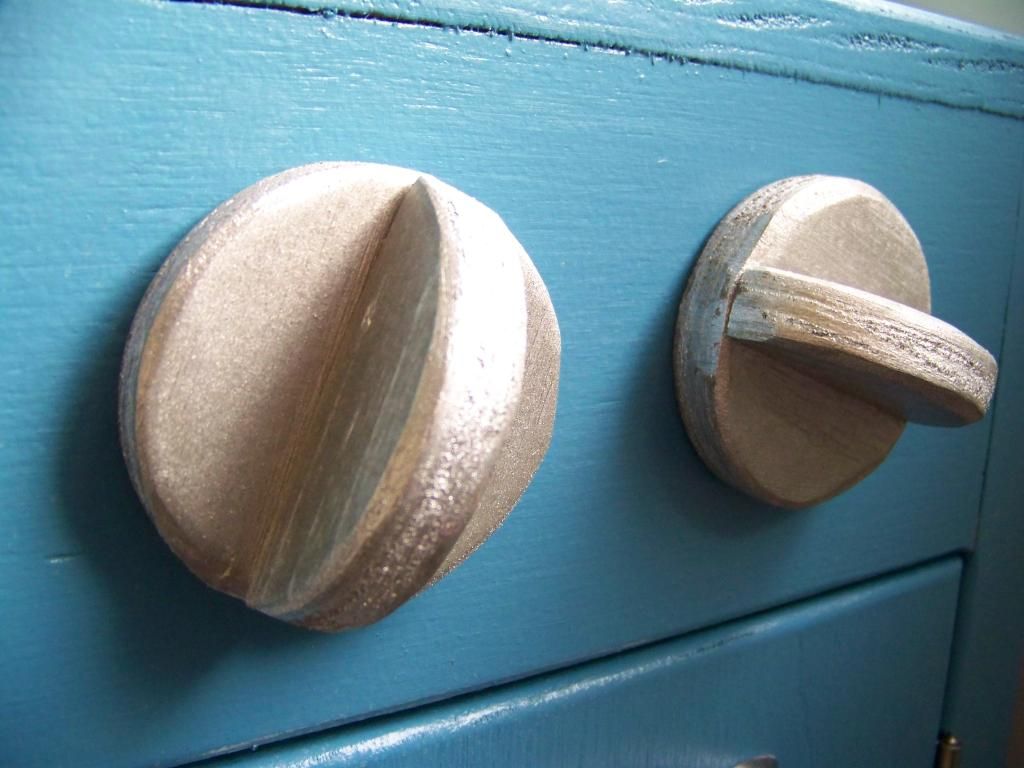
I wanted them to be functional (actually turn) so here is how I attached them to the kitchen. First I drilled a pilot hole in the spots I wanted them on the oven. I used a drill bit that was a little bigger than the screws I was planning on using to attach the knobs.
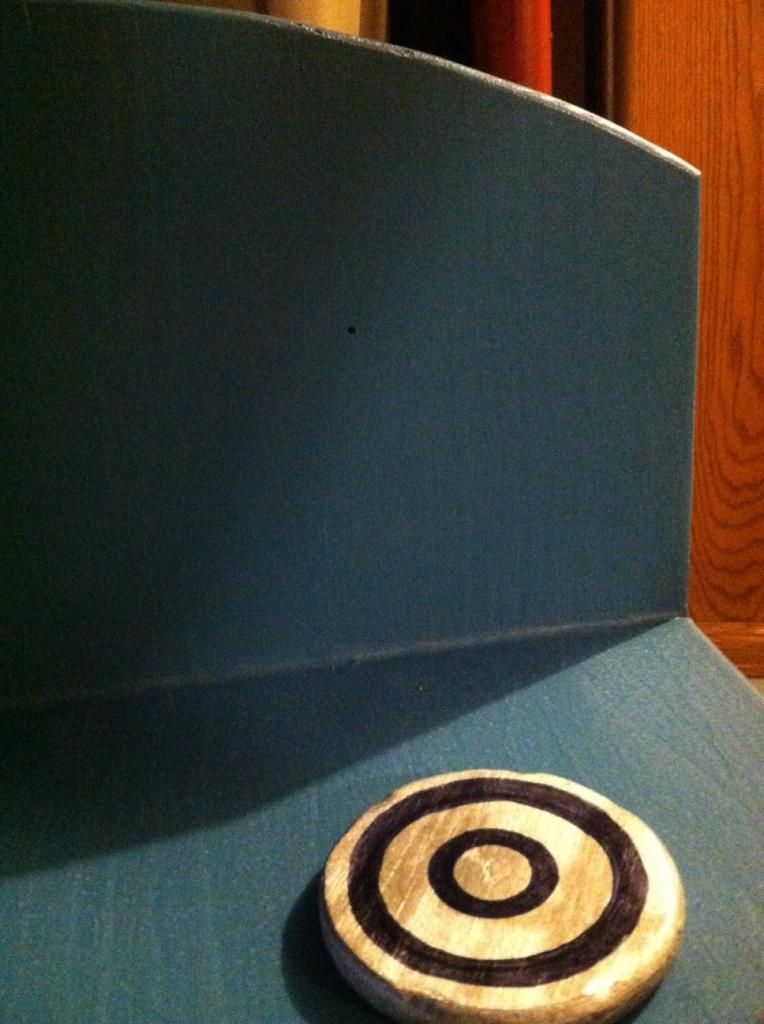
I stuck in the screw to make sure it would have room to still turn. I pulled it out again and then screwed it through the hole and into the knob.
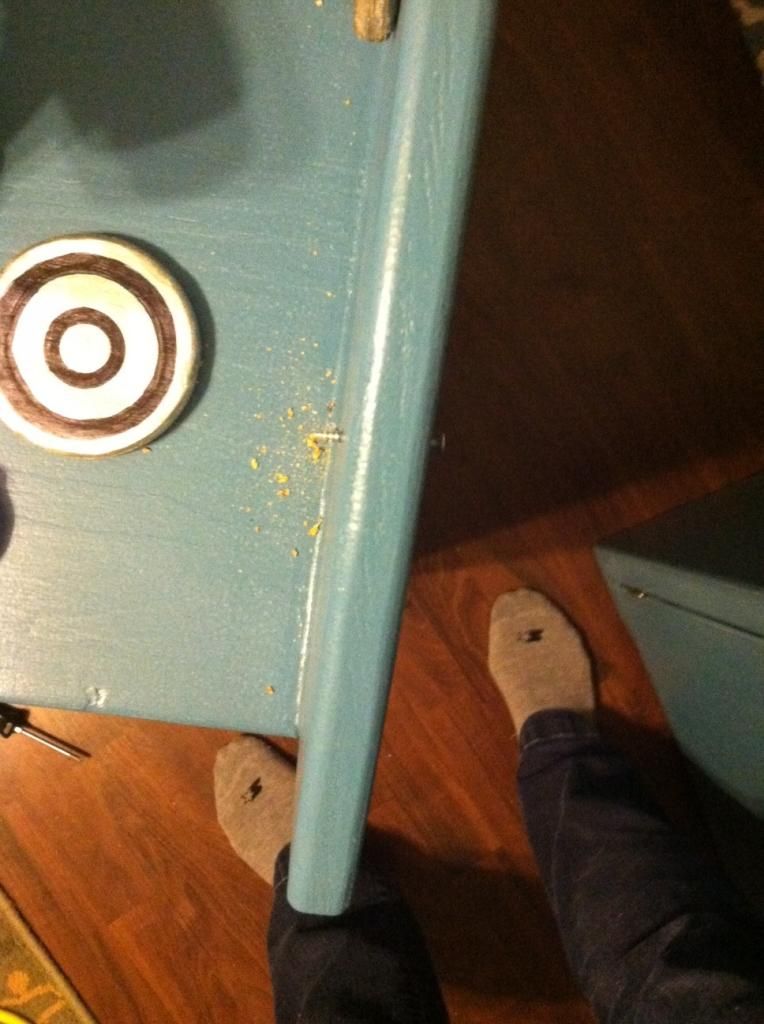
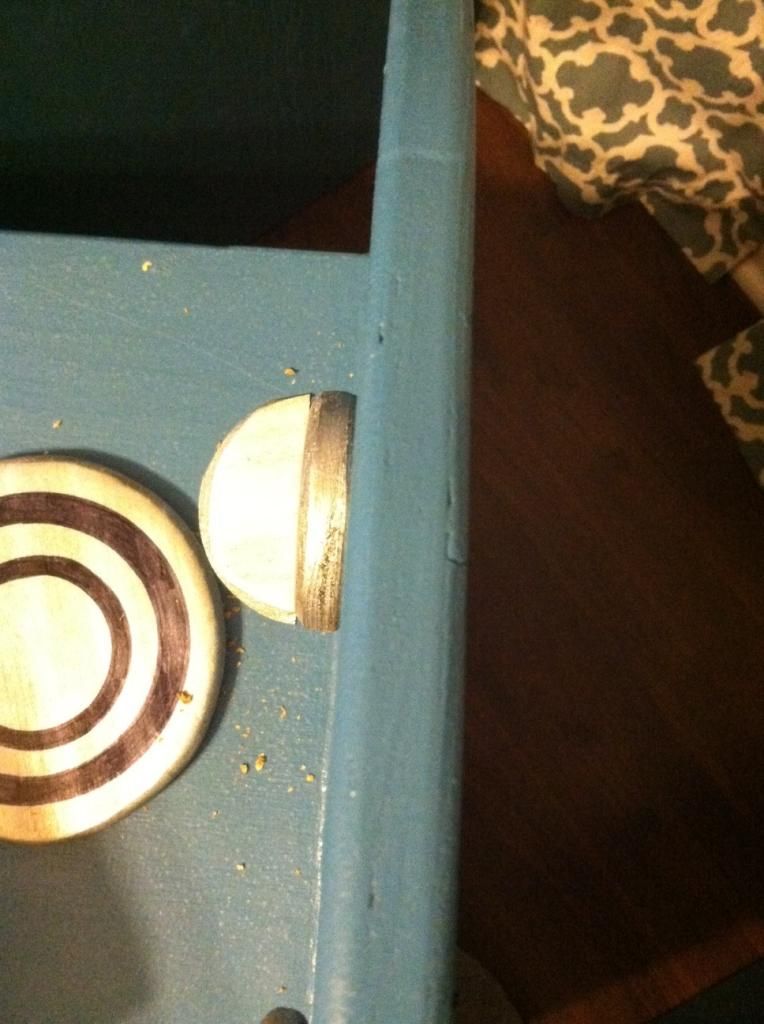
This way, the knobs are attached to the oven but they can still turn. I’m glad that I made them finctional because it’s one of the first things A did when he played with the kitchen. For the inside of the oven I decided to make the oven racks out of cookie cooling racks.
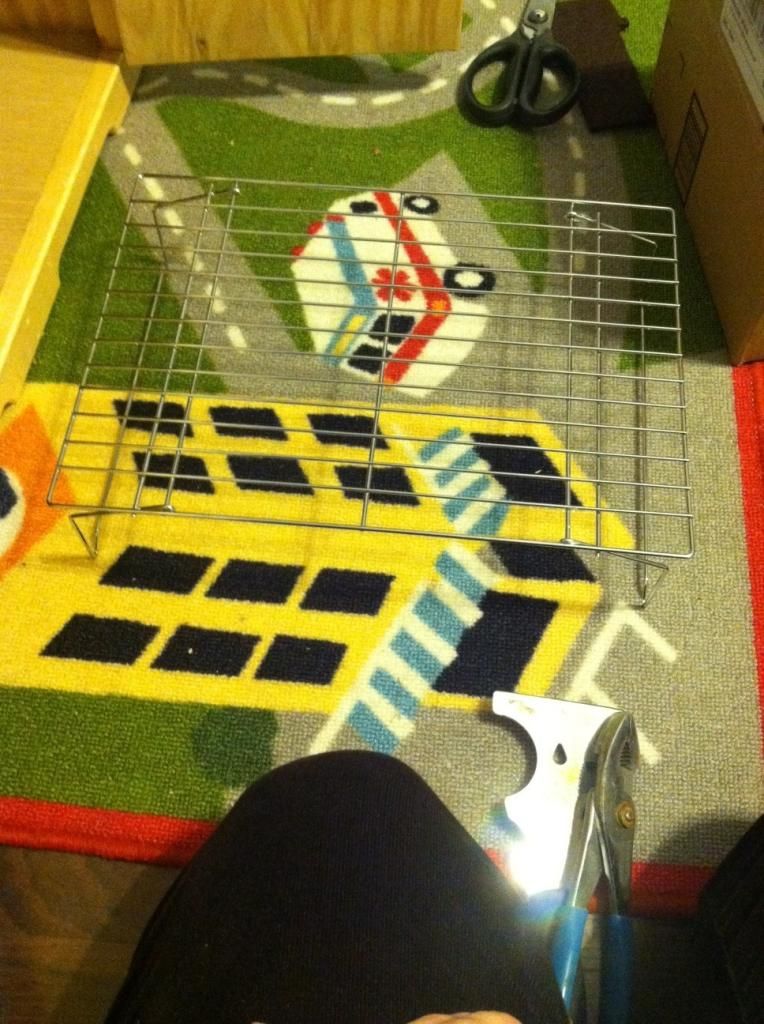
The cooling racks I had were the kind with little fold-out legs so I used pliers to remove them.
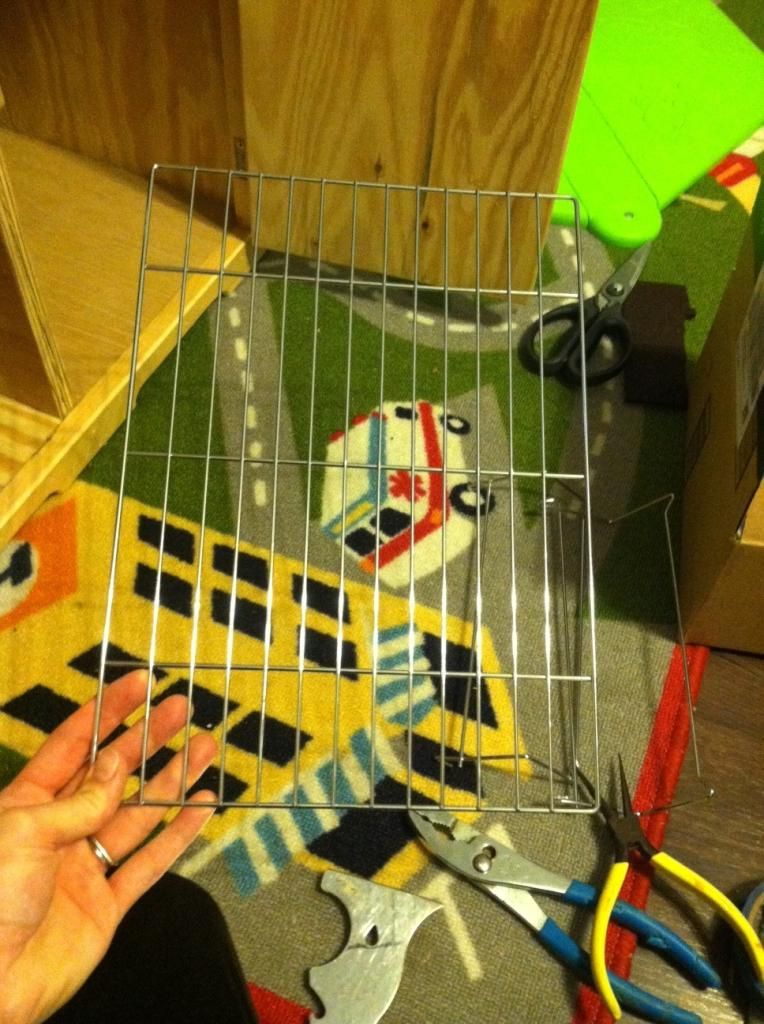
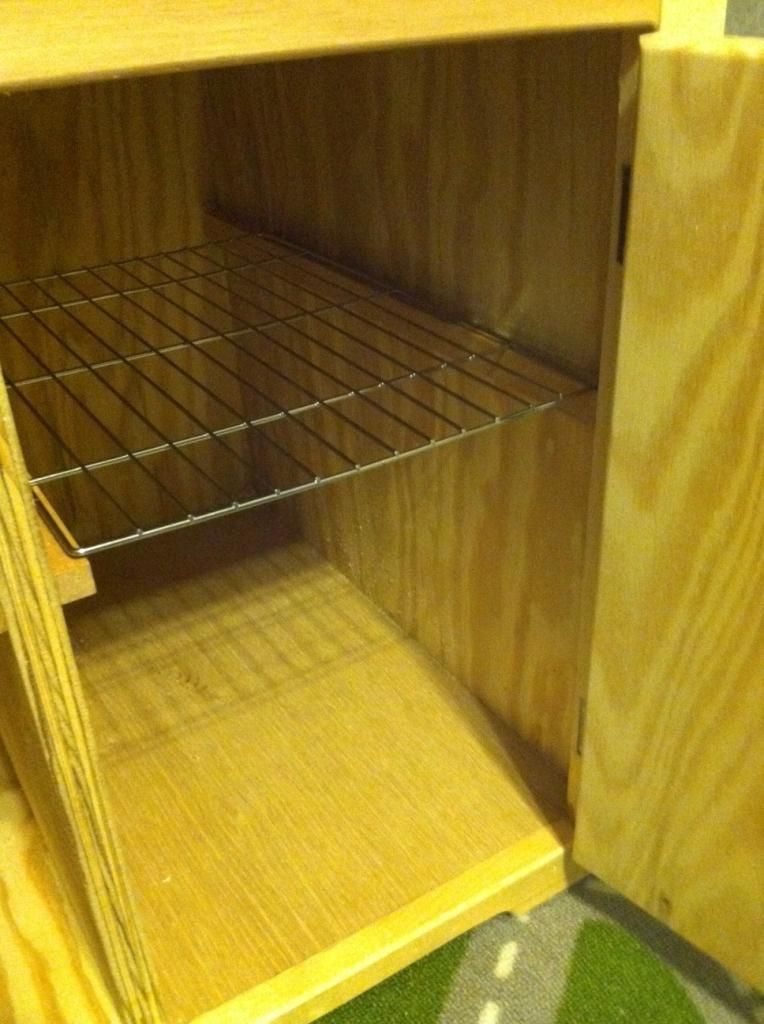
I then used my staple gun to attach the racks to the support pieces and hold them into place.
As for the sink I used a dog bowl to make the sink bowl and the faucet was found in a neighbor’s trash.

When I found the faucet it needed a little help.
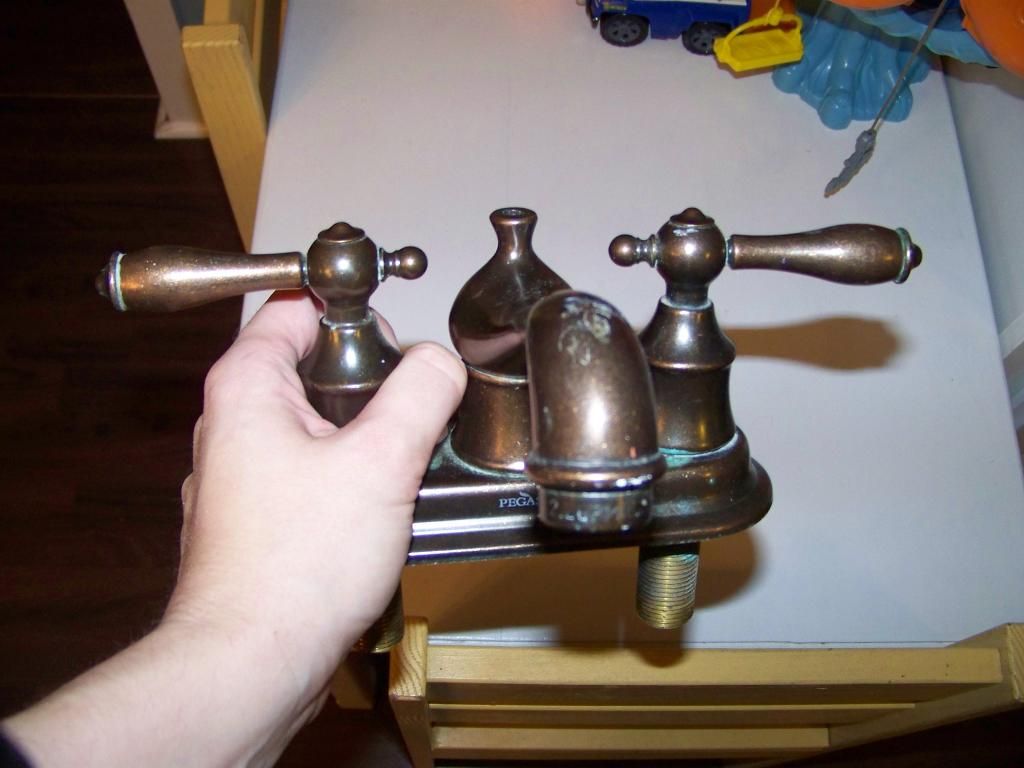
The missing stopper bothered me so I decided to get a little crafty. I bought some wooden craft bead-type things and Gorilla-glued one on top.


Then I spray painted it silver along with all the other accent pieces.

And the last step I did to complete the kitchen was to attach all the hinges and handles and a magnetic closure so the fridge door would stay closed nicely.
We had our Christmas celebration for just the four of us on Saturday. So Friday night we set the kitchen up in the living room for the boys along with a few other presents. And by we, I mean my husband dragged them up from the basement while I was at a cookie exchange party. (Thanks honey!)
Saturday morning we came down the stairs and they immediately ran for the kitchen. I’m glad that we were able to make something that they will truly enjoy for some time to come. They are already enjoying playing with the pots and pans (from Ikea) and the pizza set (Melissa and Doug) that we gave them but they are going to have even more fun with all the play food my family is gifting them for Christmas.
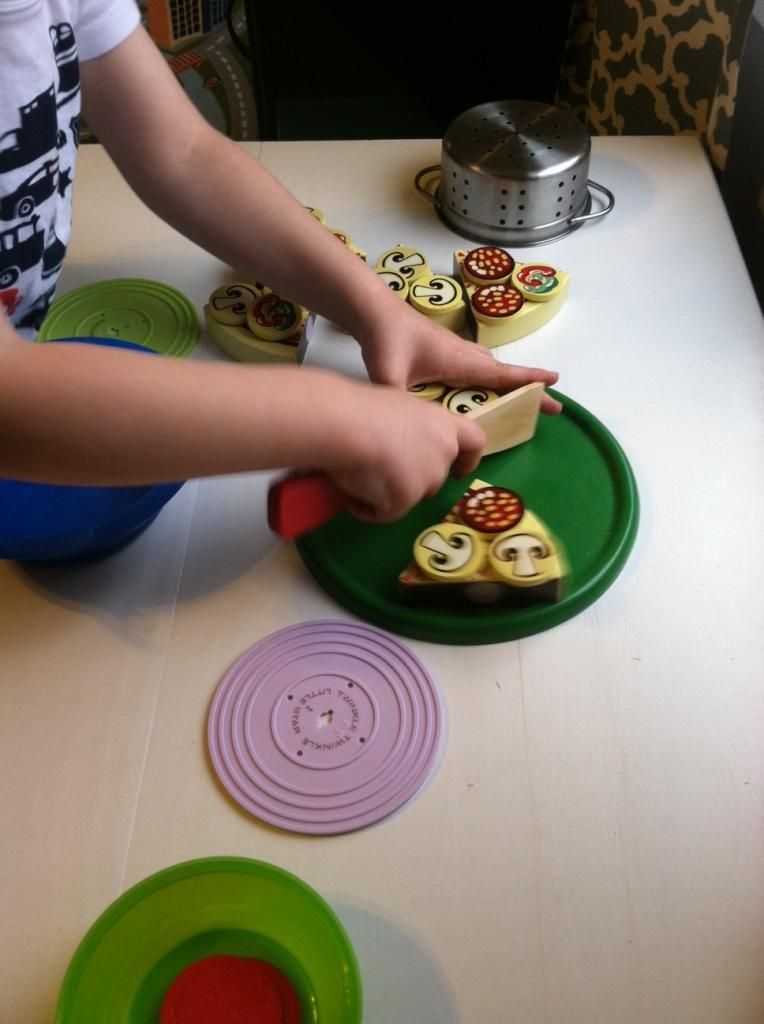
We moved our DIY Ana White table and chairs into the living room so that they can have a seat and taste their cooking.

Here’s my budget breakdown:
- 2 sheets of plywood- $63 (I lost my receipt, so I know it was $62.something, but I can’t remember the exact amount so I’m rounding up)
- blue paint (a mistint from Lowes)- $5.34
- sink (dog bowl)
– $6.73
- drawer pulls– $11.39
- screws- $2.13
- magnetic closure for fridge- $2.13
- clock/temperature gauge- $2.07
- faucet- $0 (from neighbor’s trash)
- cookie cooling wire racks- $4.24
- hinges– $3.70
- magnetic paint– $4.27
- wooden bead thing- $1.06
- metallic silver spray paint for knobs- $0 (leftover from previous project)
- protective clear top coat poly- $0 (leftover from kitchen remodel)
- felt pads for under kitchen- $0 (leftover from using on other furniture)
- sharpie- $0 (already owned)
- many tools- $0 (borrowed from father-in-law)
Total cost- $106.06
And let’s talk about the cost in terms of time… this took a long time. I think I calculated about 14 hours of building it with my father-in-law, then a few more hours to sand, paint, and assemble. I will also stop here for just a moment to say that this would not have been possible without my father-in-law’s help with construction and my mother-in-law’s help with watching the kids while we were building. And a special thanks to my husband for all his help with the building and watching the boys while I worked on this. I could not have done this alone. And a thank you goes out to my mom who will be stocking the boys’ pantry come Christmas morning with lots of play food.

Anyone else out there making Christmas gifts for your kids this year? What did you make them? I’d love to hear your ideas! You know, so I can steal them for next year 😉
Linking up with DIY Like Boss and Creative Corner Link-up.


darci
Wednesday 17th of December 2014
Are you kidding me..... this is perfect and so very cute!! I'm always BAFFLED at the price of those play kitchens - it's insane! You can buy a REAL appliance for $700! Ha! Great job on this... bet they love it!
I initially stopped by to respond to your comment about Jackson's bedding! :) :) Its from SteinMart last year and was a steal!! I bought 2 sets of full / queen quilts w/ matching shams for under $60! I haven't seen them this year, but you might check ebay if you really love it!
Thanks for stopping by today and Merry (almost) Christmas to you and your sweet crew!
Cat
Wednesday 17th of December 2014
Thanks so much for getting back to me about the bedding! And for your kind words, you are too sweet!
Mariana
Tuesday 16th of December 2014
Awesome job Cathy! It looks amazing!
Cat
Wednesday 17th of December 2014
Thank you!