This is a sponsored post written by me on behalf of Cricut. All opinions are 100% mine.
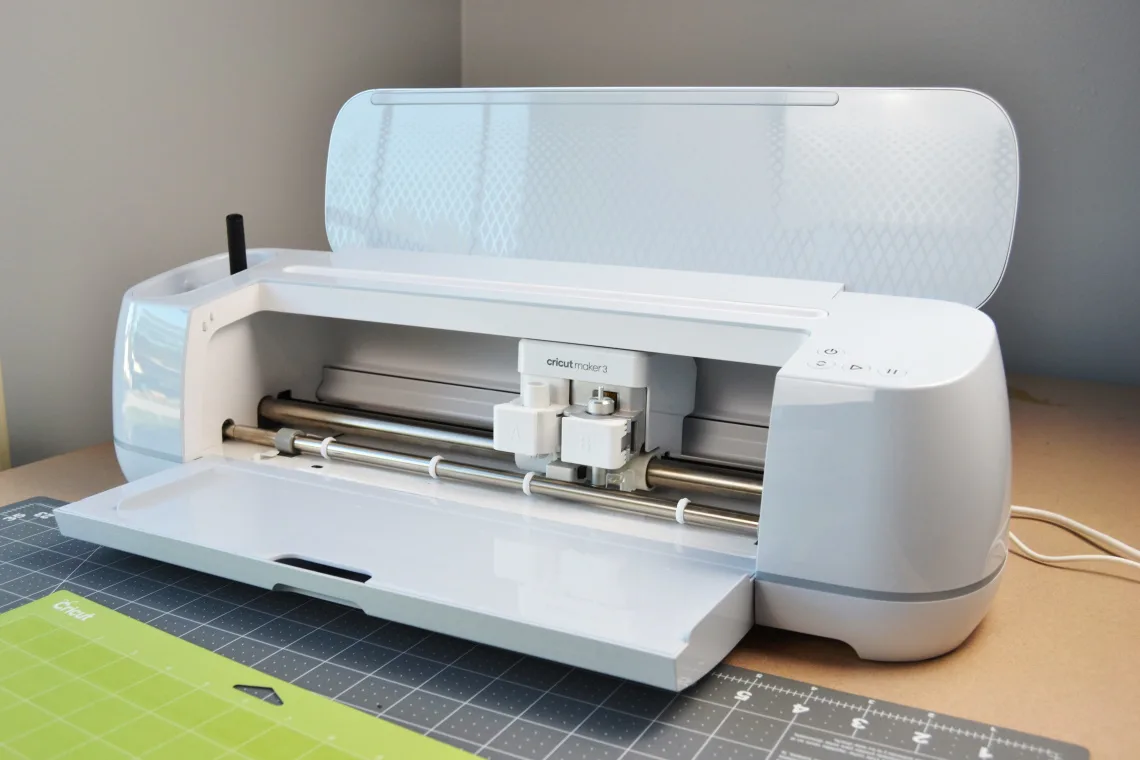
I love to commemorate trips with photos. The Cricut Maker 3 can make it super easy to personalize a frame to hold your best trip photos. This would make a fun gift for a loved one that you’ve been on a family trip with.

Supplies
Tutorial
Open the customized trip frame project file in Design Space. Double click on the text so that you can change the text to what you like. You can also swap out the image for one of the many ones in Design Space.

When you are finished you will want to make sure they are aligned and then attach them.

Then follow the steps to load your materials and cutting tool. Design Space will walk you through it all. Once it is all cut out then you will weed out the vinyl that is not part of your design.

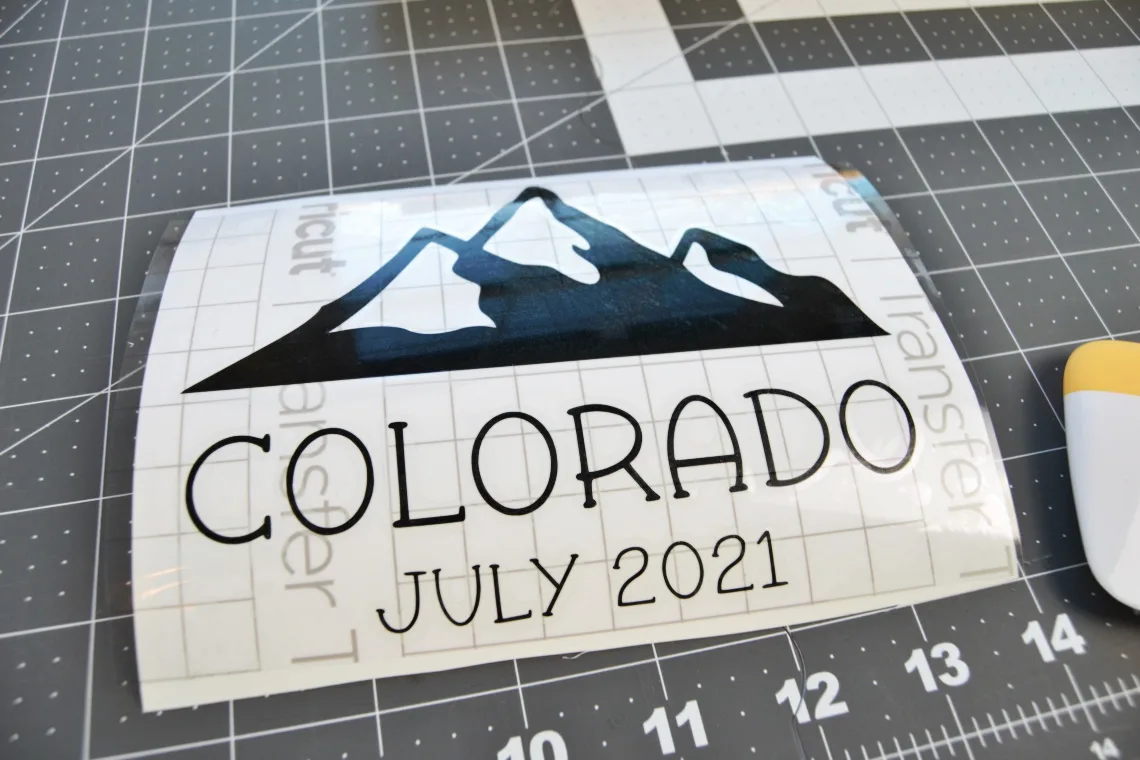
Next apply the transfer tape to the front of your vinyl.

Peel off the paper backing from the vinyl.

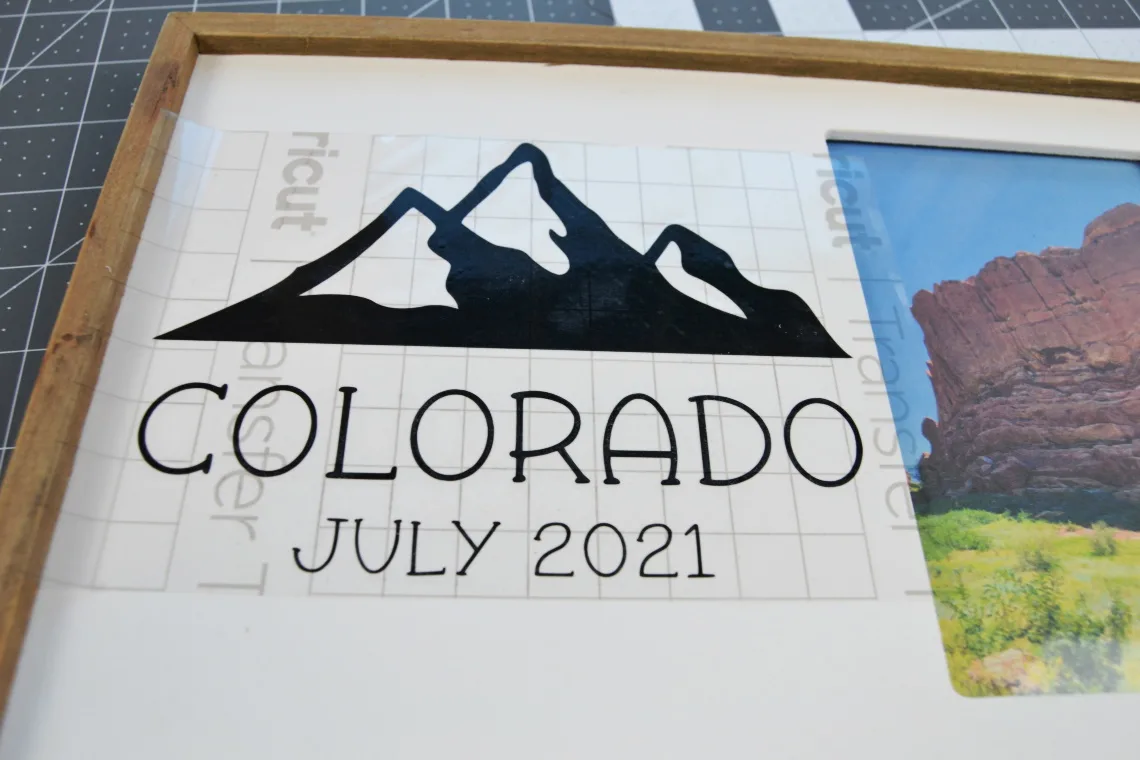
Use the transfer tape to help you apply the design to your frame.

Carefully peel the transfer tape off and your frame is complete!

