I blogged about this before on my old blog, but like I’ve said before, I’m working on moving my old sewing and crafting posts over here. I’ve actually lived with this Roman Shade now for almost 2 years and it still works well. Excuse the darkness of the photos of the process, my sewing studio is in the basement.
So initially, I was just going to buy a plain Roman shade to cover my kitchen window. But then I found this beautiful table cloth on clearance at Target:
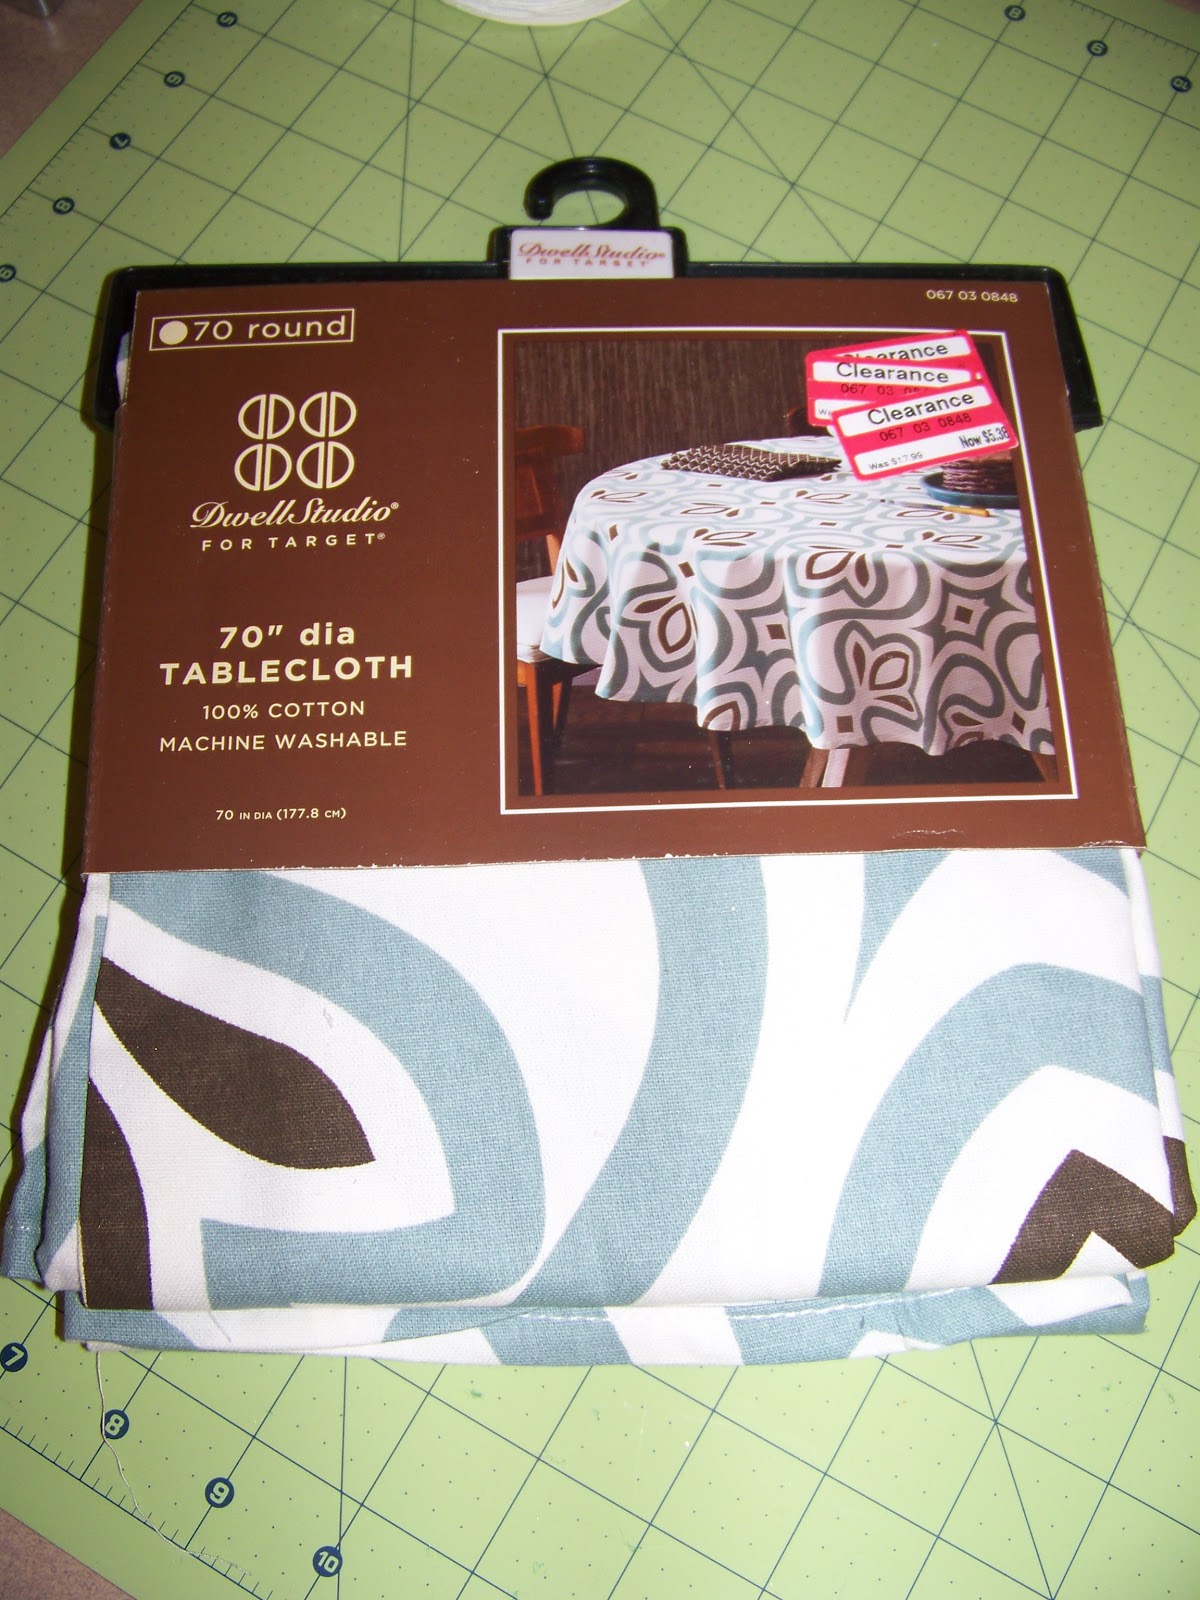 And having no round tables, I felt inspired to use the fabric to make a Roman shade. Being intimidated about the process of making a Roman shade, I bought a kit at Joanne Fabrics.
 The kit has almost everything you need. You still need to buy your own fabric, a mounting board, and wooden dowels. The kit was originally $20, but I had a coupon, so it was $12. I bought 6 dowels for $0.39 each, and my fabric was $5.38.
All told, I managed to make my Roman shade for a little under $20. I’ll take you through the basic steps, so that you know what is involved in this process, but you would need the kit instructions or some other tutorial to really thoroughly explain how to do this.
 |
| Kit contents with Dowels |
The kit has pretty good instructions, but at times, they were a bit vague and I had to do some thinking. I began with measuring the window and then cutting my fabric.
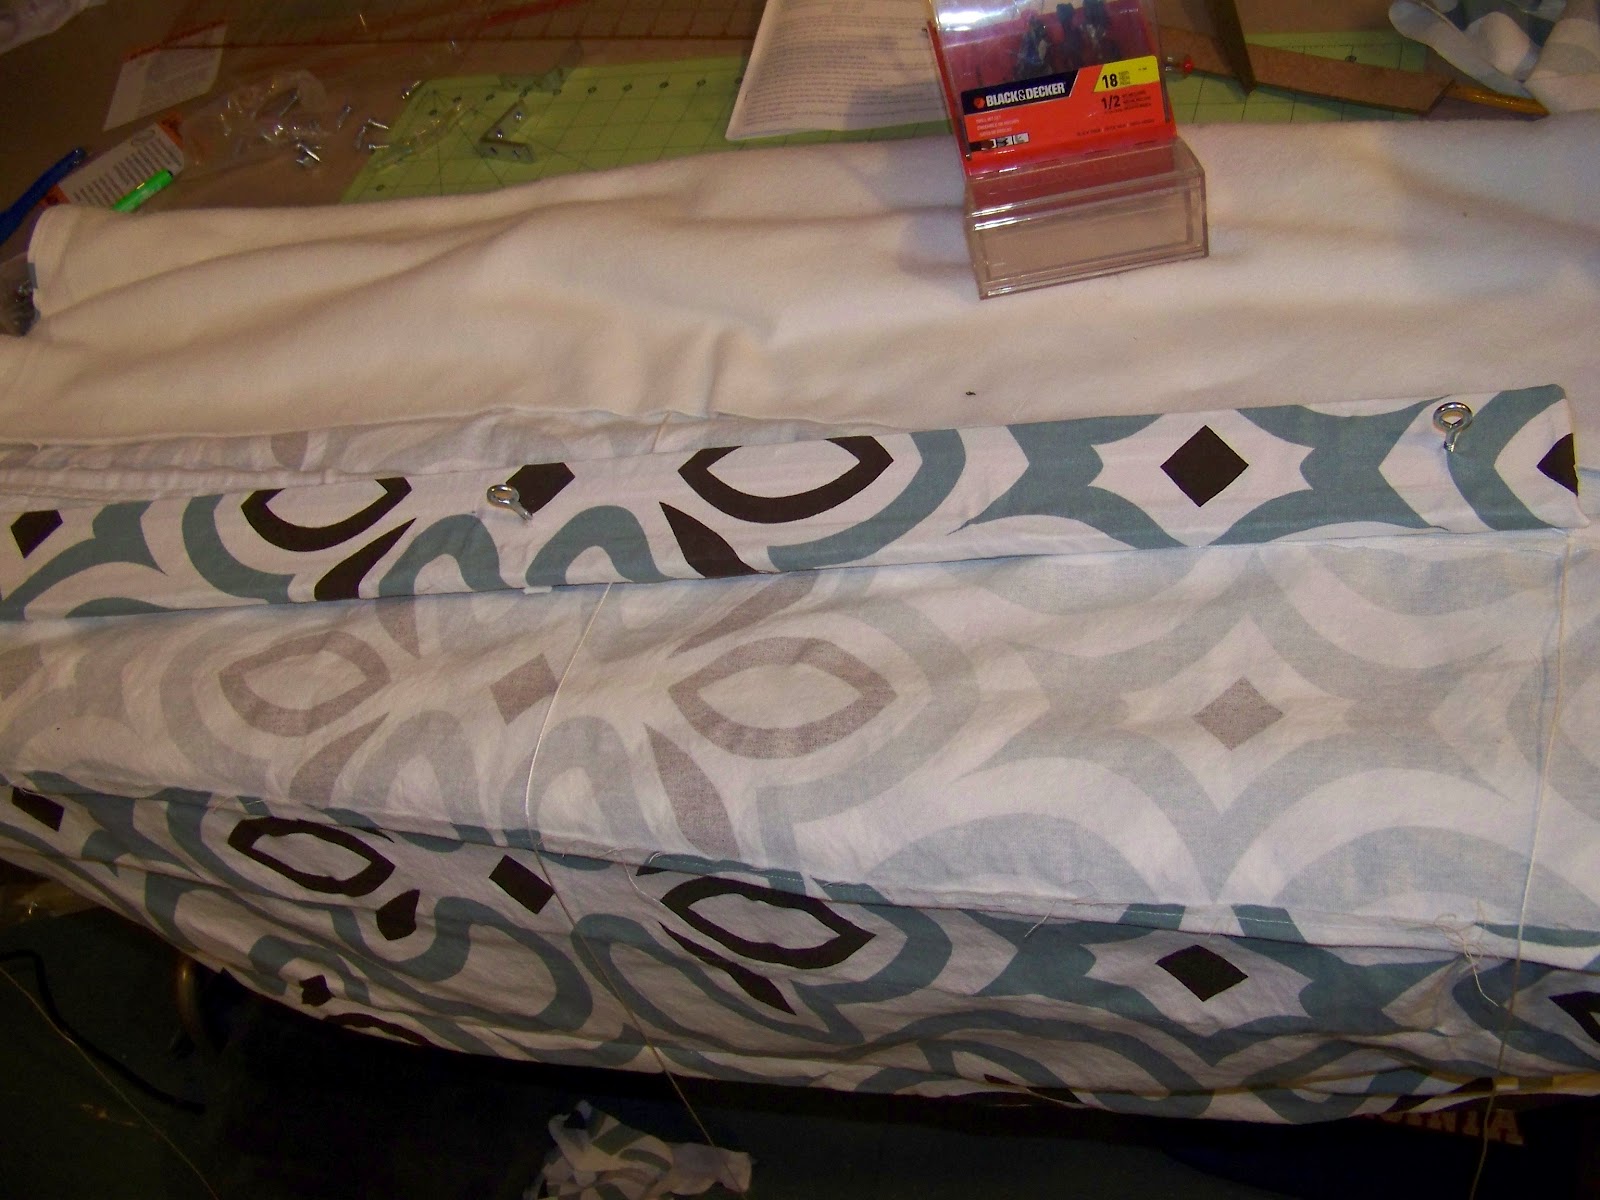
 Then I sewed on the Roman shade tape on the back.

 Then I ran the three pull strings through the tape, covered the mounting board with fabric, attached the eye hooks to it, and ran the strings through.
 Then I used the included brackets to mount the board and cord cleat, and it was all done! Is it perfect? Nope. Hardly anything is when I make it for the first time. Am I happy with it? Absolutely.
 |
| Shade up |
 |
| Shade down |