Not too long ago I mentioned in a money-saving post that we mostly use cloth napkins around here. I used to buy paper napkins, but one particularly tight month we ran out of the paper ones and not wanting to spend any money I pulled out some old hand-me-down cloth ones that we never used.
And then it dawned on me that I could save money by using cloth napkins all the time. Plus it felt kind of fancy and fun. And it’s good for the environment. So I bought a few more napkins to add to my collection.
Back in March my husband took me on a getaway for my Birthday and during that weekend in Amish country we stopped by a fabric store. While there we picked out some fabric for some new cloth napkins.
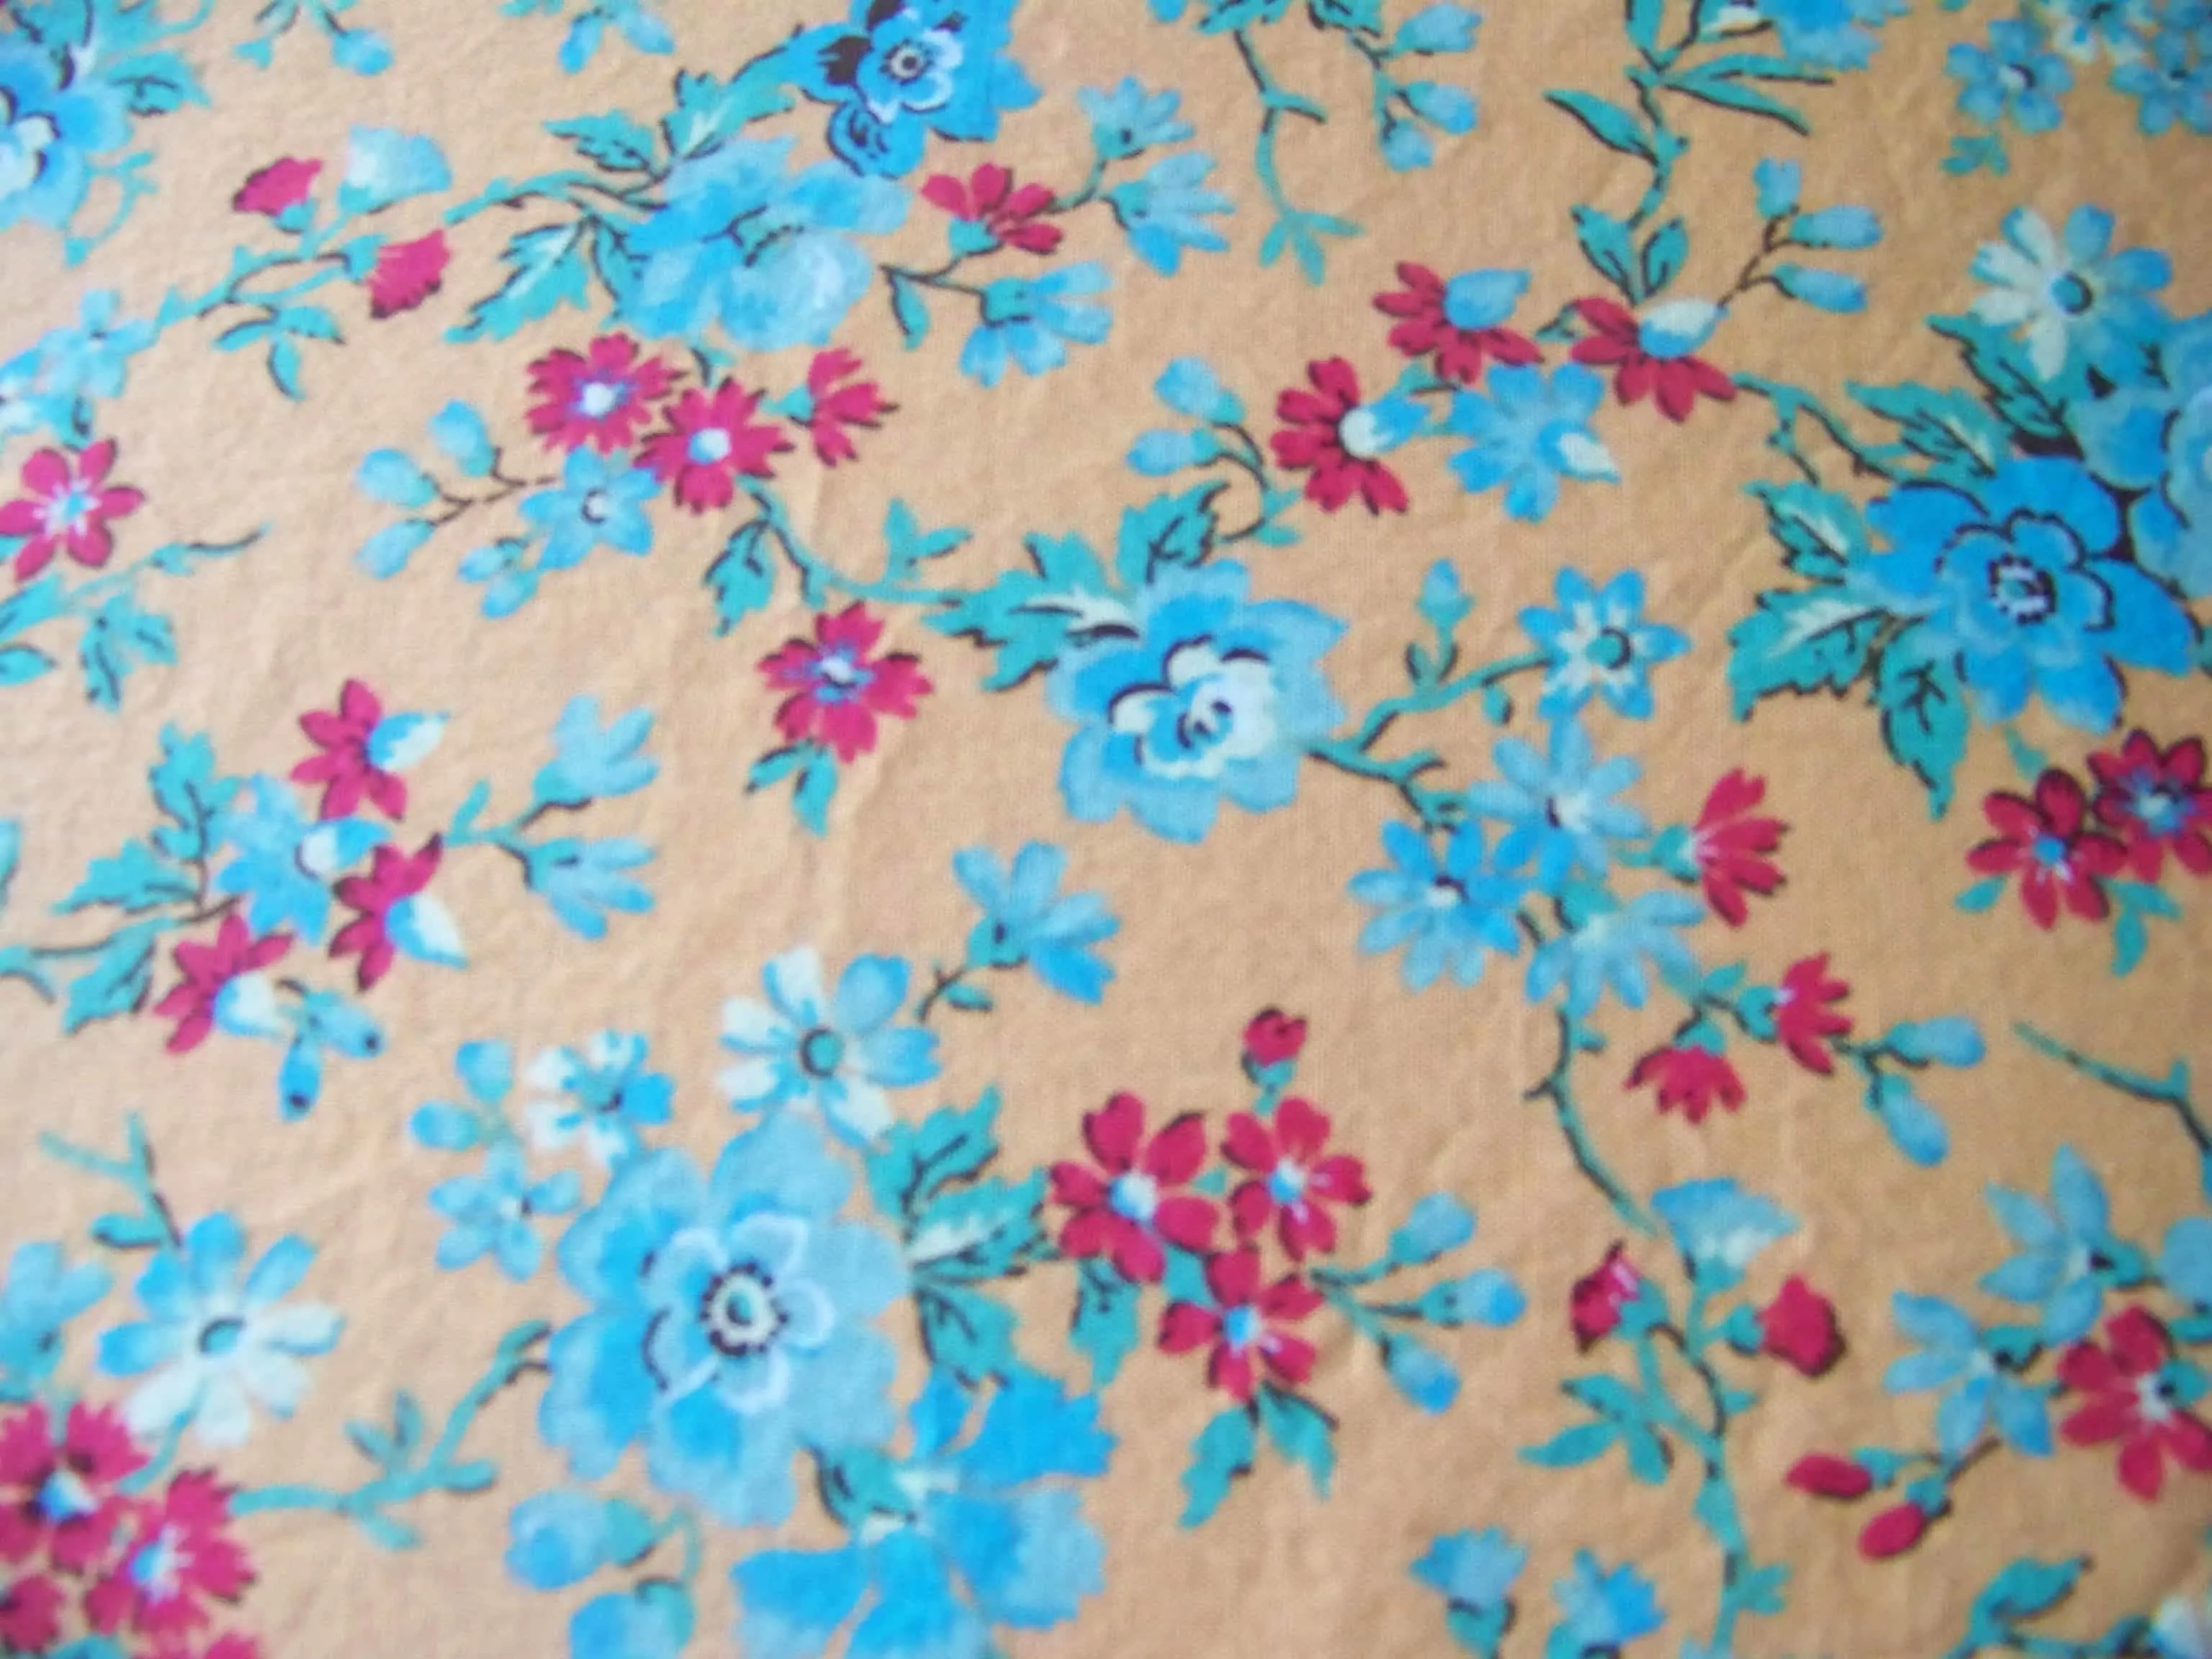
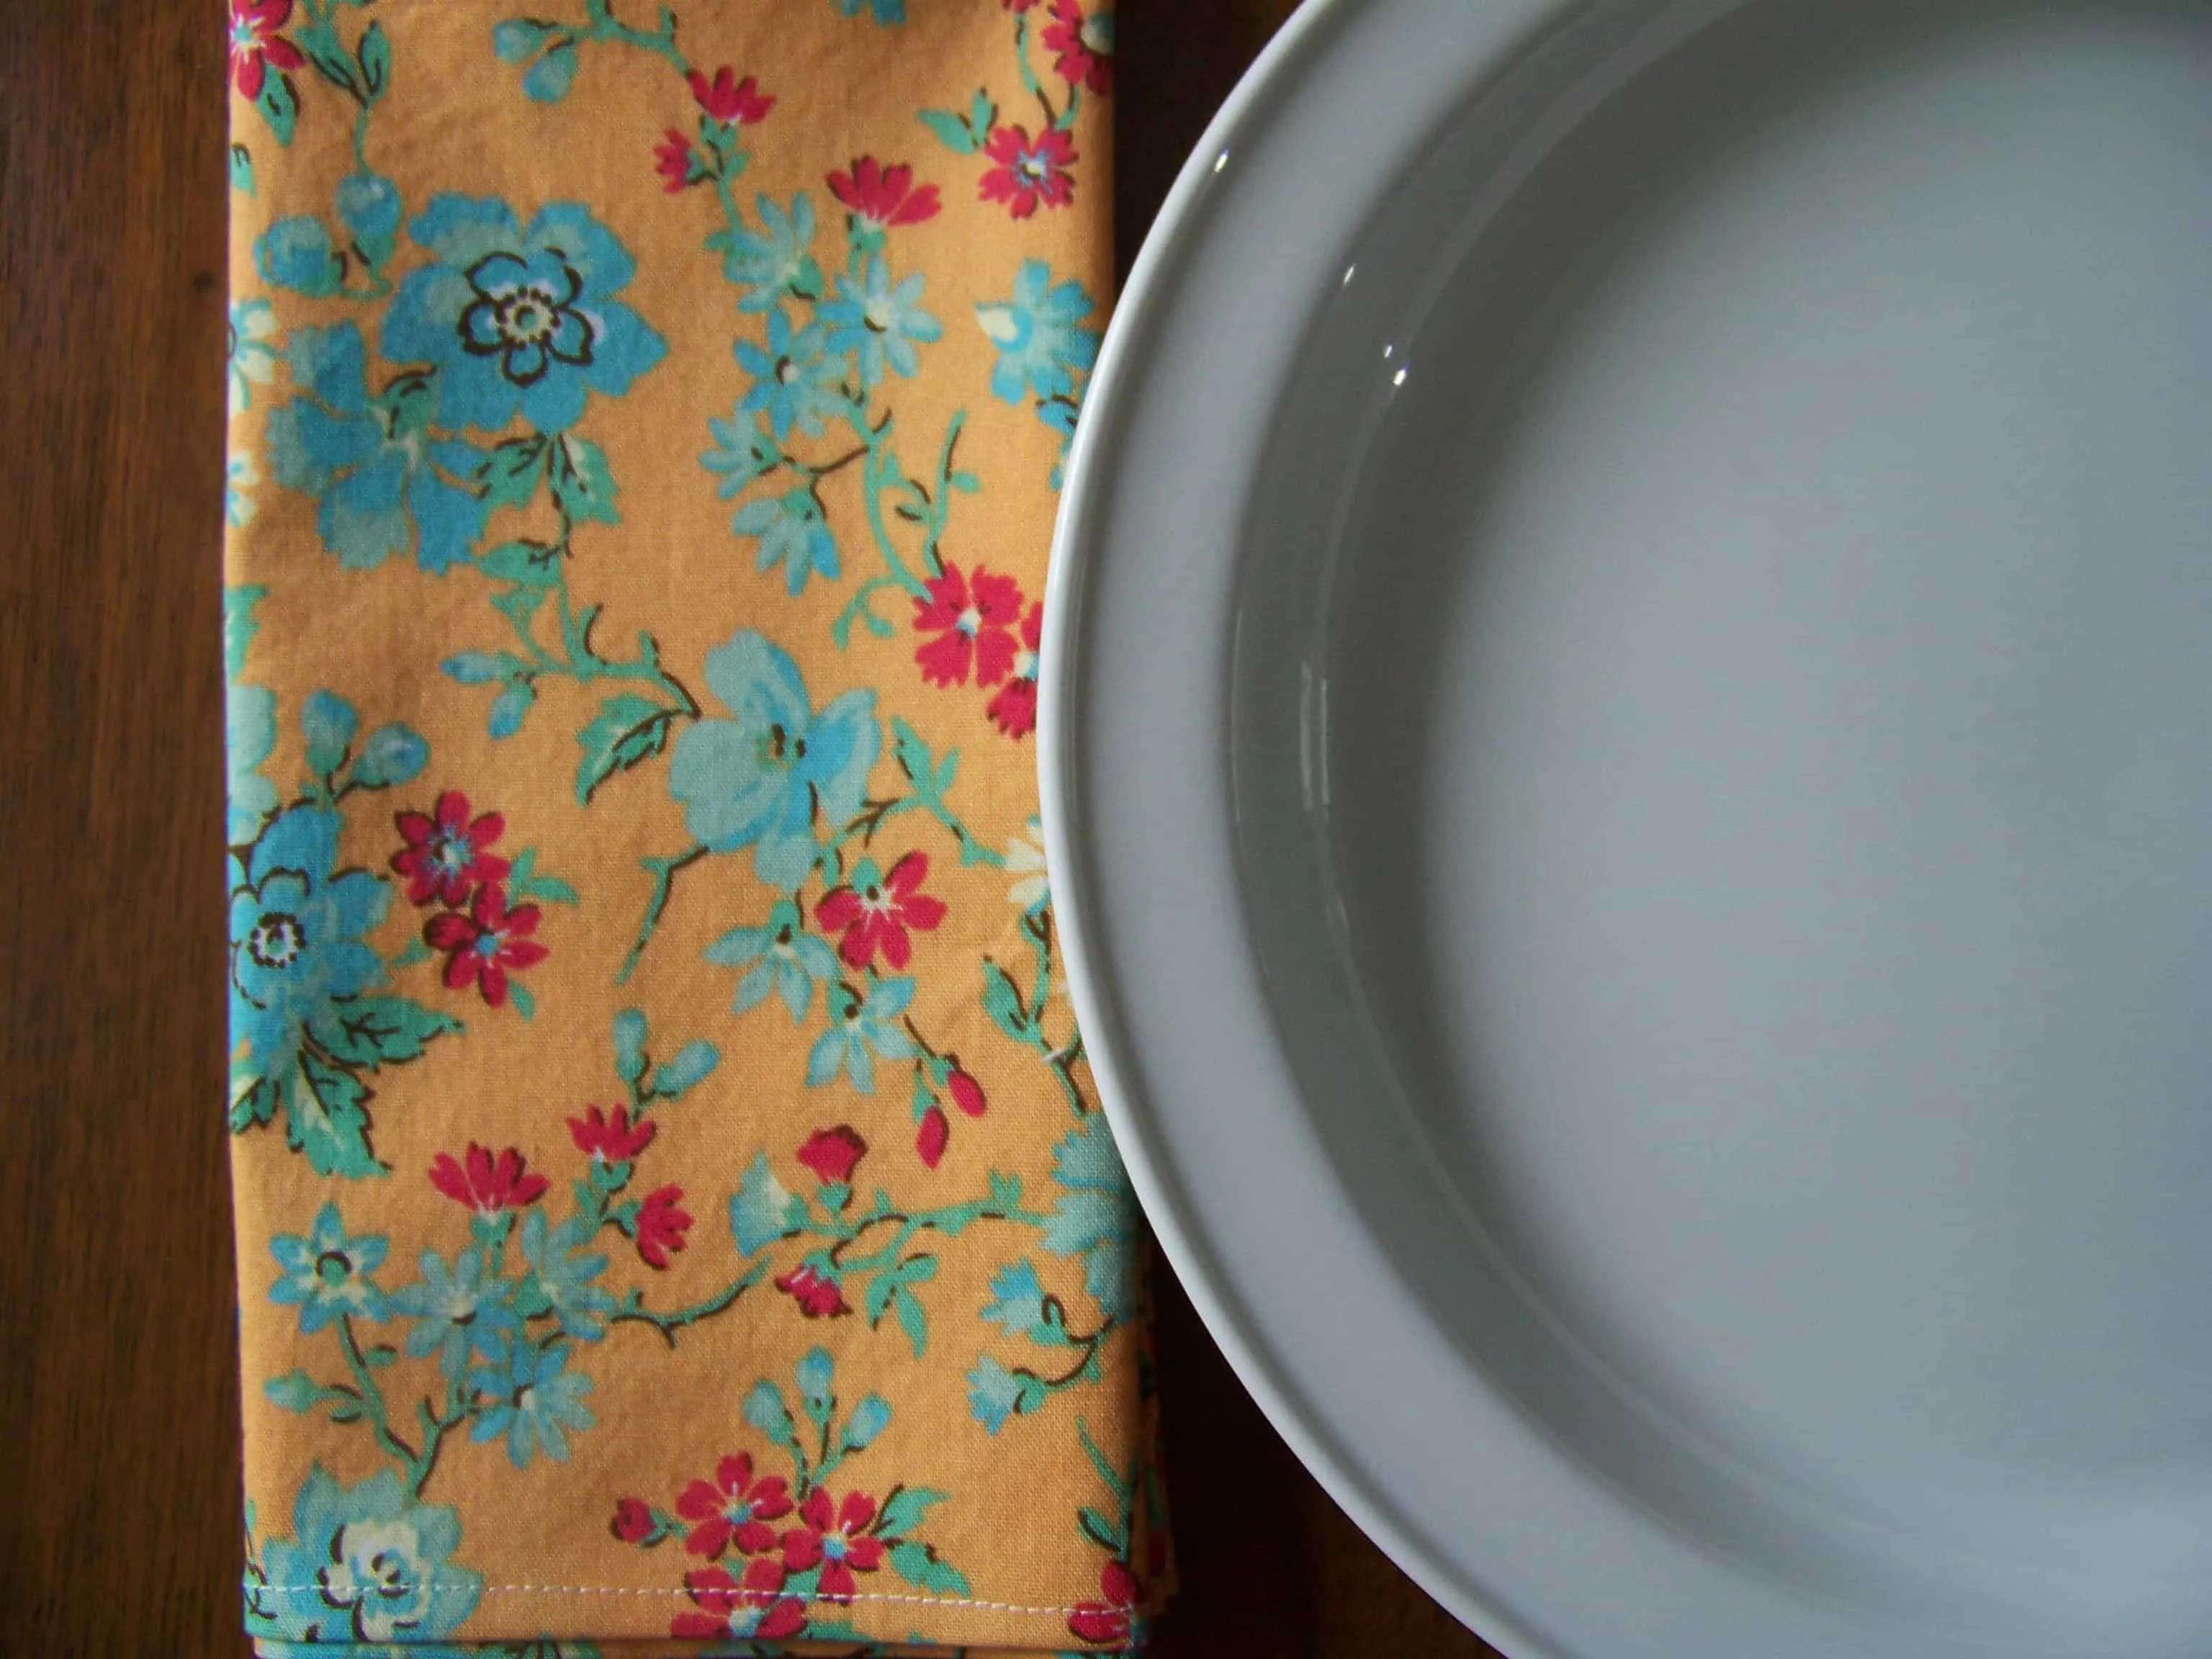
The fabric was only $1.79 per yard. We liked that it had a fun, colorful vintage vibe to it. Our everyday dishes are white, so it works well with them. I used 1 3/4 yards to make 6 napkins, so this project cost me $3.13, or about $0.52 per napkin. Here’s how I made them:
1. Wash and dry the fabric.
2. Iron out the wrinkles.
3. Cut out 6 squares that are 19 inches by 19 inches. (Adjust the amount of squares to equal the number of napkins that you would like to make)
4. Pin a hem of 0.5 inches on 2 sides. Iron down the edges.

5. Take out the pins and open up the folded over part. Now fold the top down toward the crease and iron. Now fold on the original crease, tucking the cut edge of the fabric in so that it’s out of sight.
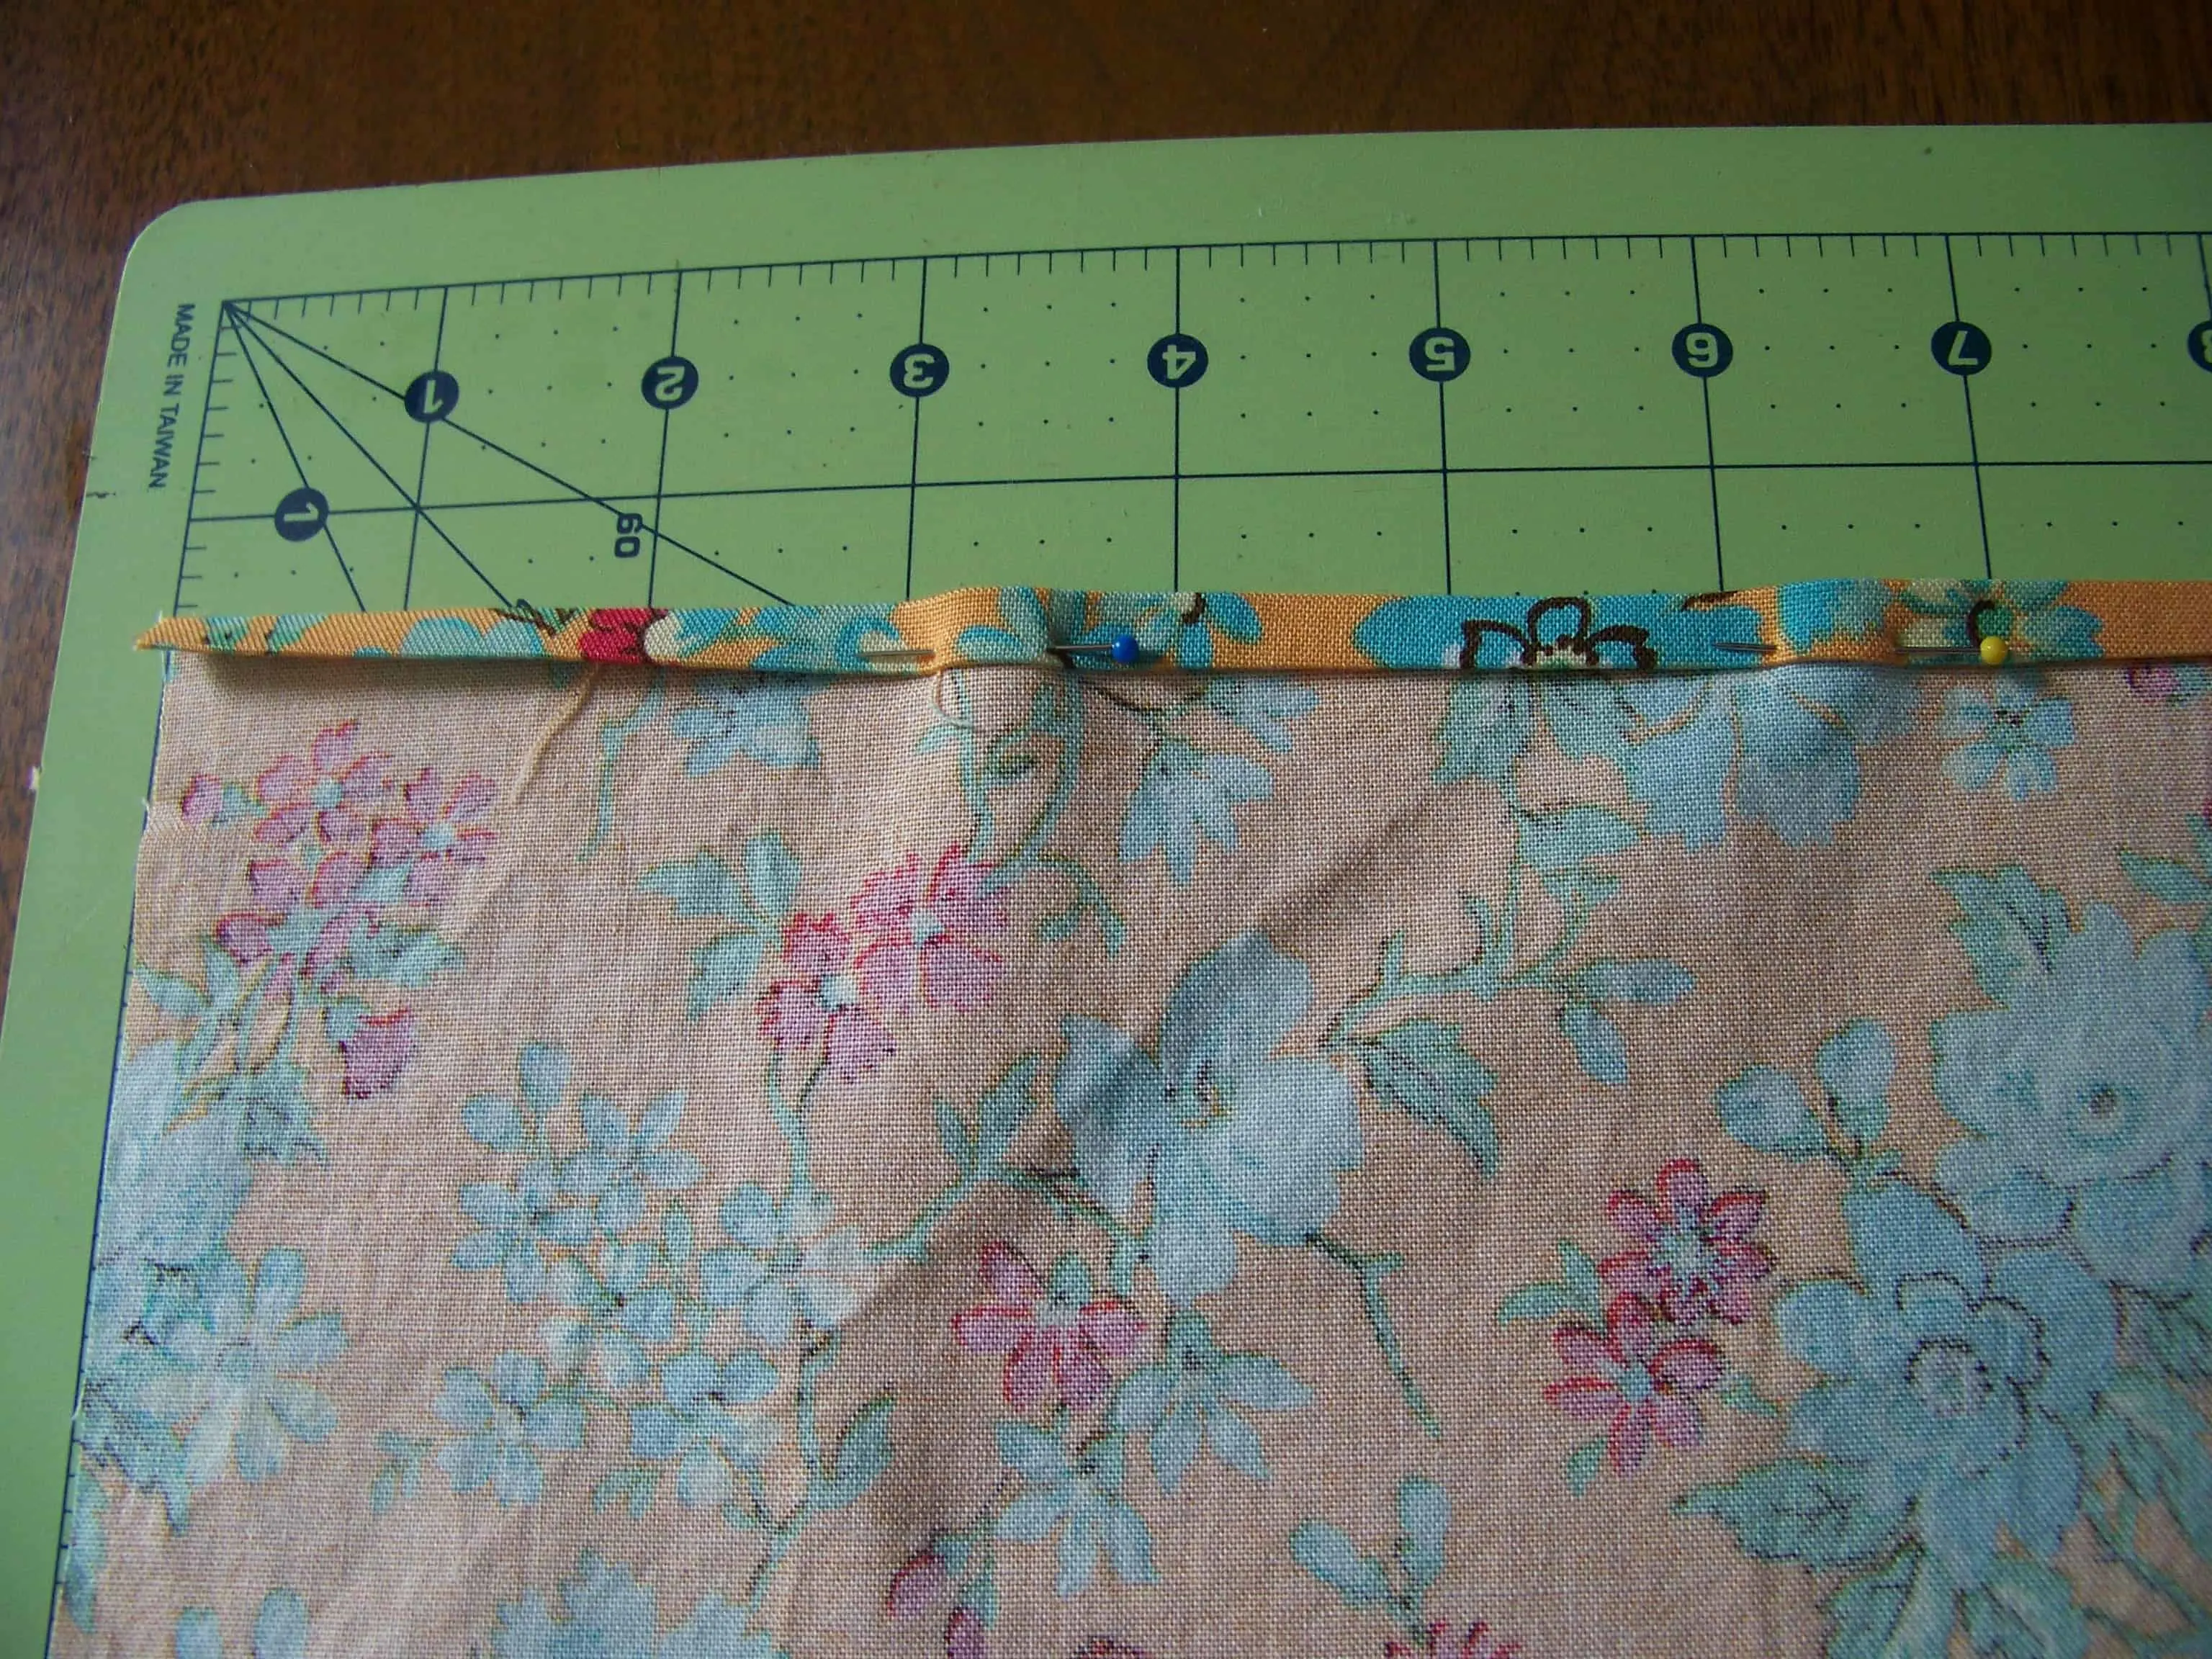
6. Pin it down again so that everything stays nice and tucked in while you sew.
7. Repeat steps 4-6 for the opposite side of the square.
8. Sew a hem along the edge of the two sides.
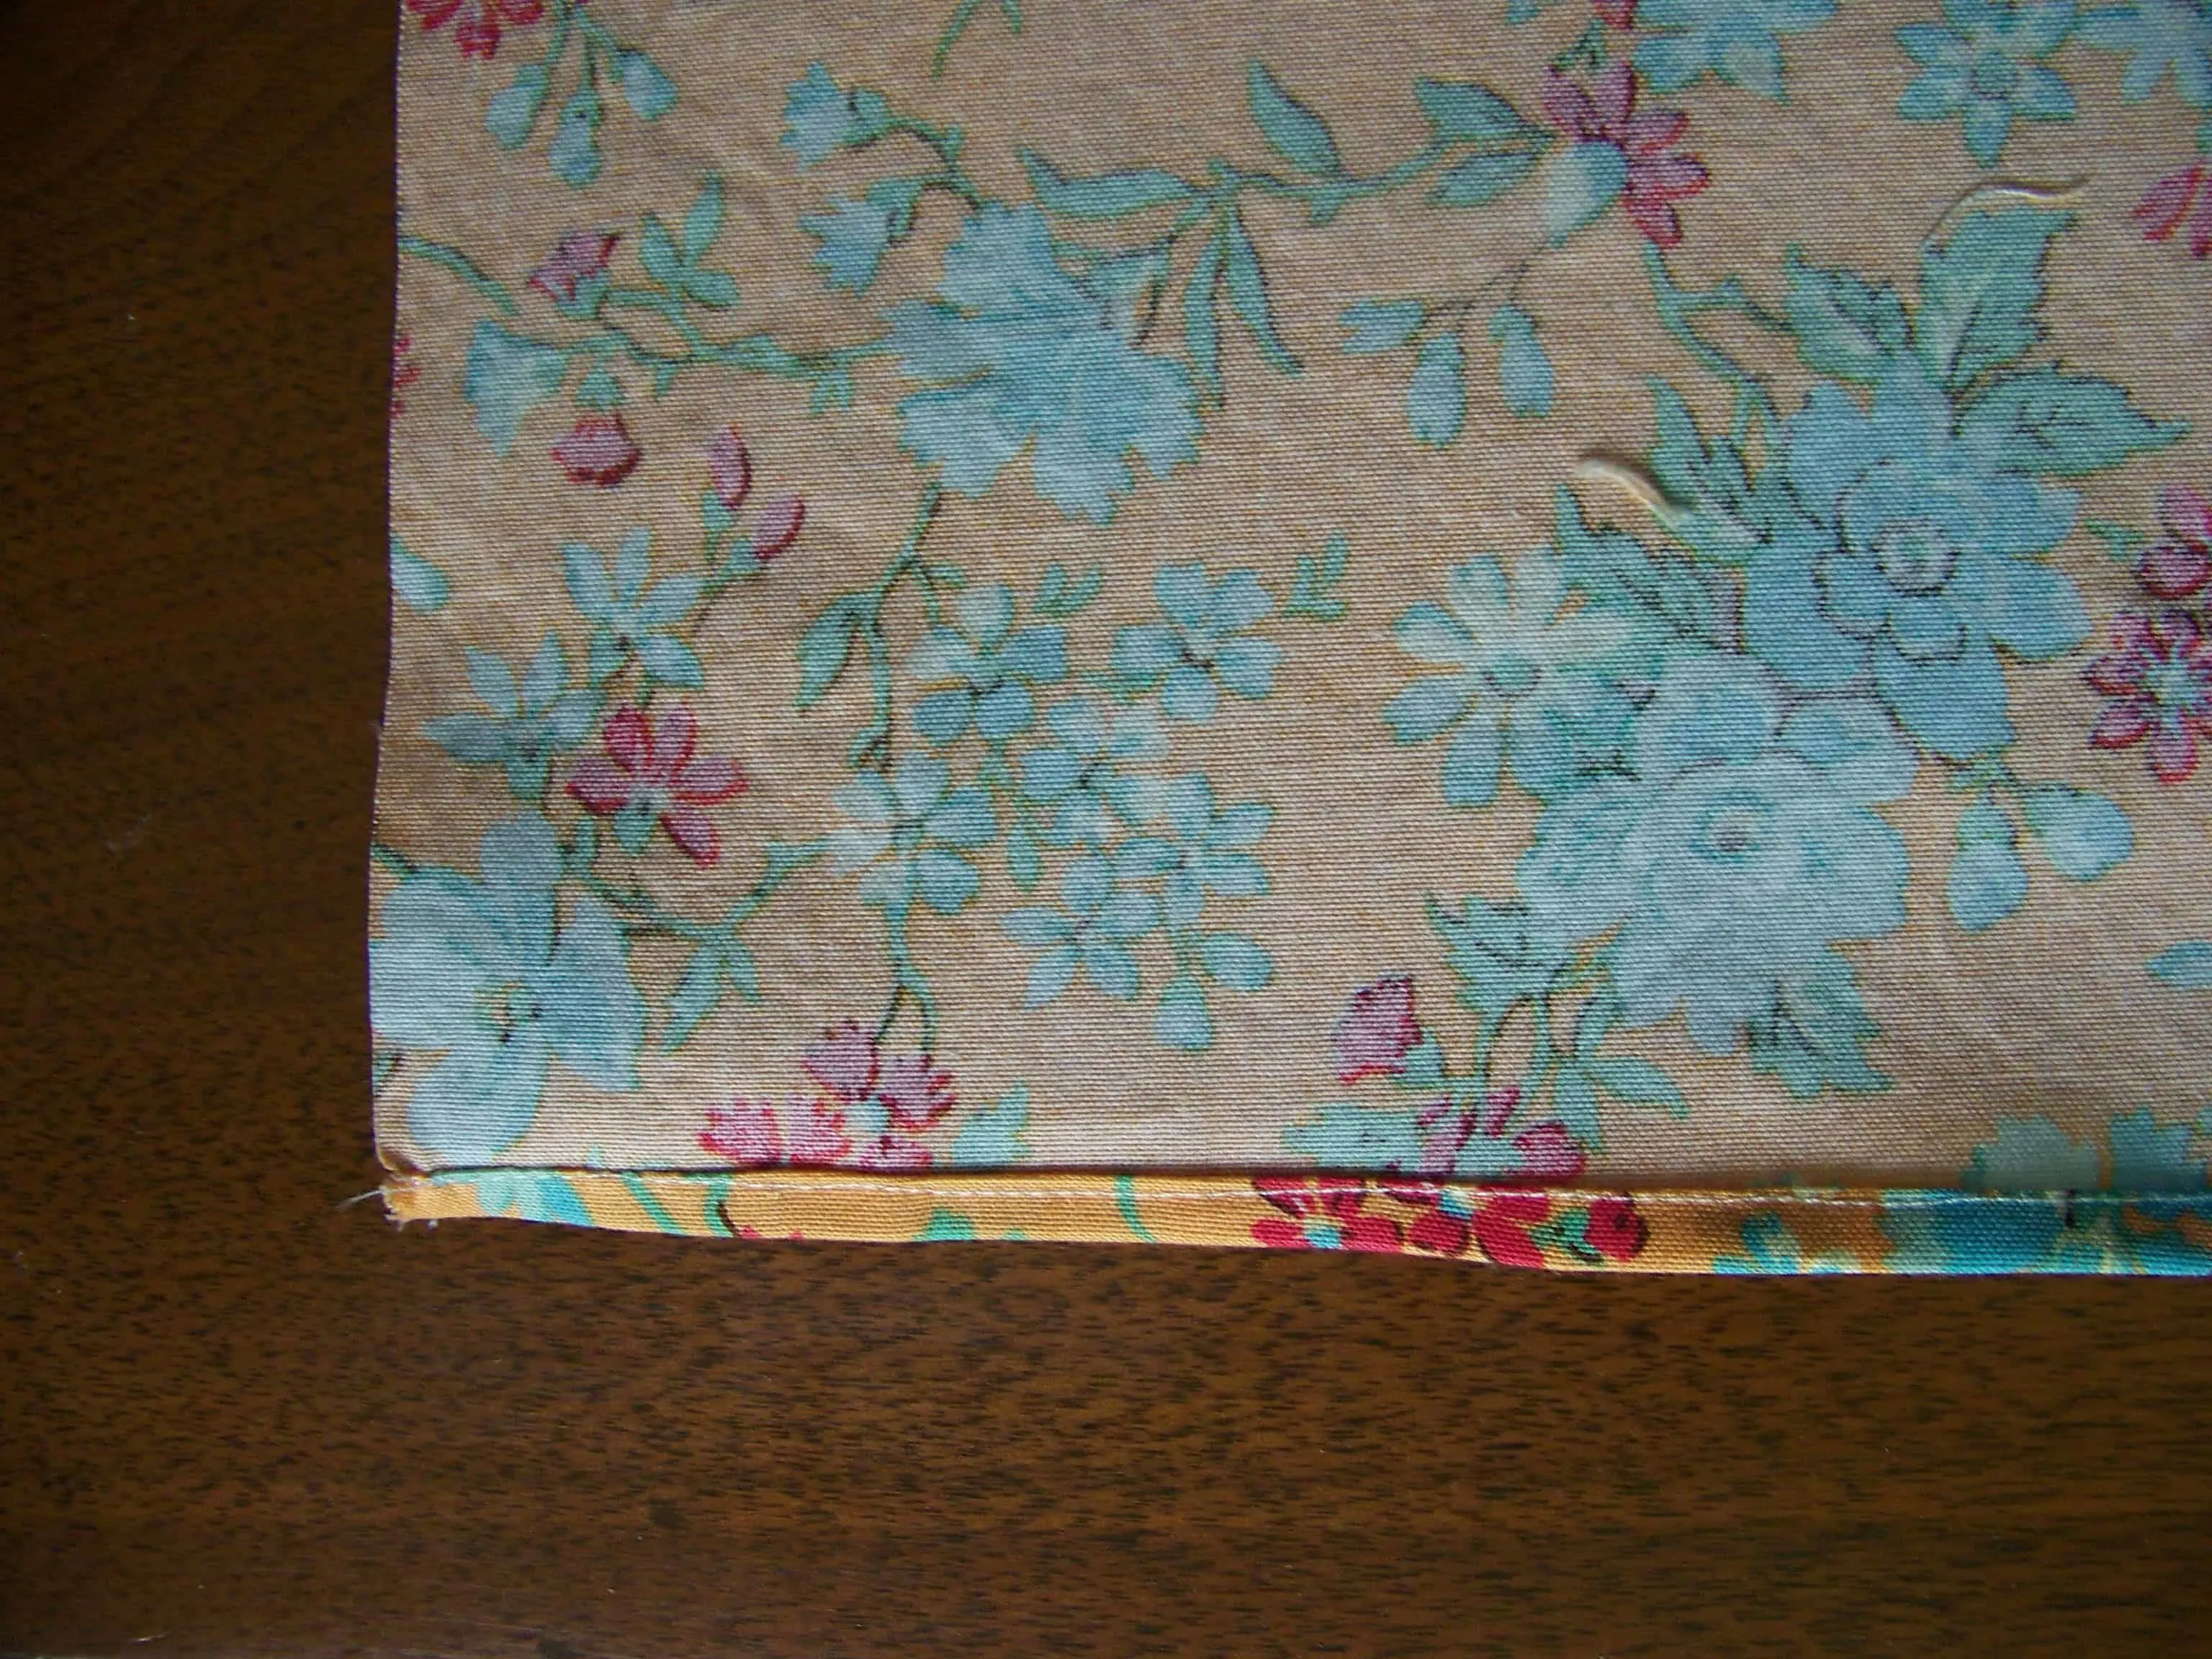
9. Repeat steps 4-8 for the remaining two sides. The only difference will be that you are going to be sewing over your hem from the other sides in the corners, but you do it the exact same way as before.
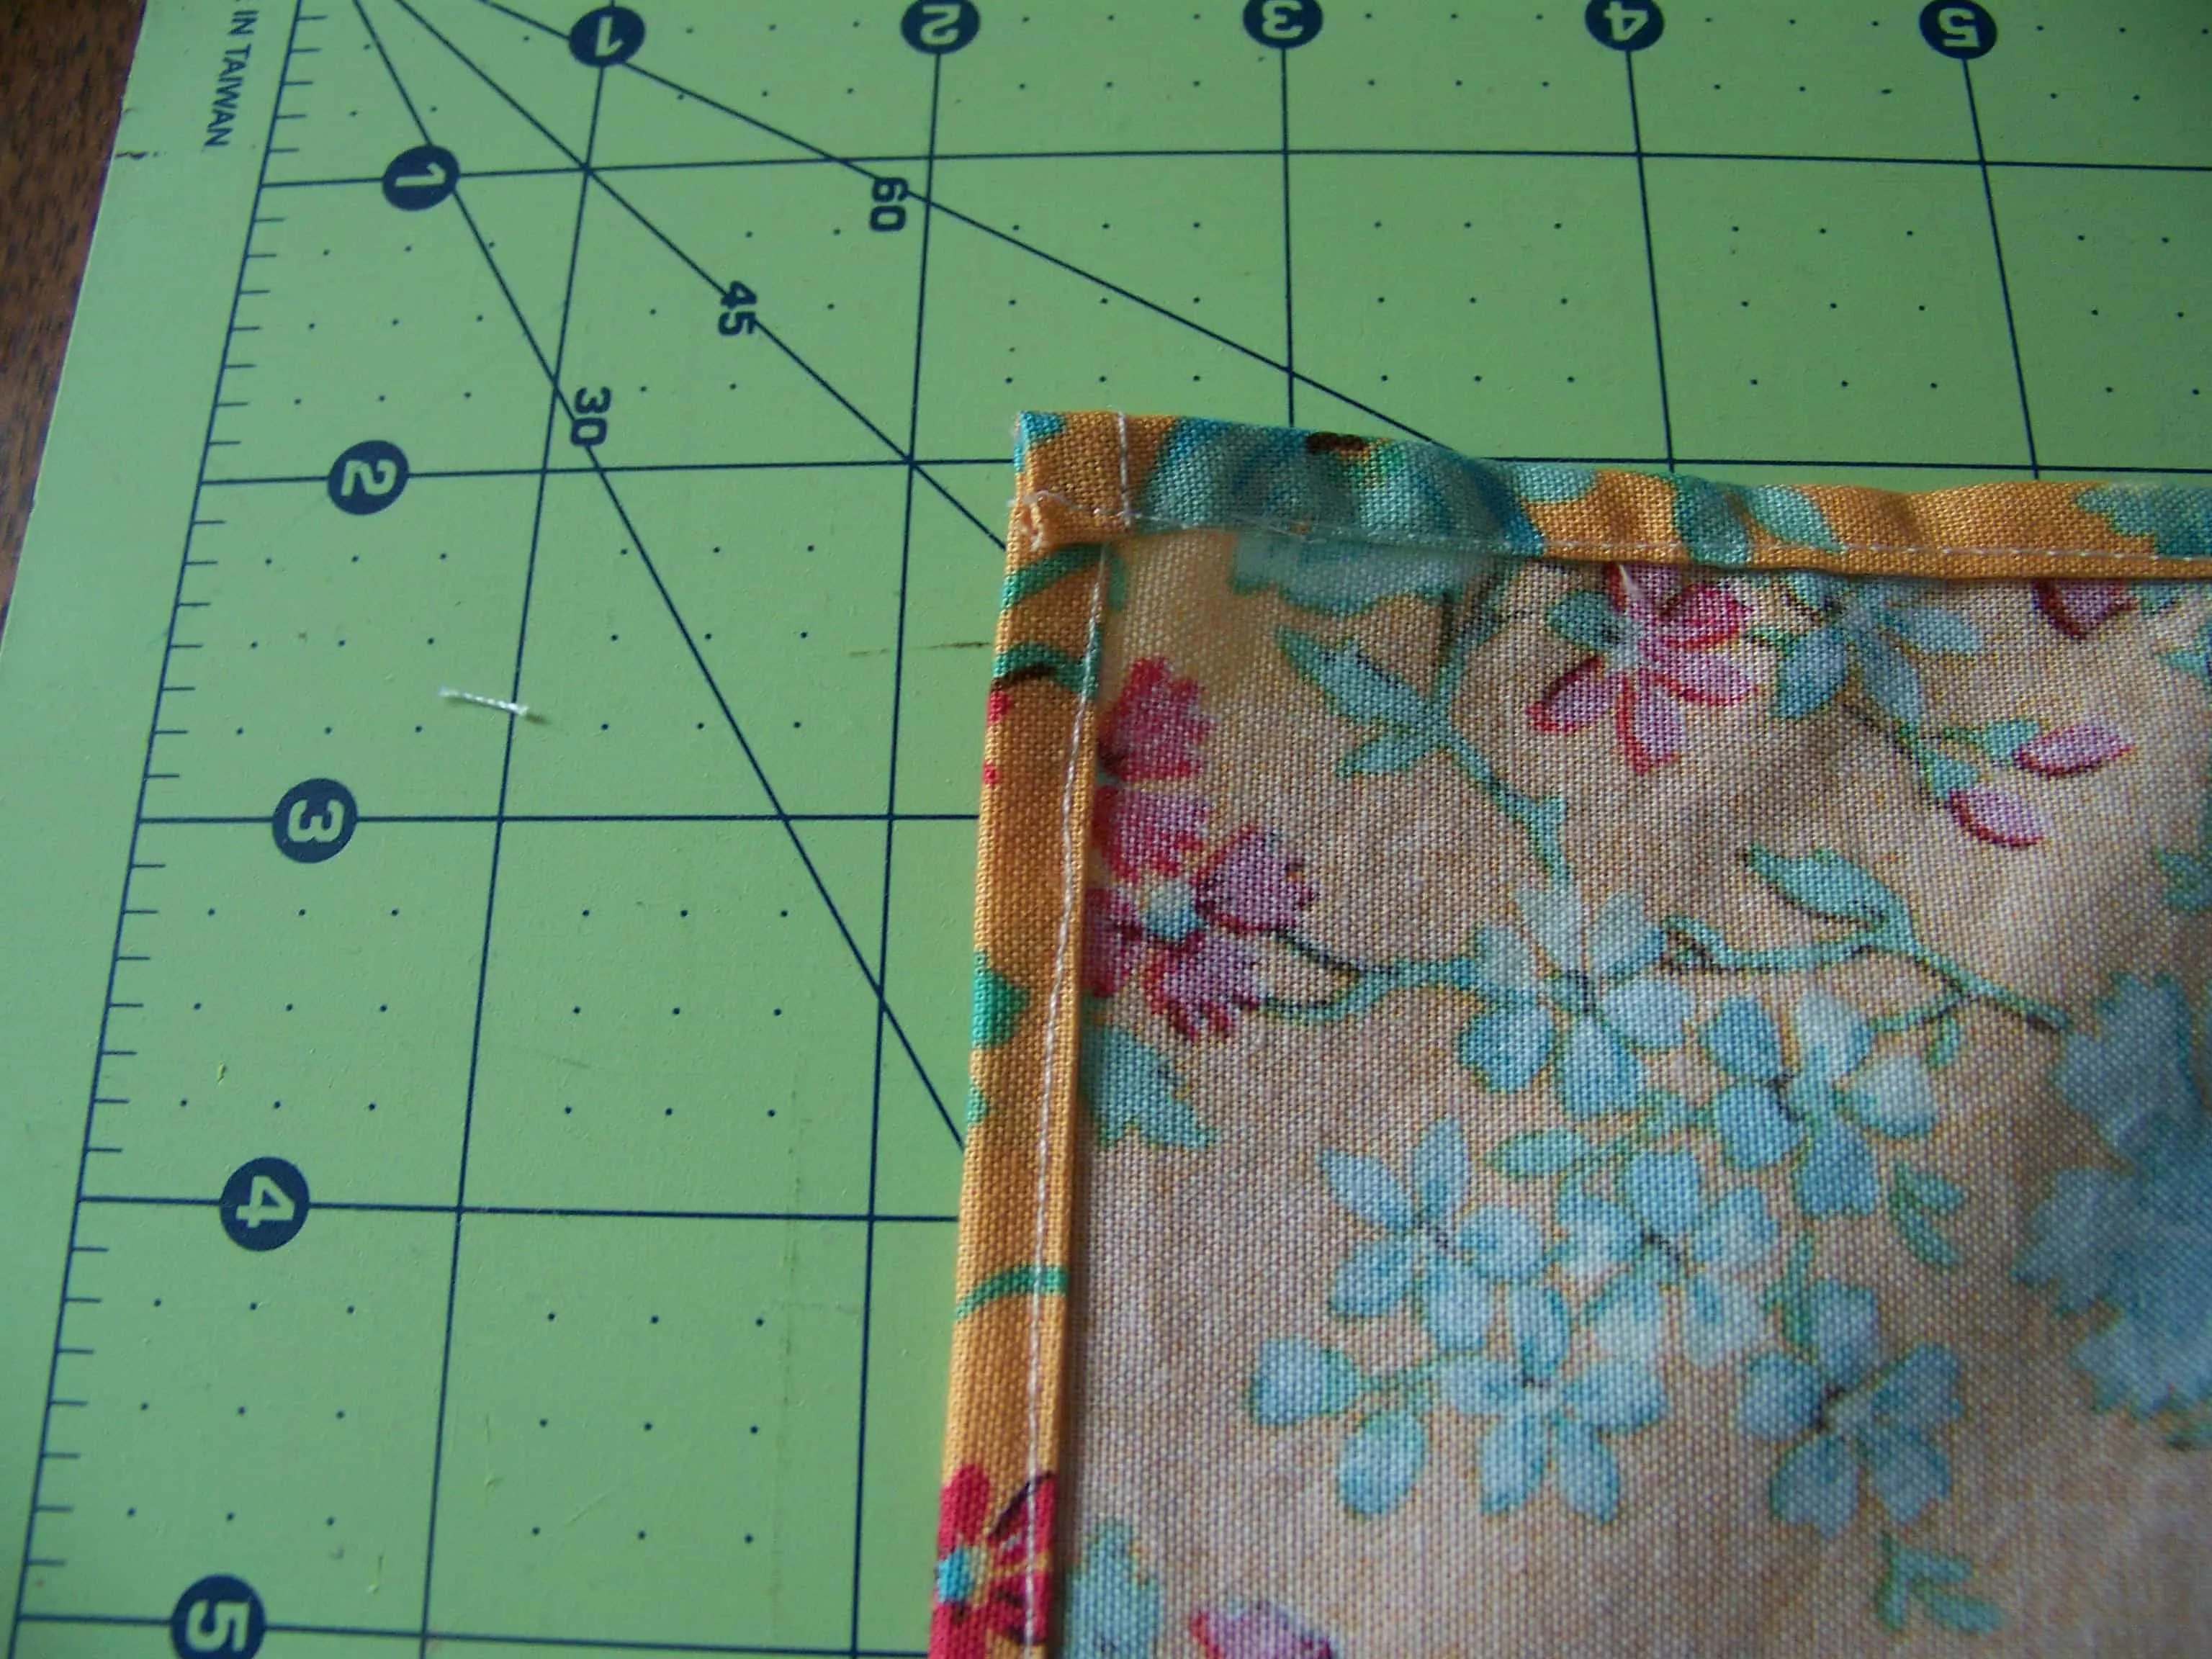

10. Cut your strings and you’re done! Fold that napkin up, set the table, and go have a dinner party!



Cathy
Tuesday 24th of June 2014
Thanks for sharing. I plan to sew some napkins up this weekend and your post is helpful!
Cat
Tuesday 24th of June 2014
You're welcome! Glad to help.
Ai
Thursday 12th of June 2014
Oh, what a good idea to use cloth napkins! I don't know why I never thought of that. My kids use paper napkins like there's no tomorrow. Cloth napkins will definitely give some wiggle room in the budget. Thanks for the tip!
Cat
Friday 13th of June 2014
For some reason it didn't occur to me either until that time I ran out of the paper ones!