This is a sponsored post written by me on behalf of Cricut. All opinions are 100% mine.
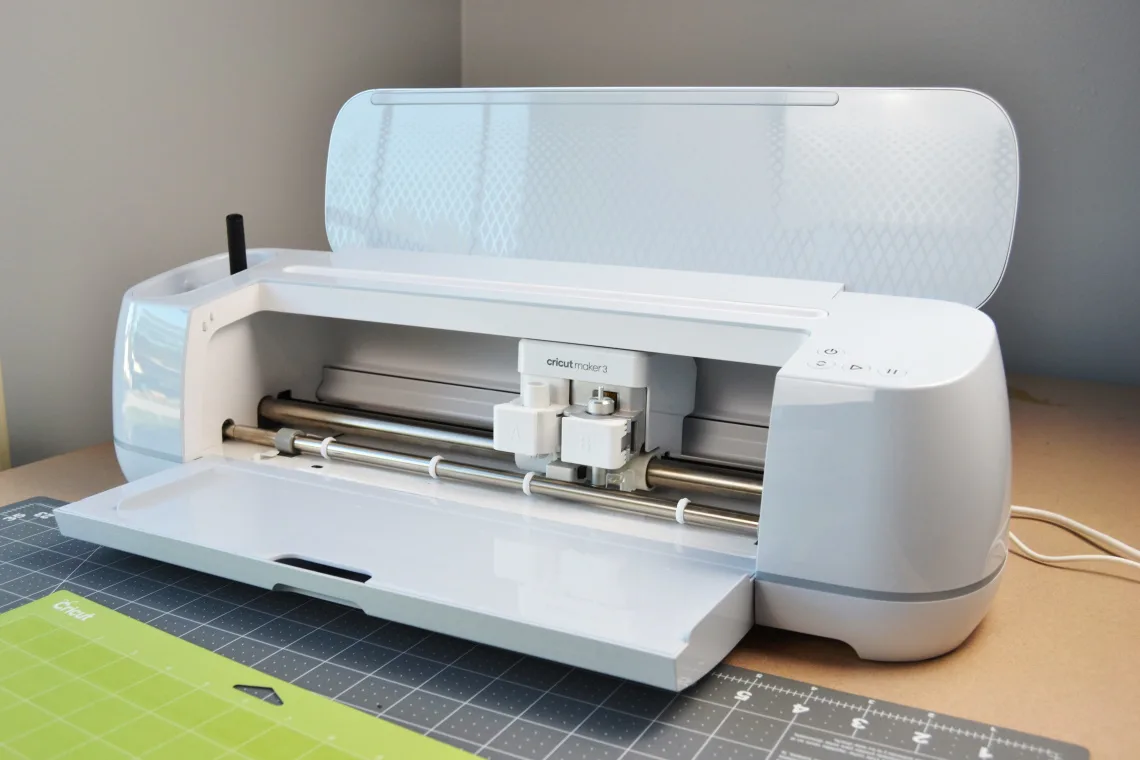
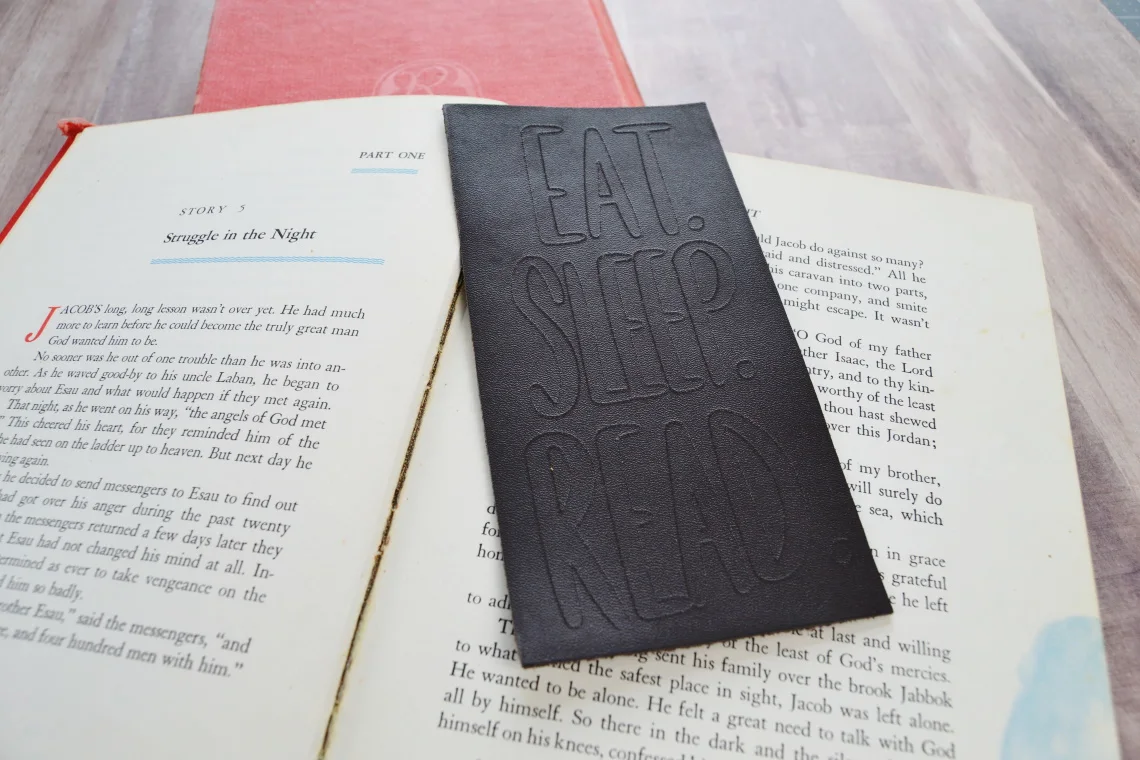
This morning I am continuing to work through my DIY Christmas gifts series and I’m sharing how to make some leather bookmarks with the Cricut Maker 3.

Supplies Needed
Engraved Leather Bookmark Tutorial
Choose an image from the Design Space gallery or use my Bookmark project file. My file has 3 different bookmark designs in it. Delete any of the ones that you don’t want. Make sure you set the Operation to Engrave.

Once you have settled on a design and set the dimensions appropriately. Then click Make It. You will see the images laid out on the mat. I used the Genuine Leather for small projects so I did not have the Cricut Maker 3 cut out the outline of the bookmark since the leather pieces were the size I wanted them to be. Move the designs to where you need them to be. Make sure they line up with where you have them on your cutting mat.

When everything is set click Continue. Follow the directions in Design Space for selecting your material and loading the engraving tool. Then load the mat, let the machine do the engraving, and then you are all done.

