
I was inspired to make some fabric covered cork boards after seeing some beautiful ones on Etsy. I gave one to my sister and I hung the other one in my studio space in the basement. I looked up some tutorials on other blogs, but I decided to go a slightly different route, so I thought I would write a tutorial showing you how to make a fabric covered bulletin board.
You will need:
- Framed piece of art
- a roll or sheet of cork
- fabric
- spray paint
*The sizes of your cork and fabric will all depend on how big your frame is.
How to Make a Fabric Covered Bulletin Board
Step 1:
Buy an old, preferably ugly, framed piece of art. A lot of the tutorials I read had you begin your project with buying a cork board that was already framed. I decided that I wanted a more substantial, “artsy” frame around my cork board so I went to the salvation army store and purchased a piece of art that had a frame that I liked. They have a decent selection of old pictures and you can sometimes find one with a great frame for very little money.
Step 2:
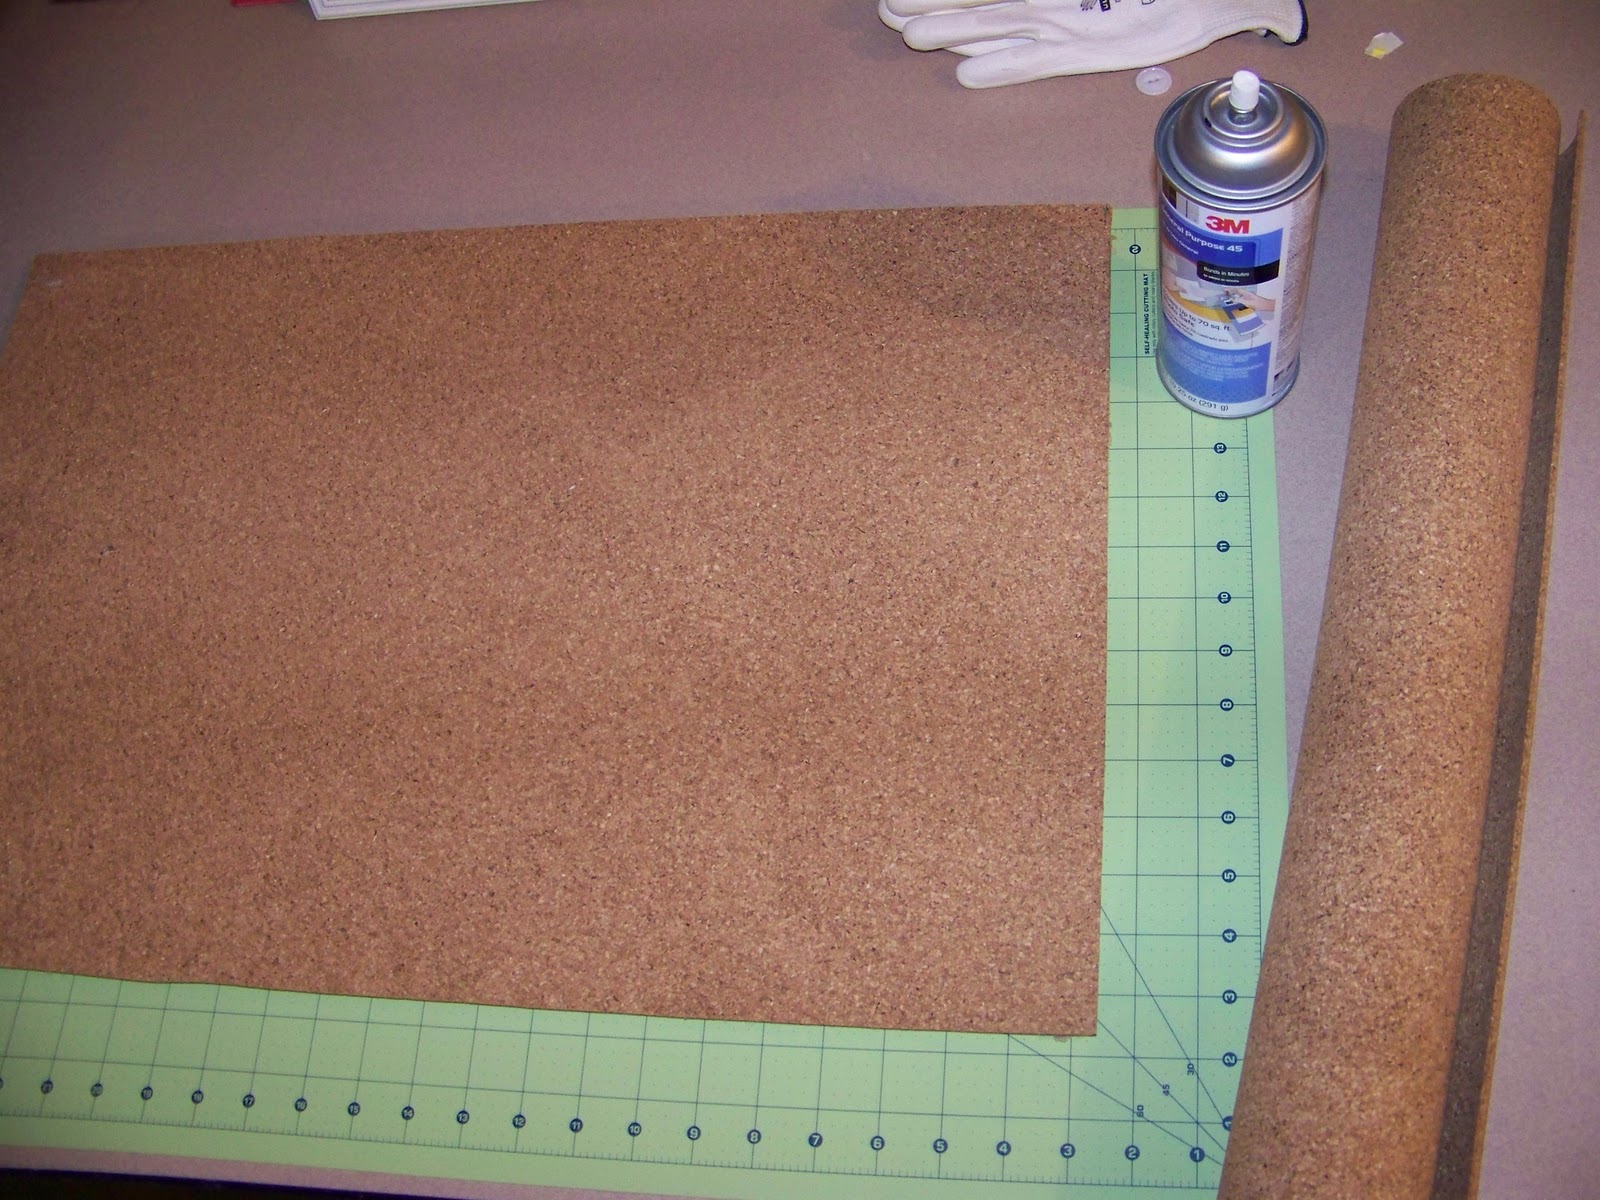
Purchase fabric, cork, spray adhesive, and spray paint.
Step 3:
Remove the art from the frame, then spray paint the frame the color that you want. If you like the color of your frame, then you can certainly skip this step. I applied 2 coats and then let the paint dry outside overnight before moving on to step 4.

Step 4:
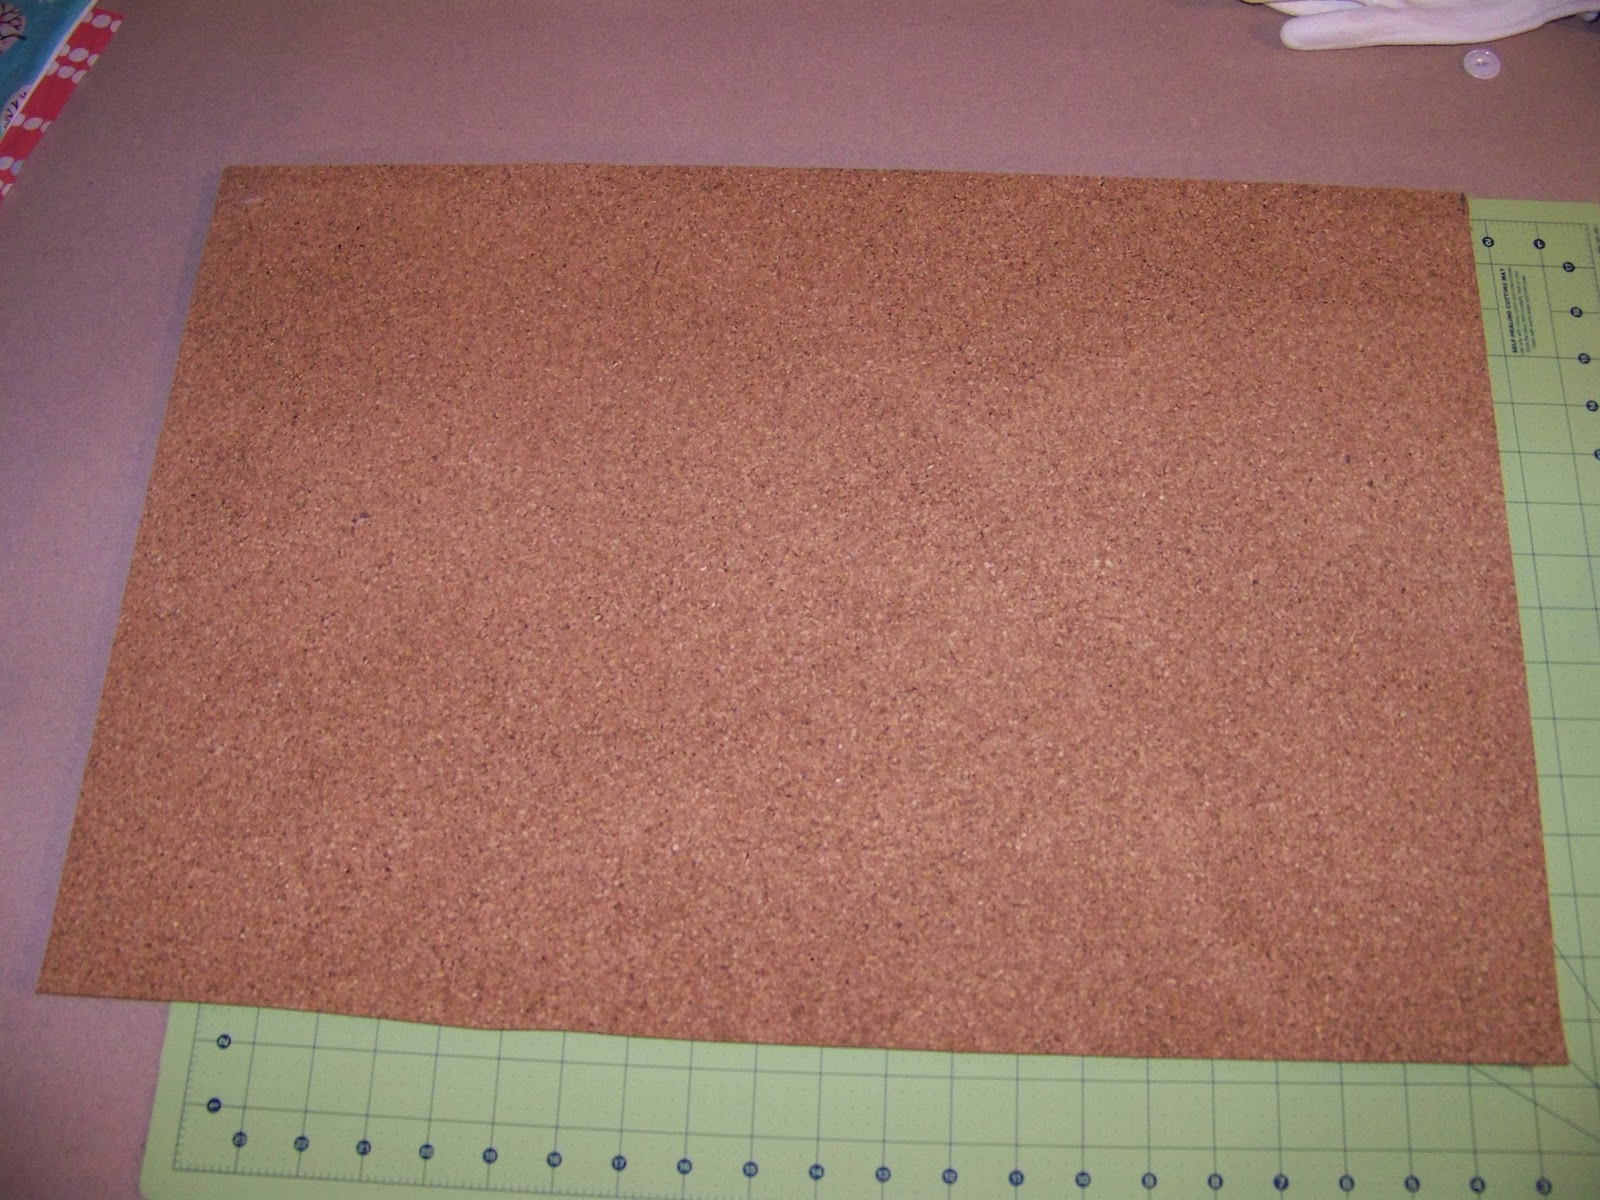
Cut cork to size. I just laid the old piece of art that I had taken out of the frame on top of the cork and cut around the edges with my rotary cutter. Depending on the thickness of your cork, you may wish to do 2 layers of cork.
Step 5:
Use the spray adhesive to attach the cork to the original art. This gives the cork some stability. Just like spray paint, I use spray adhesive in well ventilated areas and where I can’t get it on anything important. I took it outside, I did not use it in my sewing area. Wouldn’t want sticky stuff on my cutting mat 🙂
Step 6:
Use the spray adhesive to attach the fabric to the cork. Be careful to smooth it out nicely before the adhesive kicks in and you can’t adjust the fabric.

Step 7:
After allowing the adhesive to dry (I waited 10 minutes), flip the cork board over and trim the excess fabric from around the edges. I used my rotary cutter.
 Step 8:
Insert cork board into frame and you’re done! Go hang your beautiful cork board somewhere.
Let me know if you have any questions about how to make a fabric covered bulletin board.


