I know that this is more of a local-based post but I wanted to share because I have a lot of readers local to Northeast Ohio and I thought some of you all might be interested. Even if you are making masks for your own use or to donate elsewhere then you may find some of these tips for making masks useful.

Disclaimer: I am making no claims to the efficacy of this mask in use. Homemade masks are not the same as N-95s or PPE. Please read what the CDC has to say about homemade masks.
Akron Children’s Hospital has requested people sew and donate them as have many other hospitals and organizations. If you are not local to Northeast Ohio then please check to see what local hospitals may be requesting them. Many of the hospitals have specific requirements so please check with them first before sewing anything.
Akron Children’s Hospital has put out a thorough post about how to make and donate masks to them. It includes a link to a preferred tutorial from Skip to My Lou. I followed that tutorial but I read and watched a whole bunch of other tutorials and what I want to share is what I have learned with all of that and my first few attempts at making masks.
Cleanliness
Pre-wash and dry all of your fabrics. Also be sure to wash your hands thoroughly before making the masks.
No Elastic
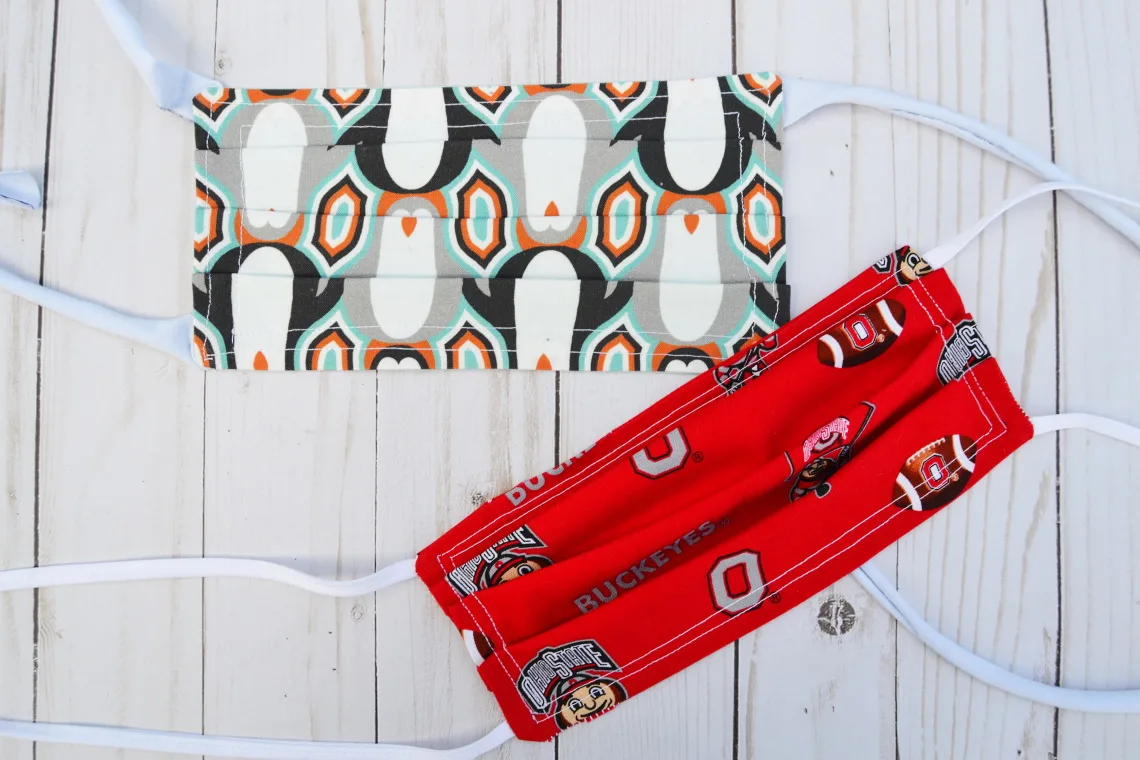
Akron Children’s Hospital does not want elastic on their masks. I’ve also seen a lot going around social media about our healthcare professionals suffering from ear fatigue from the elastics so I’m making masks with ties instead of elastic around the ears.
There are a few options that you can use instead of elastic. For Akron Children’s Hospital specifically they are requesting ties made from fabric, bias tape, twill tape or non-slippery ribbon.
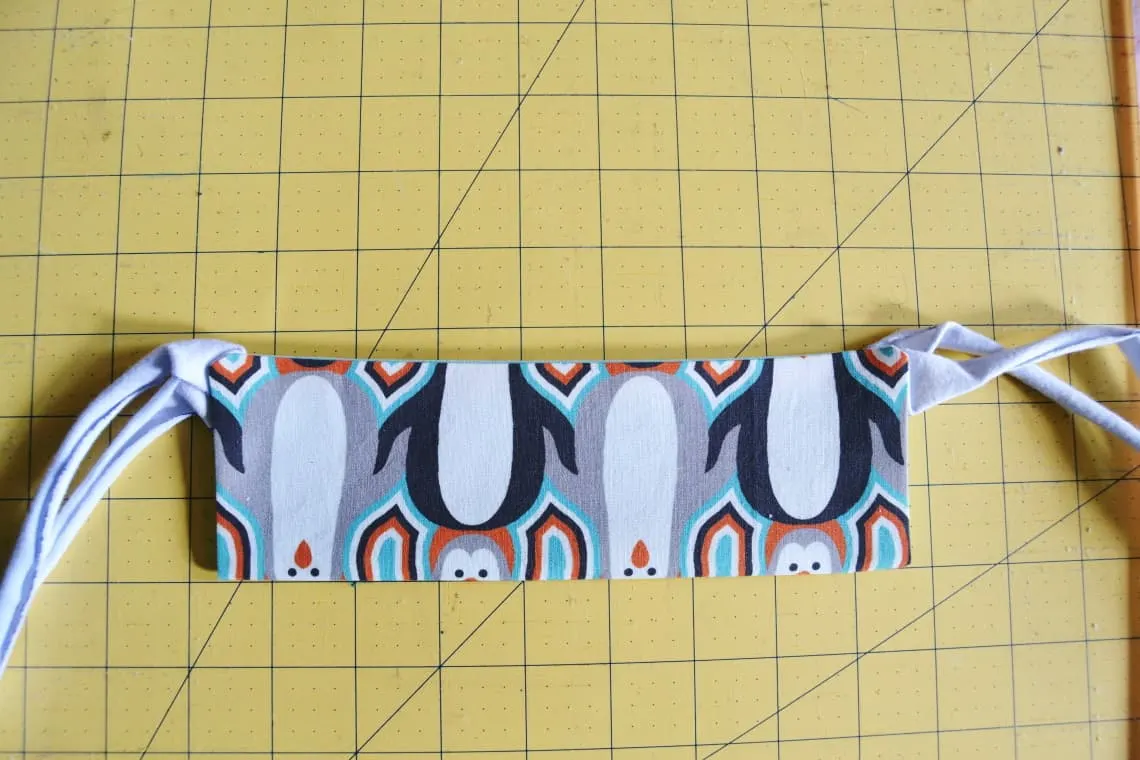
How to Make Knit Ties
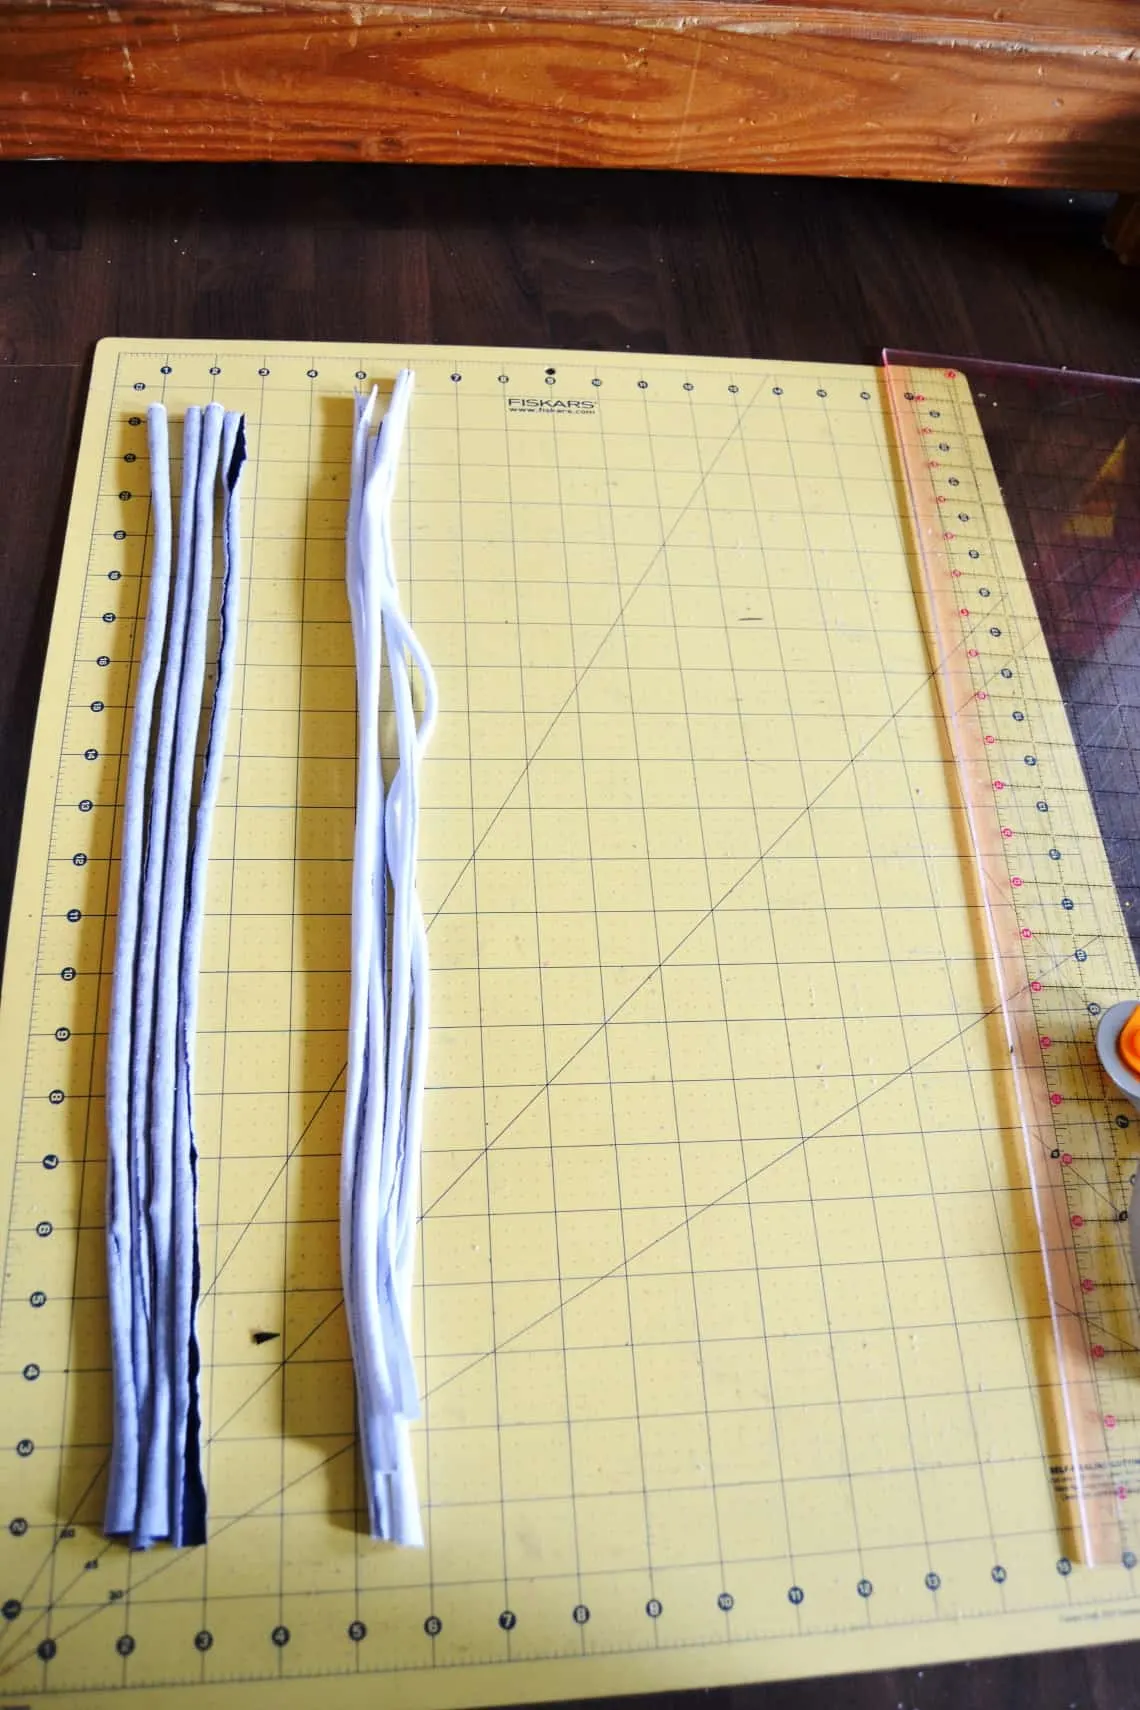
Someone specifically asked if they could use cotton t-shirt (knit) material and Children’s gave them the OK. That is the route that I opted to take because knit material will not unravel so you don’t have to do any sewing when making these ties unlike you would if you used woven cotton fabric.
This is super easy. Take your knit fabric and lay it down. If you have a rotary cutting set then you can just use your quilting ruler to cut strips pretty quickly. If you do not have a rotary cutter then you can do this with scissors, just eyeball about 1 inch for the ties.

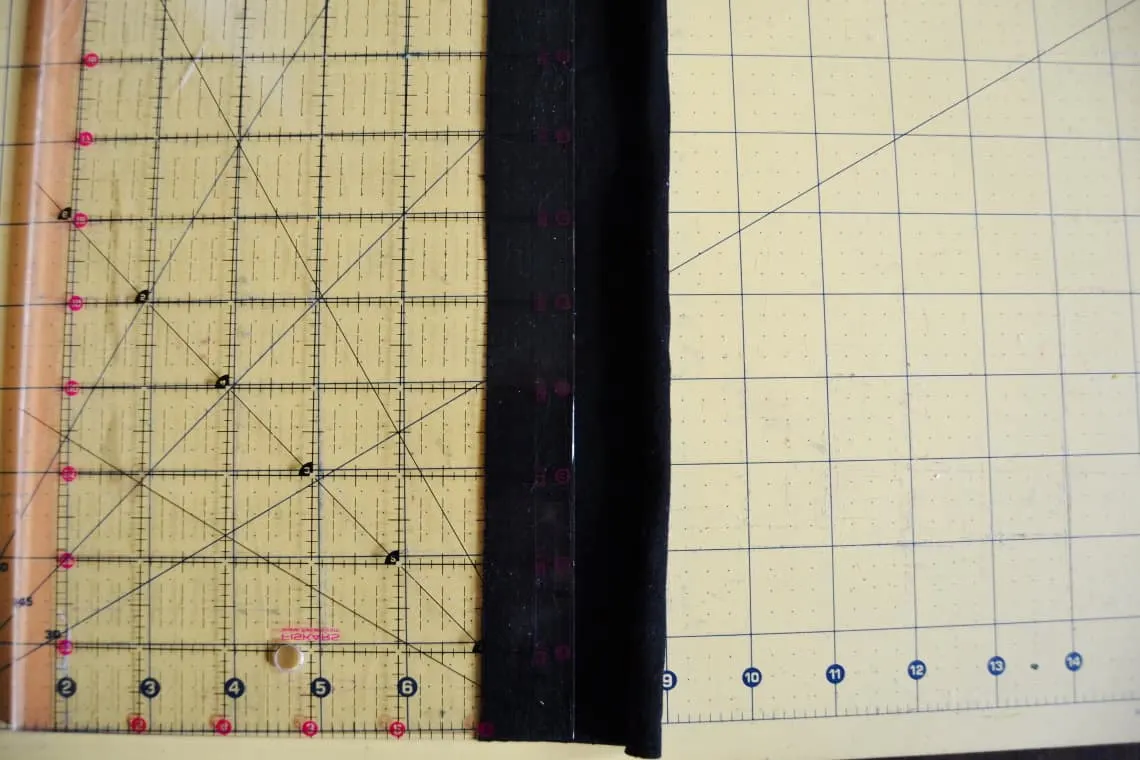

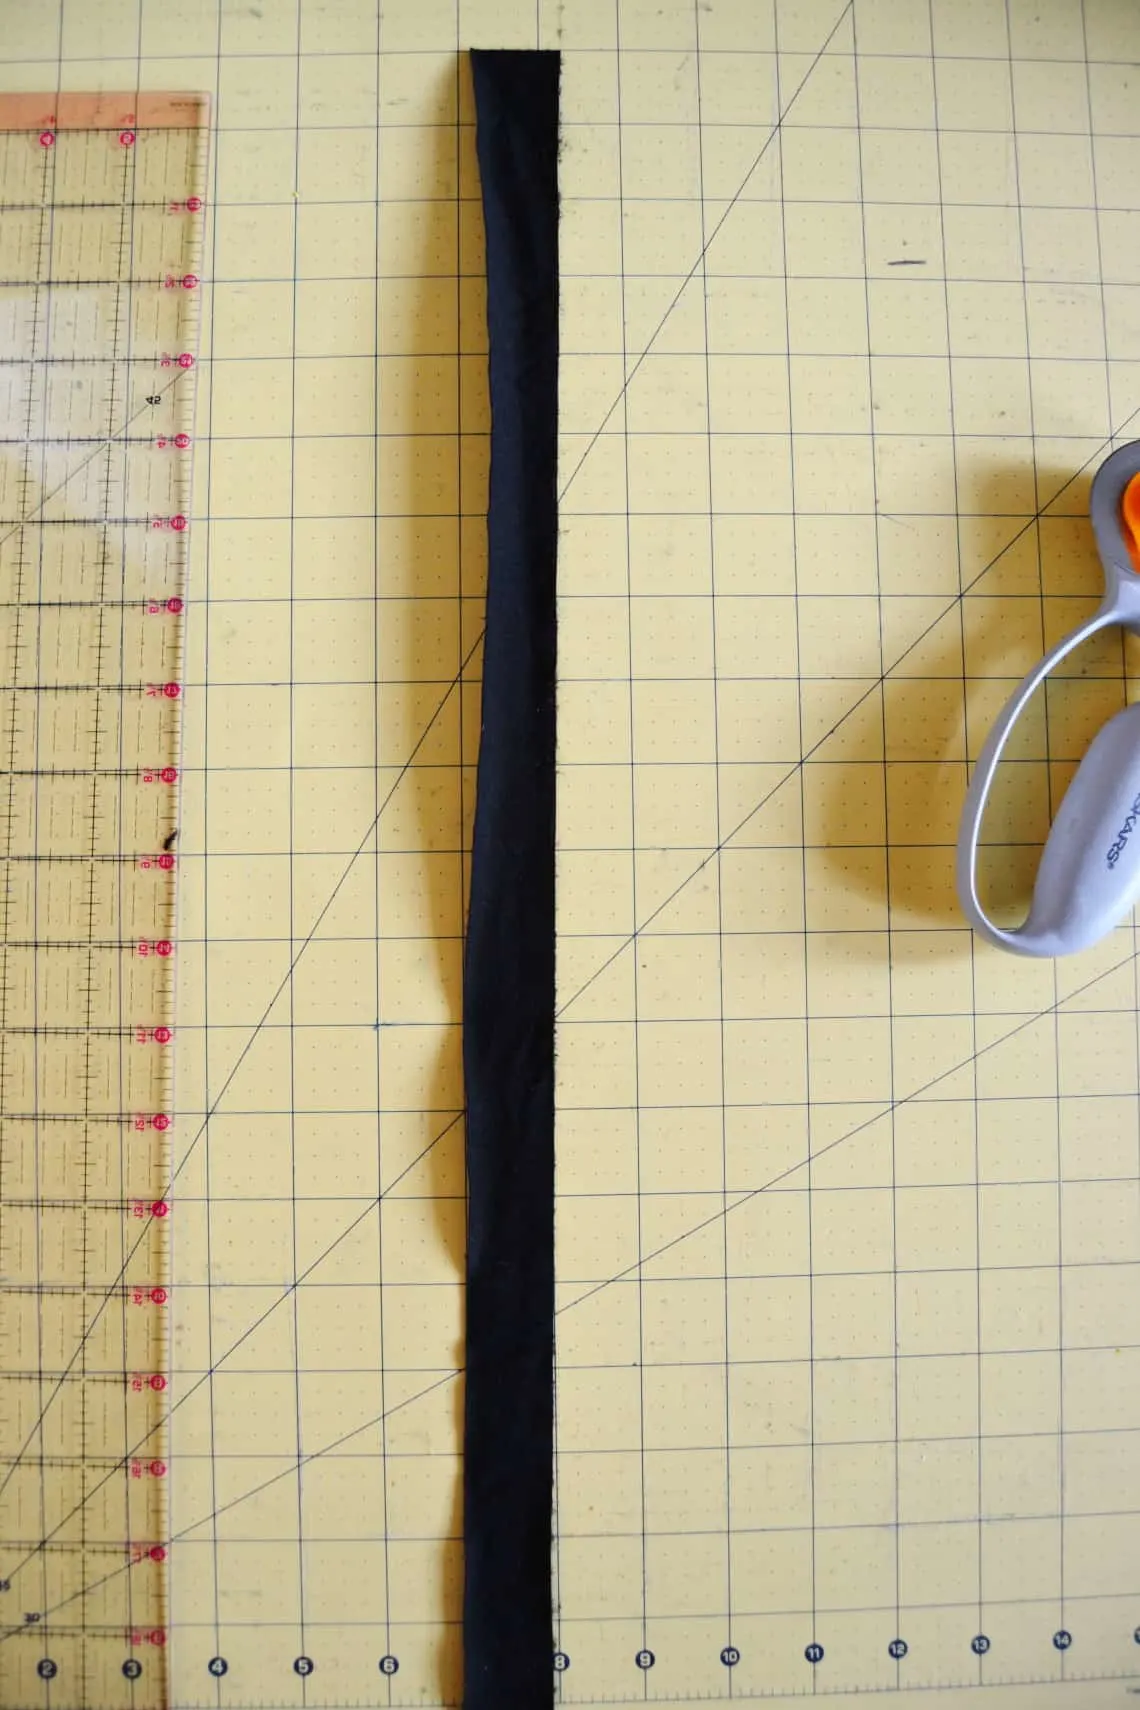
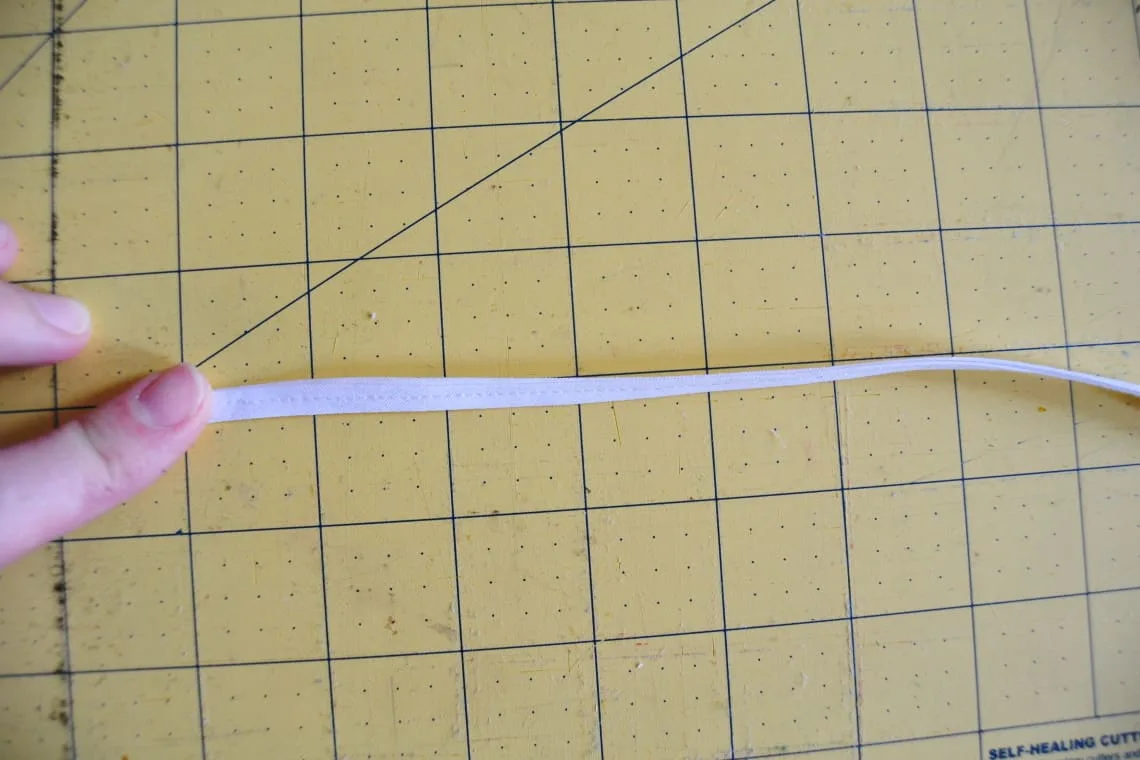
Once the 1 inch strips are cut then grab each end of the strip and pull. This will cause then to curl up.


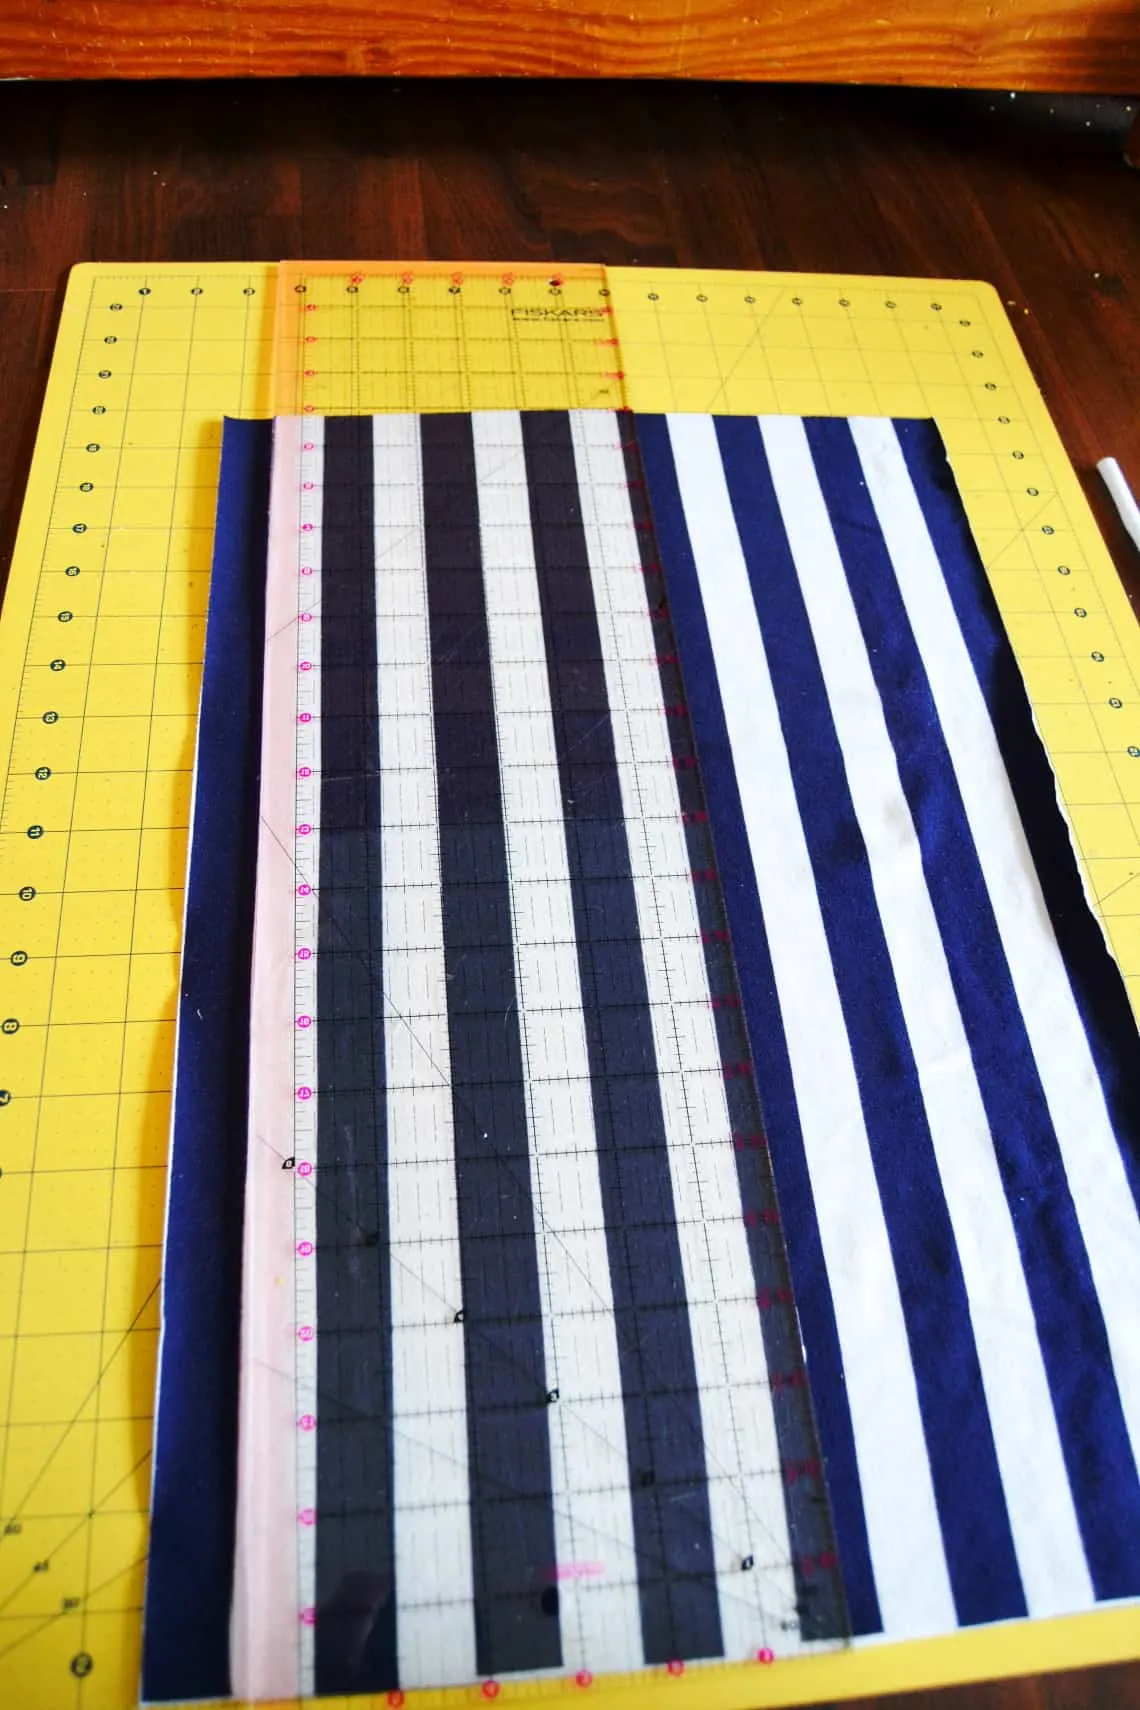
If you really want to be a cheater then make strips from a striped fabric like I did. Each stripe is 1 inch wide so I just cut along the stripes.


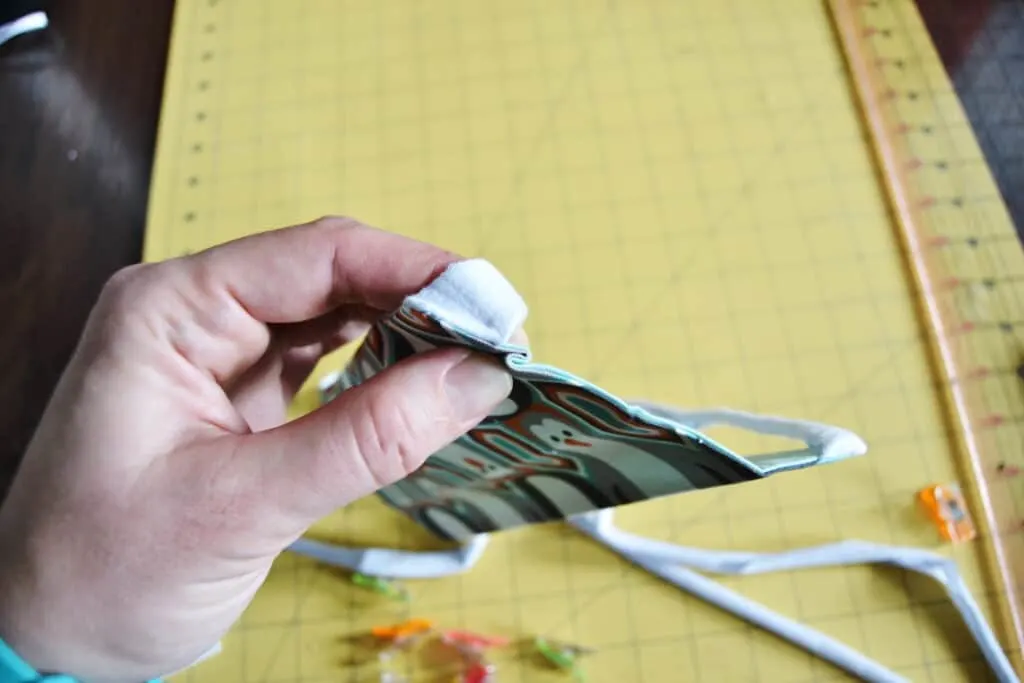
I made one mask with some bias tape that I folded closed and sewed shut but I only had enough to make one mask and this is a more time consuming method for making ties.

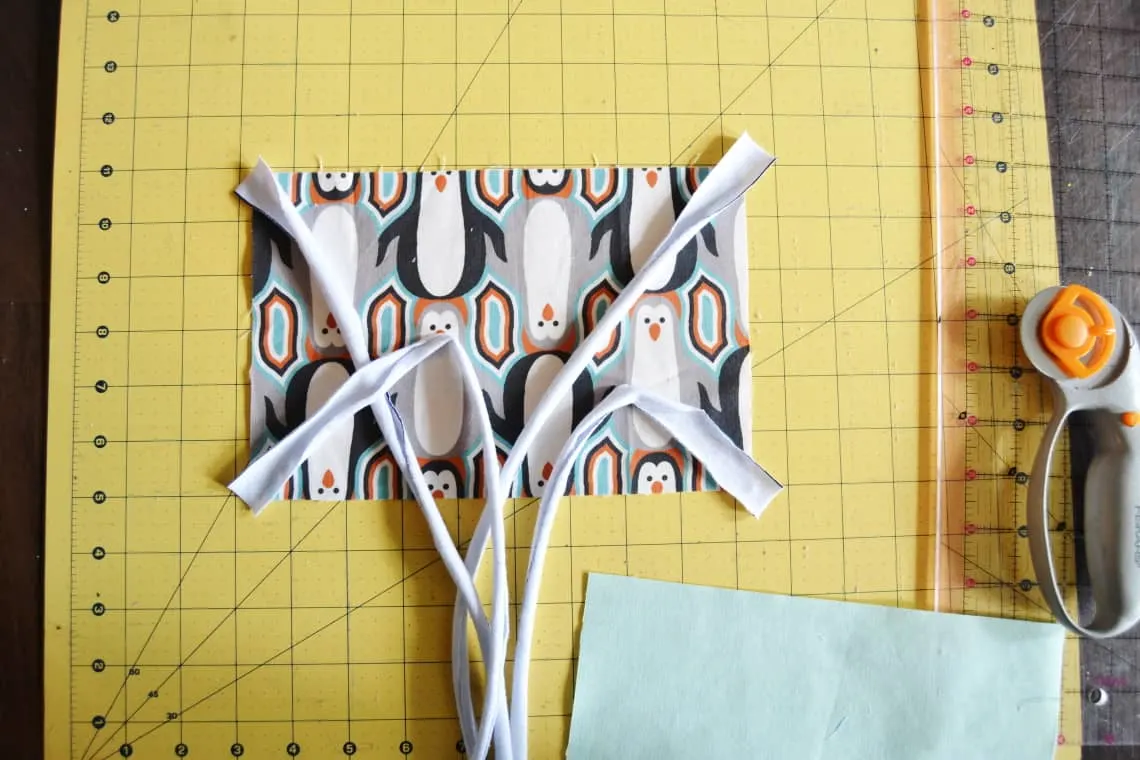
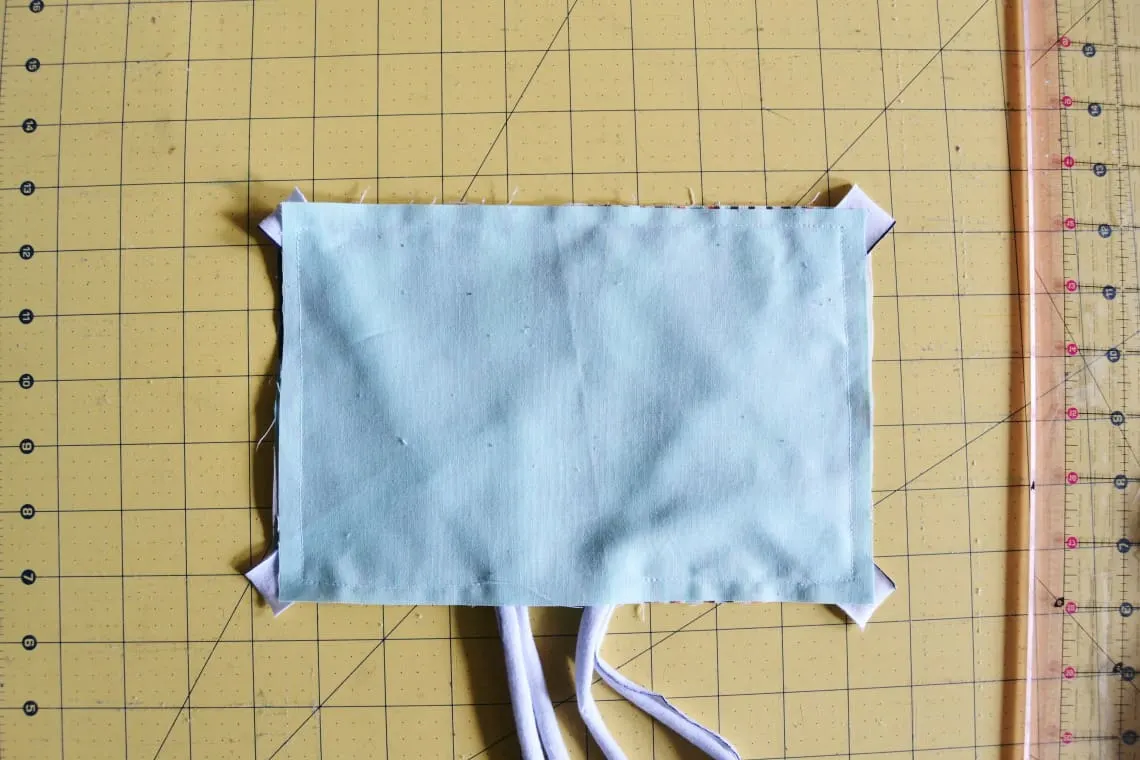
Sandwiching
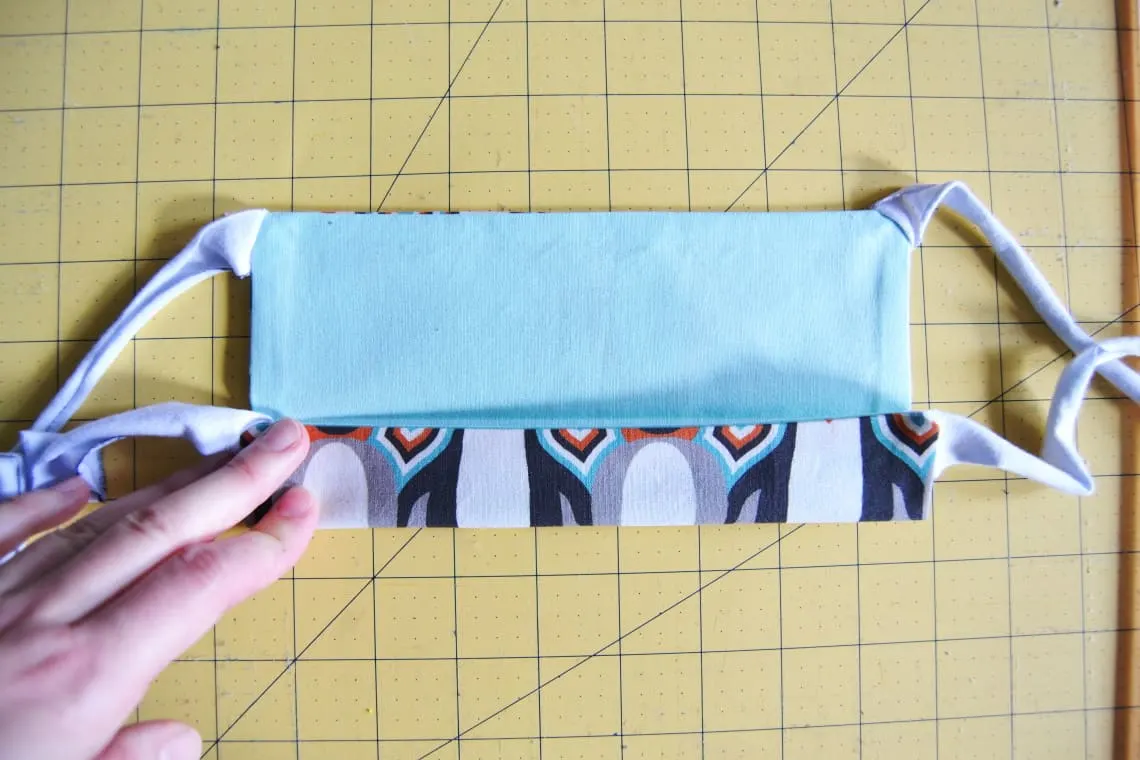
For Step 1 of the tutorial linked by Akron Children’s you make a sandwich with one rectangle of your fabric with the right side up, then the ties, then the other rectangle on top of those two with the right side down. I saw on a tip on another tutorial that I found helpful which is when you make this sandwich be sure to have all of your ties go out from the corners and then come down to the center of the bottom where you are going to leave your opening. This makes things much easier and keeps the ties out of the way when you sew.


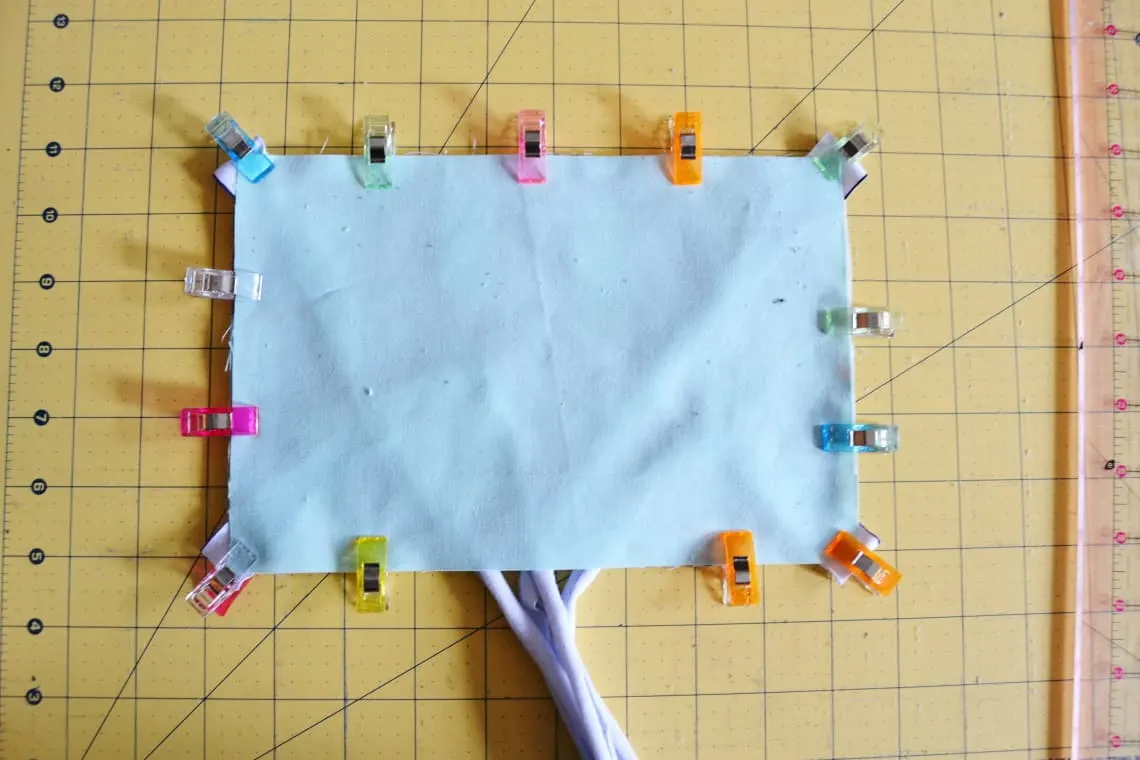
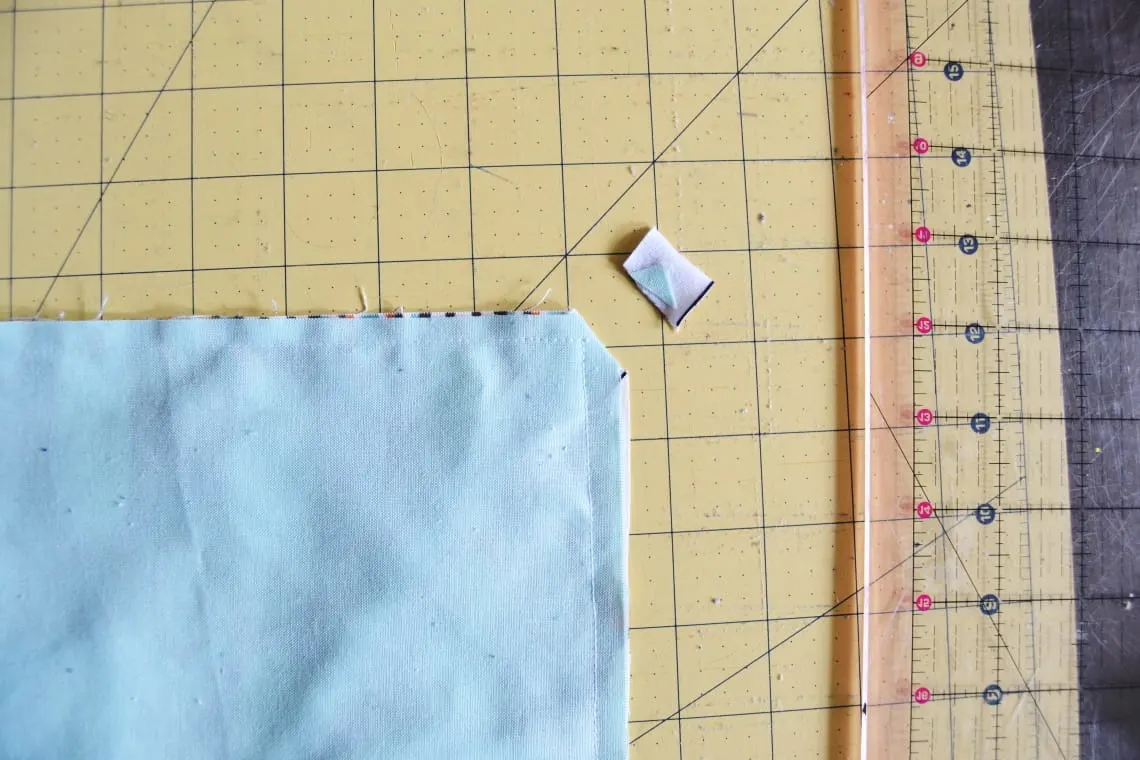
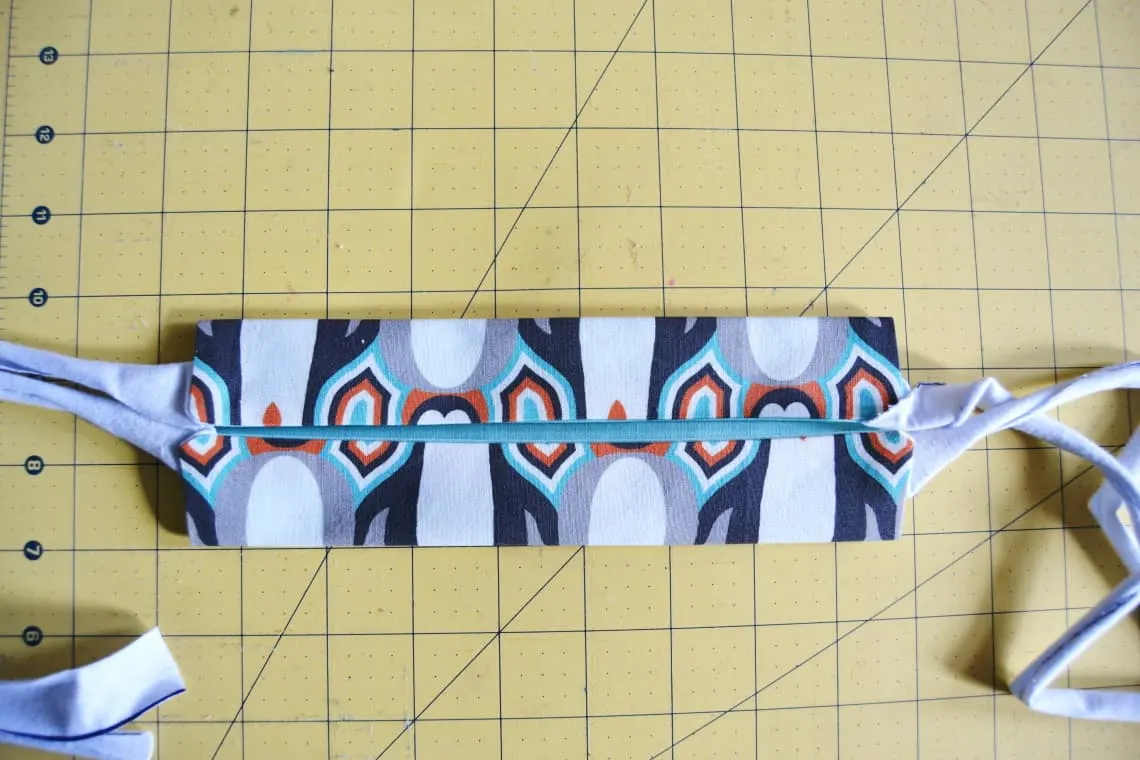
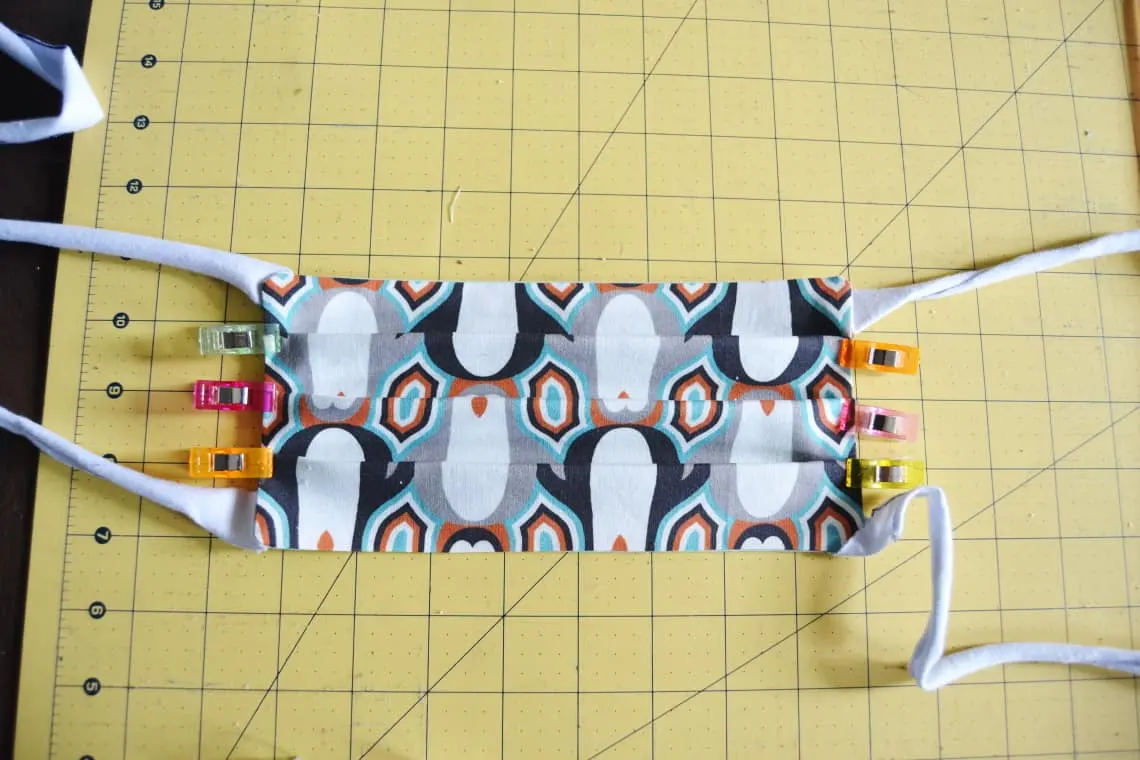
Clip Your Corners
Once you have sewn around your sandwich you will want to clip the corners. This will make it easier to have nice sharp corners when you turn it right side out.


Those Darn Pleats
Personally, I find the pleats to be the hardest part of making these masks. Thankfully Akron Children’s said they are not being too fussy about the placement of the pleats. I’ve read a few tutorials and this is the method I’ve found to work for me.
Once you have gotten to the point of turning your mask right side out you will press it and then lay it down with the outside of the mask facing down. Then fold it in half, folding the bottom up to the top. Press it.

Next you will unfold it. Then fold the bottom up to your crease that you just pressed in the middle. Give it another press.

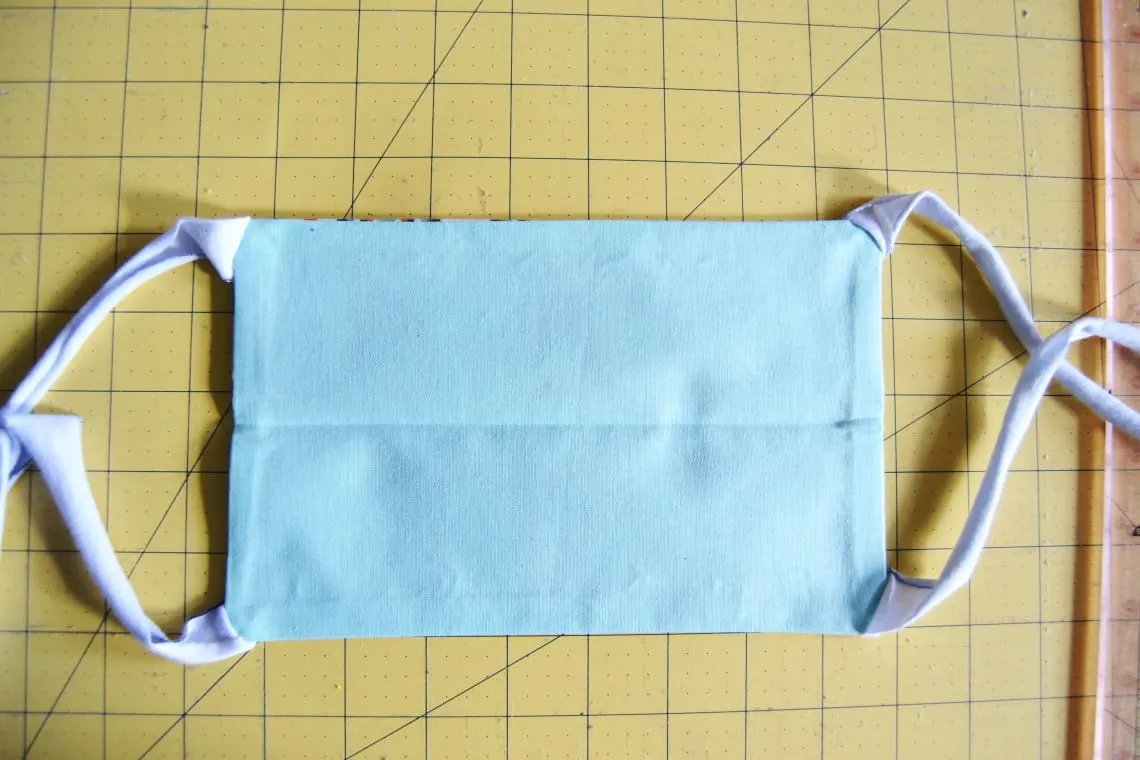

Then fold the top down to your crease in the middle and press it again.

Now unfold the mask and you will see 3 creases. This will be where you put your pleats. Pinch each one, fold it up a little (1/4- 1/2 in), and pin it. Do this for each crease on the one side and then on the other side.

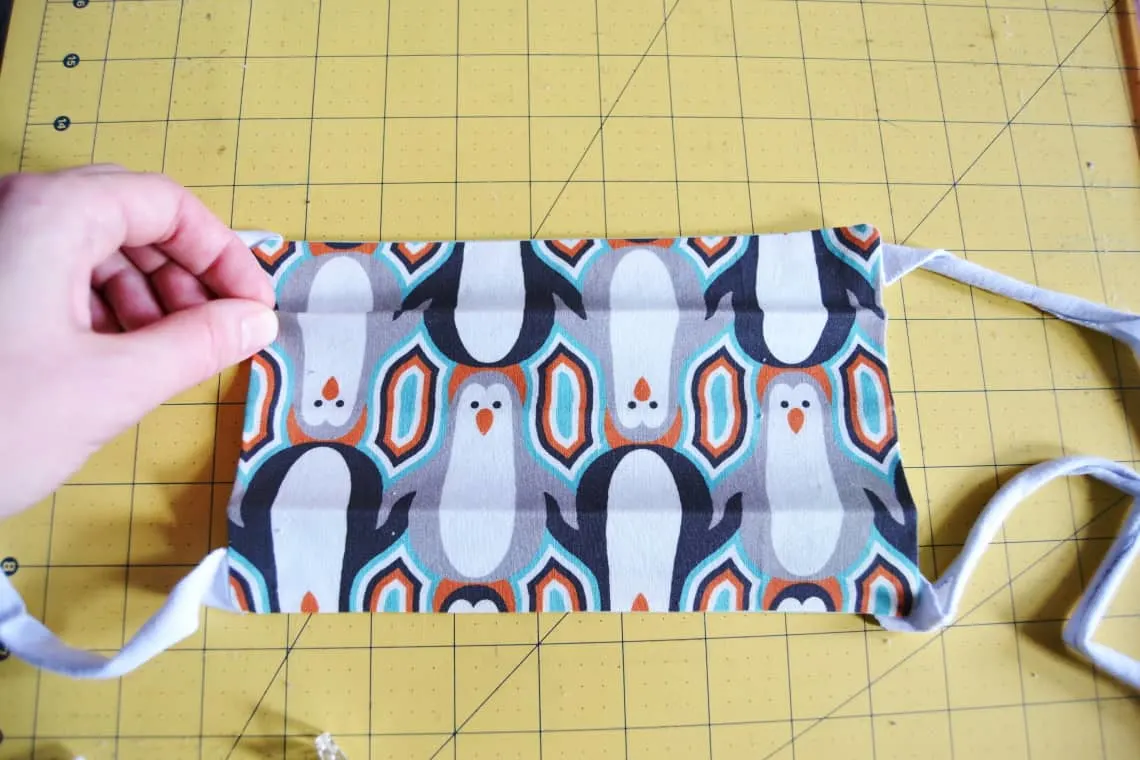


In making a few of these I learned that it works out the best if I pause at this point and then give it a really good press to try to flatten down the pleats as much as possible so that my stitches stay nice and tight when I topstitch over them.
Then I topstitch around the mask twice. Akron Children’s wants it topstitched around two times specifically. In the original tutorial I cannot see how far from the edge they stitched so I did mine at about 1/2 and 1/4 inch. I made a couple of masks and I found that I got a little better at it after I had made a few.
For more informaion about making masks for Akron Children’s Hospital please check here.