I have a new free baby bib pattern for beginners! I like to make baby gifts for friends and family member’s new babies. I’ve made a number of baby bibs over the years and you are going to love the shape of this baby bib sewing pattern and the ease of this tutorial.
This new printable bib pattern is the result of me tinkering with my original baby bib pattern pdf and I think I’ve found something that I like better so I’m sharing it with you all. Best of all you do not have to sign up for an email list or anything like that to get it, you just click the link listed in the supplies and download the pdf of the bib pattern!

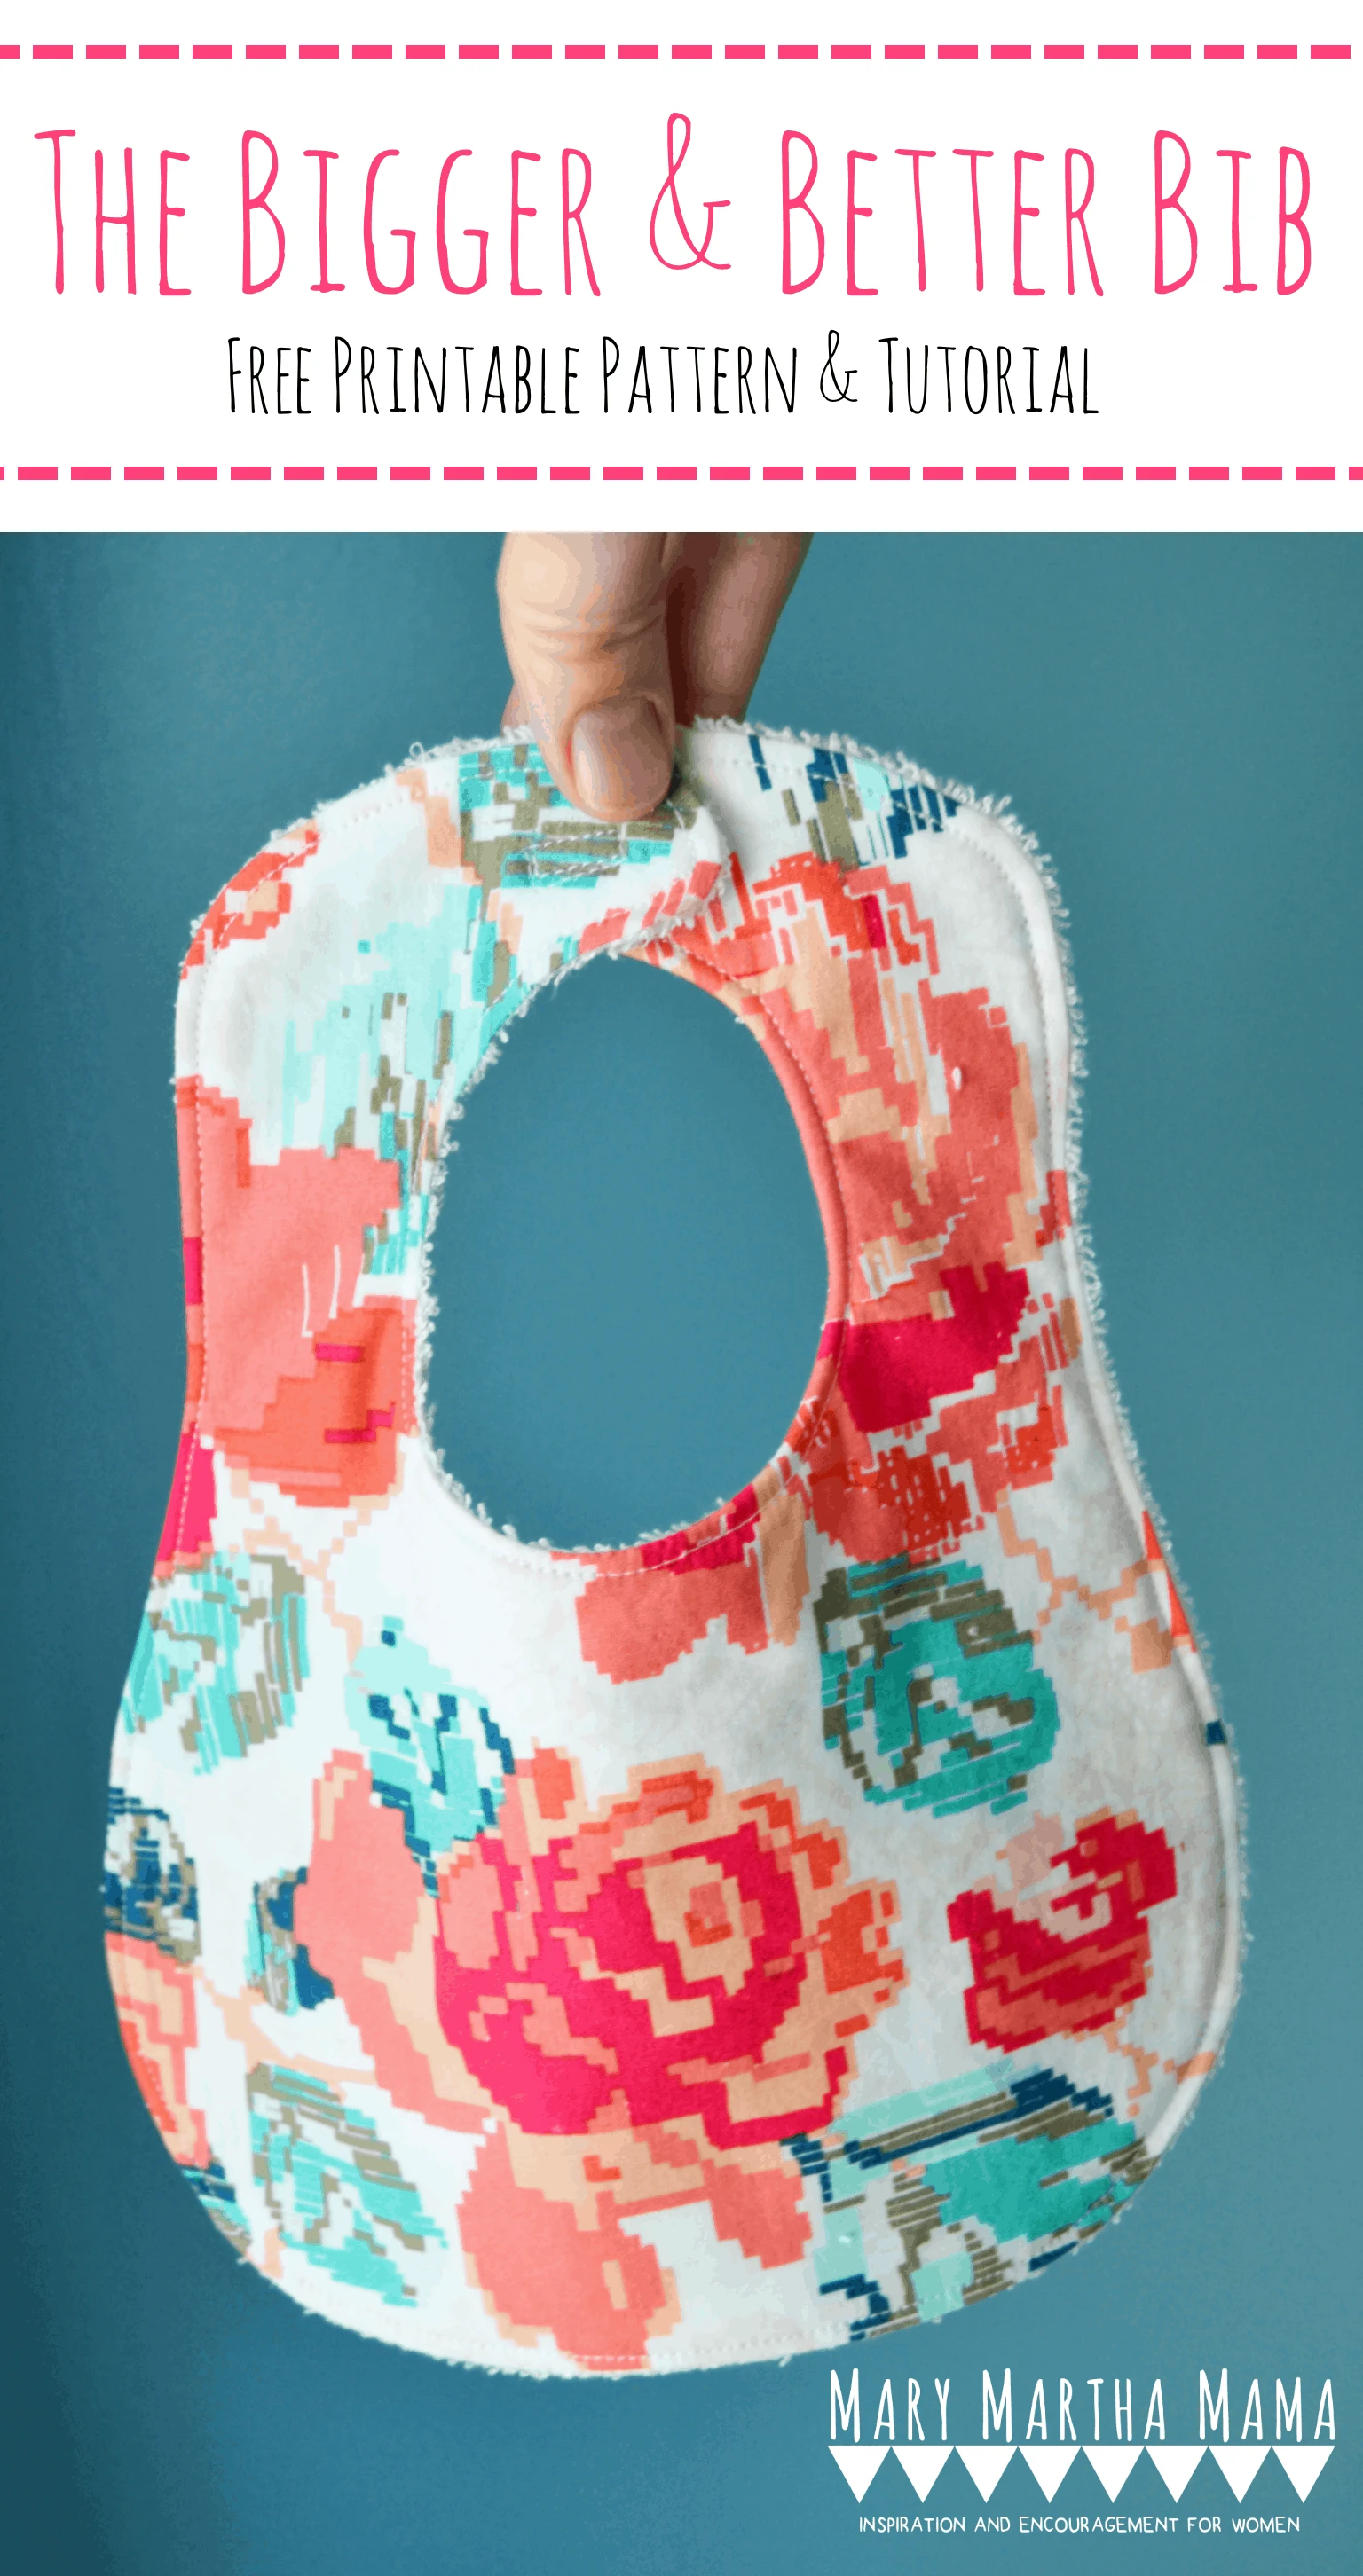


I know, it looks very similar because it is. The basic shape is the same but I’ve widened it in some areas, including the straps which makes it easier to turn right side out during the process of making it. And in my book easier is much, much better. I have heard from many of you that it is working out much better and I love seeing the bibs that you all have made!
Sizing
This bib is for younger babies, from newborn to about 4 months old.
Get the Free Pattern PDF
You can get the free baby bib pattern pdf by clicking here.
The process for making the bib is the same as in my old tutorial but I’m going to go through it all here again so that you don’t have to click over to that post. What can I say, I like simple!
If you are more of a beginner sewist then be sure to check out my Tips for Beginners section below!
Supplies
- The pattern
- cotton fabric for the front of the bib
- fabric for the back of the bib (I like to use something absorbent, like terry cloth)
- thread that coordinates with your fabric
- sewing machine (unless you want to do it by hand)
- pins
- velcro or snaps to close the bib
- Snap Fastener tool if you elect to use snaps
- scissors or a rotary cutter and mat
Video Tutorial for the Baby Bib Pattern
Tutorial
Step 1: Print the Baby Bib Pattern
Print out the Bigger & Better bib pattern. You will either need to print two and tape the two halves together or print one and place it on the fold of your fabric. I find it easier to print one and then fold the fabric piece in half.
When you print it out it should measure just over 10 and 1/4 inches from top to bottom. If it doesn’t then adjust your printer settings, such as scale or zoom.


Step 2: Use the Baby Bib Pattern
Cut out the pattern and place it on top of your fabric for the front of your bib. Remember to place your pattern with the flat side on the fold because this is just half of the pattern. Make sure that you place the pattern where you would like it to be on the fabric, taking into account the pattern placement on the bib when you finish it.


Cut out the fabric. I like to use my rotary cutter to cut out the fabric but if you don’t have one you could trace around the paper pattern and then cut it out with scissors.


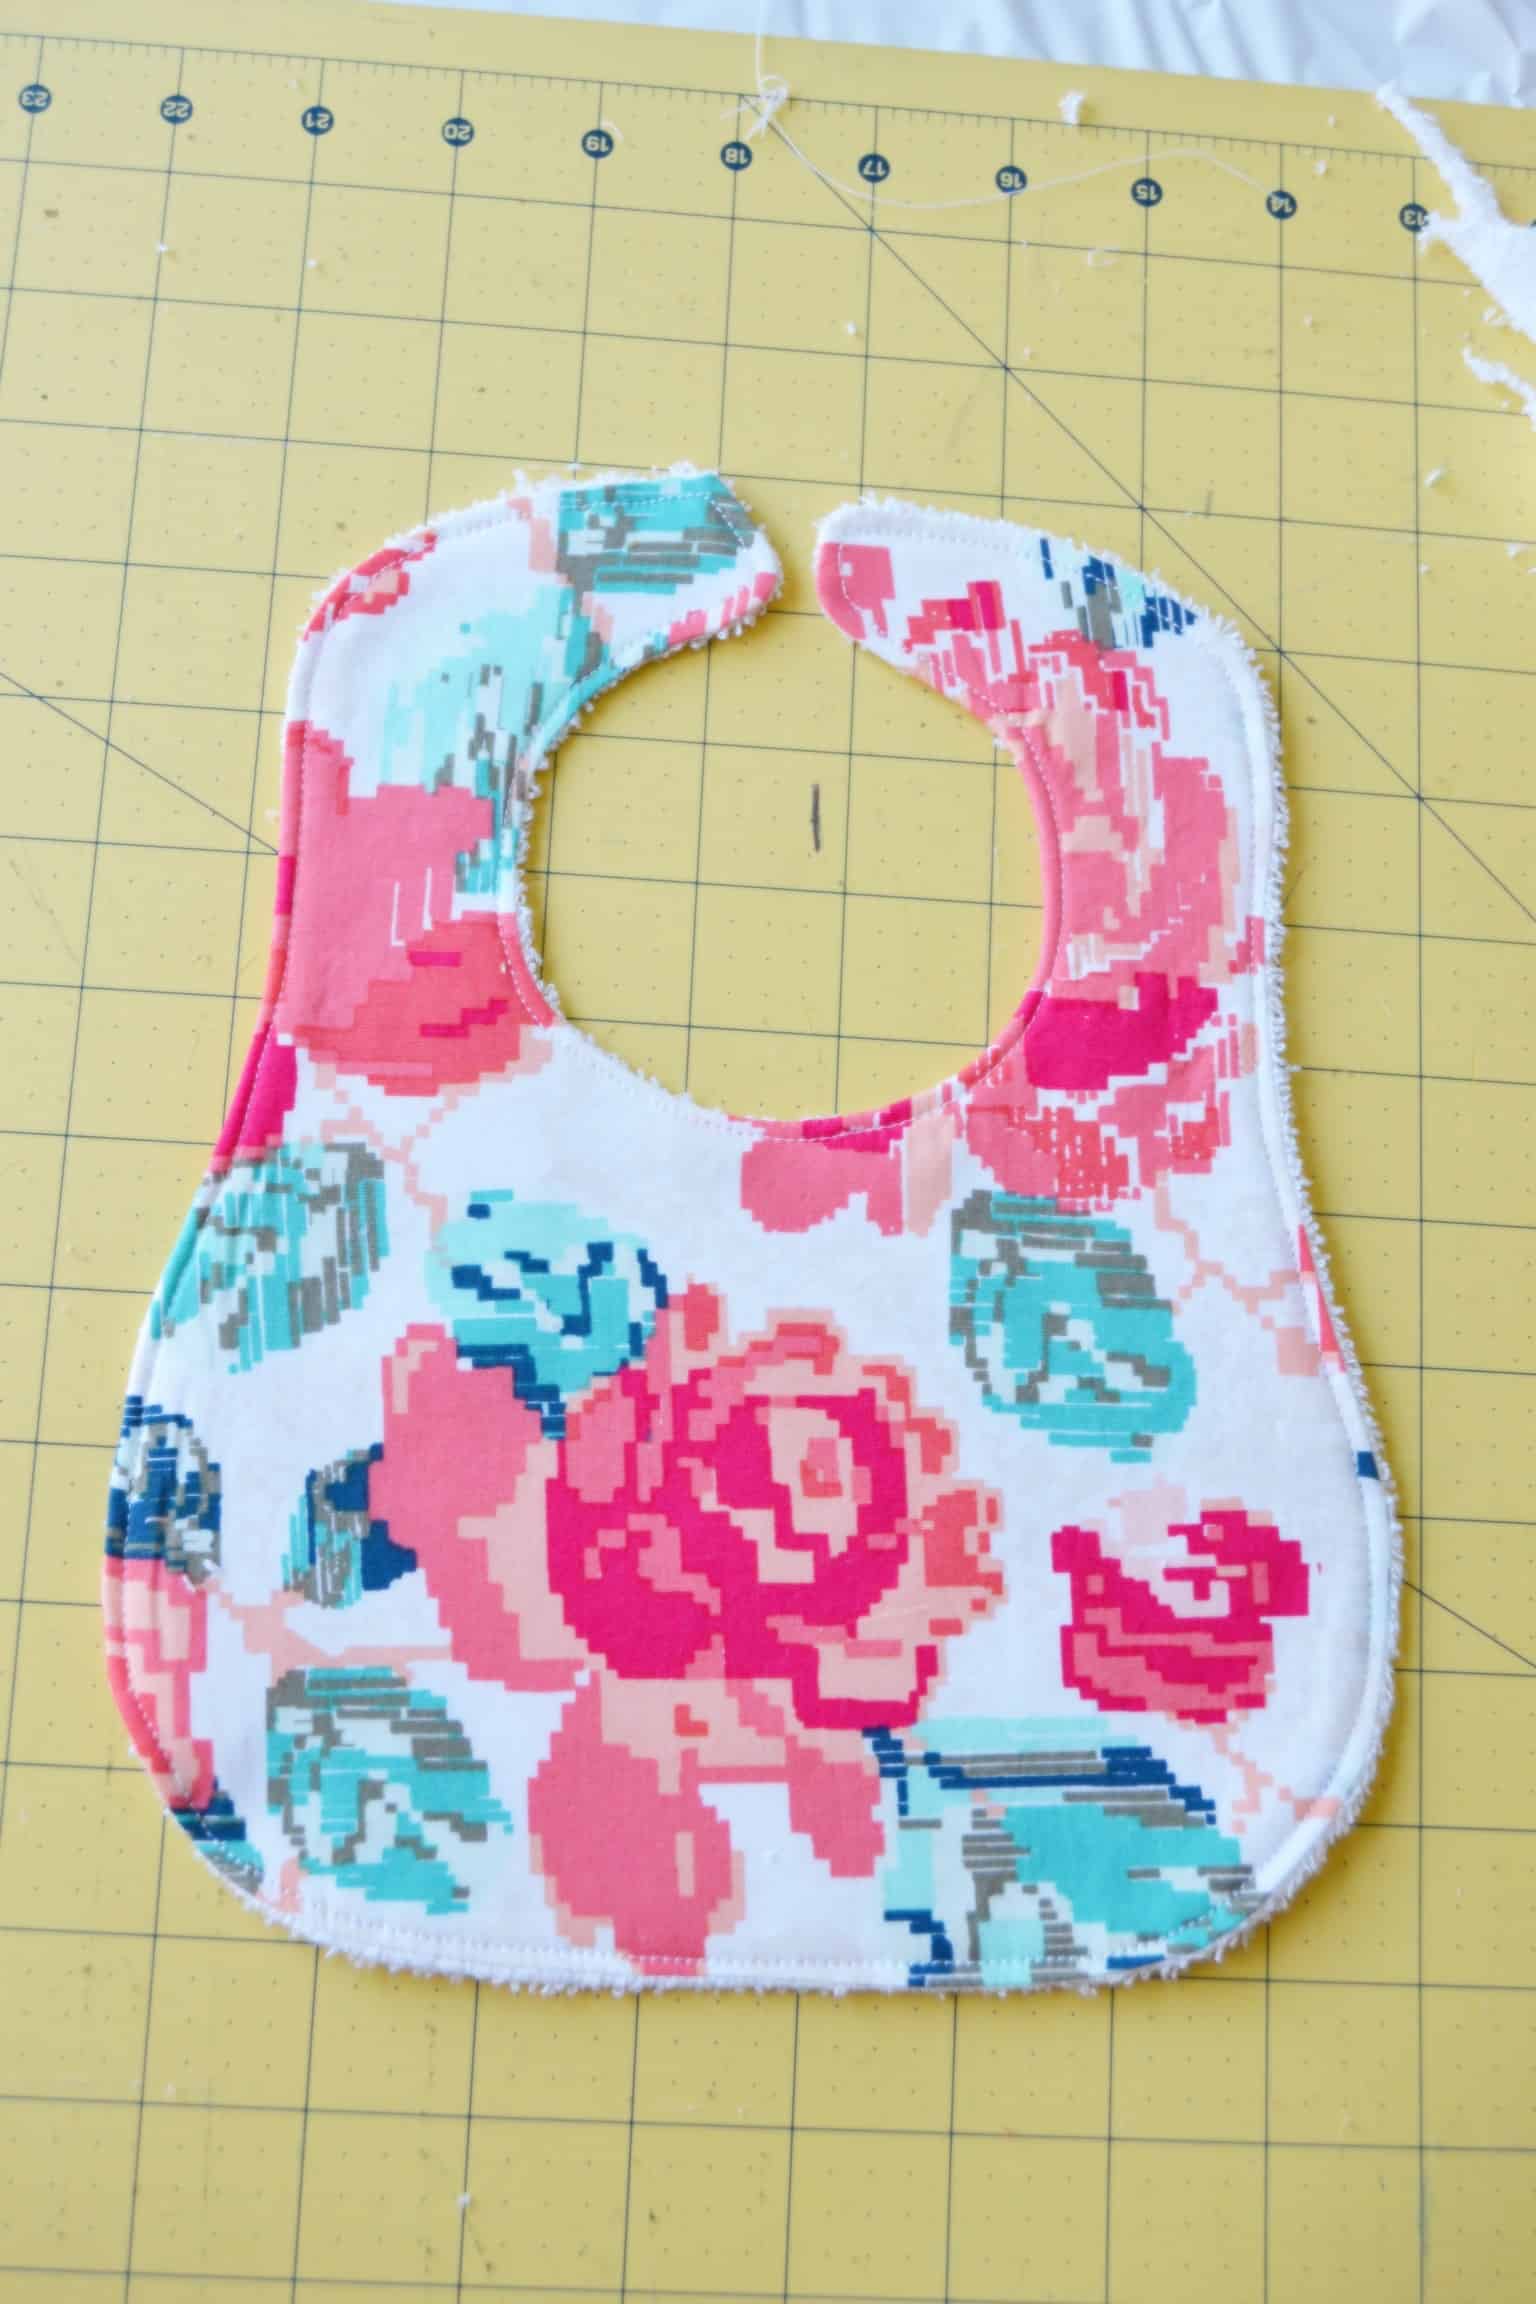
Step 3:
Place your front fabric on top of the terrycloth, with the right side down (and the wrong side up). The right side is the pretty side, the side that is meant to be seen. Pin the front fabric into place and trim around the edges.
Step 4:
Sew around the outside edge of the bib, sewing 1/4 inch from the edge. Sew almost all the way around but leave an opening of a couple of inches or so. You can leave the opening wherever you want to leave it but I would not leave it on a curved area, you should leave it in an area that is straight. I like to put it in the strap around the neck because it ends up being a little more hidden since it’s toward the back and not on the front of the bib.


Trim any excess material from the edges that you might have left before.


Step 5:
Remove the pins and turn the bib right side out, using the opening that you left. Be sure to get into all the little corners and push everything out so that it will lay nicely. Iron the bib nice and flat.


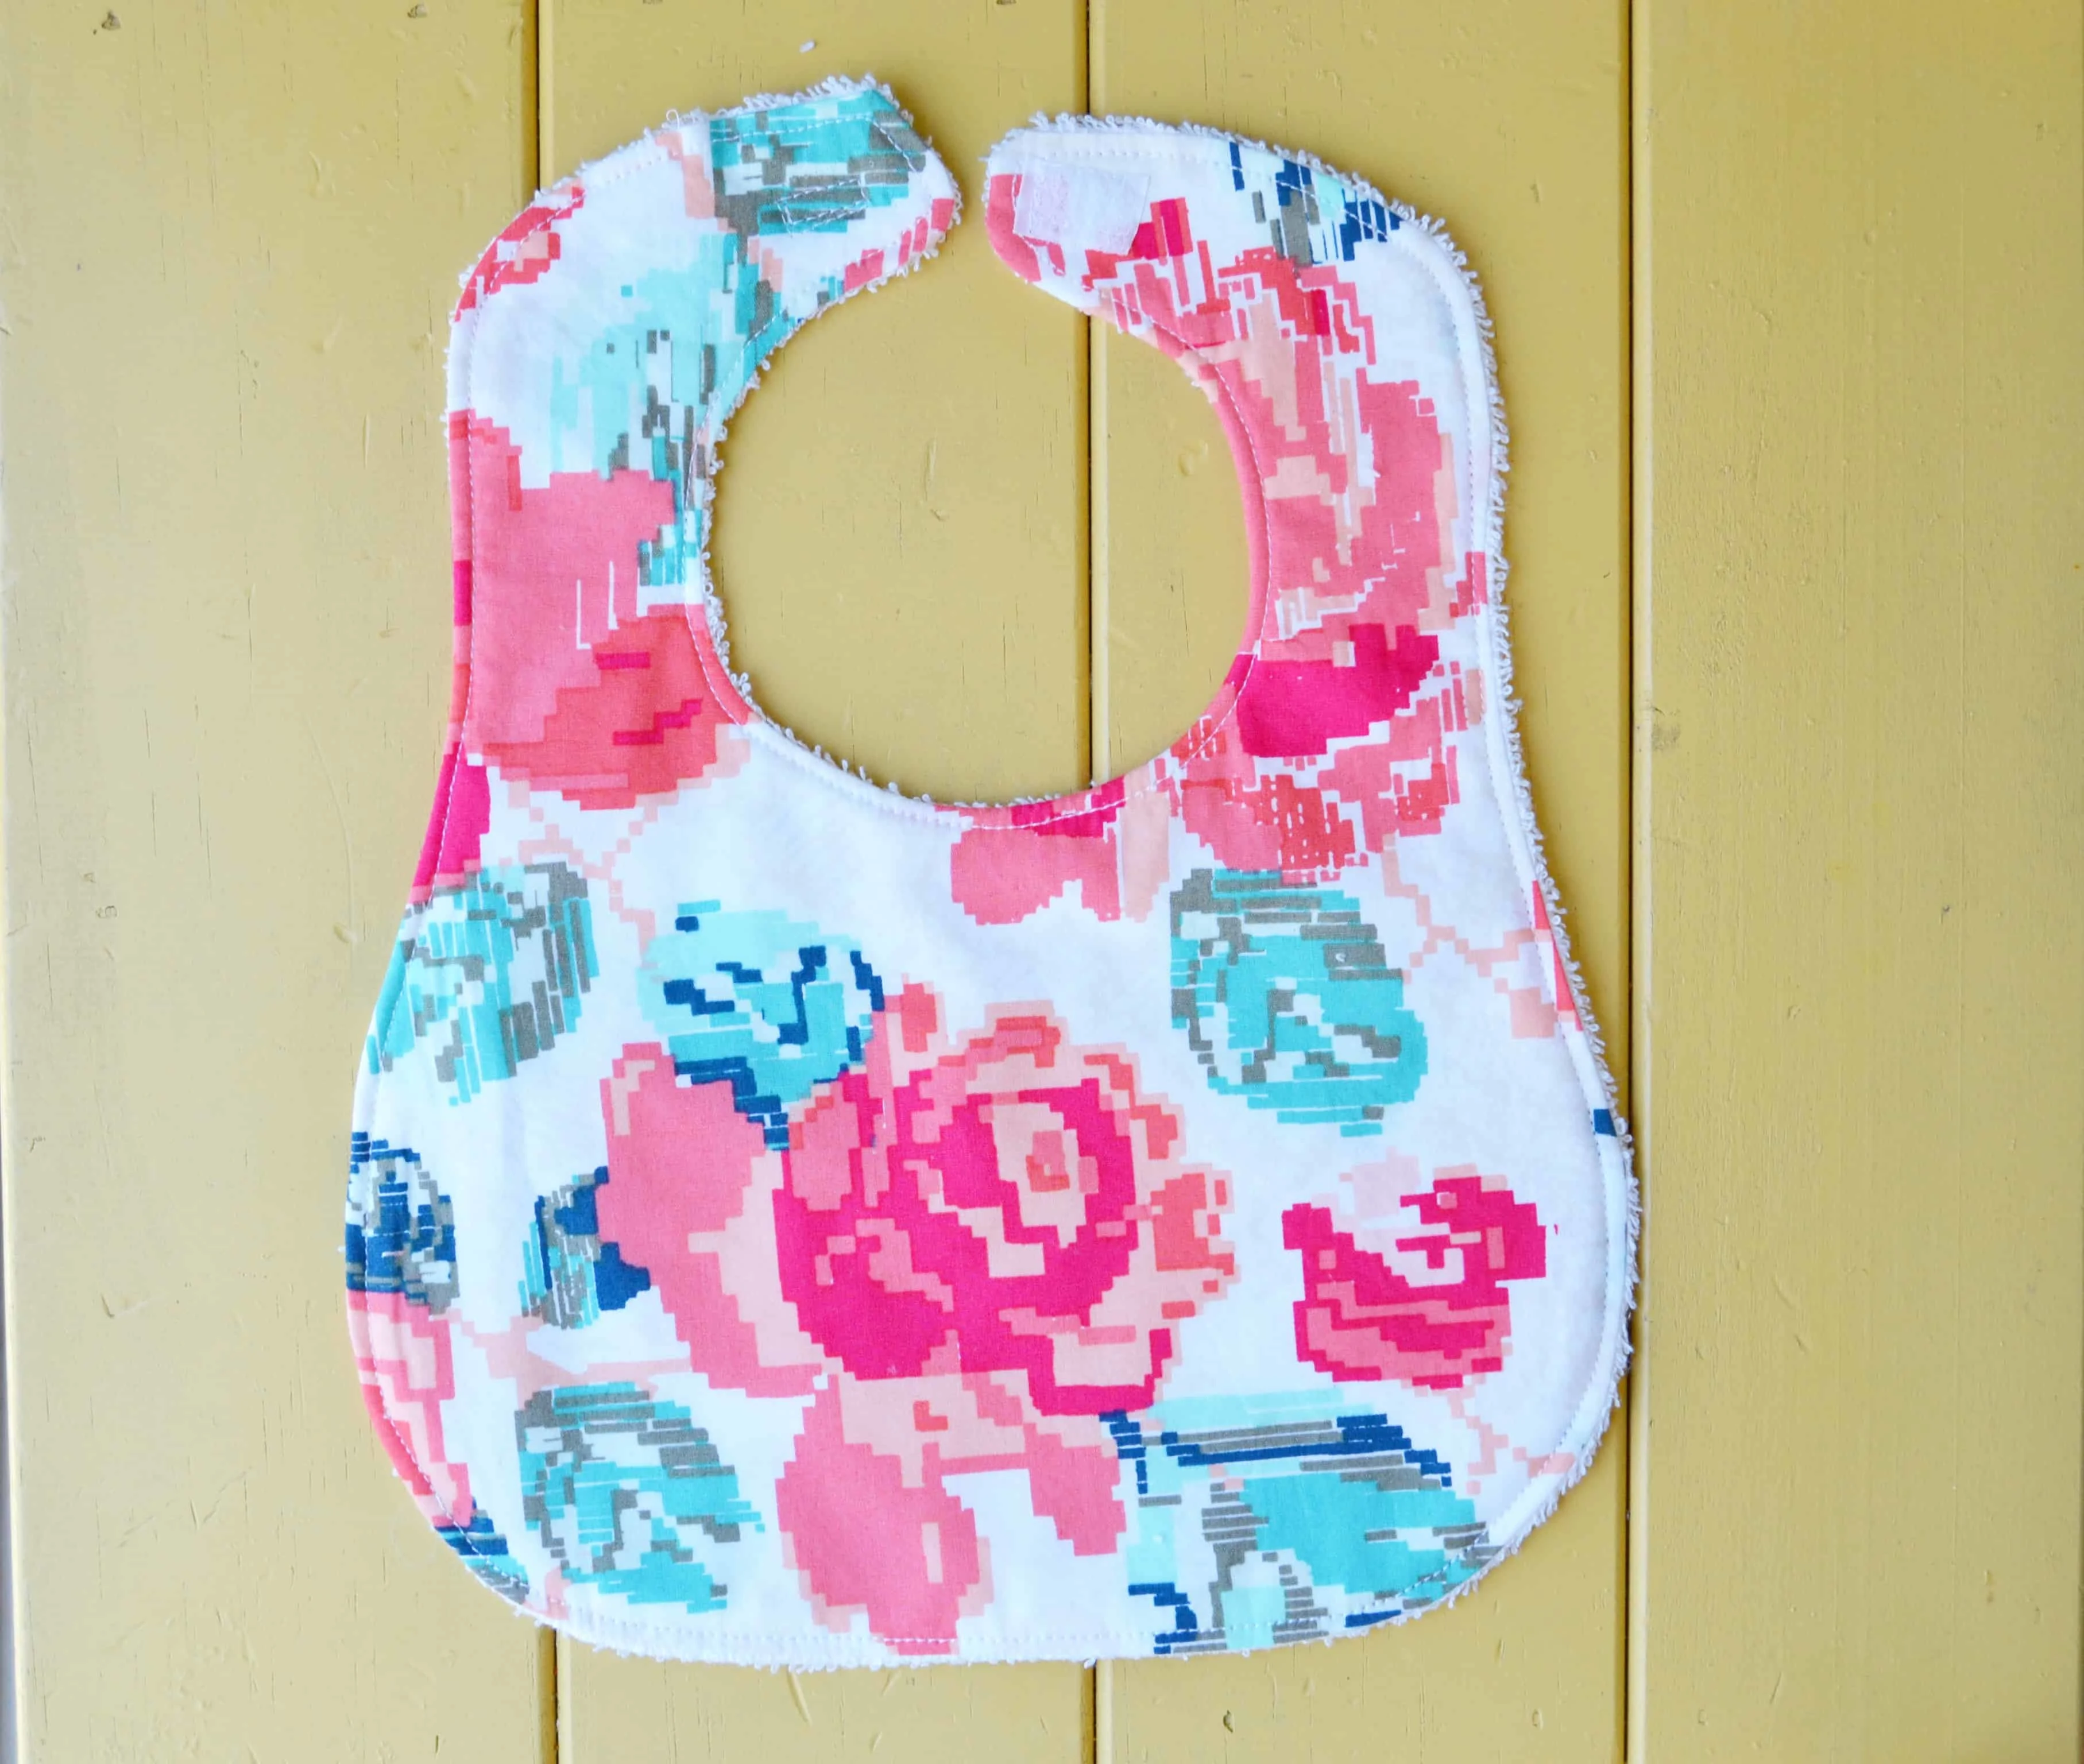
Step 6:
Topstitch around the edge of the bib, sewing a little less than 1/4 inch from the edge. When you top stitch around the edge it will kind of close up the hole that you used to pull the bib right side out.

Step 7:
Last step! Attach either velcro or a snap to the straps of the bib for your closure. I chose to use velcro for this one but many people choose to use snaps.


And that’s it! I hope you enjoyed this free sewing pattern. Now you’ve got a beautiful bib that some mama-to-be is going to love. I really love making gifts that are personalized to the tastes of the mother-to-be.
Baby Bib Pattern and Tutorial


Baby bibs are an easy baby gift to make. Make a bunch using this baby bib pattern and tutorial.
Materials
- The Bigger & Better Bib pattern
- fabric for the front of the bib
- fabric for the back of the bib (I like to use something absorbent, like terry cloth)
- thread
Tools
- sewing machine (unless you want to do it by hand)
- pins
- velcro or snaps to close the bib
- Snap Fastener tool if you elect to use snaps
- scissors or a rotary cutter and mat
Instructions
- Print out the Bigger & Better bib pattern. You will either need to print two and tape the two halves together or print one and place it on the fold of your fabric.When you print it out it should measure just over 10 and 1/4 inches from top to bottom. If it doesn’t then adjust your printer settings.
- Cut out the pattern and place it on top of your fabric for the front of your bib. Cut out the fabric.
- Place your front fabric on top of the terrycloth, with the right side down. Pin the front fabric into place and trim around the edges.
- Sew around the outside edge of the bib, sewing 1/4 inch from the edge. Sew almost all the way around but leave an opening of a couple of inches or so. Trim any excess material from the edges that you might have left before.
- Remove the pins and turn the bib right side out, using the opening that you left. Be sure to get into all the little corners and push everything out. Iron the bib nice and flat.
- Topstitch around the edge of the bib, sewing 1/4 inch from the edge.
- Attach either velcro or a snap to the straps of the bib for your closure. I chose to use velcro for this one but I often use snaps as well.
As with all baby accessories please wear the bibs with care—use only on a child under supervision and never leave one on a sleeping baby.
I feel like for a new mom or dad the perfect gift is a cute bib or some burp cloths because they’re practical but they can still be beautiful, both form and function. What do you like to give for new baby gifts? Let me know what you like to gift at a baby shower in the comments below!
Tips for Beginners
- Use quilting cotton for the front of your baby bib. Knit fabric has stretch to it and can make this project more difficult because it will slip.
- Wash your fabrics before you cut them. Fabric often shrinks the first time you wash it and you want to prevent it from shrinking after you cut it and sew the bib pieces together.
- Don’t skimp on your pins when you pin the fabric together. Pinning about every one or two inches will keep everything in place when you’re sewing.
- Double check the measurement on the pattern once you print the PDF. If it doesn’t print to the full size I outlined above then the bib will be too small.
- Make a practice bib with some fabric that you don’t care too much about, like some fabric scraps if you have any. This way you can get a feel for things and it will be a little bit easier when you sew the bib with your good fabric.
- Turning the bib right side out is a little bit difficult in the skinny strap area… Be sure to cut the pattern out on the outside of those black outline of the pattern. If you cut it inside of the black lines then you will make it harder to turn the bib right side out in this area and you don’t need that.


More Baby Bib Pattern Options
I have a couple more bib tutorials on the blog in different styles including bandana bibs and quilted bibs that are great for using up smaller pieces of fabric. You can also check out the many other baby sewing tutorials in the Sewing Section of my blog by clicking on the Sewing tab in the navigation bar at the top of the page.


Lorice Robinson
Tuesday 21st of March 2017
Thank you for the pattern
Cat
Tuesday 21st of March 2017
You're welcome!
Cyndy
Friday 10th of March 2017
Thank you so much for this awesome pattern and tutorial! I shared it with my sewing for beginners group!
Cat
Friday 10th of March 2017
You're so welcome! Thanks for sharing!
Ornella Day
Saturday 4th of March 2017
Thanks for this post, pattern downloaded and pinned for later. First grandchild due to make an appearance at the end of April, making other things at the moment - most recent is a changing bag on my "baby stuff" board. To save time, ill probably put the fabrics rs together, draw around the pattern, sew the seam allowance and then cut out, that way I can make a few at a time.
Cat
Saturday 4th of March 2017
Sounds great! Congrats on the grandbaby!
Joy McElroy
Saturday 25th of February 2017
Thank you- this looks great, and I really love the fabric you chose! I like to use horizontal rectangles of velcro on the bibs I make, as you did- it makes them somewhat adjustable for different size babies and as they grow. :) Pinned for future reference. :)
Cat
Saturday 25th of February 2017
You're so right! The thing I love about making bibs is that you can make them adjustable size-wise by placing velcro horizontal like you said or putting snaps in two spots along the strap. Thanks for pinning!
Kelli Lawson
Tuesday 14th of February 2017
Do you know what size this would fit (newborn, 6-9mth)?
Cat
Tuesday 14th of February 2017
So size would depend a little on the size of the child... my boys were big babies. They wore these bibs from about 3 months to about 6 months. You can also adjust the size by adjusting where you place the snap or velcro and you can make it even more versatile by putting snaps or velcro in 2 spots along the strap.