This is a sponsored conversation written by me on behalf of Cricut. The opinions and text are all mine.
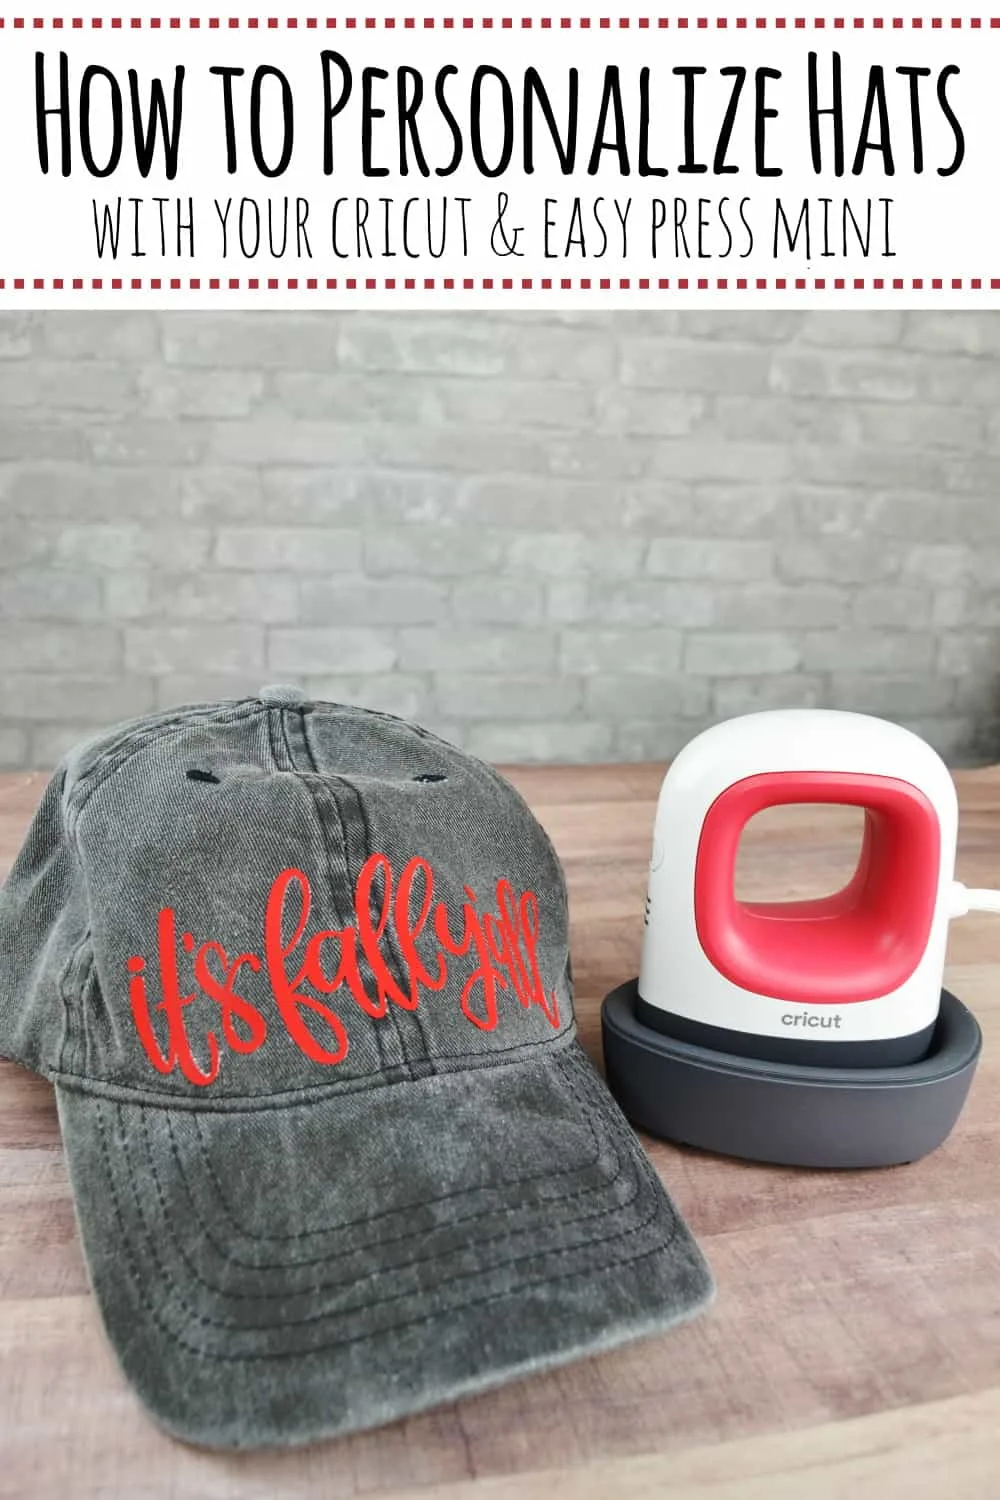
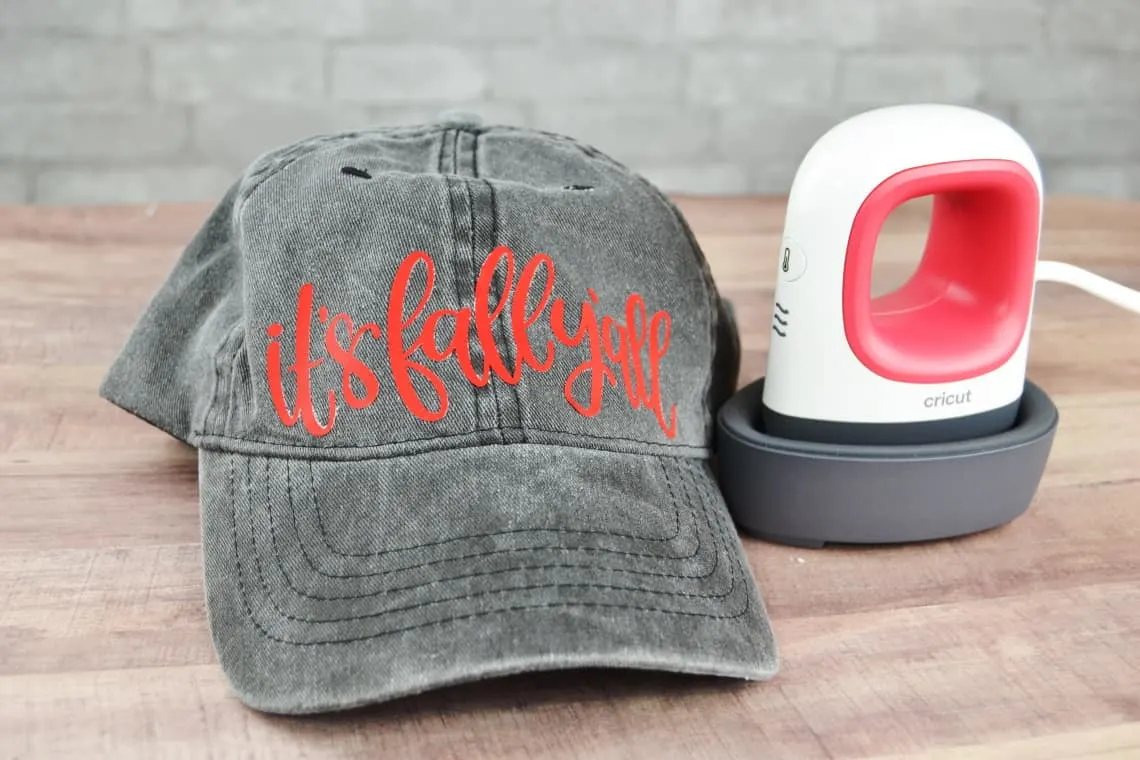
Happy fall, y’all! We all know that I love a cute hat to cover up my less than gorgeous hair days and today I’m sharing about how I made some personalized fall hats using my Cricut Maker and Cricut EasyPress Mini.

Tools Needed
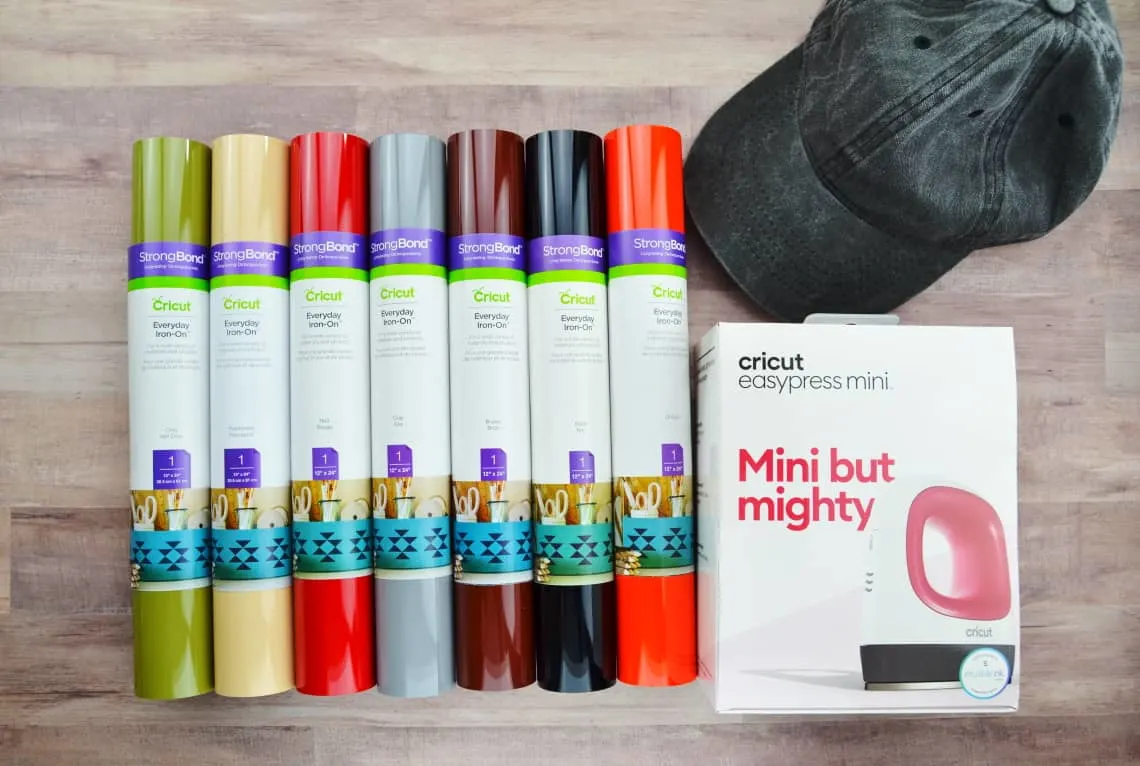
Supplies Needed
- Everyday Iron-on Vinyl (I used these colors: red, orange, brown, parchment, olive, black, and gray)
- a hat

Tutorial
Pick & Customize Your Images
Open up my cut file of fall images. Click “Customize”. Take a look at the images and decide which ones you might want to use. If you don’t want to use an image then click on it and delete it or hide it by clicking the eye to the right on the menu.
You can also change the colors that you want each part of the images to be and the sizes.

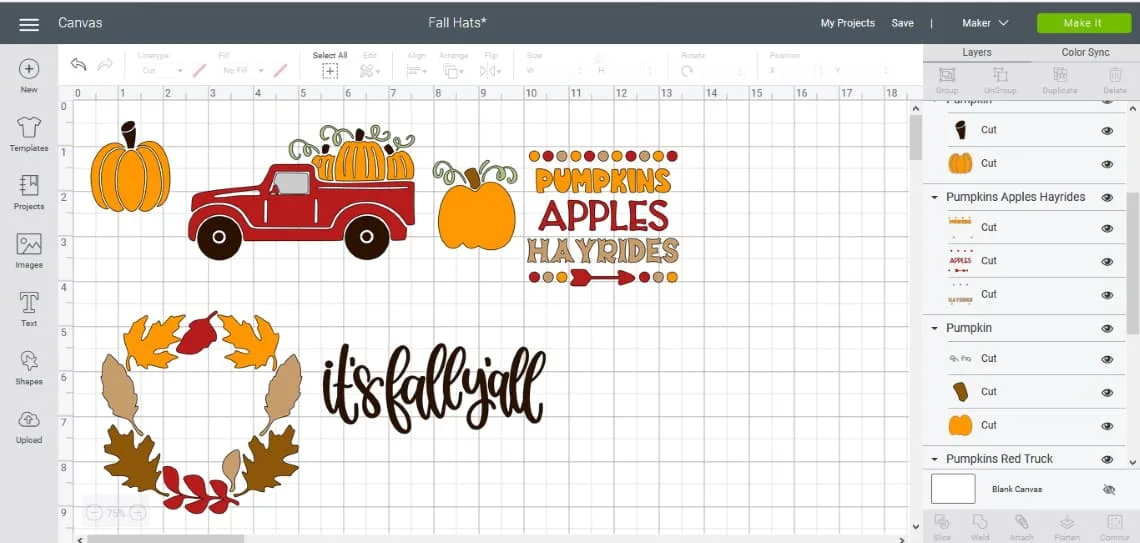
Once you have everything the way you want it then you will click the “Make It” button at the top right.
Mirror Your Images
Take a look at how the images are divided into the mats for cutting on the left side of the screen. Since we are using iron-on vinyl you need to mirror all of your images.
Click on the slider next to the word mirror so that it turns green. Repeat this step for each mat listed on the left side.

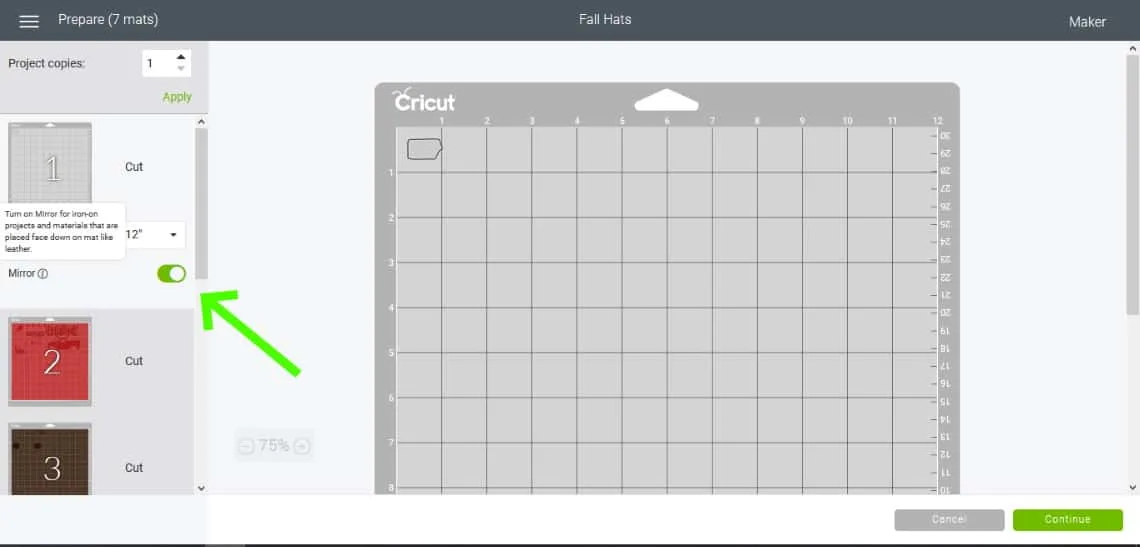
The order of the mats on the left is also the order in which the machine will cut the designs so you need to pay attention to this and load your mats in that order.
Load Everything Up
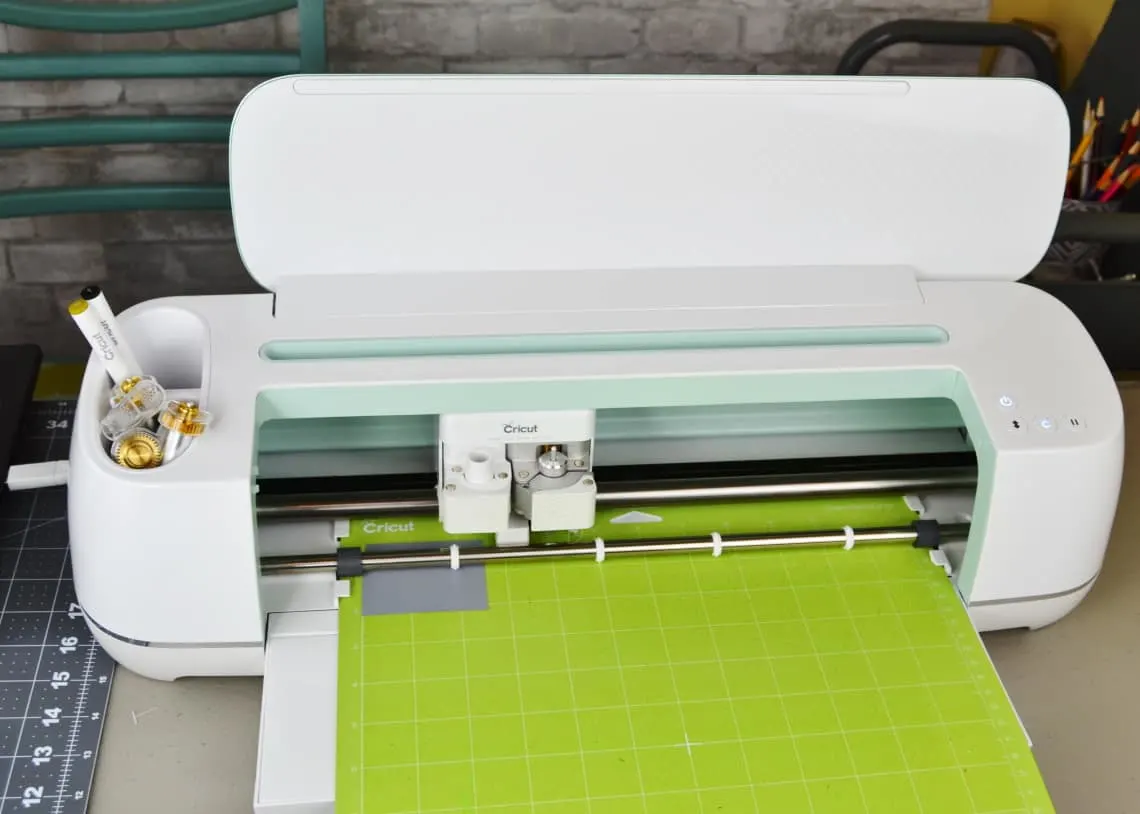
Now click “Continue”. Your computer will connect to your Maker and then have you choose your material from the menu.


Once you have selected you material you then load in the correct blade into Clamp B, per the instructions. I love how it walks you through everything step by step.
Place your vinyl onto your cutting mat with the shiny side down. Then press the button to load the cutting mat into the machine and the button to begin cutting.

Remove the Vinyl
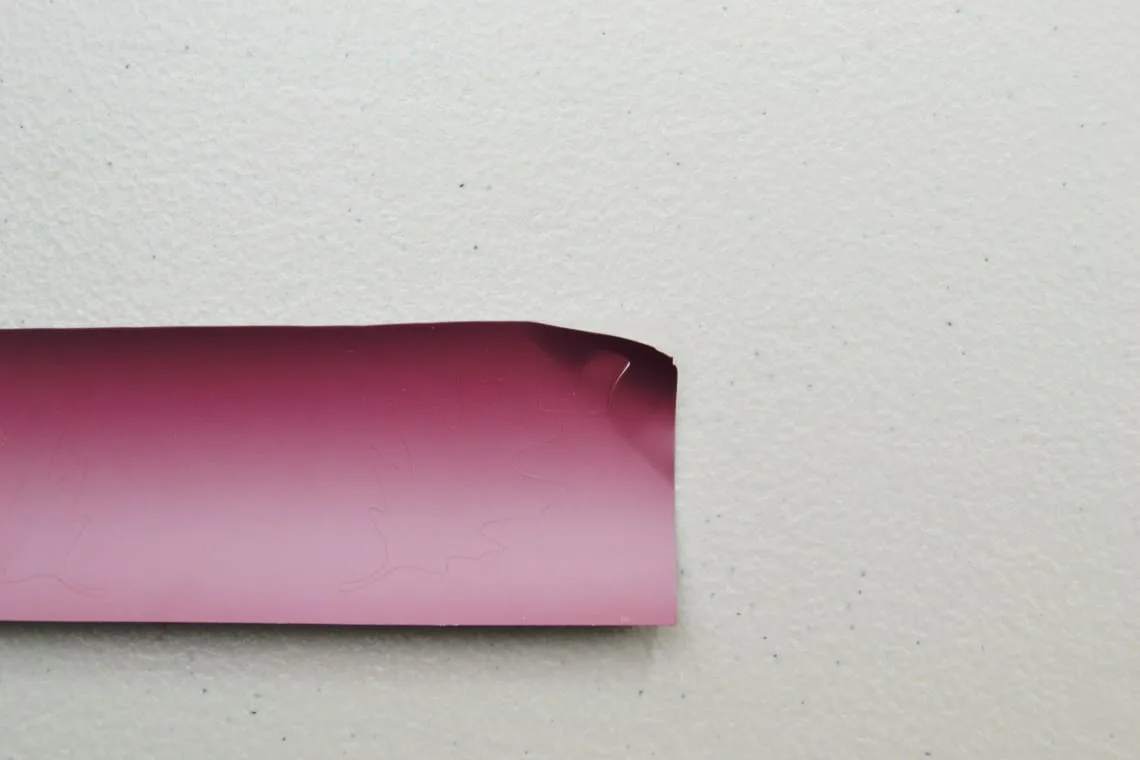
Once your first mat is done cutting you will remove the vinyl from the mat. The best way to remove it is to actually turn your mat upside down and peel the vinyl off of the mat in a downward manner so that the mat is bent more than the vinyl. This helps the vinyl not to curl up so much.
Once you’ve removed the first piece of vinyl then you will place the next piece of vinyl onto the mat to load and cut it. Be sure to pay attention to the order of the mats on the left side of your screen in design space so that you don’t accidentally cut a design out of the wrong color.
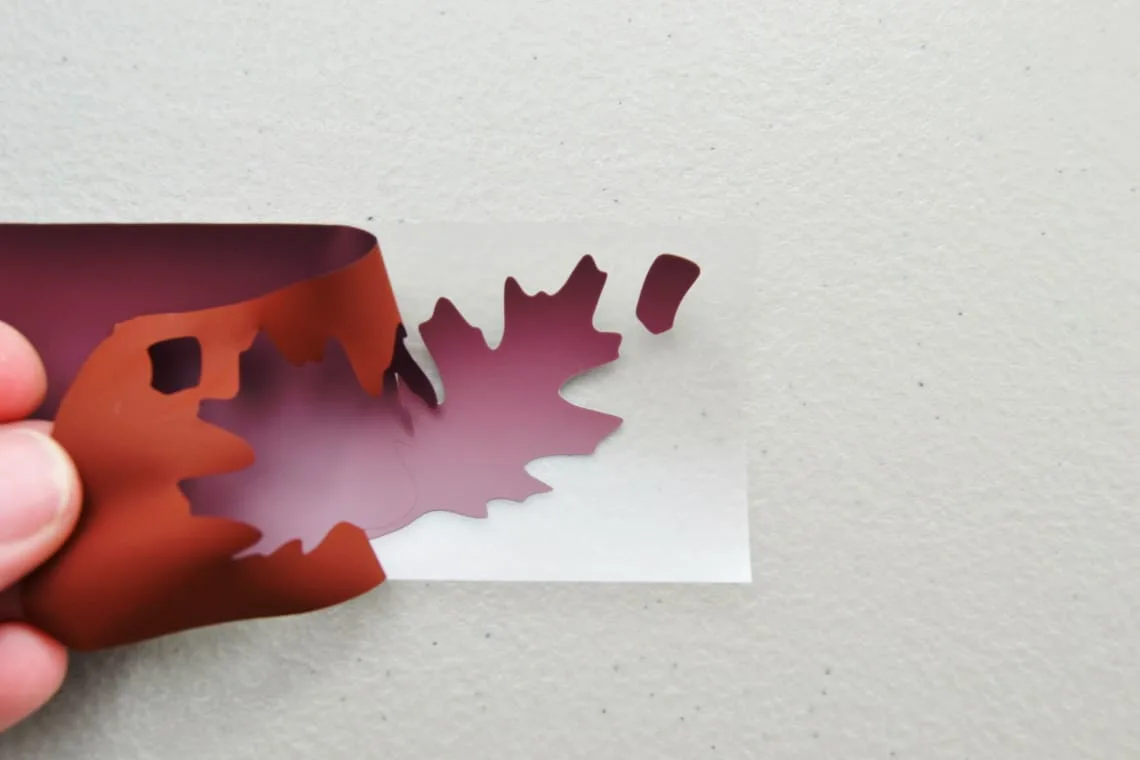
Weed the Vinyl
Take each piece of the vinyl that you cut and pull from one of the corners to remove the excess vinyl that you don’t need. Tweezers or a weeding tool can help greatly with this process. Leave your design on the clear backing sheet.


Apply Your Designs to Your Hats
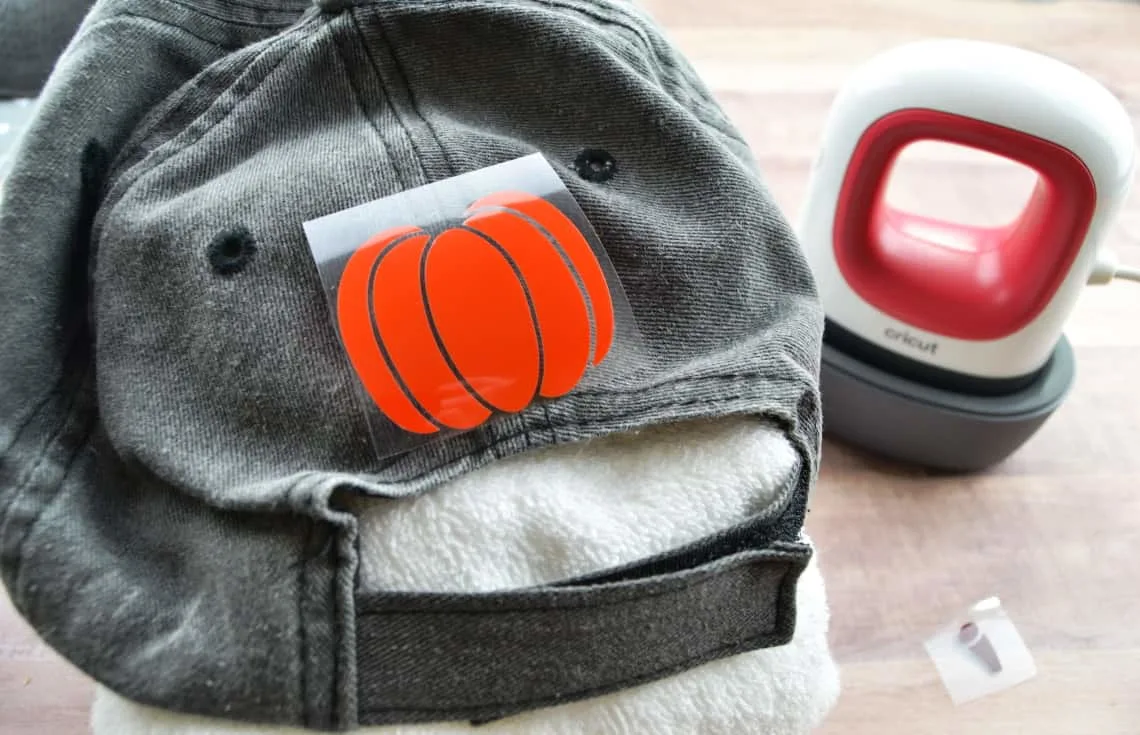
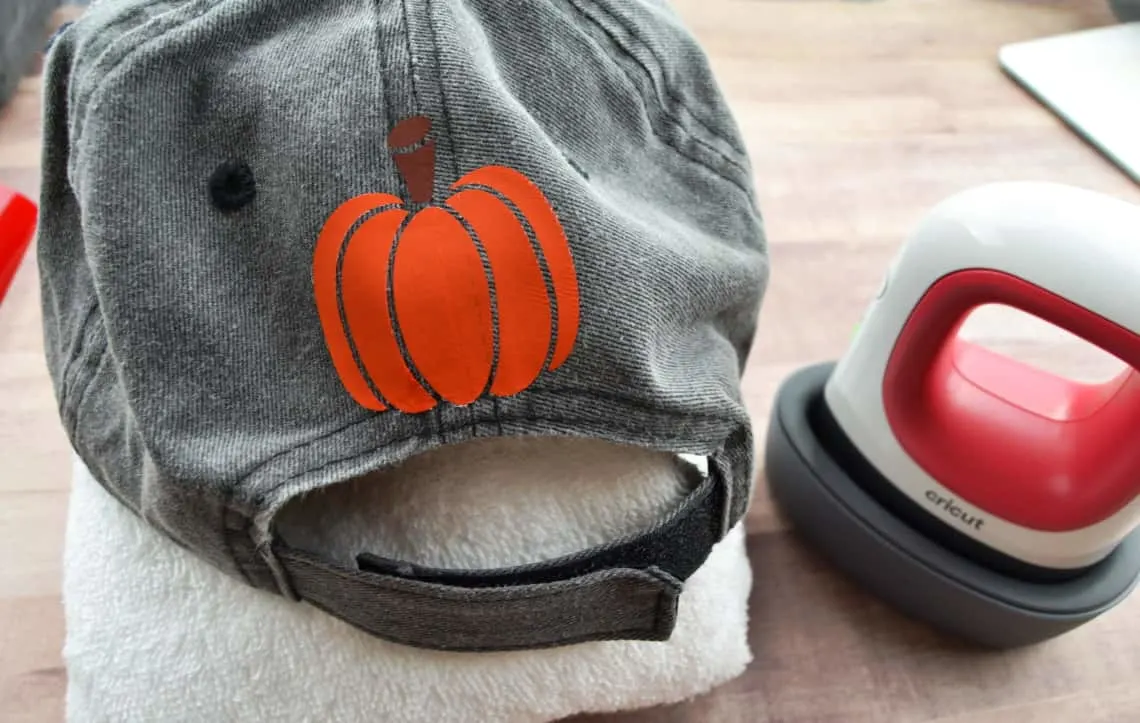
Gather up all of your design pieces, your hat, and your EasyPress Mini.

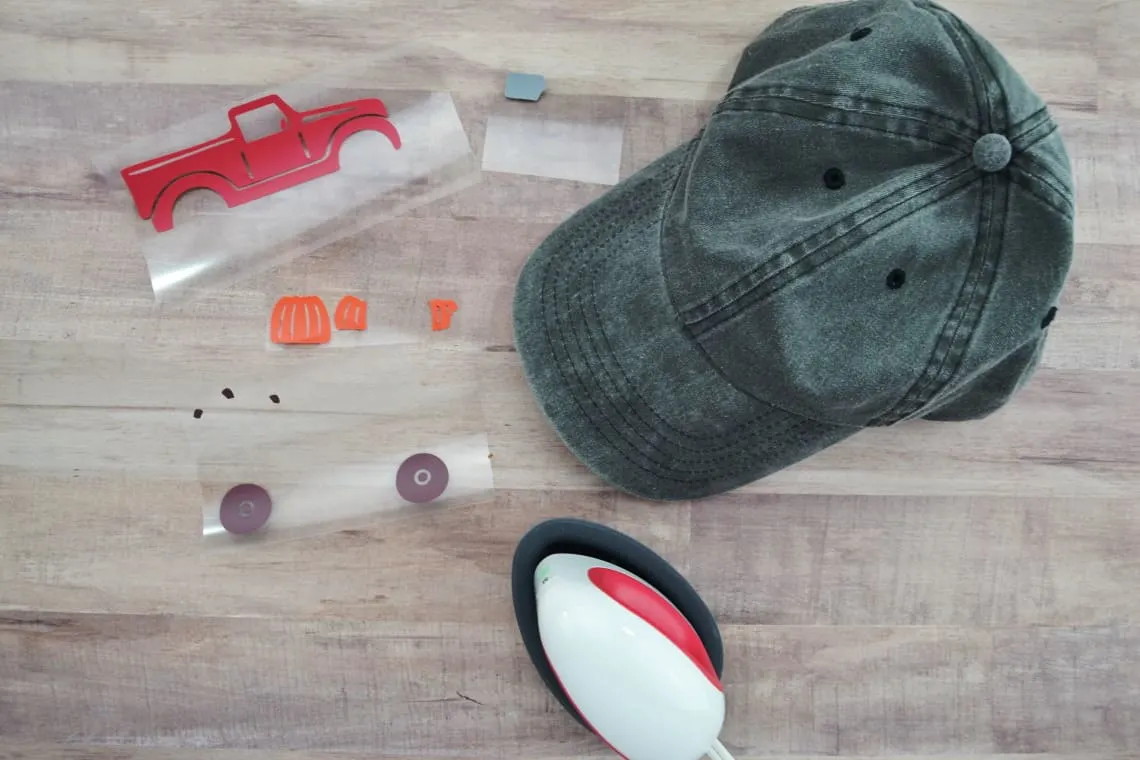
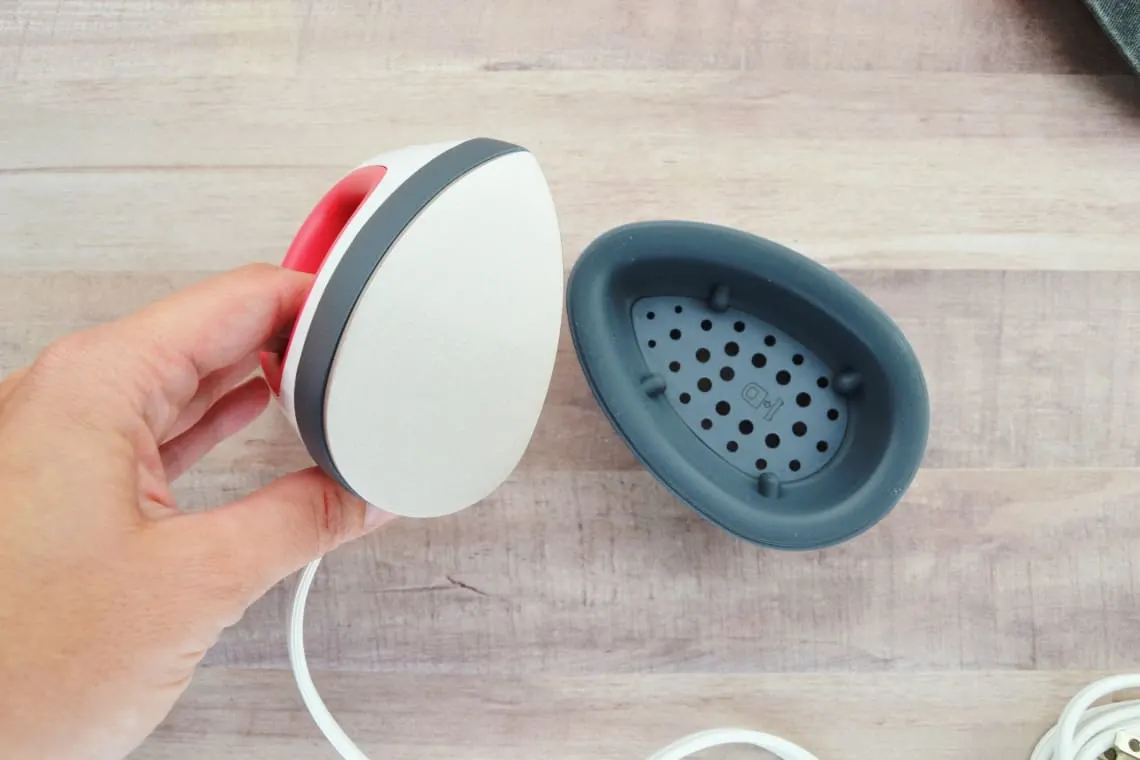
The Easypress Mini is the newest addition to the Cricut EasyPress family and it’s amazing for this project because of it’s compact size. This would also be great for projects on shoes, shirt sleeves, cuffs, pockets, or even stuffed animals.

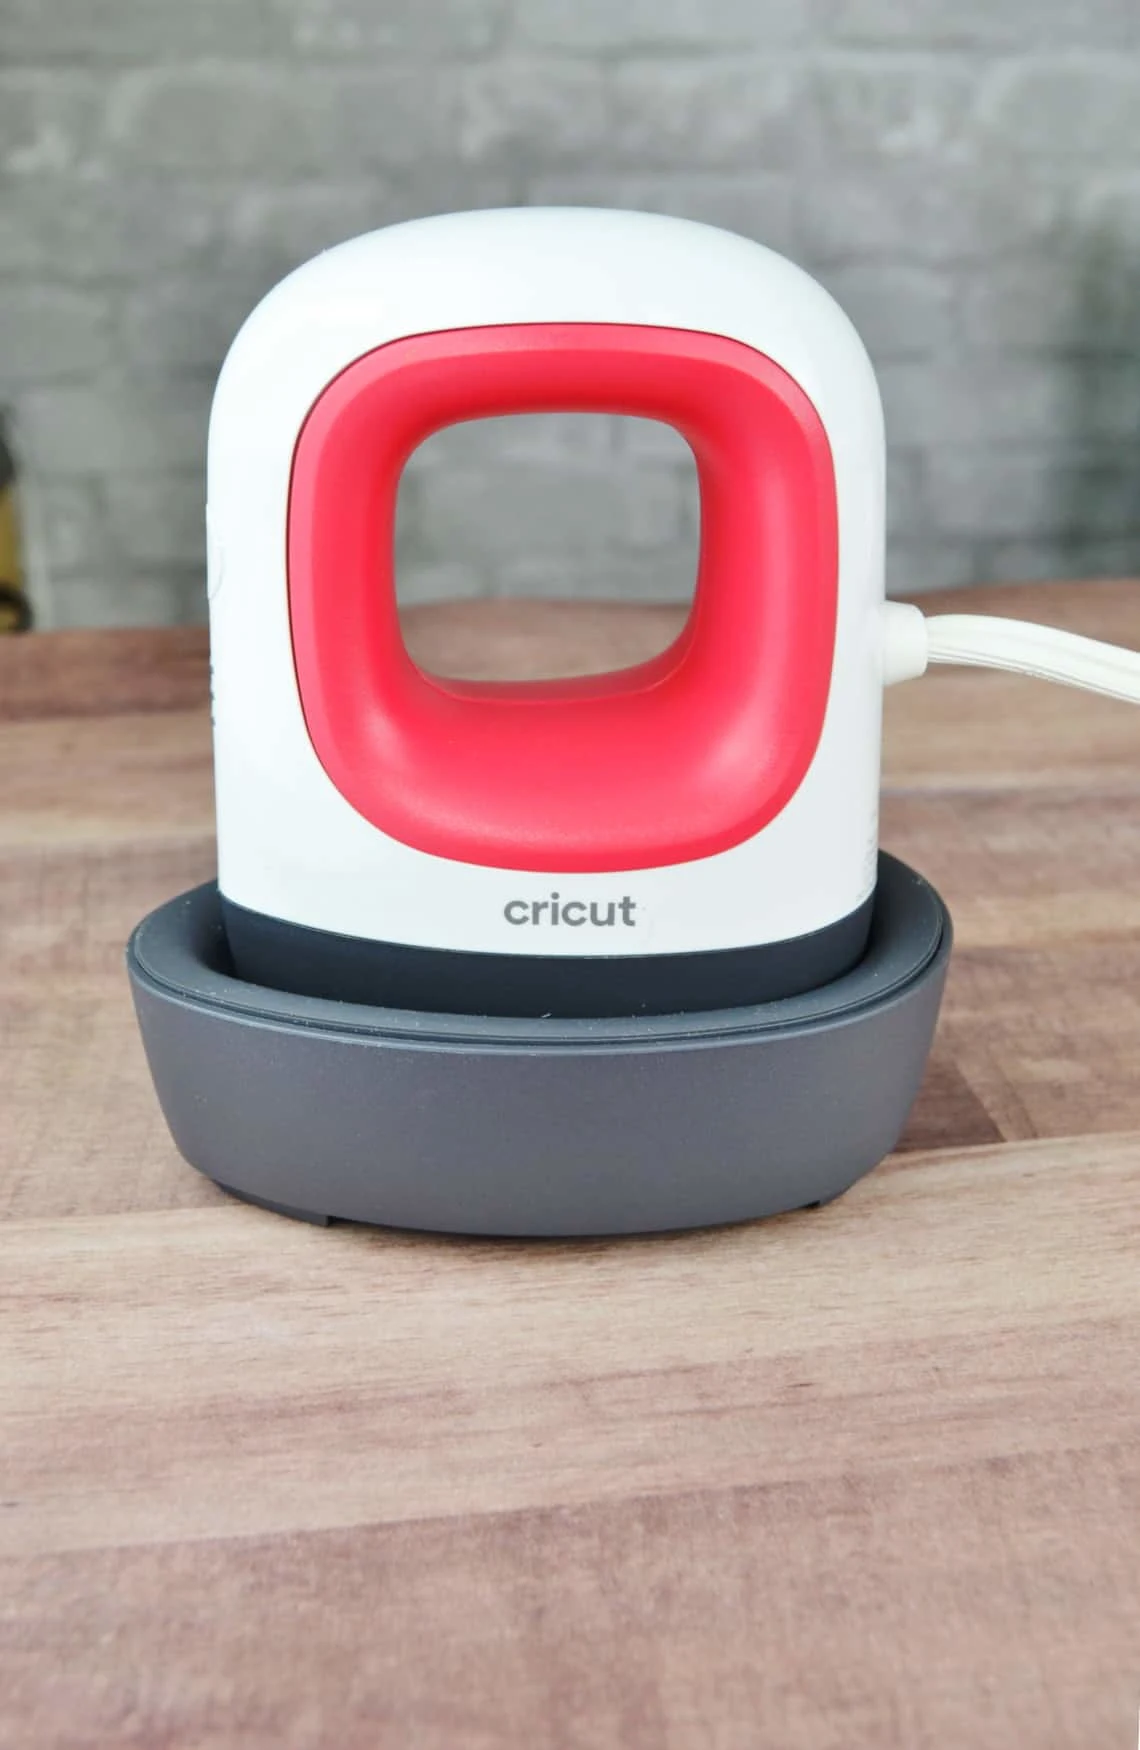
The Cricut EasyPress Mini has the same benefits and technology that the Cricut EasyPress 2 is known for- an even heat plate and easy-to-use heat settings to make heat transfer projects effortless.
If you sew like I do then I think it would be perfect for pressing seams (especially in tight areas), paper piecing, and applique projects. I love that it’s so small I can keep it right next to my sewing machine

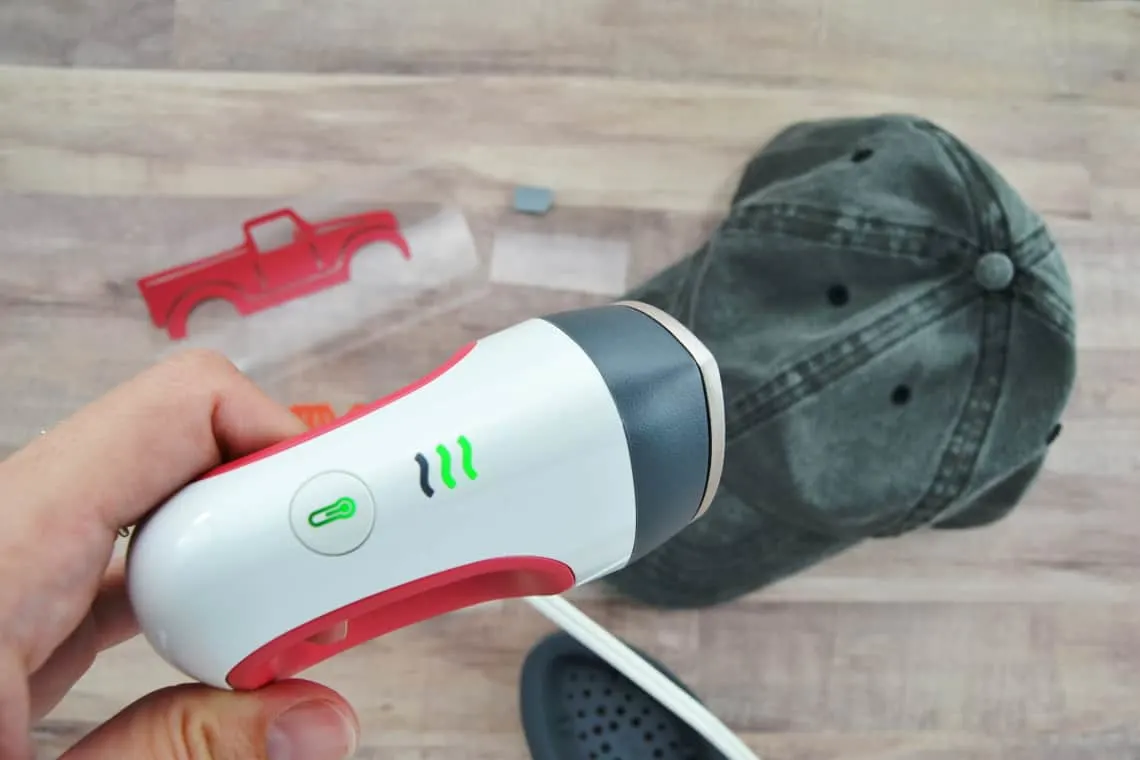
Set your EasyPress Mini to the medium setting if you’re using Every-Day Iron-on Vinyl like I am. If you are using a different type of vinyl then check the Cricut heat guide to figure out the proper heat and time settings to use.
Simply click the one button twice for the medium setting. Once it’s to temperature the light will turn green and it will beep.

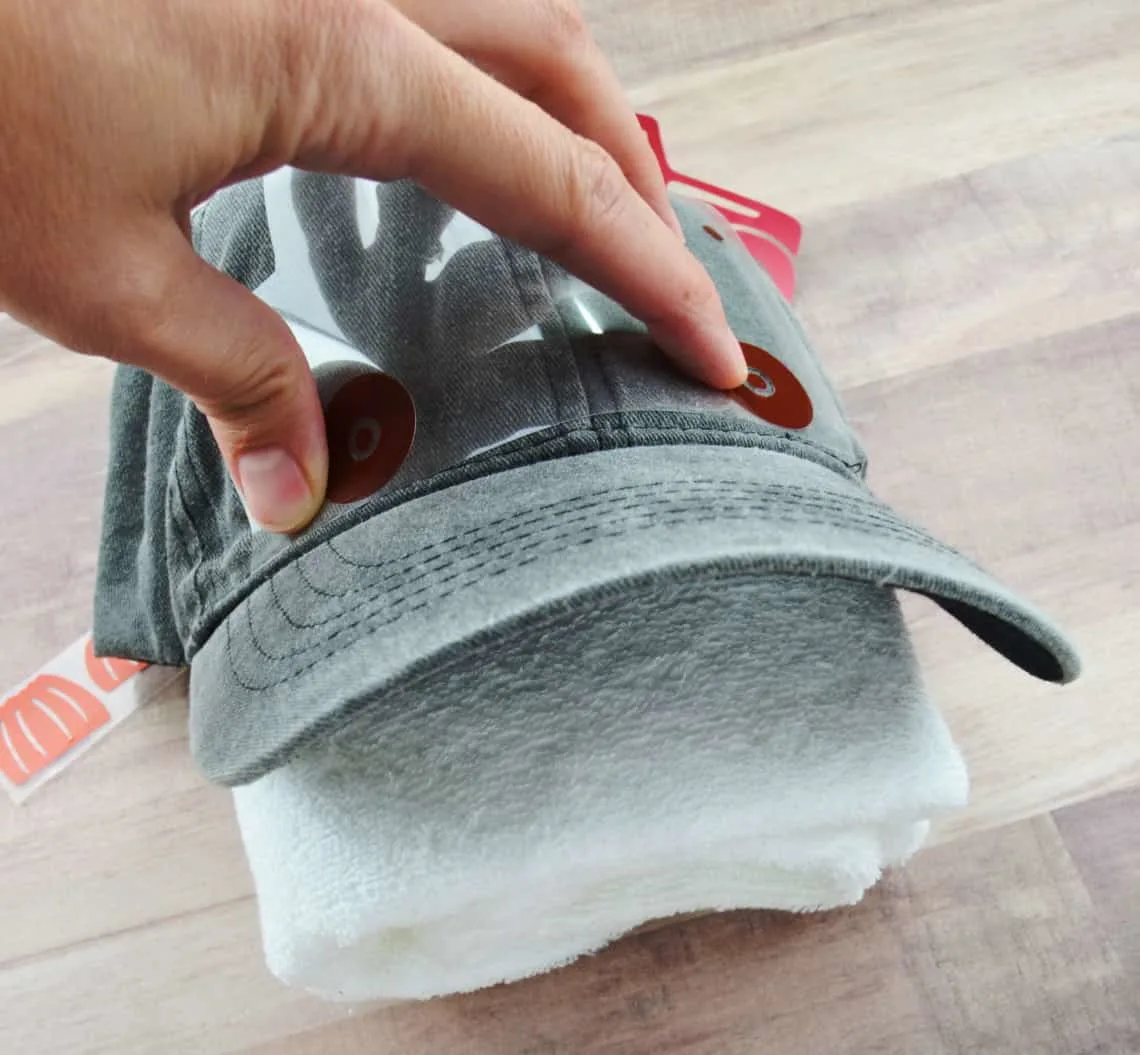
To apply your designs to your hat take one of them and lay it down in the desired position with the shiny protective layer facing up. Fold up a handtowel and stuff it inside of the hat.
This will protect your hand while you hold the hat and apply the design. Alternately you can use the towel to help keep the hat’s shape as you press it down on top of your heat mat.

Press down with your EasyPress Mini and move it back and forth over your design for 20 seconds. Again, if you’re using a different vinyl then check the heat guide to see how long you need to press your design.

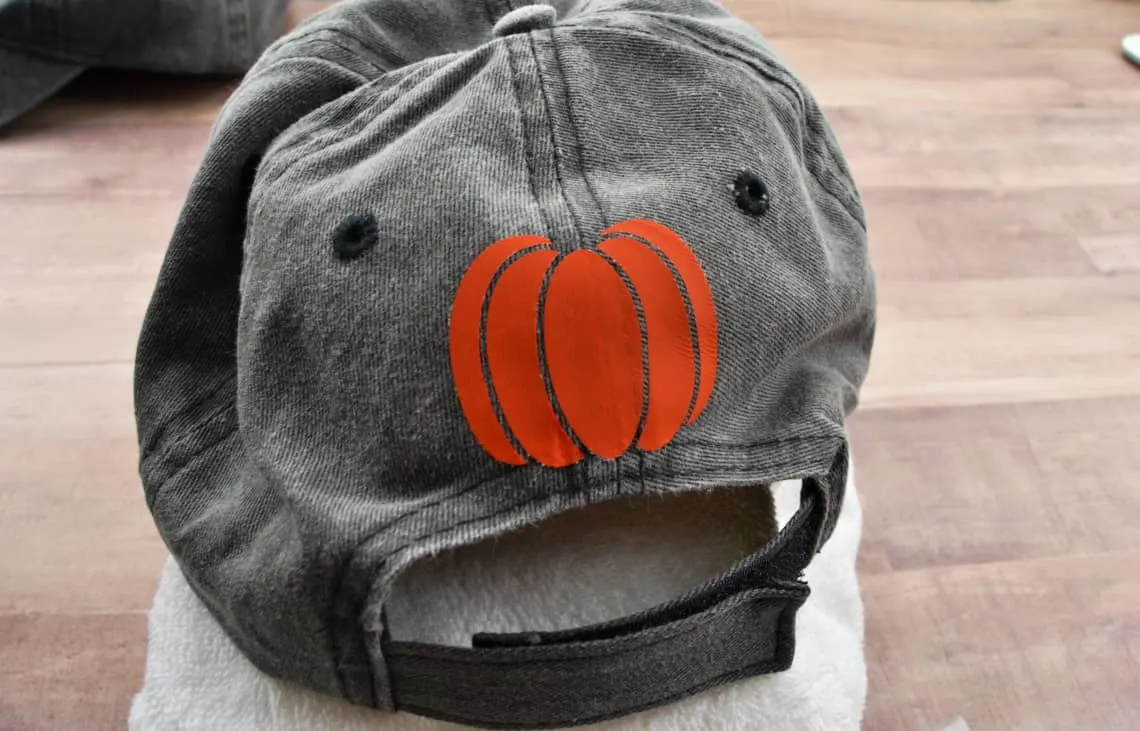
Allow it to cool for a few seconds (like 10 or so) then peel the clear plastic off, leaving your vinyl design on the hat.

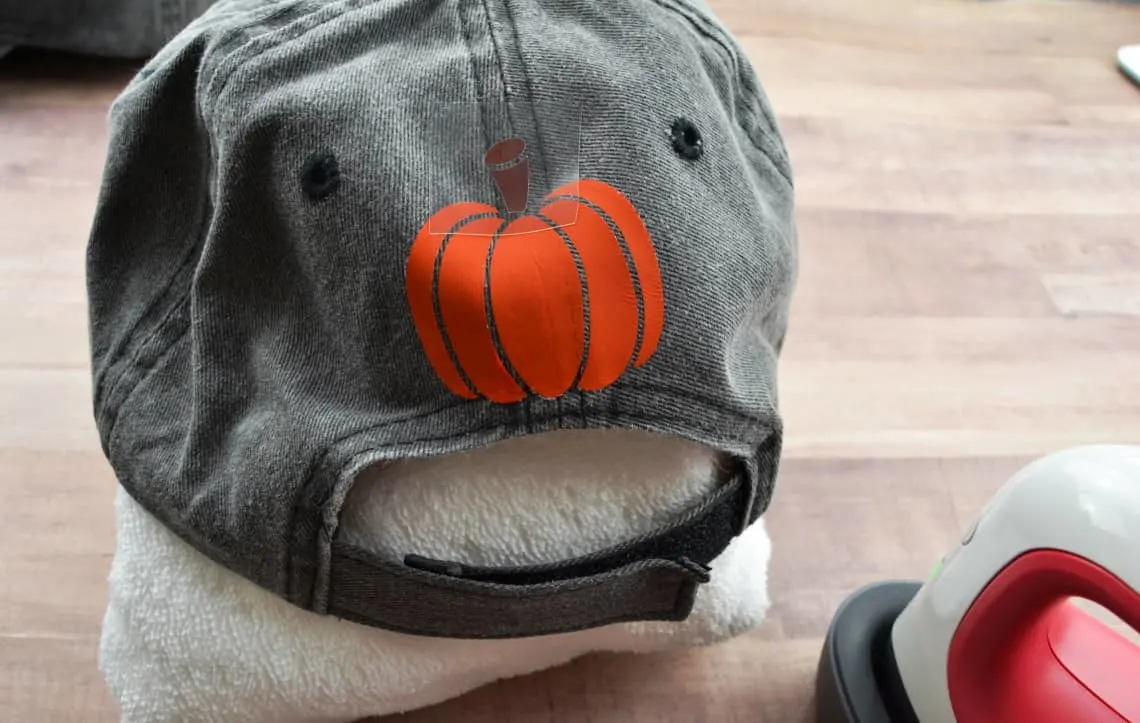
Repeat the transfer process until you have applied all of your designs to your hats. Be careful when you apply another part of a design that you don’t go over the designs you already applied with your EasyPress Mini.
This can be hard to finagle but do your best and be absolutely sure that you don’t touch the vinyl unless it’s protected by the clear transfer layer.


Once you’ve applied each part of your vinyl design to your hat then you’re all done!


If you try this project I’d love to hear so please let me know all about it in the comments below!