I began this project a couple of weeks ago but then life clearly had some other plans. Tonight I finally finished it and cannot wait to show it to you my new patriotic home decor piece!
My front door has been naked for some time and the Spring Wreath that I made last year is too white now that we painted our door white. I’ve been admiring some Patriotic Home Decor on Pinterest since before Memorial Day but I finally got my act together to make my own.
So here’s how I made my map.
Step 1- Find a map that outlines the states (or provinces or countries) of the area you would like to recreate. I just googled around until I found one that worked then I tweaked it to be the size I wanted it to be.
Step 2- Once you have the map you want (in the size you want) then print it out on fun scrapbook paper. I enlarged my map to a point that it would not all fit on one sheet so I simply copied different portions onto different papers.


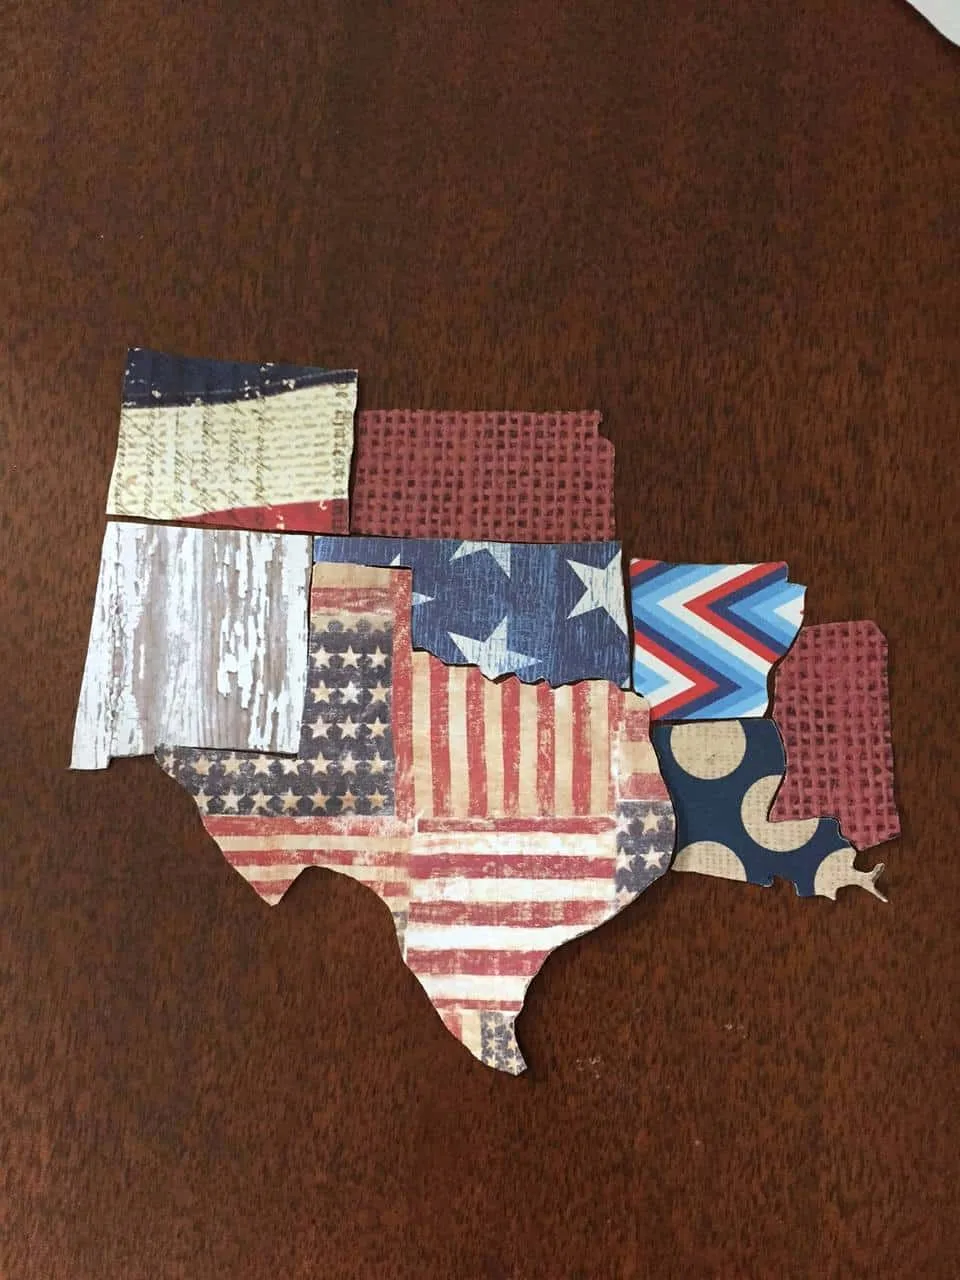
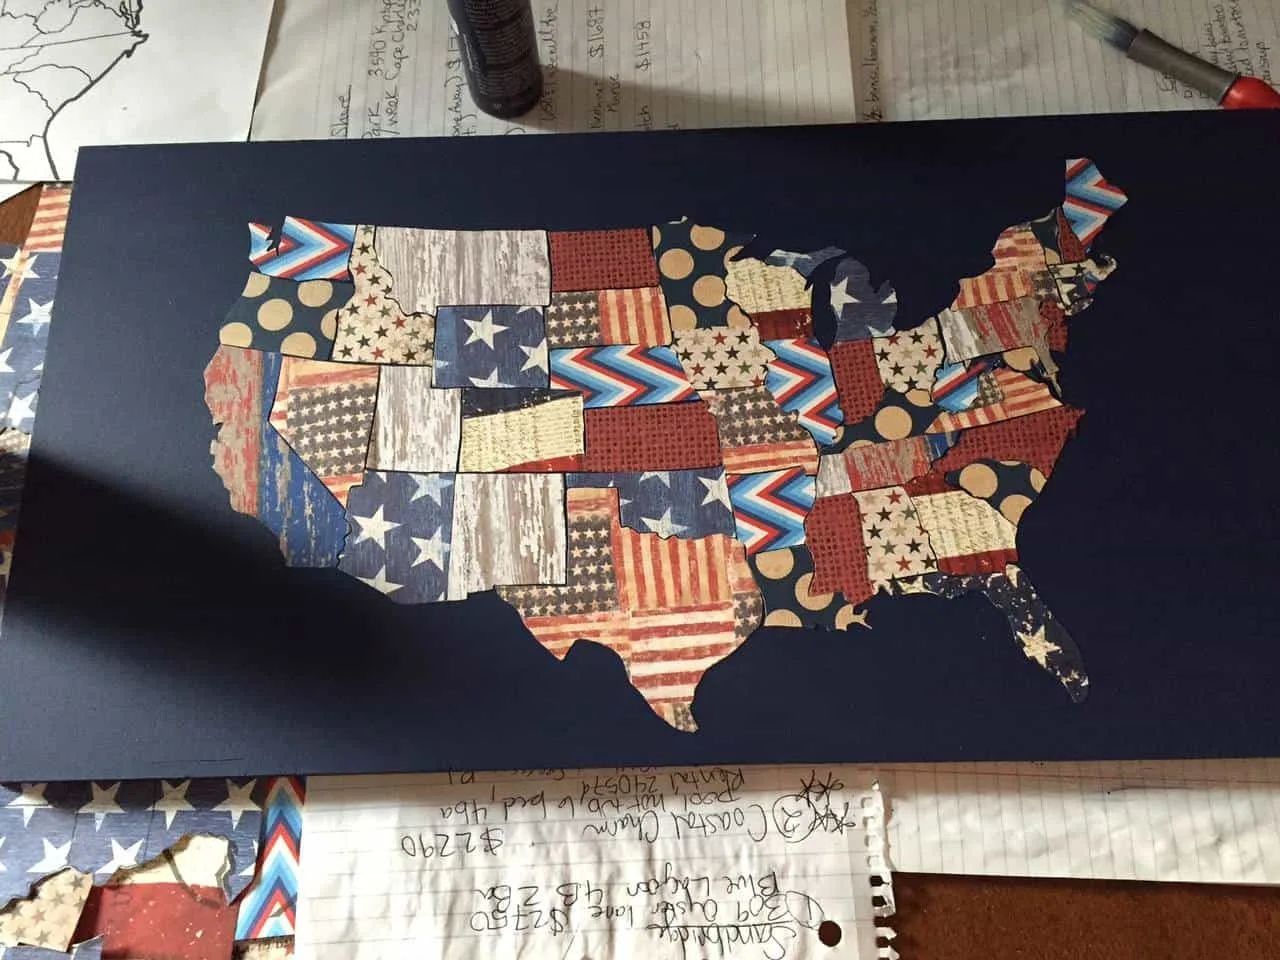
Step 3- Cut out the states. I tried to think about how everything would fit together as a puzzle so when picking which patterned paper to cut each state out of I tried to maintain some balance (not too much blue all together, not too much red). In order to get some more variety I cut some states out of the paper they were printed on and then traced them onto a paper they did not get printed onto so that I could mix the patterns up more.

Step 4- Prepare whatever surface you plan to mod podge your paper onto. I simply painted a scrap board with some navy paint and let it dry.
Step 5- Spread mod podge onto the back of each state and then put into position.

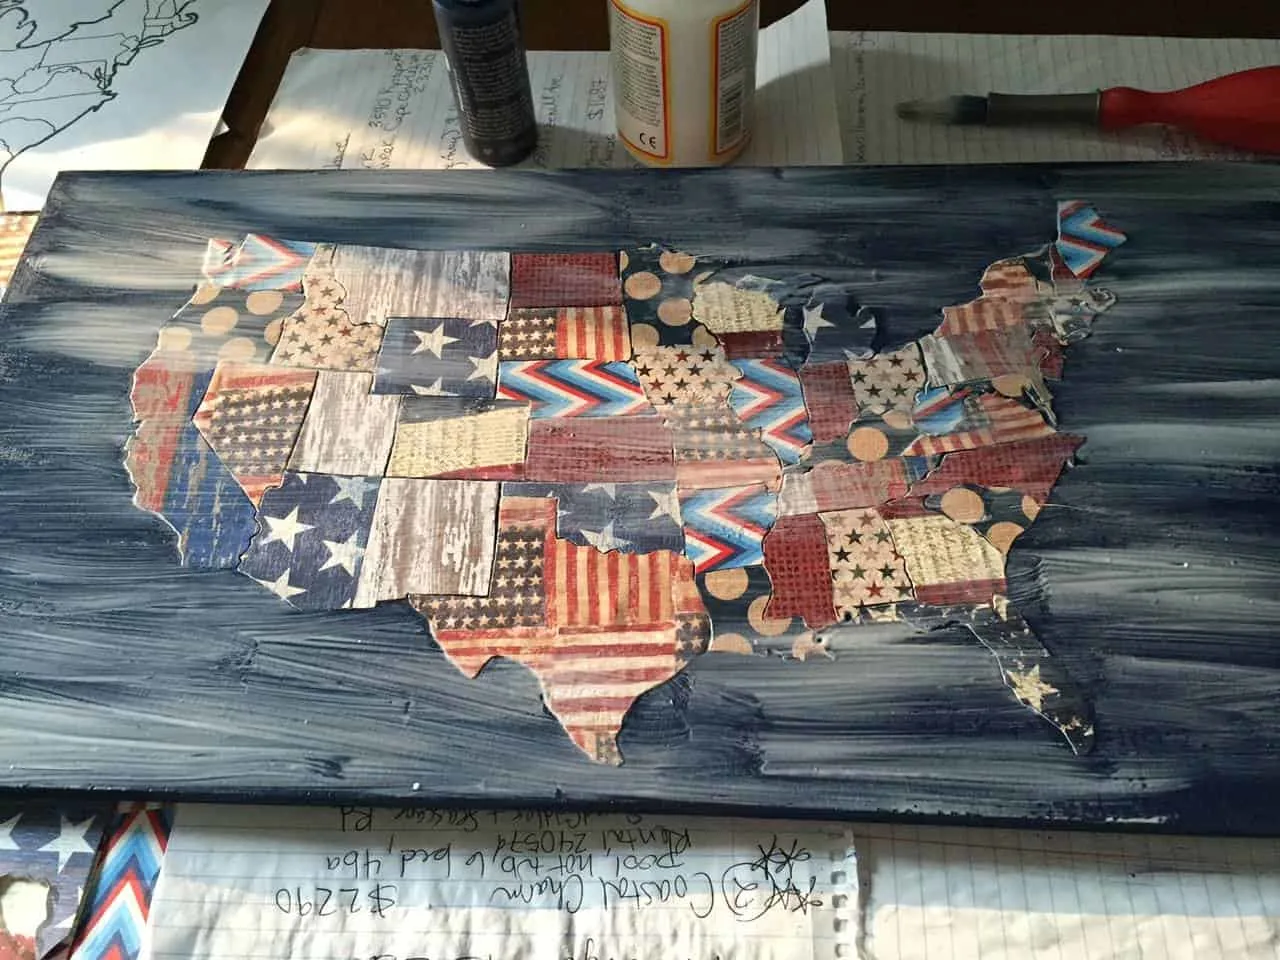
Step 6- Once all states are in place brush mod podge over the entire board.

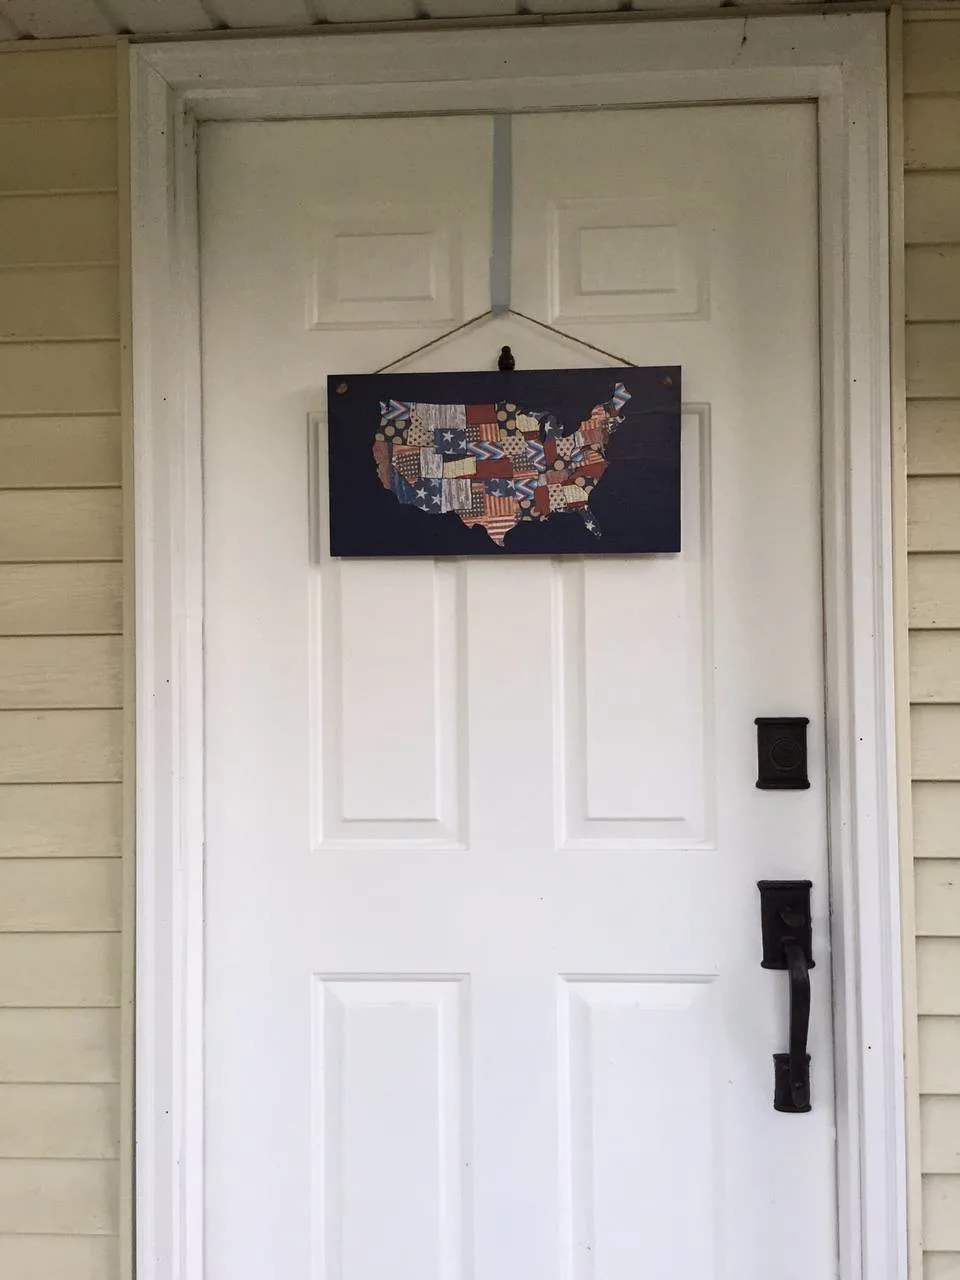
Step 7- After everything has dried drill holes and attach twine or ribbon to be able to hang your map.


I’m excited to finally have this done even if I only get to keep it up for a short time because I’ll get to pull it out to use as patriotic home decor in future years to come for Memorial Day and the Fourth of July.
If you think you might want to make one of these, I say go for it! The process is super simple and the whole project only cost a few dollars. Depending on the papers you use you could make a map to go with your taste or room decor. I think a really large one would look cute in a classroom or kid’s playroom.
Linking up with Thrifty Decor Chick.

Aspen Jay
Thursday 9th of July 2015
Hi Cat! What a cute idea! Definitely pinning this one for later... when life gets me a few moments. :) Using fabric would be neat too, oh, and framing it would like nice. Thanks again for this craft idea! Cheers! Aspen jay
Cat
Thursday 9th of July 2015
Thank you so much! Yes, fabric would work well too.
Brooke Riley~Re-fabbed
Wednesday 8th of July 2015
I absolutely LOVE this! Looks like a lot of time went in, and it is awesome. I will definitely be trying this! (Who knows when...LOL) with other papers and fabrics. Thanks for sharing :)
Cat
Wednesday 8th of July 2015
It really wasn't too much time. And yes, you could totally do it with fabrics too.
Dee
Tuesday 7th of July 2015
This is just adorable -- love it! :)
Cat
Tuesday 7th of July 2015
Thanks so much Dee!
Lori Boutelle
Friday 3rd of July 2015
That is SO cute! It looks perfect against your white door! Have a wonderful 4th!
Cat
Friday 3rd of July 2015
Thanks so much Lori!