This is a sponsored post written by me on behalf of Cricut. All opinions are 100% mine.
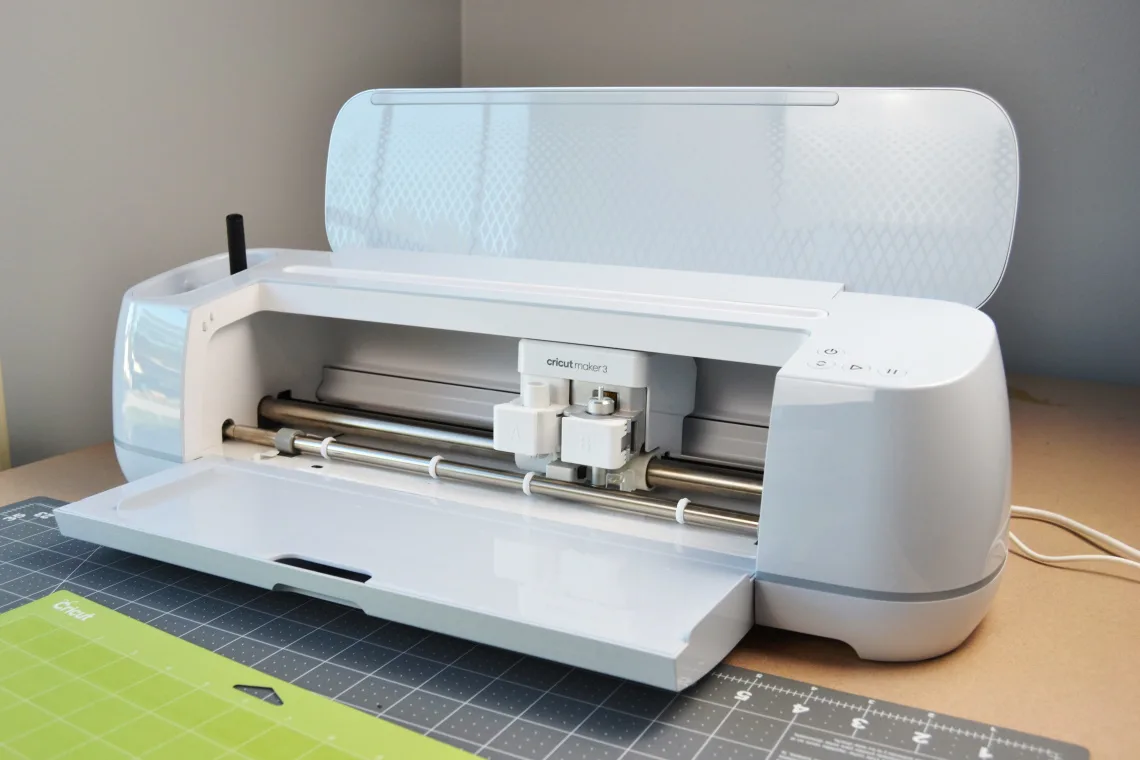
The past couple of weeks I have been working on a DIY Christmas gifts series and today I’m sharing how to personalize an insulated travel mug with some vinyl and the Cricut Maker 3. Personalizing cups with vinyl is one of the simplest and most fun Cricut projects so if you are new to the vinyl world then definitely give this one a try!

Supplies Needed
- Cricut Maker 3
- permanent vinyl
- transfer tape
- an insulated travel mug
Personalized Insulated Cup Tutorial
Select a design from Design Space that you love or you could just use my file. Click Make It and then follow the prompts for selecting your material and loading the correct cutting blade.

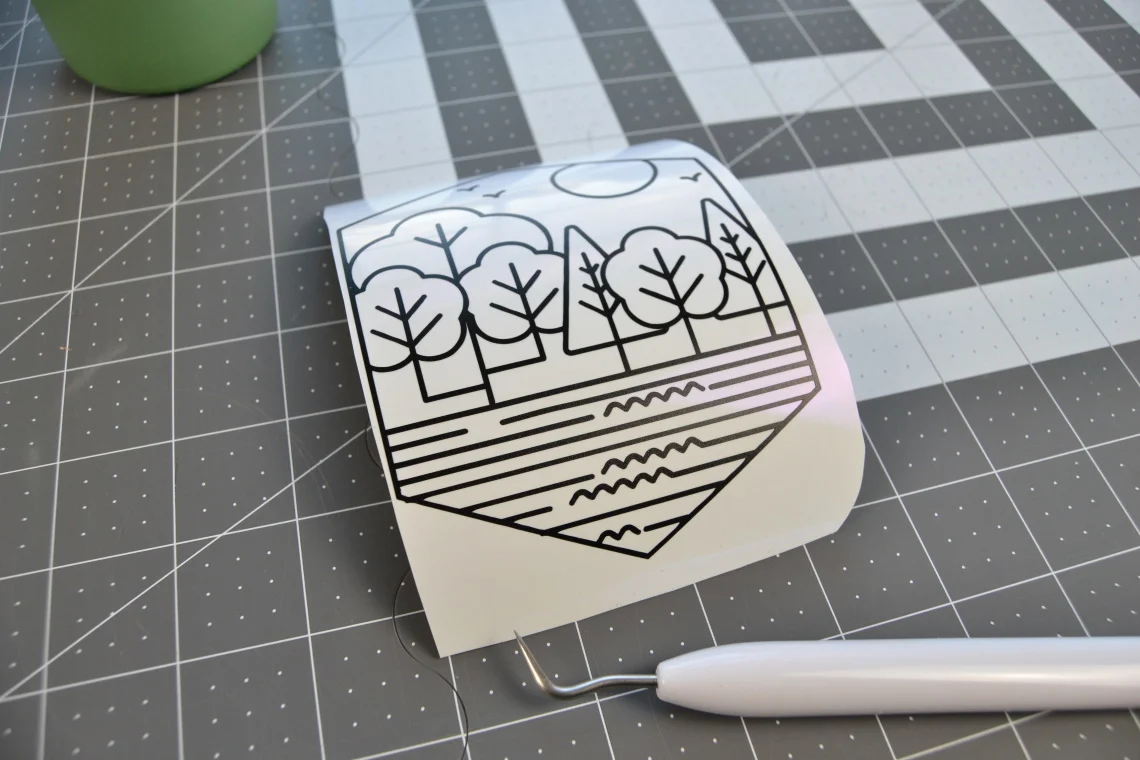
Once the machine is done cutting you will weed out the vinyl that is not part of your design.

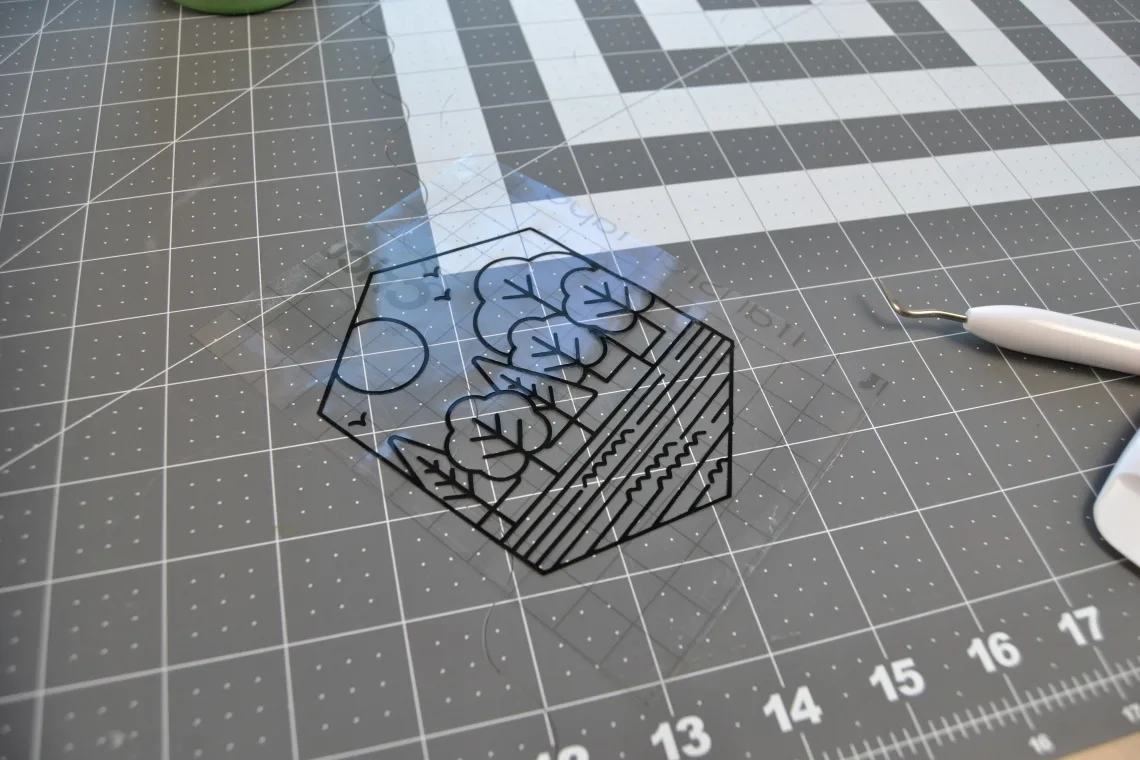
Then take some transfer tape and apply it to the front of the vinyl. Then peel the paper backing off so that the vinyl is stuck to the transfer tape.

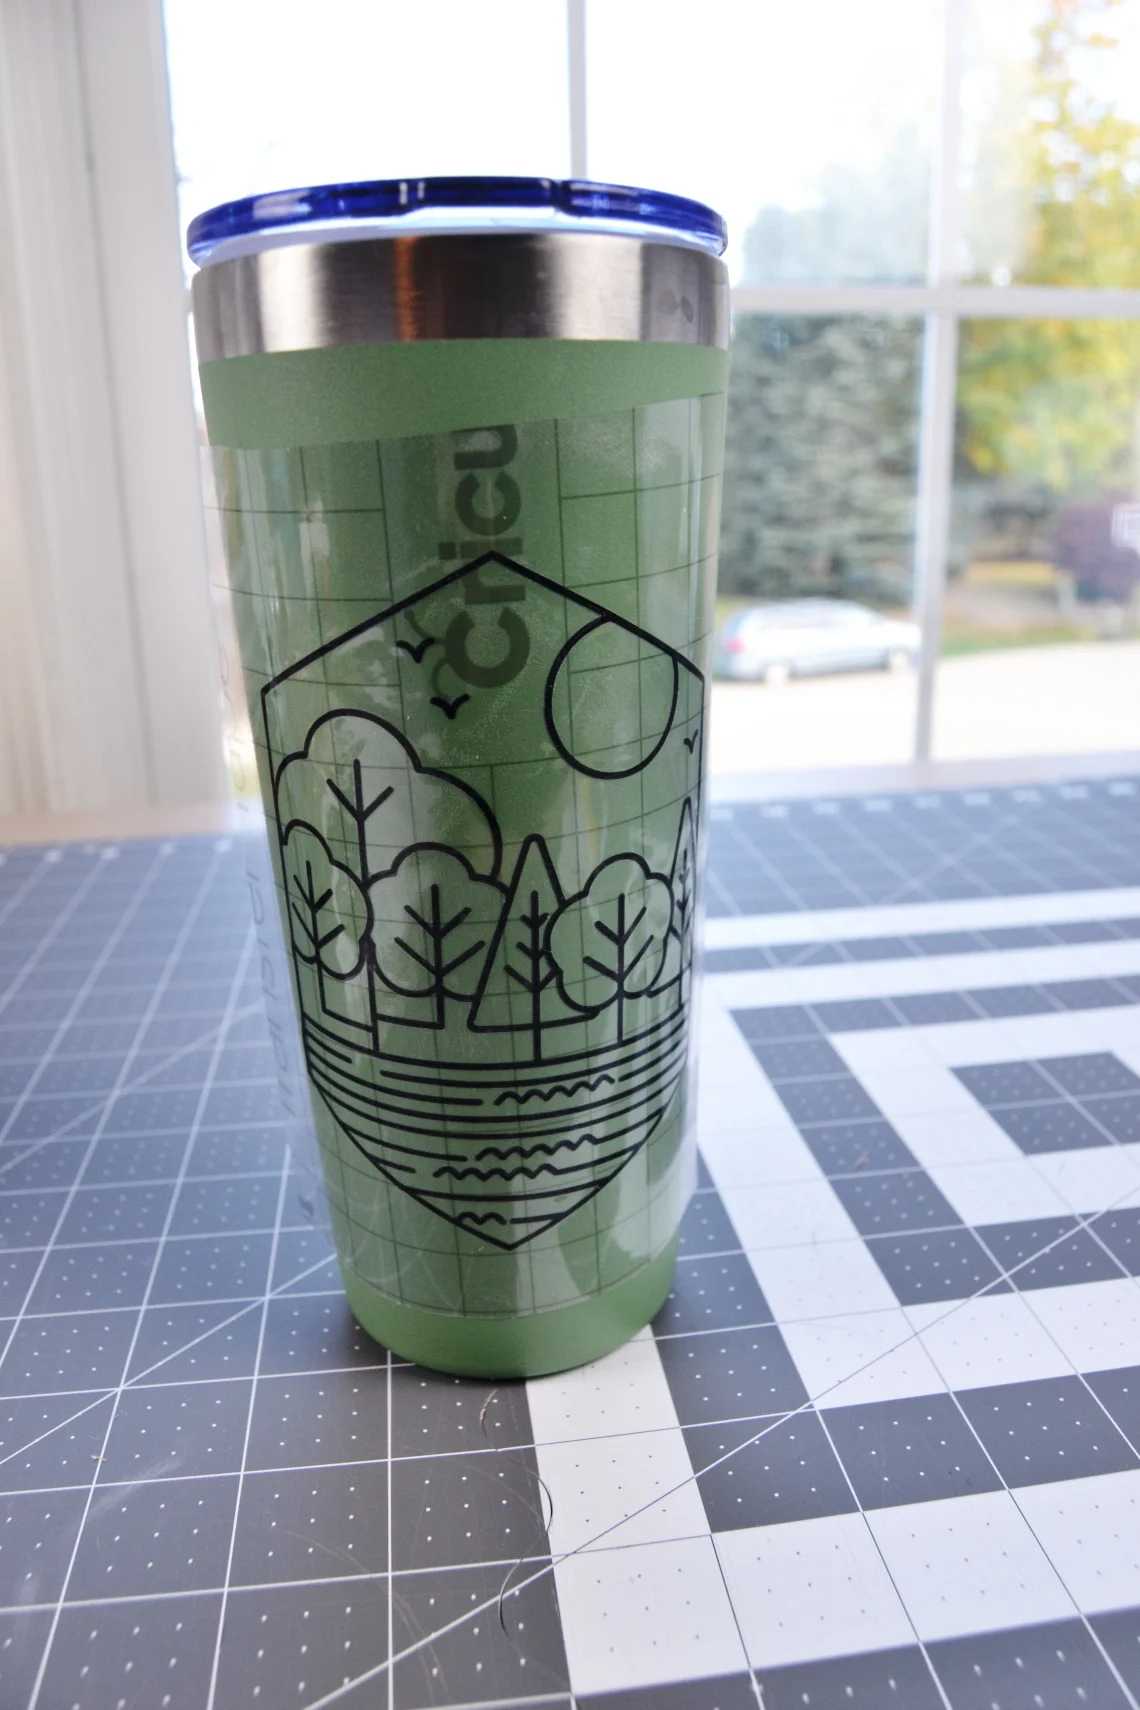
Then apply it to your cup and remove the transfer tape.

Then you are done!

