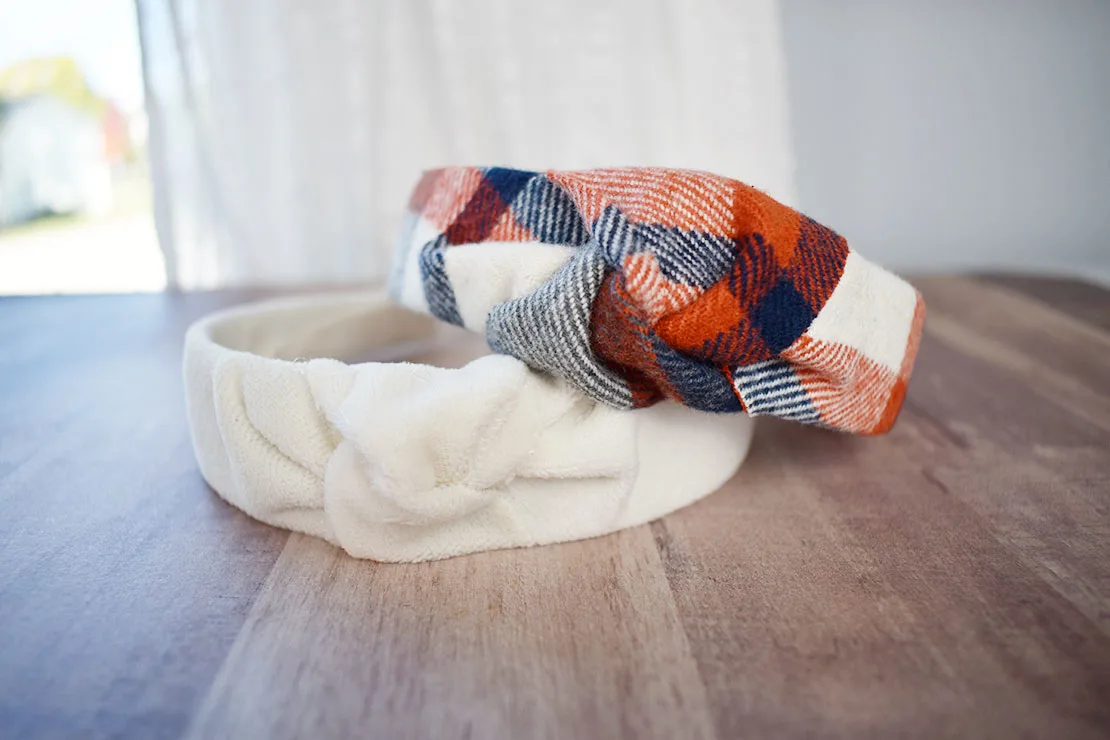
Knotted headbands are everywhere right now and I love this look. Being decently crafty I wanted to figure out how to DIY them myself to save some money so today I’m showing you my simple no-sew tutorial for how to make a knotted headband.

Supplies Needed
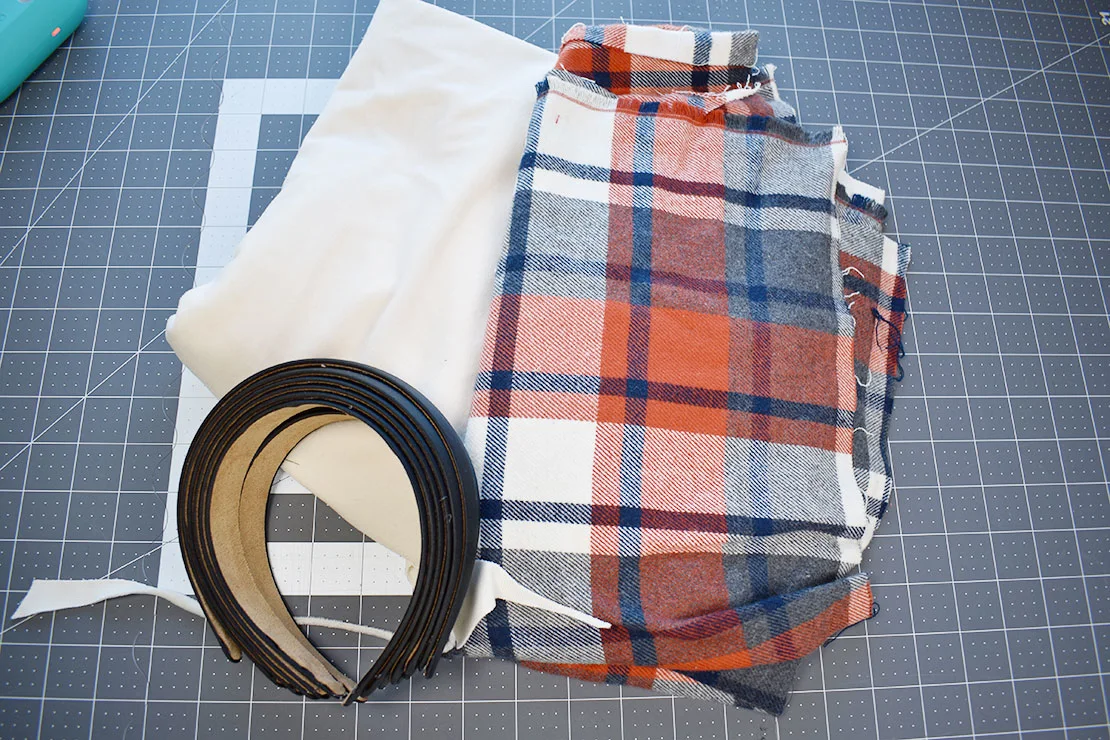
- headbands (I used these crafting headbands from Amazon and they work well!)
- fabric
- hot glue gun (Have you seen the new Cricut glue gun?)
- rotary cutting set (this is optional, you could just use scissors but if you sew and craft a lot then this is a great investment as it makes so many things easier to cut)
How to Make a Knotted Headband
Begin with finding a basic headband. I chose these crafting headbands from Amazon because they had decent reviews and overall I’m super pleased.
They’re cheap and they fit me well. I have a larger head with thick hair and these don’t give me a headache or feel like they pinch.
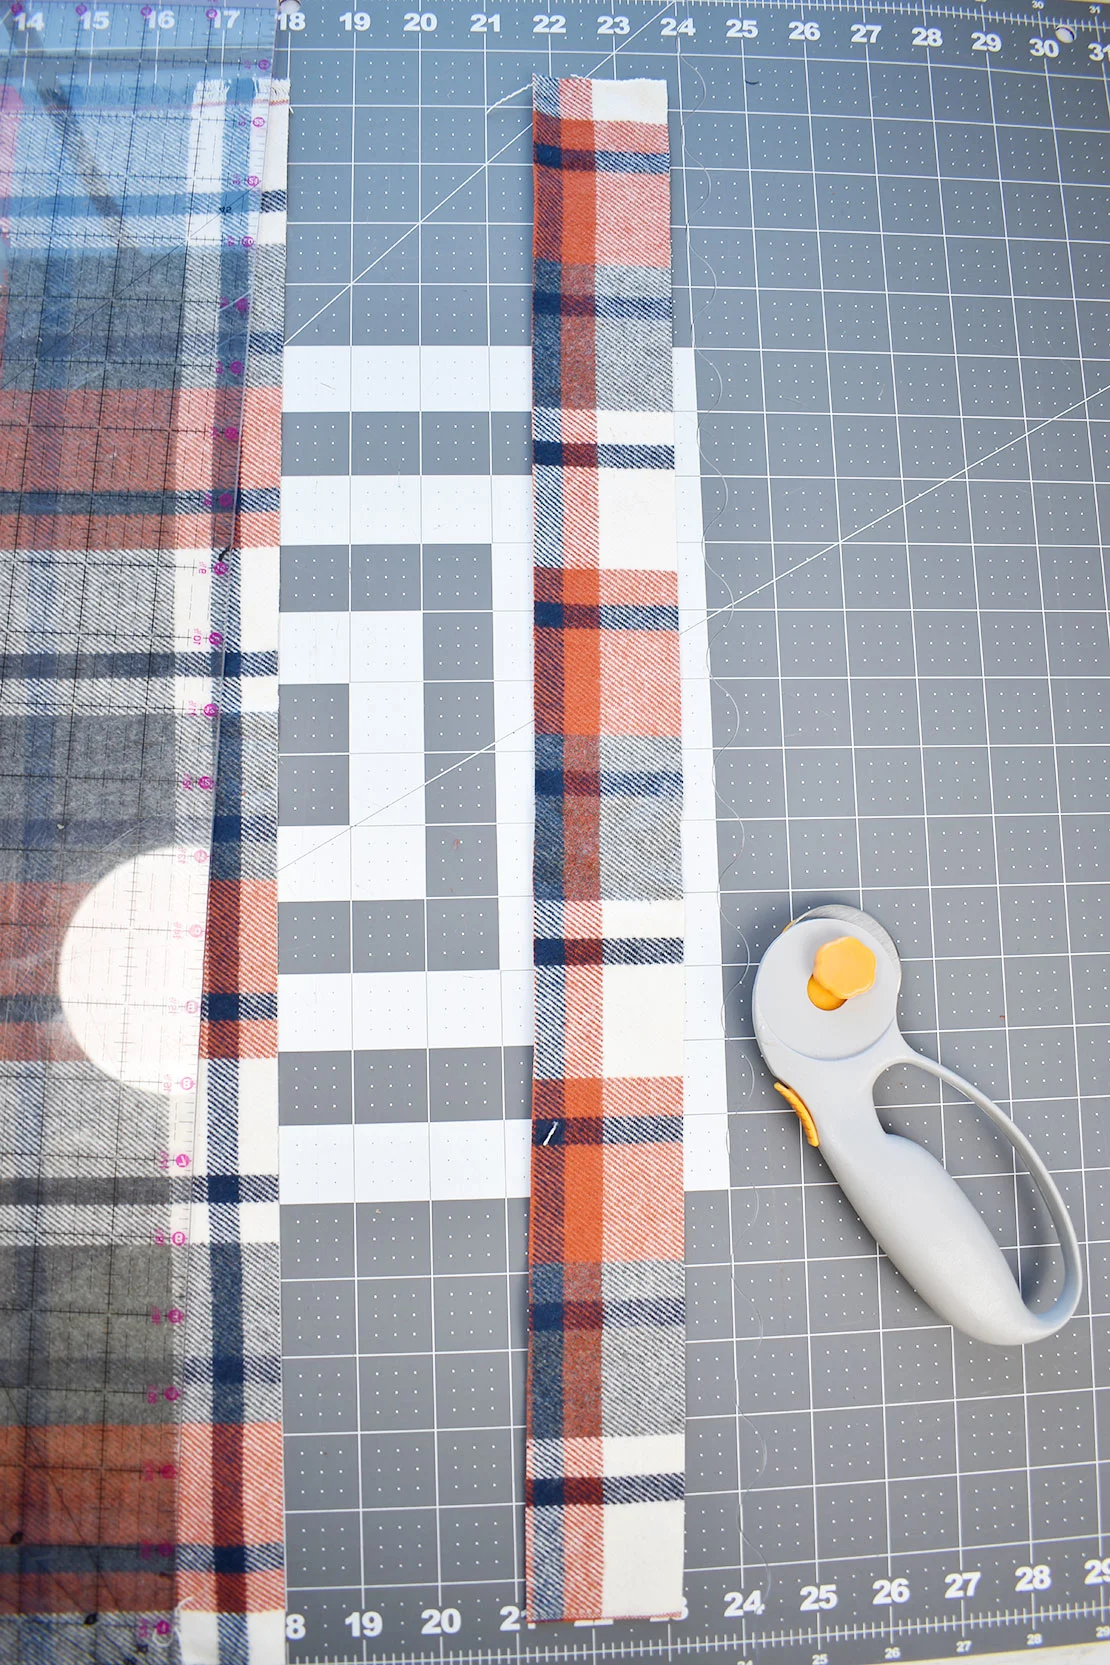
Then select some fabric. Cut a 2 inch by 22 inch rectangle from your fabric.
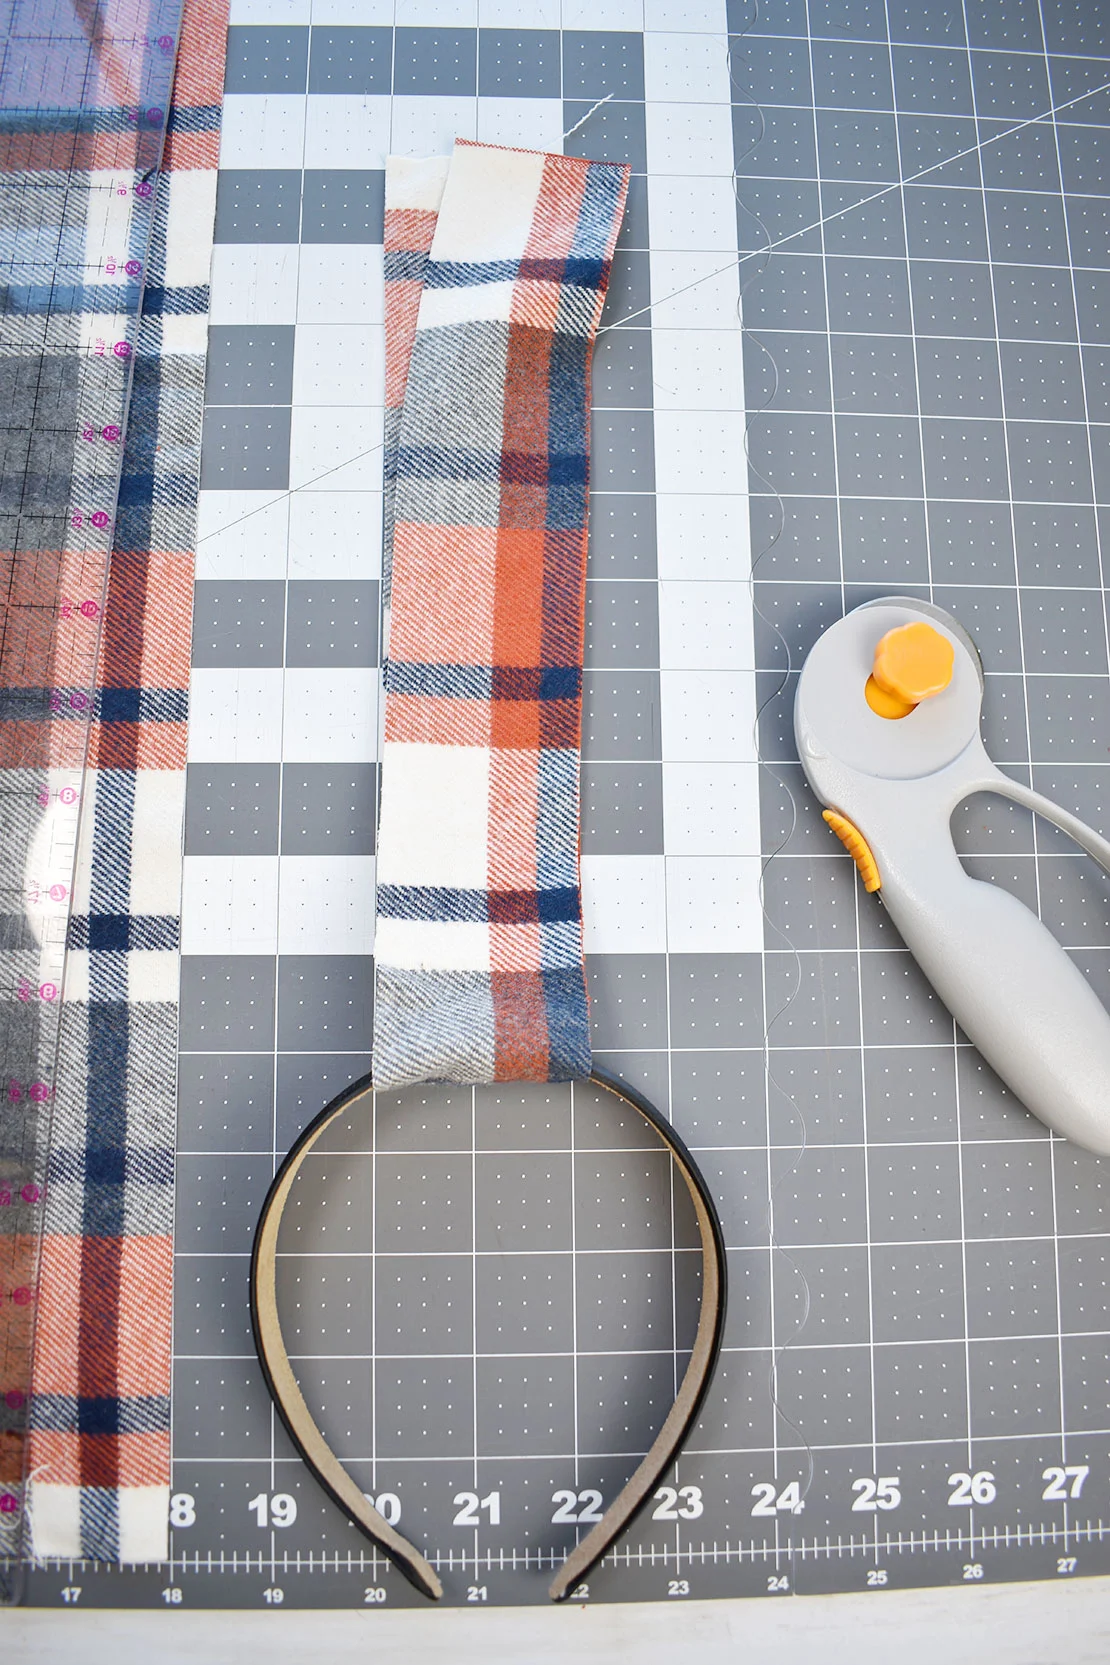
Wrap your fabric around the center of your headband by folding it in half with the open end up.
Then knot the fabric in the middle of the headband.
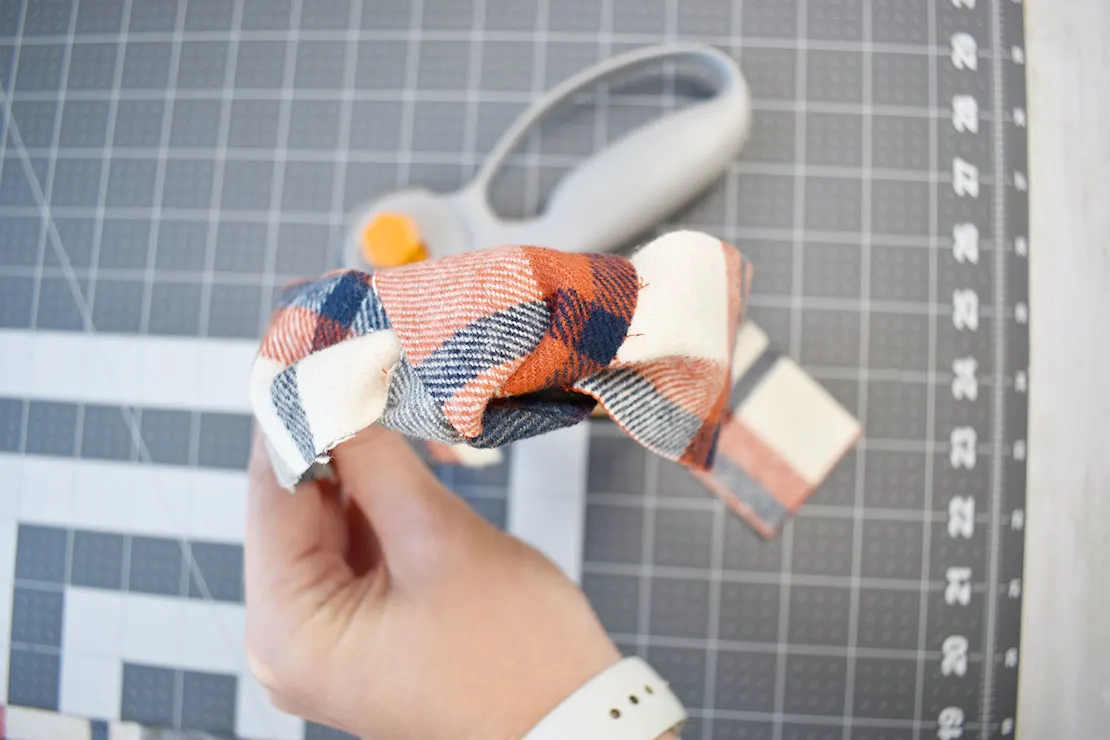
Turn the headband upside down. Glue the fabric down along the sides, starting from the knot in the middle, working your way out.

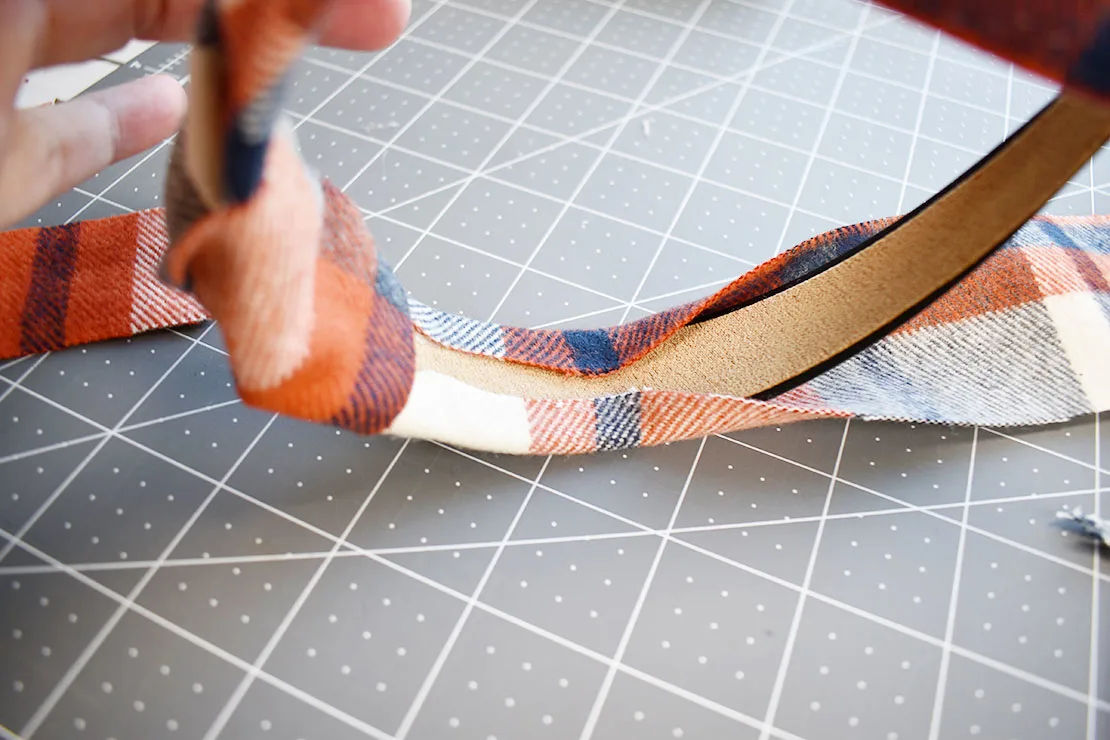
As you get to the ends of the headband the fabric from the front will start to overlap. If you get a little off center and it starts to stick out too far (and would show from the outside) you may need to trim the fabric a little.
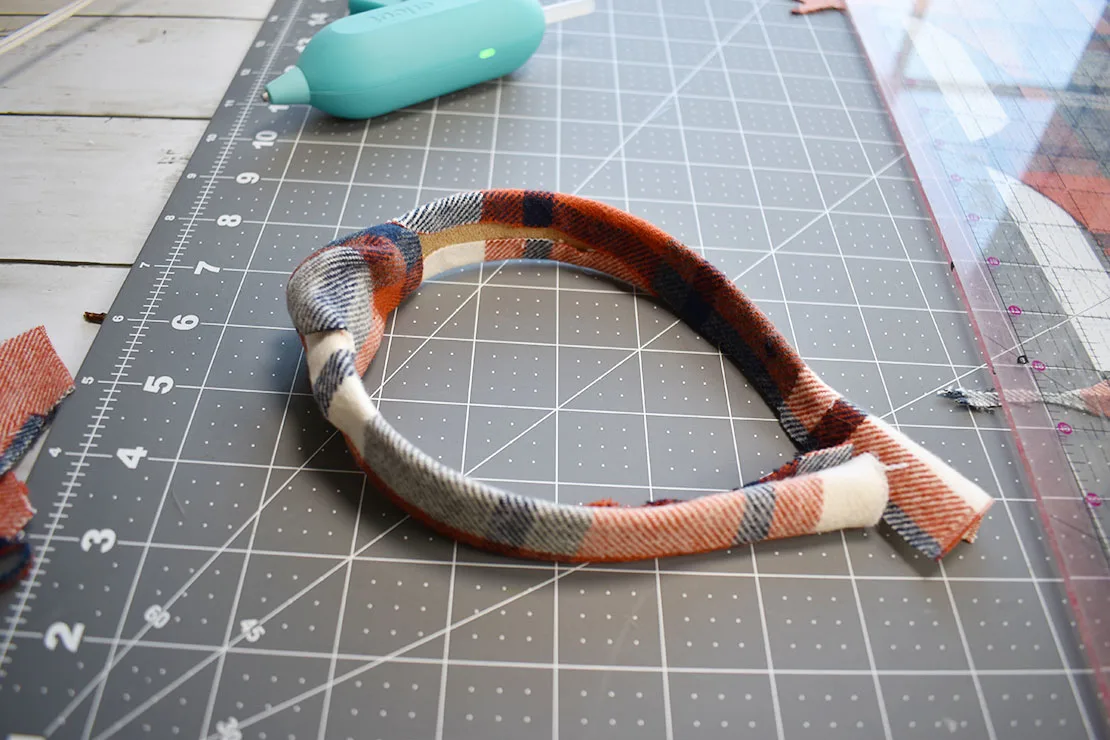
When you are done gluing down the fabric on the inside you will see that you have some extra fabric at the end of the headband. Trim the fabric close to the edge of the headband, leaving maybe 1/4 hanging beyond the end of the headband.

Use the hot glue gun to glue the ends shut. Place a little bit of glue inside the tube of fabric at the end of the headband and press the ends of the fabric shut.
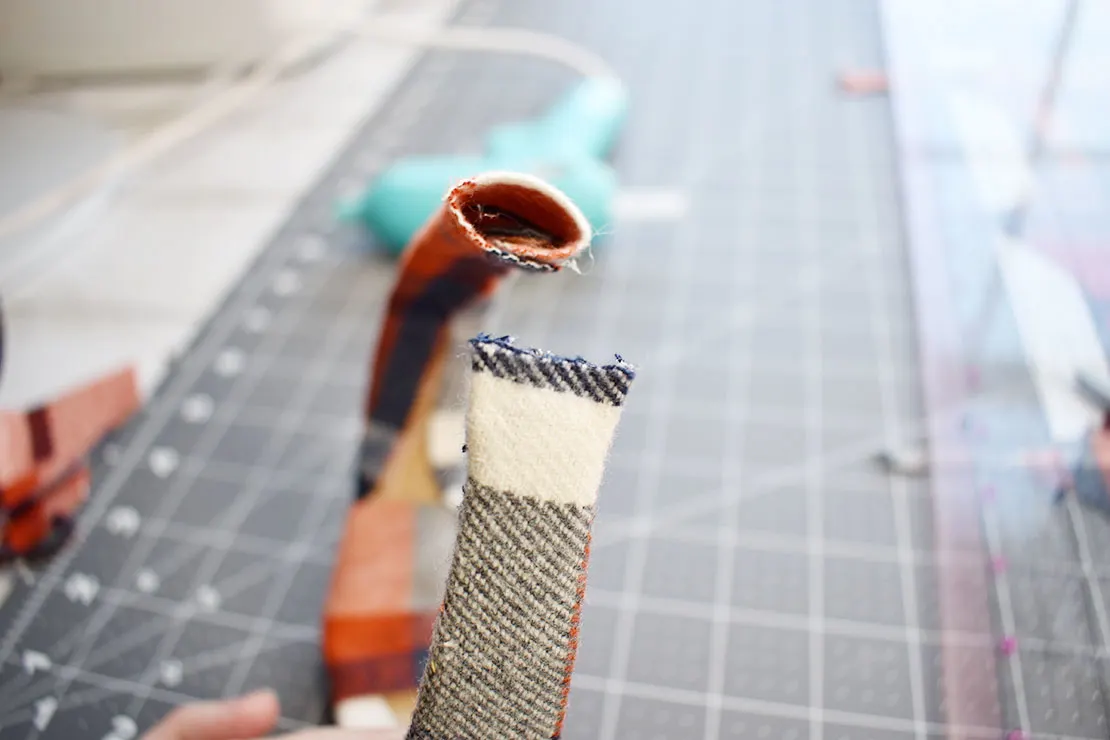
Once you have closed these ends you are essentially done. If you want the inside to be a bit more clean you could use some fabric or felt to cover the exposed edges of the fabric on the inside of the headband but it doesn’t bother me so I just left it.

Now you can use this tutorial for how to make a knotted headband to make a bunch of them for less than the cost of one from the store. This is a great way to use up fabric scraps from some of your favorite projects from the past!
