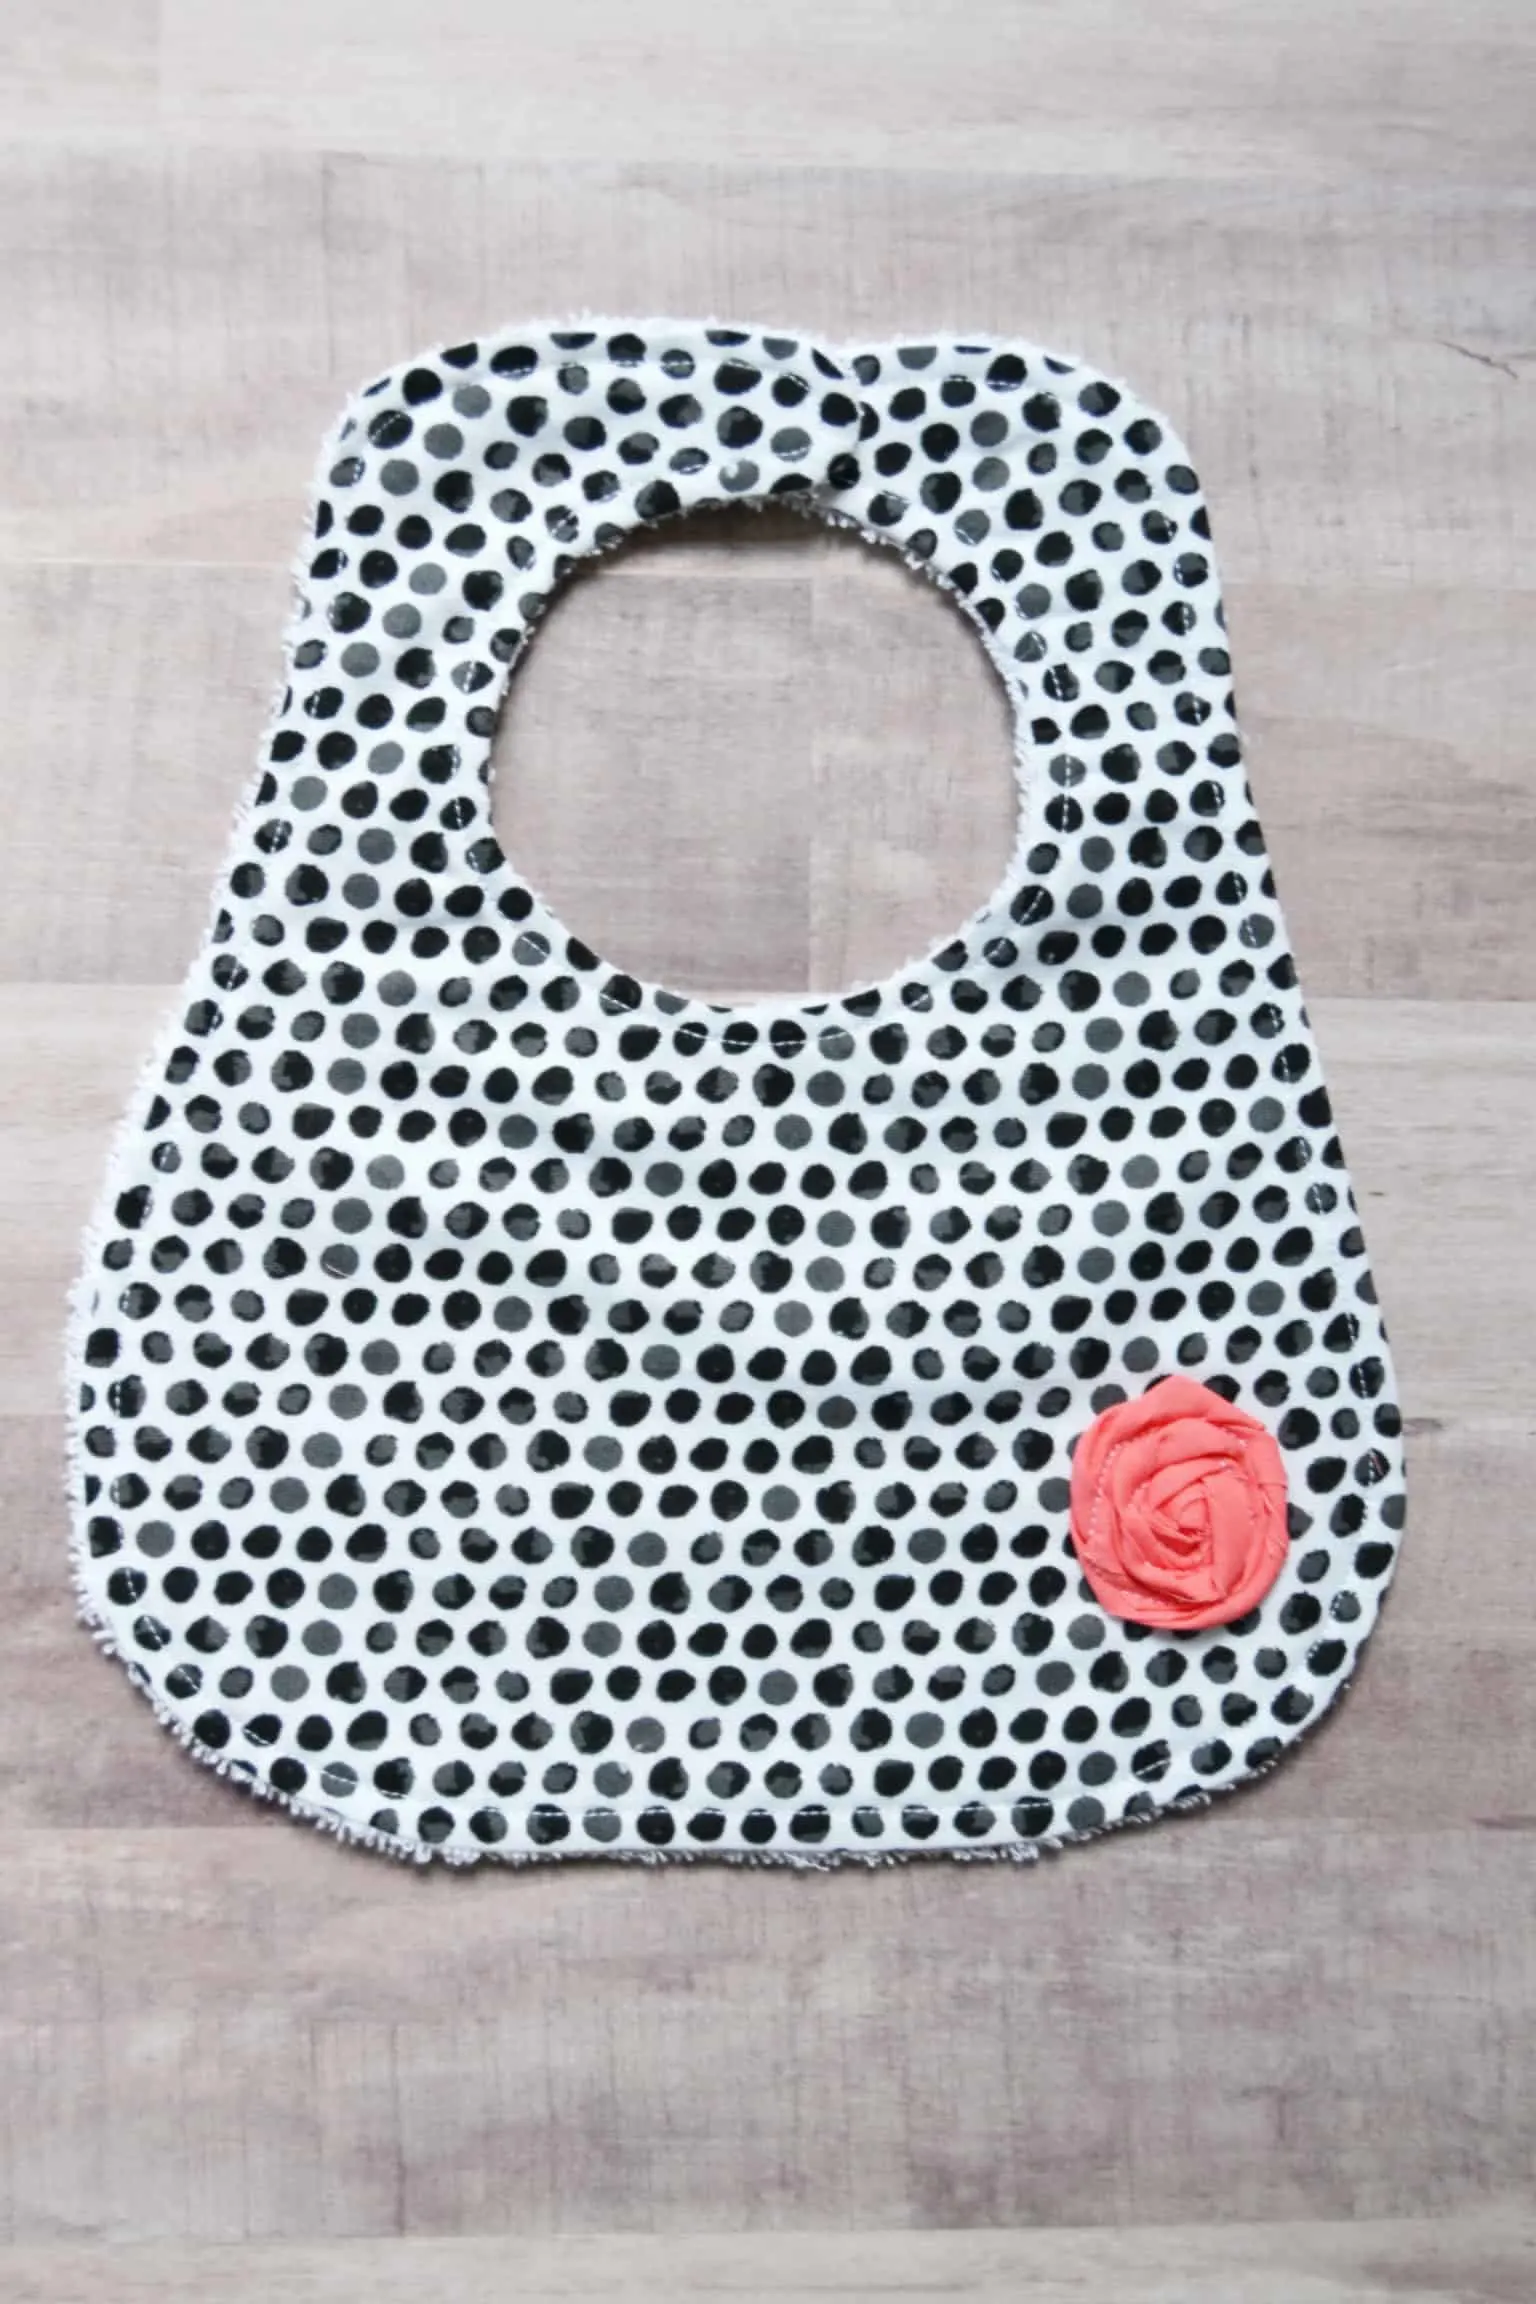
Happy National Sewing Month! My goal this month is to get a bunch of sewing done and to share it all with you. I just cleaned up my sewing areas this past week and I’m ready to get to work! I’m kicking the month off with a new baby bib- the Flower Bib and I’m sharing my flower baby bib tutorial with all of you.

This bib is a super simple riff on my basic bib. I love making fabric flowers and it seemed like the perfect little pop of color to add to this black and white bib. I think this would be an adorable addition to any little girl’s wardrobe.

Flower Baby Bib Tutorial Supplies
- my Bigger & Better Bib pattern
- cotton fabric for the front of your bib
- small scrap of fabric for flower (about 1 inch wide X 18 inches or more)
- terrycloth for the back of your bib
- velcro or snaps for your bib’s closure
- rotary cutting set or scissors
- thread, sewing machine, needles, pins
Flower Baby Bib Tutorial Steps
Step 1- Print out The Bigger & Better Bib pattern. When printed out the bib pattern should just over 10 and 1/4 inches from top to bottom. If it doesn’t then adjust your printer settings.


Step 2- Cut out the pattern and place it on top of your fabric for the front of your bib. Cut out the fabric. The first few steps to make this bib are the same as the ones from my bigger and better bib tutorial.
I’m going to repeat them here so you don’t have to click over to that post but I’m going to borrow the pictures from that post so don’t be confused by the fabric on the bib in the steps looking different.


Step 3- Place your front fabric on top of the terrycloth, with the right side down. Pin the front fabric into place and trim around the edges.
Step 4- Sew around the outside edge of the bib, sewing 1/4 inch from the edge. Sew almost all the way around but leave an opening of a couple of inches or so.
Trim any excess material from the edges that you might have left before.


Step 5- Remove the pins and turn the bib right side out, using the opening that you left. Be sure to get into all the little corners and push everything out. Iron the bib nice and flat.

Step 6- Topstitch around the edge of the bib, sewing 1/4 inch from the edge.

Step 7- Attach either velcro or a snap to the straps of the bib for your closure. I chose to use velcro for this one but sometimes I use snaps.

Step 8- Take your strip of fabric that you are going to use to make your flower. Tie a knot in it at one end. Tuck the tail end of the strip under the knot and place the knot where you want your flower to go on the bib.


Step 9- Sew the knot down onto the bib. Twist the strip of fabric and wrap it around the knot. Sew a little bit more down.
Keep twisting and winding your fabric strip around that center knot, sewing it down in places as you continue to make the flower bigger. When you’re near the end, tuck the last bit of fabric under the rest of the flower and finish sewing the flower down.


You can see the thread up close, so you may wish to use a thread color that coordinates with your flower. I went with white because it’s not too terribly noticeable and blends into the white terry on the back.


That’s it for the flower baby bib tutorial. Baby items seem to be some of the more popular posts on the blog so I’ve got some more fun baby tutorials coming up this week.
What else do you want to see this month? Let me know in the comments below!

