For Christmas this year I made my newest niece a set of soft fabric blocks. My sons had a set like these when they were babies and they loved them. Hopefully my niece loves them too.
Here’s how I made them.
I gathered up all my smaller scraps. I have a few, as you can clearly see.

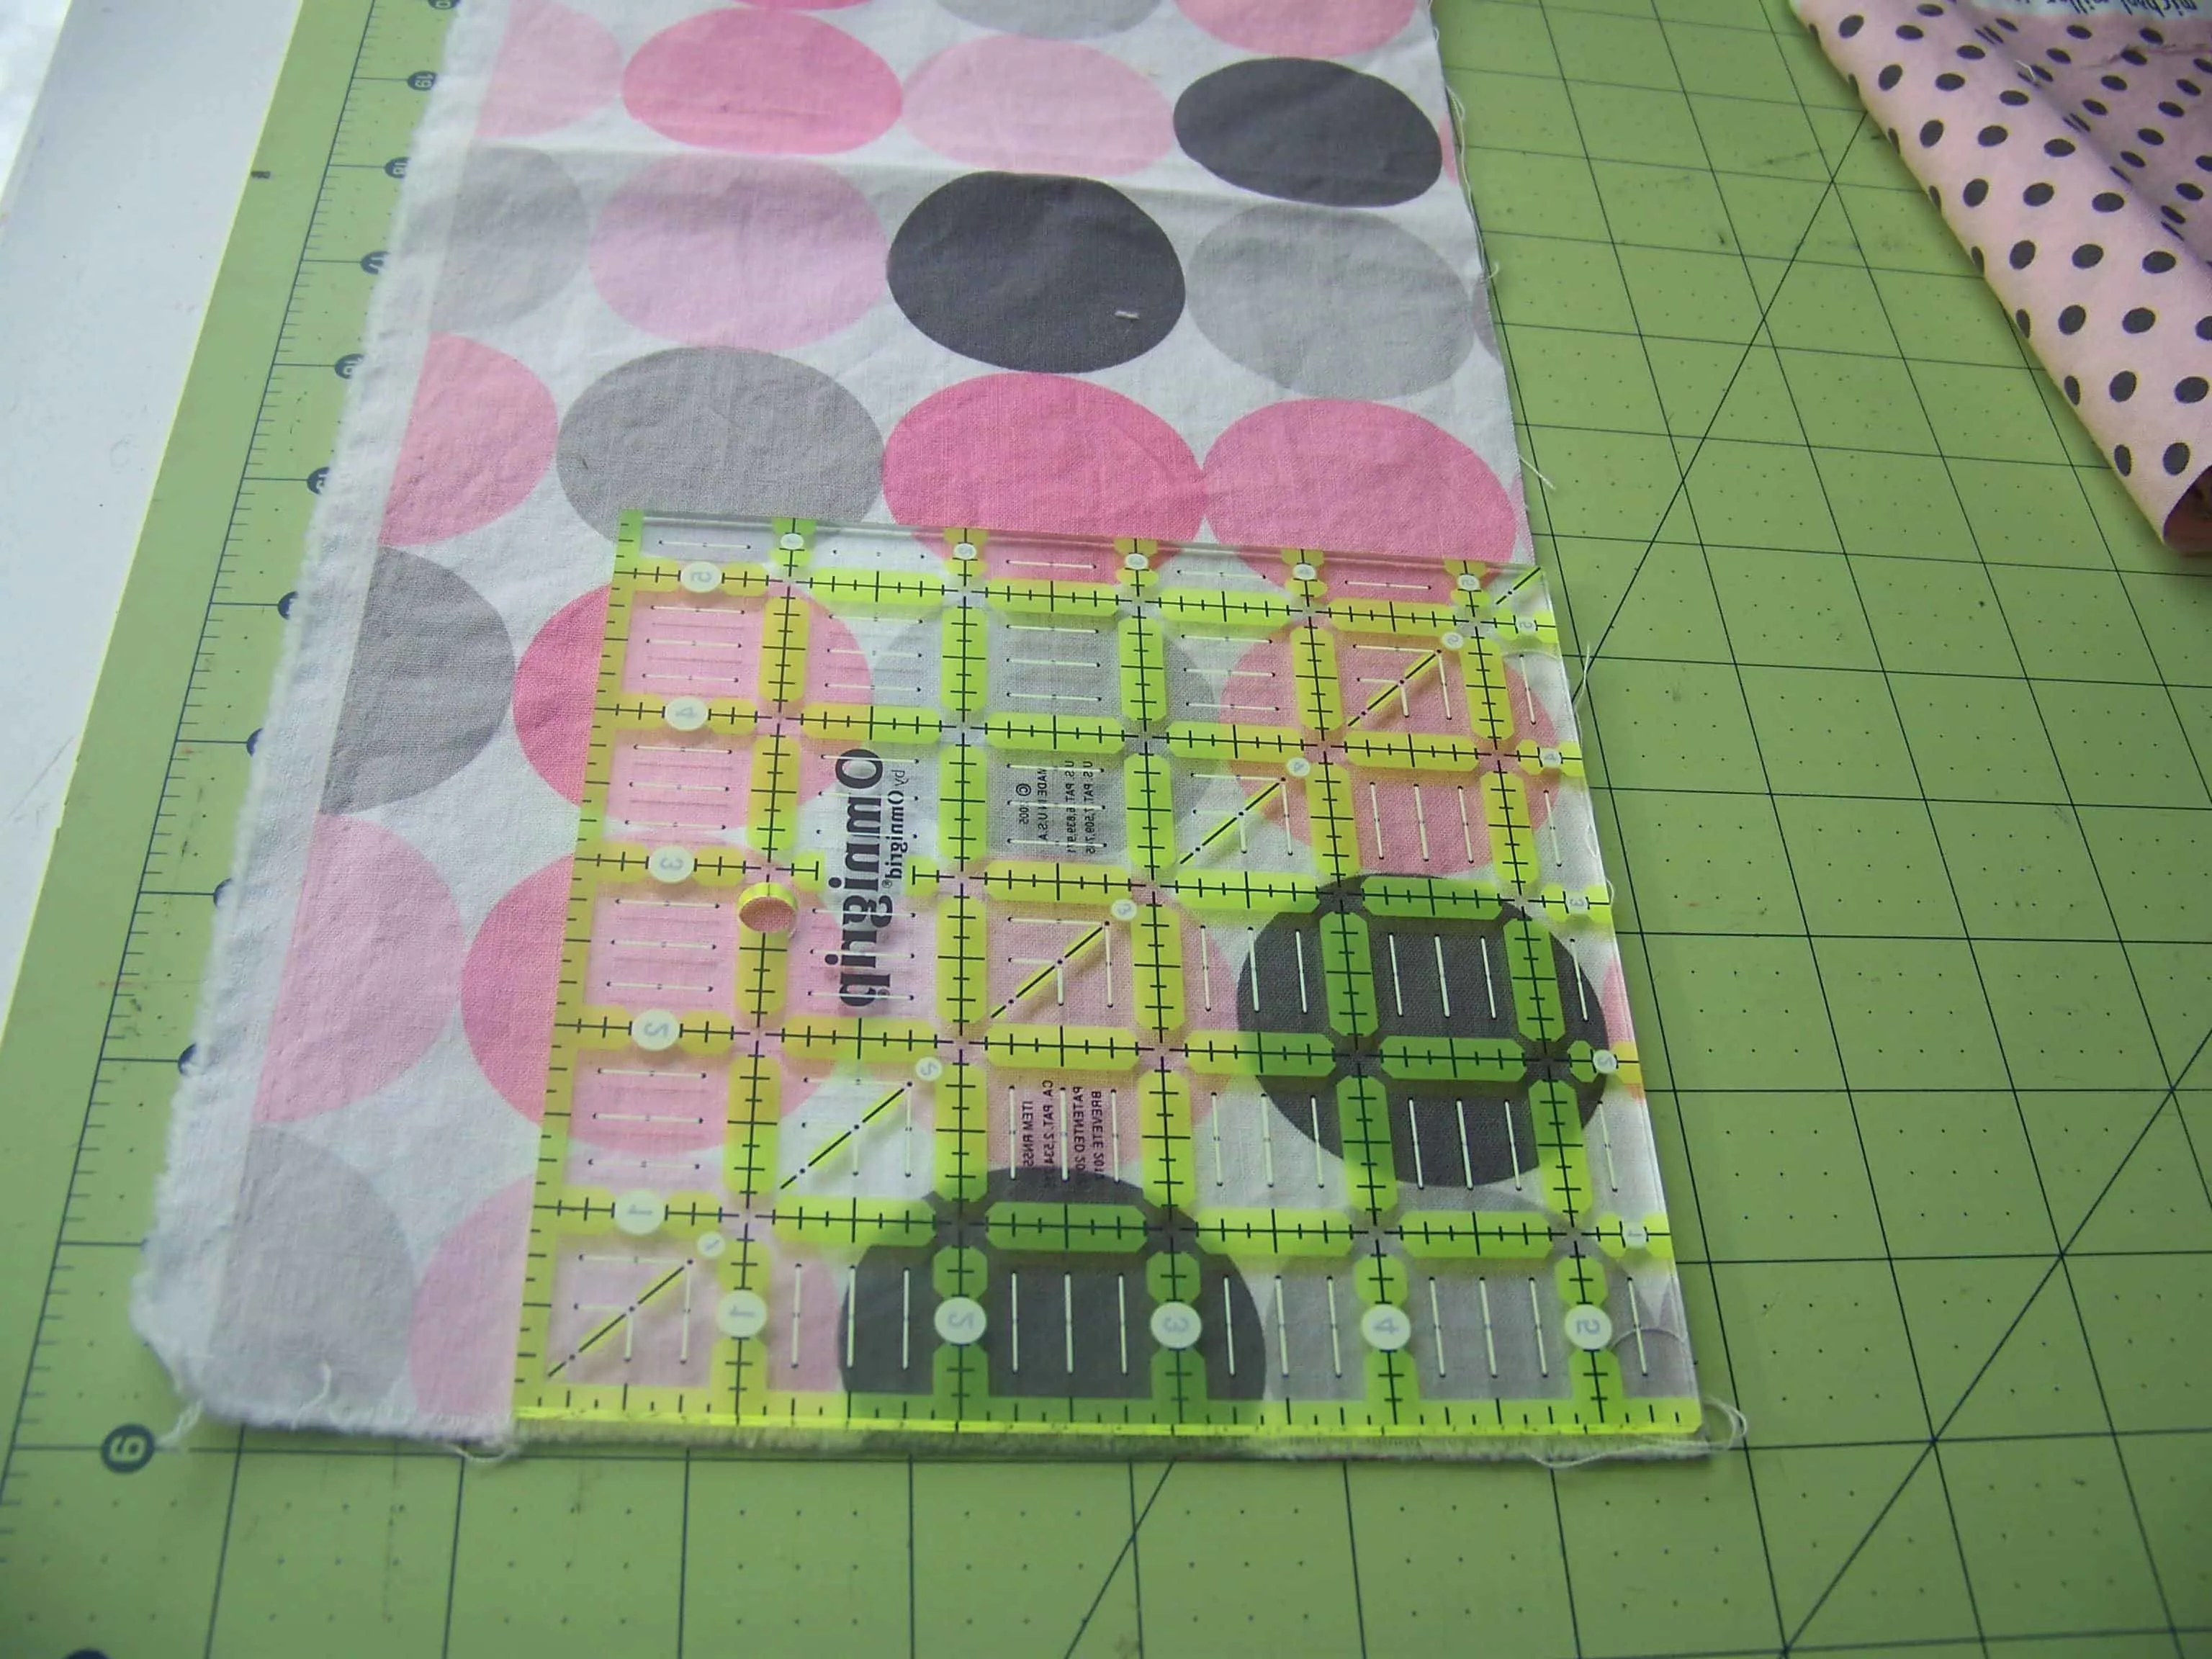
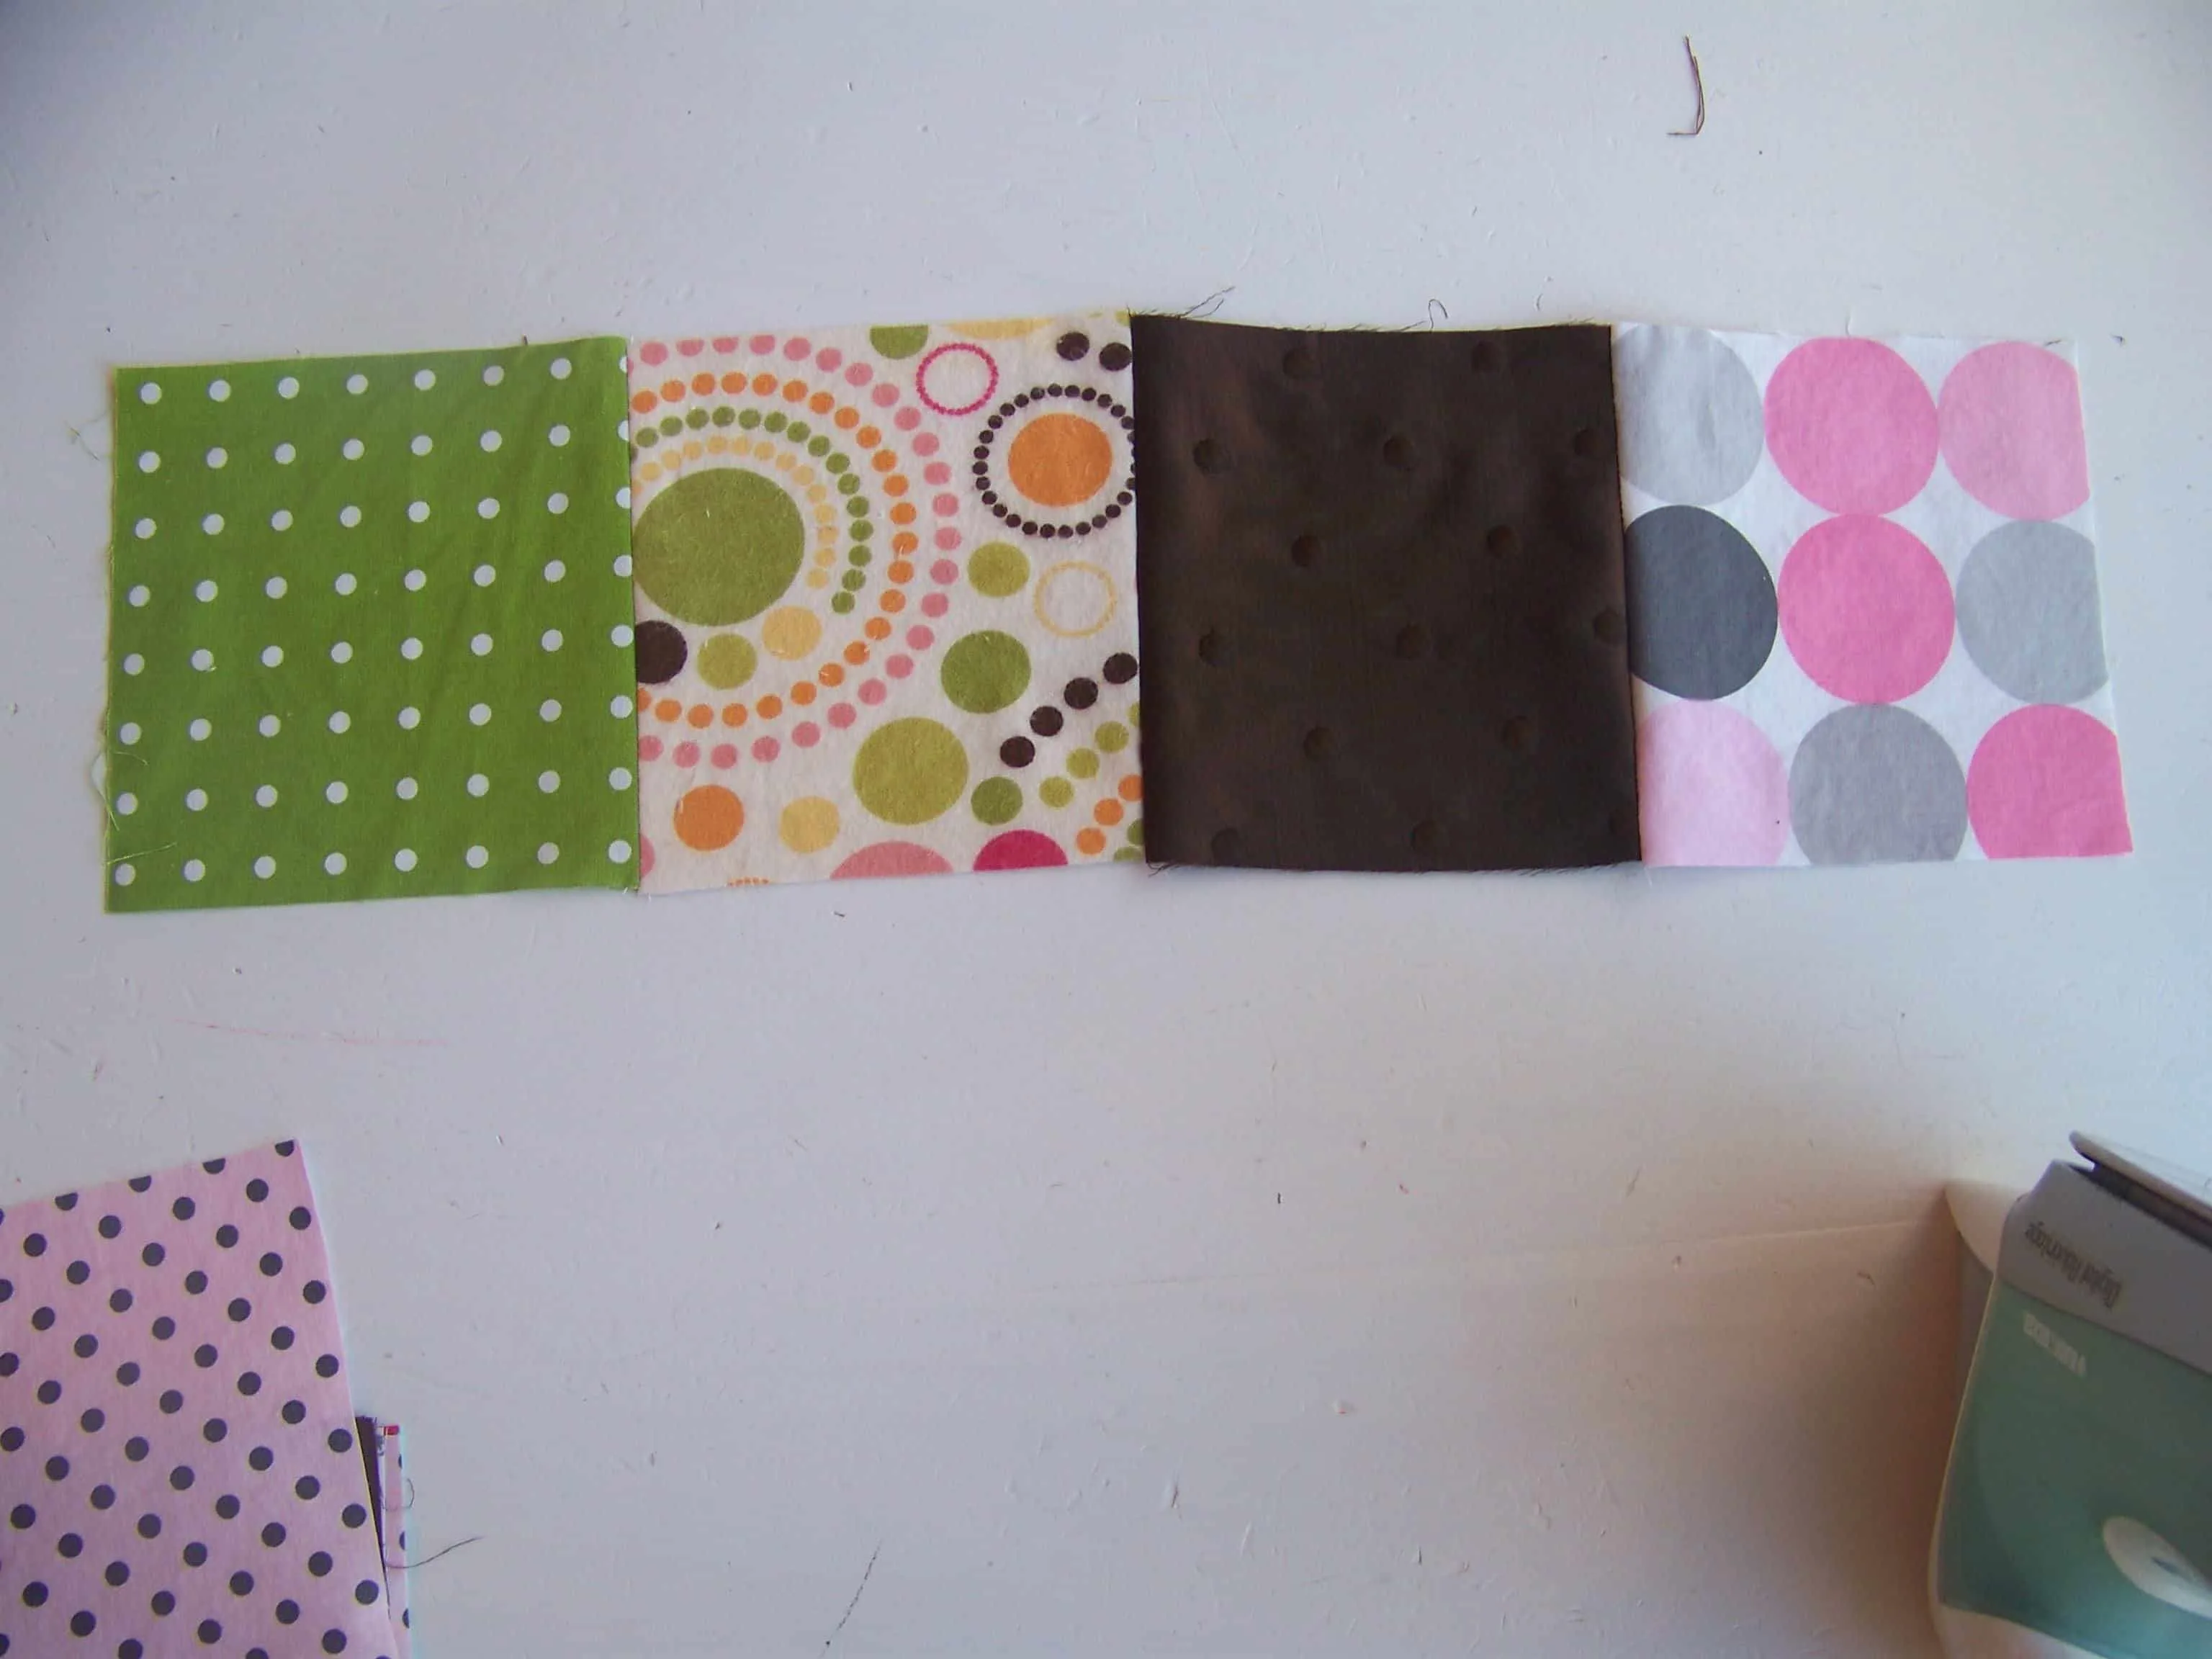
Next I used my 5.5 inch quilt square and rotary cutter to cut out a random assortment of fabric squares. You could make your squares other sizes but I stuck with 5.5 inch since the quilt ruler enabled me to make them perfectly square.

Then it was time to pin and sew the pieces together. Here’s a diagram to help you see how I put things together.
First I sewed blocks 1-4 together to make a row. For each one I left a 1/4 inch seam allowance.

Then I pressed down the seams.

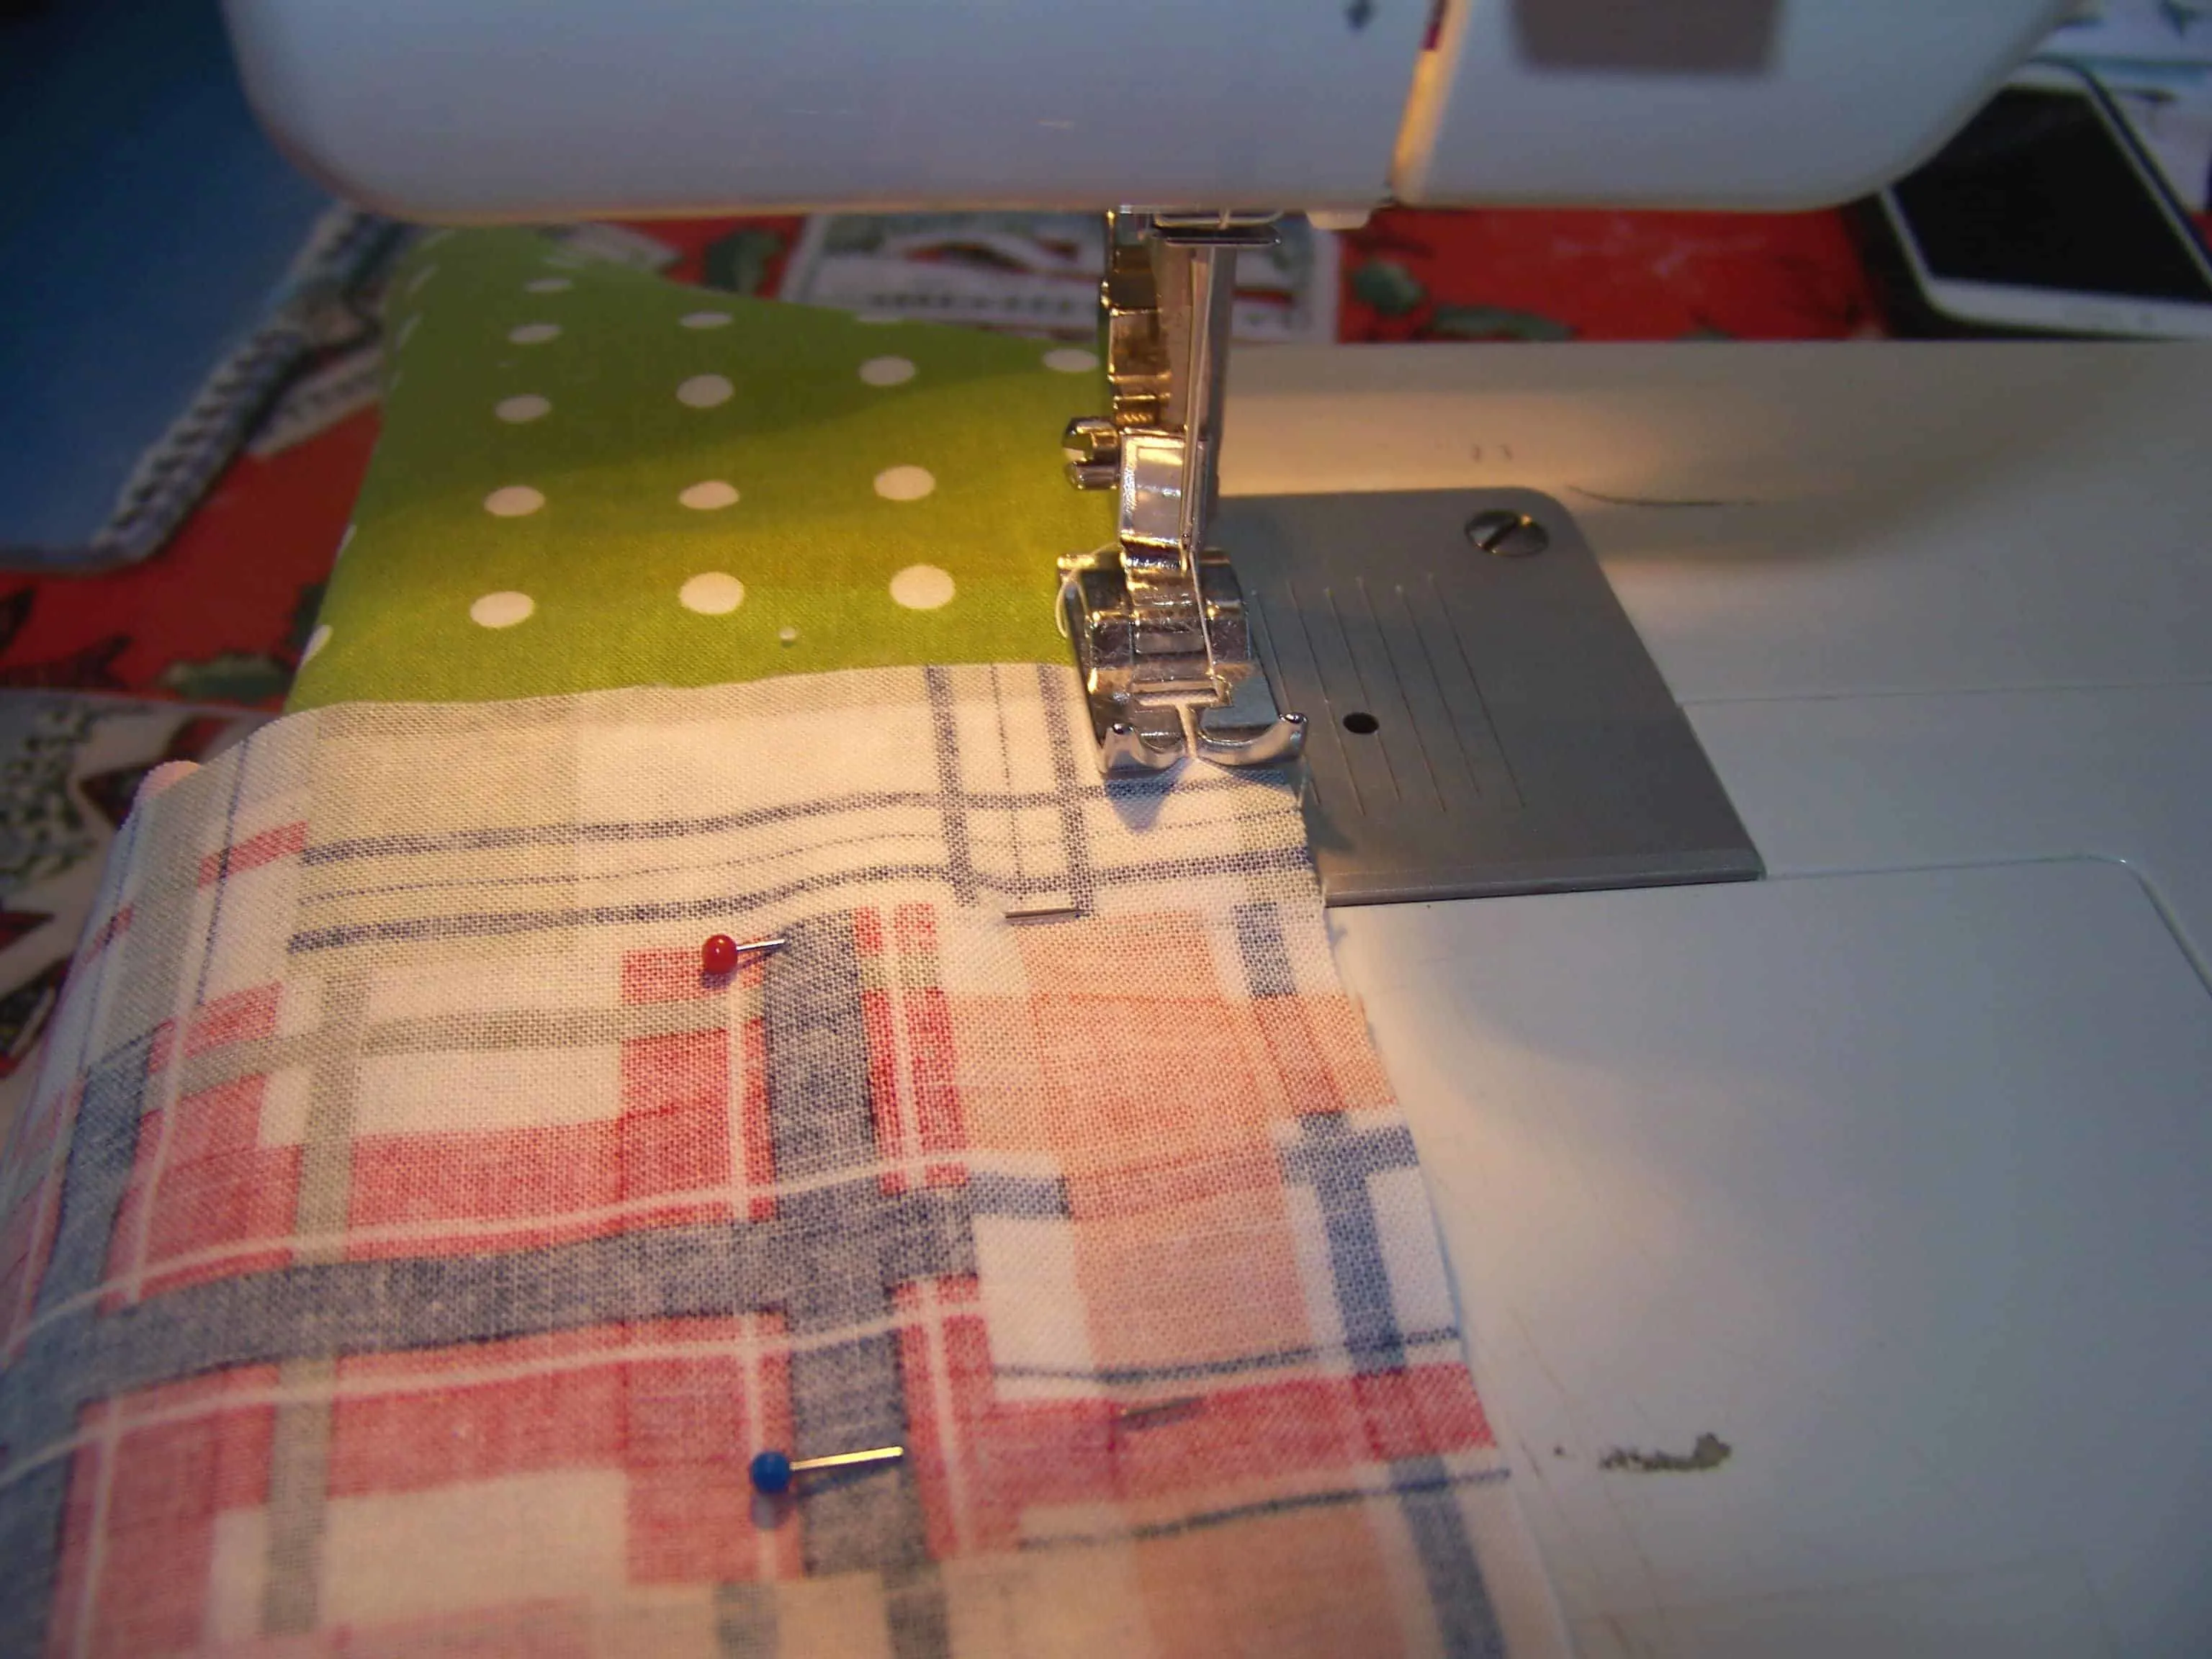
Next I sewed blocks 5 and 6 to the top and bottom of block 2. When you do this blocks 5 and 6 will be bigger than blocks because of the 1/4 inch seams. When you pin blocks 5 and 6 to block 2 center them on the block so that 1/4 inch hangs off each side. When you sew blocks 5 and 6 on stop sewing when you reach the end of block 2.


 Then I started bringing the cube together by sewing the bottom of block 3 to the side of block 5. When you pin the sides to each other you will notice an overhang again. Do not sew on that last 1/4 inch as you will be using it to attach to another side of the cube.

Keep going, attaching sides to each other to form the cube.


I sewed a little bit on each side of the last open side but I left a few inches open in the middle so that I could turn it.

Then I turned the block right side out so that all the seams are on the inside.
I stuffed it with Poly-Fil.

To close the block I stitched it closed using a blindstitch.
I made 4 blocks so that she would have a few to play with.
That’s it!
*Please note that babies and young children should always be supervised when playing with toys. Use of homemade toys is at your own risk. MARY MARTHA MAMA is not responsible for injury or damage that may occur from using any tutorial or idea from this blog.


Cynthia
Monday 1st of February 2016
I just finished making 5 of these blocks for my 4 month old great granddaughter. I made them smaller, 2 are 4", 3 are 3" finished. I used flannel scraps from several rag quilts I've recently made. I embroidered a letter to her name on 1 block and a number on another. When completed her name is spelled out and on the other side numbers 1 through 5 will be in order. Thought this would be a good learning tool as well as a fun toy! Thank you for your great tutorial.
Cat
Tuesday 2nd of February 2016
What a sweet gift for your great granddaughter. I am sure she loves them!
Anne
Monday 1st of February 2016
Great way to use up the scraps!! I've got a Craft Gossip post scheduled for tomorrow morning that features your tutorial: http://sewing.craftgossip.com/?p=86495 --Anne
Cat
Monday 1st of February 2016
Thank you so much!